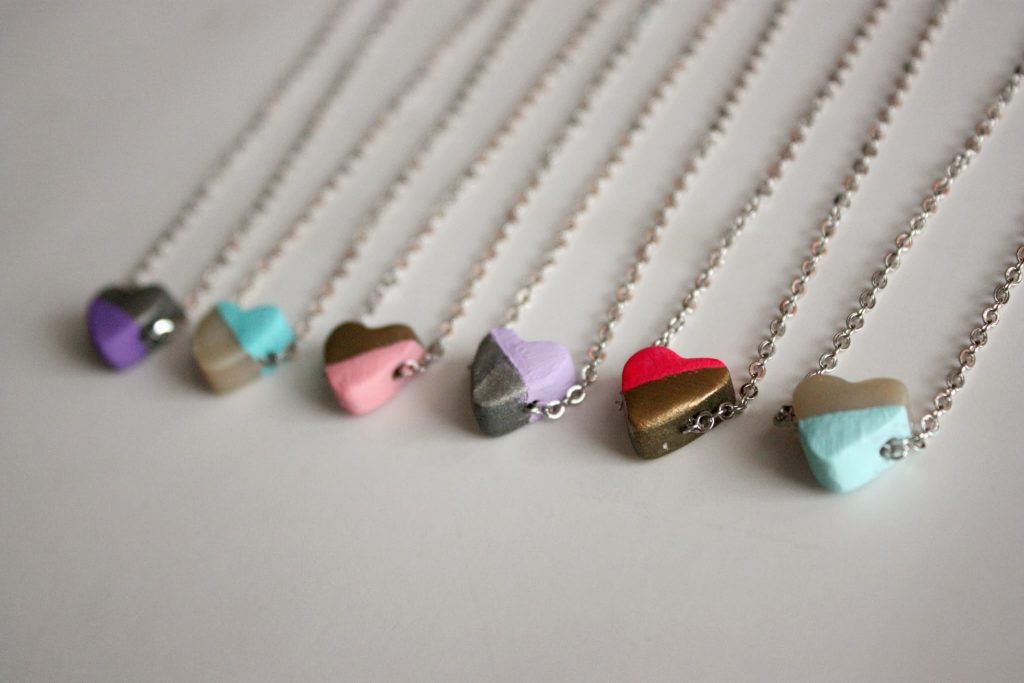
These DIY Hand-Painted Clay Heart Necklaces are the perfect DIY project! You can whip up a bunch of these little hearts charms in almost no time and use them for all sorts of Valentines crafts. Keep reading for the tutorial!
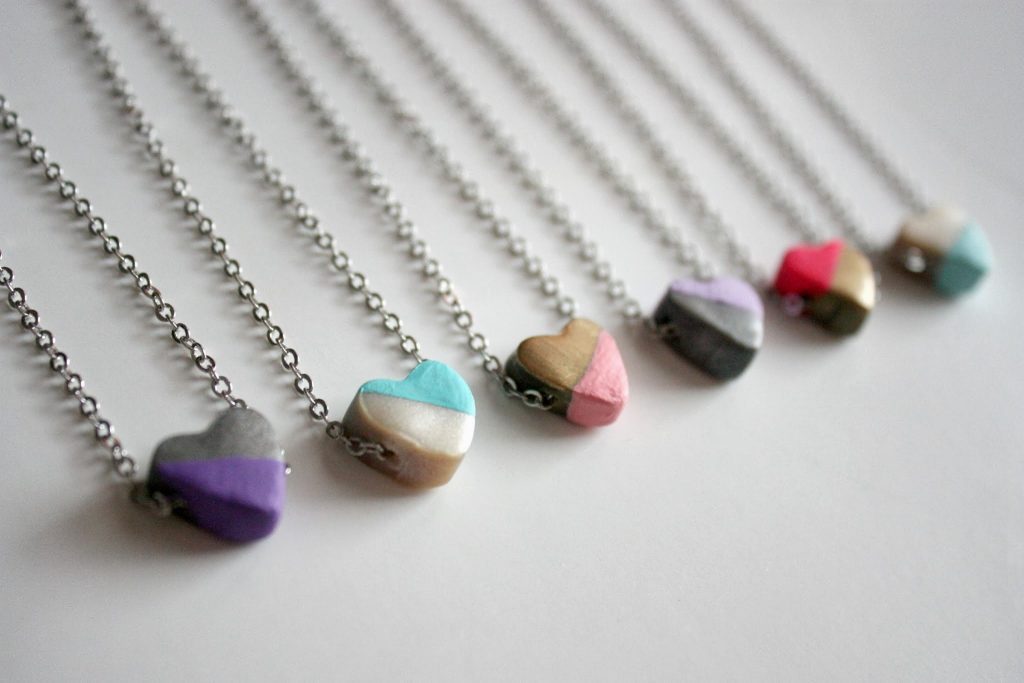

I wanted to give little Valentines to a group of girls I work with in my church, but I didn’t want them to be store bought and I didn’t want them to be pricey and I didn’t want them to be hard to make and I wanted them to be cute and hearts had to be involved. Ya. No sweat.
So, I turned to the box I affectionately refer to as craft crap, dug out a couple packs of clay I had been hoarding and got to work on dreaming up these little heart necklaces. The verdict? Making these met all of my requirements, they were so affordable/easy/cute/etc., AND the gals all squealed with delight when they opened them and put them around their necks immediately. Success.
I especially love this project because you can whip up a bunch of these little charms in almost no time and use them for all sorts of Valentines crafts. You can paint them or leave them how they are out of the oven, and bake clay is sooo easy and foolproof to work with. Have I given you enough positive feedback? If not, here’s a lot of pictures of what I did to convince you:
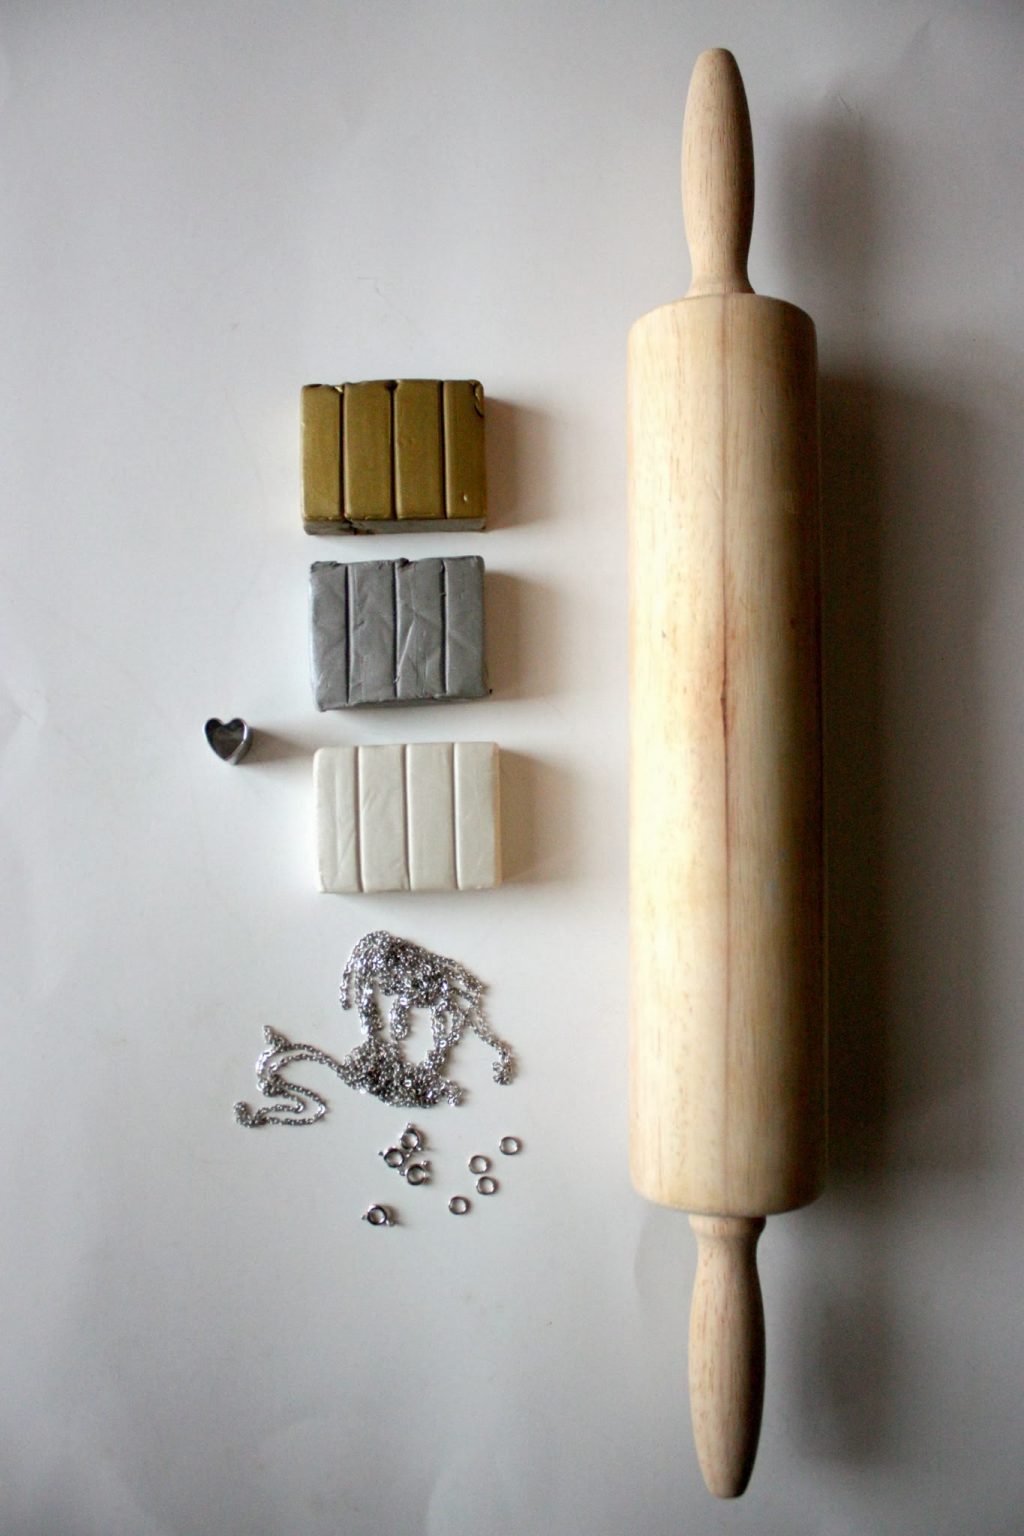

Supplies needed to make your own Clay Heart Necklaces
Oven-Bake Clay (you can get this at any craft store for around $1.50 a block)
Heart Clay Cutter (you can get a set here or at any craft store and use the shapes for other projects, or you can just eyeball it and cut out the hearts with a knife/cookie cutter/etc.)
Necklace Chain + Fasteners
Rolling Pin
Something to poke holes in to the hearts (I used a paperclip)
Craft paint + brushes
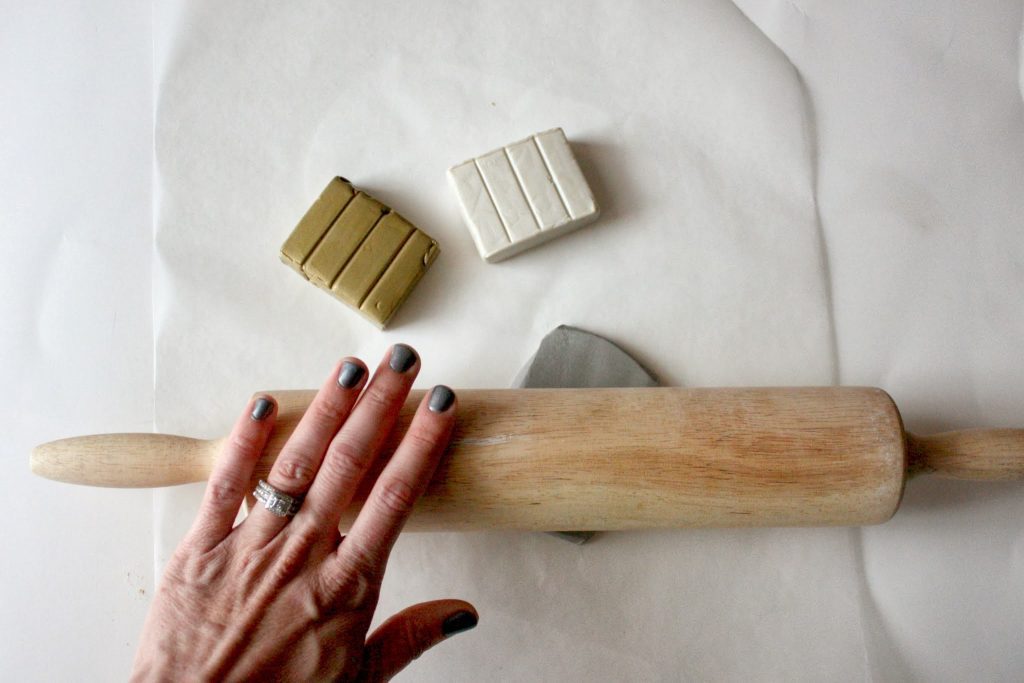

How to make your own Clay Heart Necklaces
Step 1: Roll out your clay to the desired thickness of your charms
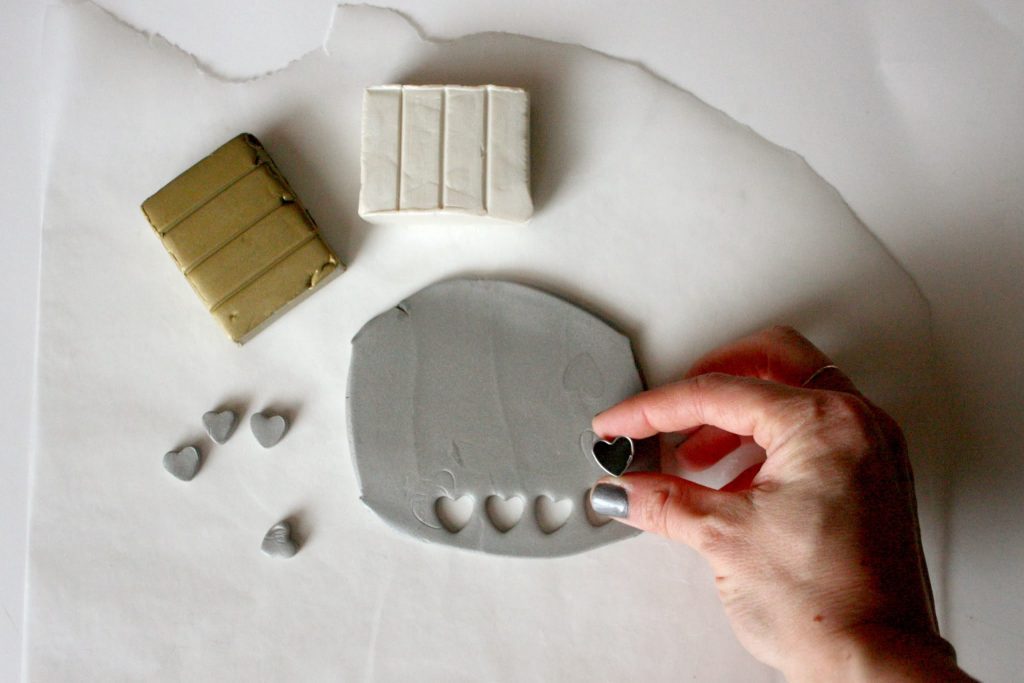

Step 2: Cut out your hearts
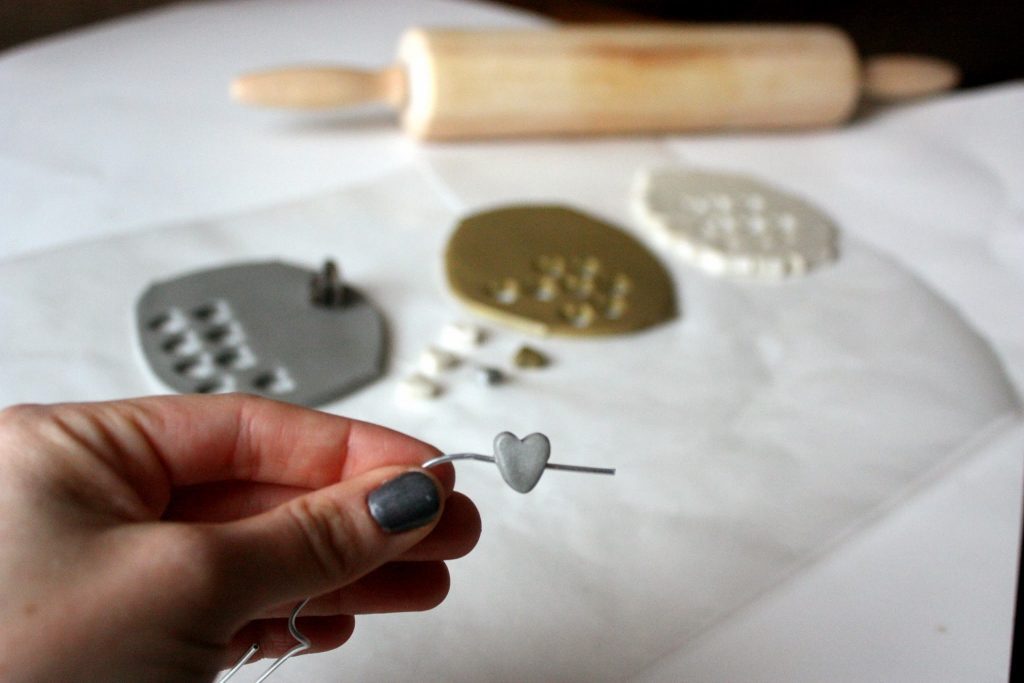

Step 3: Poke holes through the clay where you want to string the necklace. Don’t forget to do this before you bake since baking them will make them too solid to poke holes.
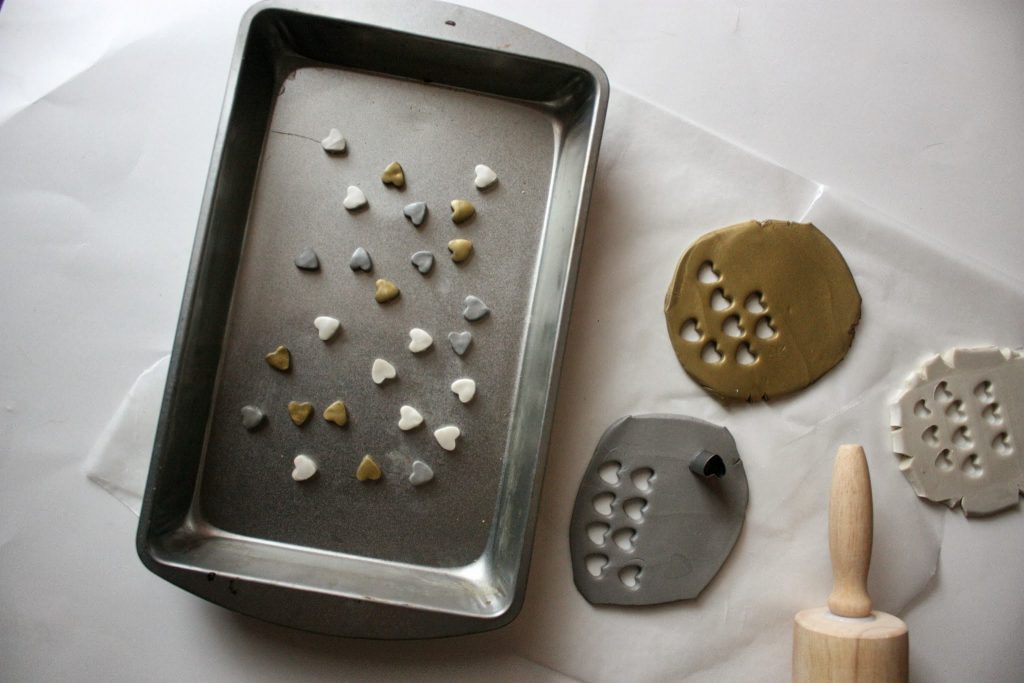

Step 4: Put hearts on a cookie sheet or baking pan and bake at 275 degrees for about 15 minutes.
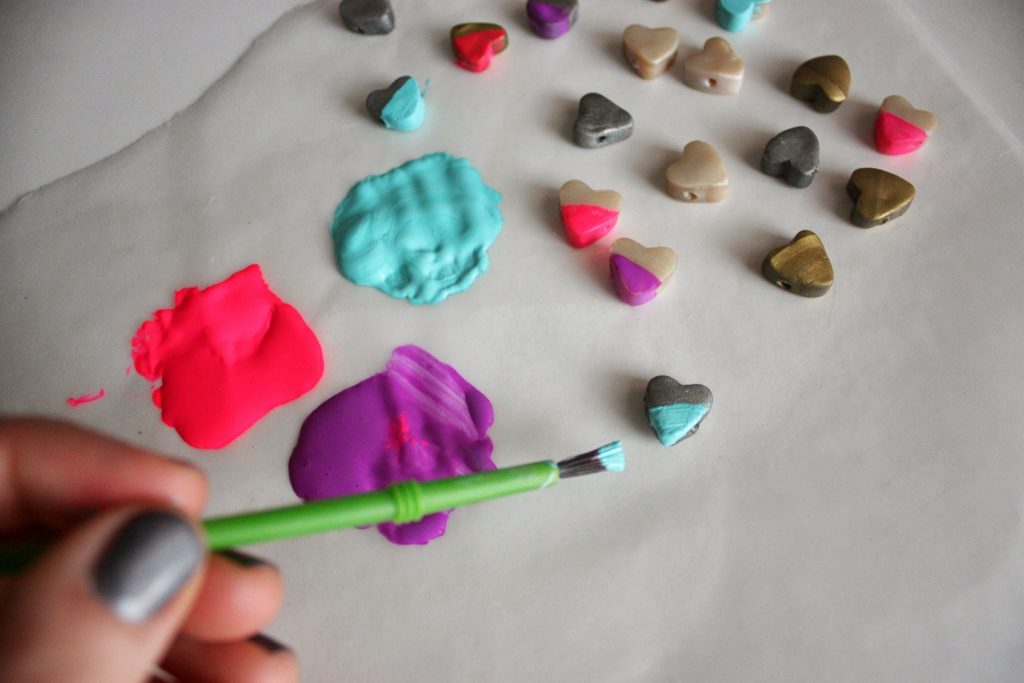

Step 5: Once you have taken the hearts out of the oven and they have cooled completely, paint them if desired.
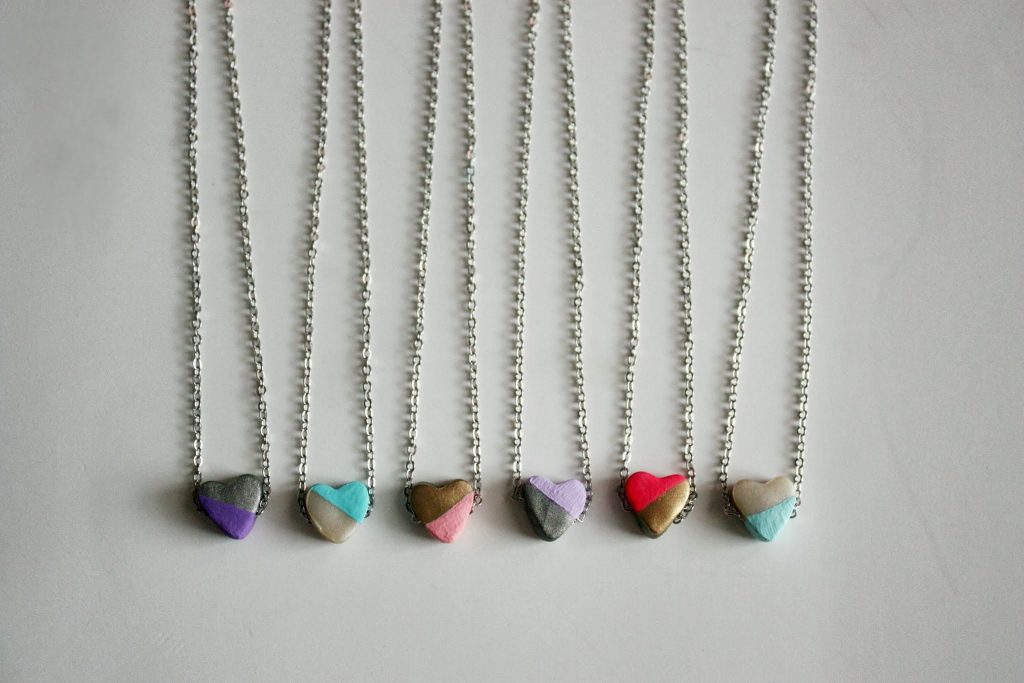

Step 6: String the charms through the necklace!

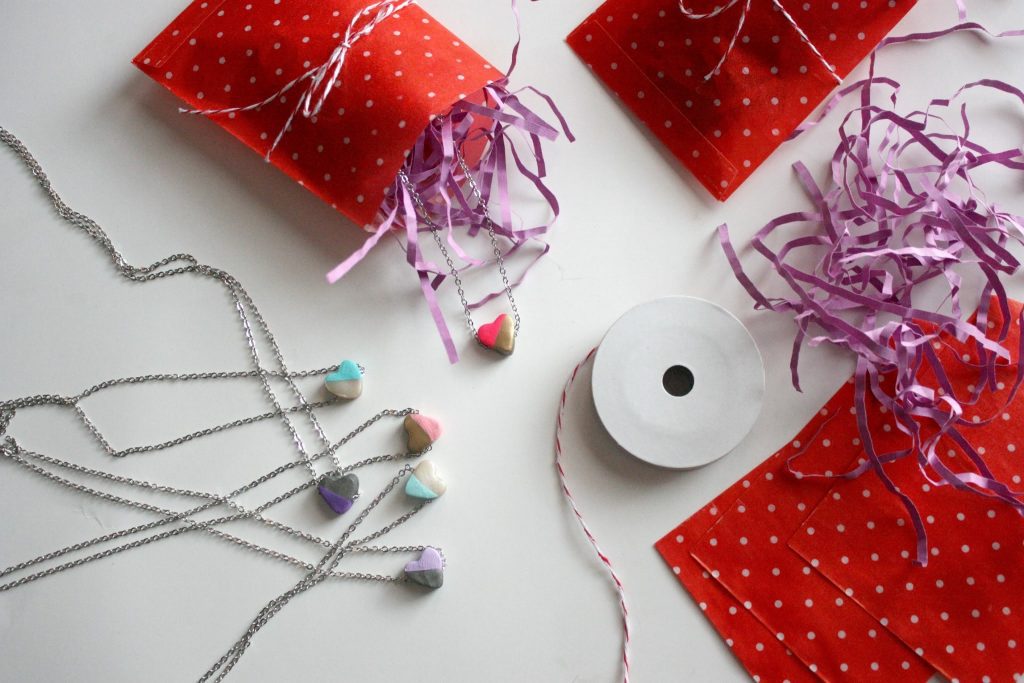

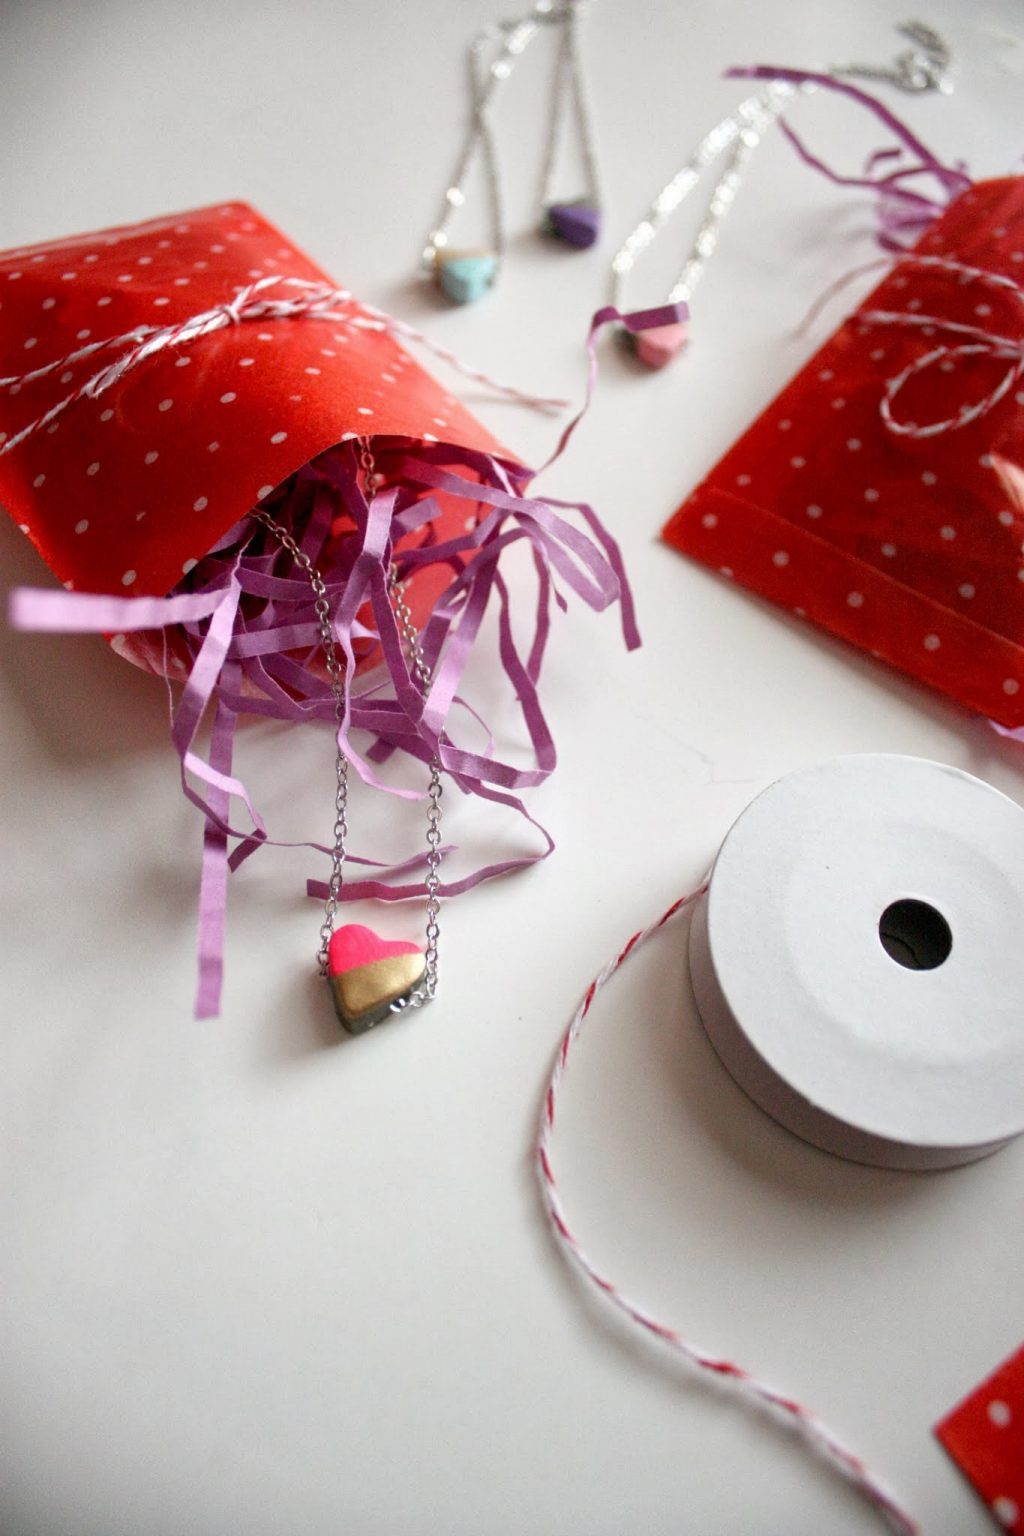
Step 7: Wrap those little suckers up, pass them out, and feel the looove.


Happy Heart-Day Crafting!
ox. Liz


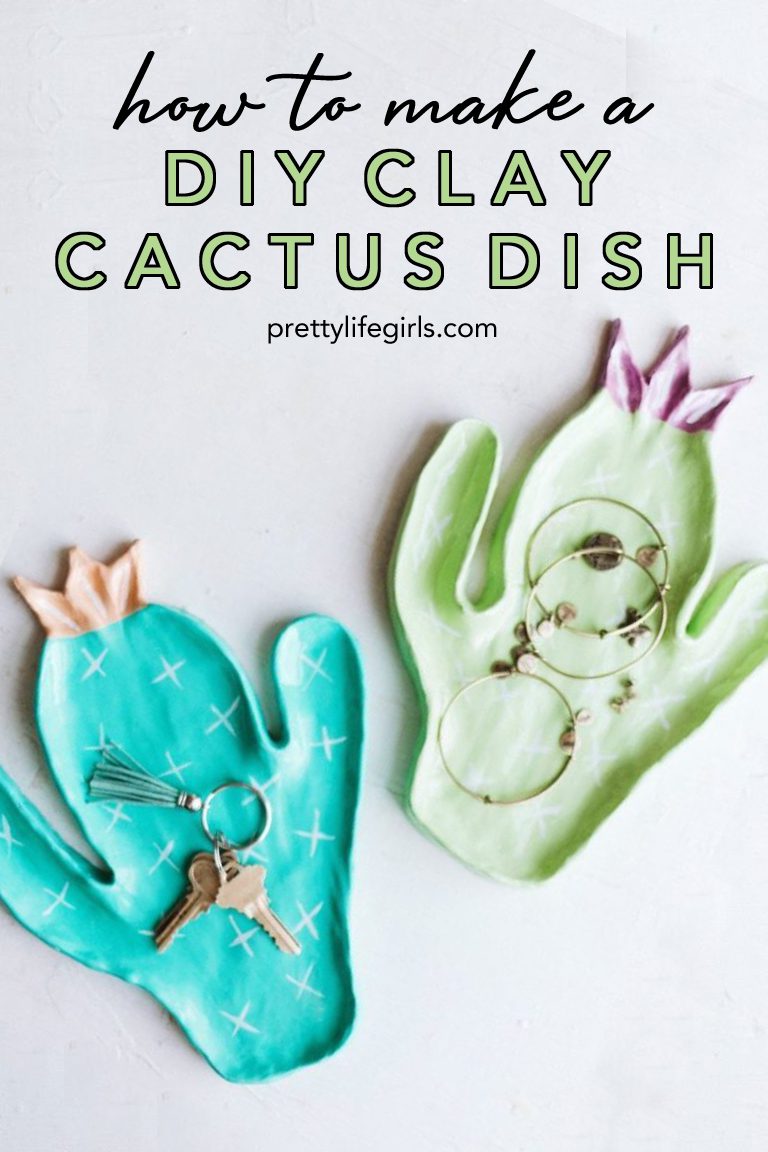


[…] Hand Painted Clay Heart Necklaces from Pretty Life Girls […]
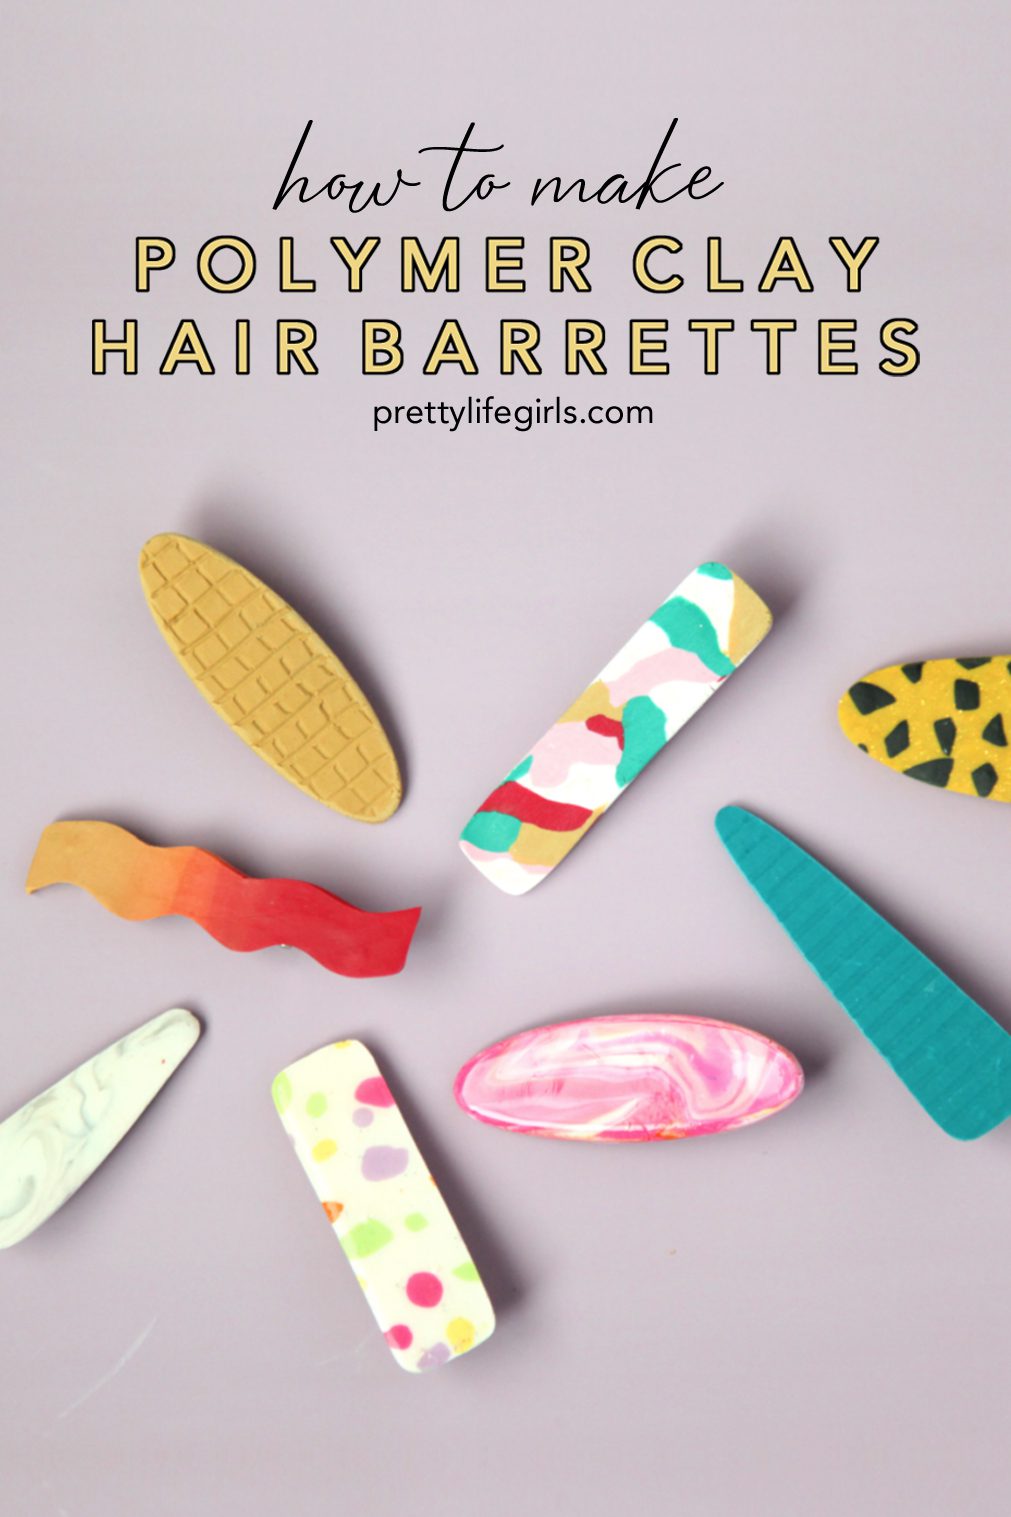
[…] One of our favorite mediums to work with, polymer clay is so easy to use and makes you feel like you are creating something out of nothing. It can seem intimidating, but you’d be surprised how many things you can make with simple shapes and very little skill – like these clay hair barrettes, mix and match clay coasters, and precious heart necklaces! […]
[…] DIY Hand-Painted Clay Heart Necklaces […]