This post is sponsored by Plaid Crafts. All opinions expressed are ours alone.
Thank you for the supporting the wonderful sponsors who make this blog possible!
My kids were reeeeally being kids over the weekend. Couch cushions were removed and built into an amusement park in my front room, somehow there was cereal floating in the bathtub WHILE they were bathing, and don’t get me started on the breakfast of ice cream and m&m’s I caught them serving each other when I woke up after them on Saturday. I mean, there’s just not a lot you can count on when you are a parent to small kids who are figuring everything out by dumping everything out and smearing it all everywhere. So, when these moments come I often retreat to my craft room where things make sense to me. And where there is a door I can close.
This weekend I happened to find solace from the chaos in my precious craft room by working with the awesome new Mod Podge product, Mod Podge Ultra! If you have followed this blog for awhile you know that we are very loyal Mod Podge users, and when a new formula comes out we make it our BFF immediately.
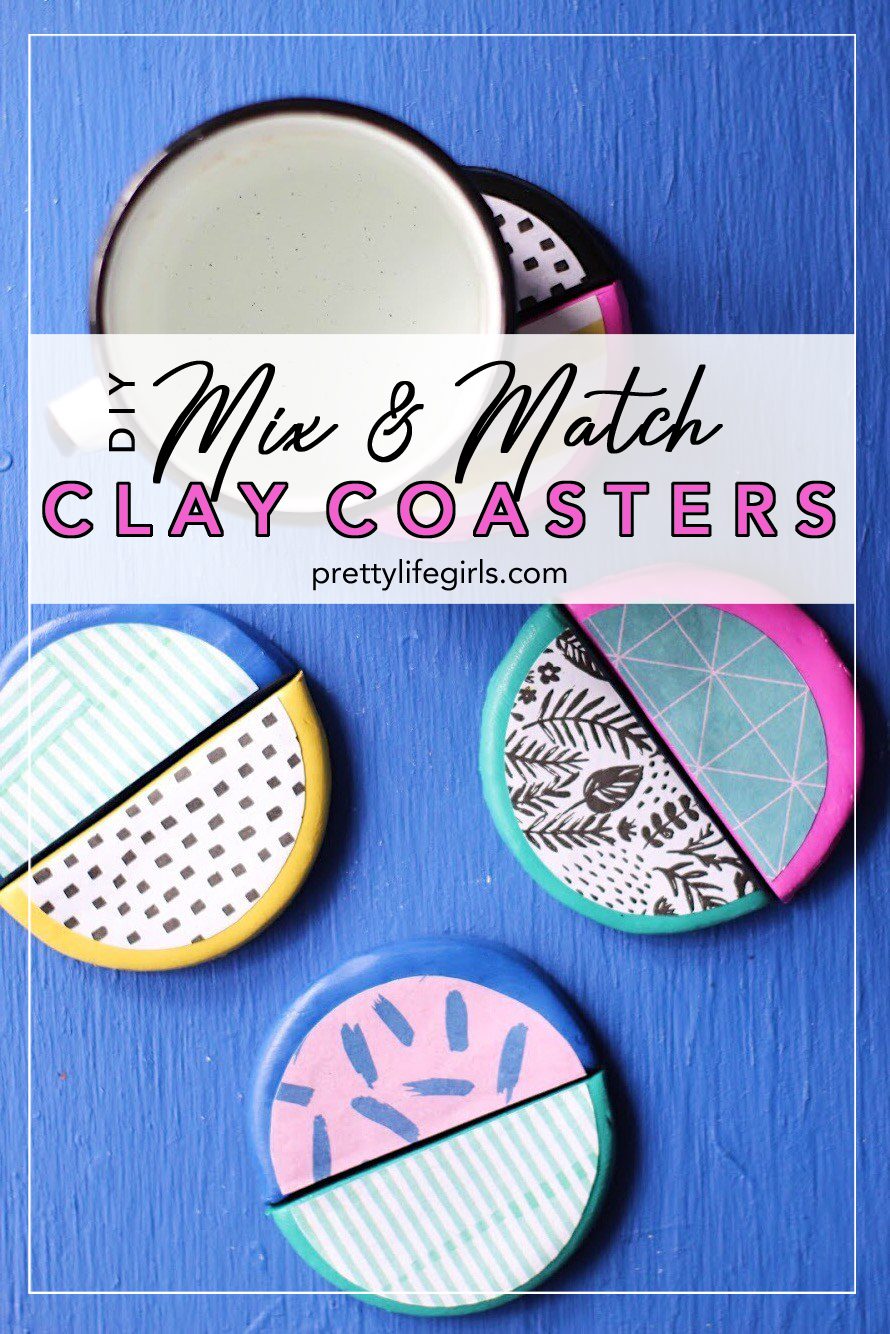
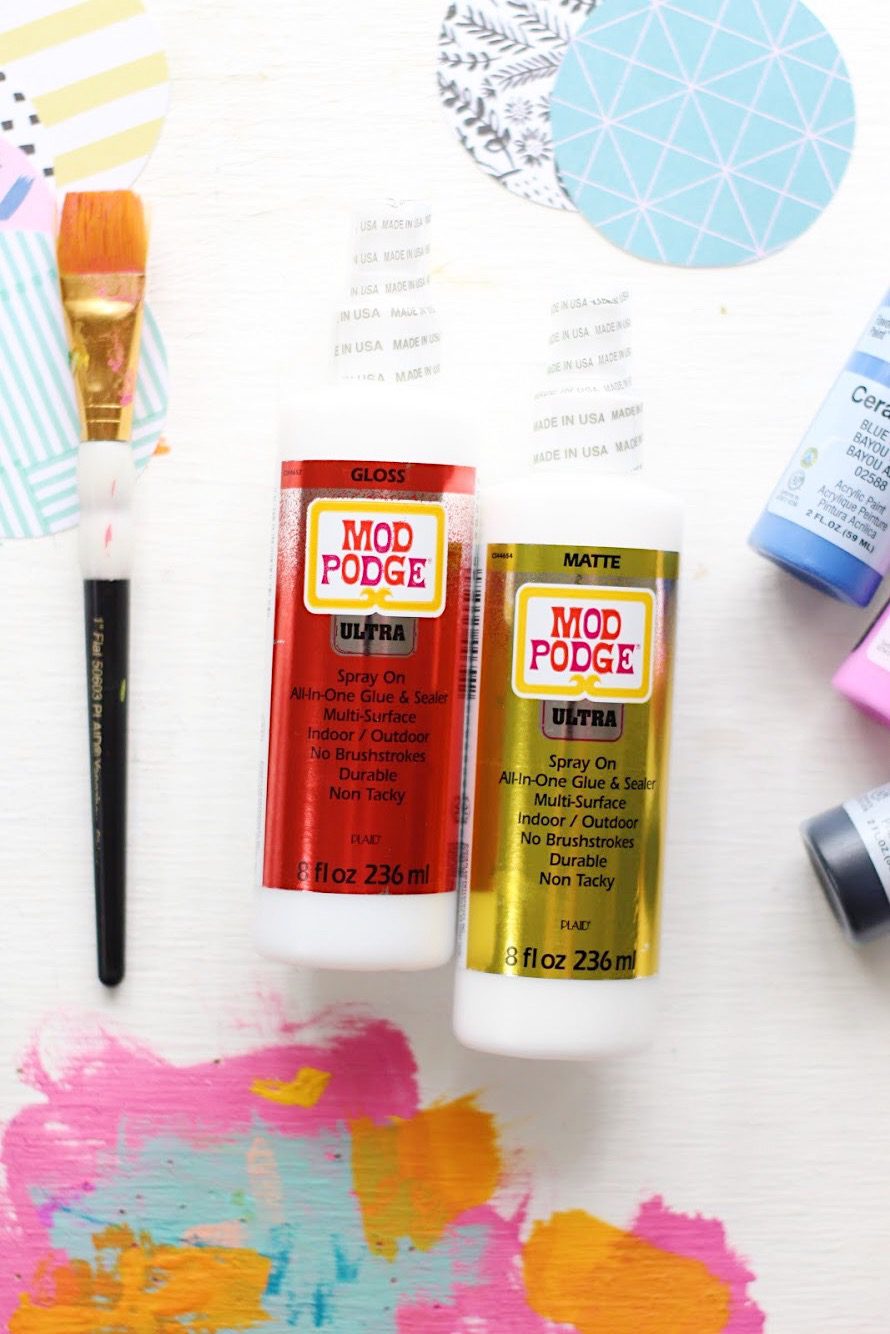
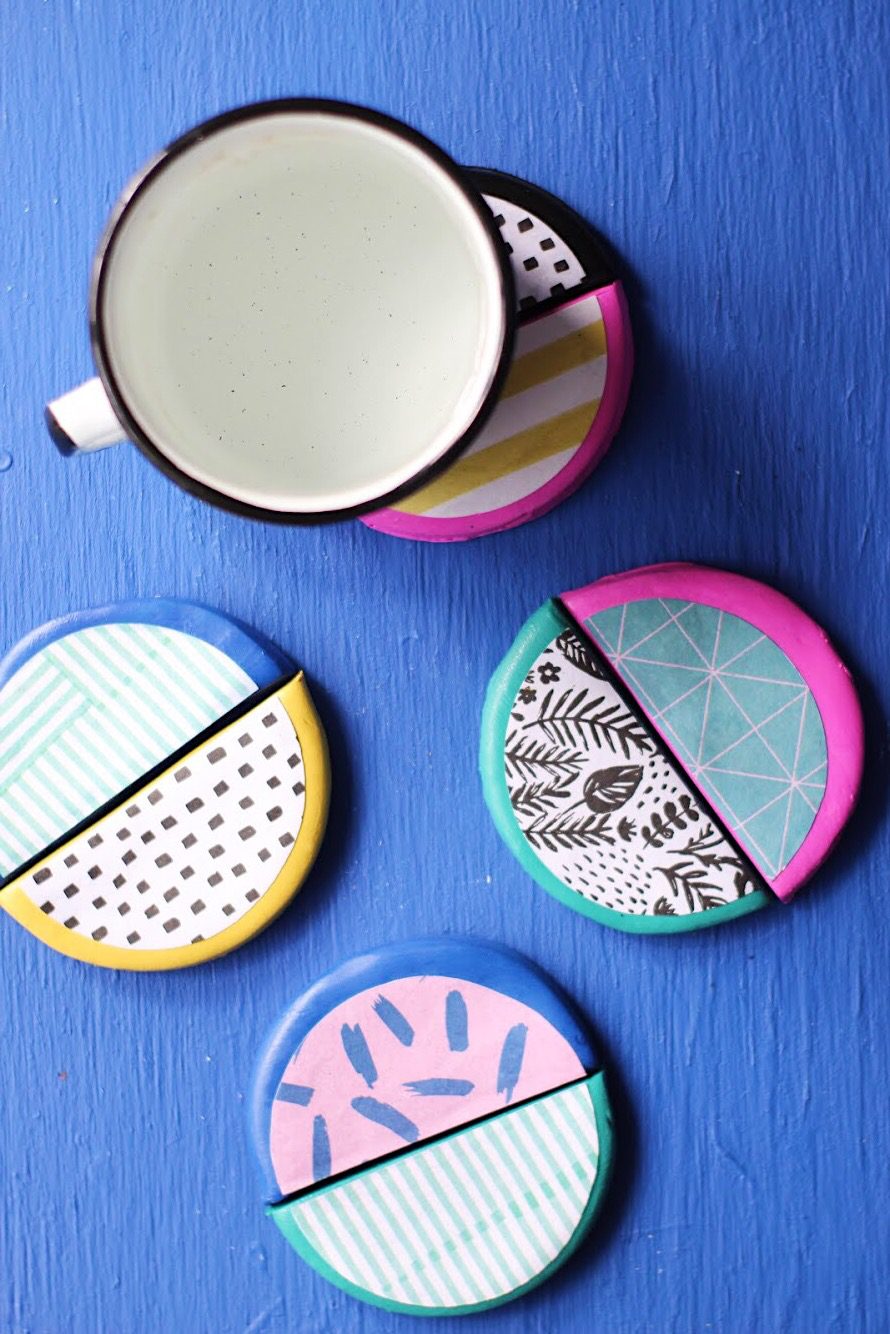
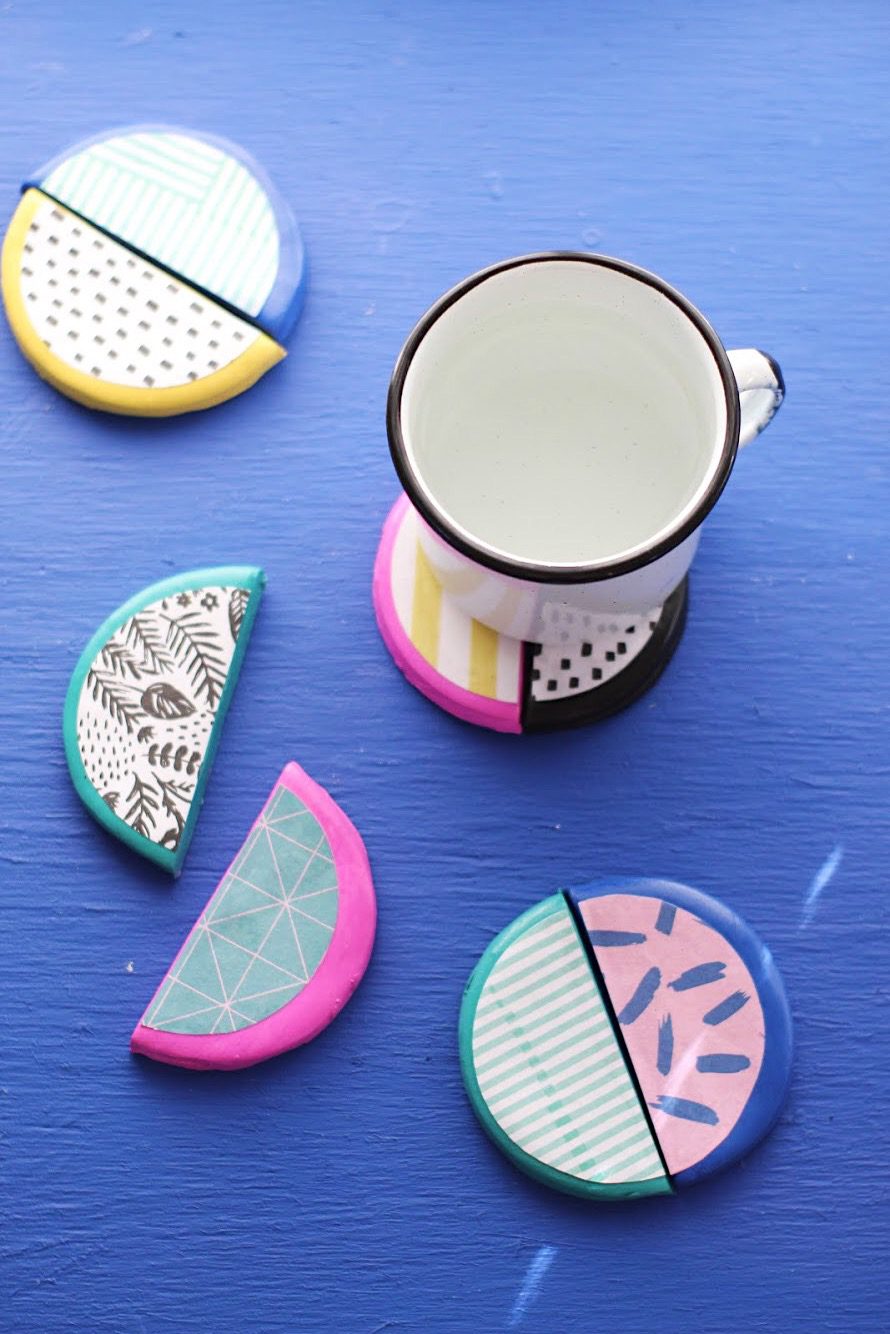
So, how is it different and how is it the same from the Mod Podge we know and love? Here’s the scoop: Mod Podge Ultra still can be used on all kinds of surfaces, can be used for indoor and outdoor projects, and is incredibly durable! However, this product comes in a spray bottle which is so slick and convenient and leaves no brushstrokes! Plus, it is self leveling, has really high adhesion, and is scratch and water resistant so you can use it to work with all kinds of mediums! It stiffens fibers, secures sand, attaches beads, you name it! And it’s still water-based so you can easily clean it with soap and water. I had a blast working with it over the weekend and made these fun Mix and Match Coasters for my first attempt!
Here’s how I did it:

Supplies Needed:
Mod Podge Ultra
Ceramcoat Acrylic Paint
FolkArt Paint Brush
Oven Bake Clay
Patterned Paper
- Roll out your clay using a rolling pin until it is about 1/4″ thick. Then, using a cup or cookie cutter, cut your clay into circles.
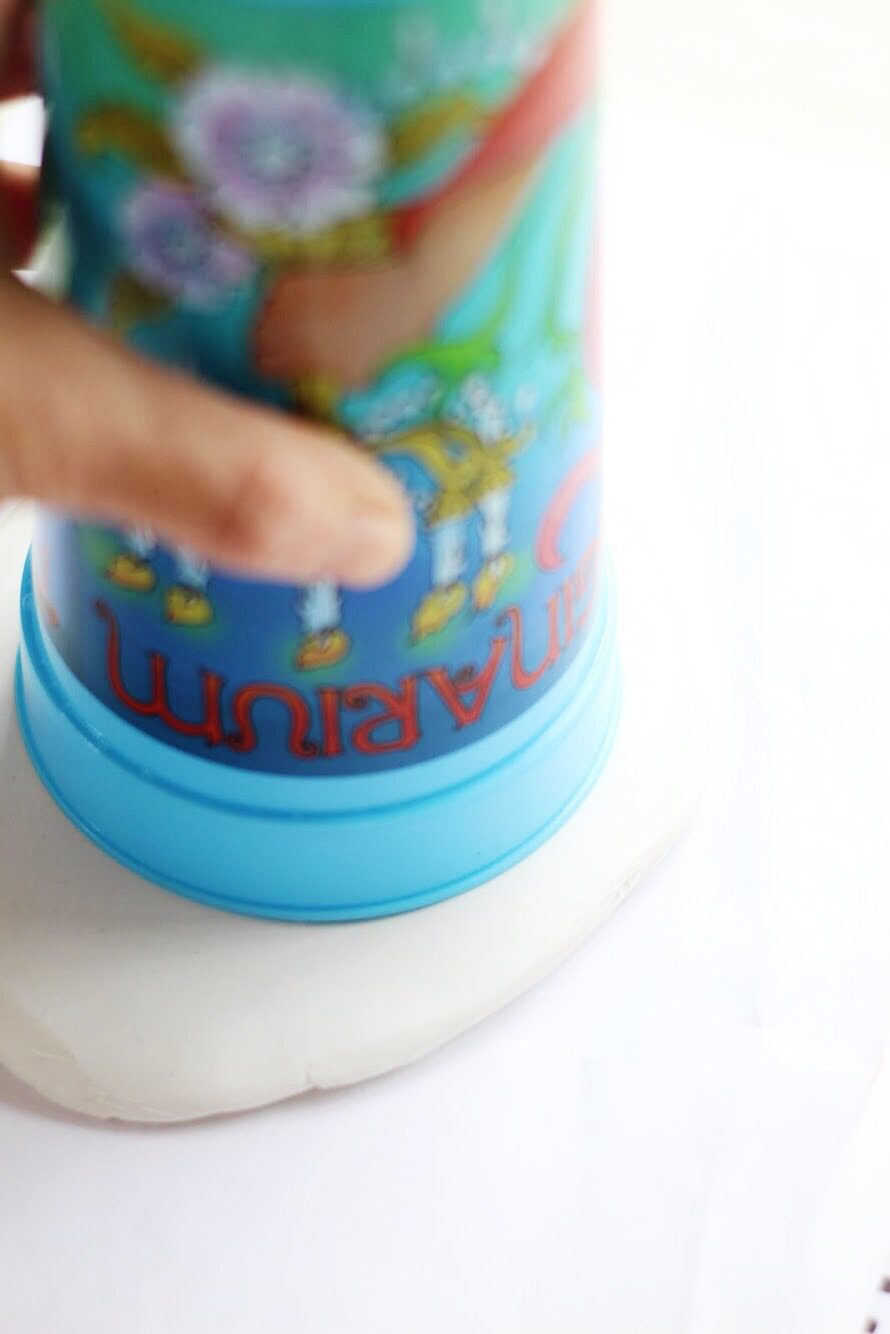
2. Smooth the edges of your circles using your fingers to get rid of any bumps or uneven edges.
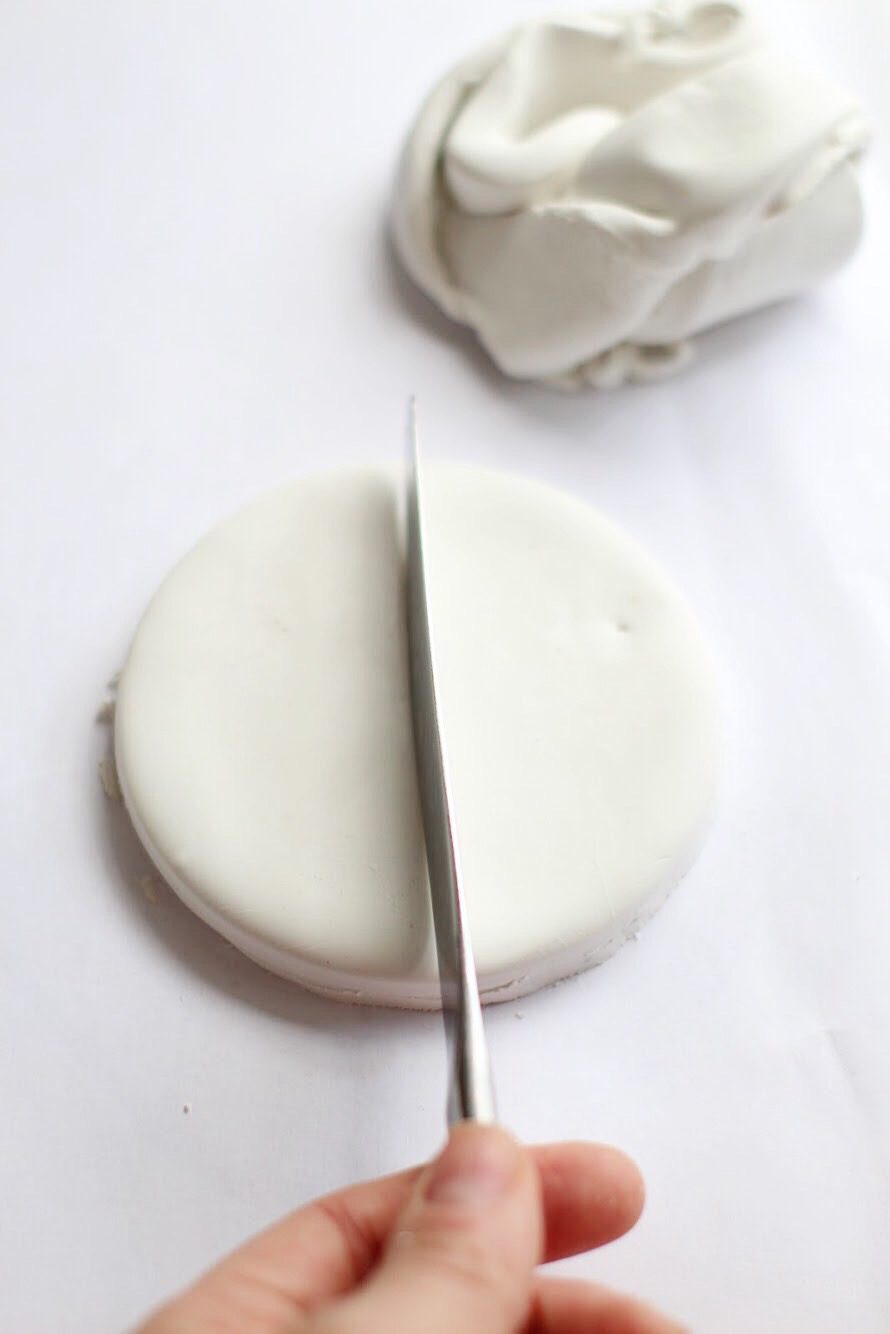
3. Cut your circles in half using a knife.
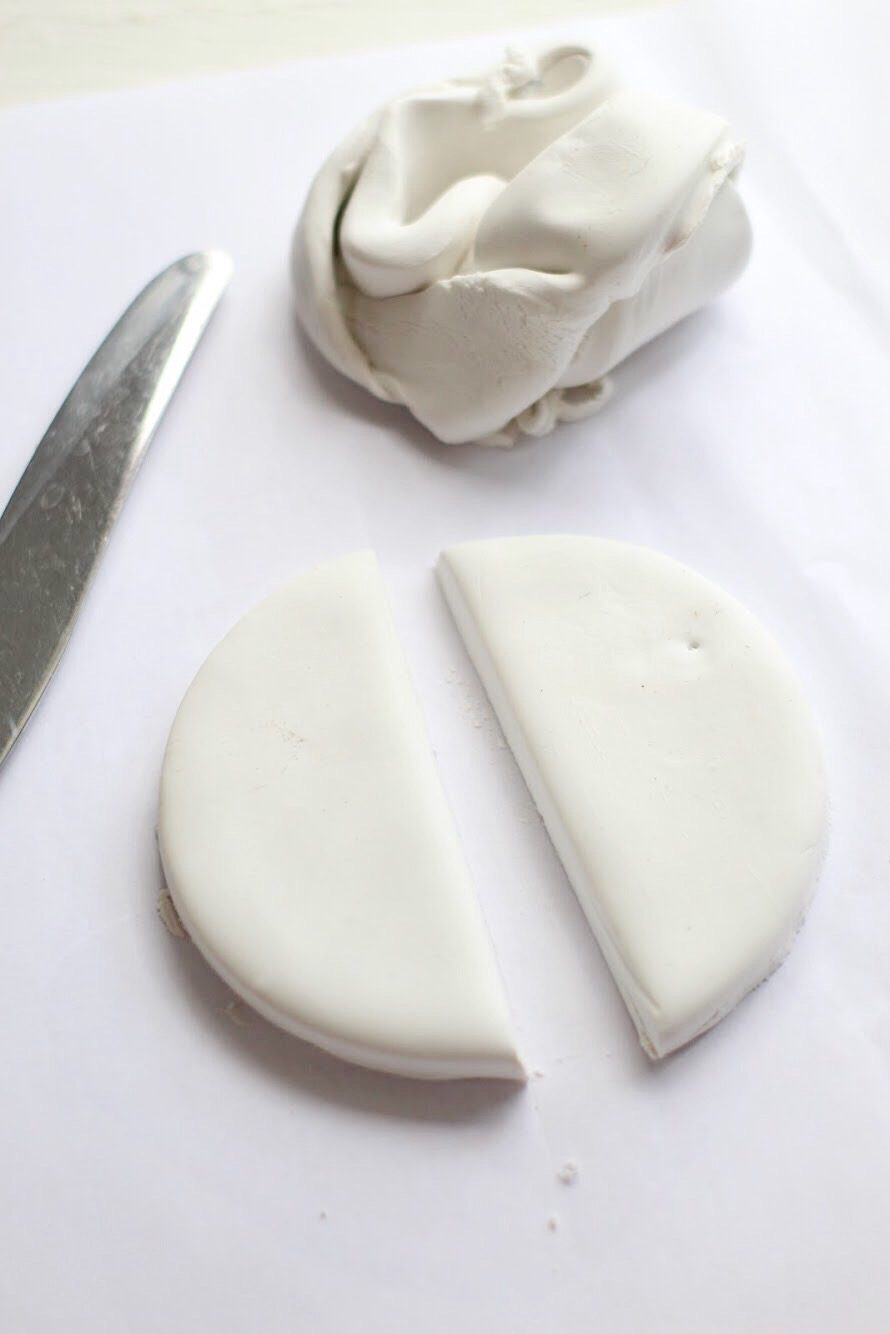
4. Place your clay on a foil-lined cookie sheet and bake according to package directions. For me this meant baking the clay at 275 degrees for about 12 minutes.

5. Remove clay from oven and let cool completely.

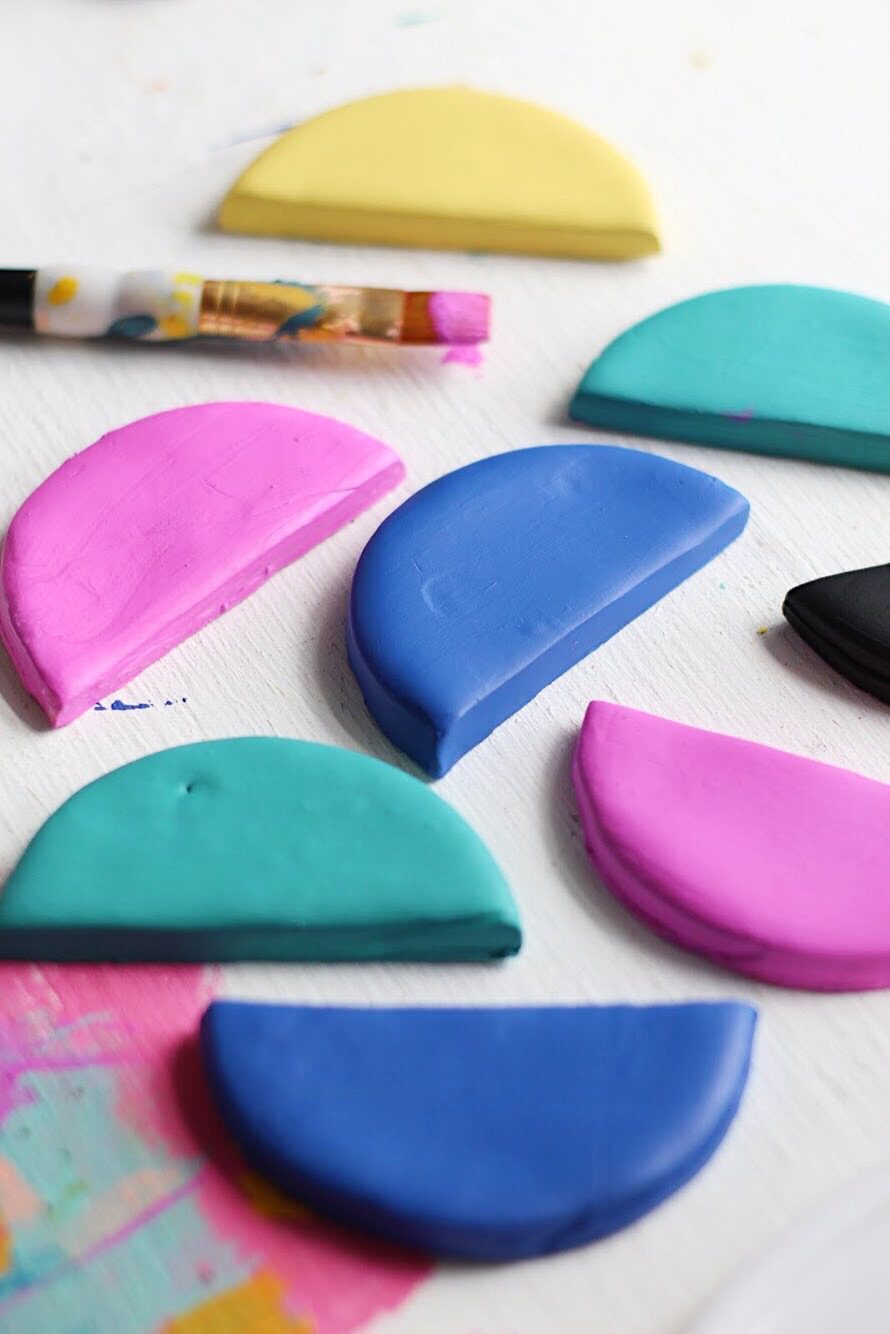
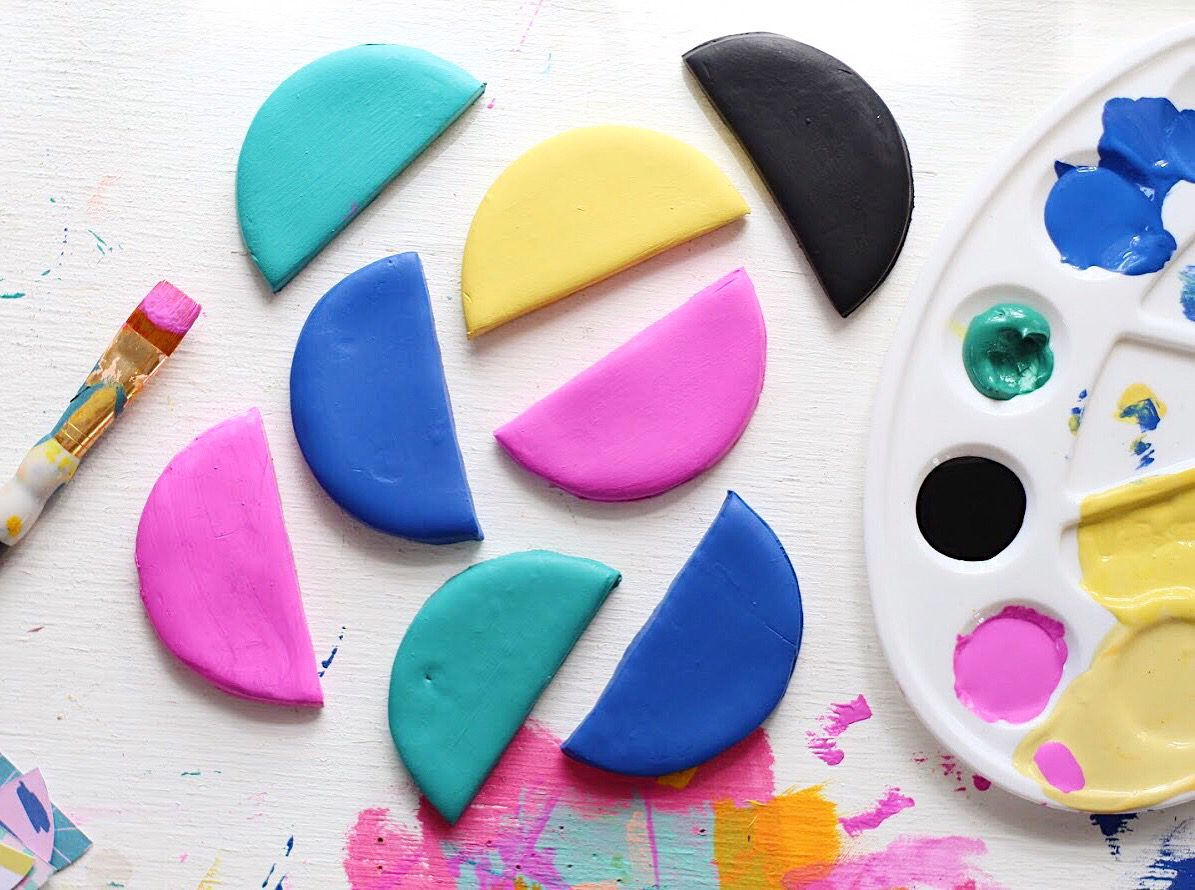
6. Paint your clay with two coats of paint and let dry completely.
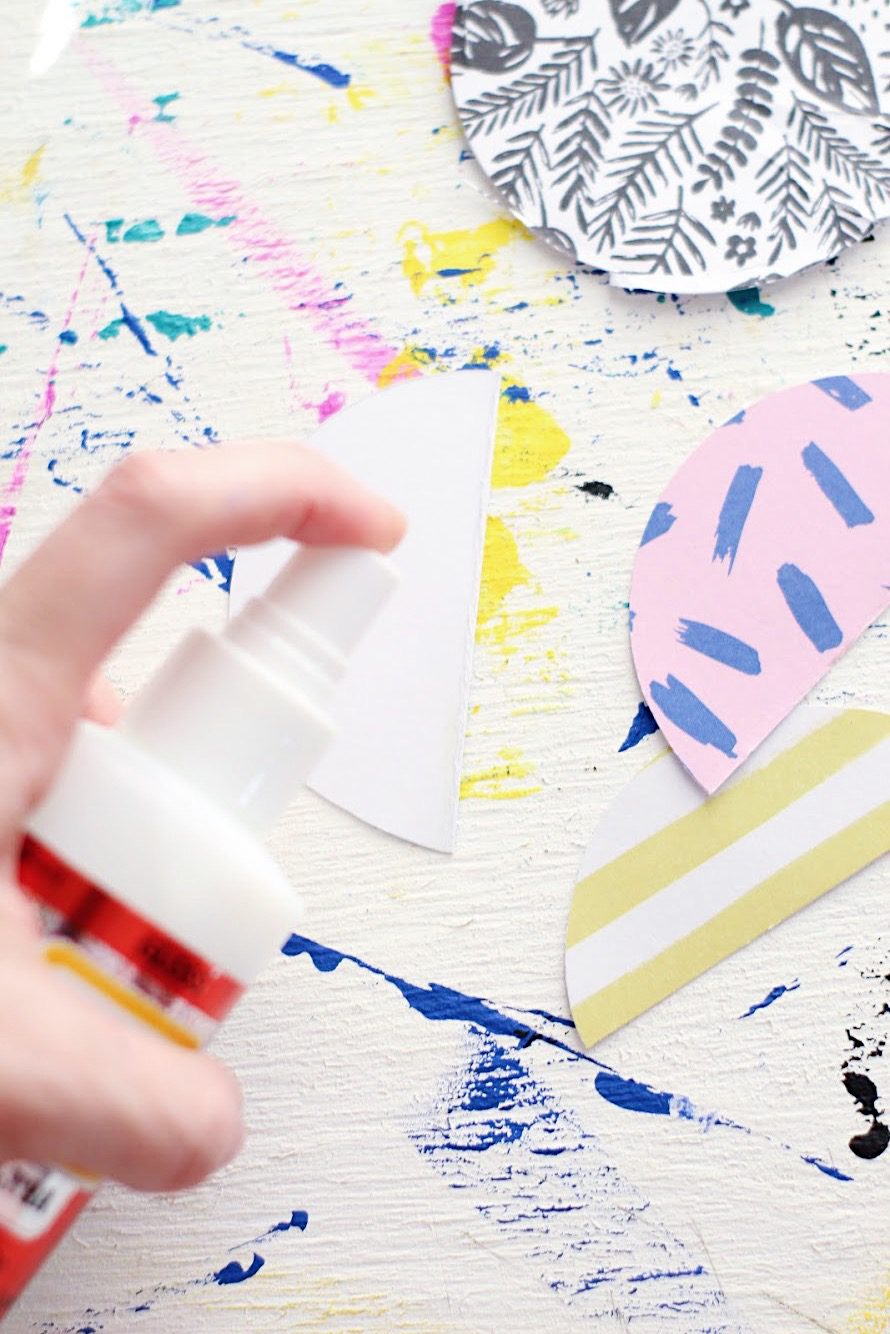
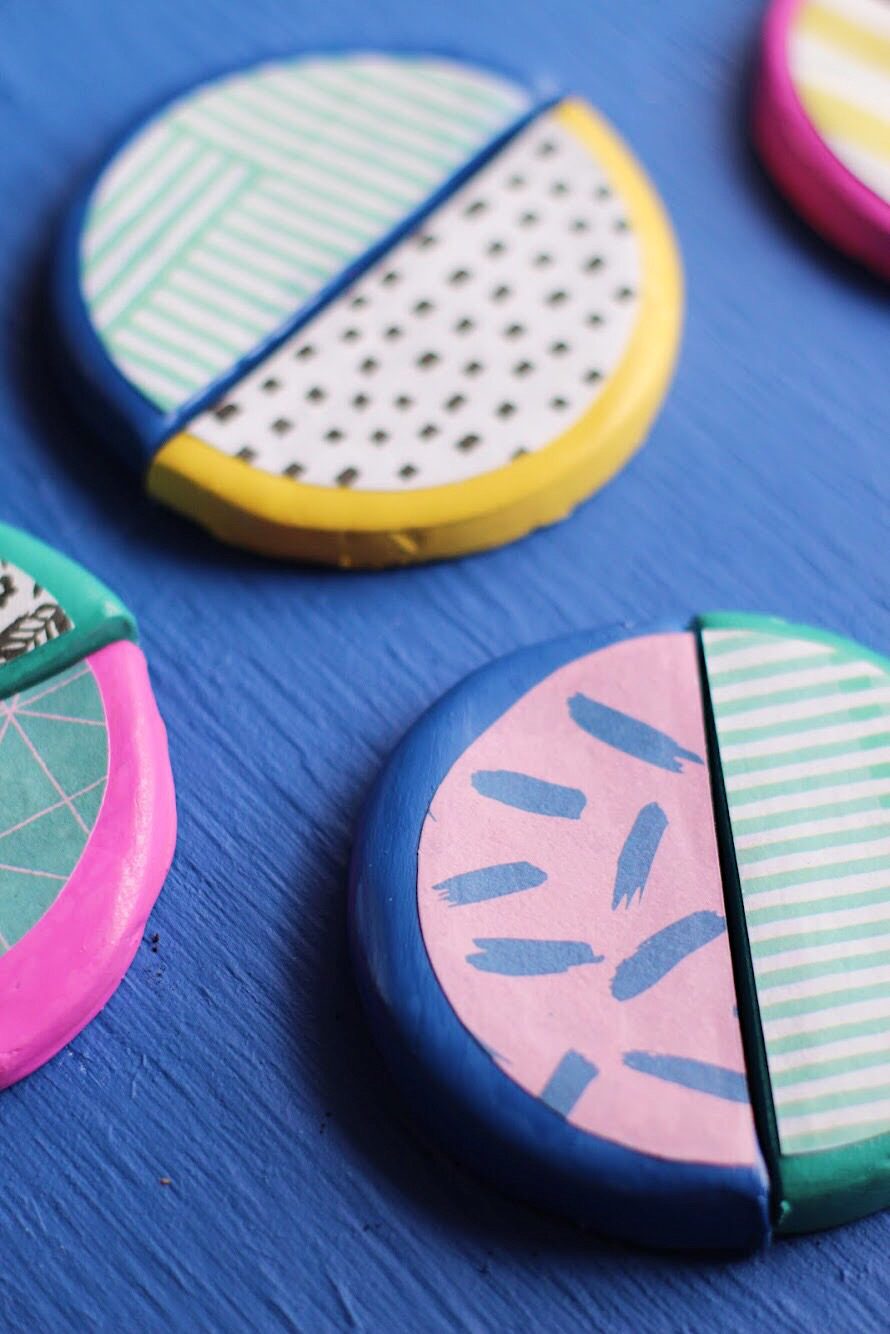
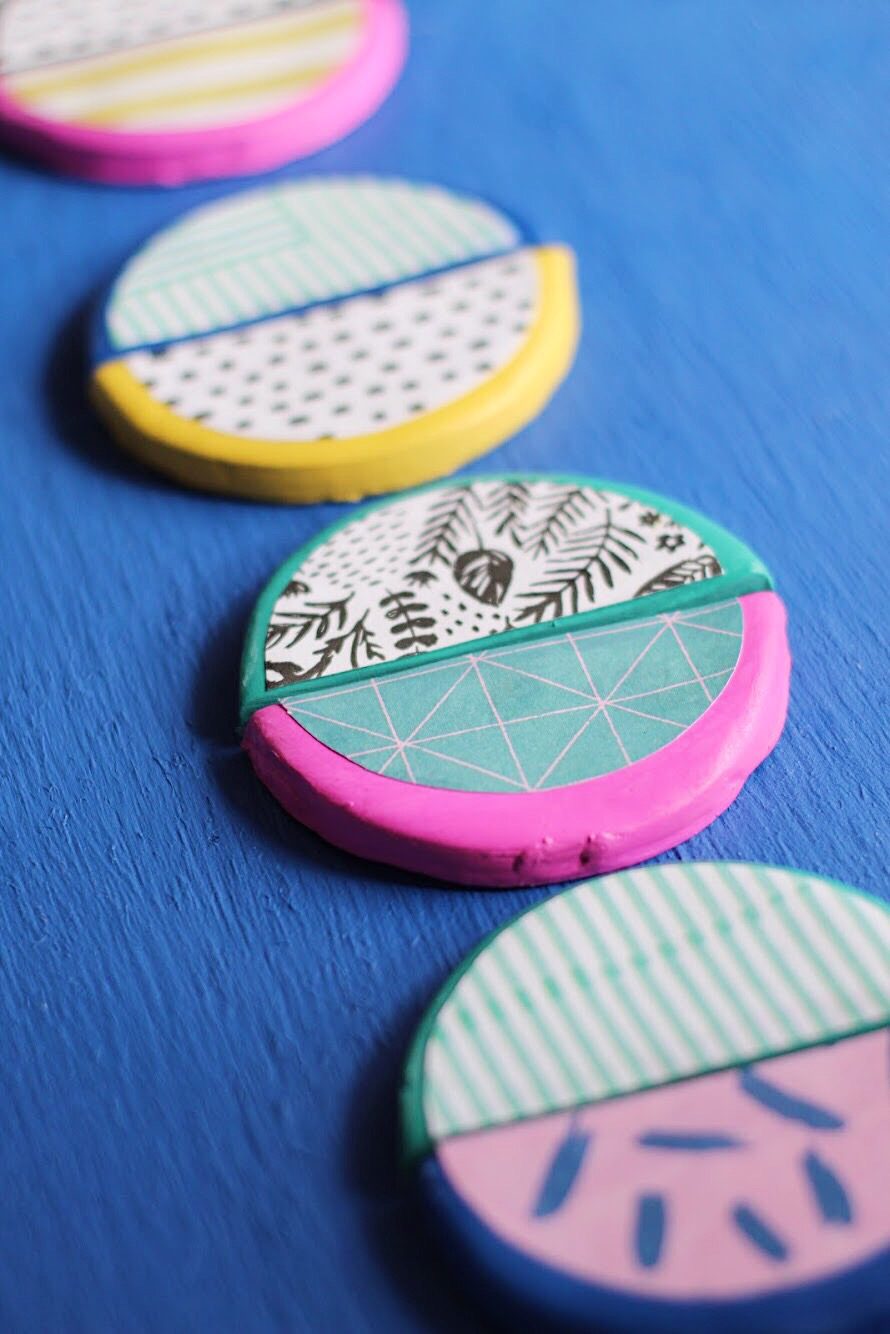
7. While your paint is dry, cut your paper into half circles to fit your clay. I liked cutting mine to be a little smaller than the size of the clay so that the lip of the clay would show after the paper was adhered to it.
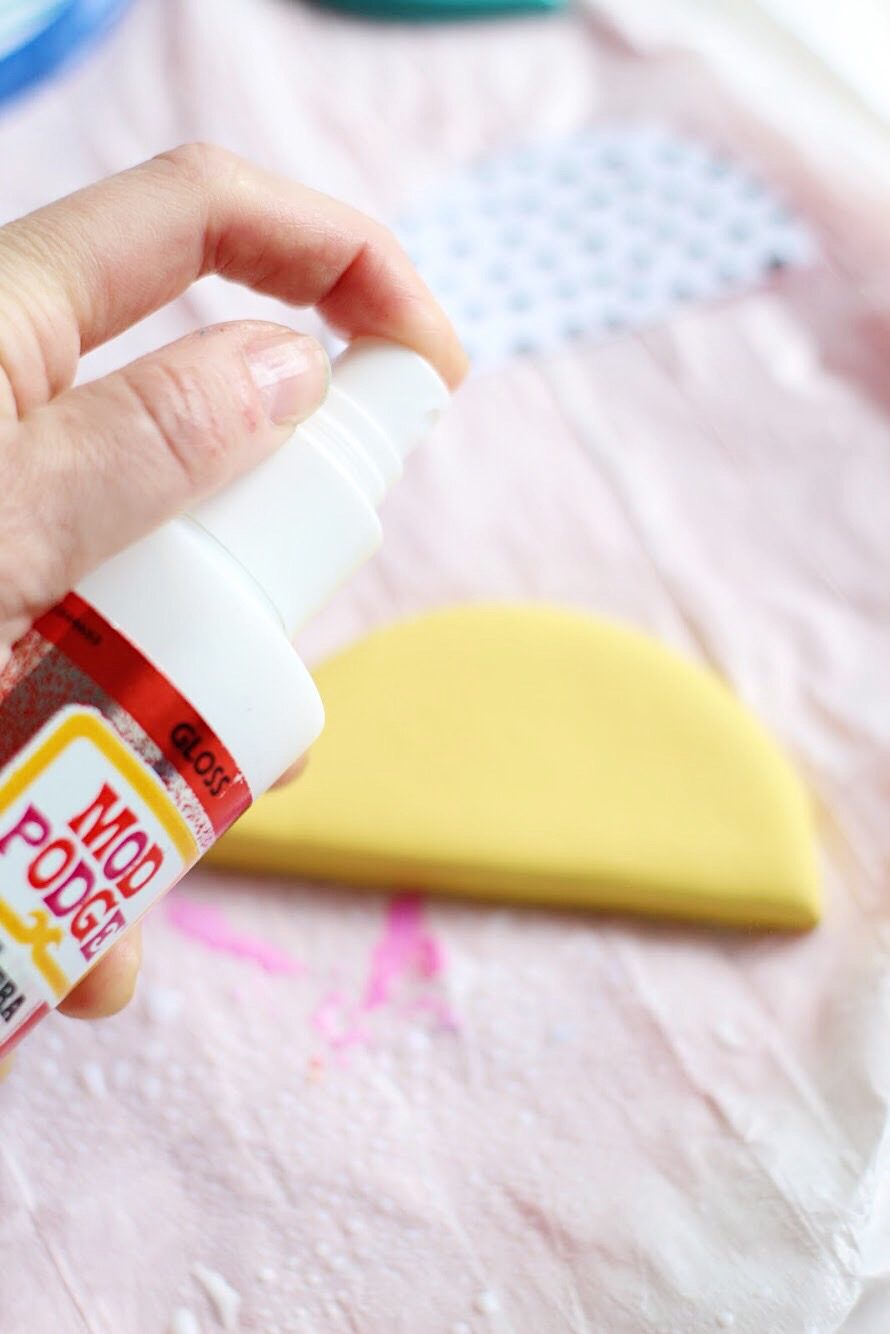
8. Shake your Mod Podge Ultra for about 15 seconds, then spray the top of the clay and the underside (non-patterned side) of the paper with an even coat. Then, place the paper on the clay, pattern side up. Gently smooth paper with fingers to remove any bubbles. Let dry for 4-24 hours.
9. Once the coaster is completely dry, spray another even coat of Mod Podge Ultra, covering the coaster, to seal. Let dry for 4-24 hours.

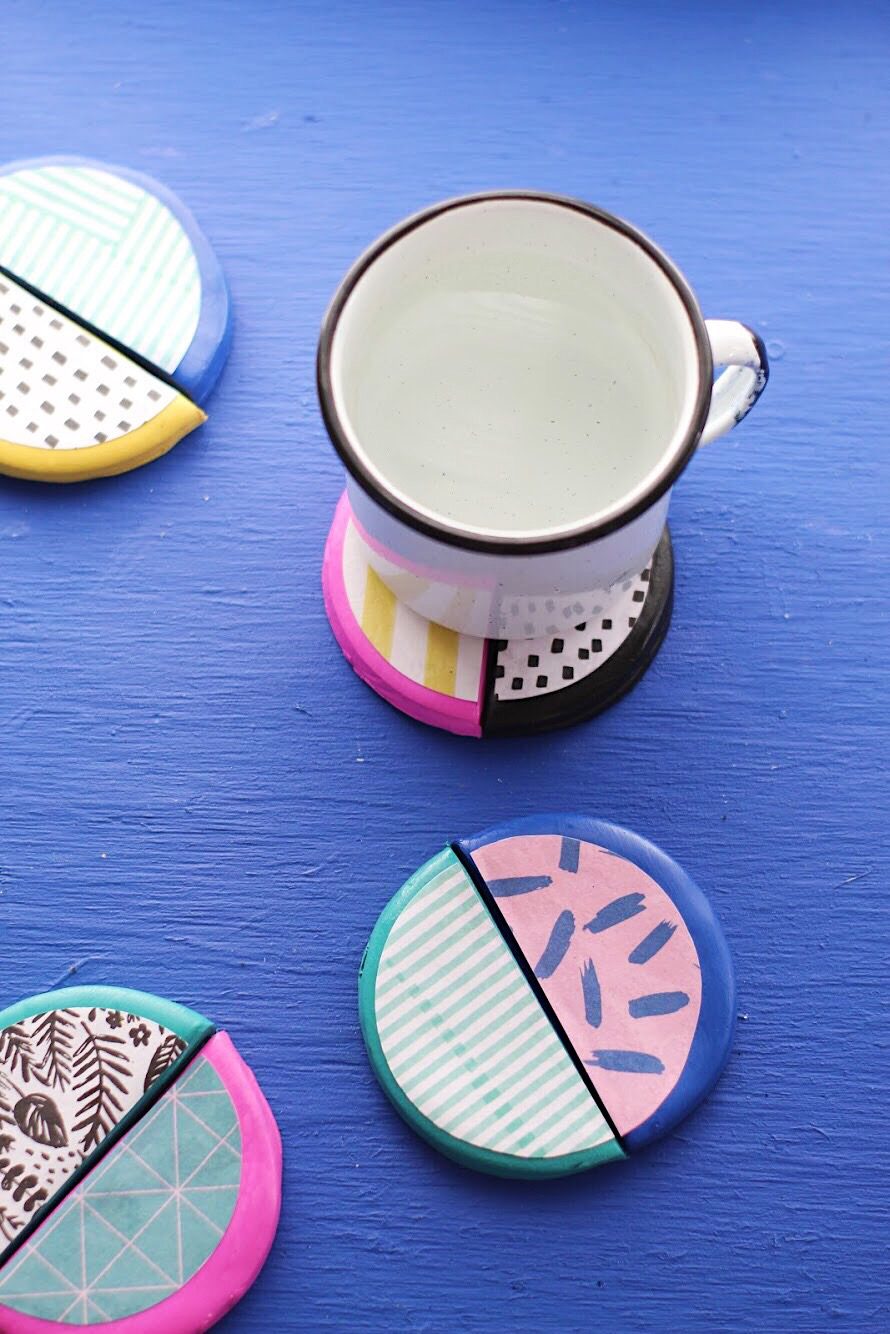
That’s it! Now you have the sassiest coasters out there!
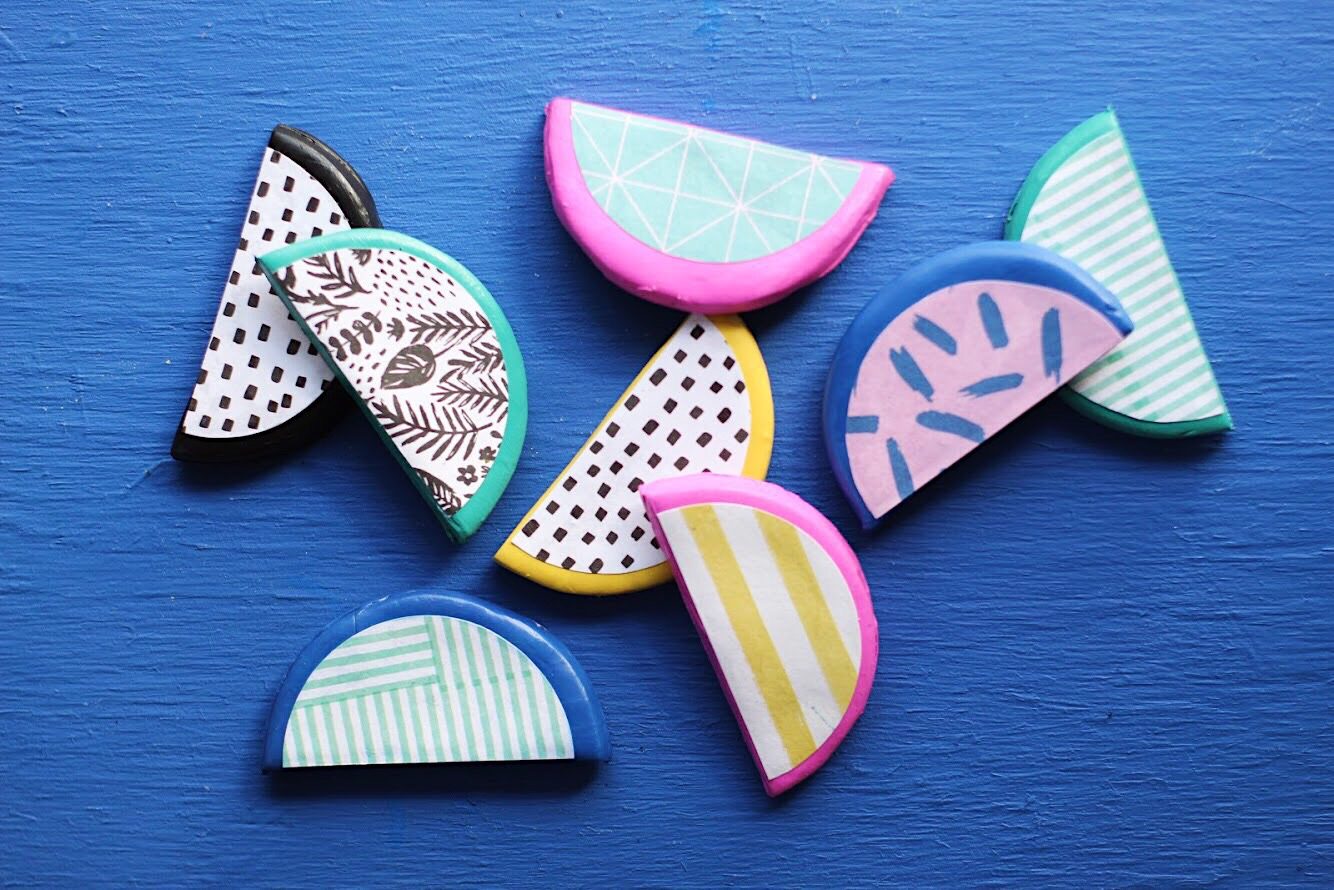
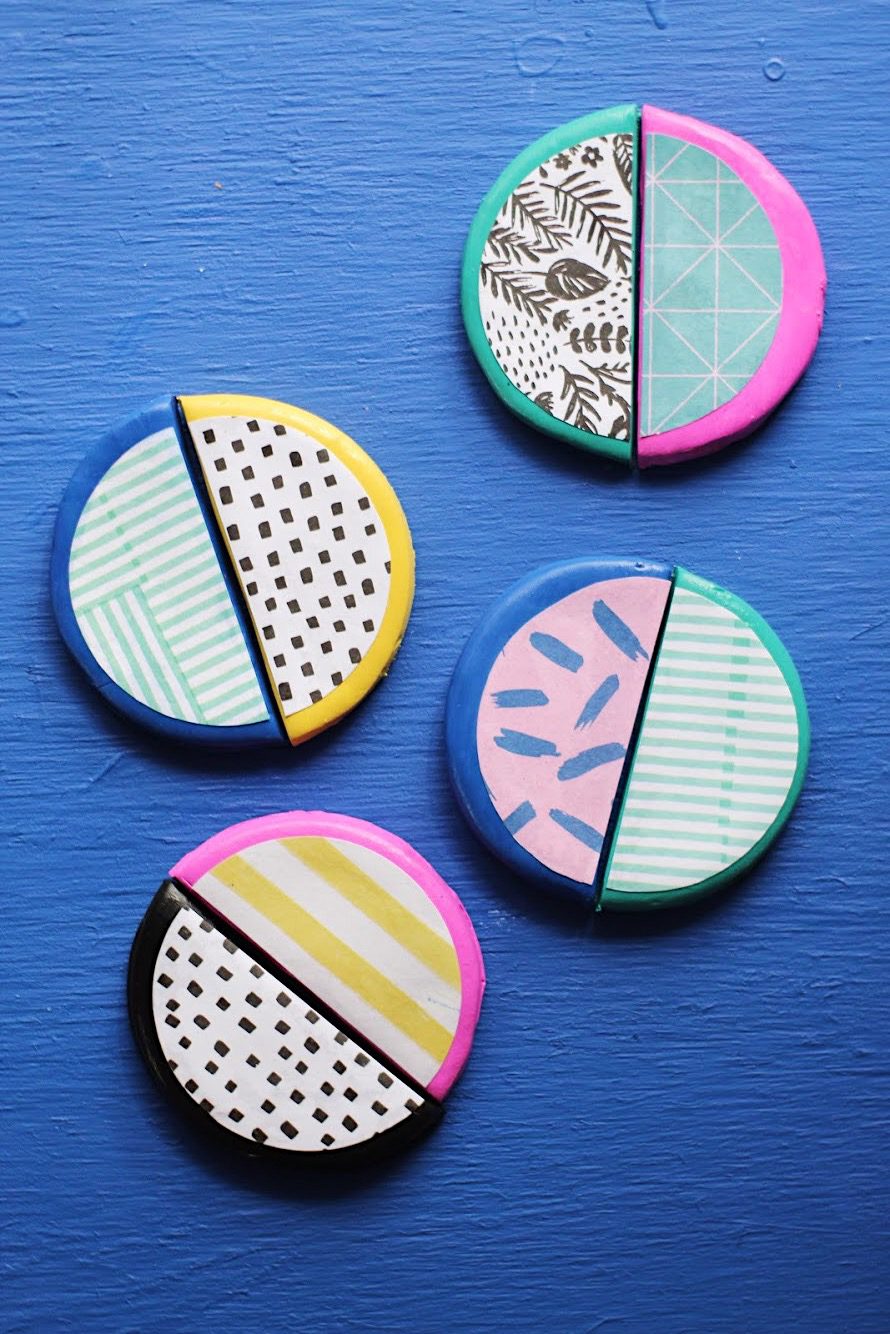
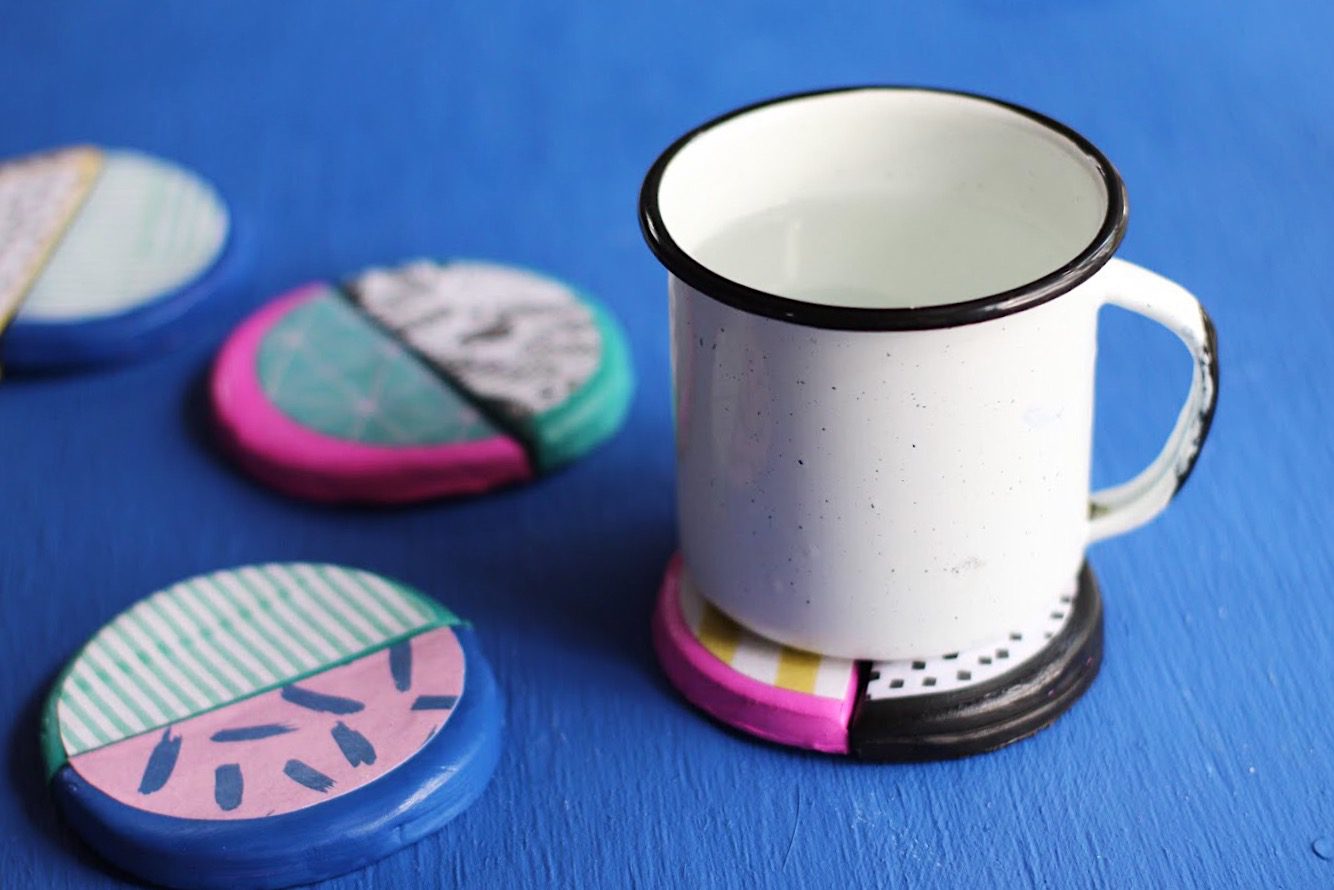
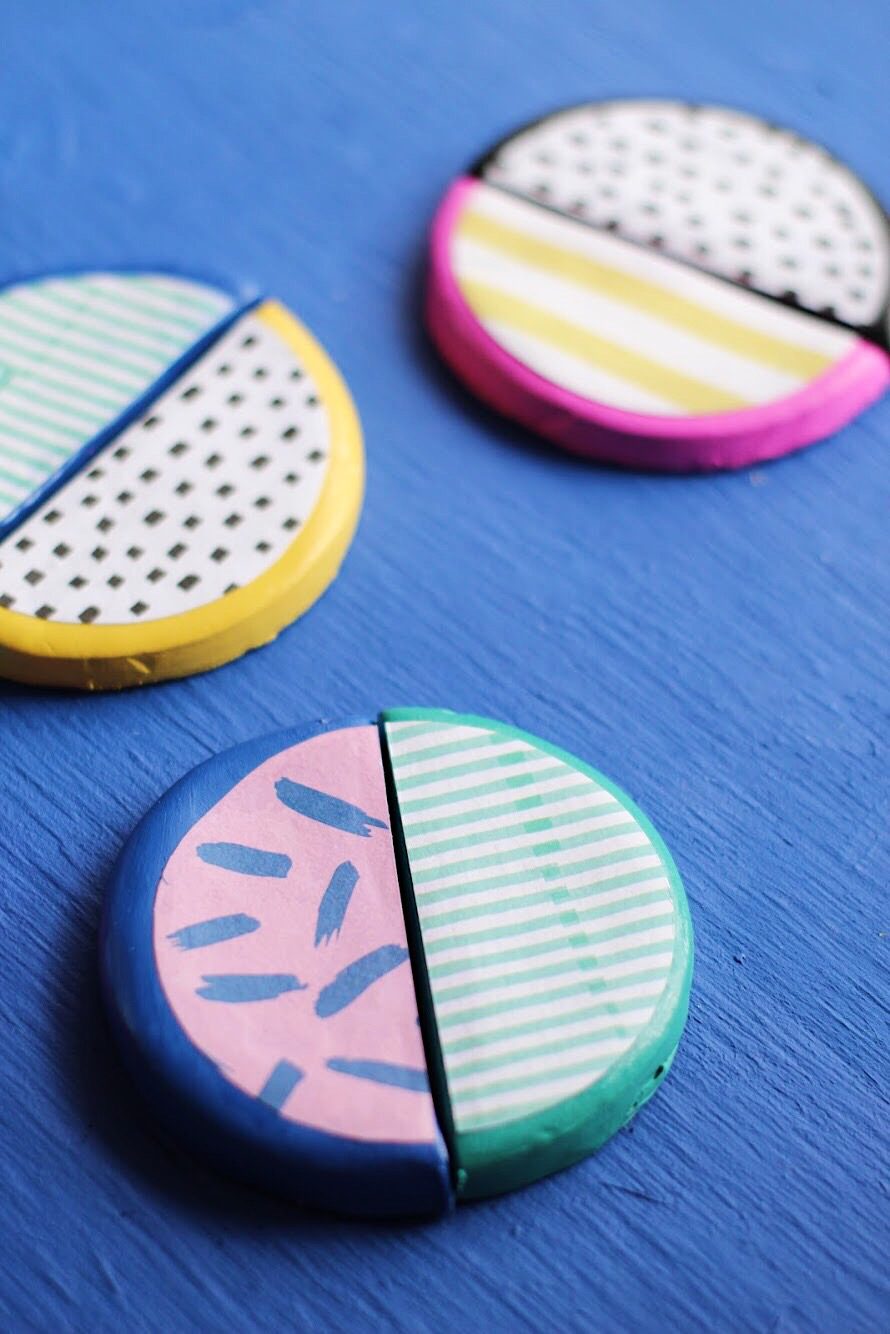
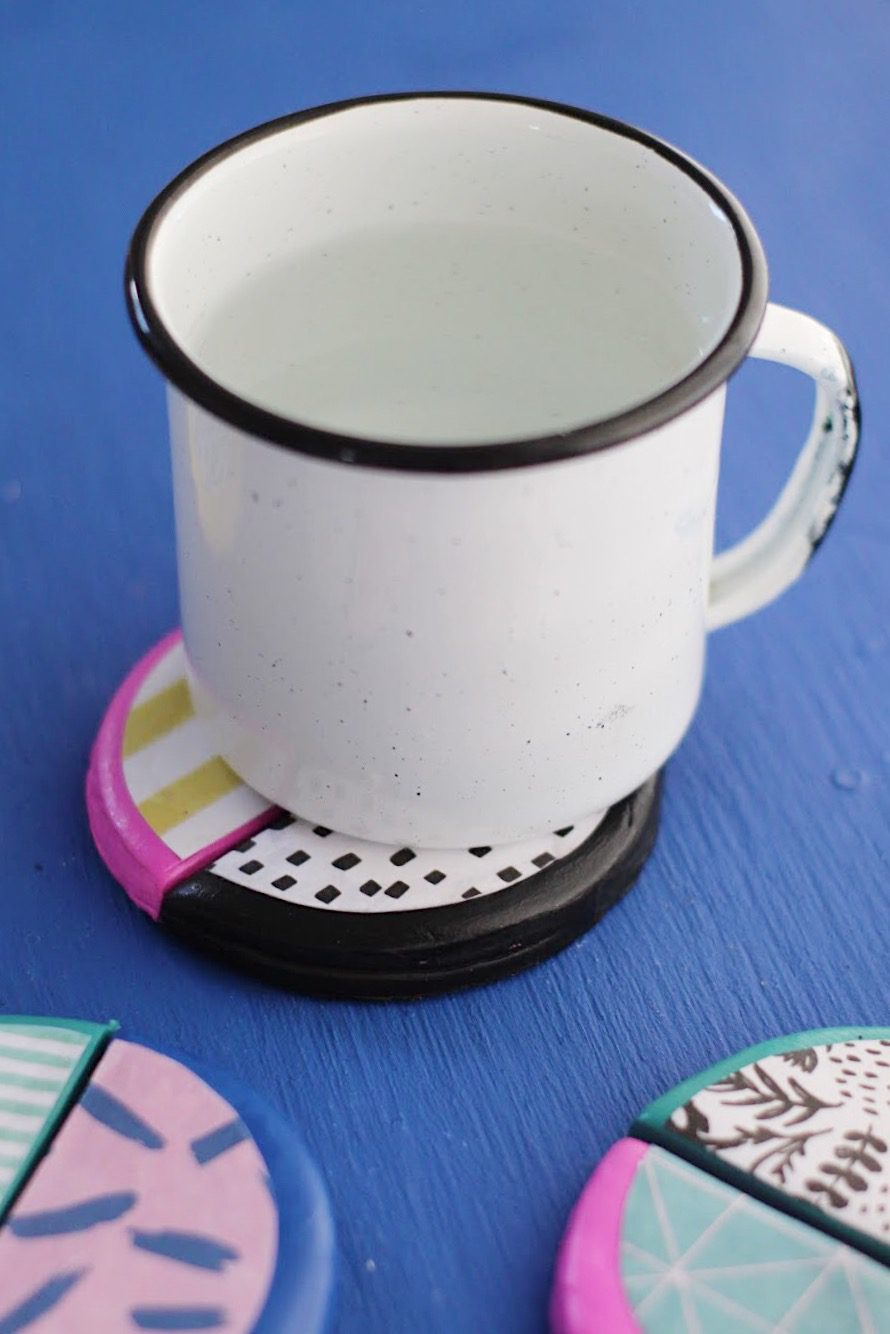
This project is great for a few reasons. First, I love making things with clay because you really get the feeling that you created something from nothing! Plus, the clay is a great medium for coasters because it has some heft and is super durable. Second, I love all of these patterns and colors on their own, but when they are put together they are even better! There are so many fun possibilities for mixing and matching them and they are going to make your drink look CUTE.
Using Mod Podge Ultra to attach the paper to the clay could not have been more slick. I didn’t even need a brush! Plus, since it’s water resistant I didn’t need any other products to protect it from moisture. It’s awesome.

What did you make this weekend? I’d love to hear! And for more ideas for using the new Mod Podge Ultra, be sure to follow Plaid Crafts on Facebook, Instagram, Pinterest, and via Email!
ox. Liz