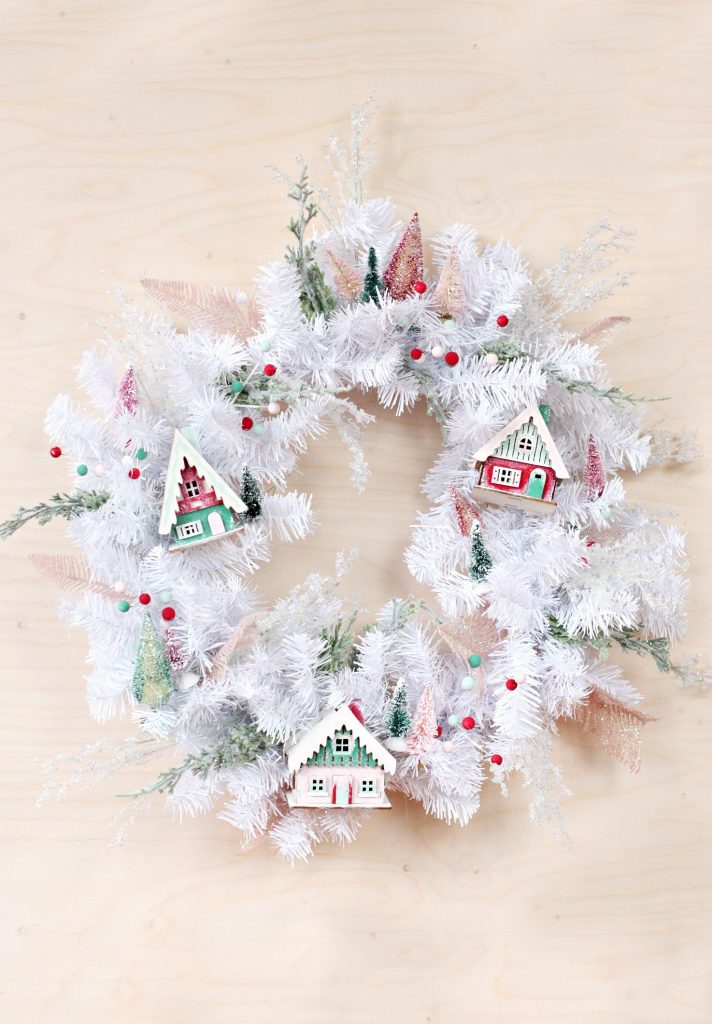


If you know me at all then you know that I am pretty staunch on my stance to not decorate for Christmas until after Thanksgiving. I’ll admit it’s not easy when I start seeing the fun decorations popping up in the stores, and my friend’s pretty trees going up on Instagram, but I’ve always been a Scrooge in this regard and I’m just stubborn enough to stick to it. However, that doesn’t mean that I don’t LOVE holiday crafting way before Christmas so that the second the last bite of pie is eaten on Thanksgiving I am ready to go full winter wonderland in my house. As a result, today I am sharing with you the ultimate Christmas wreath project that I have had the most fun putting together, this DIY Christmas village wreath!
I’ll admit that this project isn’t like most DIY projects on this blog. Generally we go for simple, quick, if-you-can-use-a-glue-stick-you-can-do-this kind of projects, but this one was a little different. While it is still totally something that anyone can do, it is a little more time intensive then most of our other projects. However, it’s only mid-November so you’ve got plenty of time to put some love into it. Plus, the payoff is SO worth it since you will have the most magical wreath welcoming friends to your house. Or, if you’re me, you will put all that time into it and then feel as though it needs to be put in a glass case that no one can touch cause it’s sooooo pretty and also it took forevs (clearly I have personal problems).
To add to the goodness, we used amazing products from our friends at Plaid Crafts to put this wreath together making every detail extra beautiful, and ensuring that the quality is amazing. Here’s how we did it:
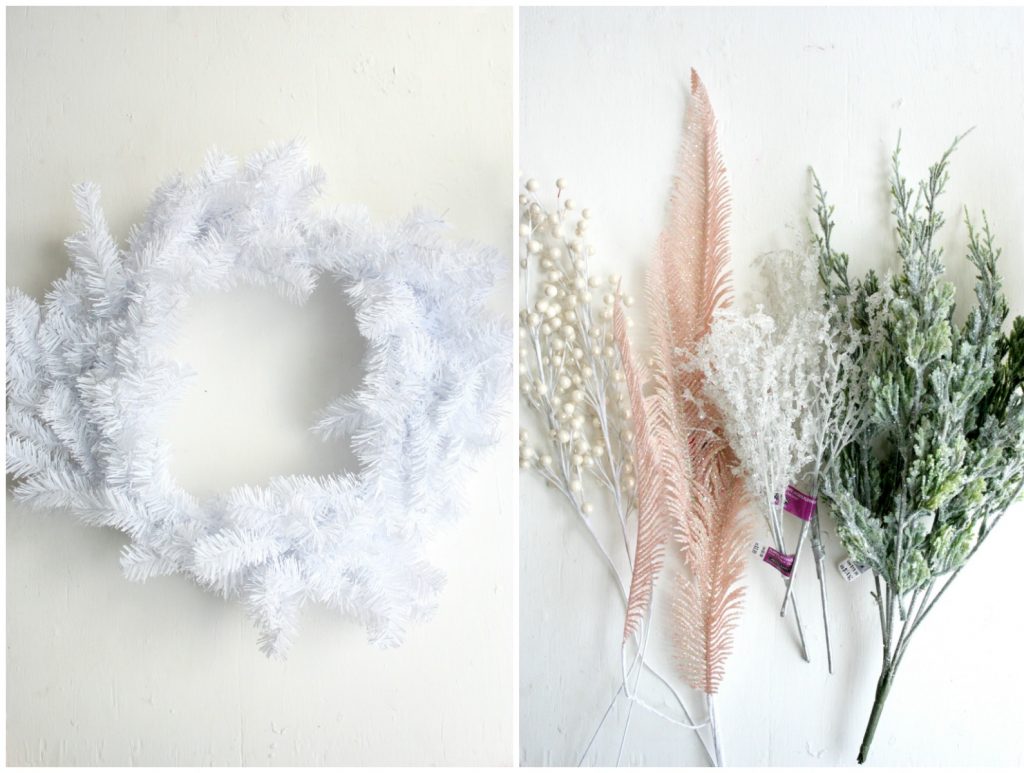

Supplies Needed
White Wreath (I found mine here)
White bottle brush trees (I found mine here or you can buy them dyed if you see them in the colors you need)
A variety of floral stems
Mini village house ornaments (I found mine here but you could also make them with cardboard)
FolkArt Milk Paint
Martha Stewart Crafts Multi-Surface Glitter Paint
Apple Barrel White Acrylic Paint
Floral Wire
Glue gun + glue sticks
Paint Brushes
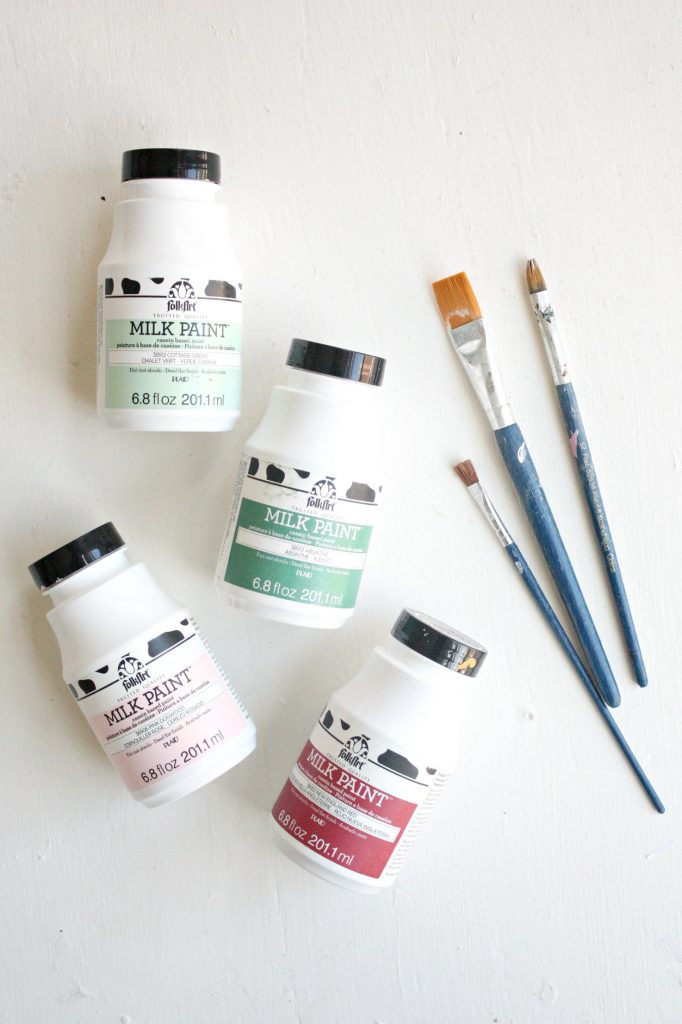

- First up, paint your houses. I loved using FolkArt Milk Paint when I made my dollhouse a few months ago because the color line is gorgeous and it finishes so beautifully on wood so I decided to use it again on this project.
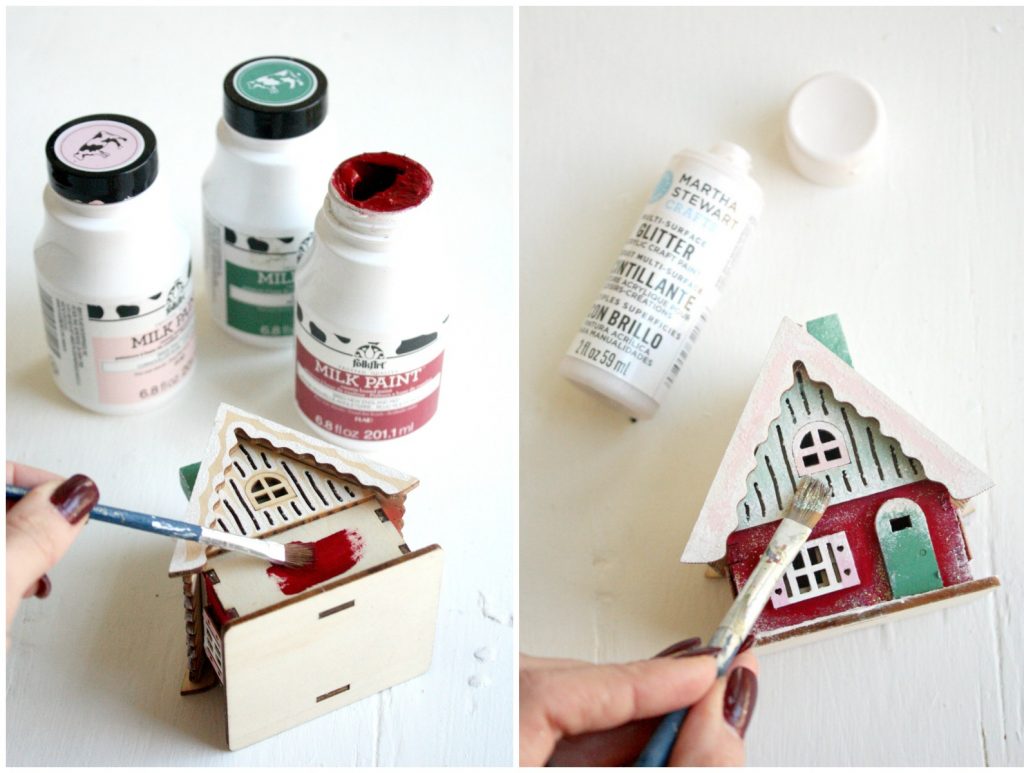

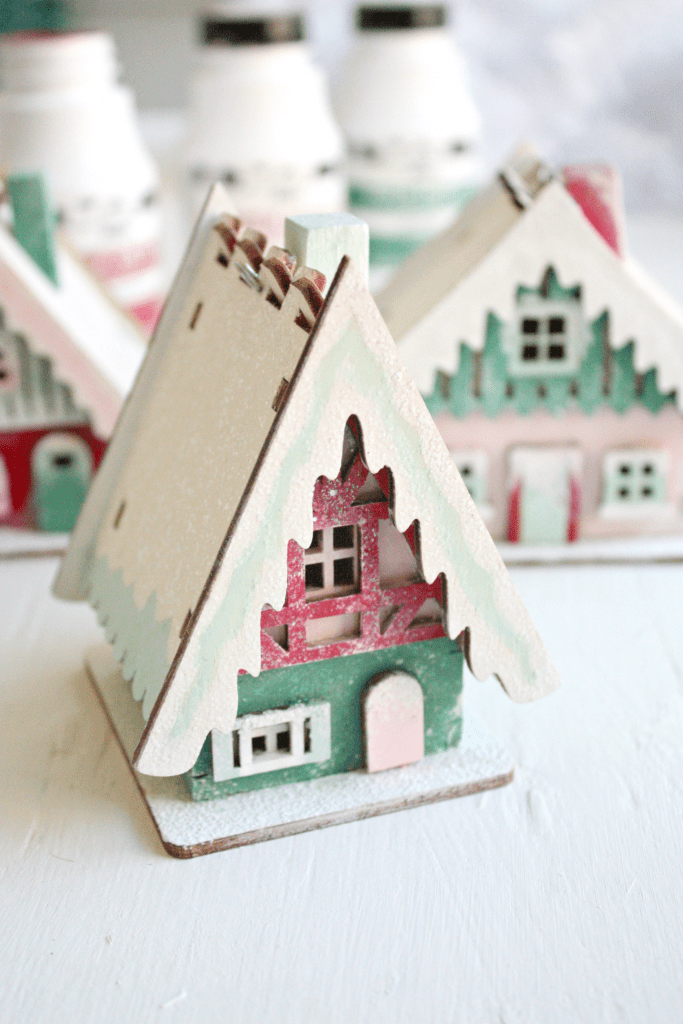
2. Once I let the color dry completely, I used a little dusting of white paint around the corners to look like snow. Then, to make them extra magical, I used Martha Stewart Craft’s Multi-Surface Glitter paint to add some glittery details.
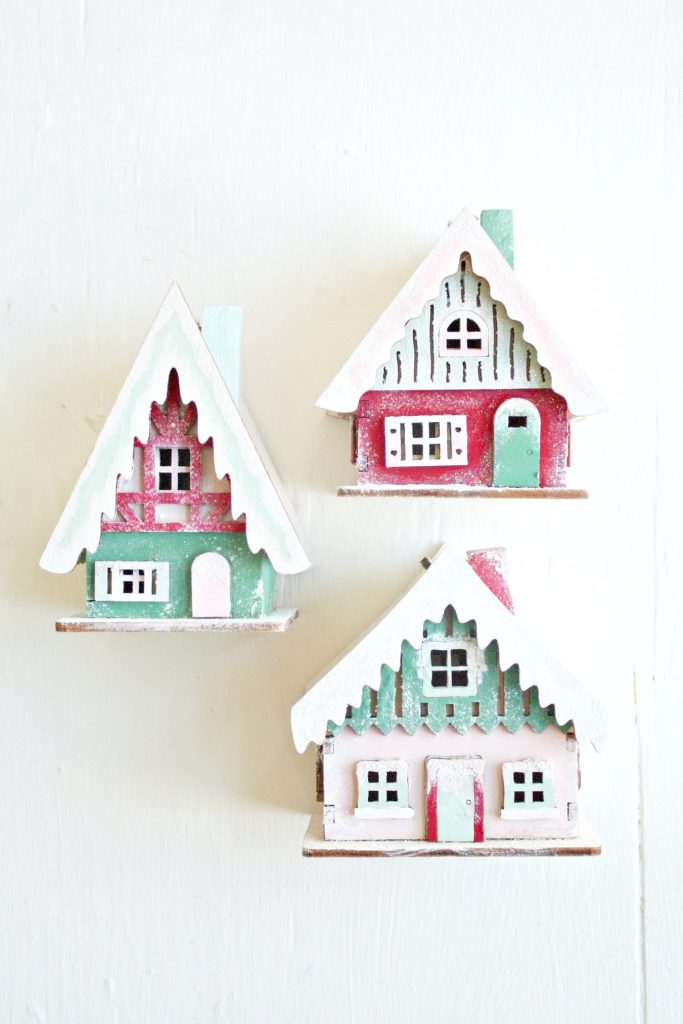

I mean, after seeing how darling these houses turned out I almost decided to ditch the wreath project altogether and go with making a little village instead! Aren’t they so cute? I’m ready to move in!

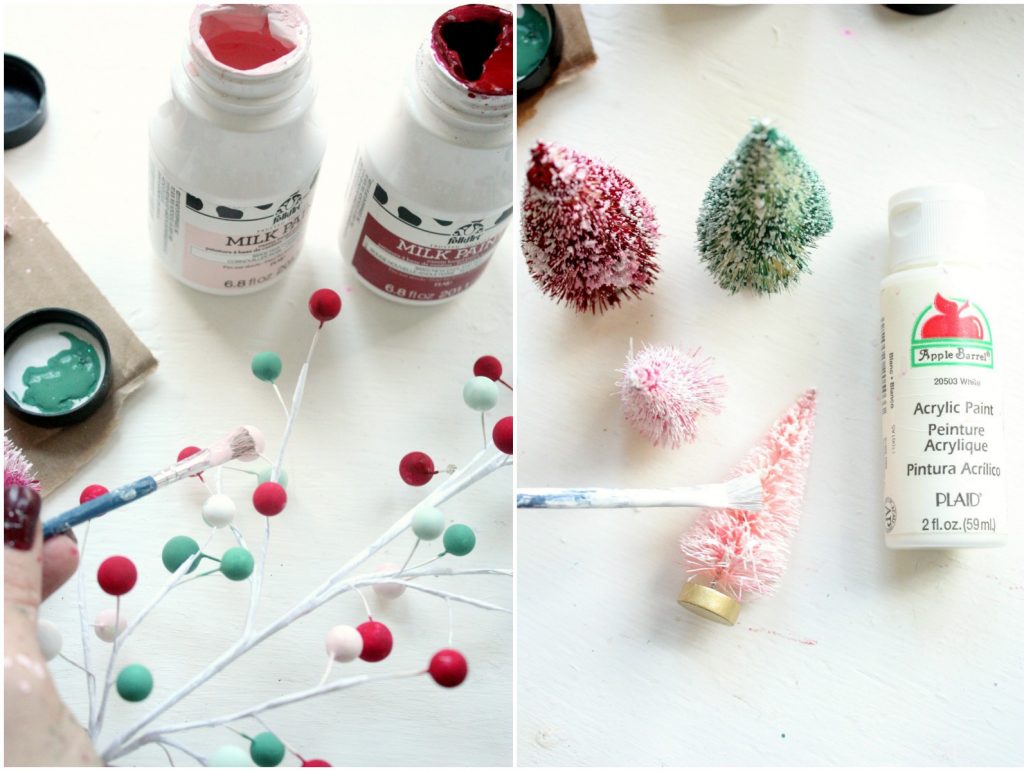
3. Once the houses were complete it was time to add some details to the wreath. I purchased some white berry stems that I wanted to coordinate with the houses, so I decided to paint the berries with the FolkArt Milk Paint as well so that they would match perfectly. Plus, this gave them a matte finish which I love.
4. Next, it was time to make a bottle brush forest. Again, I wanted my trees to match the color palette of my houses so I purchased some white bottle brush trees that hadn’t been dyed. To make them colorful I covered them completely with FolkArt Milk Paint and let them dry completely. Once they were dry, I used my Apple Barrel Acrylic Paint to blot the edges of the branches and create a flocked finish. I found that using acrylic paint worked best because it was a little thicker than the Milk Paint.

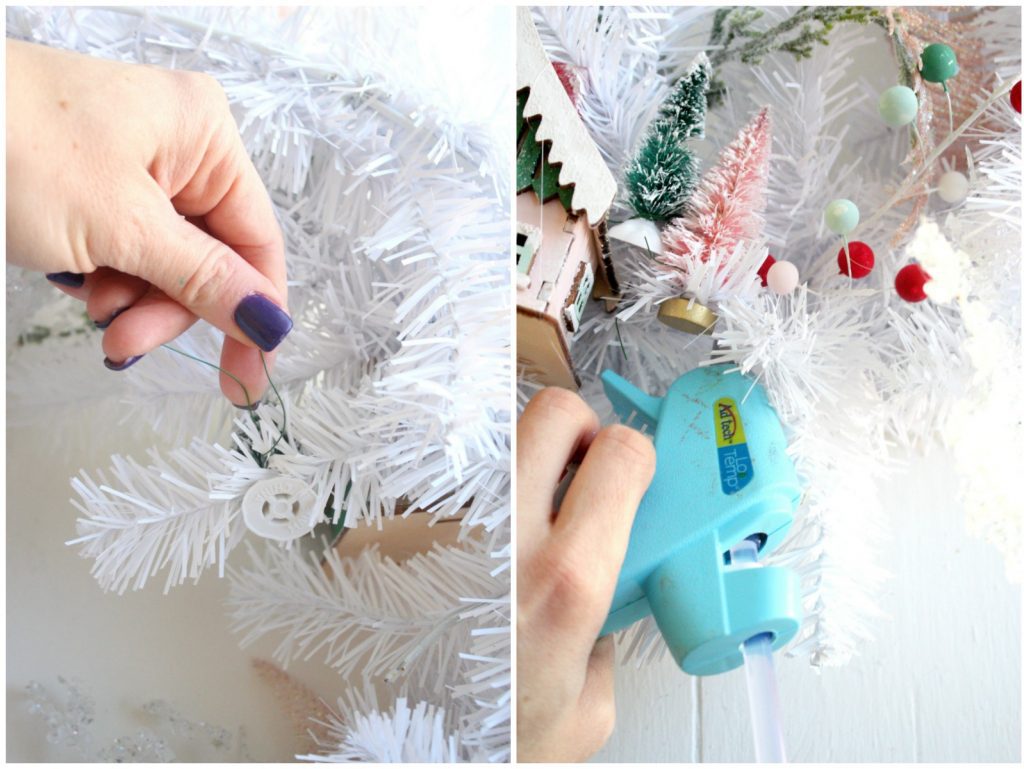
5. Once all of your painted pieces have dried completely it’s time to attach them to your wreath! I laid all of the pieces on top of the wreath prior to attaching them to make sure everything was evenly dispersed and there were no bald spots. Then, I used floral wire to attach everything to the tree, securing it in the back. I also used a glue gun in certain spots to make sure everything was good and stuck.

Phew! We did it! And now we have the most dreamy winter wreath, perfect for bringing the magical feelings of the holidays right to your front door.
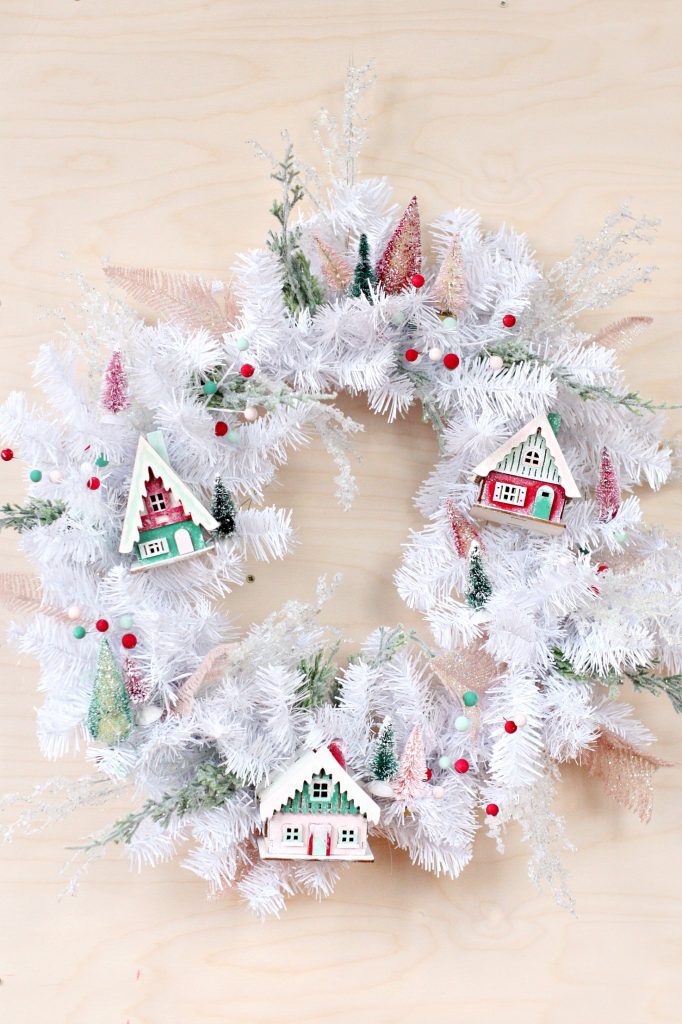



Don’t you love all of those fun details on the houses? Plus, the coordinating trees and berries make it so unique. I have a feeling Santa’s gonna be super into it. I mean, hanging a beautiful handmade wreath like this in your house clearly shows that you have been a good girl.






What fun holiday projects are you working on to get your house ready? I’d love to hear about them! And be sure to follow Plaid on Facebook, Instagram, Pinterest, and via Email as they celebrate 40 years of crafting with their incredible products!
ox. Liz
And be sure to check out the other wreath projects for lots of holiday inspiration from the rest of the Plaid Creators:


You wreath turn out amazing.
http://www.amysfashionblog.com/blog-home/
So cute! I also totally refuse to decorate until after Thanksgiving. Once when I was in middle school, my family didn’t even put our tree up until Christmas Eve! We always leave things up through Epiphany, though, so we still get plenty of use from them. =)
[…] Christmas Village Wreath: https://prettylifegirls.com/2016/11/christmas-village-wreat.html Floral Christmas Tree: http://littleinspiration.com/2016/11/diy-floral-christmas-tree.html Gold […]
[…] Christmas Village Wreath […]
[…] Christmas Village Wreath […]