These DIY Citronella Candles were originally published July 2016
and updated as of May 2022.
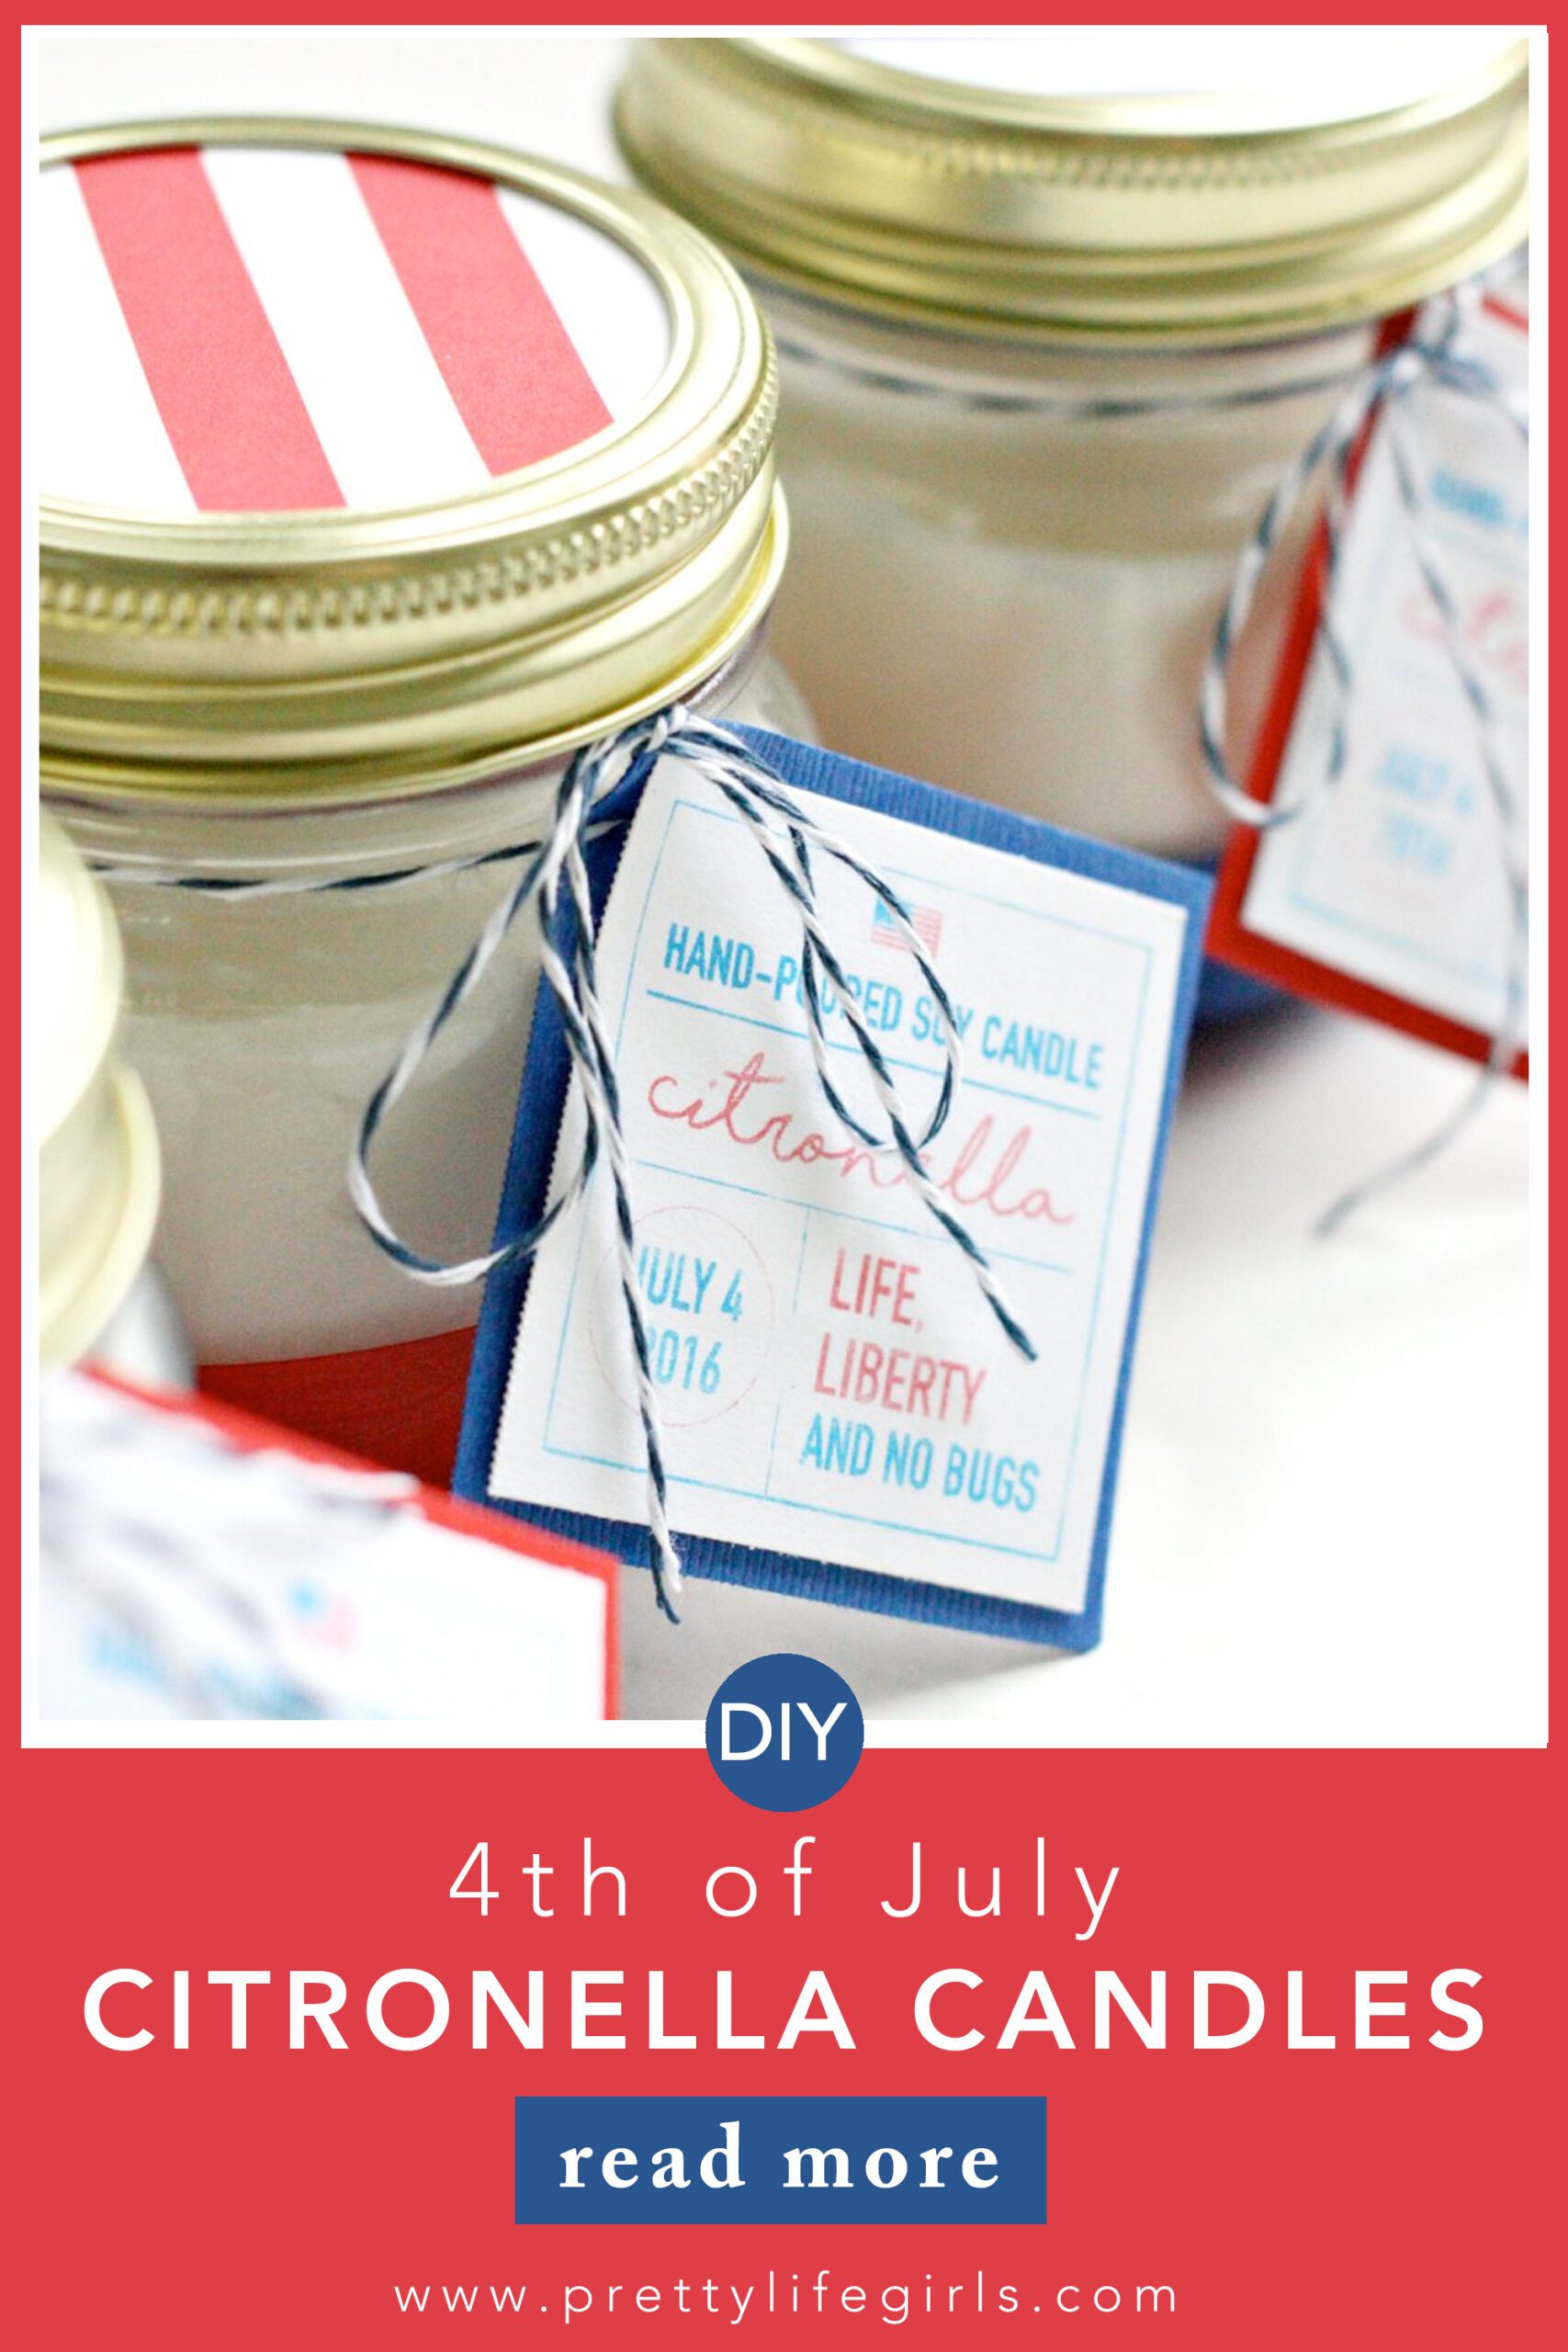
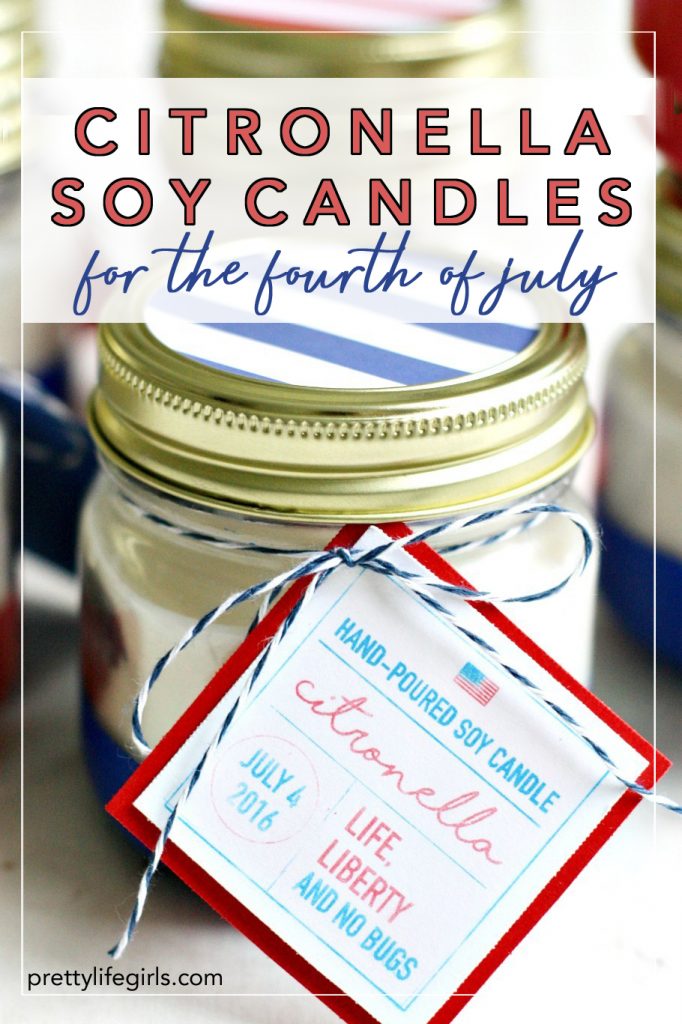
The 4th of July is coming up which means lots of family and friends getting together! This holiday really gives Christmas a run for its money, if you ask me. Warm weather, grilled food, the people you love, it doesn’t get better! As part of this fun holiday I love the idea of having little favors that guests can take home to remember the day. So, today I’m sharing the perfect favor with a mix of practical and adorable for the 4th: DIY Citronella Candles! These would be so fun to make on a craft night with friends or a mom’s night out, and will look adorable on the patios of your 4th of July visitors. Here’s how we did it:
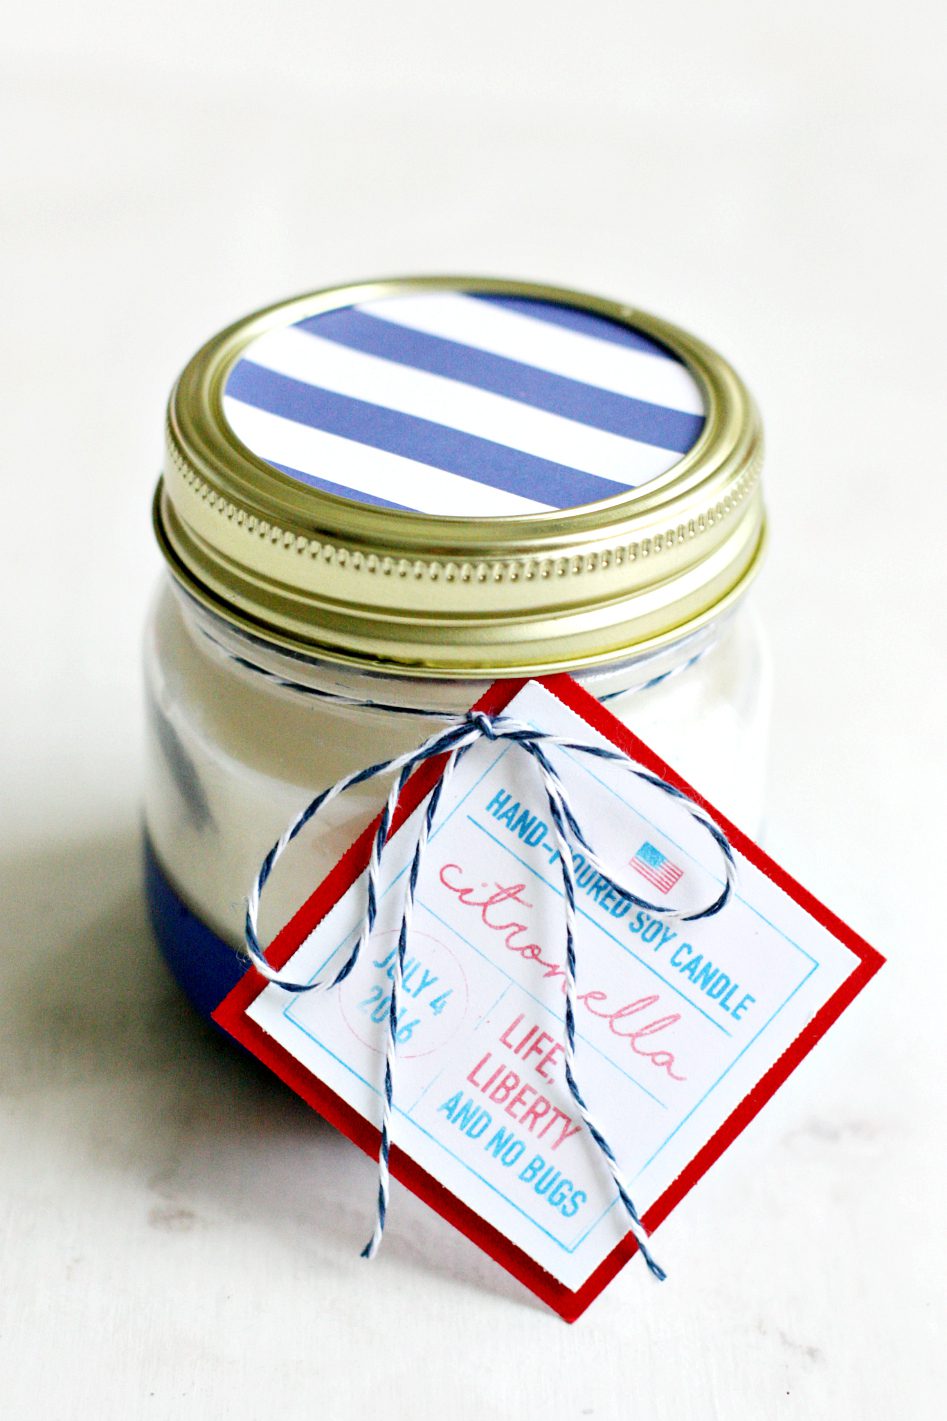

Supplies needed to make DIY Citronella Candles
Scotch® Brand Multitask Tape
Soy candle wax
Citronella essential oil
Candle wick with fastener
Mason jars
Scotch® Brand Permanent Mounting Tape
Scotch® Brand Mounting Squares
Paint + brush
Cardstock
Decorative Stamp
Baker’s twine


How to make DIY Citronella Candles
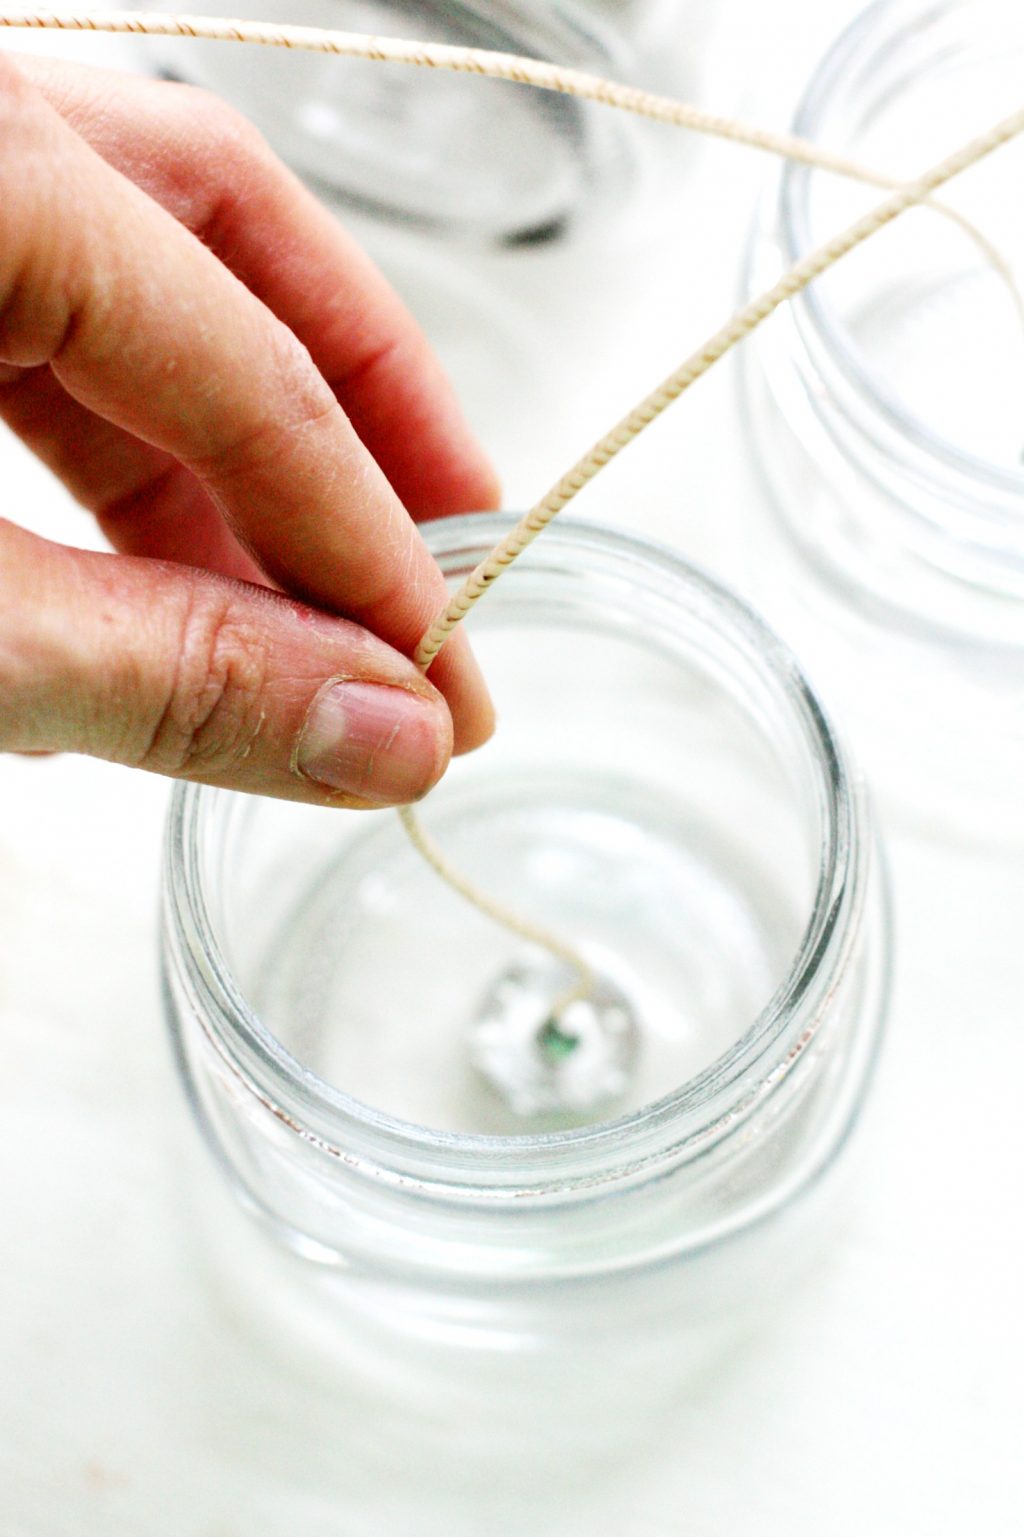
Step 1. Using your Scotch® Brand Multitask Tape, secure your wick to the bottoms of your jars.

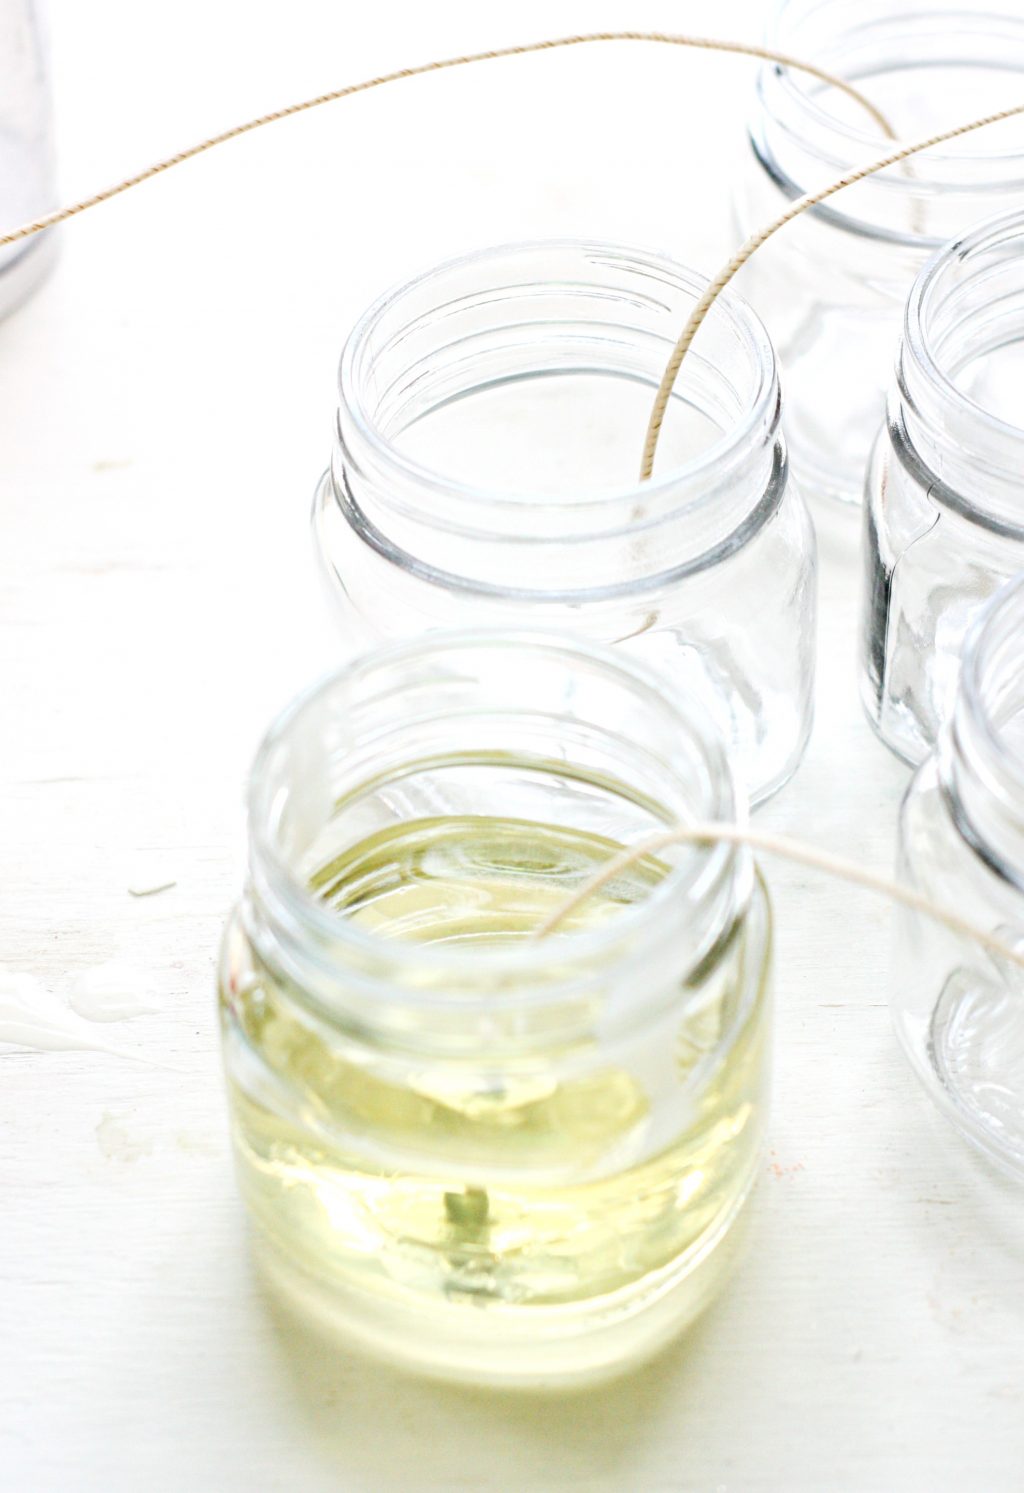
Step 2. Using a double boiler (or pan within a pan like I did), melt your candle wax. This happens relatively quickly and the wax will look similar to olive oil. Once it is completely melted, add 15-20 drops of oil. (I wanted my candles to be really strong so I went with around 20.)


Step 3. Pour melted wax into jars and let set until completely hardened. Once they have hardened you may have wax on the sides of your candles. I found it was very easy to remove by scraping with a plastic knife and then wiping clean with Goo Gone or glass cleaner.

Step 4. While your wax is hardening, make your tags! I was able to make these custom stamps with my Silhouette Mint machine! The stamps are so amazing because they can be inked once and then used over 50 times making the task of creating gorgeous custom tags SO easy.
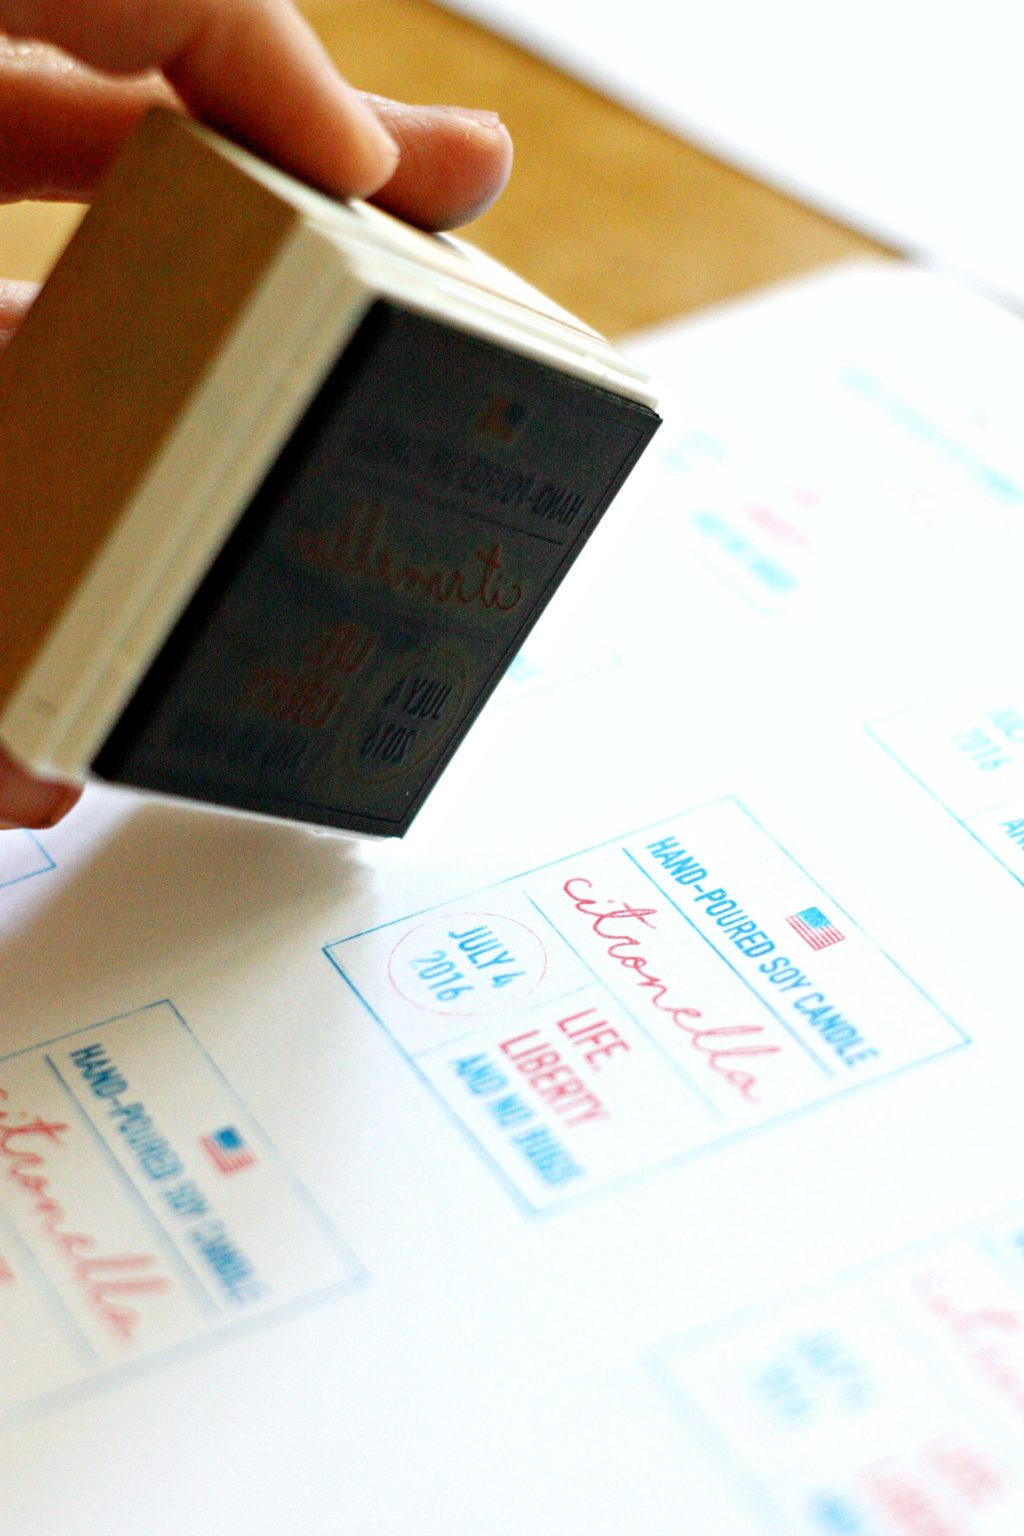

Step 5. Cut out your stamps and affix to cardstock using Scotch® Brand Mounting Squares. I love using these squares for gift tags because it gives them a little dimension instead of gluing them flat to the paper. Plus, they are completely mess free!
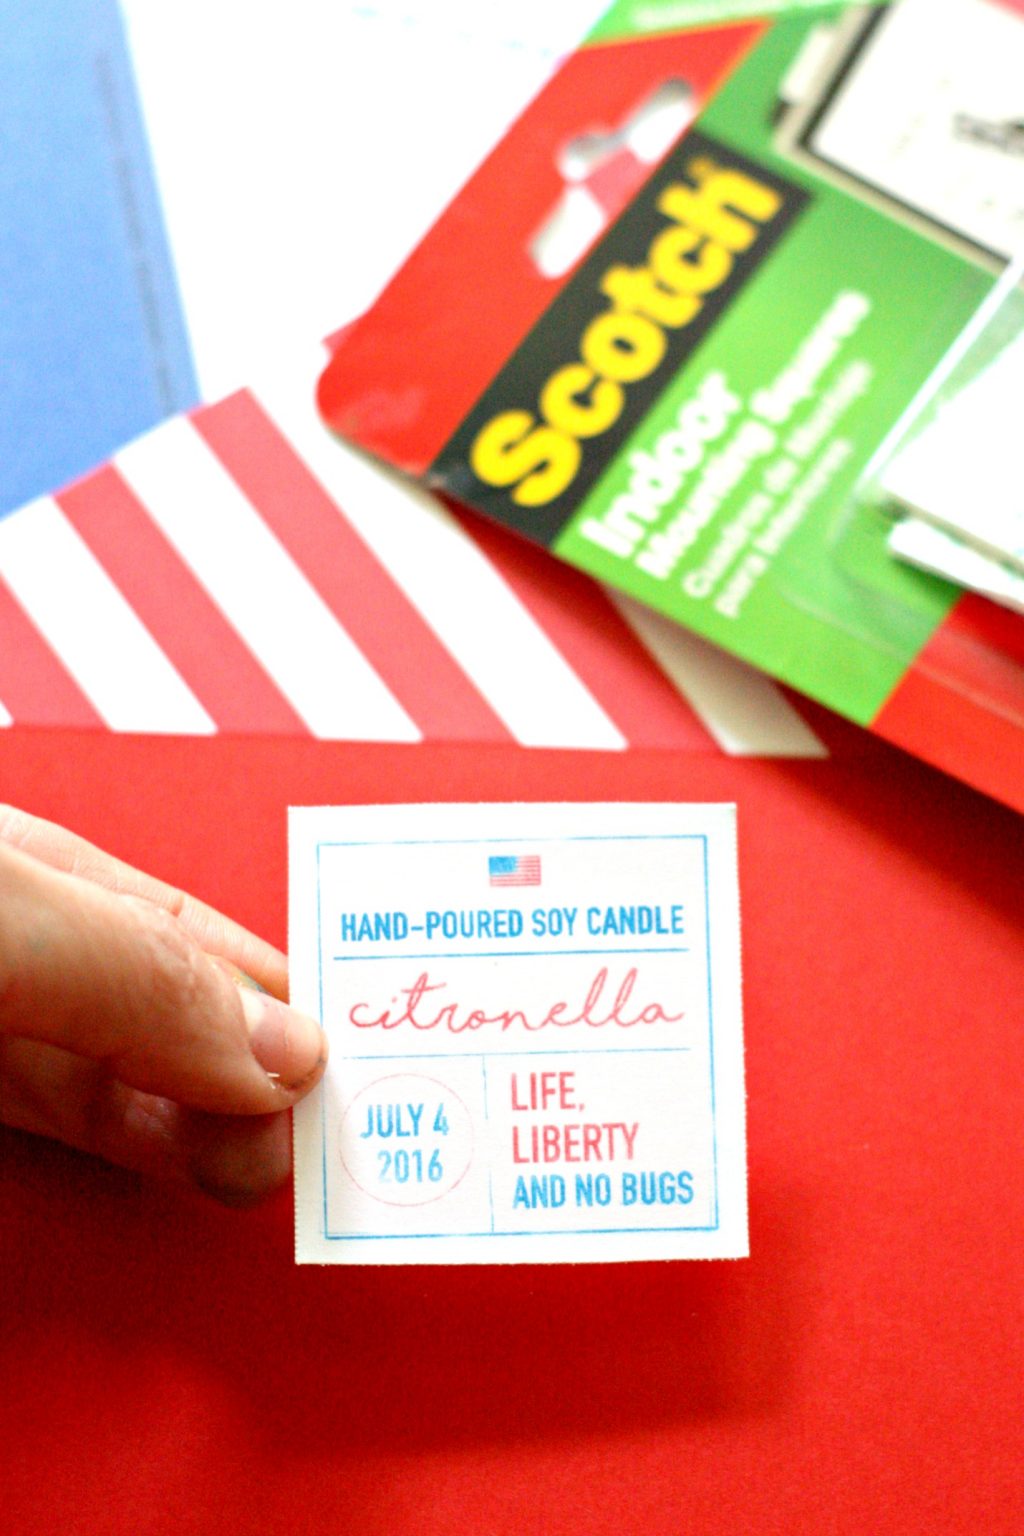

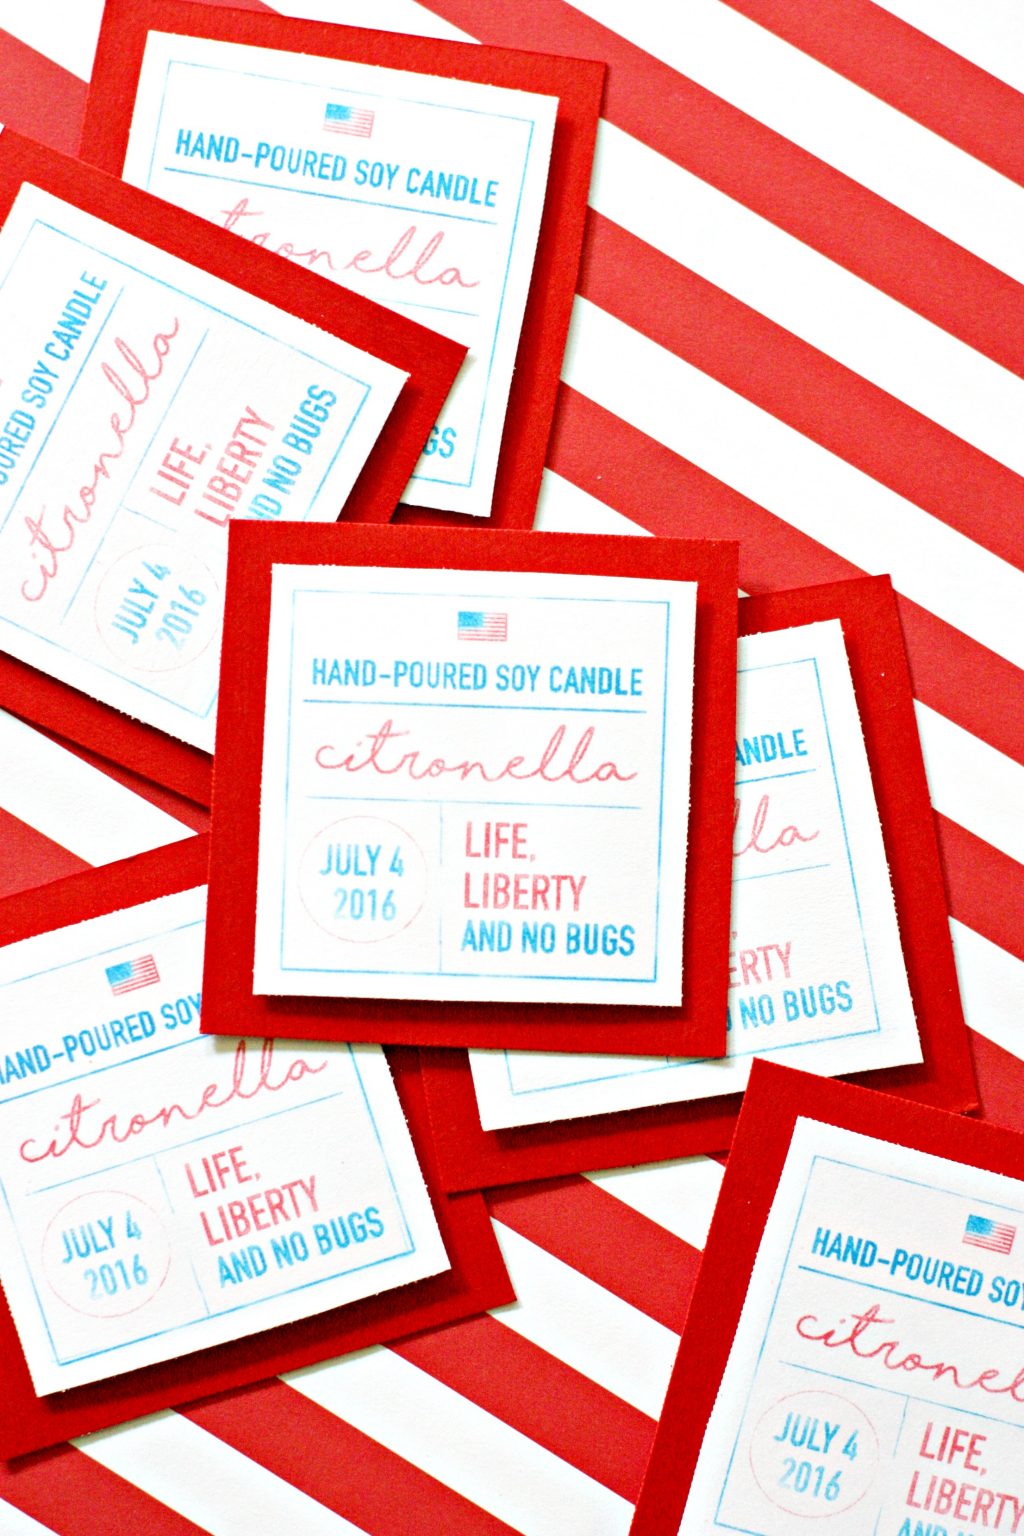
Step 6. Once all of your stamps have been affixed to your cardstock, cut them out, and punch a small hole for stringing.

Step 7. Now that your candles are set and your tags are made it’s time to dip your jars! To do this, simply tape off your jars and paint the bottoms. (We love FolkArt paint!) Then, let dry completely.


Step 8. Another fun touch that makes these candles adorable is the fun lids. To do this, cut out some 4th themed craft paper in the same shape as your jar lid and affix with Scotch® Brand Permanent Mounting Tape.
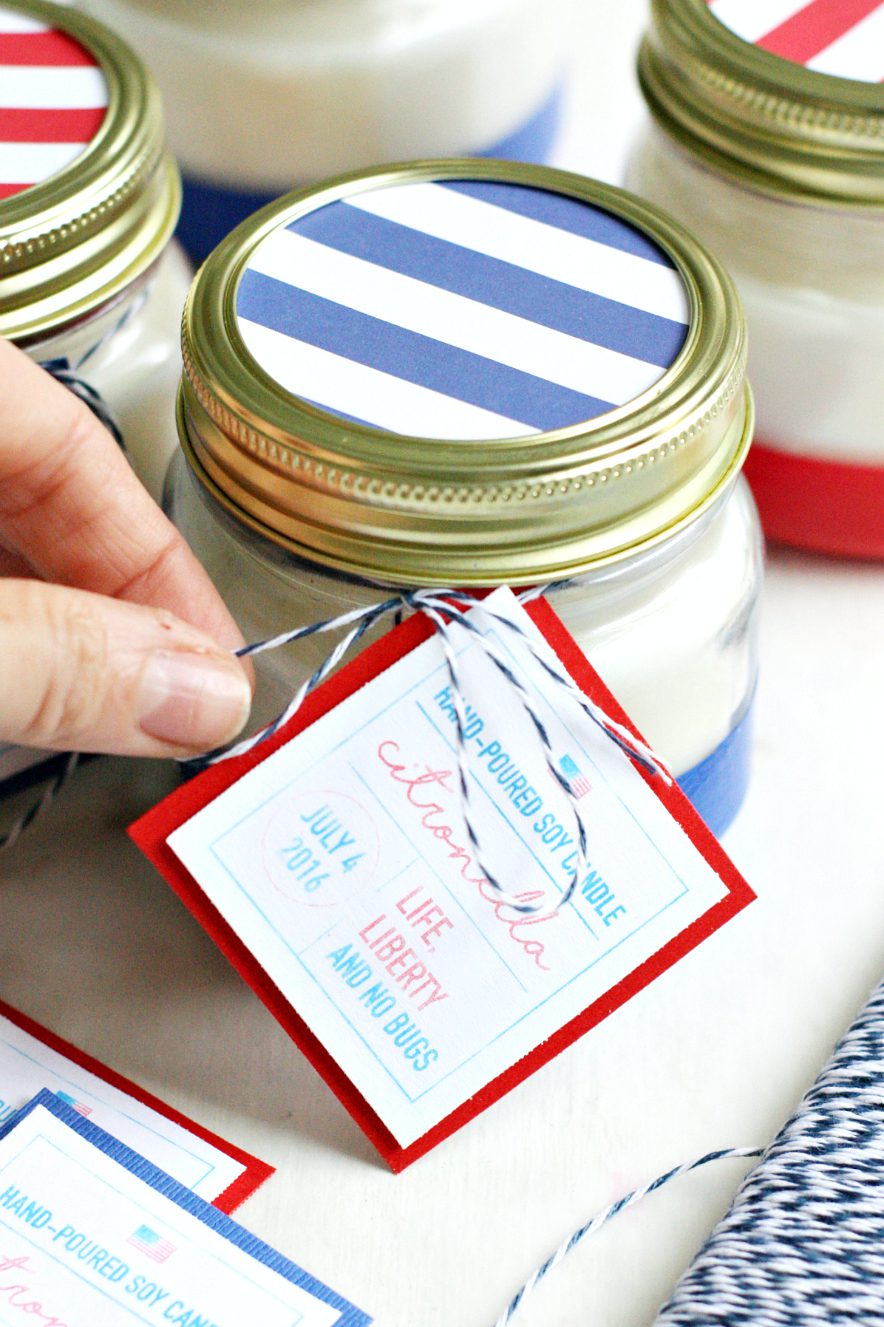

Step 9. Lastly, attach your tags with some baker’s twine and you’re done!
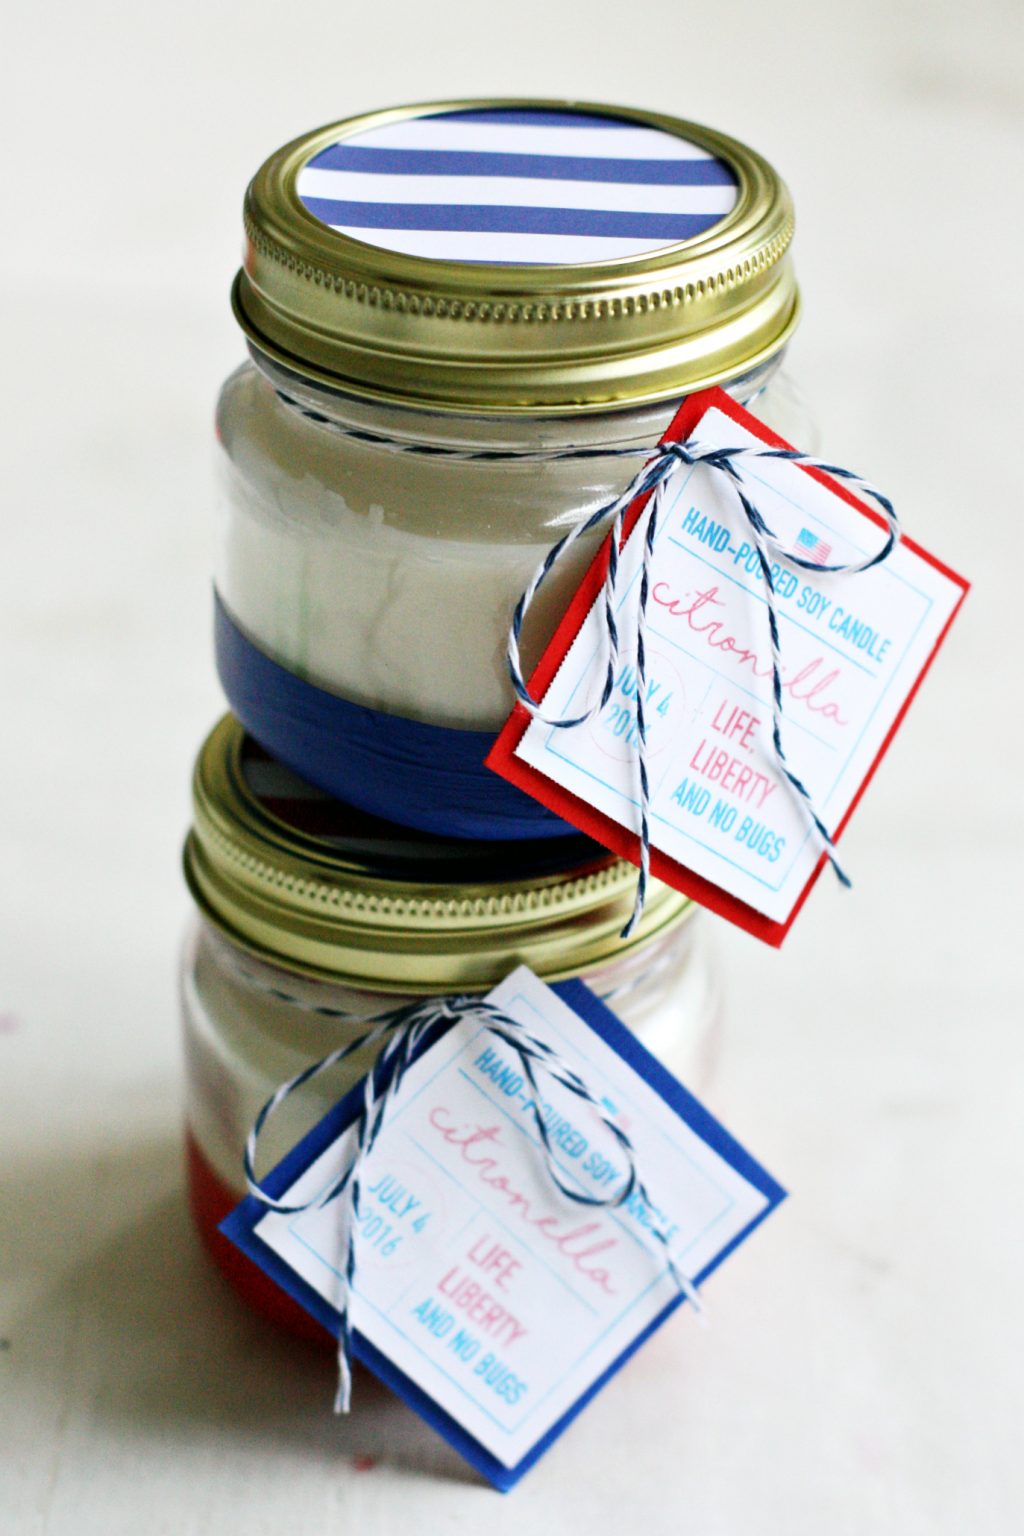

What a darling way to keep away the bugs and make your 4th of July guests feel the love! I’m such a fan of the smell of Citronella and think it is such quintessential summer scent.
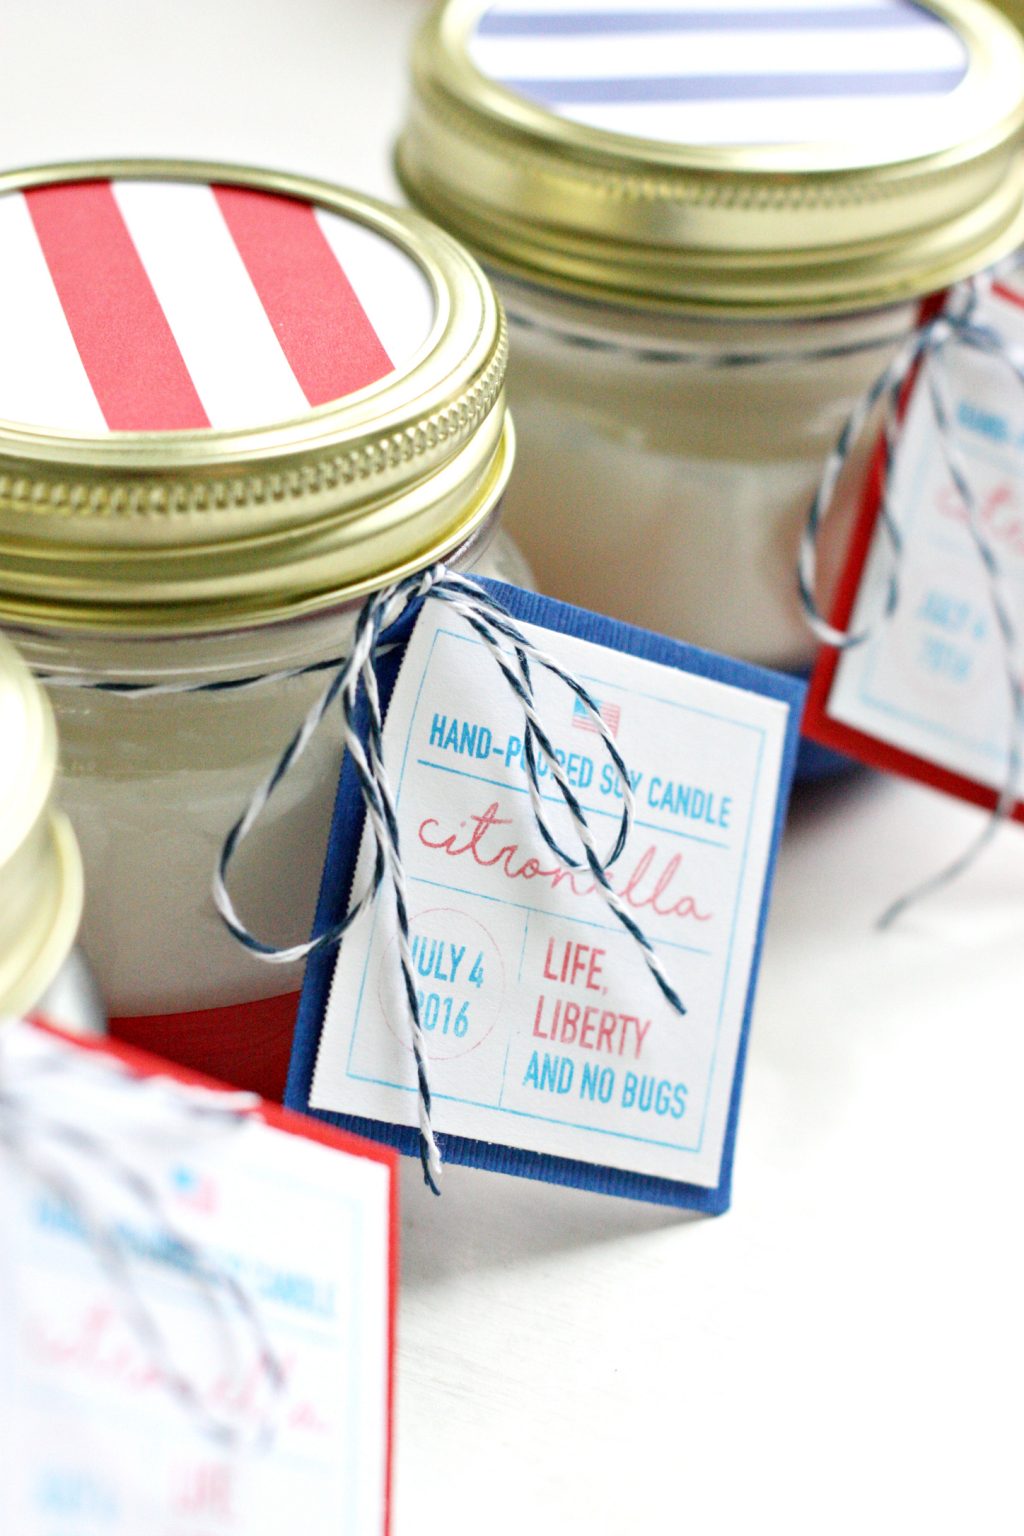

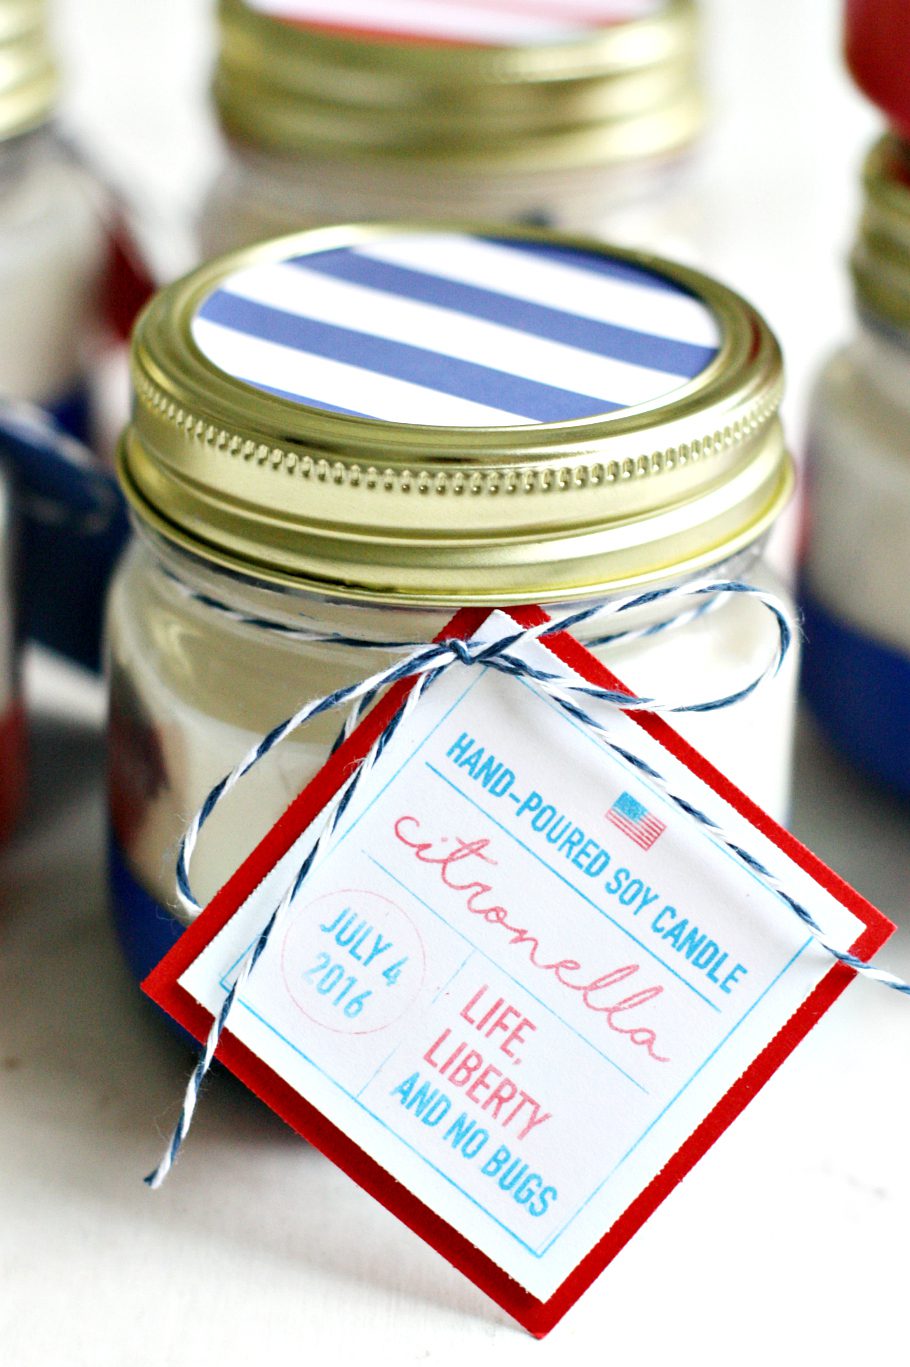


Happy crafting!
ox. Liz


What a great idea! I use essential oils too and have yet to make a candle. I will pin this for later, as I need this in my life. 🙂 Also, love that stamp! #client
These are so adorable! I live making my own candles, and citronella is a must around here for outdoor parties!
Hmm, do you think these would still work if I used an off brand of tape?
[…] – Soy Citronella Candles (tutorial rom Pretty Life Girls), with packaging in paint-dipped jars for the 4th of […]
[…] Make and pour your candles. For a step by step guide to doing these, we recommend heading back to this post where we made candles. However, instead of the citronella essential oils like we used in that post, […]
[…] DIY Soy Citronella Candles for the 4th of July: We love these festive citronella candles that are perfect for 4th of July decor or to give as gifts for your guests! Plus, they use real citronella oil so they will keep the bugs away so you can celebrate outside, bug free! […]
[…] Citronella Soy Candle […]