


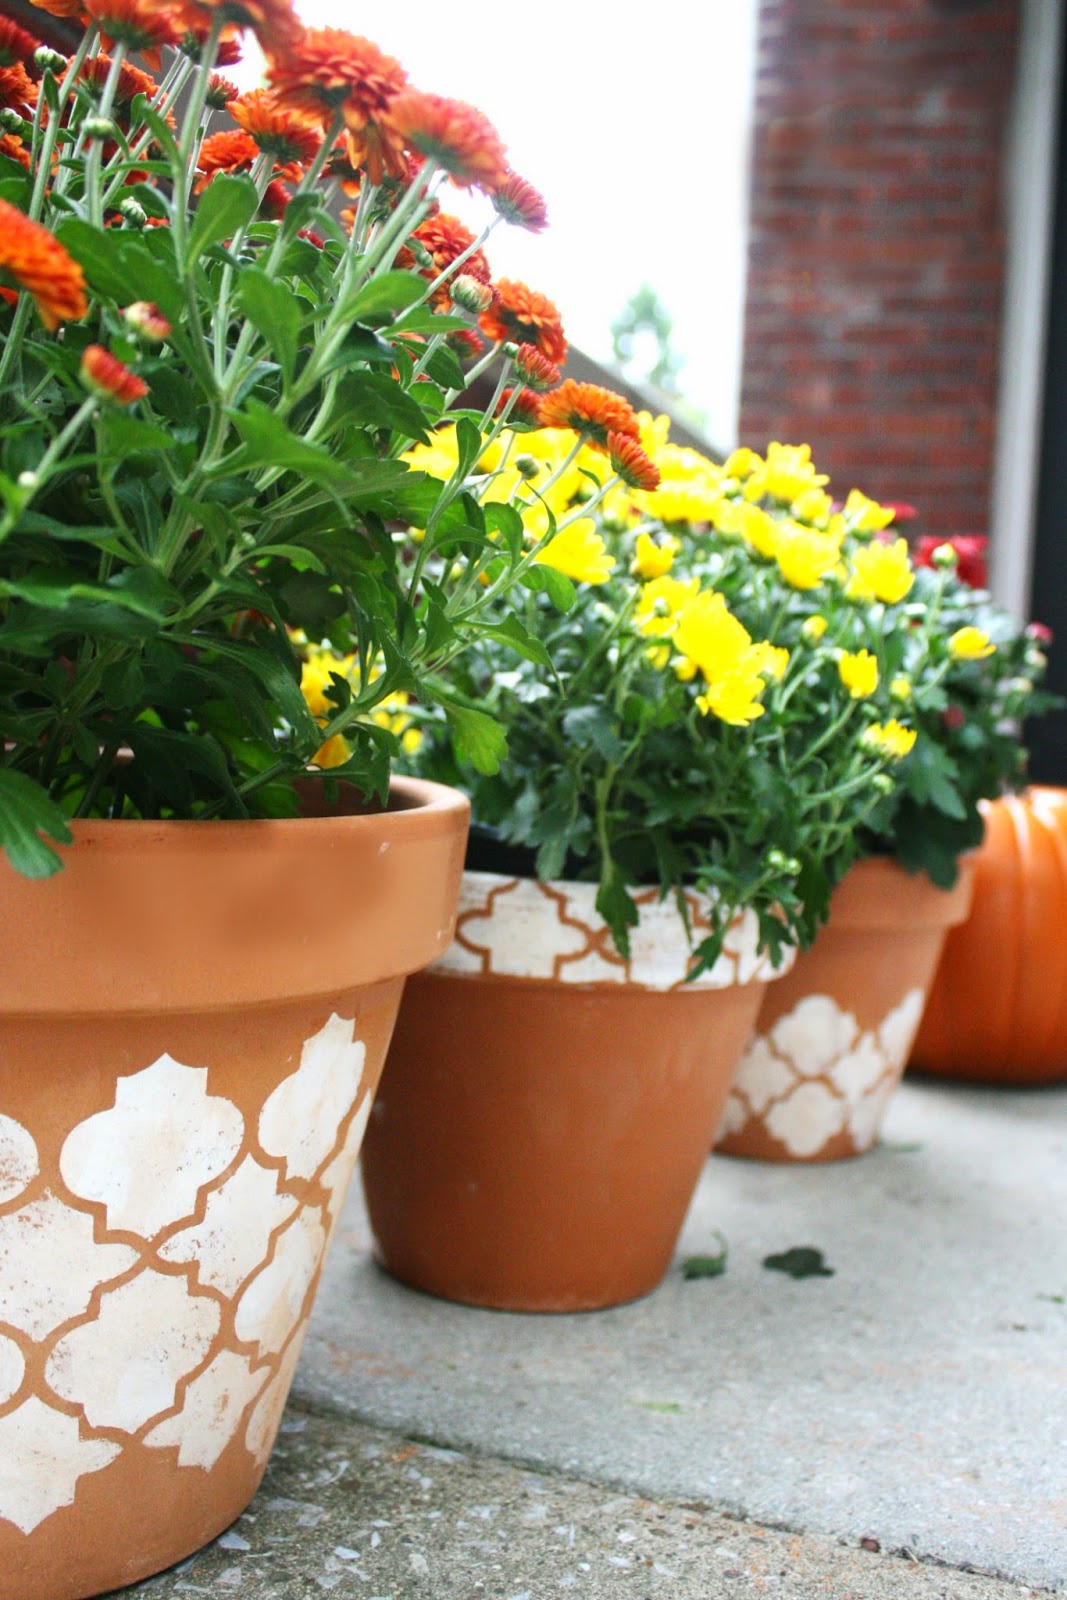
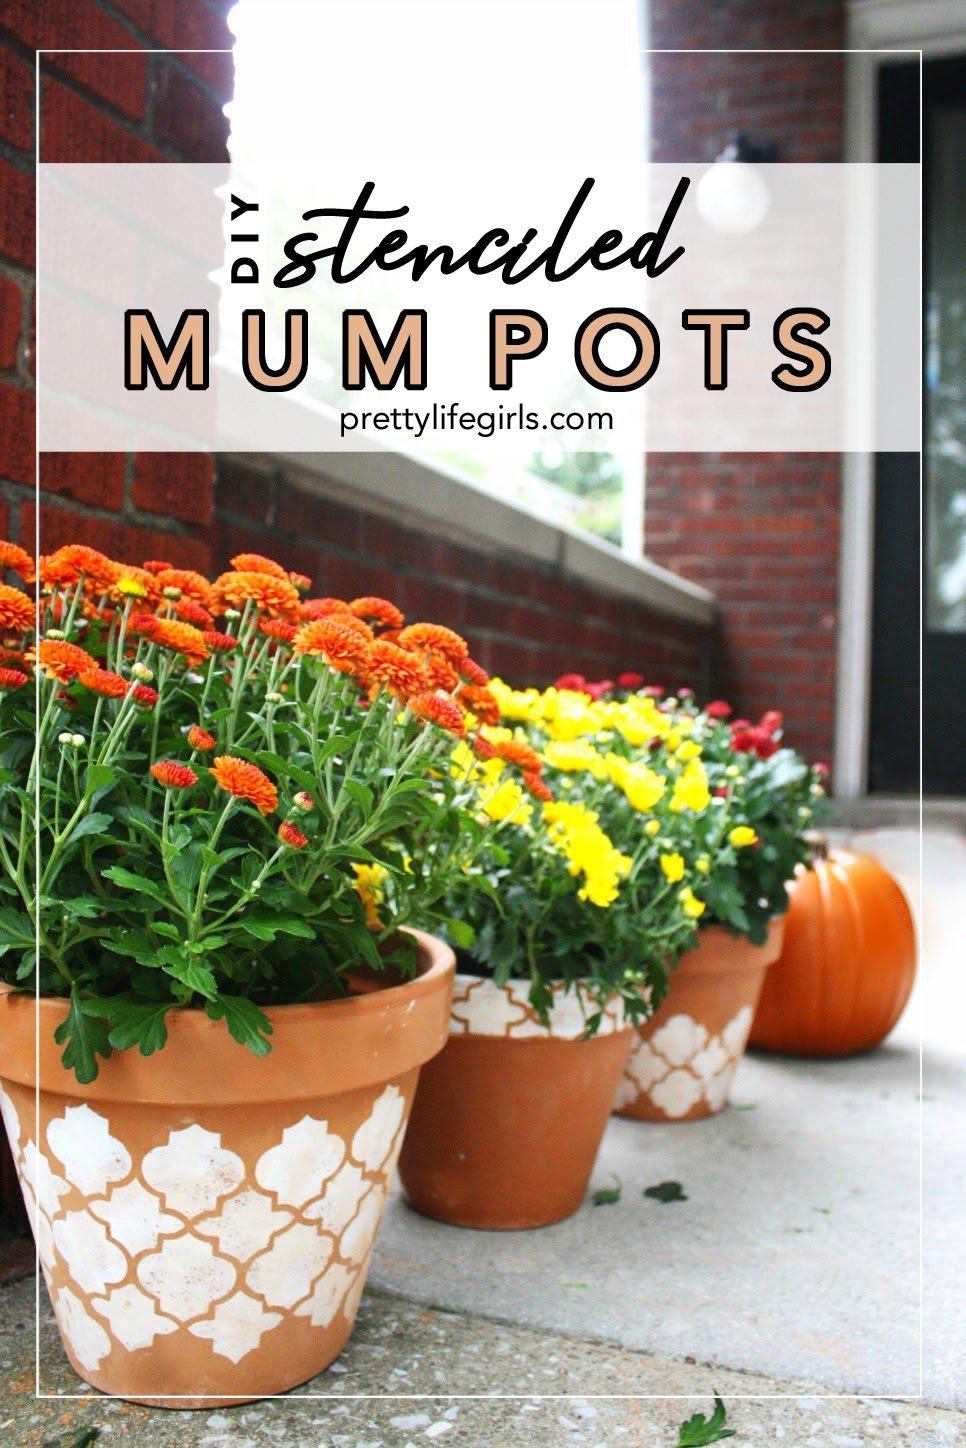
It’s FAAAAALL!!! Shall we celebrate with a fall DIY project? Let’s do it. I’m going to show you how I glammed up some plain pots to make room for one of my favorite treasures of the fall season, MUMS! I love those suckers. They are hearty, they are colorful, and it doesn’t take many of them to make a big impact. And, since I love my mums I decided that they needed pots that deserved their loveliness. So, when our friends at FolkArt Stencils and Paints sent us some of their fab products recently I knew what had to be done. Here’s what I did:

What you need:
-Garden pots
-FolkArt Paint (You can find FolkArt products at Michaels)
-FolkArt Stencil Glue
-Stencil (Mine is a FolkArt Stencil1 stencil)
-Foam Brush
-Sandpaper (optional)

What you do:
1. Apply stencil glue to the stencil. I had never used stencil glue before and it made ALL the difference. Those stencils can be slippery and you have to be fairly precise for them to look good so this was a lifesaver.
2. Press stencil on pot. My glue said to wait 10 minutes for it to dry but I found that I could paint the pots just fine after about a minute.
3. Paint!
4.. Remove stencil! (I didn’t let my paint dry before I removed the stencil because I am an anxious crafter. This did cause a little bit of sloppiness, so if you have patience to wait before removing it then yours may look like an expert made them.)

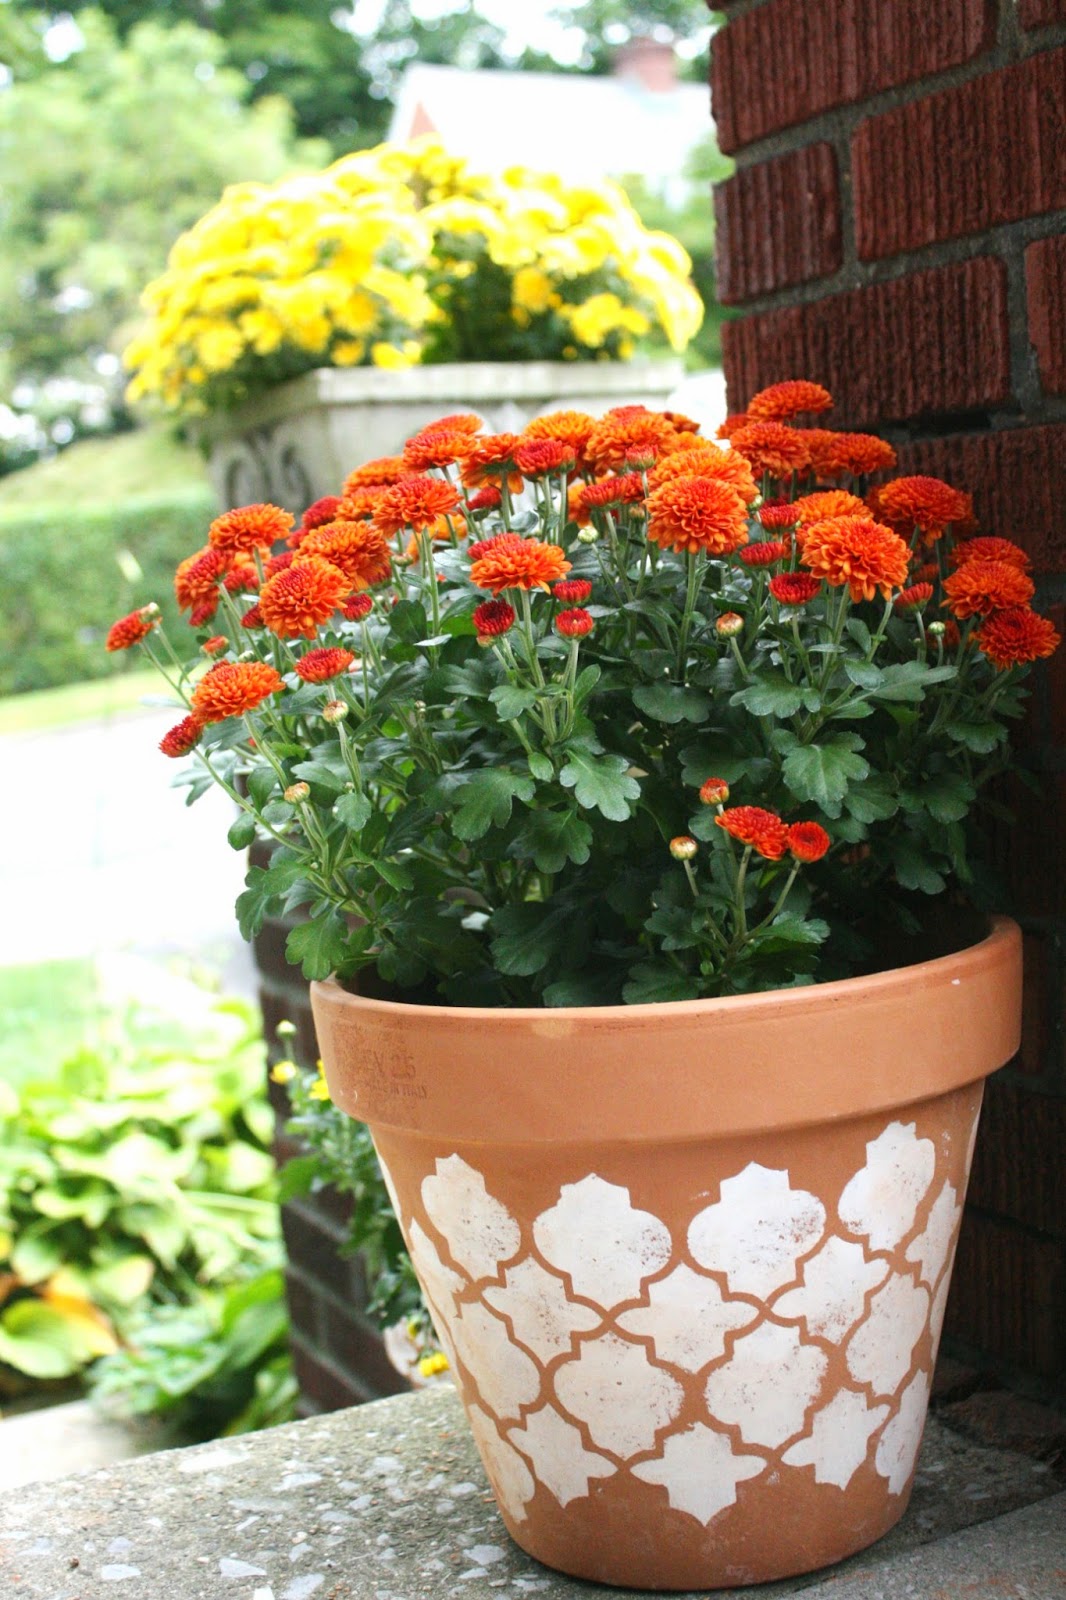
5. Once my pots were completely painted I decided I wanted them to look a little more weathered so I busted out the sandpaper and roughed them up a bit. I love the worn look this gave the design.

6. Plant your flowers, admire your lovely pots, and get yourself something to drink with pumpkin spice because it’s freaking fall now!
.jpg)

Happy Fall crafting, PLG friends!
ox/Liz


what a fun DIY project