




Updated July 2026: We refreshed this post with new tips, FAQs, and ideas to make creating fruit seed bead bracelets even easier!
These DIY fruit seed bead bracelets are the perfect summer craft for kids, teens, and anyone who loves colorful handmade jewelry. Using simple seed beads and stretchy cord, you can create adorable strawberry, watermelon, cherry, and other fruit-inspired bracelets that are perfect for friendship bracelets, summer camp activities, birthday parties, or just a fun afternoon craft.
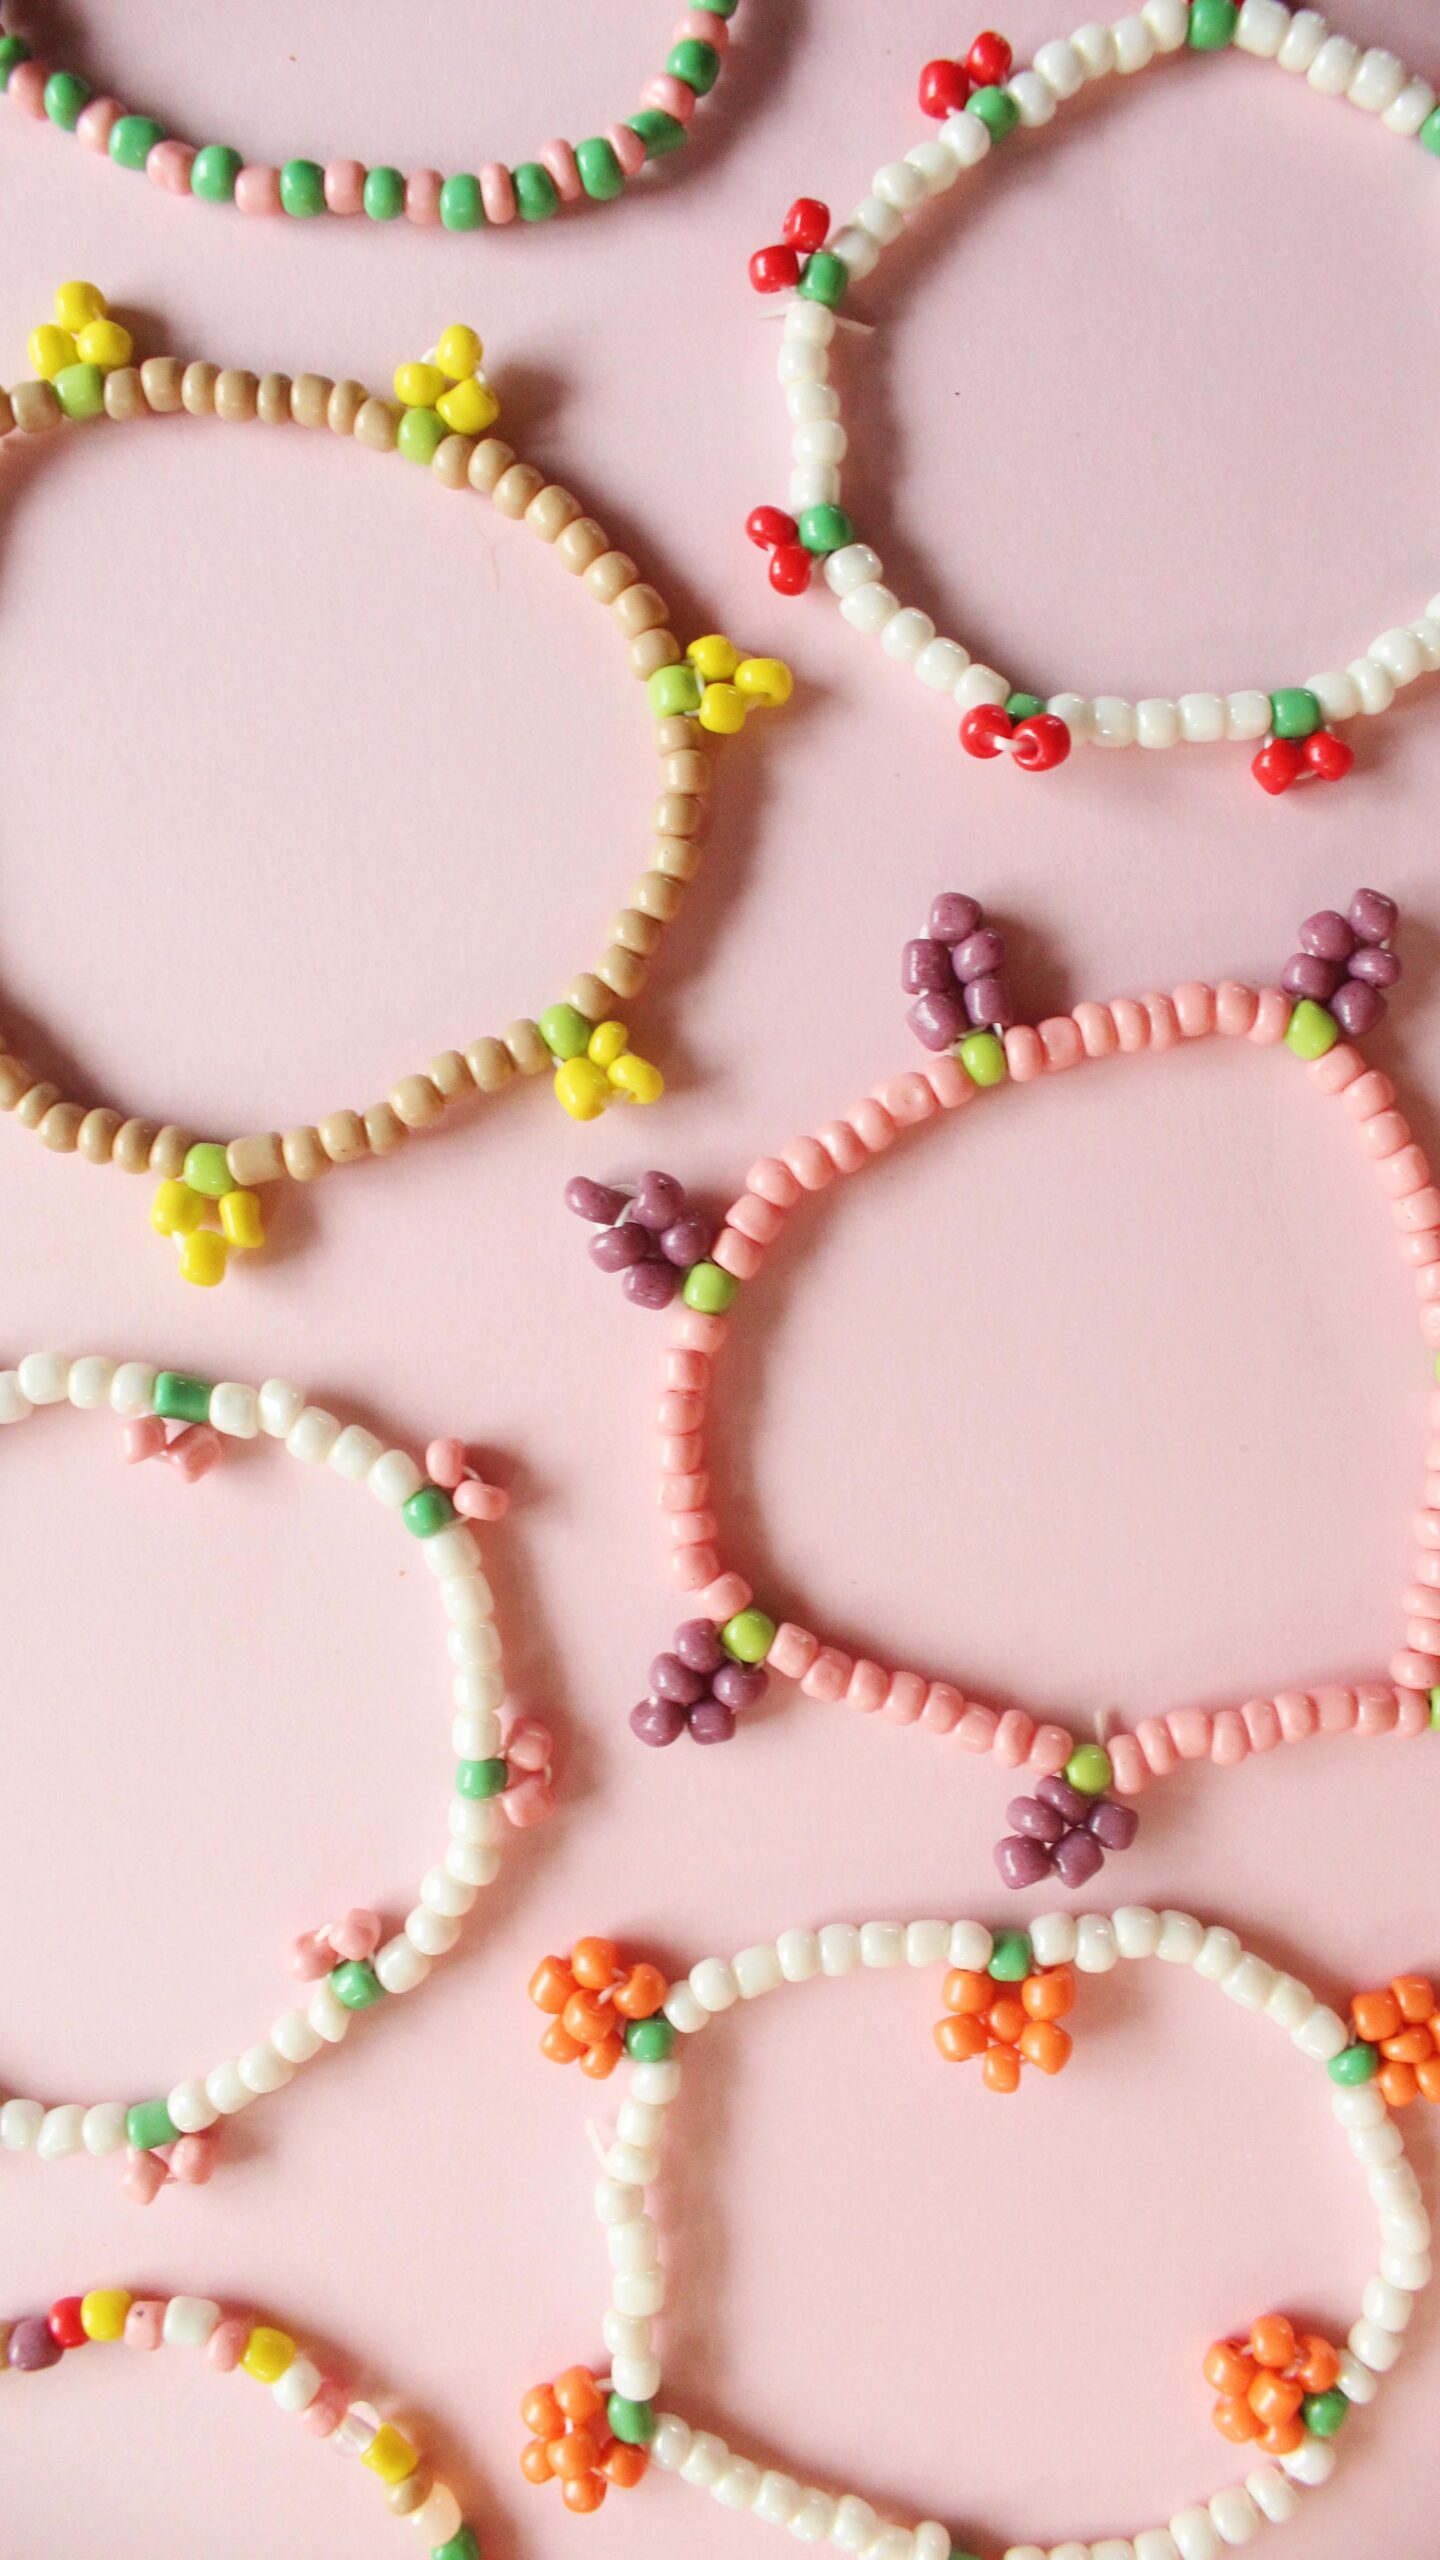
DIY Beaded Fruit Bracelets with Seed Beads
A couple of years ago we made daisy bracelets using seed beads, just as the nineties trends started to return to our closets and jewelry boxes. And although some time has passed, we are still seeing fun, graphic, seed bead projects on the wrists of cool girls all over the internet.
As a result, we decided to try another graphic seed bead project and this time it’s cherries! And while we thought there couldn’t possibly be anything cuter then a daisy, these tiny cherries are giving the flowers a run for their money. They. Are. So. Cute.
What do you need to make seed bead bracelets?
The key to making a graphic seed bead bracelet is having the right string and a needle. It can be super frustrating to have string that is too thick to fit through the beads, especially since you may be threading the beads multiple times.
It’s also essential to use a needle for this project for ease of repeatedly threading the beads.
So, depending on the size of the seed beads you choose, make sure the string is significantly thinner than the size of the hole in the bead in order to make this project one that is fun and not one that makes you want to throw your bead organizer into oncoming traffic.
How do you make fruits with seed beads?
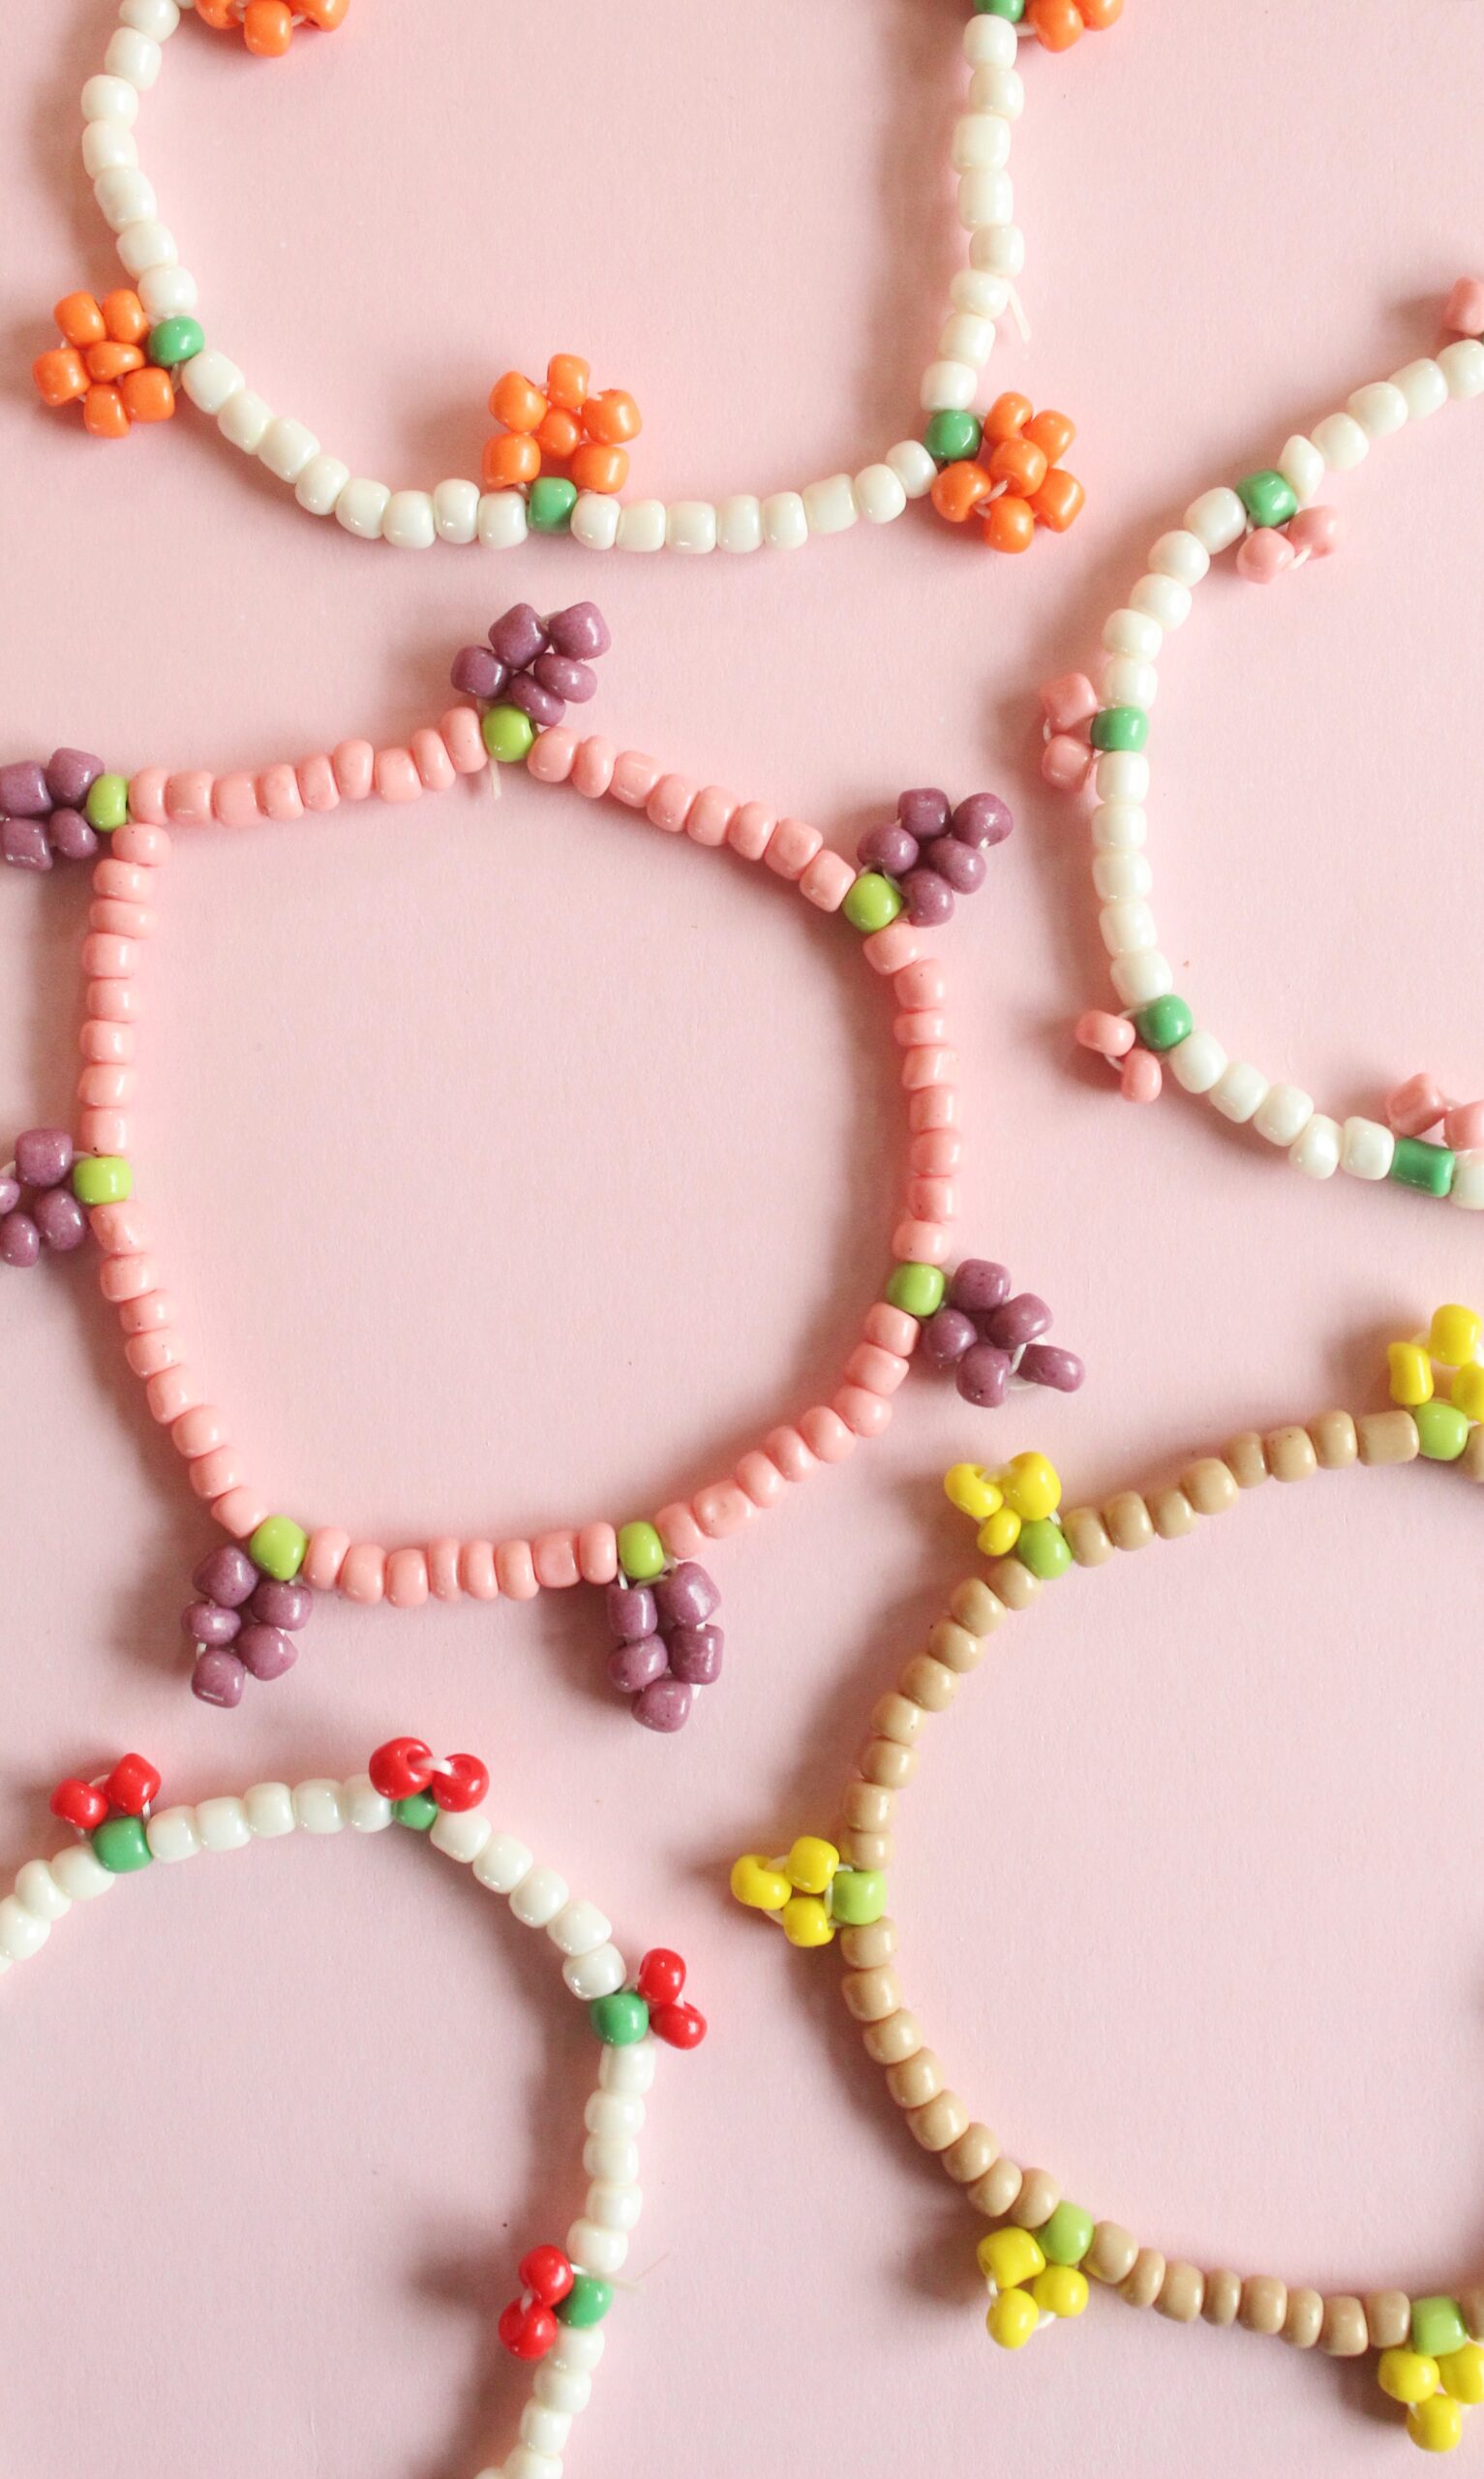
Once you figure out how to make one fruit – you can make them all! Thread a green bead followed by the fruit-colored beads, then loop the thread back through the green bead, adding space between each fruit with your desired beads.
For example – to make cherries with seed beads, you would thread a green bead and two red beads, then loop the thread back through the green bead. To make grapes with seed beads, thread a green bead and five purple beads, then loop the thread back through the green bead.
Adjust the colors and number of beads to create whichever fruits you’d like!
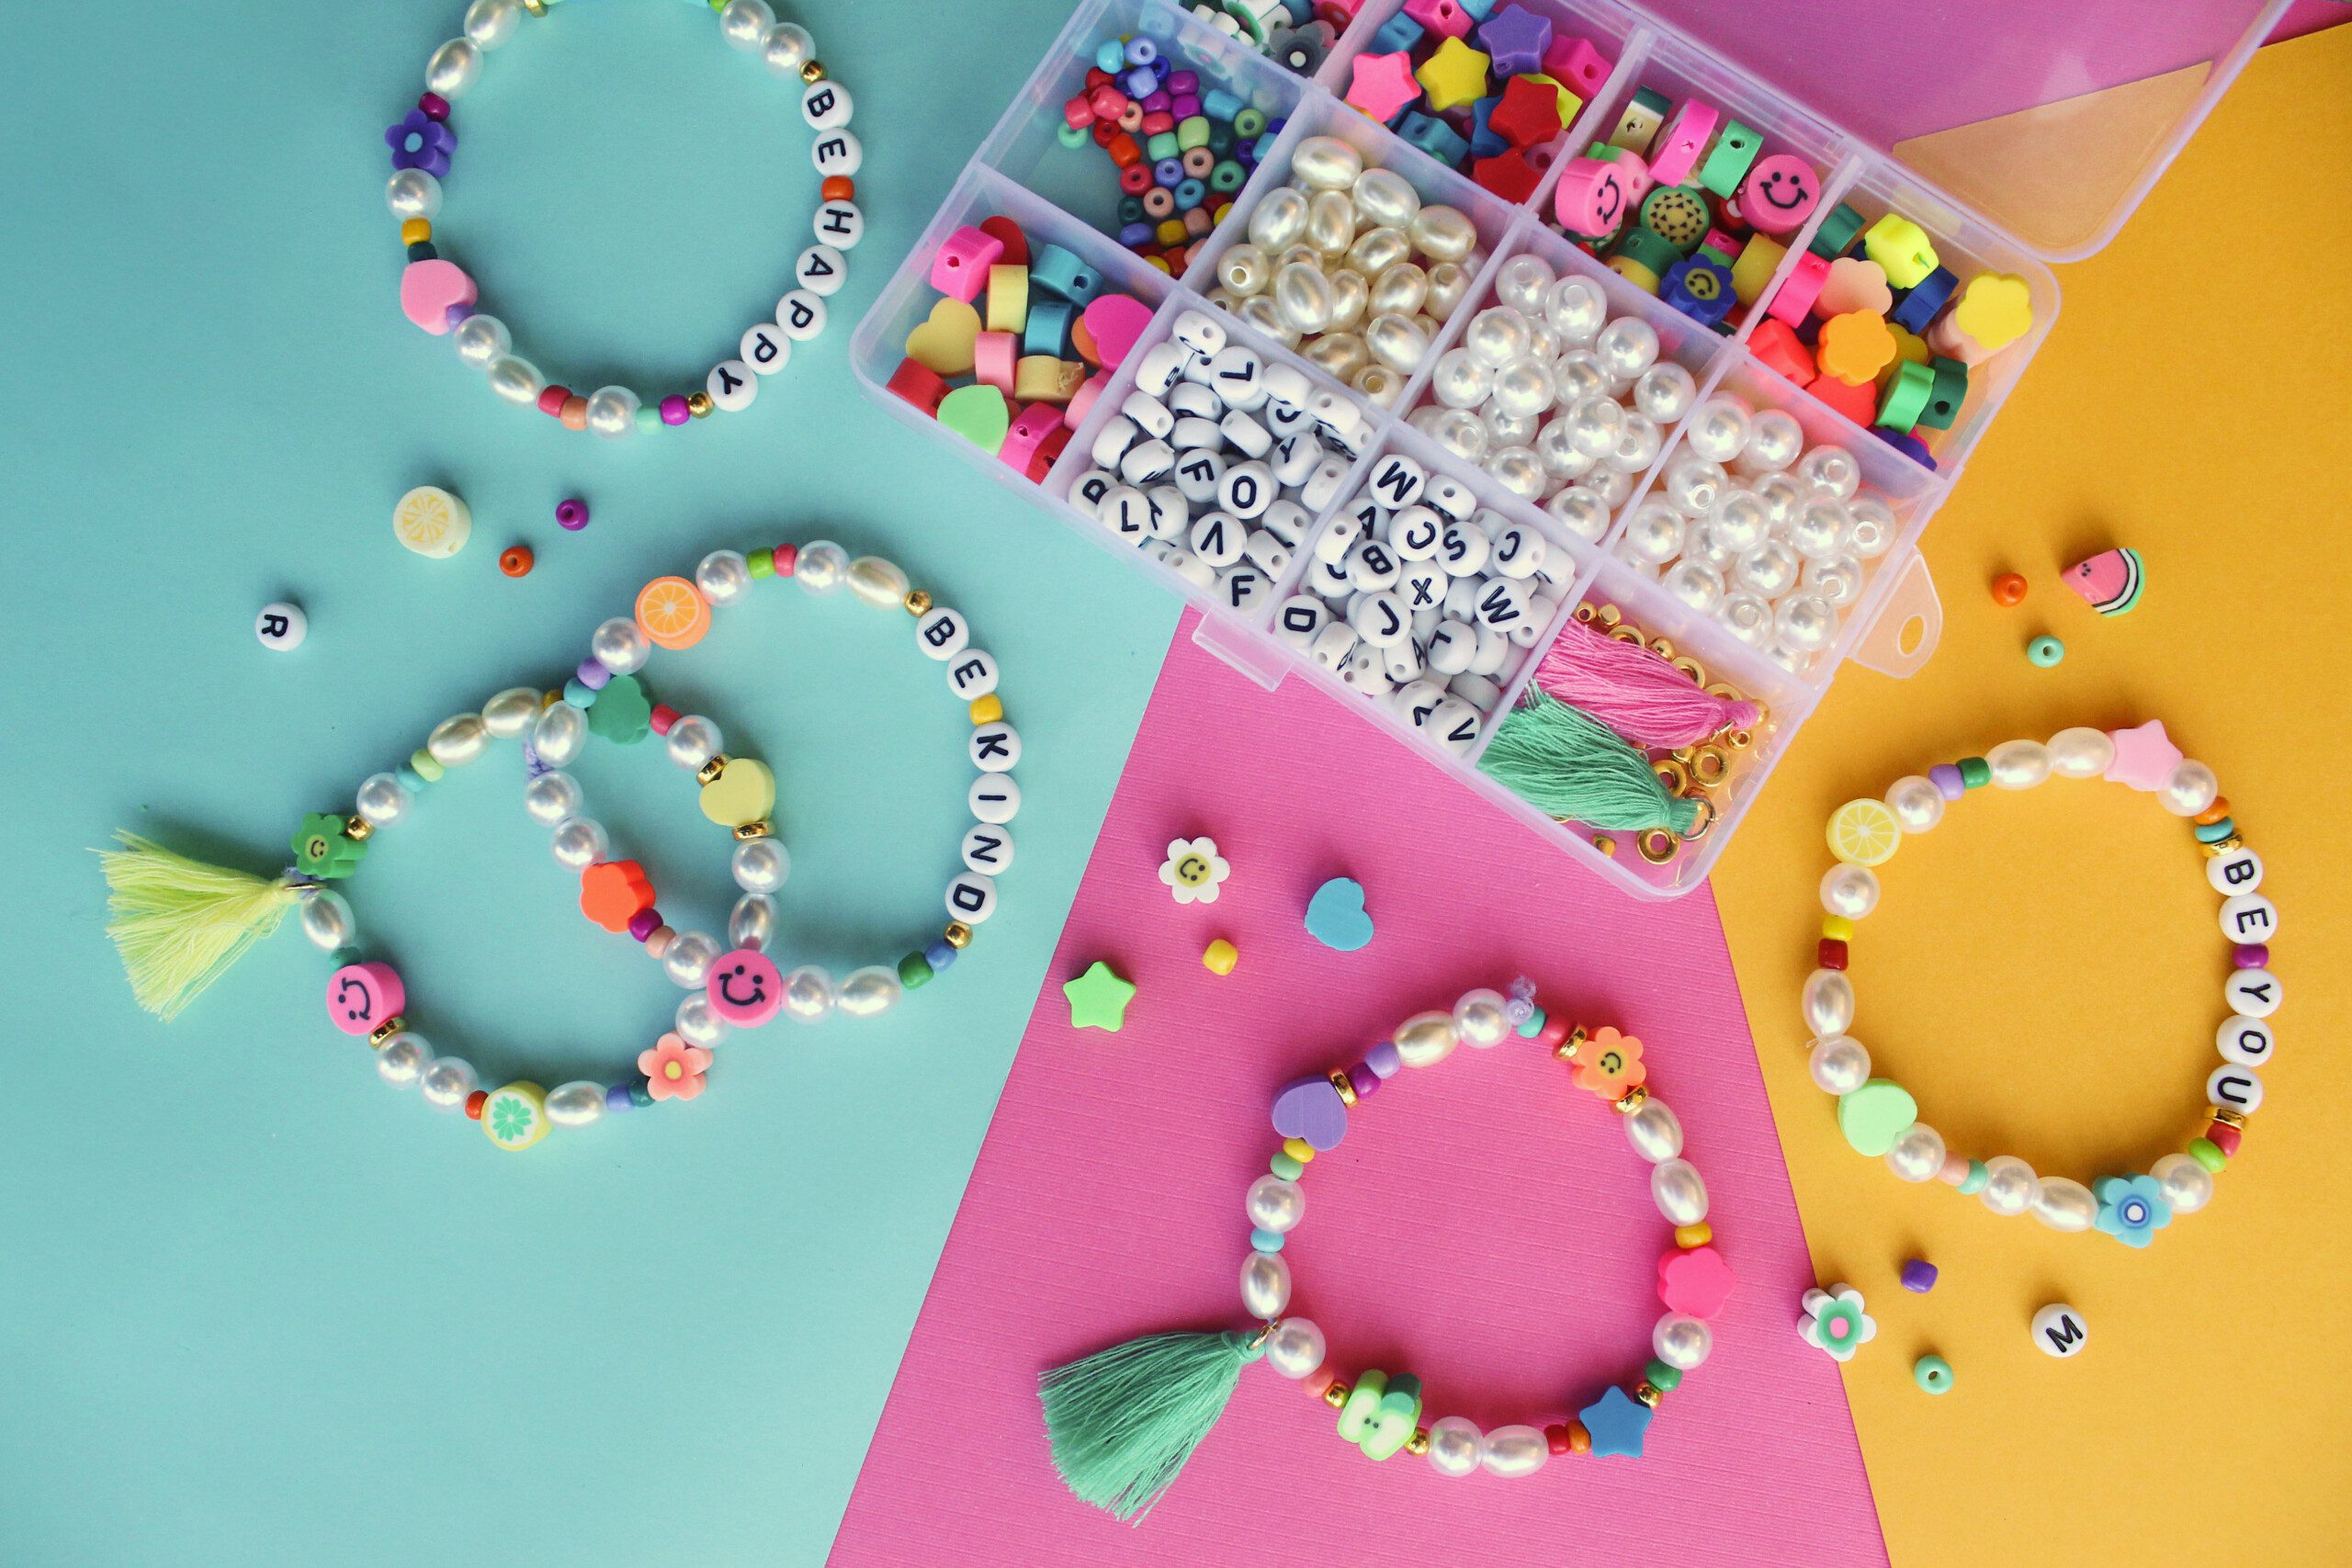
Supplies Needed to Make Fruit Seed Bead Bracelets
- Seed Beads (Note: the weight of the cord in this kit is great for bracelet making but not for making cherries, so you’ll want to buy a cord with a lighter weight if you don’t already have some.
- Jewelry Cord (this set comes in a variety of weights)
- Needle
- Jewelry glue
- Scissors
How to make DIY Beaded Fruit Bracelets with Seed Beads Step-by-Step
Step 1: Start by cutting a length of cord that is 3-5 inches longer then you would use for a standard bracelet. String a bead to the end and tie off to avoid any beads slipping off.
Step 2: Thread your cord through the needle and string on your desired amount of spacer beads. We usually did 5-7 of these.
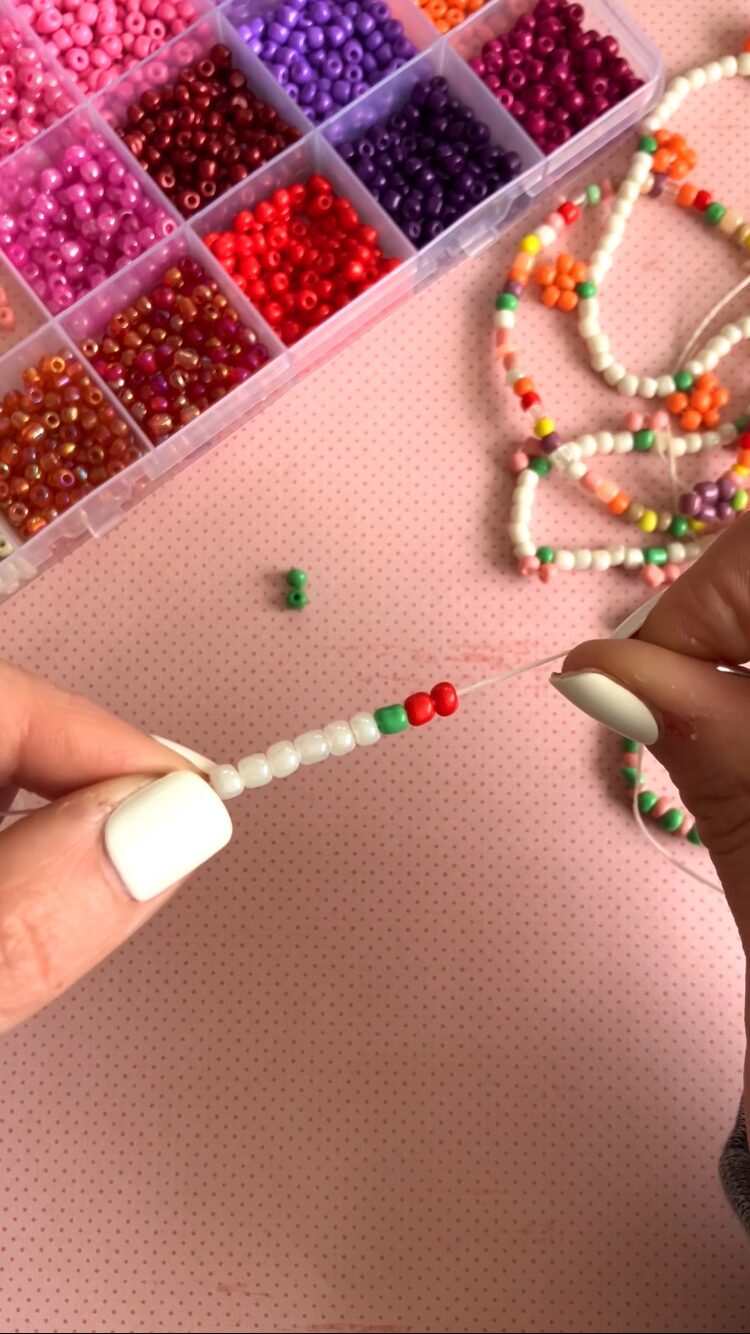
Step 3: String on one green bead and two red beads.
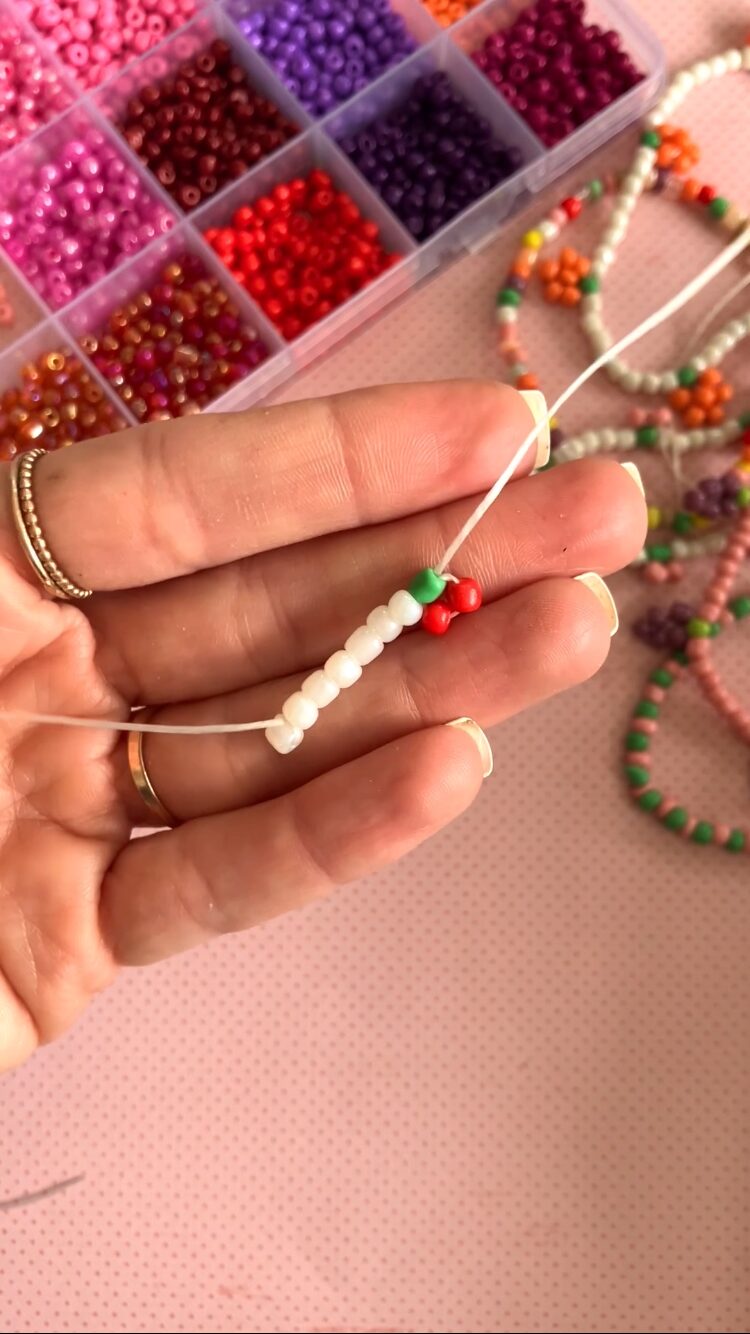
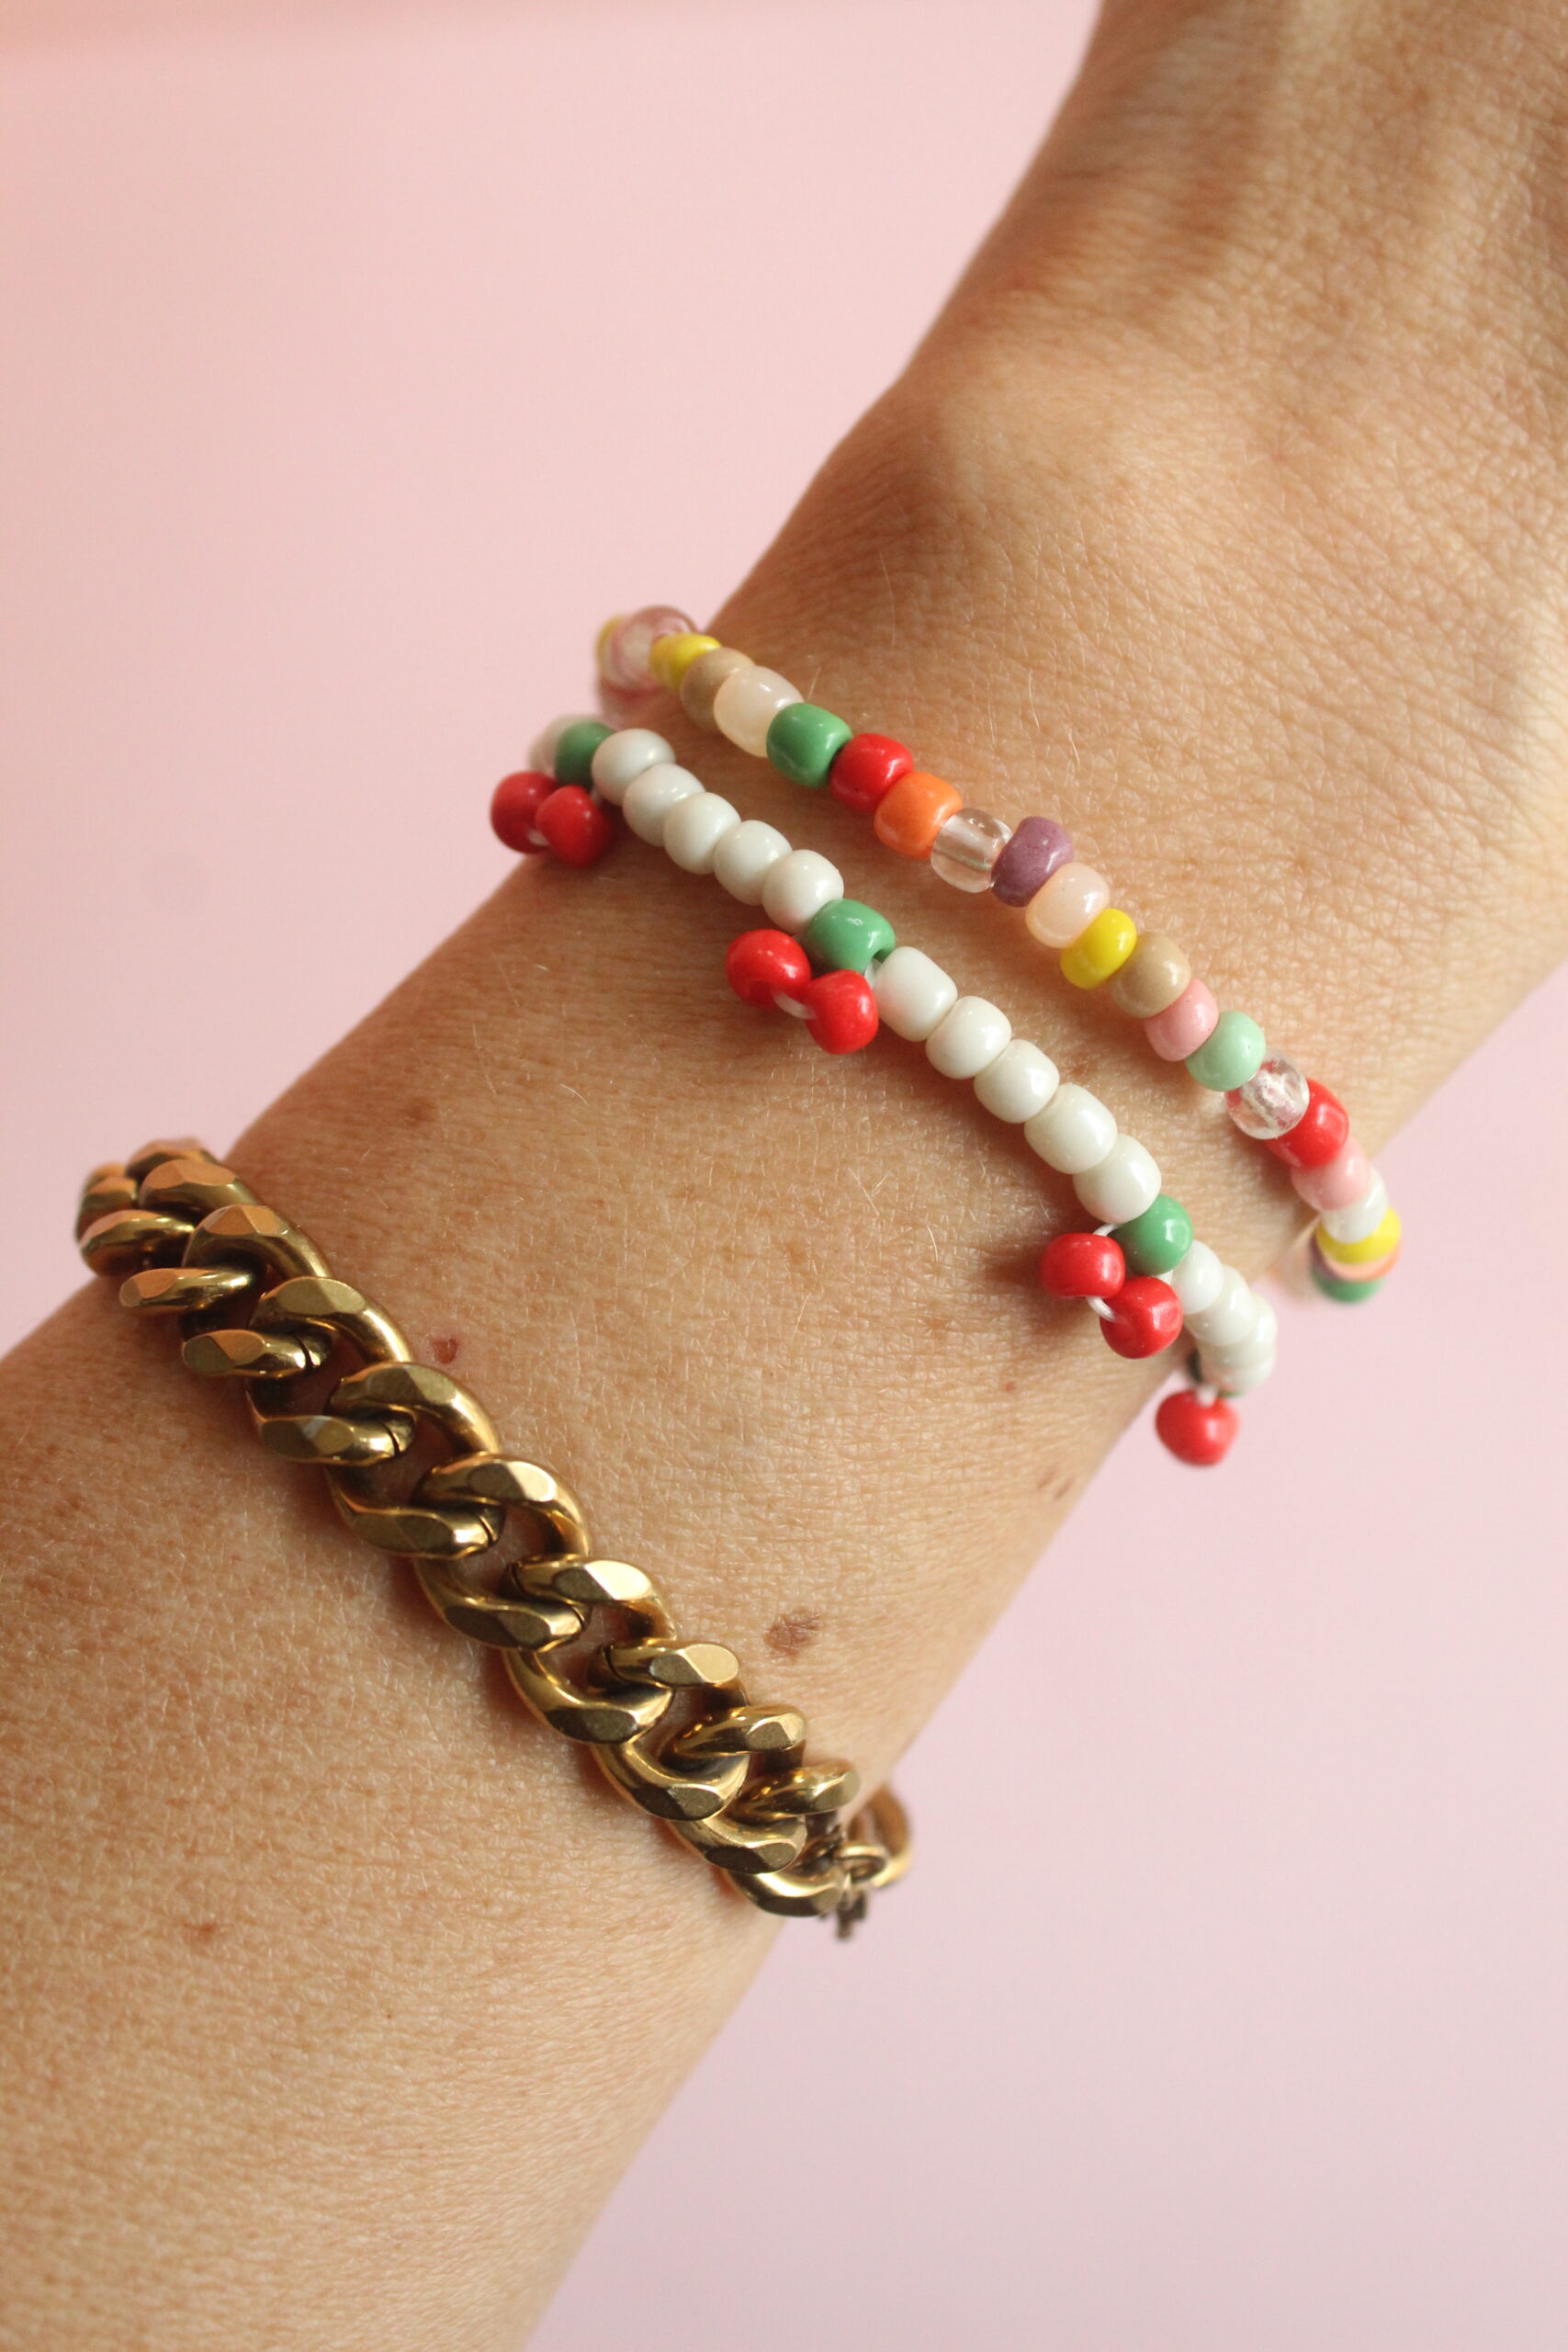
Step 4: Thread the needle through the green bead and pull the needle/string through the bead until the cord is taut. The image below might be helpful if you are more of a visual learner, or you can watch us make the bracelets on Instagram Reels, here.
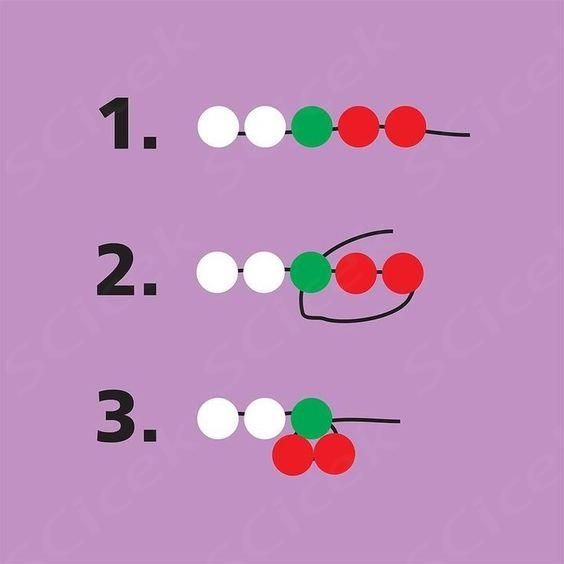
Step 5: Add another group of spacer beads, another green bead and two red beads and repeat the process until your bracelet is complete.
Step 6: Tie the ends of the string in a double knot and apply a light coat of clear nail polish or super glue to prevent it from slipping. Trim the remaining cord.
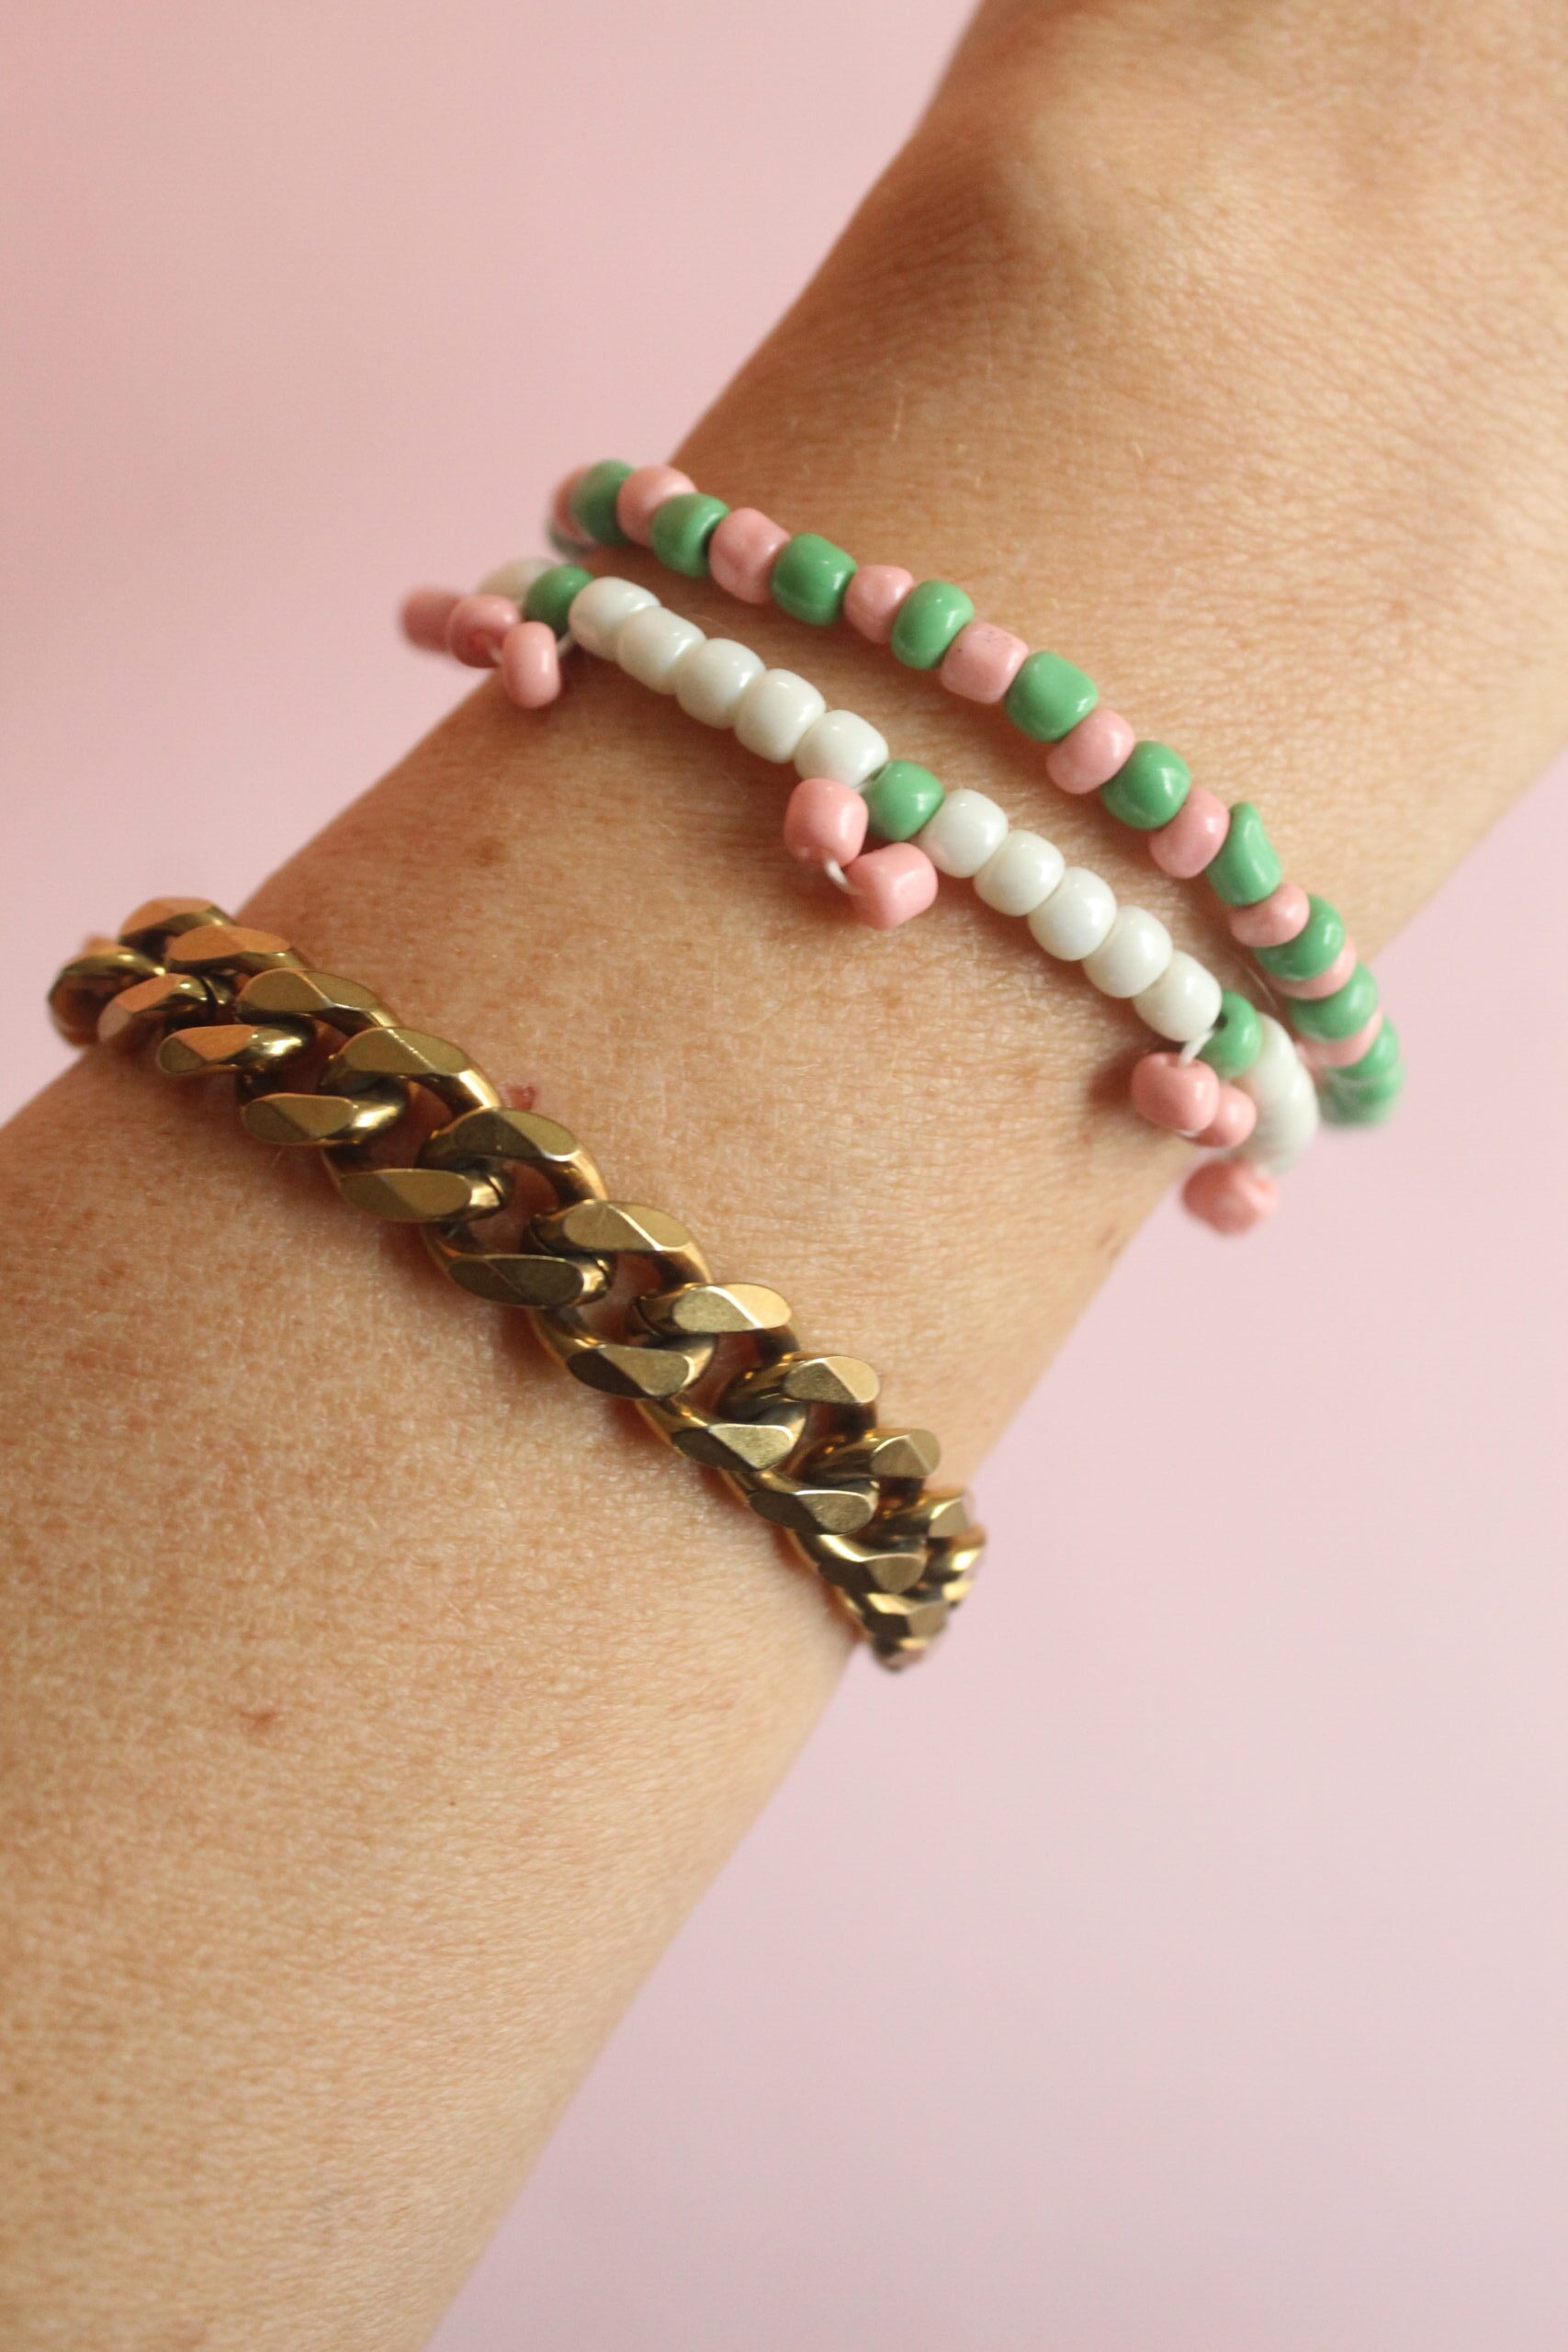
Aren’t they fun? Pair these with our tutorial for daisy seed bead bracelets and your wrist will be spring ready! So cute!
FAQ: Fruit Seed Bead Bracelets
What size seed beads are best for bracelets?
The best size seed beads for bracelets are size 6/0, 8/0, or 11/0 seed beads. For beginner-friendly bracelets, 6/0 or 8/0 beads are a great choice because they are larger, easier to thread, and create a colorful chunky look. 11/0 seed beads are smaller and work well for more detailed patterns and delicate designs. For fruit seed bead bracelets, a mix of sizes can also create fun details and dimension.
What string should I use for seed bead bracelets?
The best string for seed bead bracelets is stretch cord made specifically for jewelry making. A stretchy elastic cord (around 0.5mm–0.8mm thickness) makes bracelets easy to put on and take off and works especially well for friendship bracelets and kids’ crafts. For extra durability, choose a strong jewelry elastic cord and avoid cords that feel thin or brittle.
Are seed bead bracelets good crafts for kids?
Yes! Seed bead bracelets are a great craft for kids, tweens, and teens because they encourage creativity, color exploration, and fine motor skills. They are also an easy activity for birthday parties, summer camps, sleepovers, or a rainy afternoon at home. Younger children may need larger beads and supervision, while older kids can experiment with patterns, fruit designs, and personalized bracelets. We have tons of inspo for bracelet making in our archives.
How do you keep seed bead bracelets from breaking?
To help seed bead bracelets last longer, use high-quality elastic cord, avoid stretching the bracelet too far when putting it on, and tie secure knots. After tying your bracelet, add a small dab of jewelry glue or clear nail polish to the knot for extra security. Let it dry completely before trimming the ends. Storing bracelets away from direct sunlight and heat can also help prevent the elastic from weakening over time.
Happy making!
ox. Liz
SAVE THIS POST FOR LATER!