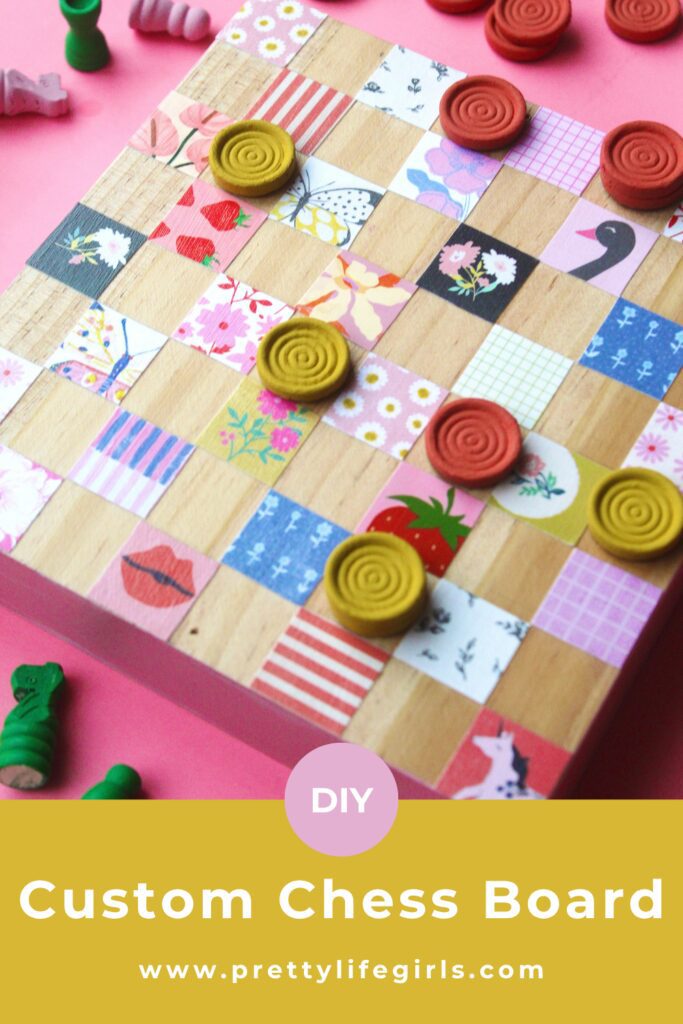
Mother’s Day, graduations, and more events are coming up, which means we’re busy creating handmade presents that feel meaningful, personal, and fun. One of our favorite projects so far is this DIY chess and checkerboard, a simple craft that makes the perfect gift for kids, teens, families, or game-lovers of any age. With this easy tutorial, you can customize your board in any color or pattern to match your recipient’s style!
How to Make an Easy DIY Chessboard
When we first started this project, we planned to upcycle a basic wooden chessboard I found at the thrift store. I taped it off, painted the squares in a fun color palette, and loved how it was turning out—but then inspiration hit. Patterned paper + Mod Podge! I switched gears and created a version using paper squares instead of paint.
My daughter actually finished the painted version herself (and it turned out adorable!), but the paper-and-wood version is my favorite. It was inexpensive, beginner-friendly, and a super customizable way to make a DIY chess and checkerboard that feels unique and modern.
What Are the Dimensions of a Homemade Chessboard?
A standard chessboard has 8 rows and 8 columns—a total of 64 squares. The easiest way to determine your square size is to divide your board by 8.
For example:
- 8×8 inch board → eight 1-inch squares
- 12×12 inch board → eight 1.5-inch squares
For my project, I used an 8×8 wooden board, which meant I needed eight rows of 1-inch squares. If math isn’t your thing, don’t stress—you can load your board’s dimensions into ChatGPT and it will calculate the square size or even mock up a digital grid.
DIY Chess and Checkerboard Instructions
Materials
- Wooden board (8×8 or any size you prefer)
- Patterned paper or scrapbook paper
- Paper trimmer or scissors
- Mod Podge (matte or satin)
- Paintbrush or foam brush
Step 1: Cut Your Squares
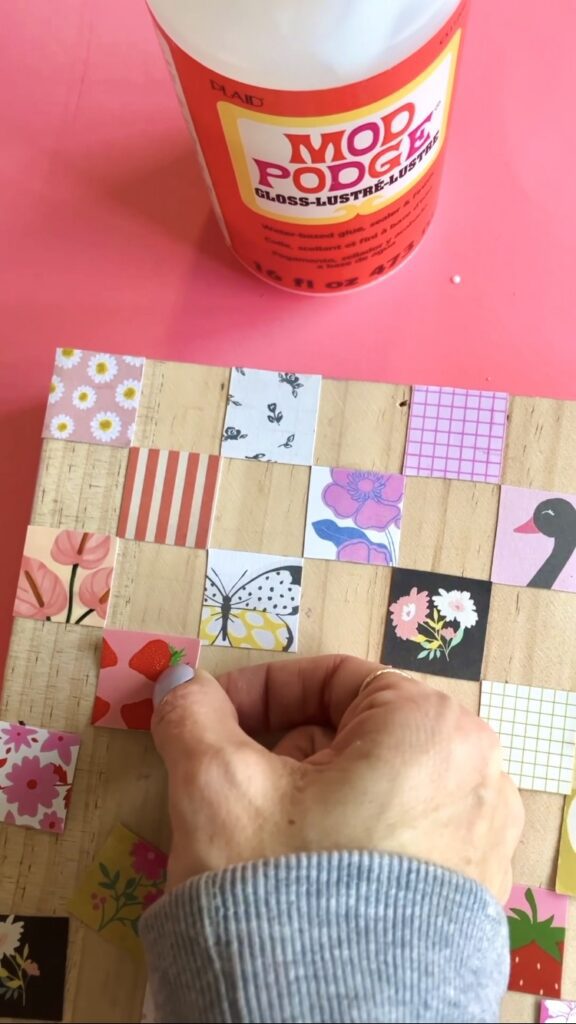
Cut your paper into evenly sized squares. For an 8×8 board, you’ll need 64 squares total, but if you plan to leave every other square as raw wood (like we did), you’ll only need 28–32 paper squares.
Step 2: Lay Out Your Pattern
Before gluing anything, arrange all of your squares on the board to make sure the spacing is correct. This helps you avoid gaps and ensures you have the right number of pieces.
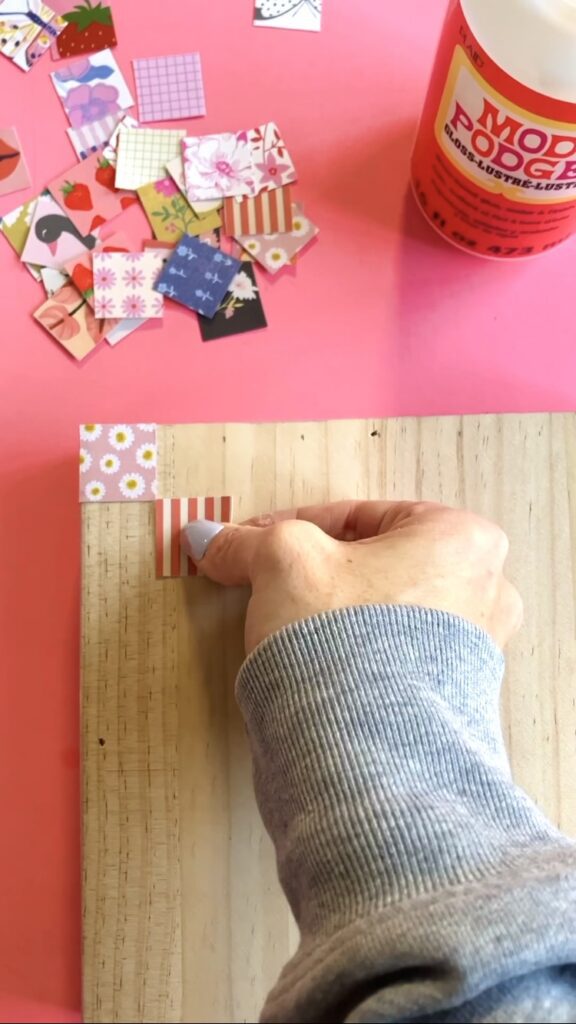
Step 3: Glue Down the Squares
Using a paintbrush, apply a thin layer of Mod Podge to the back of each square and press it onto the wooden surface. Smooth out any bubbles with your fingers. Let the squares dry completely before sealing.
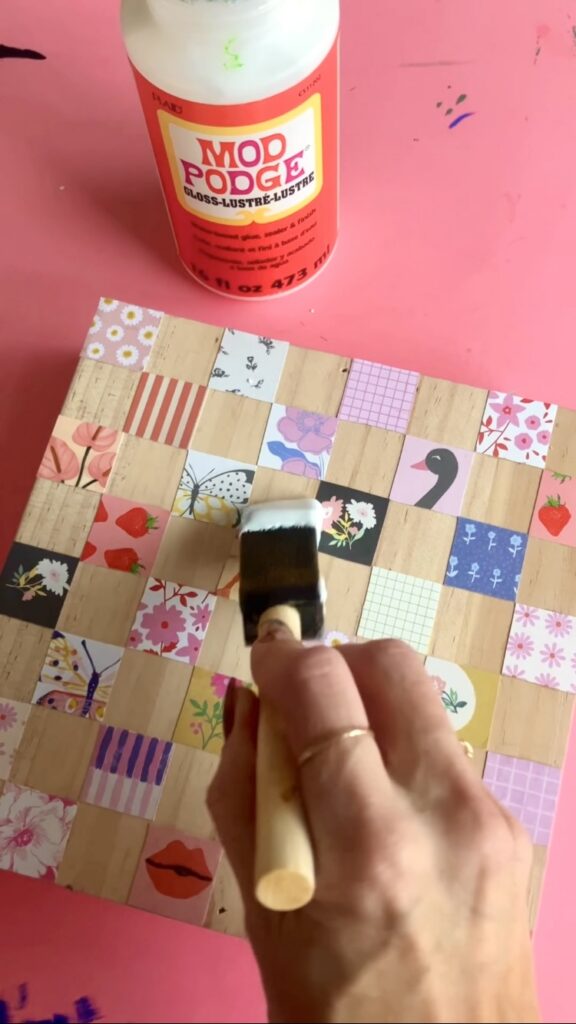
Step 4: Seal the Chessboard
After all the squares have dried, use a foam brush to apply a generous, even topcoat of Mod Podge over the entire board. This seals the paper, adds a nice satin sheen, and protects your DIY chessboard from wear.
Let it dry fully before use.
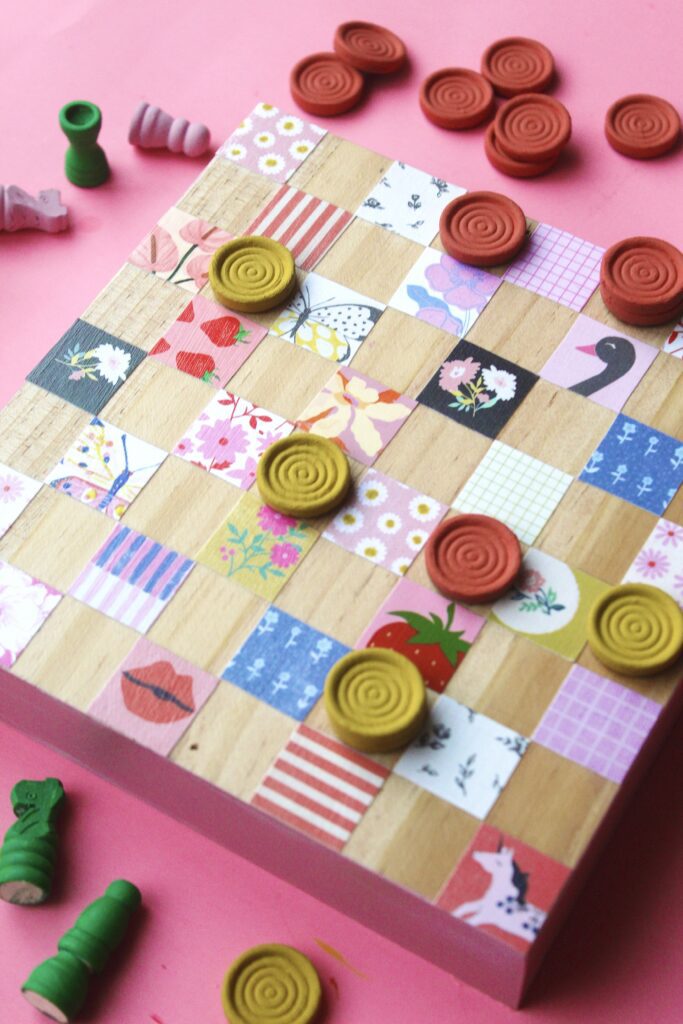
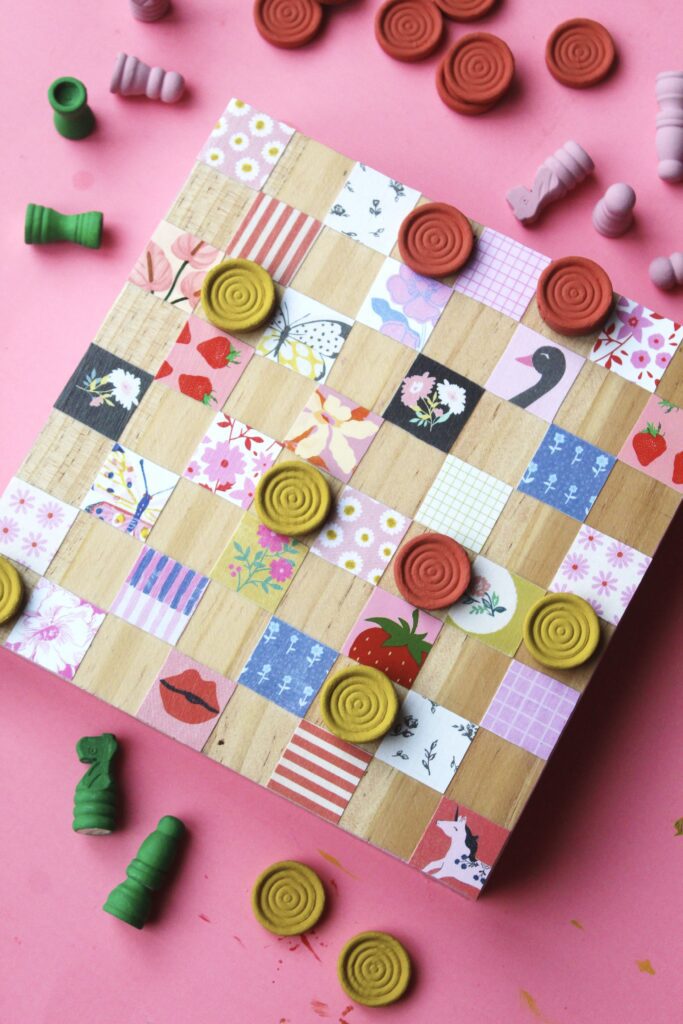
Your DIY Chessboard Is Ready!
That’s it! You’ve created a custom DIY chess and checkerboard that’s full of personality and perfect for gifting. You can easily tailor it to any style—bold, neutral, graphic, or whimsical—just by choosing different patterned papers.
Looking for more easy handmade gift ideas? Visit the PLG Gift Archive for DIY projects everyone will love.
Happy Making!
ox. Sam and Liz