




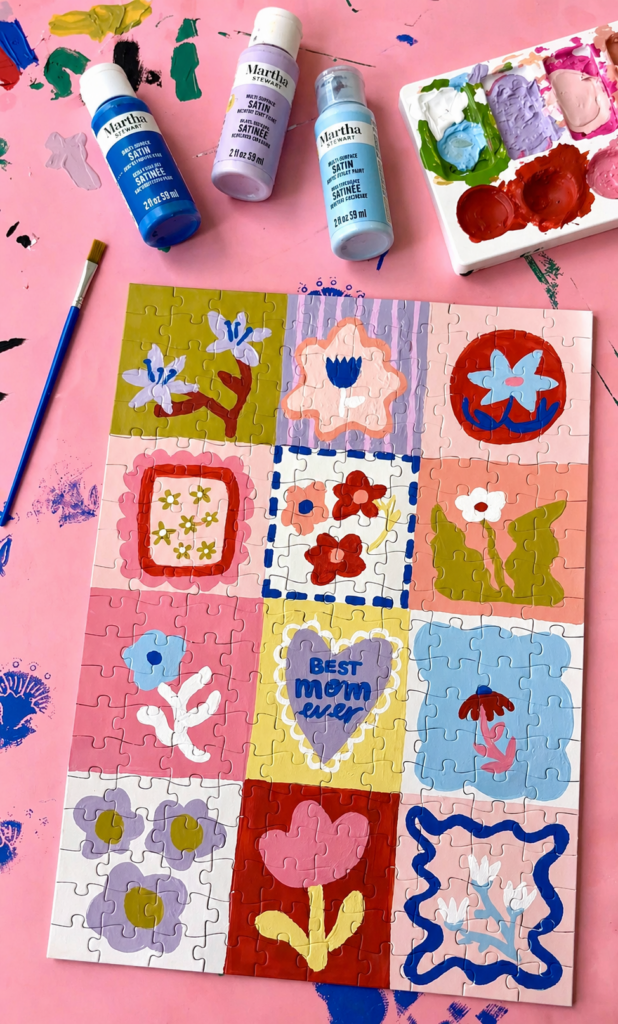
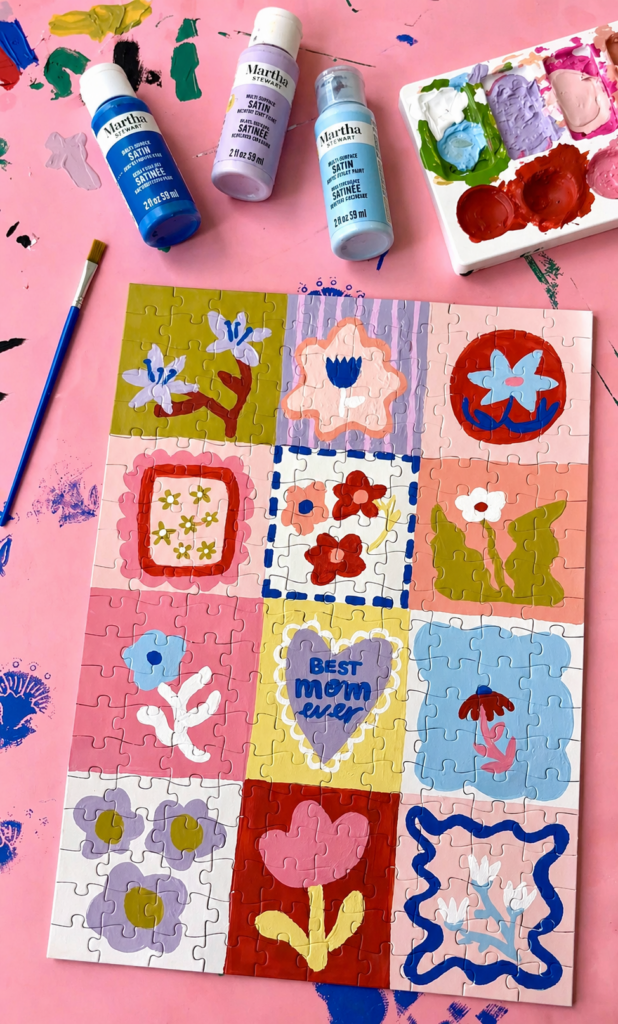
If you’re on the hunt for a unique DIY Mother’s Day gift idea, we’re here for you since we know there’s something extra meaningful about a gift that takes time, intention, and a little creativity. This DIY custom painted puzzle is one of those projects that feels just as special to make as it does to give. Whether you’re creating it with your kids or surprising your own mom, it’s a heartfelt way to turn memories into something she can hold onto (and piece together) again and again.
What do moms want for Mother’s Day?
If you ask most moms what they really want, it usually isn’t an extravagant gift, it’s something thoughtful. A moment to feel seen, appreciated, and loved.
That’s why handmade gifts are always a win. They carry meaning in a way store-bought gifts just can’t replicate. And if your mom is a puzzler like ours, then a custom puzzle is especially sweet because it combines creativity with connection! You can paint come up with a design that will be special to her and every time she puts it together, she’ll be reminded of you.
How to make a homemade puzzle
Since most of us probably don’t own a special saw that can cut through cardboard to make a puzzle, our best recommendation is to buy a white puzzle that is ready to decorate! We found ours here, available in multiple sizes to fit your needs. We also saw a fun upcycle post where someone flipped over a puzzle they already had and painted the underside of it! Very clever if you’re looking for a $0 option.
Once you have found your surface, we recommend finding an image for inspiration and/or using a pencil and lightly sketching your design before you make it permanent. From there you can decide what tools you want to use to bring it to life! We used Martha Stewart Acrylic Paints, our go-to that always delivers gorgeous results, but you could also use paint pens, markers, etc.
How to paint on a puzzle
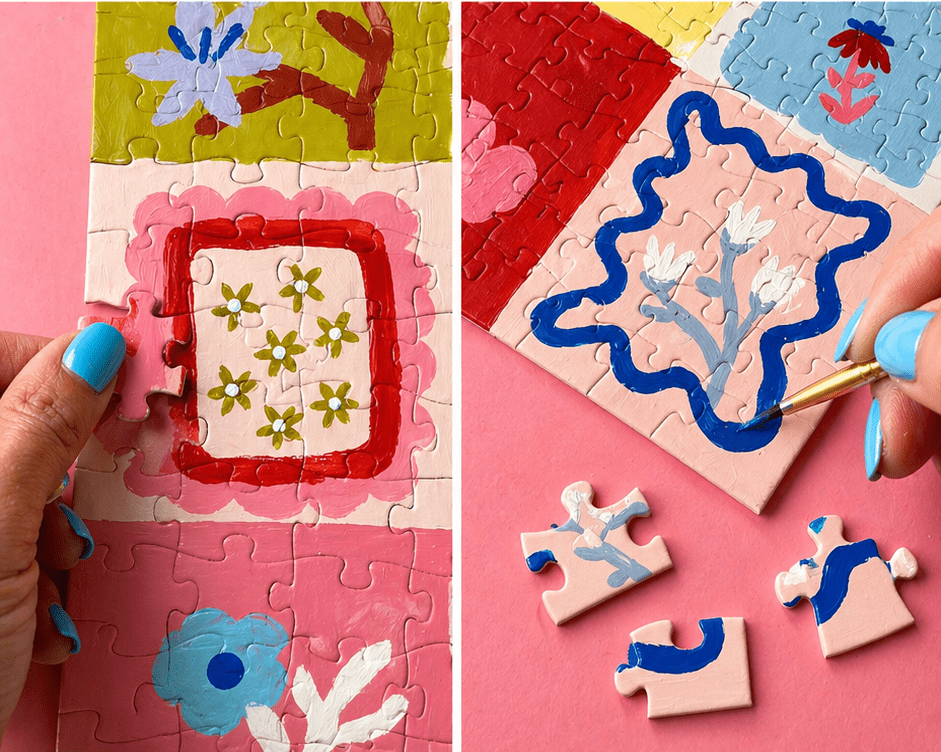
Our biggest tip for painting on a puzzle is to use quality paint that has great coverage and wear like Martha Stewart Acrylic Paints. Since puzzles will be handled a lot, you’ll want a quality paint that can withstand wear. You also want a paint that won’t require more that two or so coats of paint with a thin layer of each since more coats can cause the pieces to seal together and make them difficult to remove.
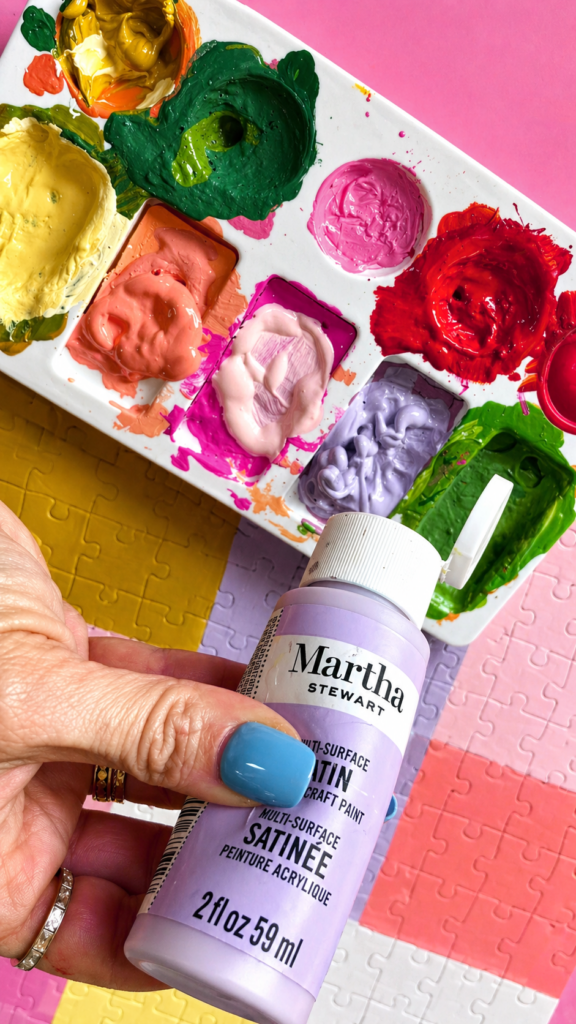
Supplies Needed to Make a DIY Custom Painted Puzzle
Blank Puzzle
Acrylic Craft Paint (We used Martha Stewart Acrylic Paint)
Paint Brushes
How to Make a DIY Custom Painted Puzzle
Step 1: Make sure your puzzle pieces are assembled tightly and lying flat. This helps your design stay aligned.
Step 2: Use a pencil to map out your idea. Florals, hearts, abstract shapes or a handwritten message work beautifully.
Step 3: Begin painting your first coat. Like I mentioned above, you’ll want to apply thin layers so that the pieces do not seal together. Let each layer dry completely before applying more paint.

Step 4: If desired, add details and lettering. If you aren’t comfortable doing this with a paint brush, use paint pens or markers to refine your design and add any words.
Step 5: Allow the puzzle to dry thoroughly before taking it apart. If you’d like to give your mom a guide to work from, take a photo of the finished puzzle and print it out to give to her as part of the gift!
This DIY custom painted puzzle is more than just a gift, it’s an experience, a memory, and a keepsake all in one. Pair it with a cute box or a handwritten note, and you have a Mother’s Day gift that feels deeply personal and completely unforgettable.
If you’re looking for more ideas for Mother’s Day, visit our archive, here!
Happy Making!
OX. Liz and Sam