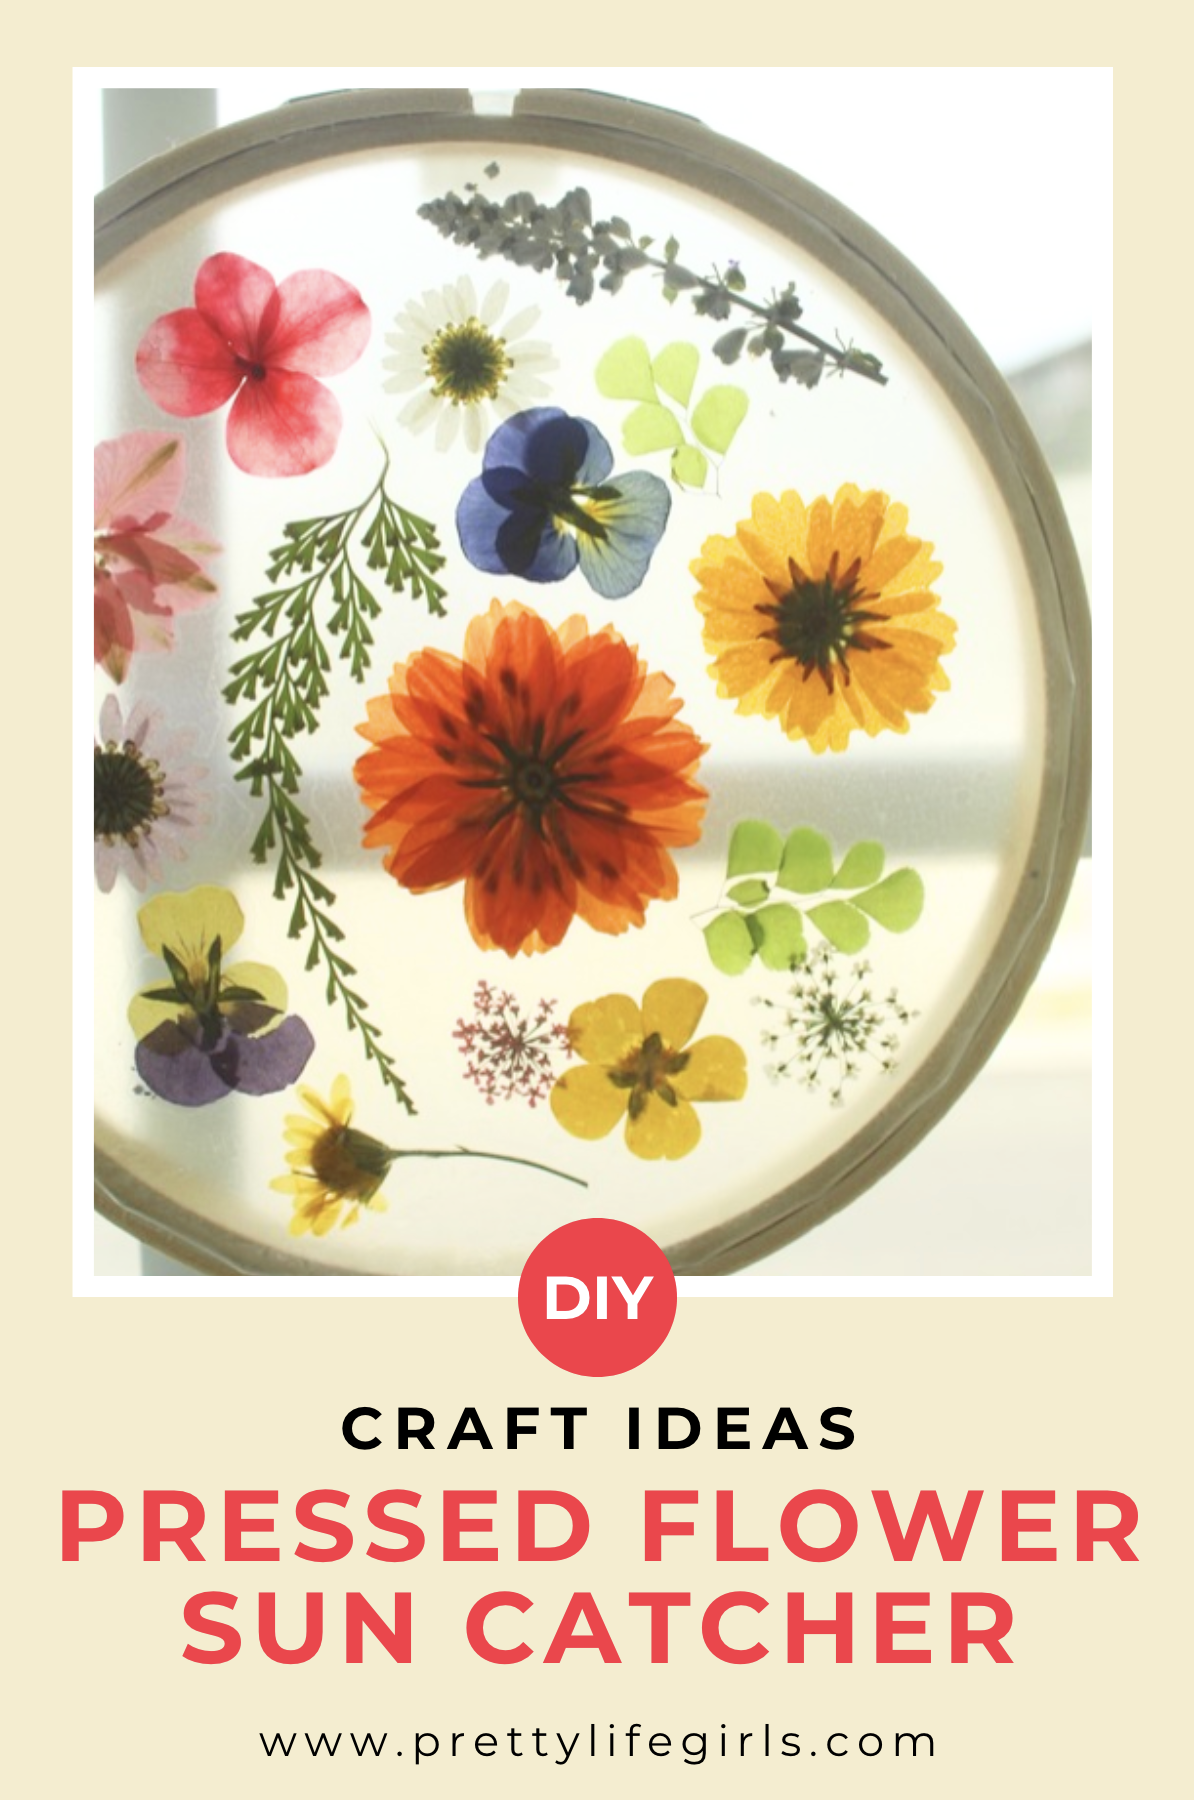
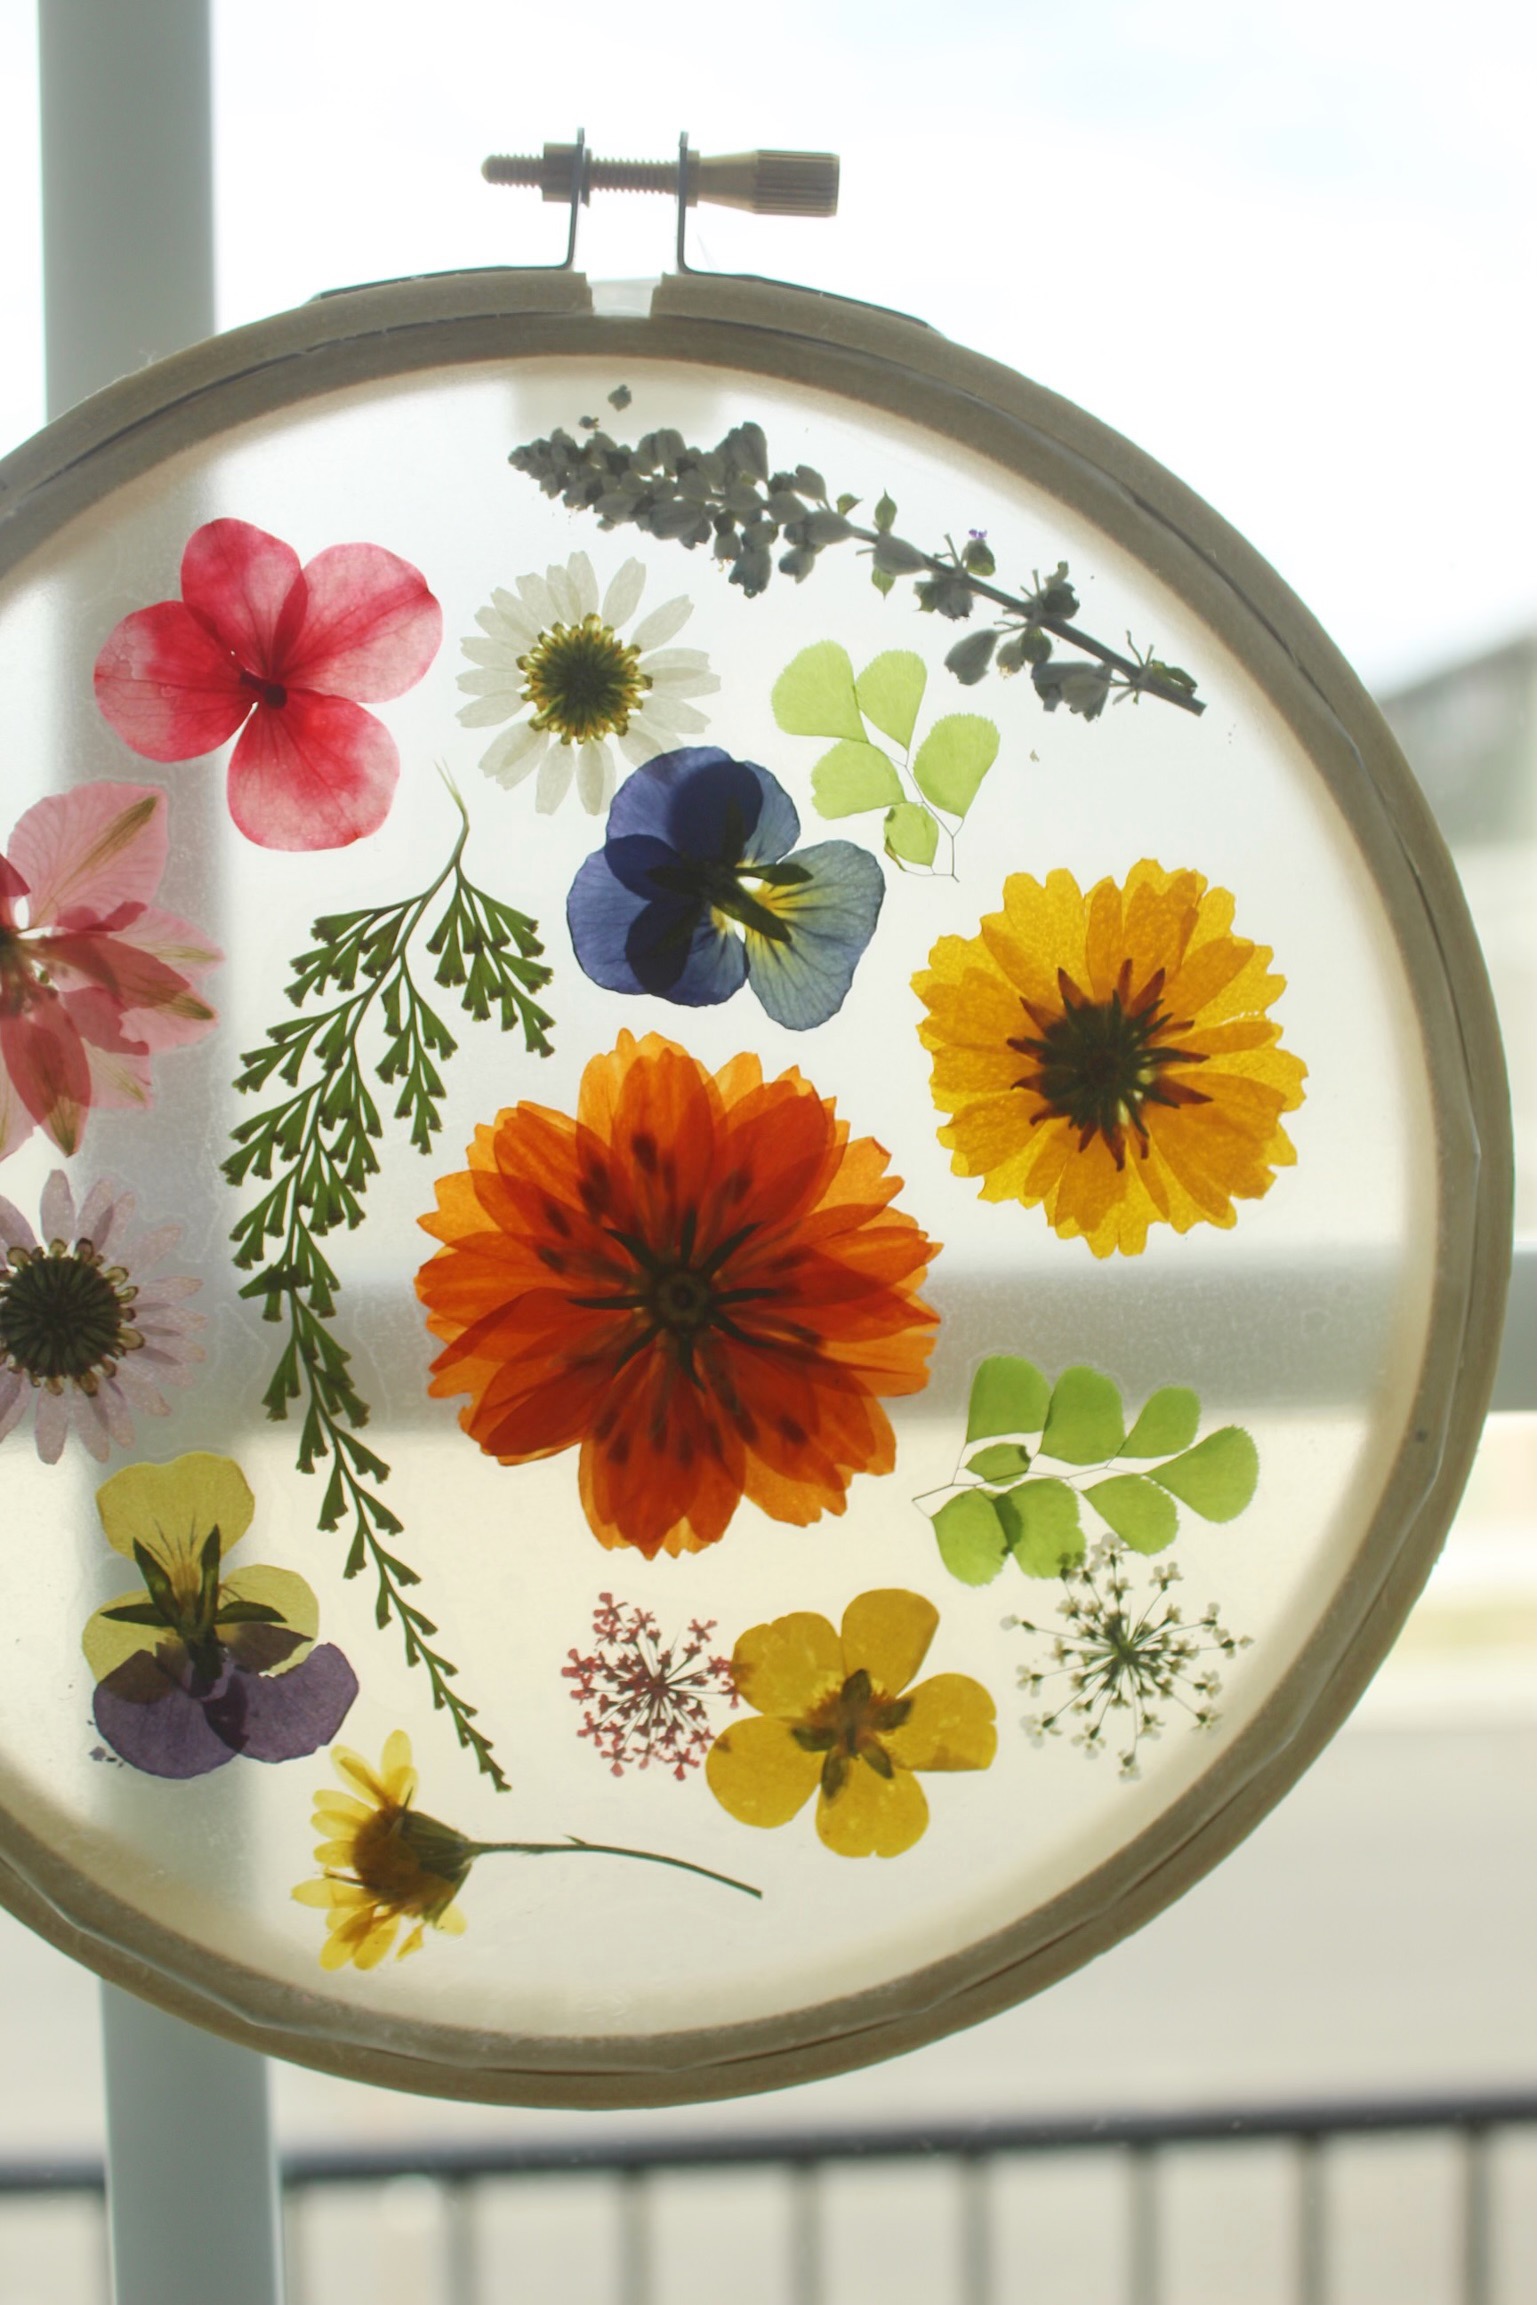
Learn to make a beautiful Pressed Flower Suncatcher with this step-by-step tutorial! These are so easy to put together with the loveliest results! All you need are flowers, contact paper, and an embroidery hoop!
DIY Pressed Flower Suncatcher Tutorial
Suncatchers are one of our favorite crafts to make because they are so fun to make and so happy to look at! We’ve made Valentine’s Day Suncatchers with tissue paper, Faux Stained Glass Suncatchers with cellophane, and now we’re so excited to add this pressed flower version to the lineup.
How do you preserve and display pressed flowers?
If you have pressed flowers that you’d like to display, suncatchers are a fun and easy way to do just that! And since you only need a couple inexpensive supplies, you can have them displayed in minutes!
How do you make suncatchers with dried flowers?
This project couldn’t be easier to make. You could even make it with kids!
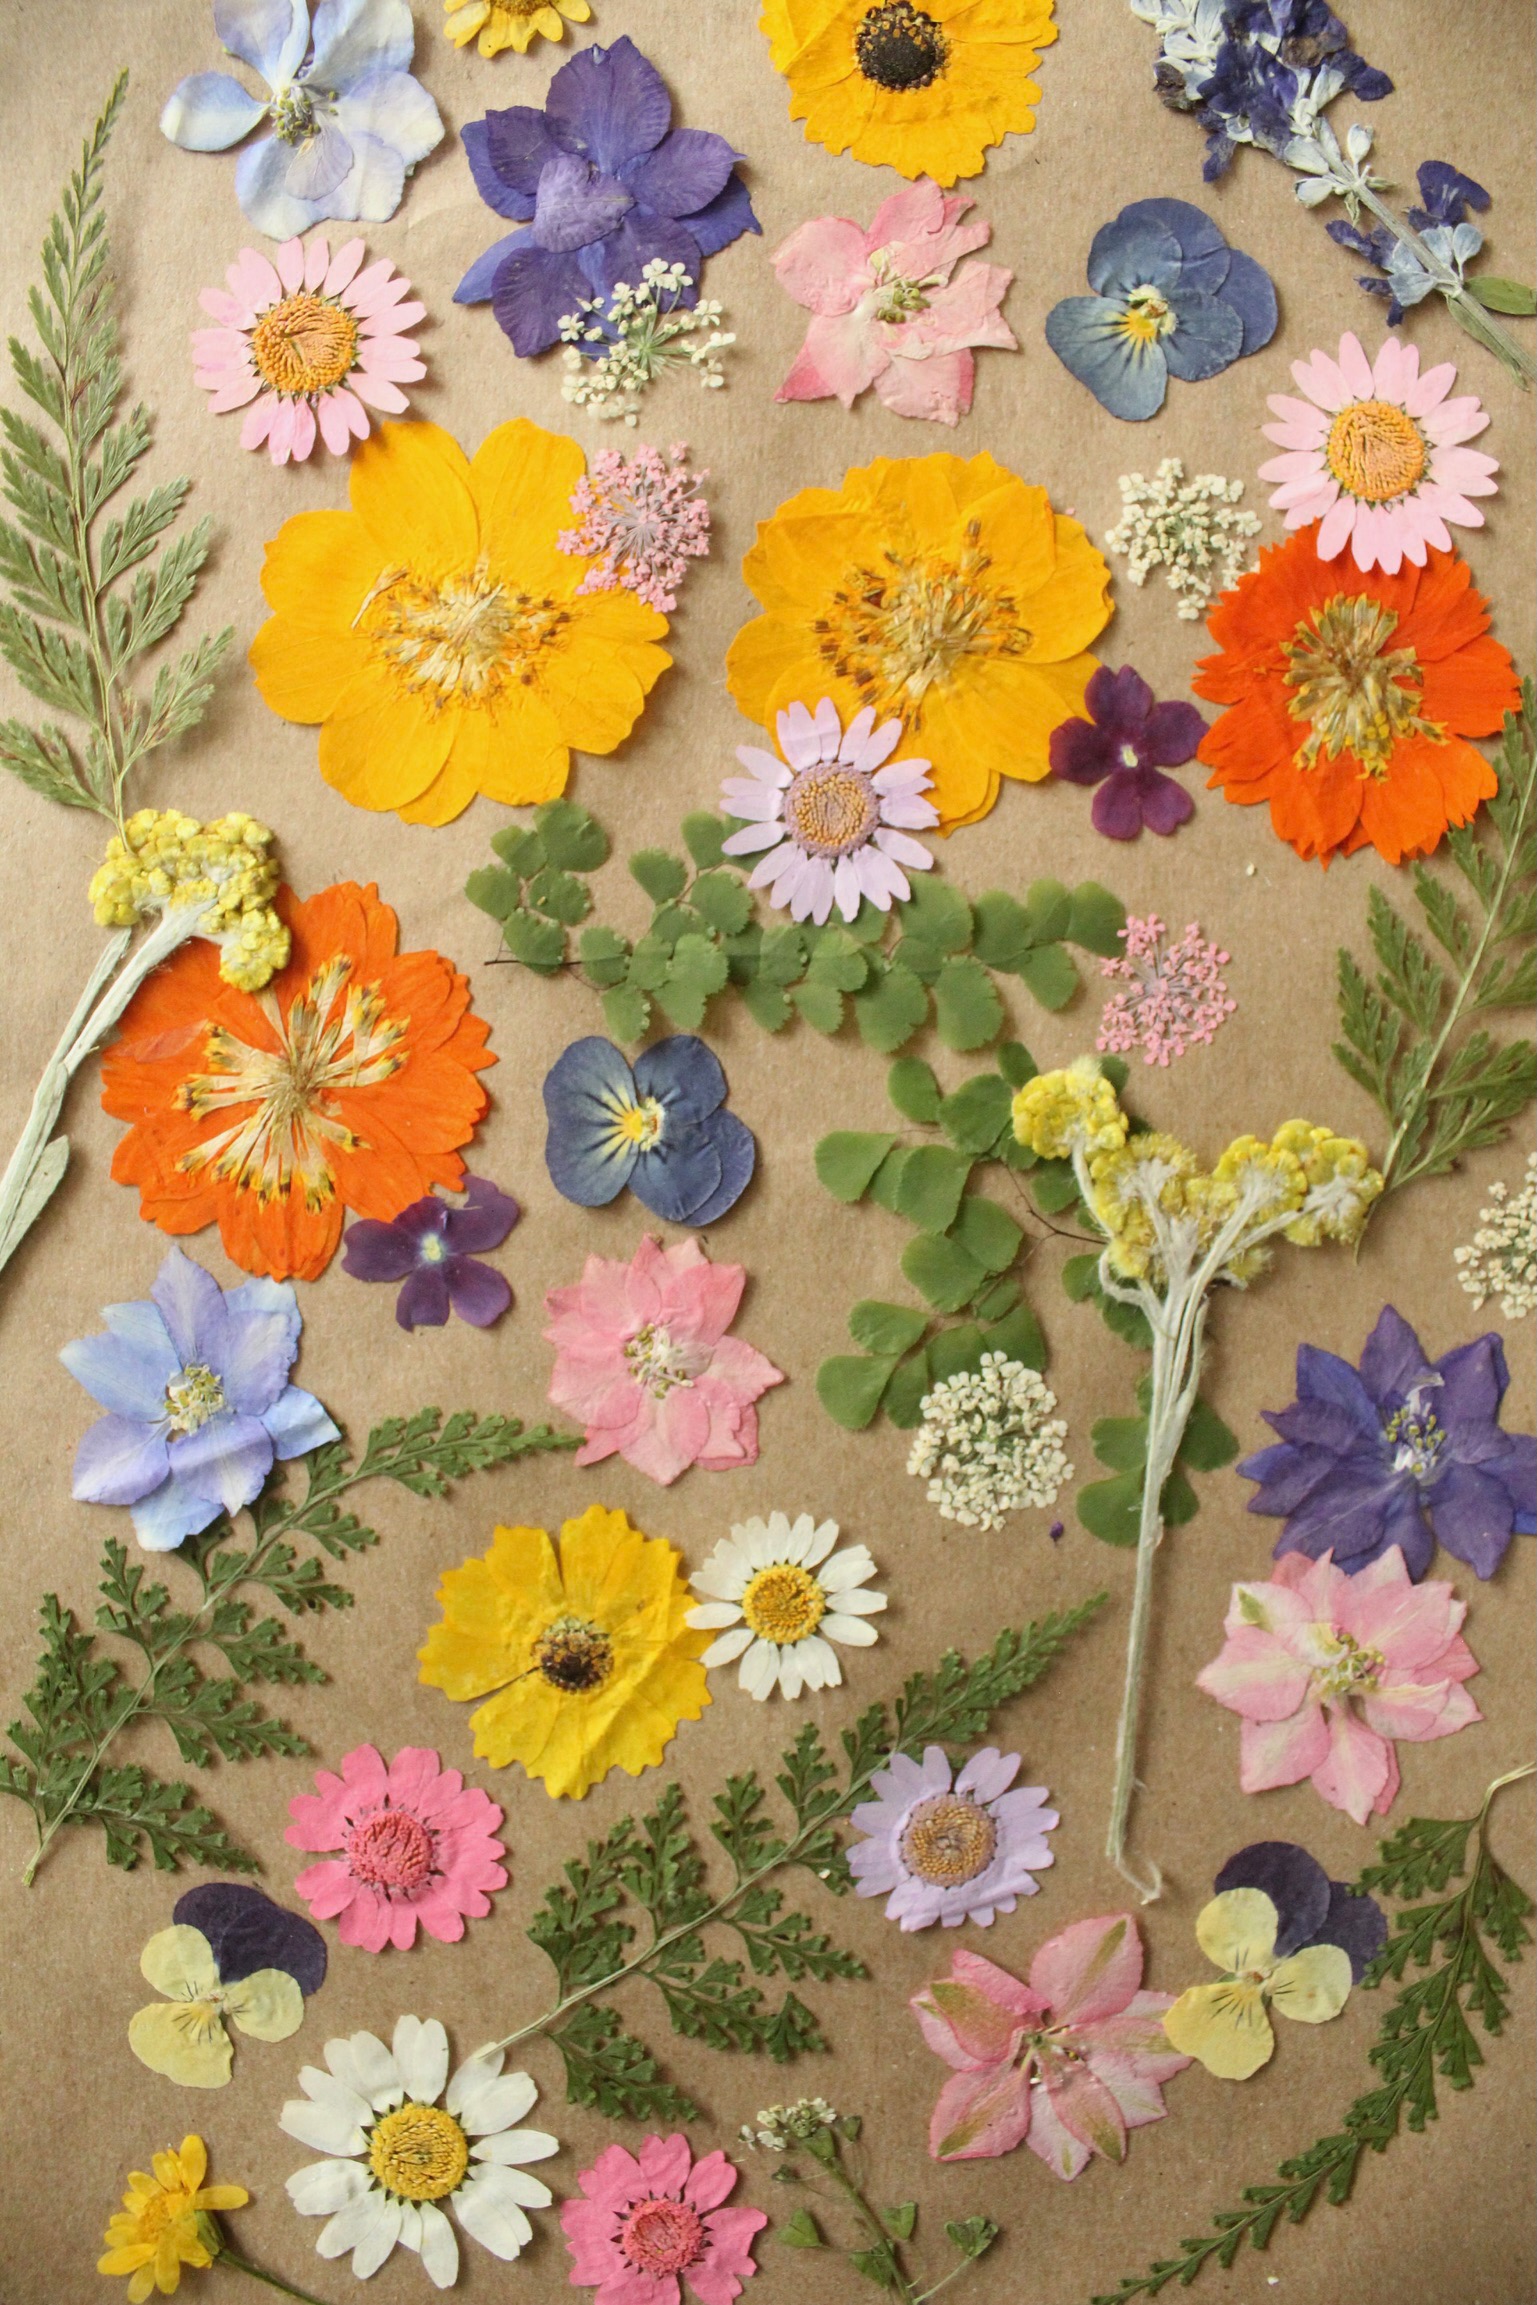
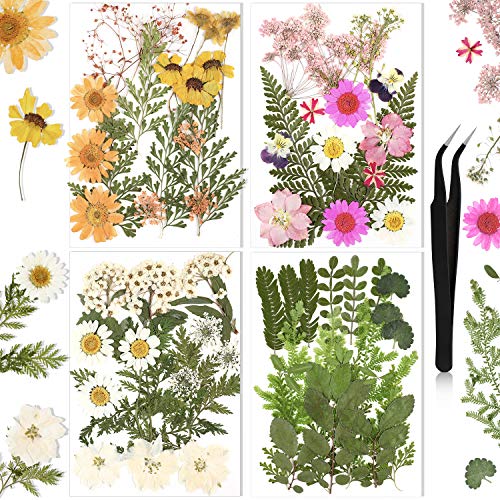
We used pre-pressed flowers we ordered online, but you can absolutely make your suncatchers even more bespoke and press them yourself!
Supplies needed to make a Pressed Flower Suncatcher
Step-by-step tutorial for making a Pressed Flower Suncatcher
Step 1. Remove the inner hoop of your embroidery hoop.
Step 2. Cut out two pieces of contact paper as wide as your embroidery hoop, plus about an inch. Remove the backing from one piece of contact paper and place sticky side up on a flat surface.
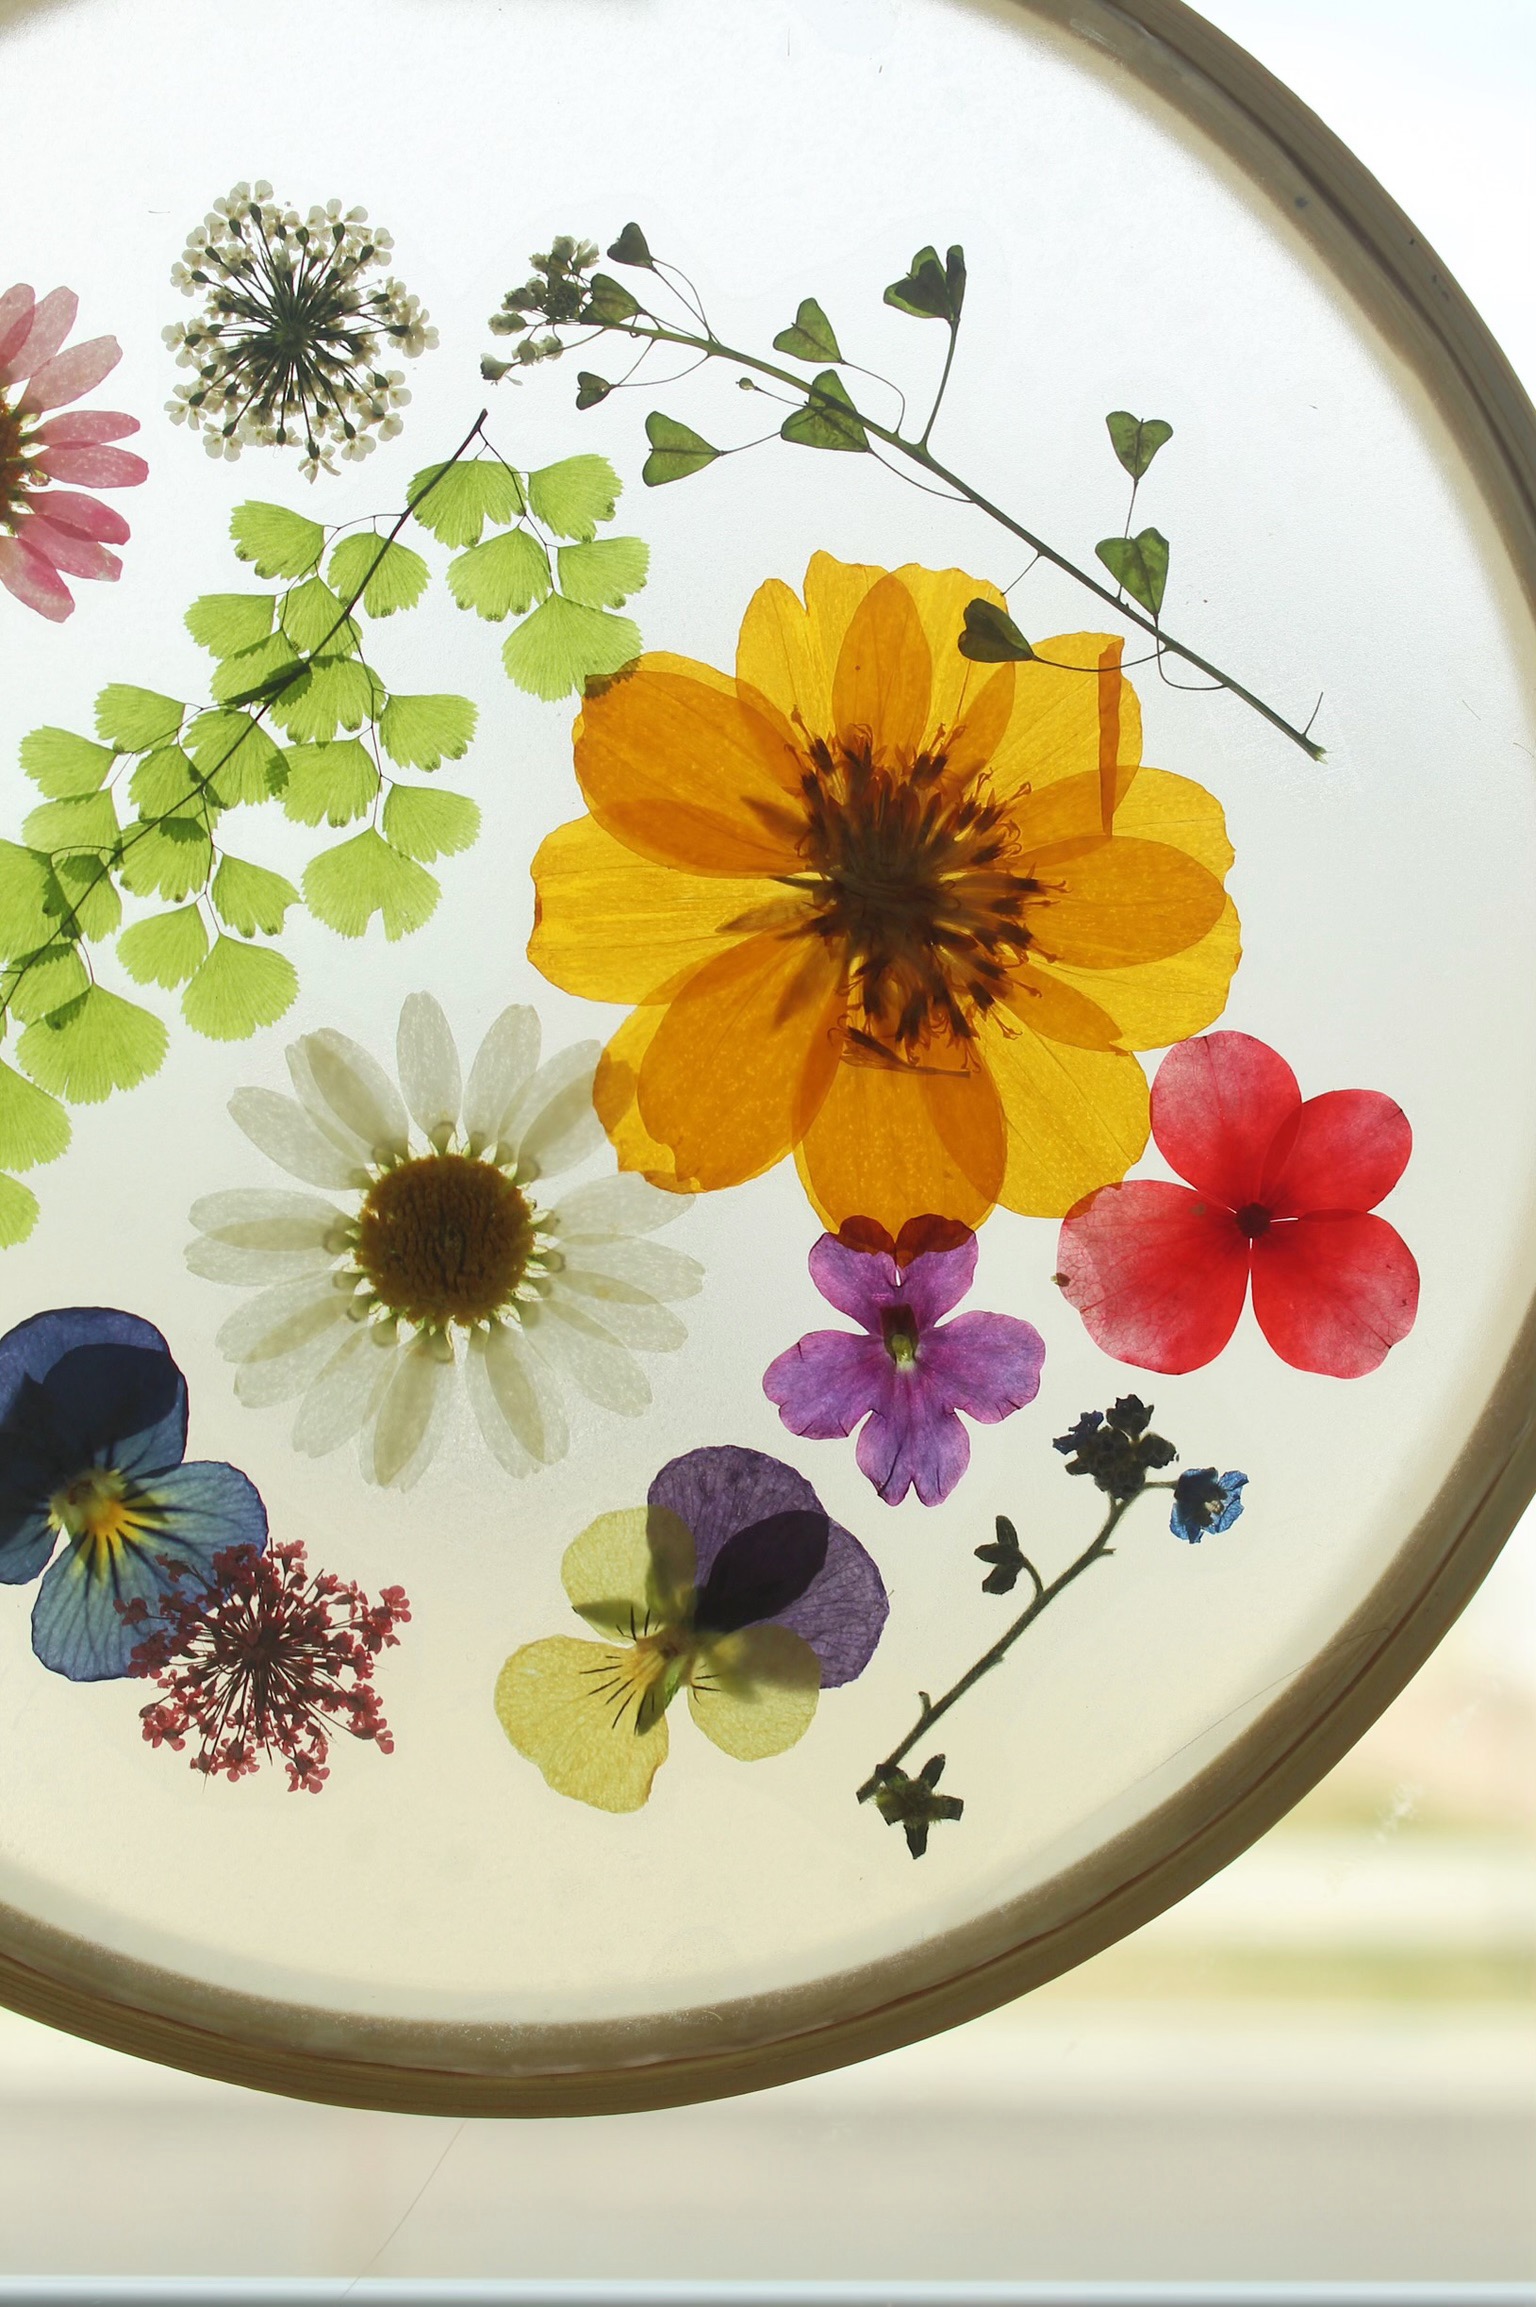
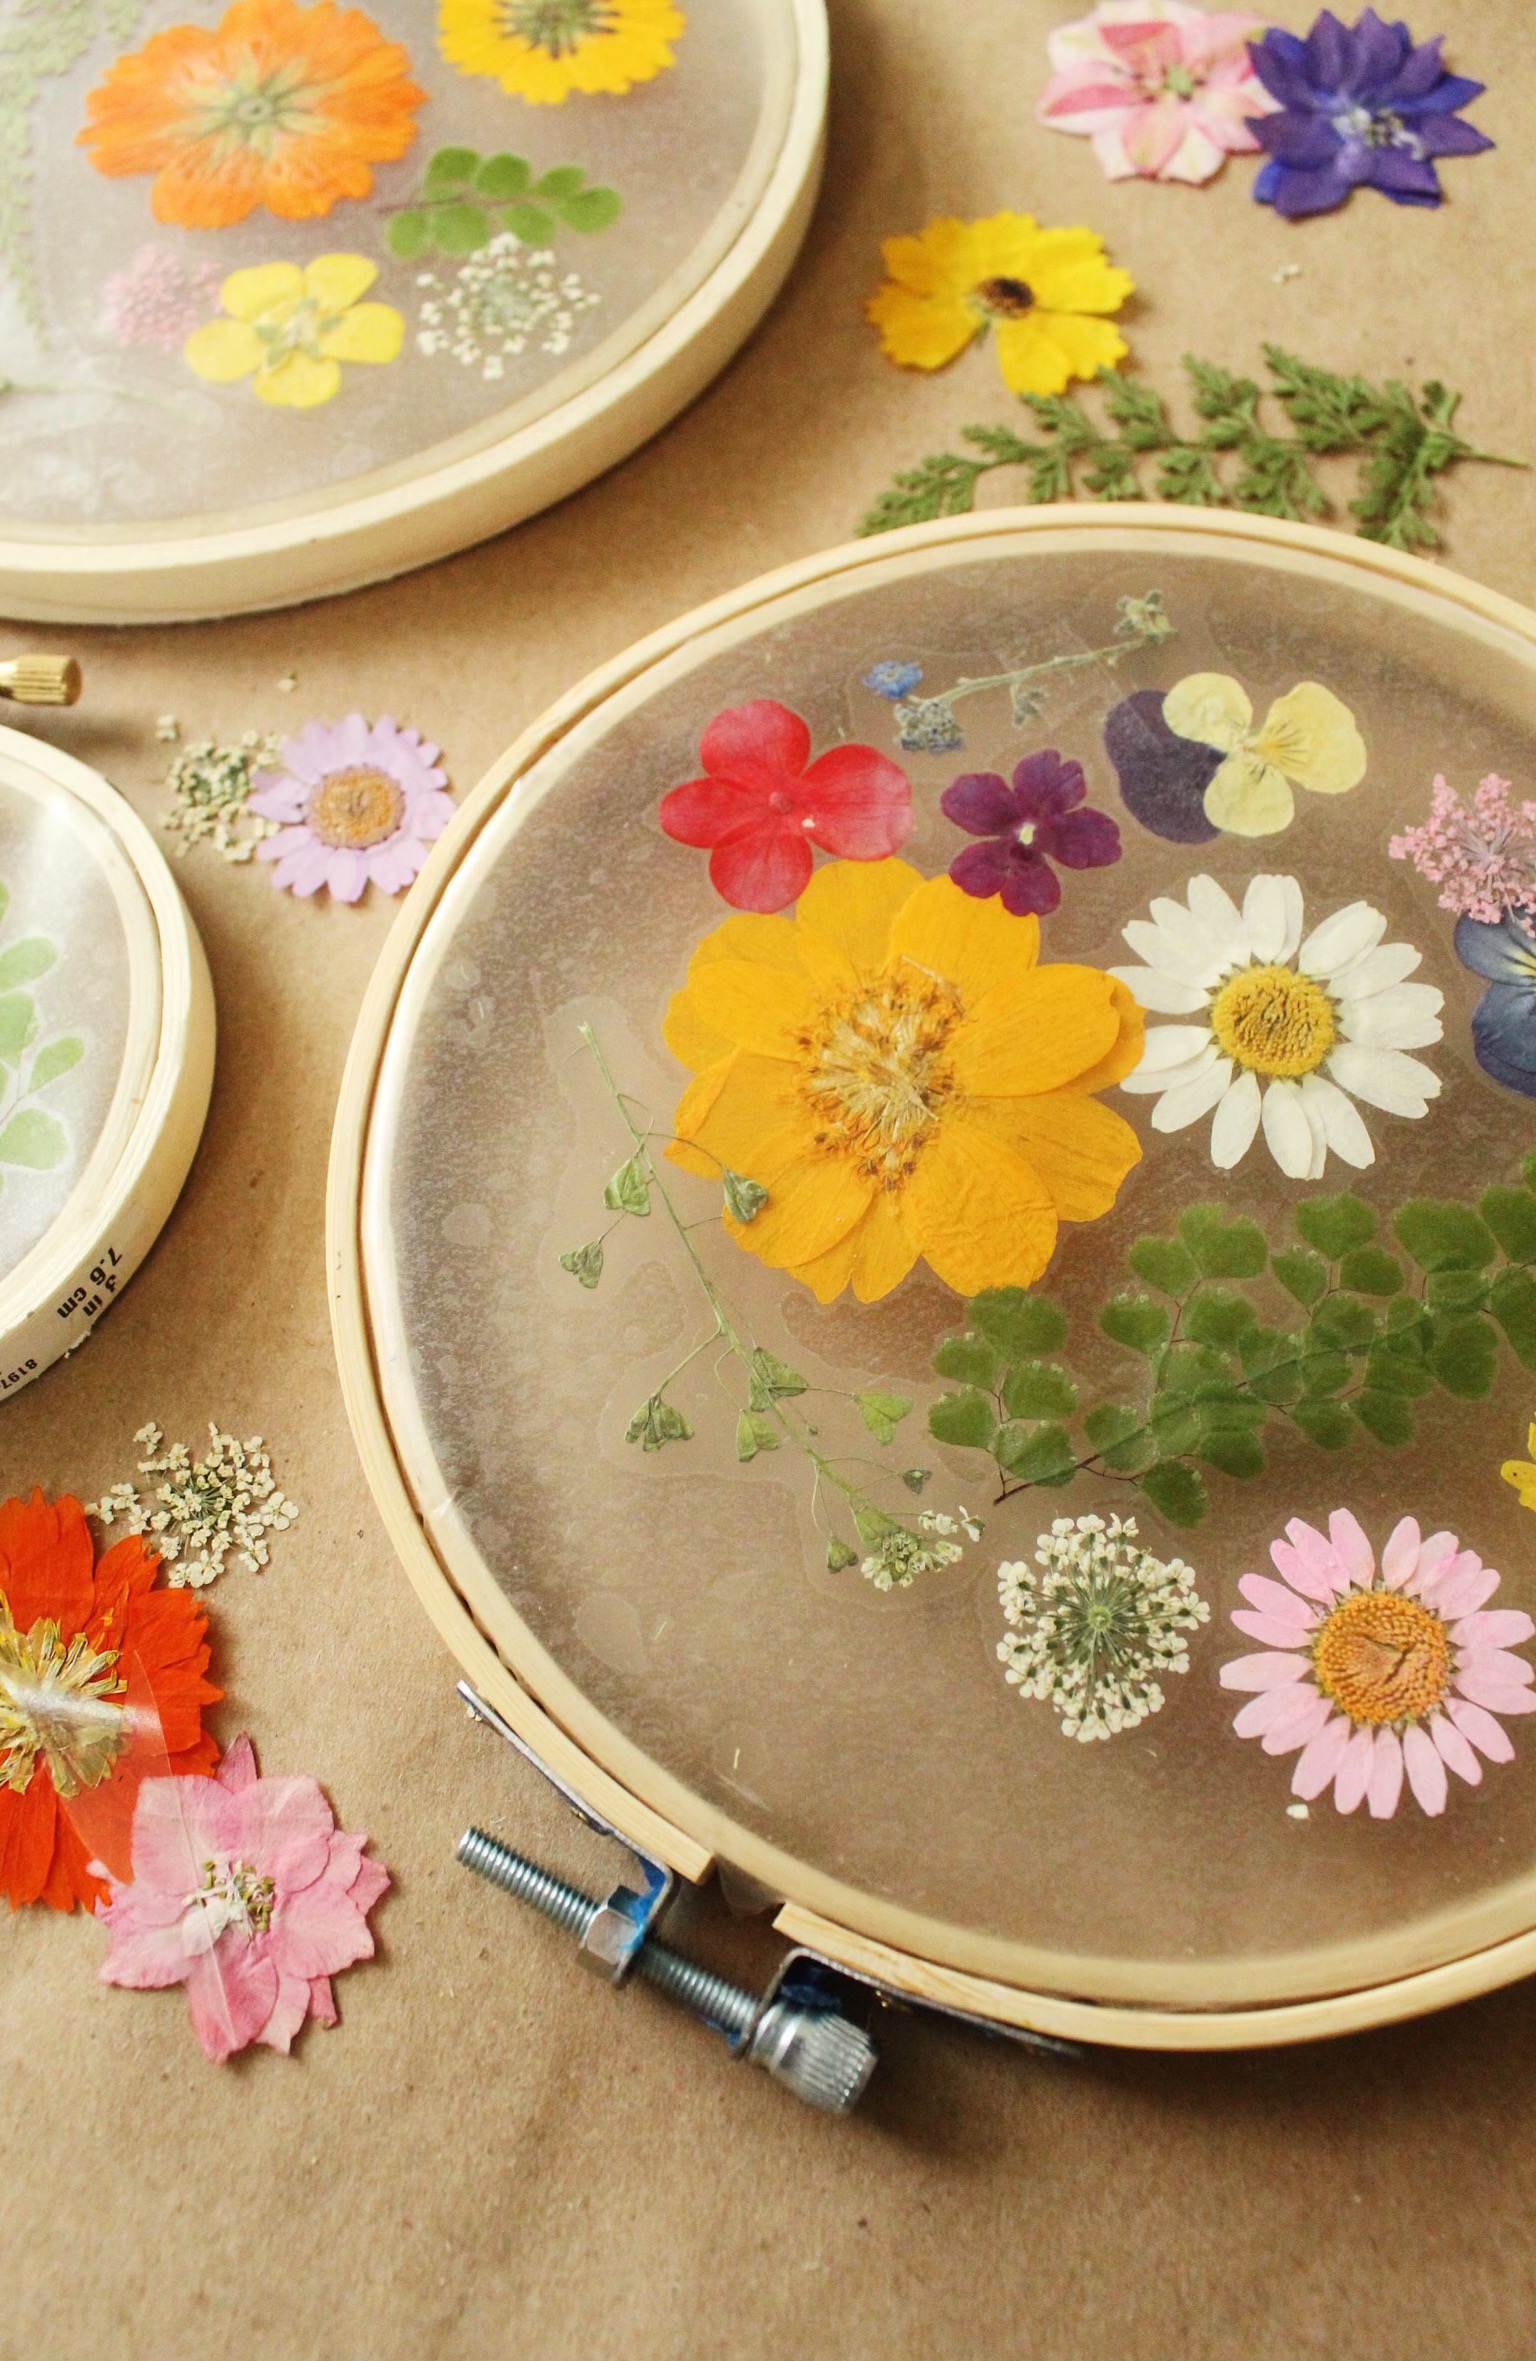
Step 3. Arrange the flowers on the contact paper.
Step 4. Remove the backing from the second piece of contact paper and carefully place it on top of the pressed flowers, sticky side down, smoothing as you go.
Step 5. Place the contact paper piece on top of the inner hoop, the place the outer hoop on top and tighten.
Step 6. Cut any excess contact paper along the edge of the embroidery hoop, using scissors.
Step 7. Hang and enjoy!

DIY Pressed Flower Suncatcher Tutorial

Learn to make a beautiful Pressed Flower Sun Catcher with this step-by-step tutorial! These are so easy to put together with the loveliest results! All you need are flowers, contact paper, and an embroidery hoop!
Materials
- Embroidery hoops
- Contact paper
- Pressed flowers
Instructions
1. Remove the inner hoop of your embroidery hoop.
2. Cut out two pieces of contact paper as wide as your embroidery hoop, plus about an inch. Remove the backing from one piece of contact paper and place sticky side up on a flat surface.
3. Arrange the flowers on the contact paper.
4. Remove the backing from the second piece of contact paper and carefully place it on top of the pressed flowers, sticky side down, smoothing as you go.
5. Place the contact paper piece on top of the inner hoop, the place the outer hoop on top and tighten.
6. Cut any excess contact paper along the edge of the embroidery hoop, using scissors.
7. Hang and enjoy!
Recommended Products
As an Amazon Associate and member of other affiliate programs, I earn from qualifying purchases.
-
 Nuanchu Pressed Flowers Bulk Dried Flower for Crafts, Dried Flower Leave Natural with Tweezer for Resin Mold Scrapbooking DIY (Fresh Style)
 -
Magic Cover Clear Self-Adhesive Vinyl Shelf and Drawer Liner, 18" x 16', Clear Acid Free (16F-850-06)
-
Caydo 6 Pieces Embroidery Hoop Set Bamboo Circle Cross Stitch Hoop Ring 4 inch to 10 inch for Embroidery and Cross Stitch


Happy making!
Liz
SAVE THIS POST FOR LATER!