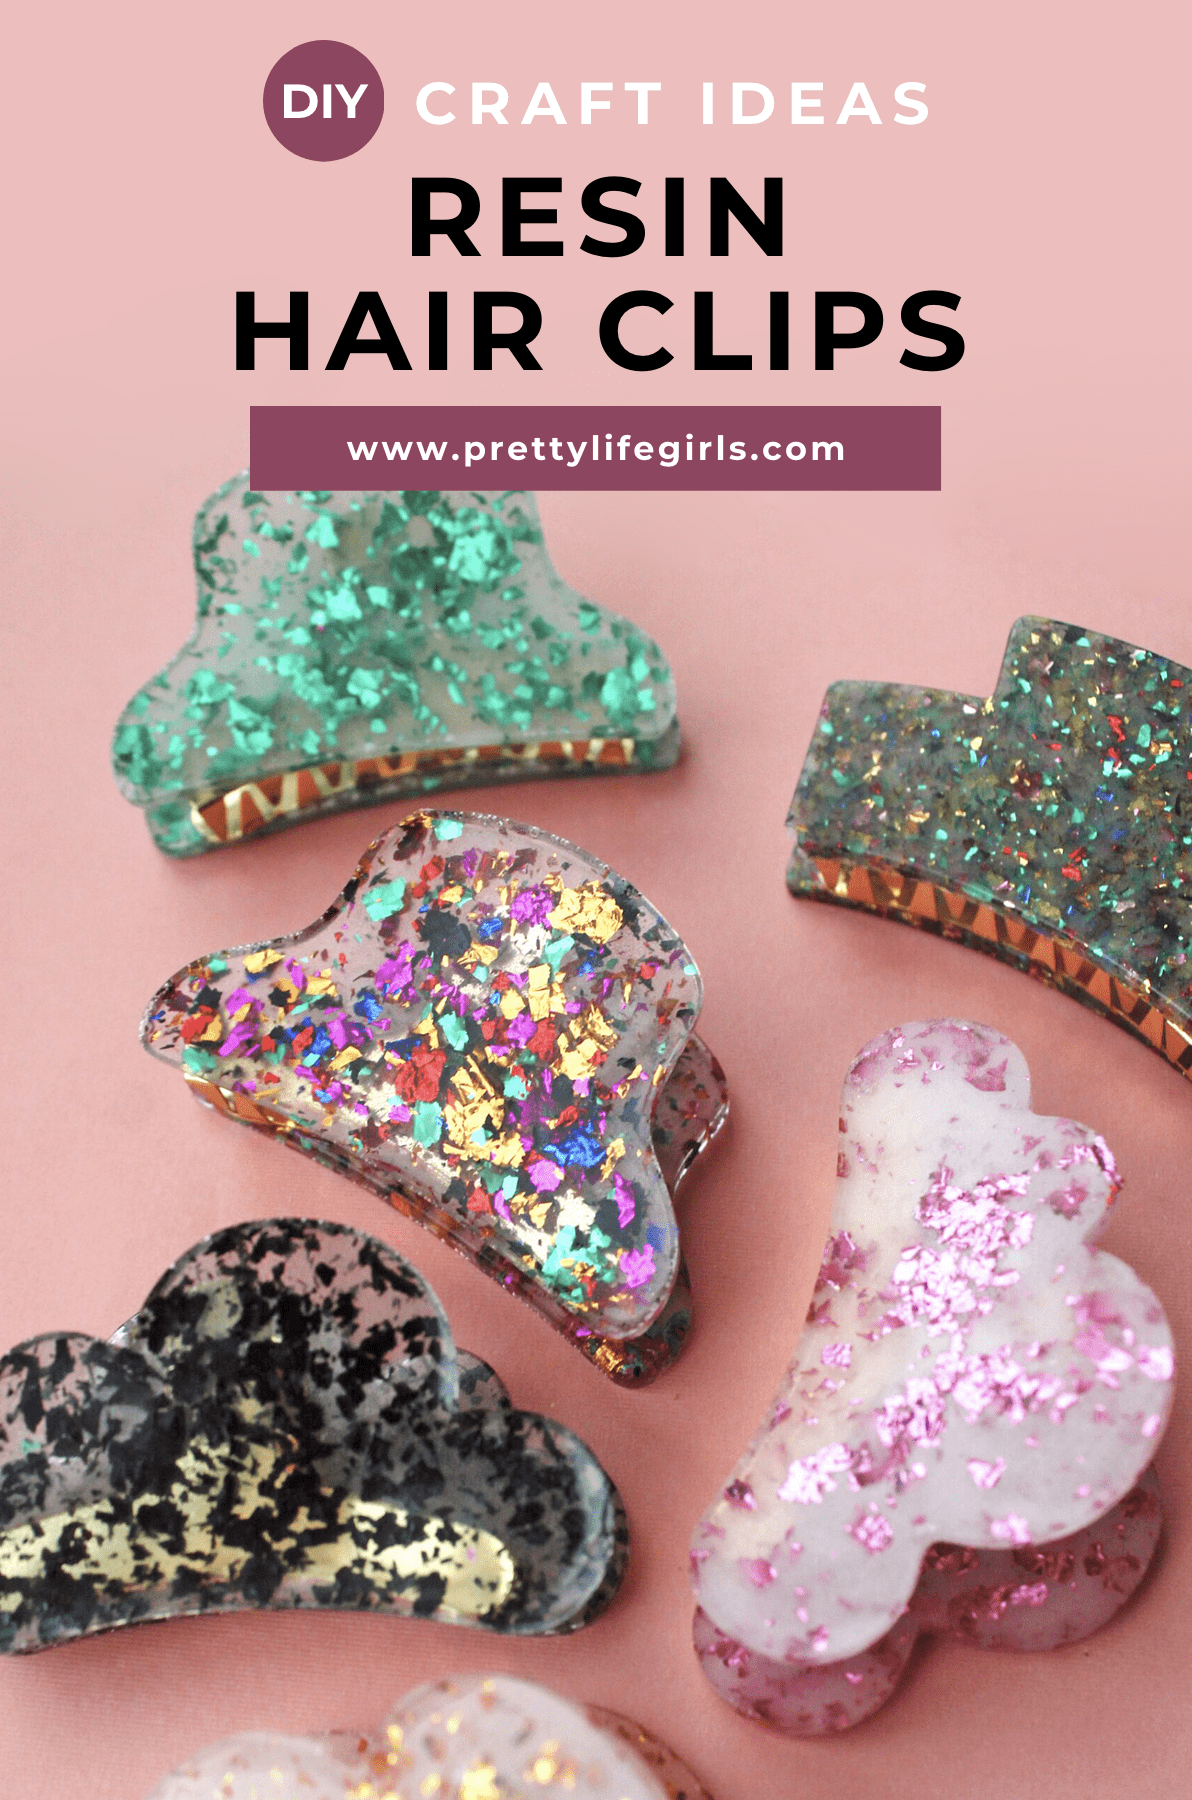
Learn how to make DIY Resin Hair Clips with this beginner tutorial! With just a few simple supplies and steps, you can make this fun accessory yourself! Keep reading to learn how!

How to make Hair Clips with Resin Tutorial
We have made a few different projects with resin (we made barrettes here and a piece of letter decor here) and it always gives us the satisfying sensation of making something from nothing. You start with two bottles of liquid and end up with something solid, gorgeous, and functional–it’s a magical method and these claw clips are no different!
How do you make resin hair clips?
We would categorize this project as one for a resin beginner since it requires simple supplies and steps. All you need is resin, the right mold, some fun mix-ins, glue, and a few claw clips! If you have never worked with resin before you will love this project because the mold is shallow and easy to use, and the kind of resin we used is simple and foolproof.
What is the best glue for hair clips?
We used super glue to attach the resin pieces to the claw clips because it isn’t bulky and doesn’t budge from the clip once the glue dries and cures. Since you will be pushing against the resin pieces to open the claw you’ll want a reliable and strong glue.
 Supplies needed to make resin hair clips
 Supplies needed to make resin hair clips
- Mod Podge Resin Kit
- Resin Mold and Clips
- Super Glue
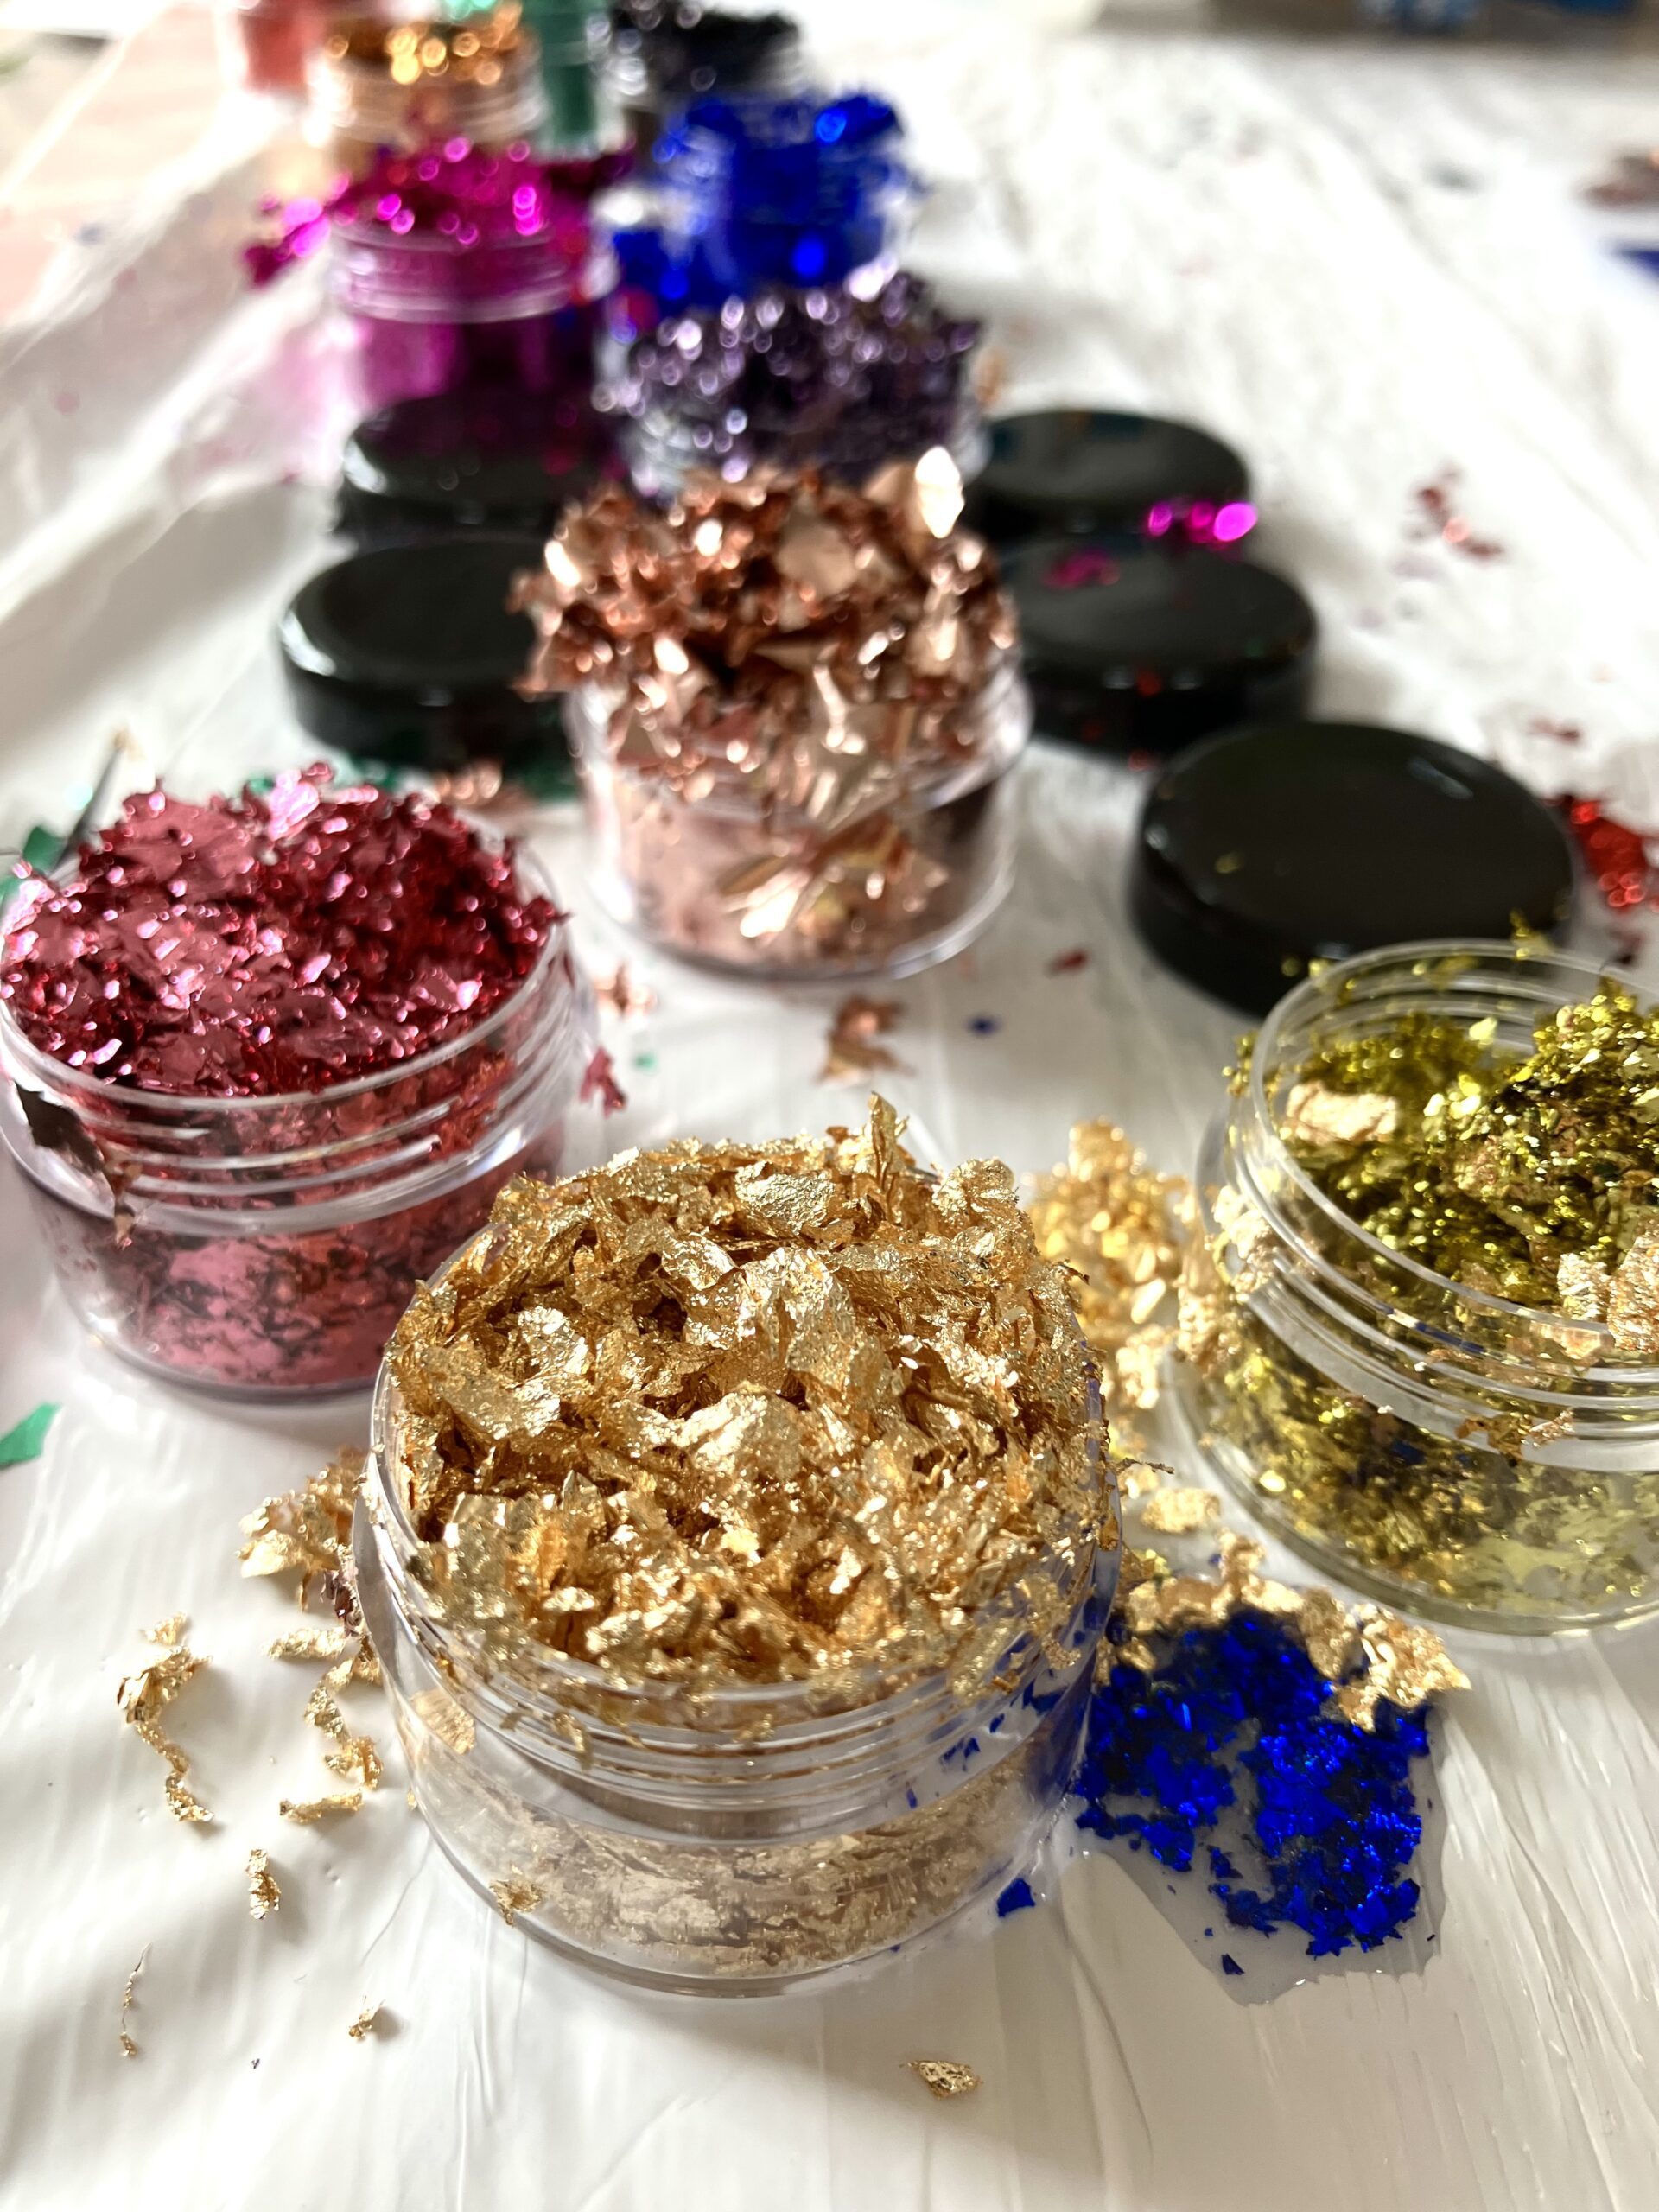
- Colored Foil Flakes
- Disposable Cups
- Disposable Spoon
- Disposable Tablecloth or Garbage Bag
- Disposable Gloves
- Straw

How do you make a claw clip?
Watch us make them on Instagram Reels right here, or read the steps below!
Step 1: In a well-ventilated area, prepare your work surface by covering it with garbage bags or a plastic tablecloth.
Step 2: Put on gloves and pour the required amount of resin and hardener (according to your package directions) into a disposable plastic cup. (For instance, ours asked for a 1:1 ratio.)
Step 3: Mix together the resin and hardener with a disposable spoon according to package directions. (For instance, ours instructed that we mix them together for 3 minutes.)
Step 4: Add in your desired flakes to the prepared resin and mix with disposable spoon.
Step 5: Place the molds on the prepared work surface. Carefully pour the resin into two of the clip molds. We reccomend pouring a small amount at a time and letting it spread so that it doesn’t go over the edge.
Step 6: Using a straw, gently blow air onto the wet resin to remove any bubbles.
Step 7: Let the resin set according to the package directions. (For instance, we let ours set for 24 hours.)
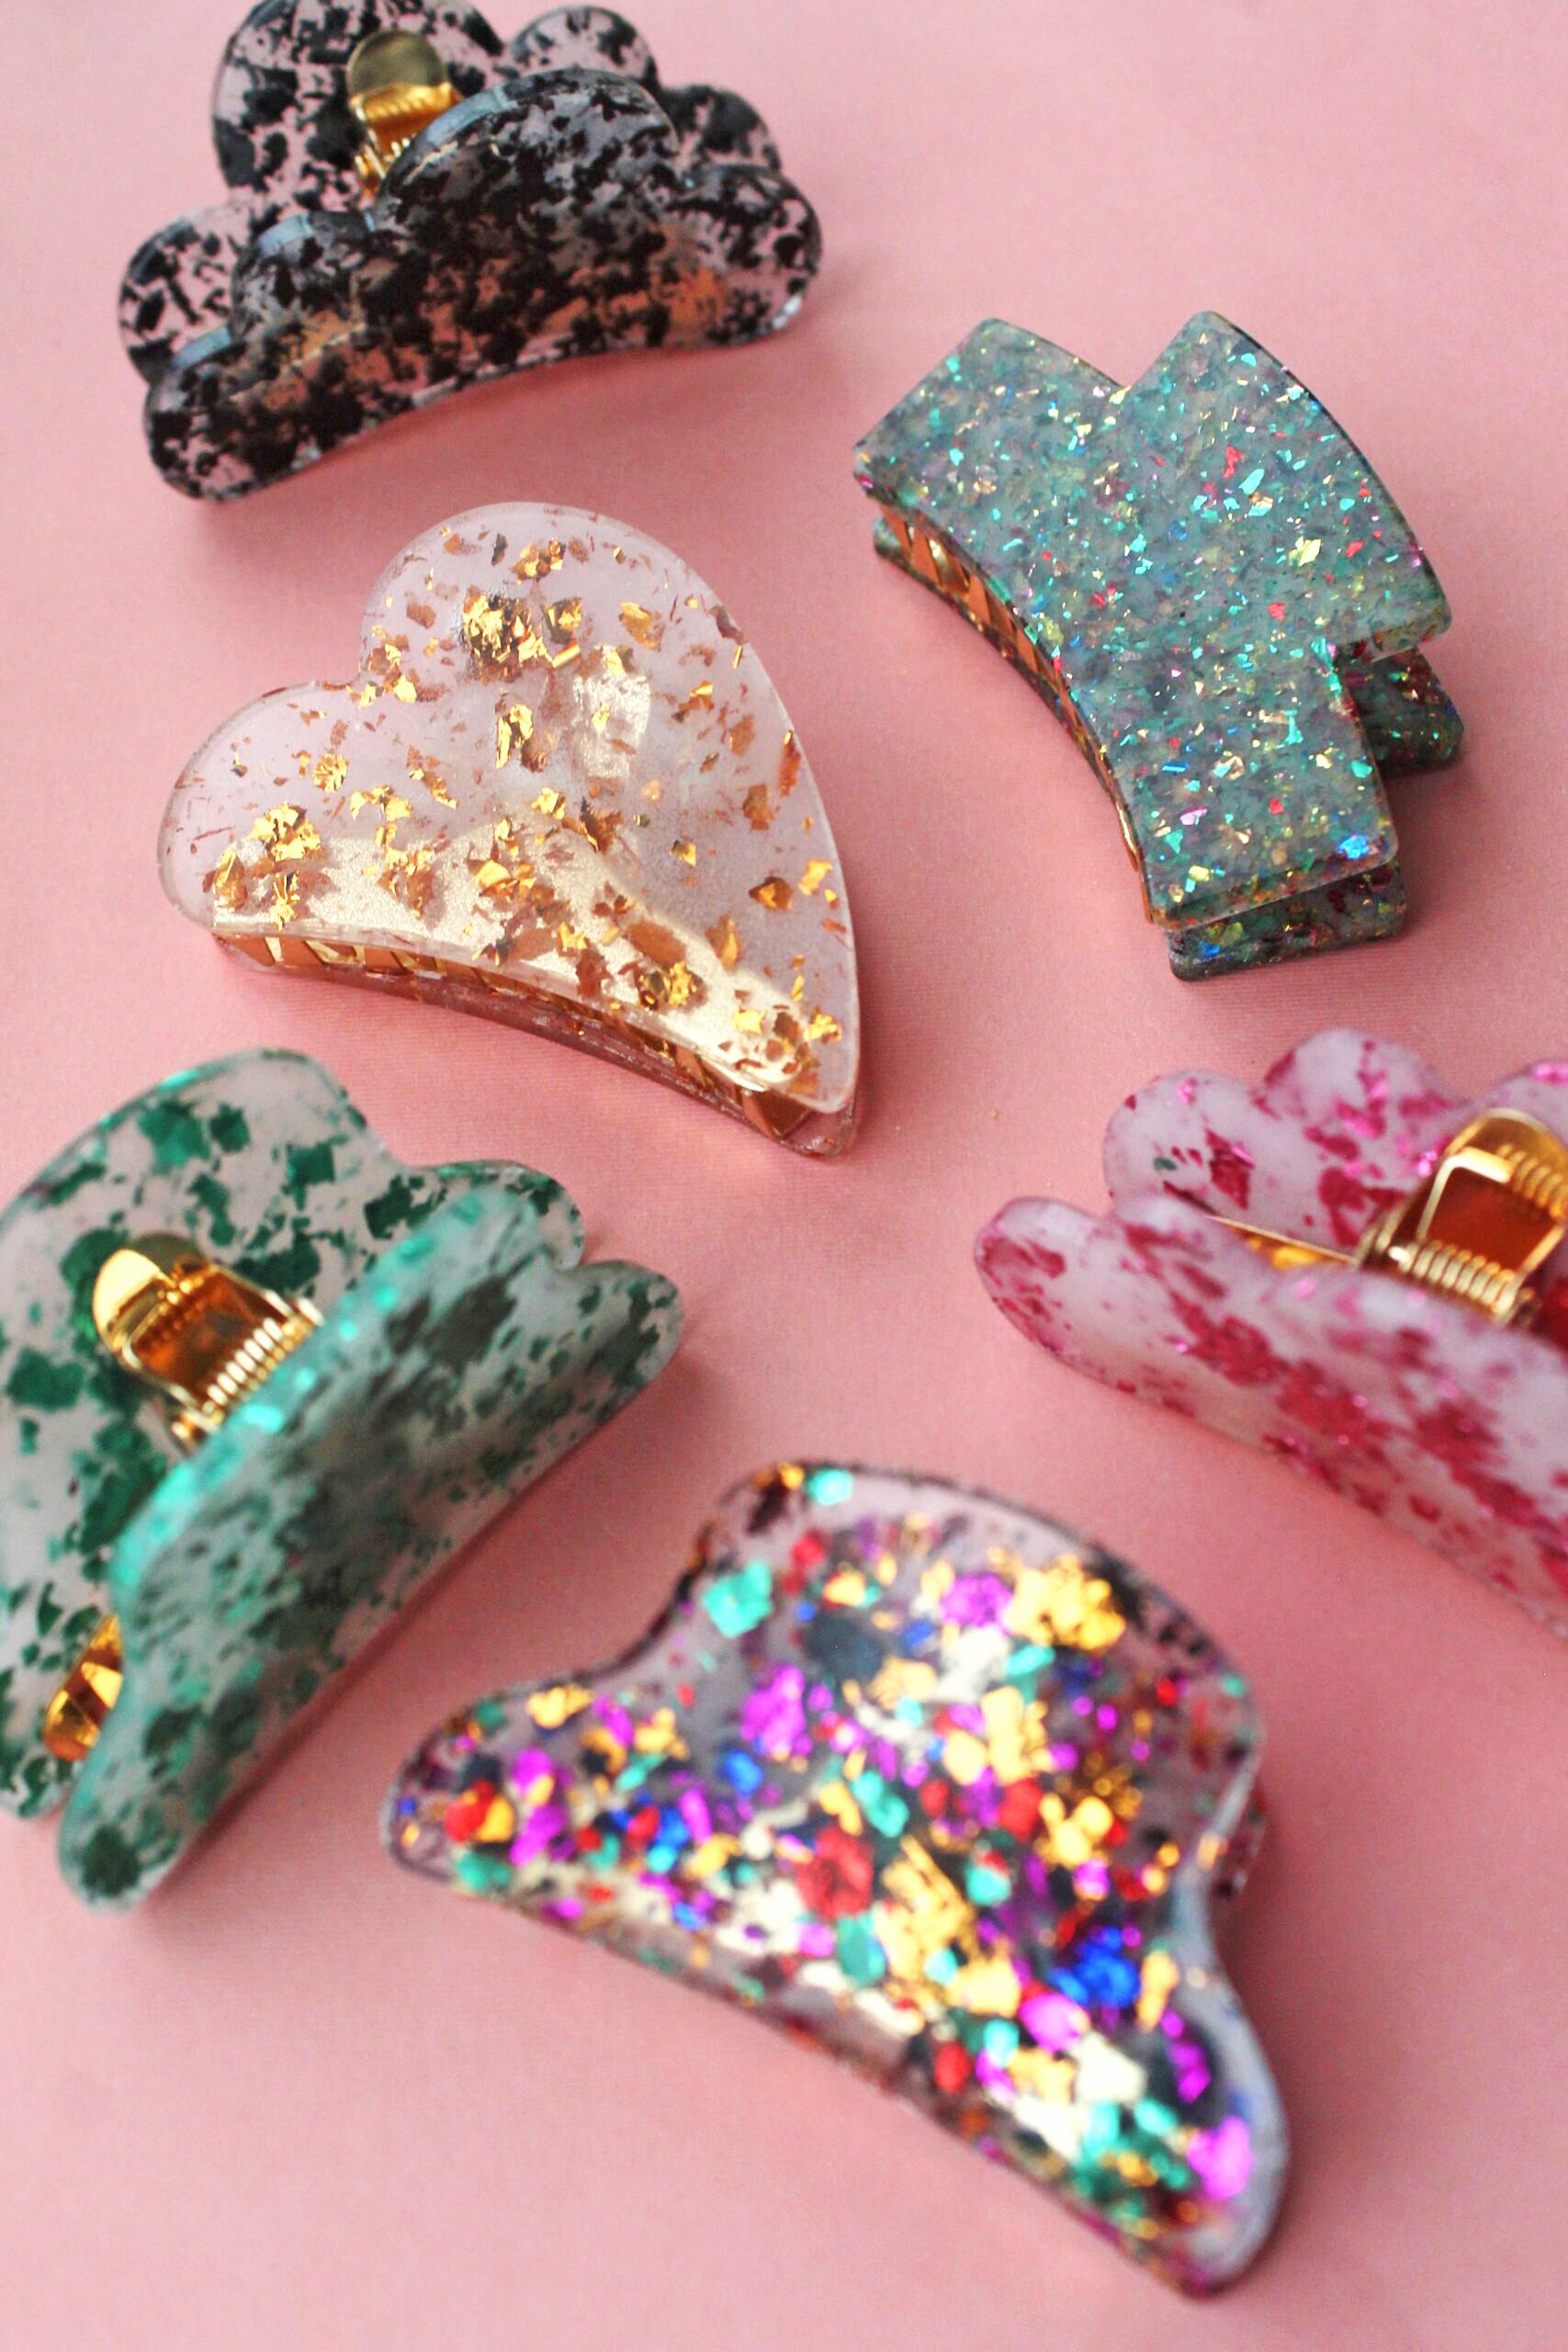
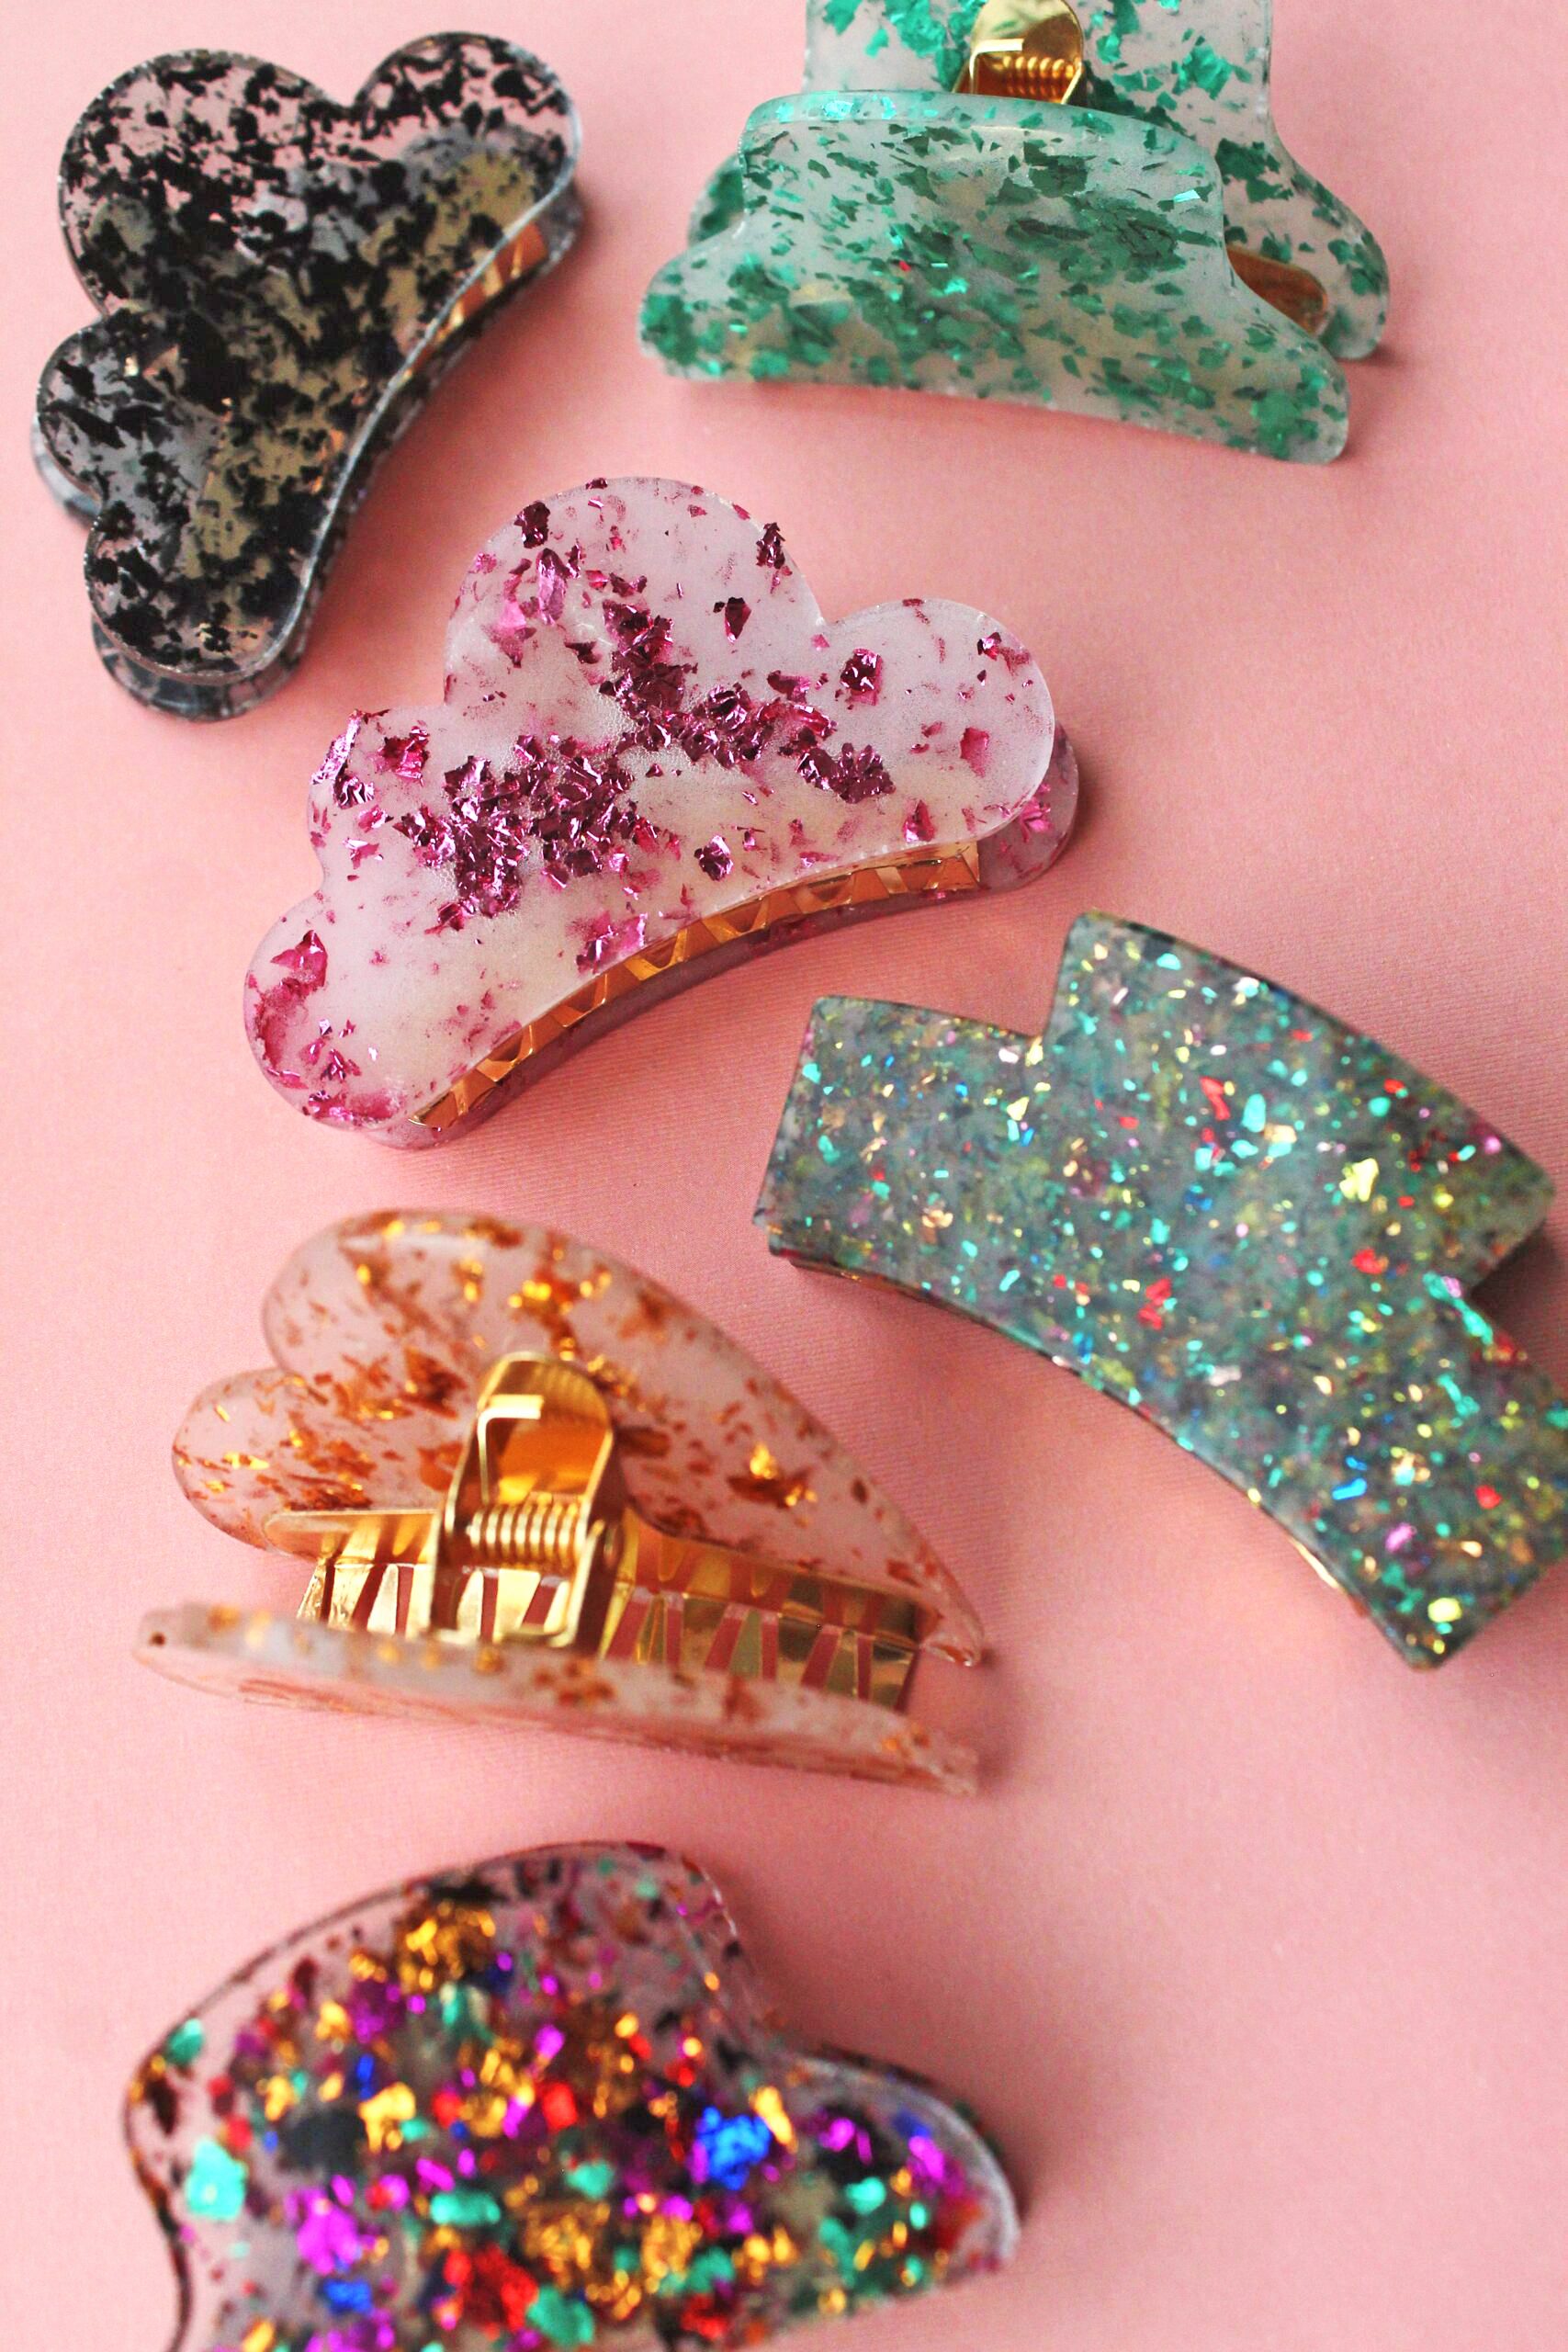
Step 8: Once the resin has set, pop out the resin pieces from the molds and attach them to the clips using super glue. Let dry completely before wearing.
 Isn’t this such a fun project? We loved using the foil flakes because they will add the perfect amount of sparkle to an outfit for the holidays. However, there are SO many other possiblities of fun resin add-ins to match any aesthetic you are going for!
Just think of the fun clips you could customize as gifts! What would you add?
How to make Hair Clips with Resin Tutorial

Learn how to make DIY Resin Hair Clips with this beginner tutorial! With just a few simple supplies and steps, you can make this fun accessory yourself!
Materials
- Mod Podge Resin Kit
- Resin Mold and Clips
- Super Glue
- Colored Foil Flakes
- Disposable Cups
- Disposable Spoon
- Disposable Tablecloth or Garbage Bag
- Disposable Gloves
- Straw
Instructions
- In a well-ventilated area, prepare your work surface by covering it with garbage bags or a plastic tablecloth.
- Put on gloves and pour the required amount of resin and hardener (according to your package directions) into a disposable plastic cup. (For instance, ours asked for a 1:1 ratio.)
- Mix together the resin and hardener with a disposable spoon according to package directions. (For instance, ours instructed that we mix them together for 3 minutes.)
- Add in your desired flakes to the prepared resin and mix with disposable spoon.
- Place the molds on the prepared work surface. Carefully pour
the resin into two of the clip molds. We reccomend pouring a small
amount at a time and letting it spread so that it doesn’t go over the
edge. - Using a straw, gently blow air onto the wet resin to remove any bubbles.
- Let the resin set according to the package directions. (For instance, we let ours set for 24 hours.)
- Once the resin has set, pop out the resin pieces from the
molds and attach them to the clips using super glue. Let dry completely
before wearing.
Recommended Products
As an Amazon Associate and member of other affiliate programs, I earn from qualifying purchases.
-
Mod Podge 8 fl oz Hardener 2-Part Supplies Pack, Perfect Kits and Silicone Molds for Epoxy Resin Projects, 25263, Clear
-
Gukasxi 2Pcs Small Claw Clip Resin Molds with 6 Metal Hair Claws, Small Hair Claw Clips Mold for Epoxy Resin, Silicone Resin Mold for DIY Hair Claws Clamps for Women Girls Thin Hair
-
Gold Flakes for Resin, 30 Colors Metallic Foil Flakes, Colored Gilding Flakes Craft Foil with Tweezers for Resin, Nail Art, Jewelry Making, Candle Molds & Painting
-
Krazy Glue, Home & Office, Brush, 5 g


Happy making!
ox. Liz and Sam