


Looking for a kid’s Halloween costume that is out of this world? Our DIY astronaut costume is so cute, it’s sure to send you into the stratosphere. Keep reading for all of the darling details!
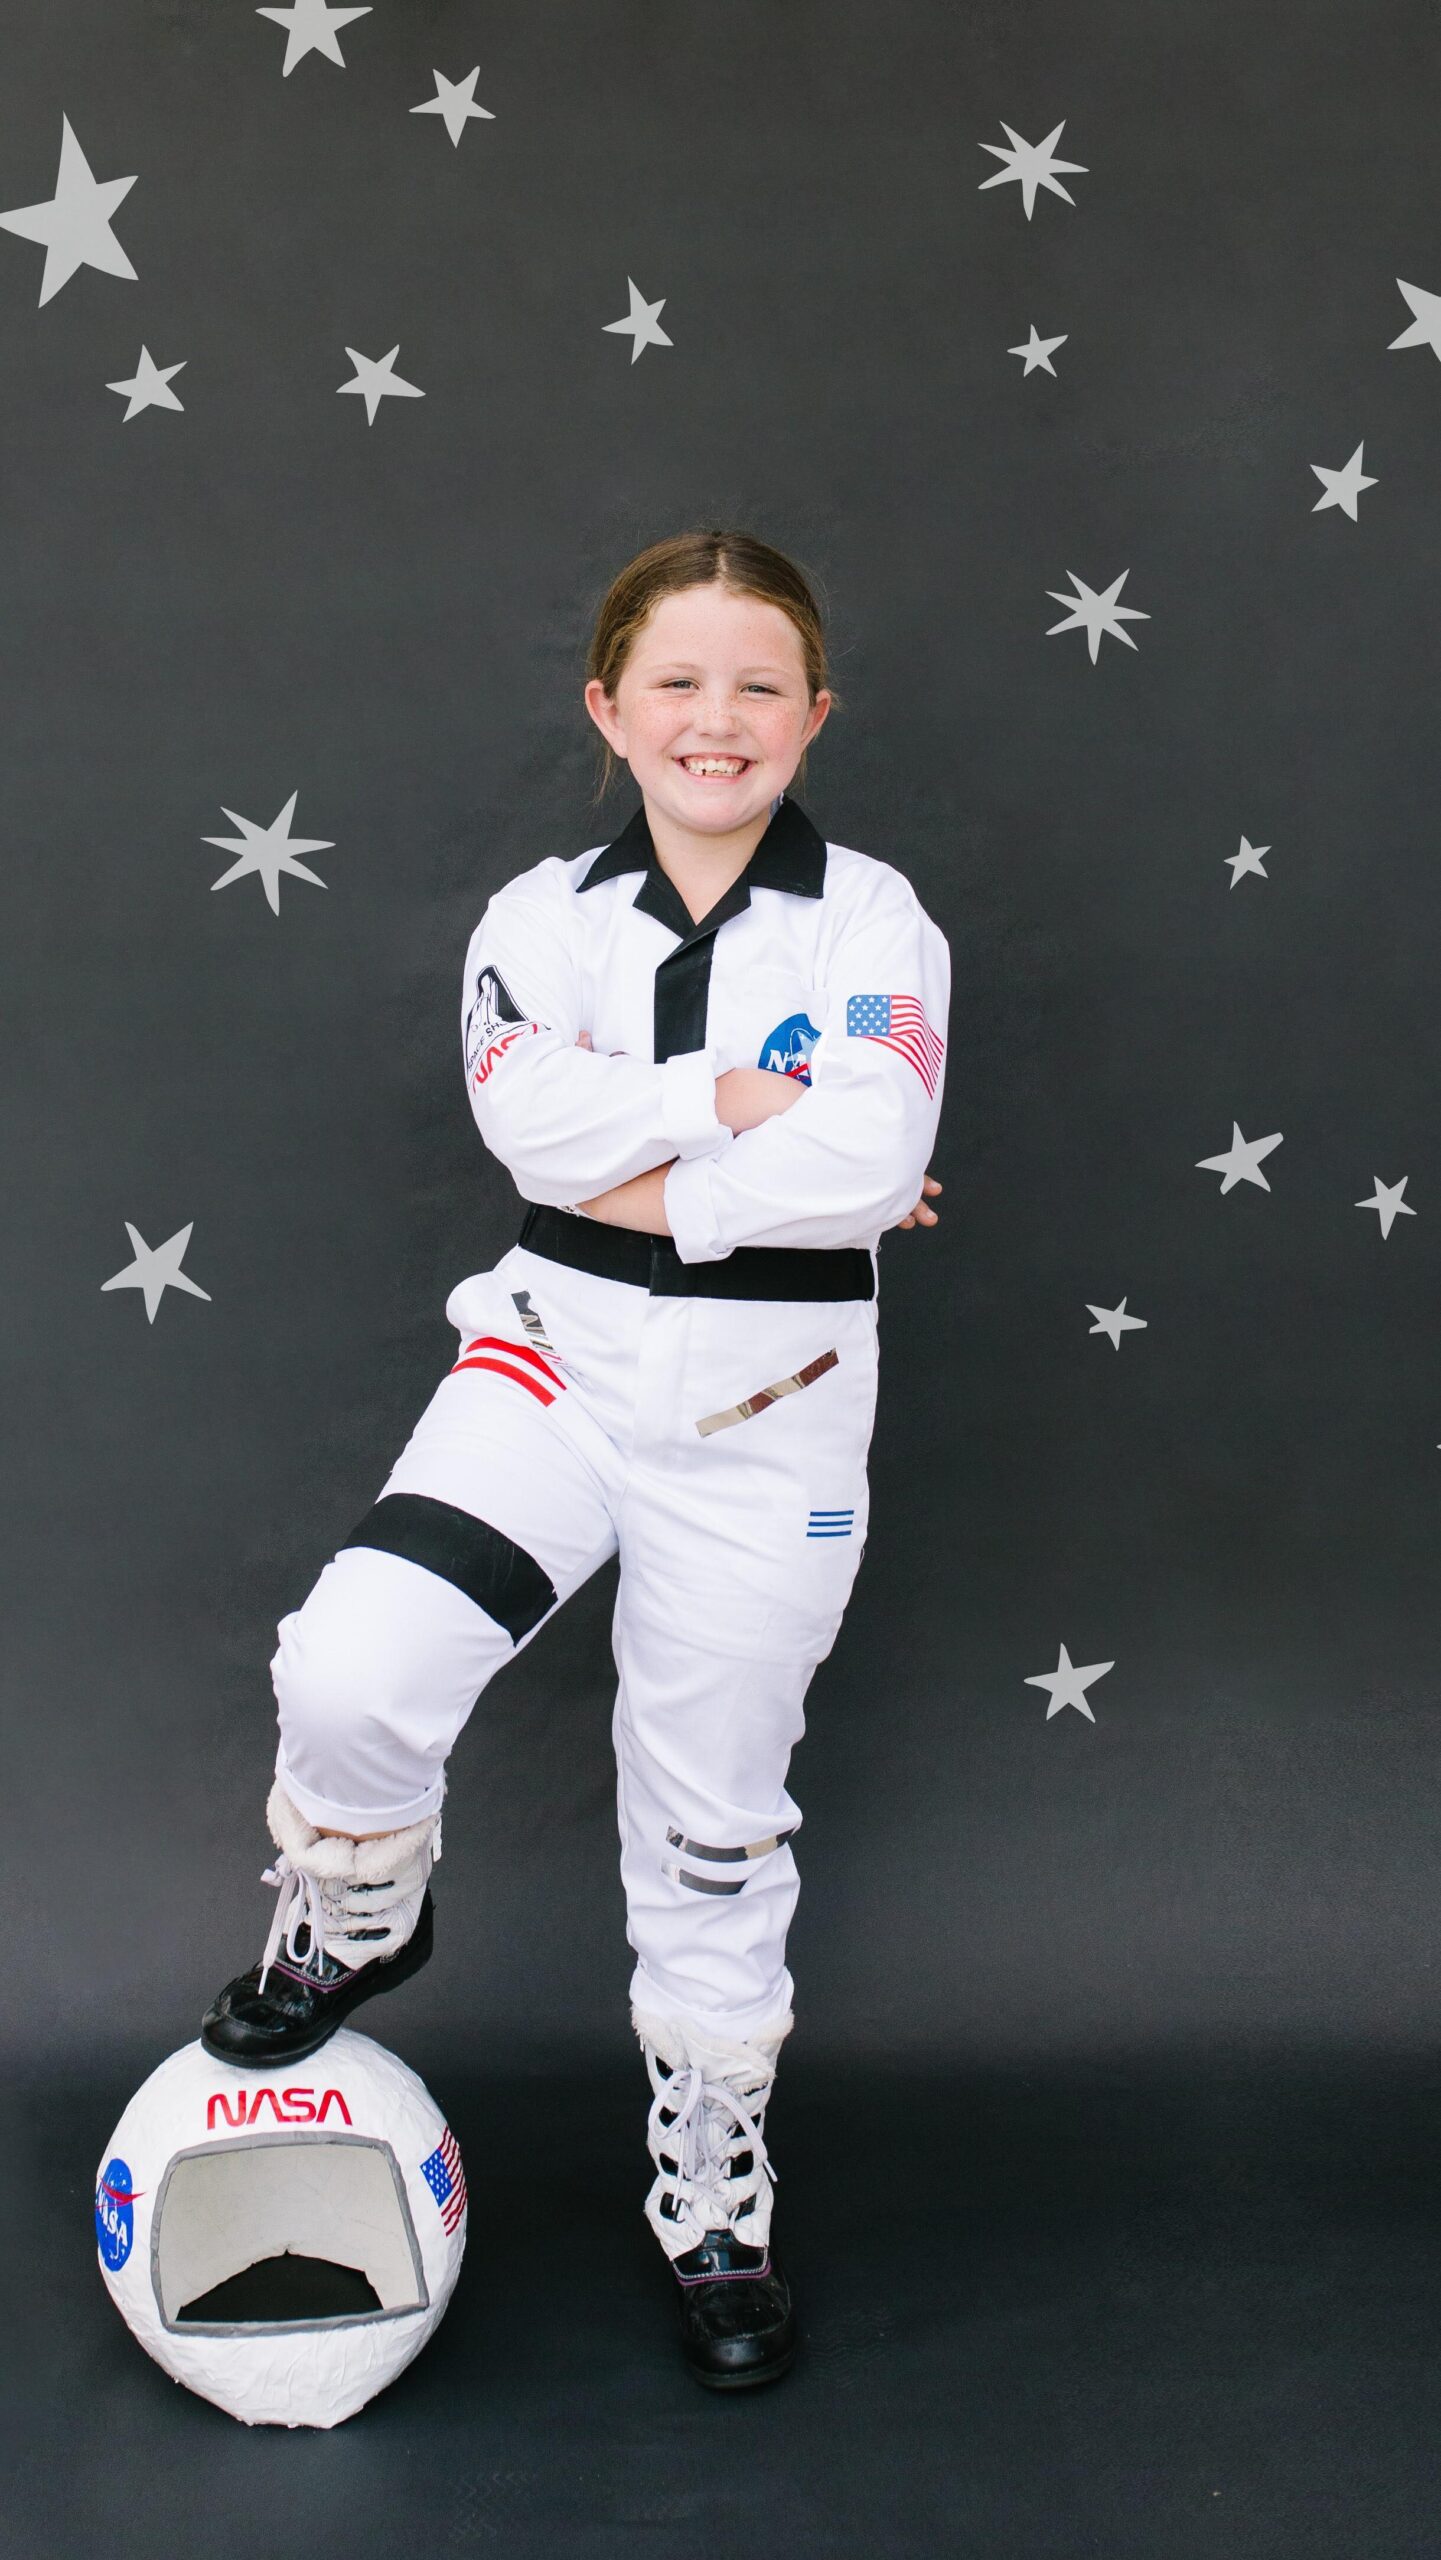
DIY Astronaut Costume for Halloween
September is here, the kids are back to their routines at school, and if you ask us, it’s basically spooky season, since, as DIYers, we are fully in the pre-Halloween preparatory season. Brainstorms are being held! Fabrics are being sourced! Bedazzlers are being retrieved from storage! If this behavior matches your current vibe, you may be inspired by the spacey costume we are sharing today–a DIY astronaut costume! (And don’t forget to peruse our DIY costume archives while you’re at it!)
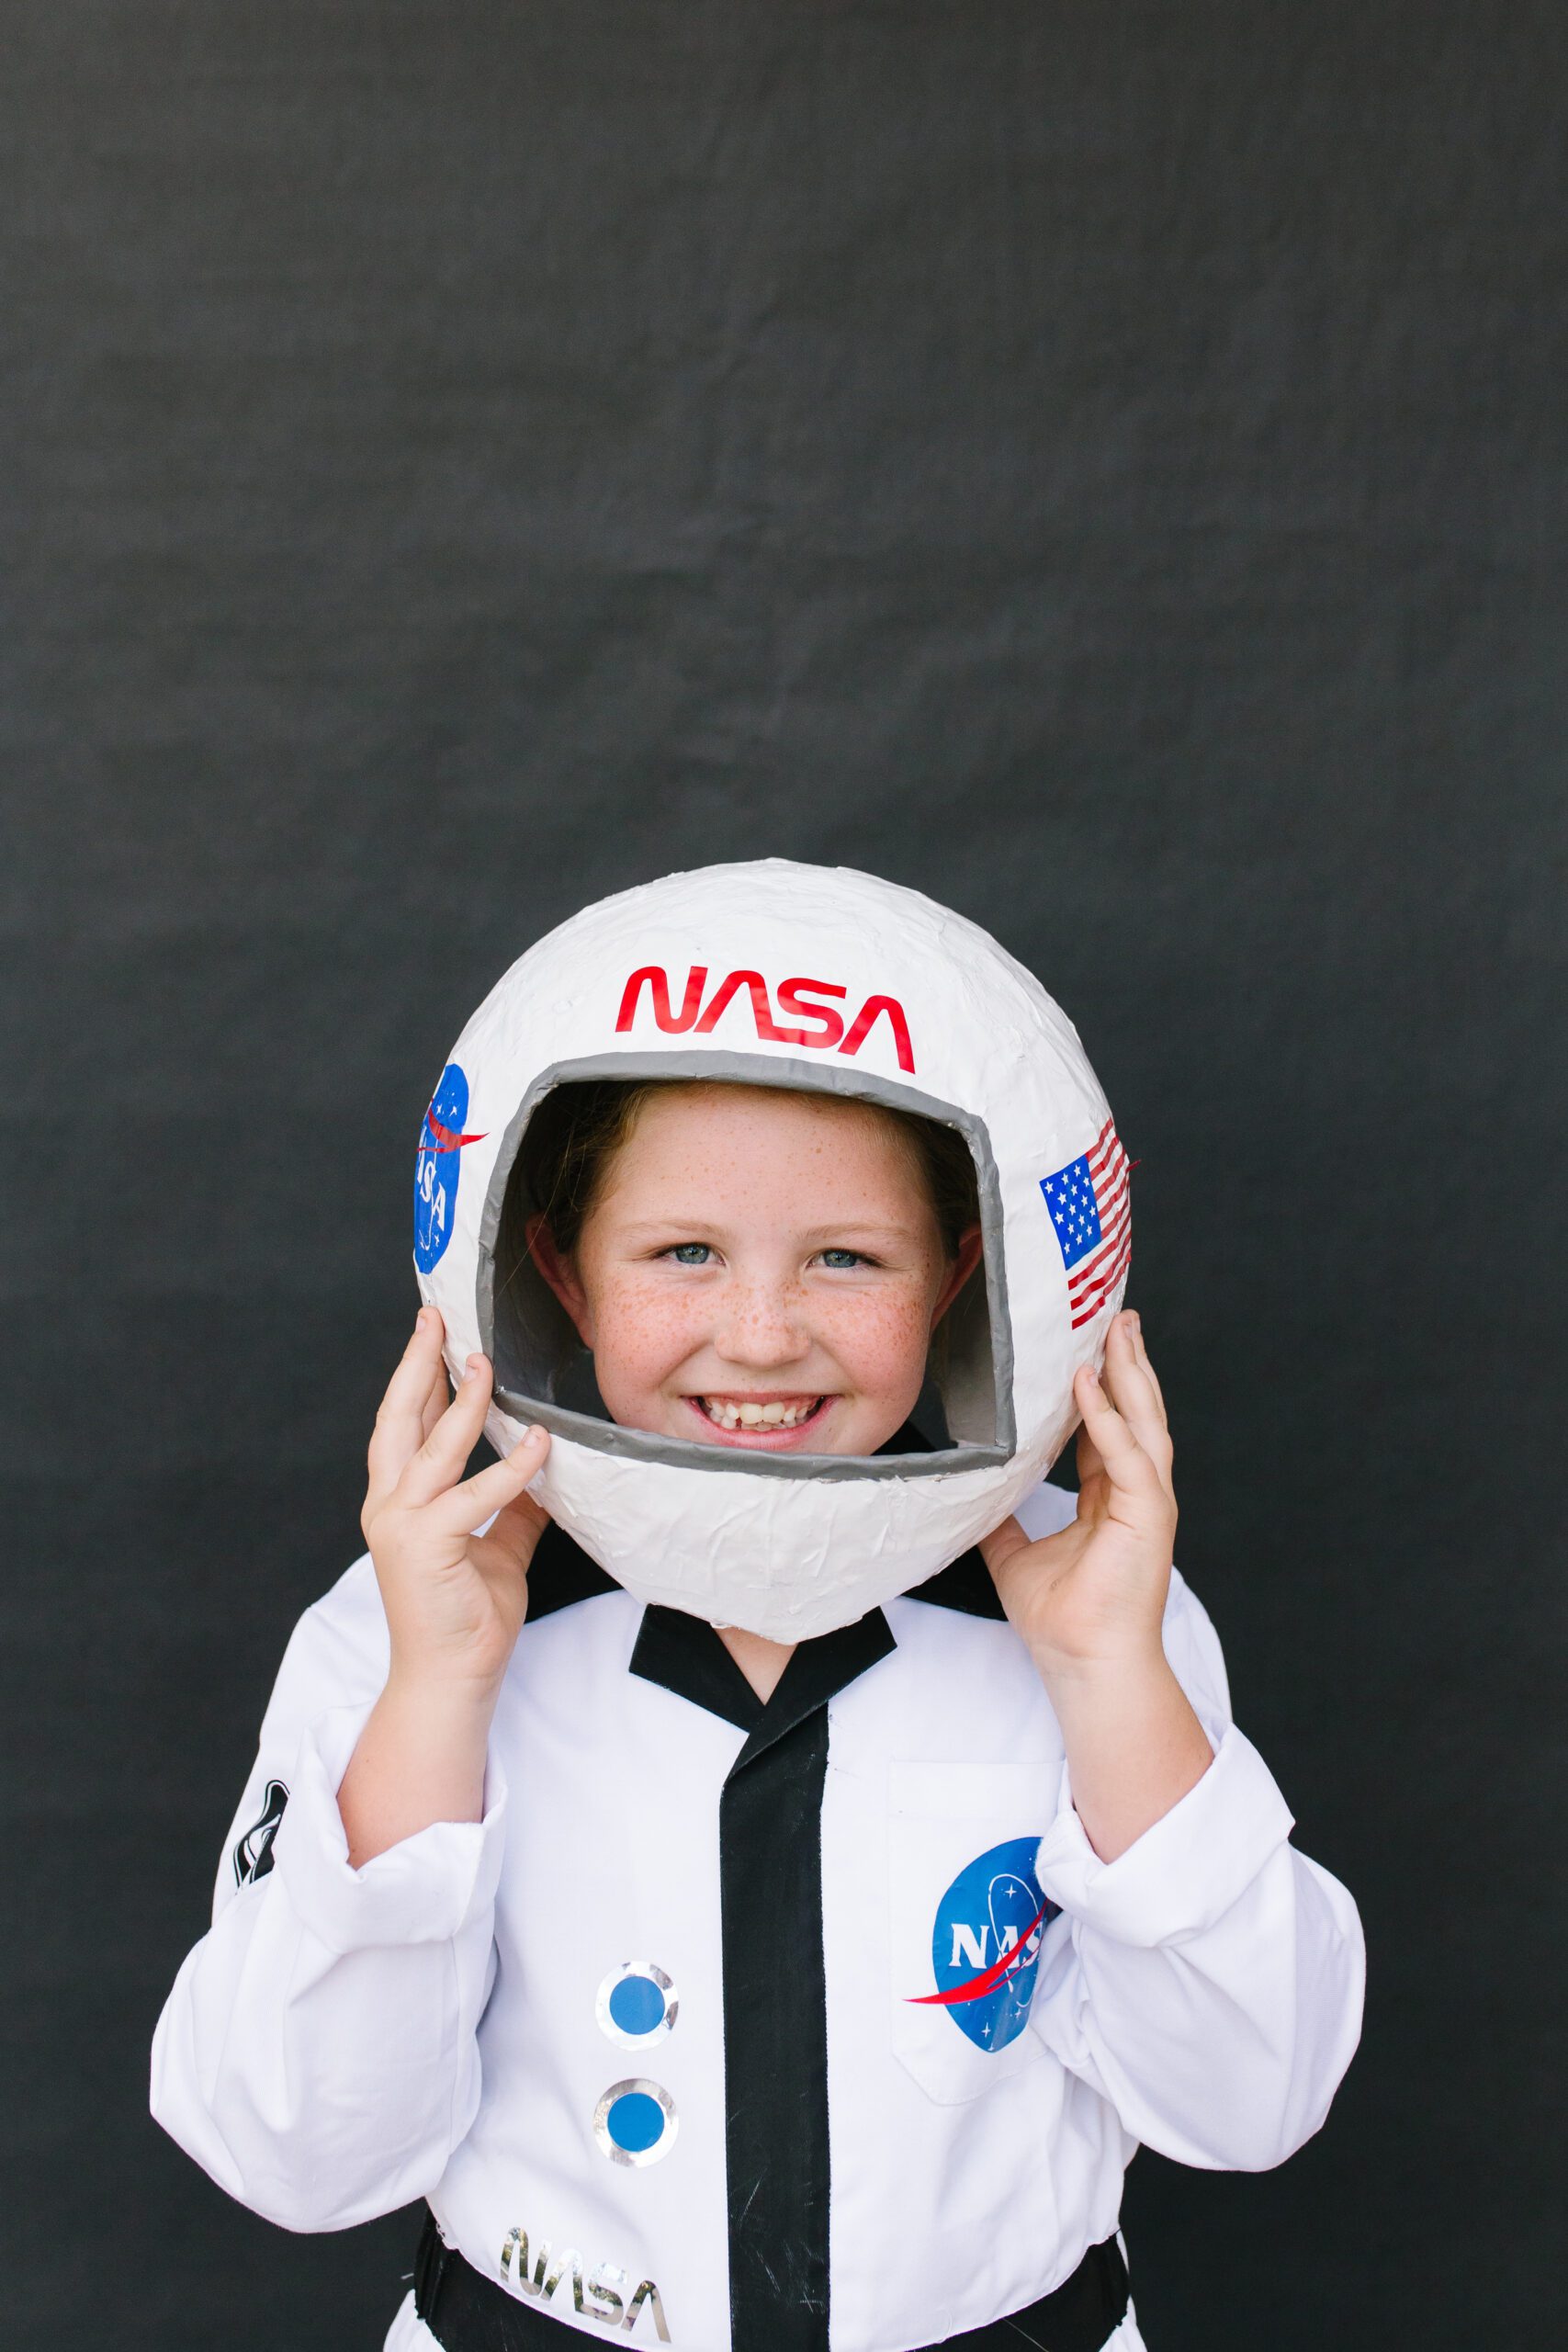
There are two central parts to making a DIY astronaut costume: the helmet, and the suit. When trying to source the helmet, we scoured the internet for a plain helmet that we could embellish, but never found one that fit the bill. So, we decided to take matters into our own hands and create one with a method similar to papier mache using Mod Podge and paper. We had never made anything like the helmet before and were nervous about the process but it was shockingly easy and fun so don’t be intimidated!
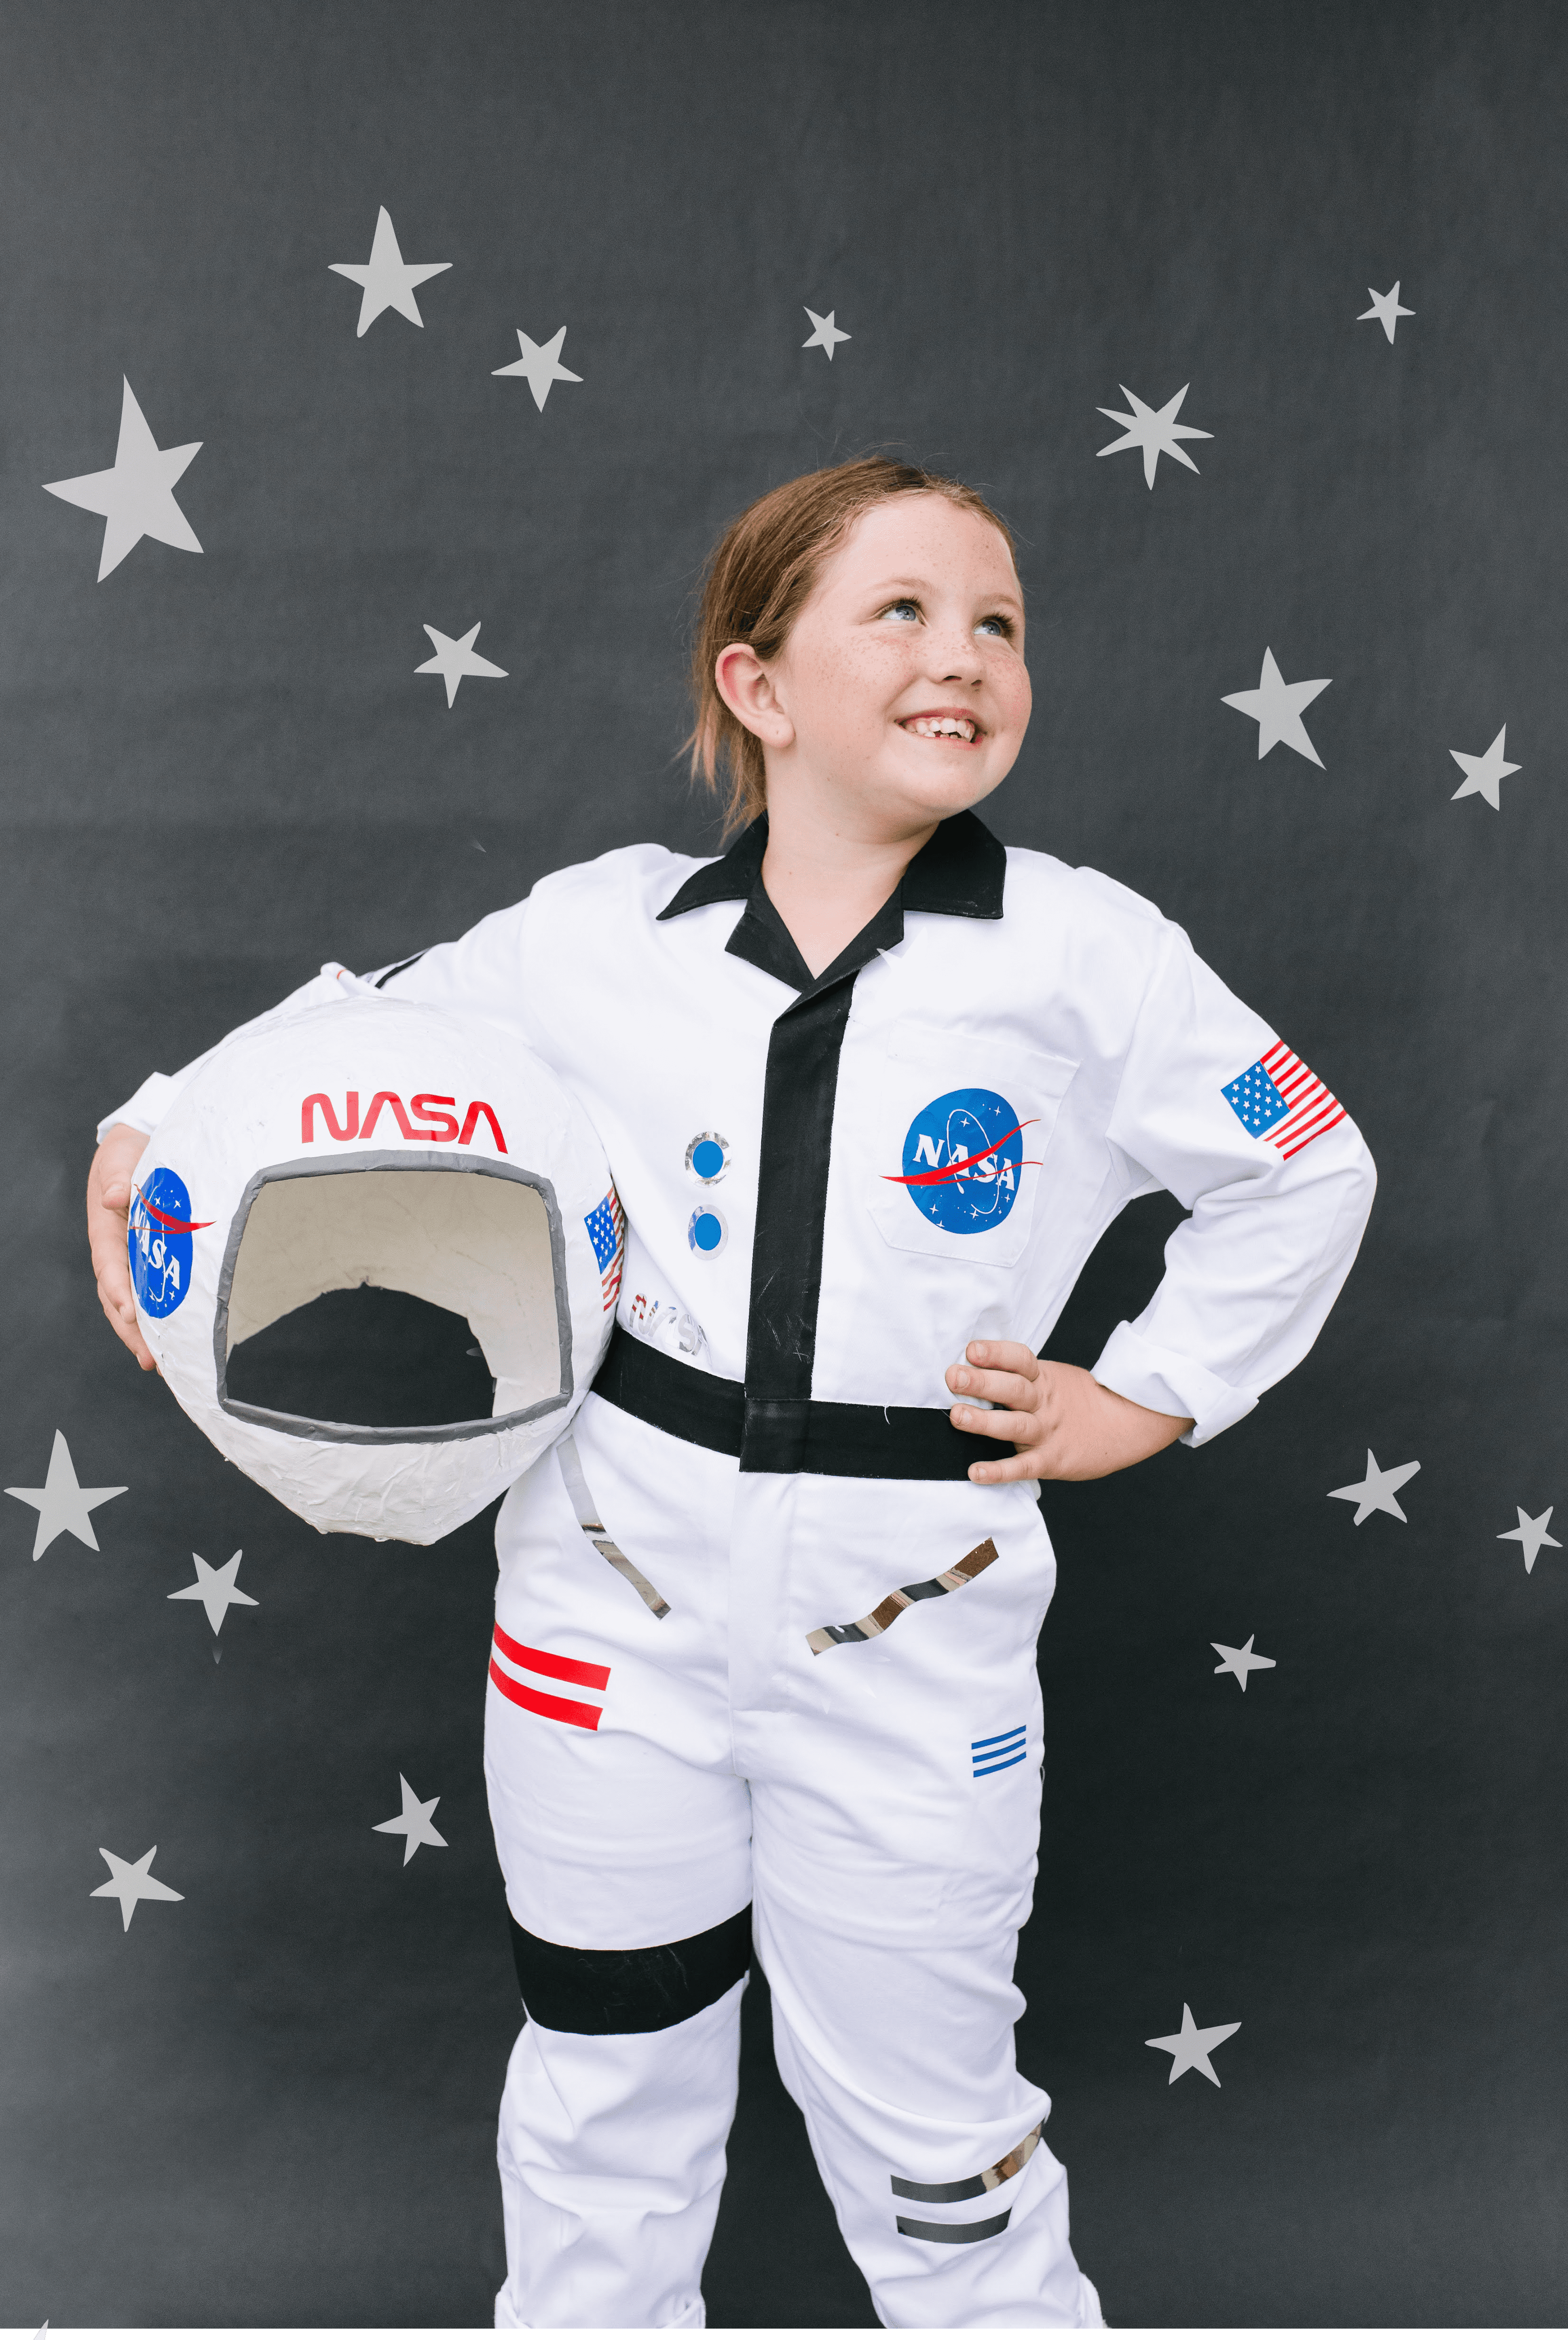
For the suit, we picked up a solid white jumpsuit from Amazon and added embelishments using paint and our craft cutter. To do this, we scoured the internet for inspiration of the details and patches that are typically on an astronaut costume and recreated our faves. If you don’t have a craft cutter, you could also do this with fabric markers, iron-on decails from craft stores, or order patches online!
Materials needed for a DIY Astronaut Costume
For the Helmet:
Adhesive Vinyl in a Desired Colors (We used red and blue)
White Spray Paint
Light-weight Paper (like newspaper, wrapping paper, etc.)
Multi-Surface Craft Paint in Black and Grey
Large Paint Brush for Mod Podge
12 Inch Balloon
Mod Podge
Craft Cutter (we used a Silhouette Cameo)
For the Suit:
White Jumpsuit
Craft Cutter
Heat Transfer Vinyl in a Desired Colors (We used black, red, blue, and silver)
Iron or Heat Press
Multi-Surface Craft Paint in Black
Small Paint Brushes for Painting Details
How do you make a homemade space suit?
Make the Helmet
Step 1: Prep your supplies for use by pouring the Mod Podge into a disposable bowl and tearing your chosen paper into pieces (the shape and size of the ripped pieces will vary depending on your preference. There is a lot of bandwidth for experimentation here so don’t stress too much about the size.) Blow up your balloon and place it tied-side down in a bowl (this will hold the balloon upright throughout the process).
Step 2: Using a large paint brush or foam brush, apply a moderate amount of Mod Podge to one section of the balloon and place one of your paper scraps on top of it, pressing with your fingers to smooth. Then, cover the strip with another brush of Mod Podge. Using this process, work your way around the balloon, covering it in strips and Mod Podge, covering the top 3/4 of the balloon. Apply two layers of Mod Podge and paper and let dry completely, overnight.
Step 3: Once the first two layers are dry, continue applying layers of paper and Mod Podge to the balloon until your desired thickness is achieved (be sure to let the helmet dry after each couple of applications so that you can get a sense of how solid the helmet actually is.) Once the helmet is completely dry and you have achieved the desired thickness, remove from the bowl and pop the balloon.
Step 4: Using sharp scissors or an x-acto knife, carefully cut a square from the center of the helmet so your astronaut can see, and cut the base of the helmet so it is straight and can fit over your astronaut’s head.
Step 5: Apply white spray paint to the interior and exterior of the helmet until covered. Let dry completely.
Step 6: Paint desired details on the helmet and apply vinyl decals. (We cut ours using adhesive vinyl and a craft cutter.)

Make the Suit
Step 1: Using your desired craft cutter and software, cut your desired designs from adhesive vinyl. (We did buttons, stripes, Nasa logos, American Flags, etc.)
Step 2: Using Multi-Surface or Fabric paint, paint desired details on the jumpsuit. We used paint to make the collar, waistband, and other details black.
Step 3: Apply heat transfer vinyl decals using a heat press or iron. (If you are getting started with using a Silhouette Machine and are looking for where to start, visit our Silhouette tutorial archives here.)
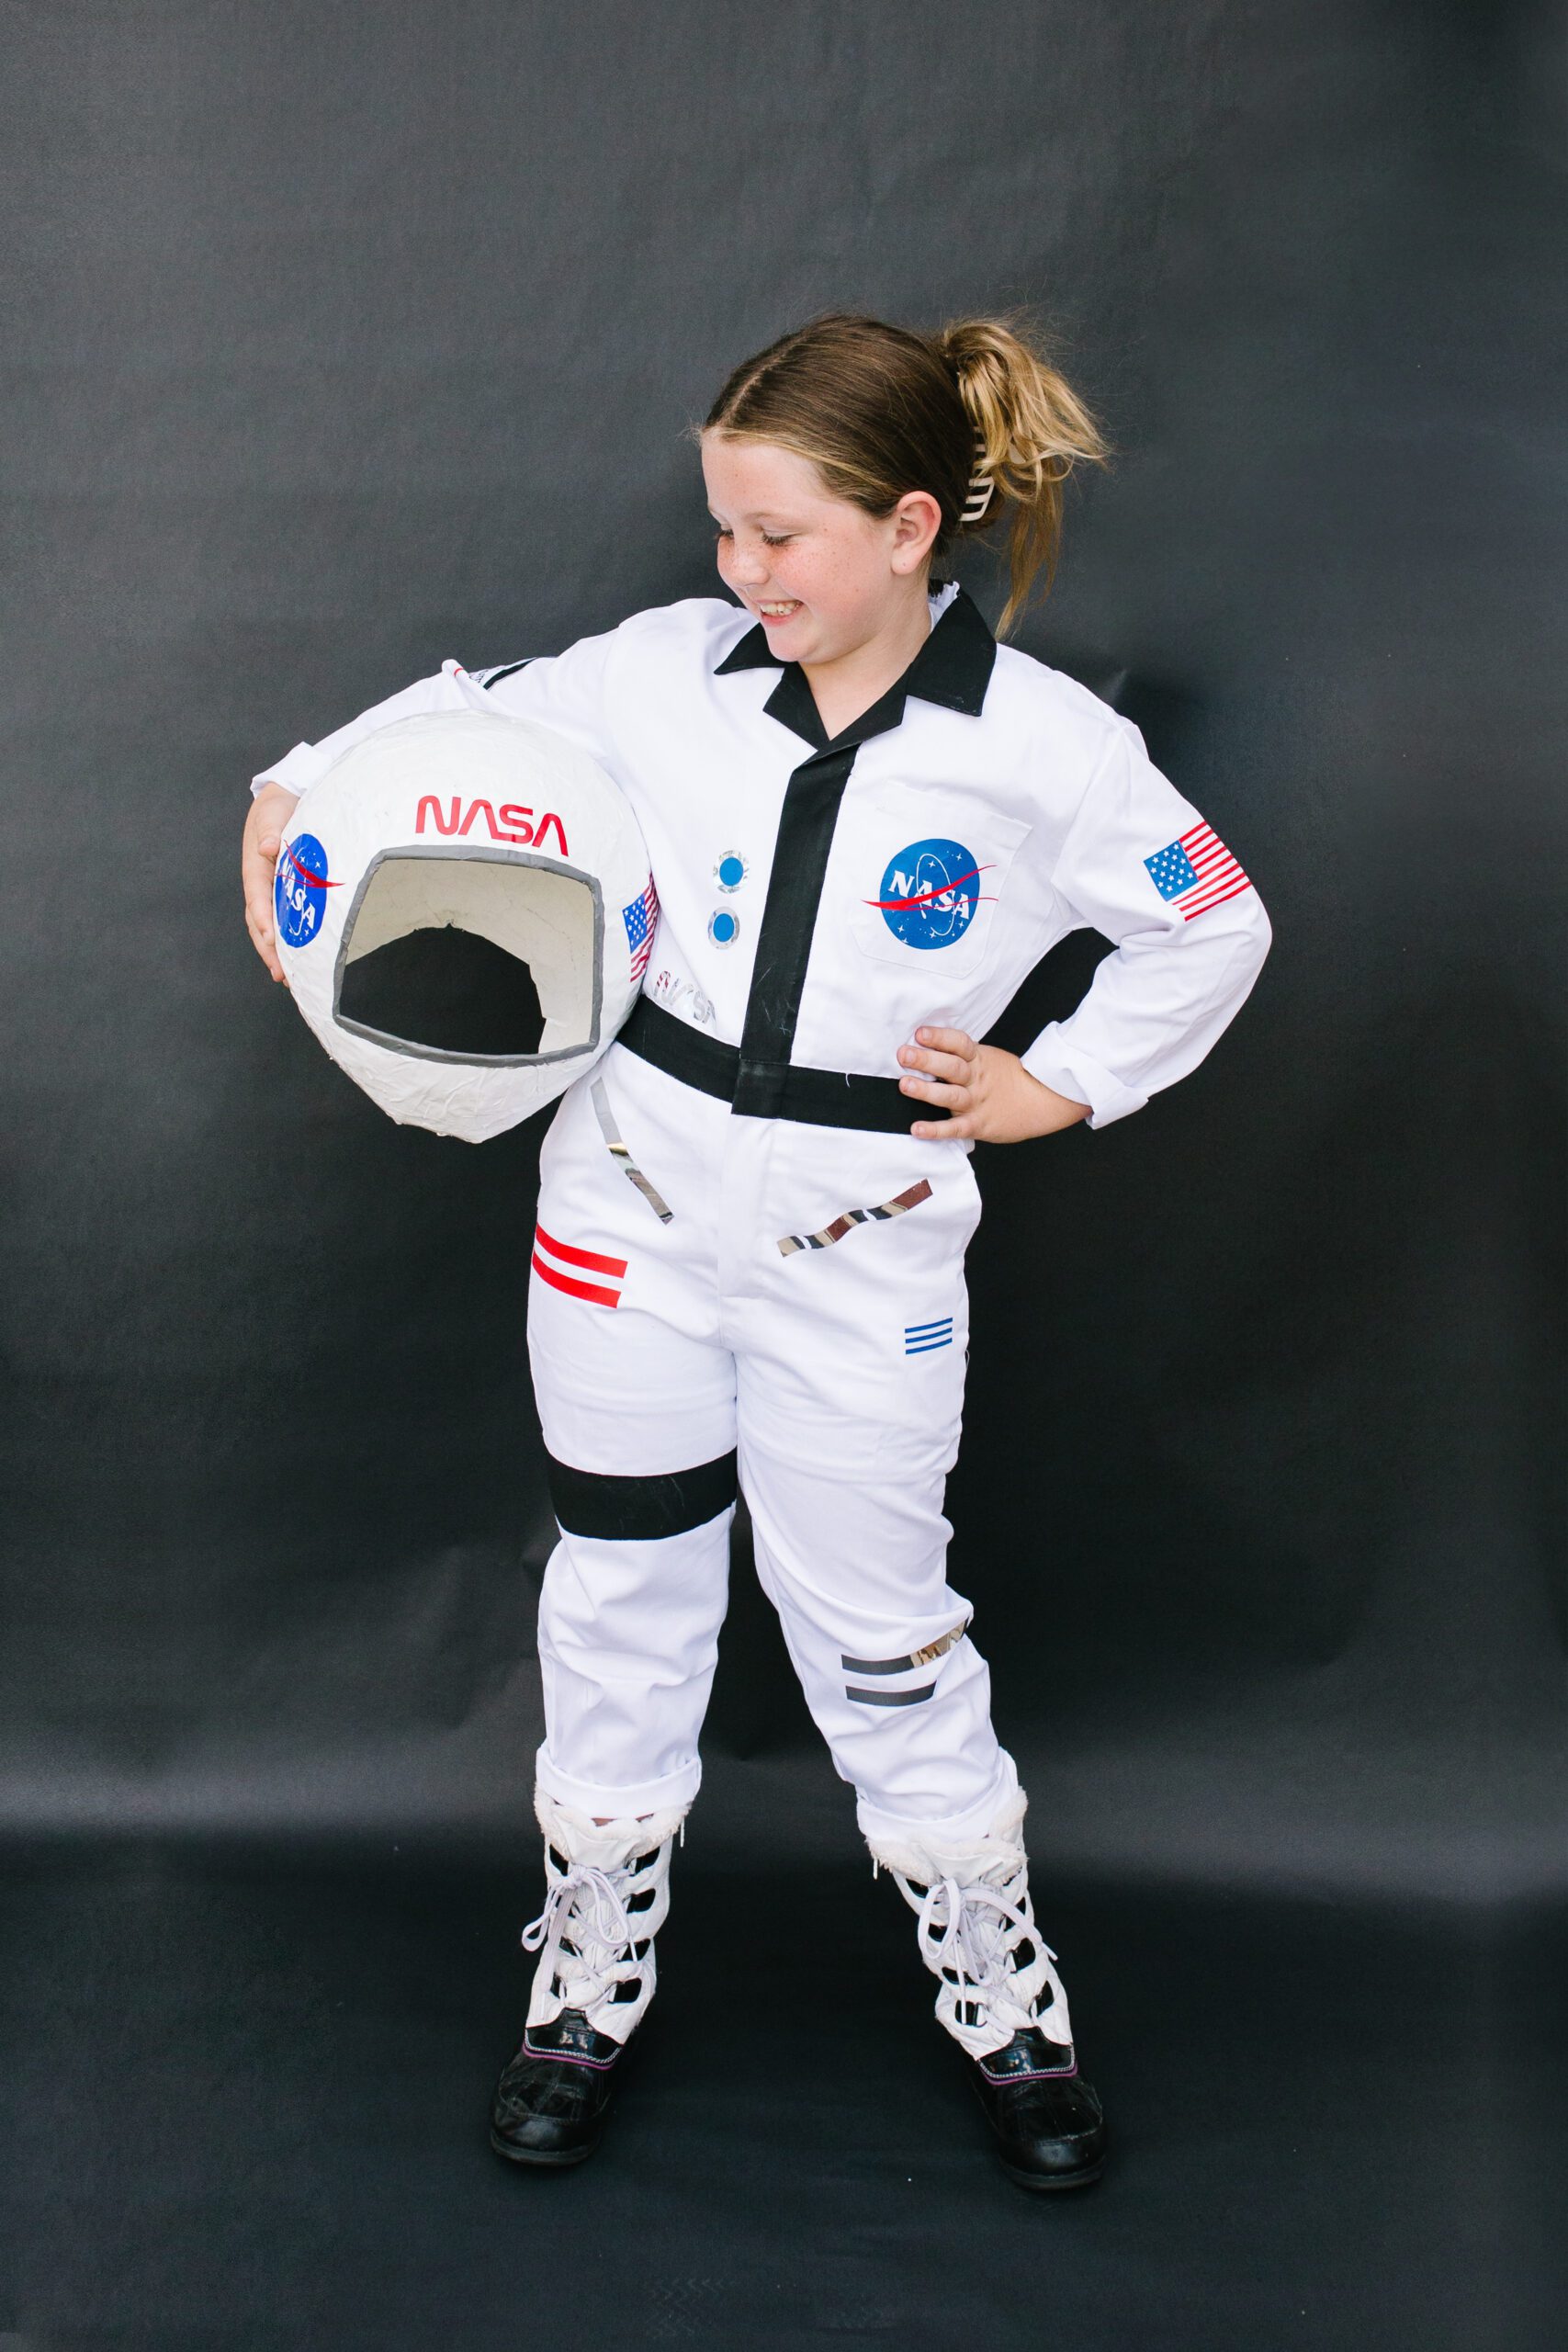
That’s it! Now all your astronaut has to do is suit-up and attack their mission! (Candy. Their mission is candy.)
Be sure to join our email list to stay up-to-date on all things Pretty Life Girls!
Happy making!
-Sam

