


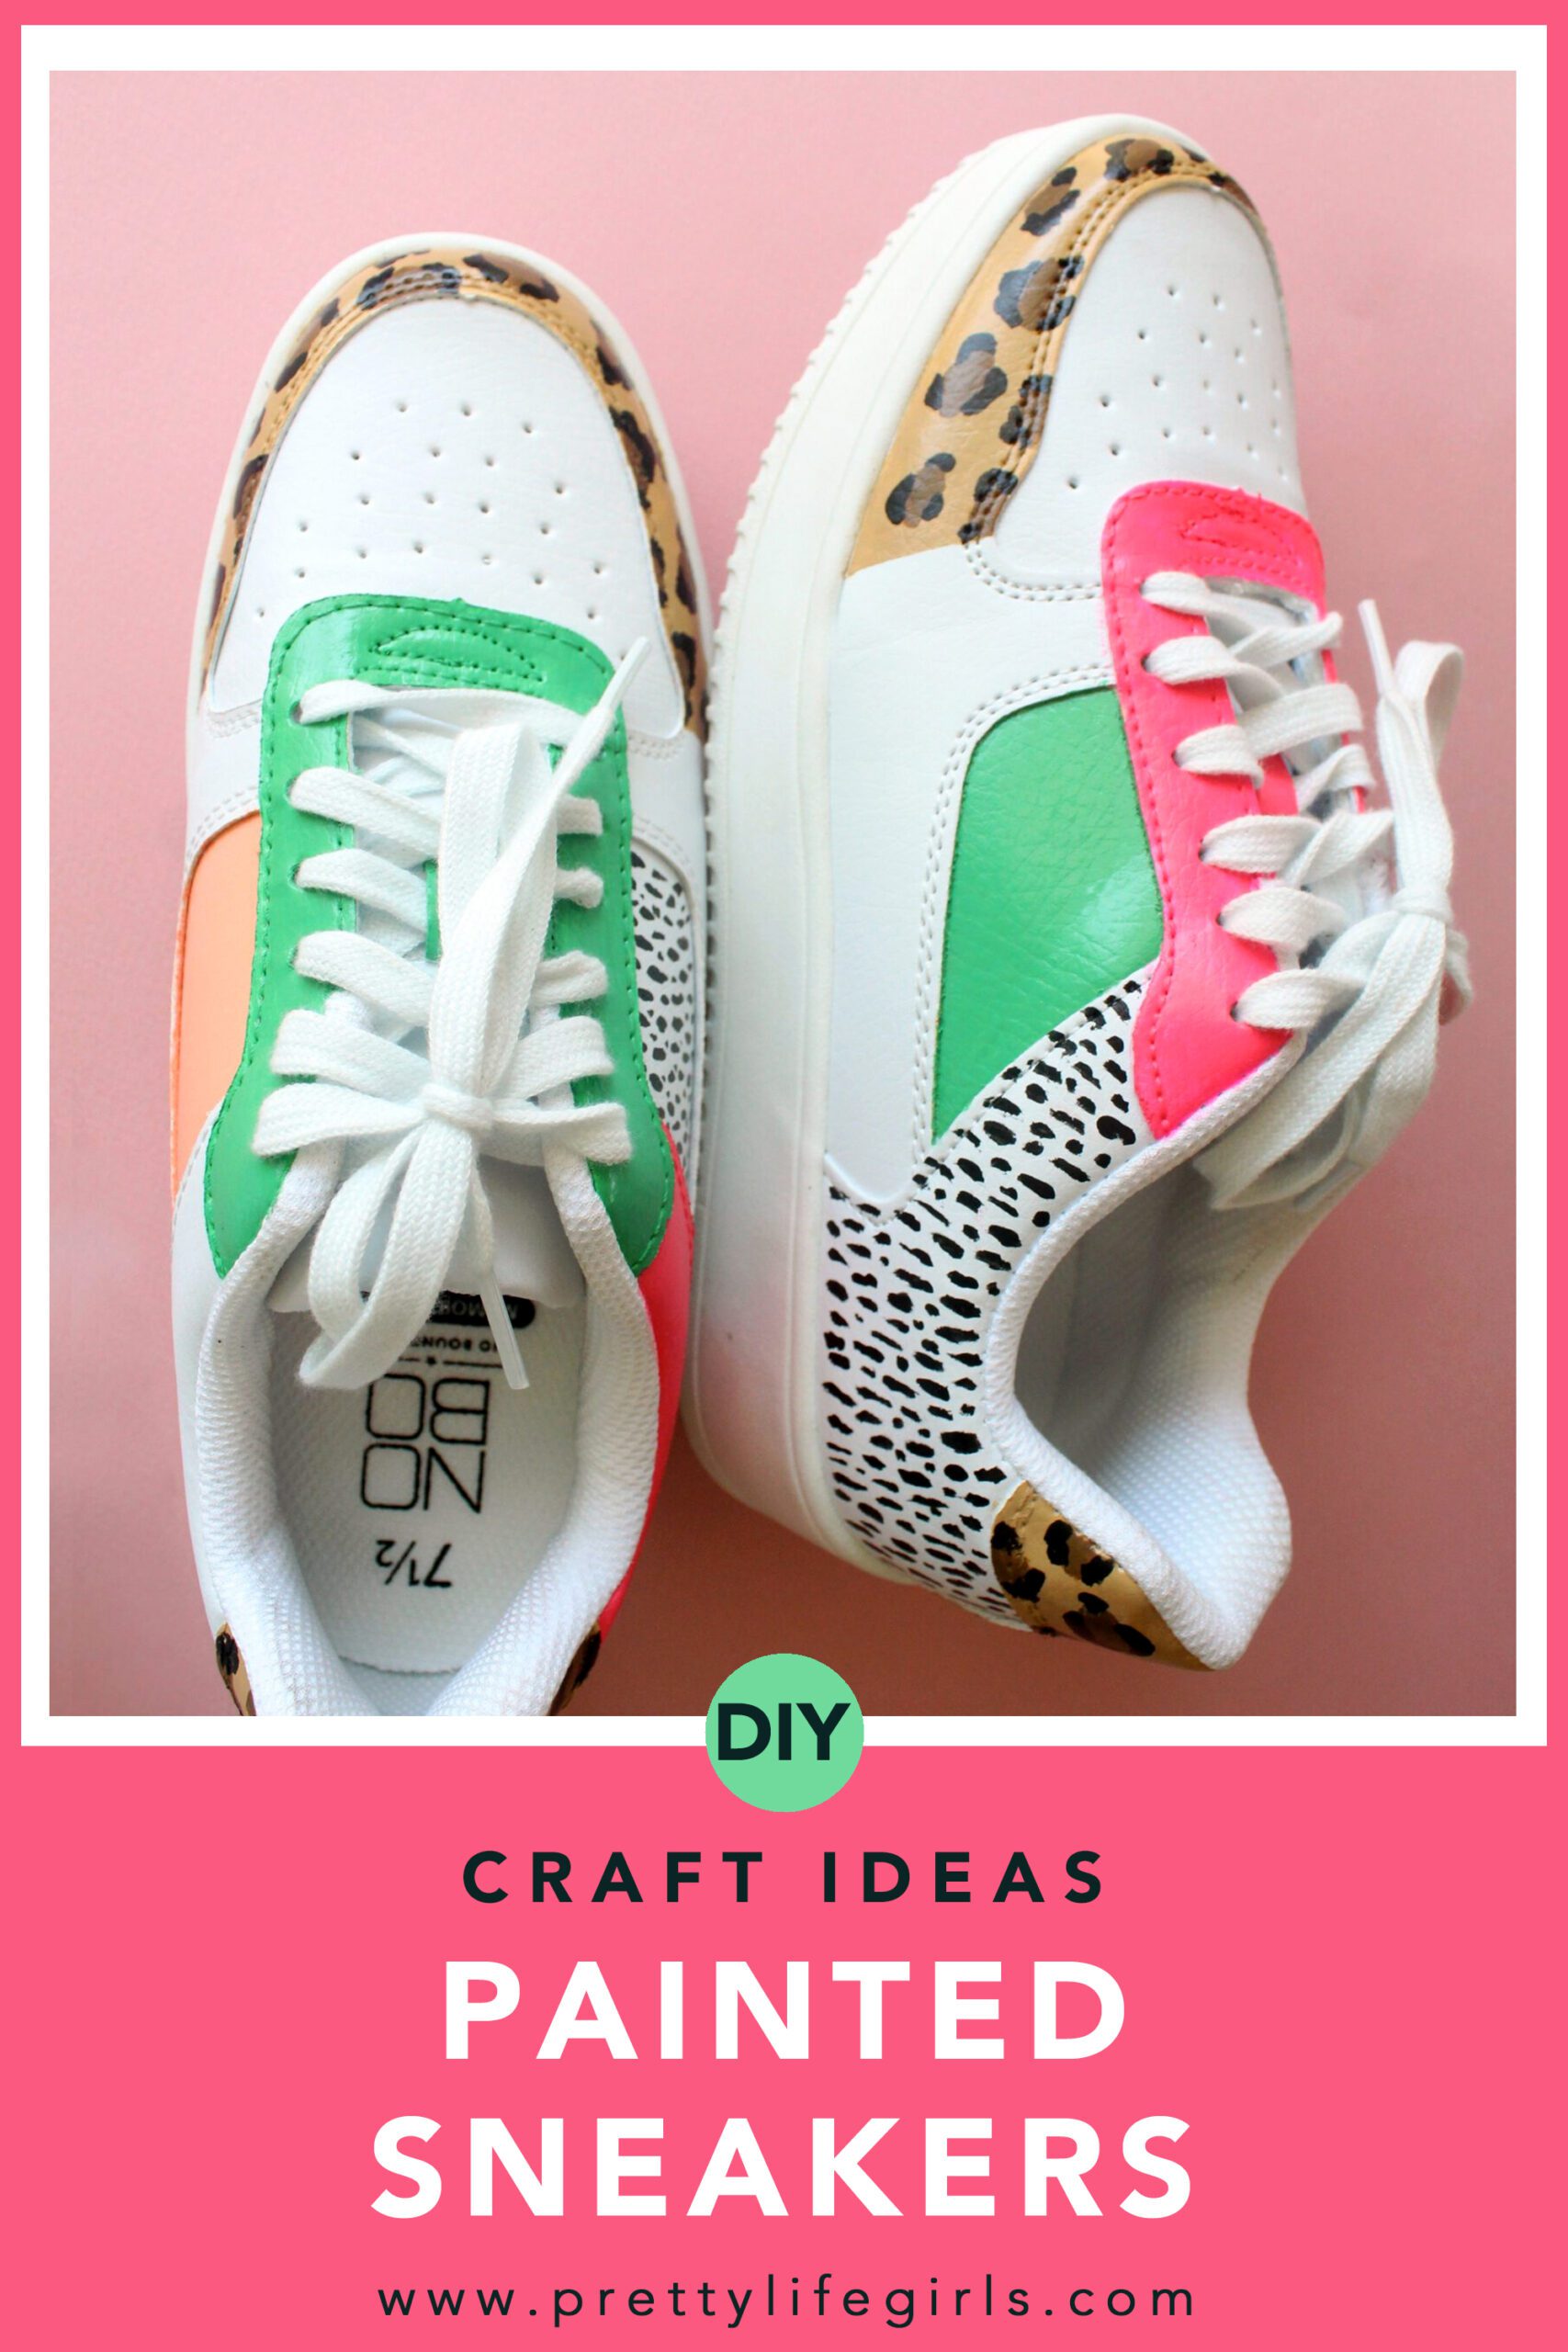
Learn how to customize and add personality to plain sneakers with a little bit of paint and creativity! DIY painted sneakers are so easy and fun to make. Keep reading for all the details!
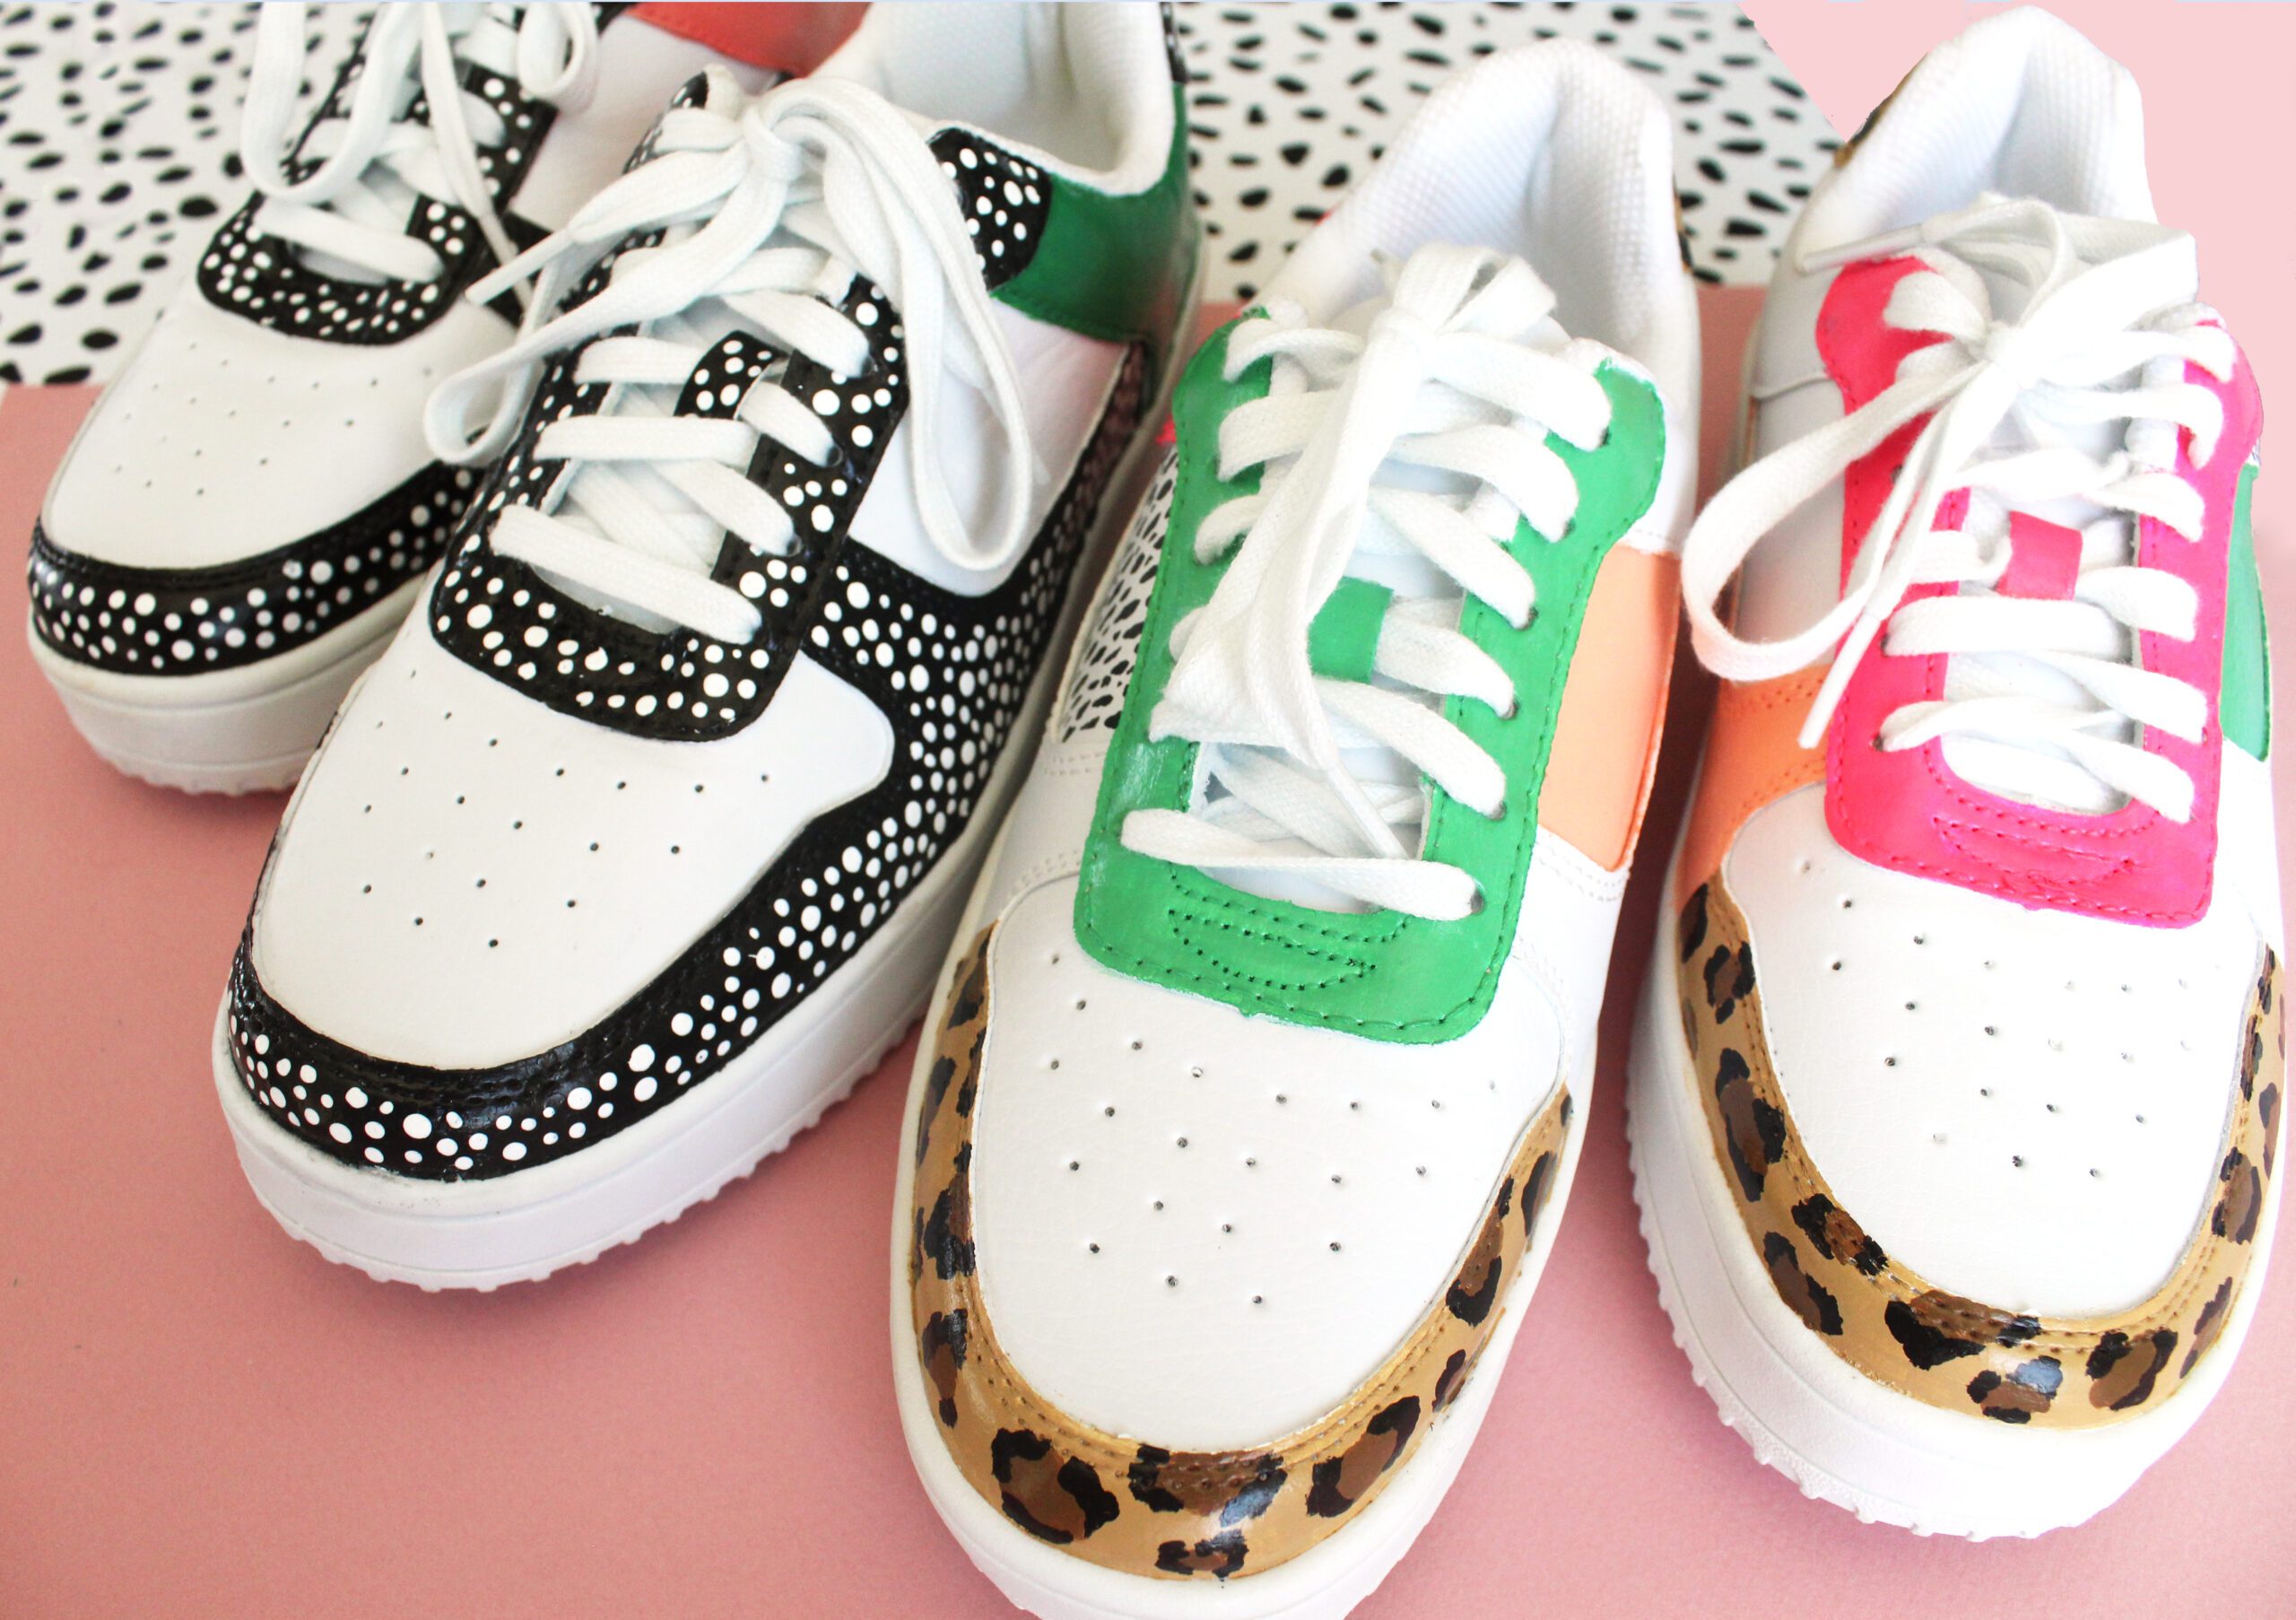
DIY Painted Sneakers
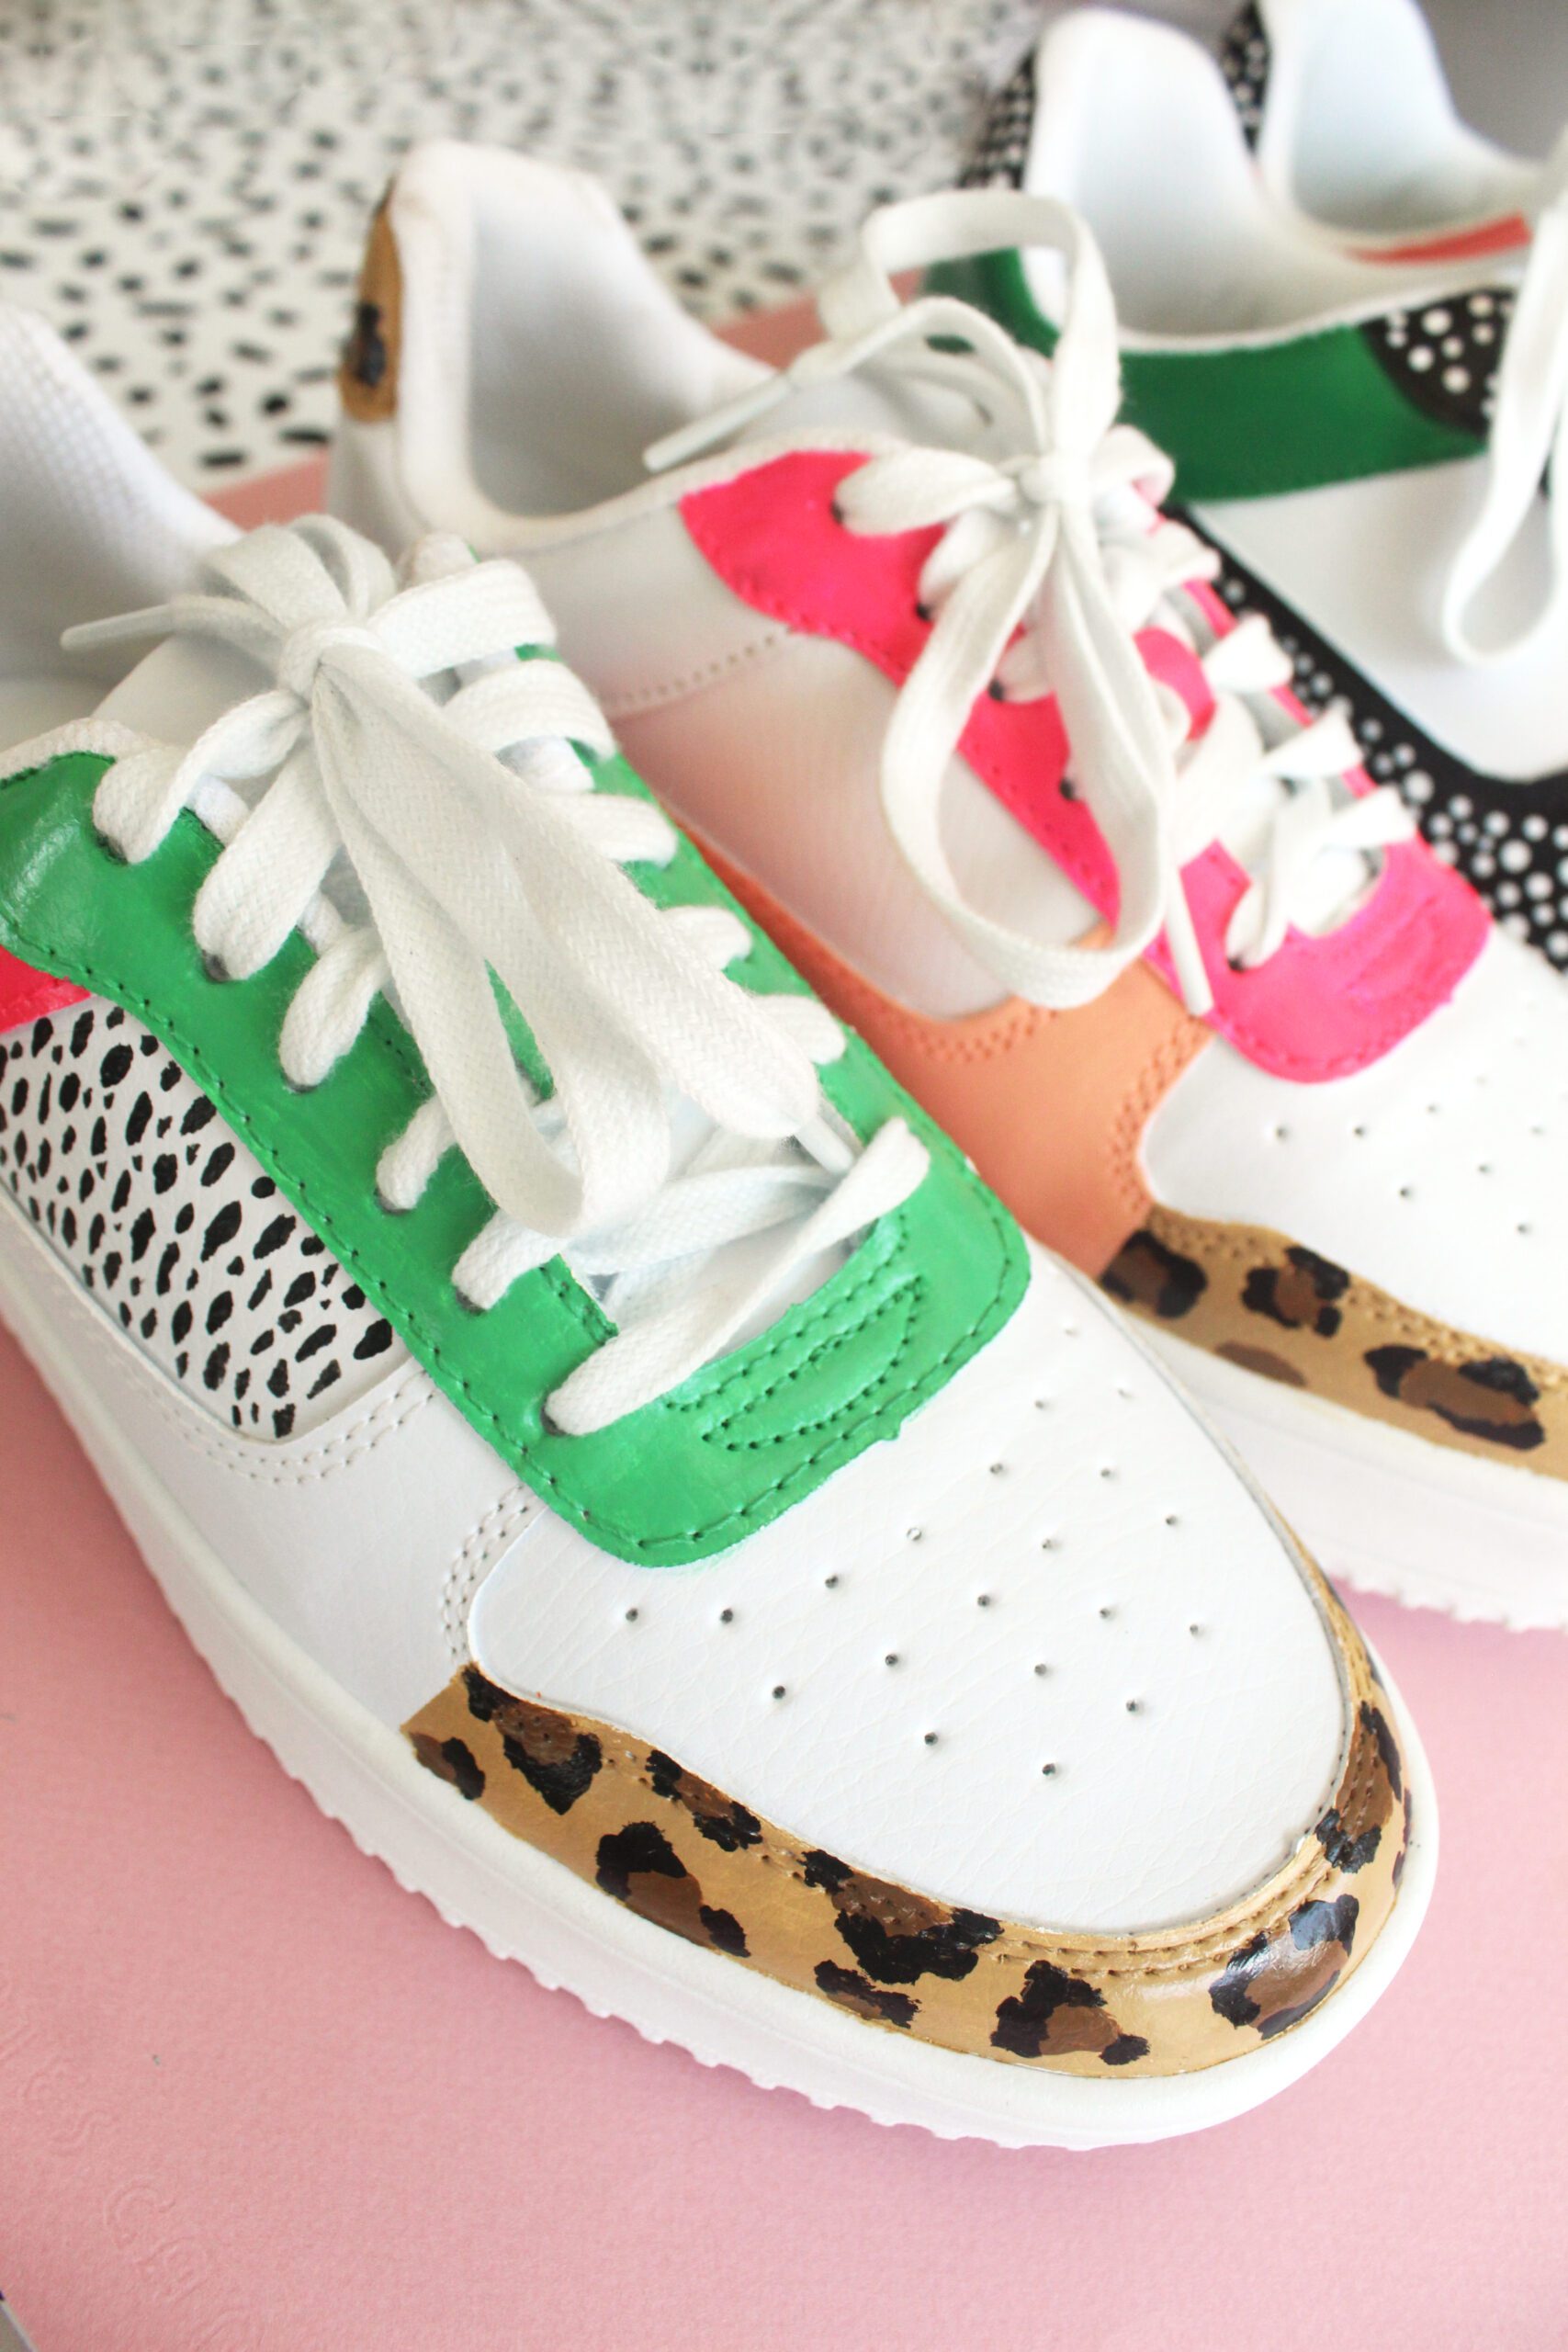
We’ve tried a bunch of different methods for customizing shoes around here and while all of them have been fun, this method was particularly enjoyable. There was just something about the blank slate of a sneaker and a palette of sneaker paints that was so satisfying to embark upon. Plus, sneaker painting is such a massive trend at the moment, so inspiration was everywhere. We’d definitely suggest scrolling Pinterest and Reels to get your juices flowing–it made us so excited to get started!
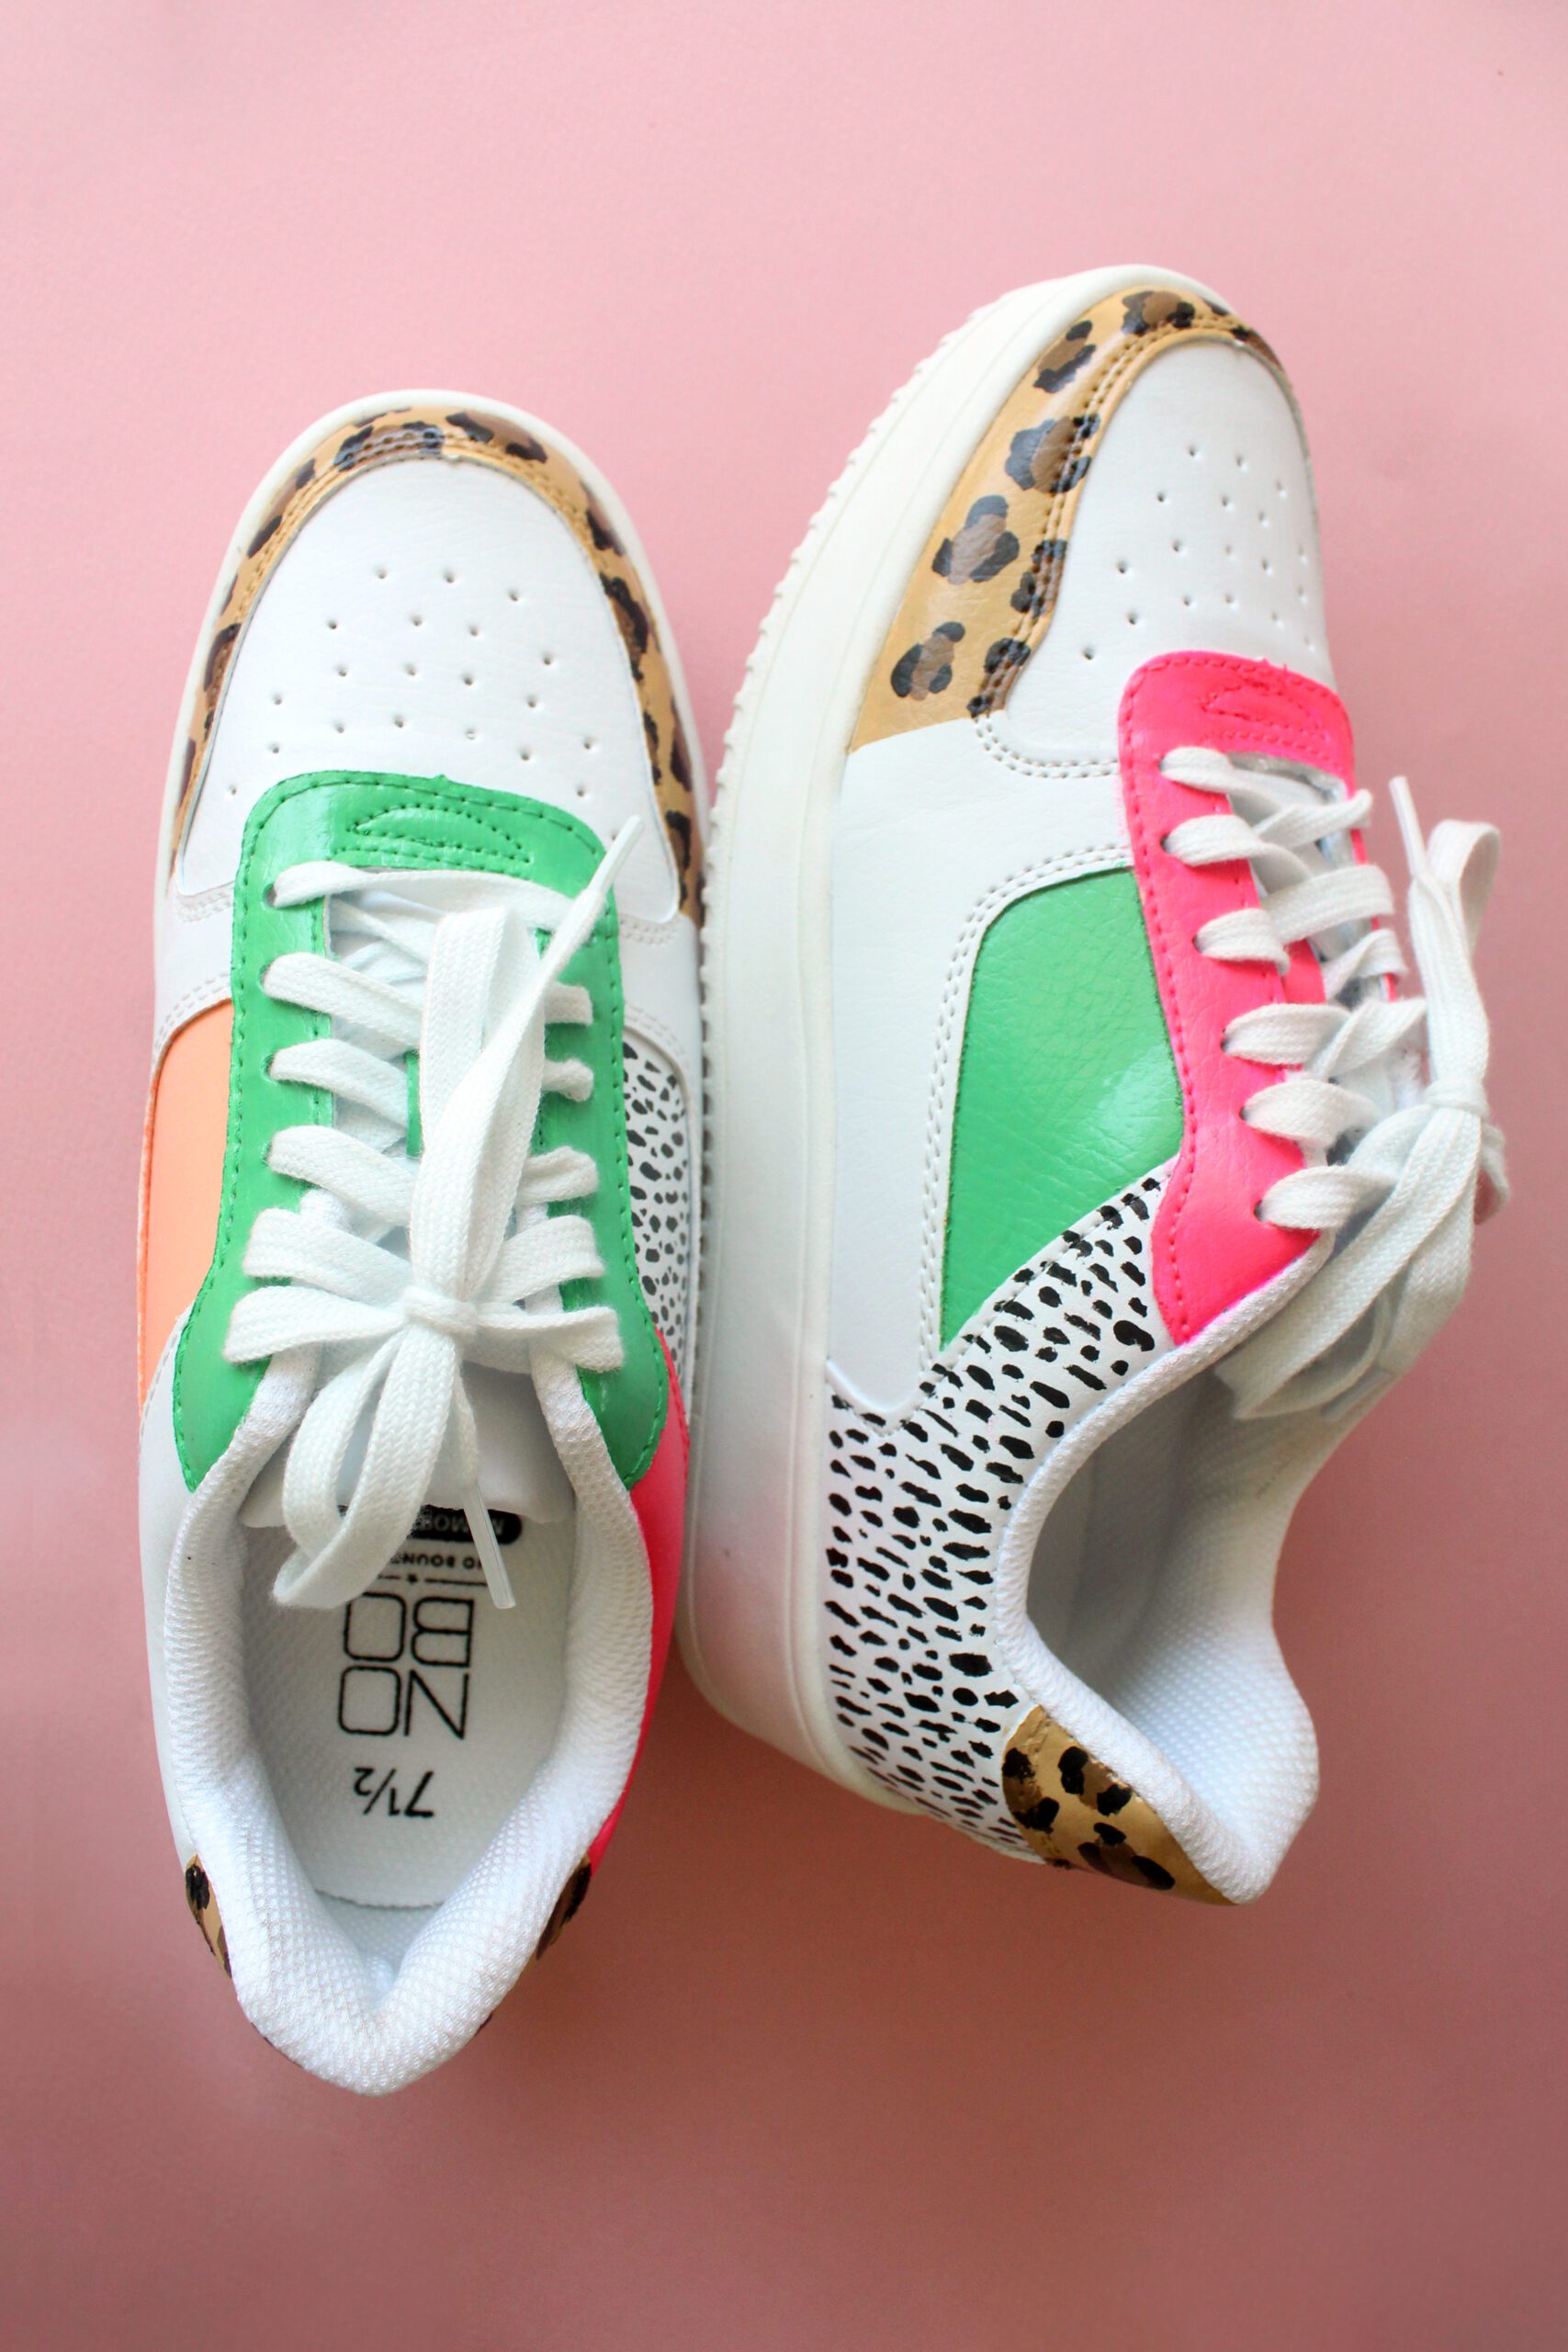
If you’re looking for an extra twist in your shoes painting, we’d recommend grabbing a friend and doing it blind, like we did. All you need is some sort of partition so that you can’t see what the other person is doing. Then, once you are finished you can do a big reveal and see the different ways your sneakers turned out on the same shoes with the same supplies! Honestly, add in some Diet Coke and chocolate covered almonds to the mix and you’ve got the Saturday night of my dreams. (Watch our video of this process along with our big reveal right here!)
What paint do you use on sneakers?
For these shoes, we used Kicks Studio Paint, which is made specifically for leather, vinyl, and canvas. It’s flexible and water-resistant and won’t crack or peel, making it perfect for use on shoes!
We loved working with this paint. The colors mix beautifully, and the application is so smooth. It washes off easily while wet, so you can clean up any mistakes as you go.
The paint will dry completely in 24 hours, and after 30 days it will be fully cured. At that point you can clean your shoes with a soft cloth and a bit of water, if needed.
How do you prep shoes for painting?
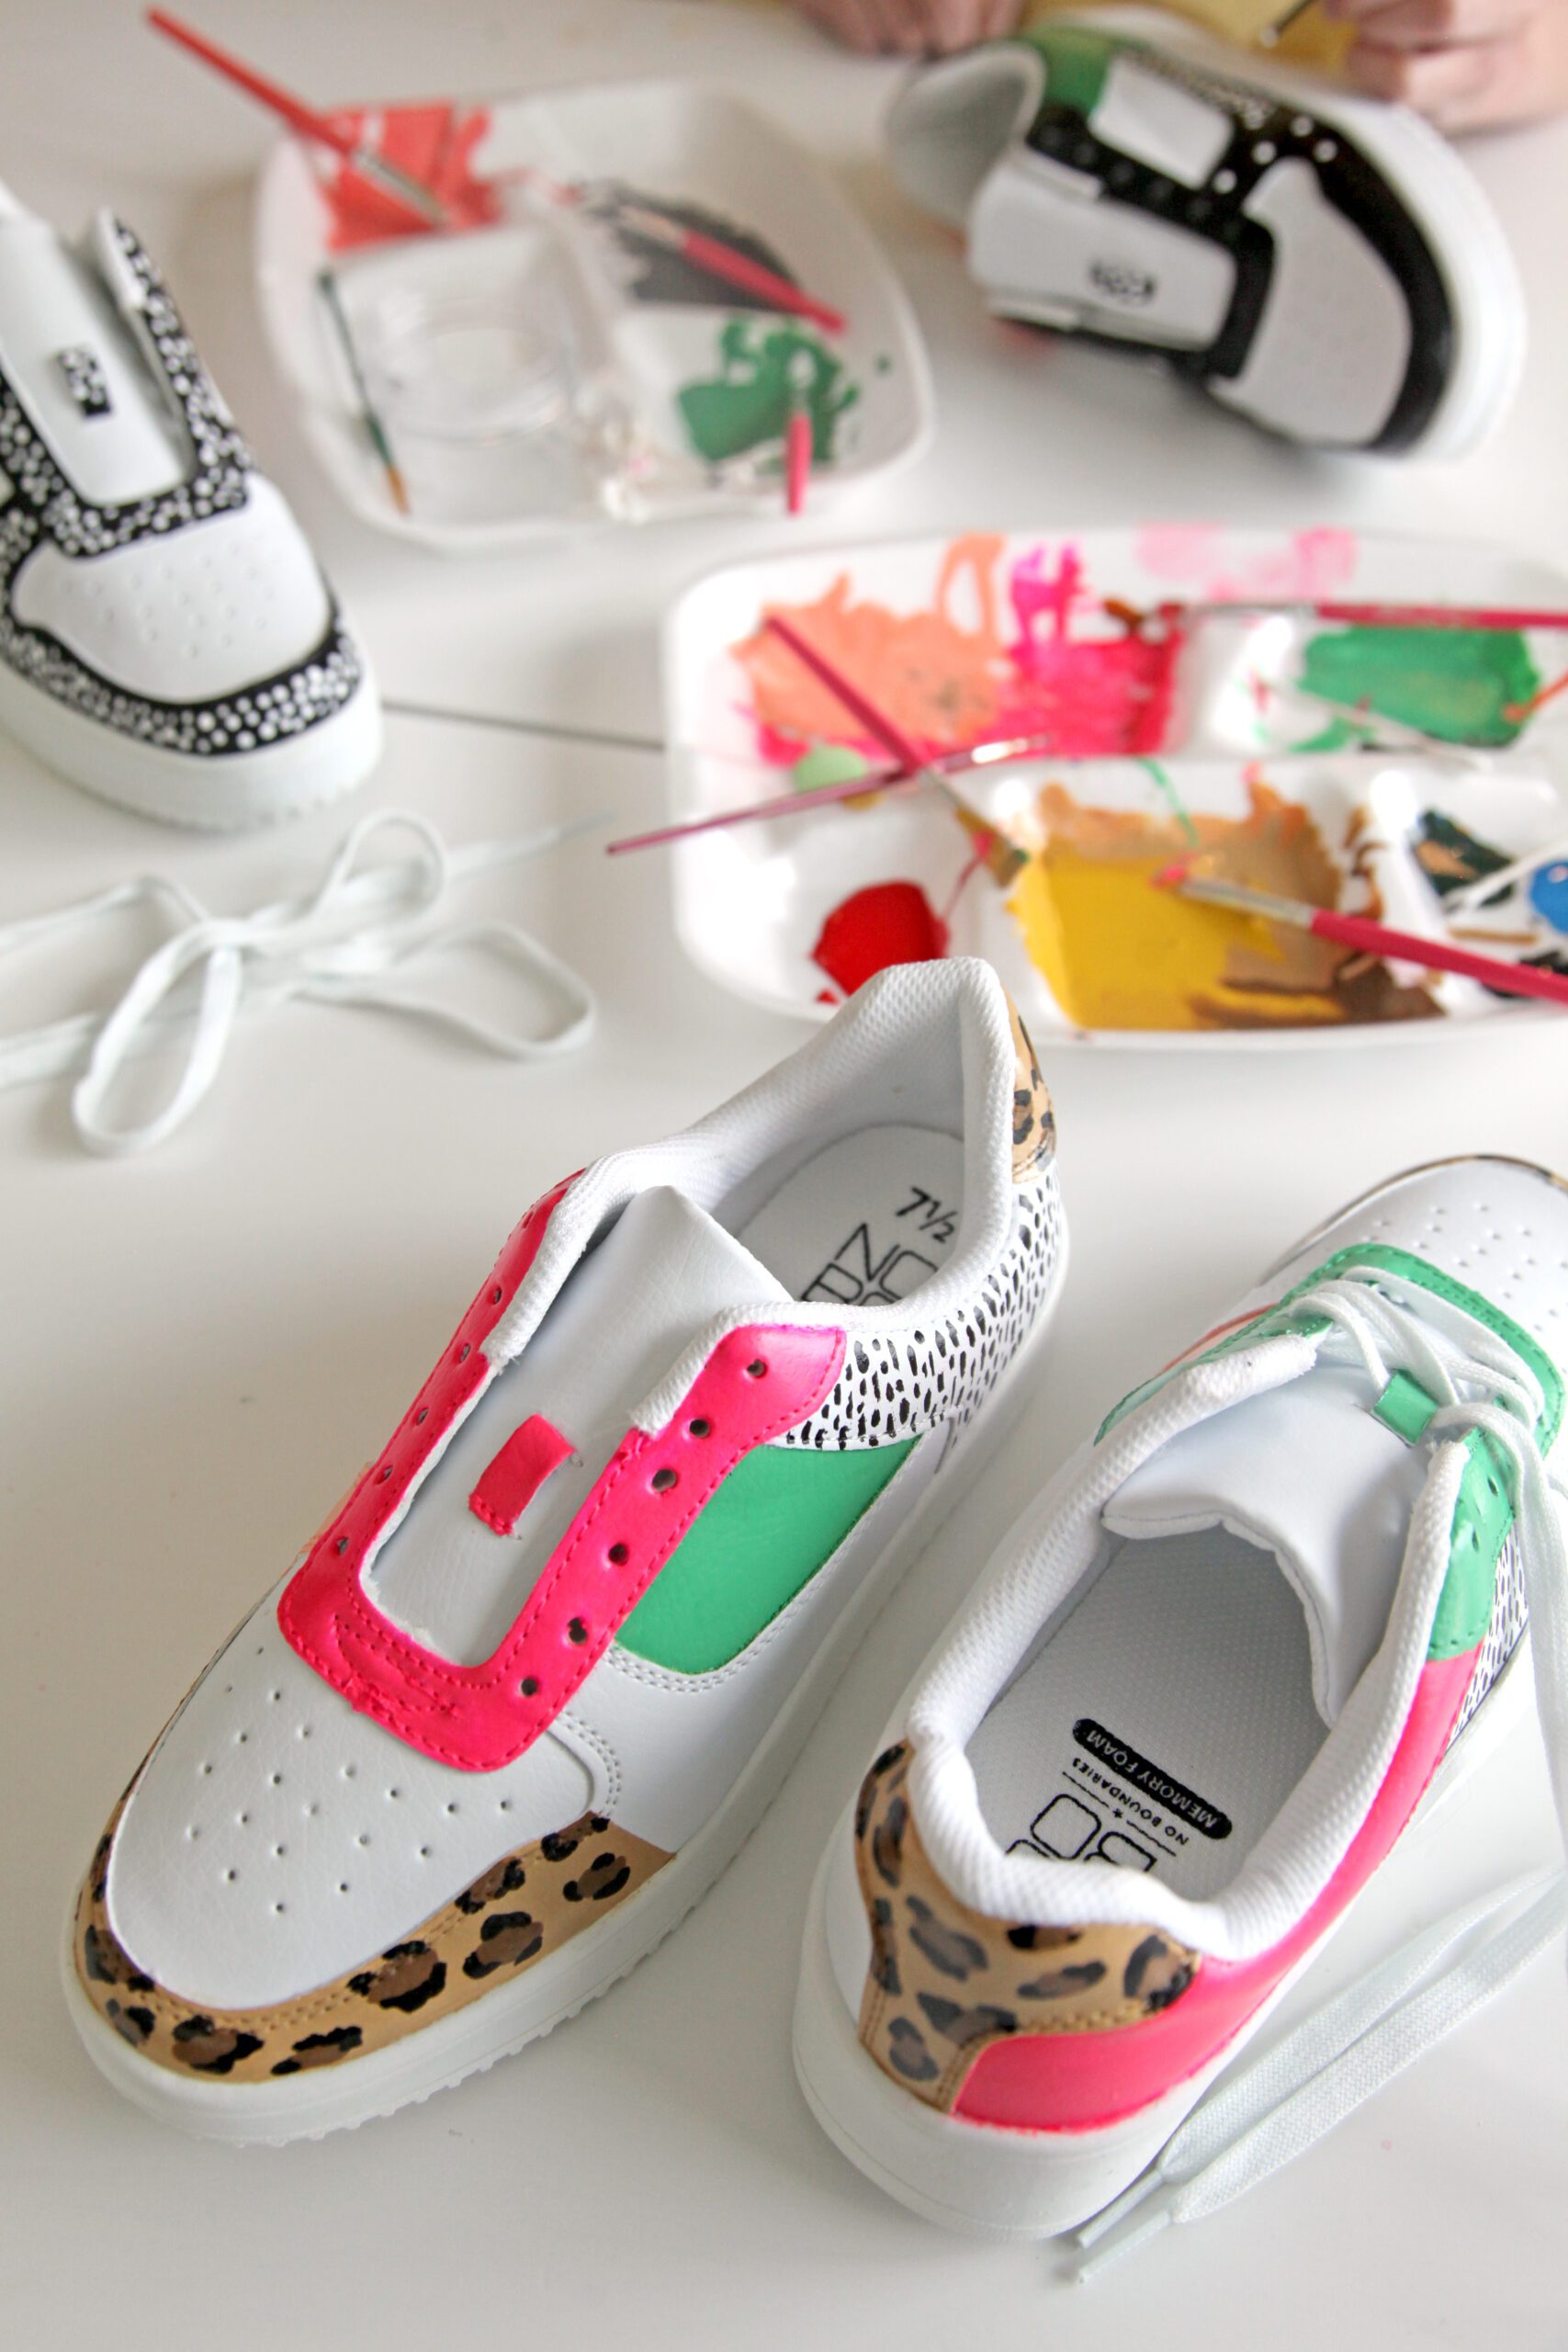
Prior to painting, gently clean your shoes to remove debris, and let them dry completely. Remove laces and tape any areas you do not want to paint.
Shake each paint color well before painting, and cover your work surface.
How do you seal homemade painted shoes?
For best results, seal your project with Kicks Studio Matte or High Gloss Finish.
Materials needed for painted shoes
- Shoes (Similar on Amazon)
- Kicks Studio Paint
- Paint brushes
- Water
- Masking tape
- Q-tips
- Fingernail polish
How do you permanently paint sneakers?
Step 1: Prep your shoes for painting by removing the laces and wiping them down to remove any debris.
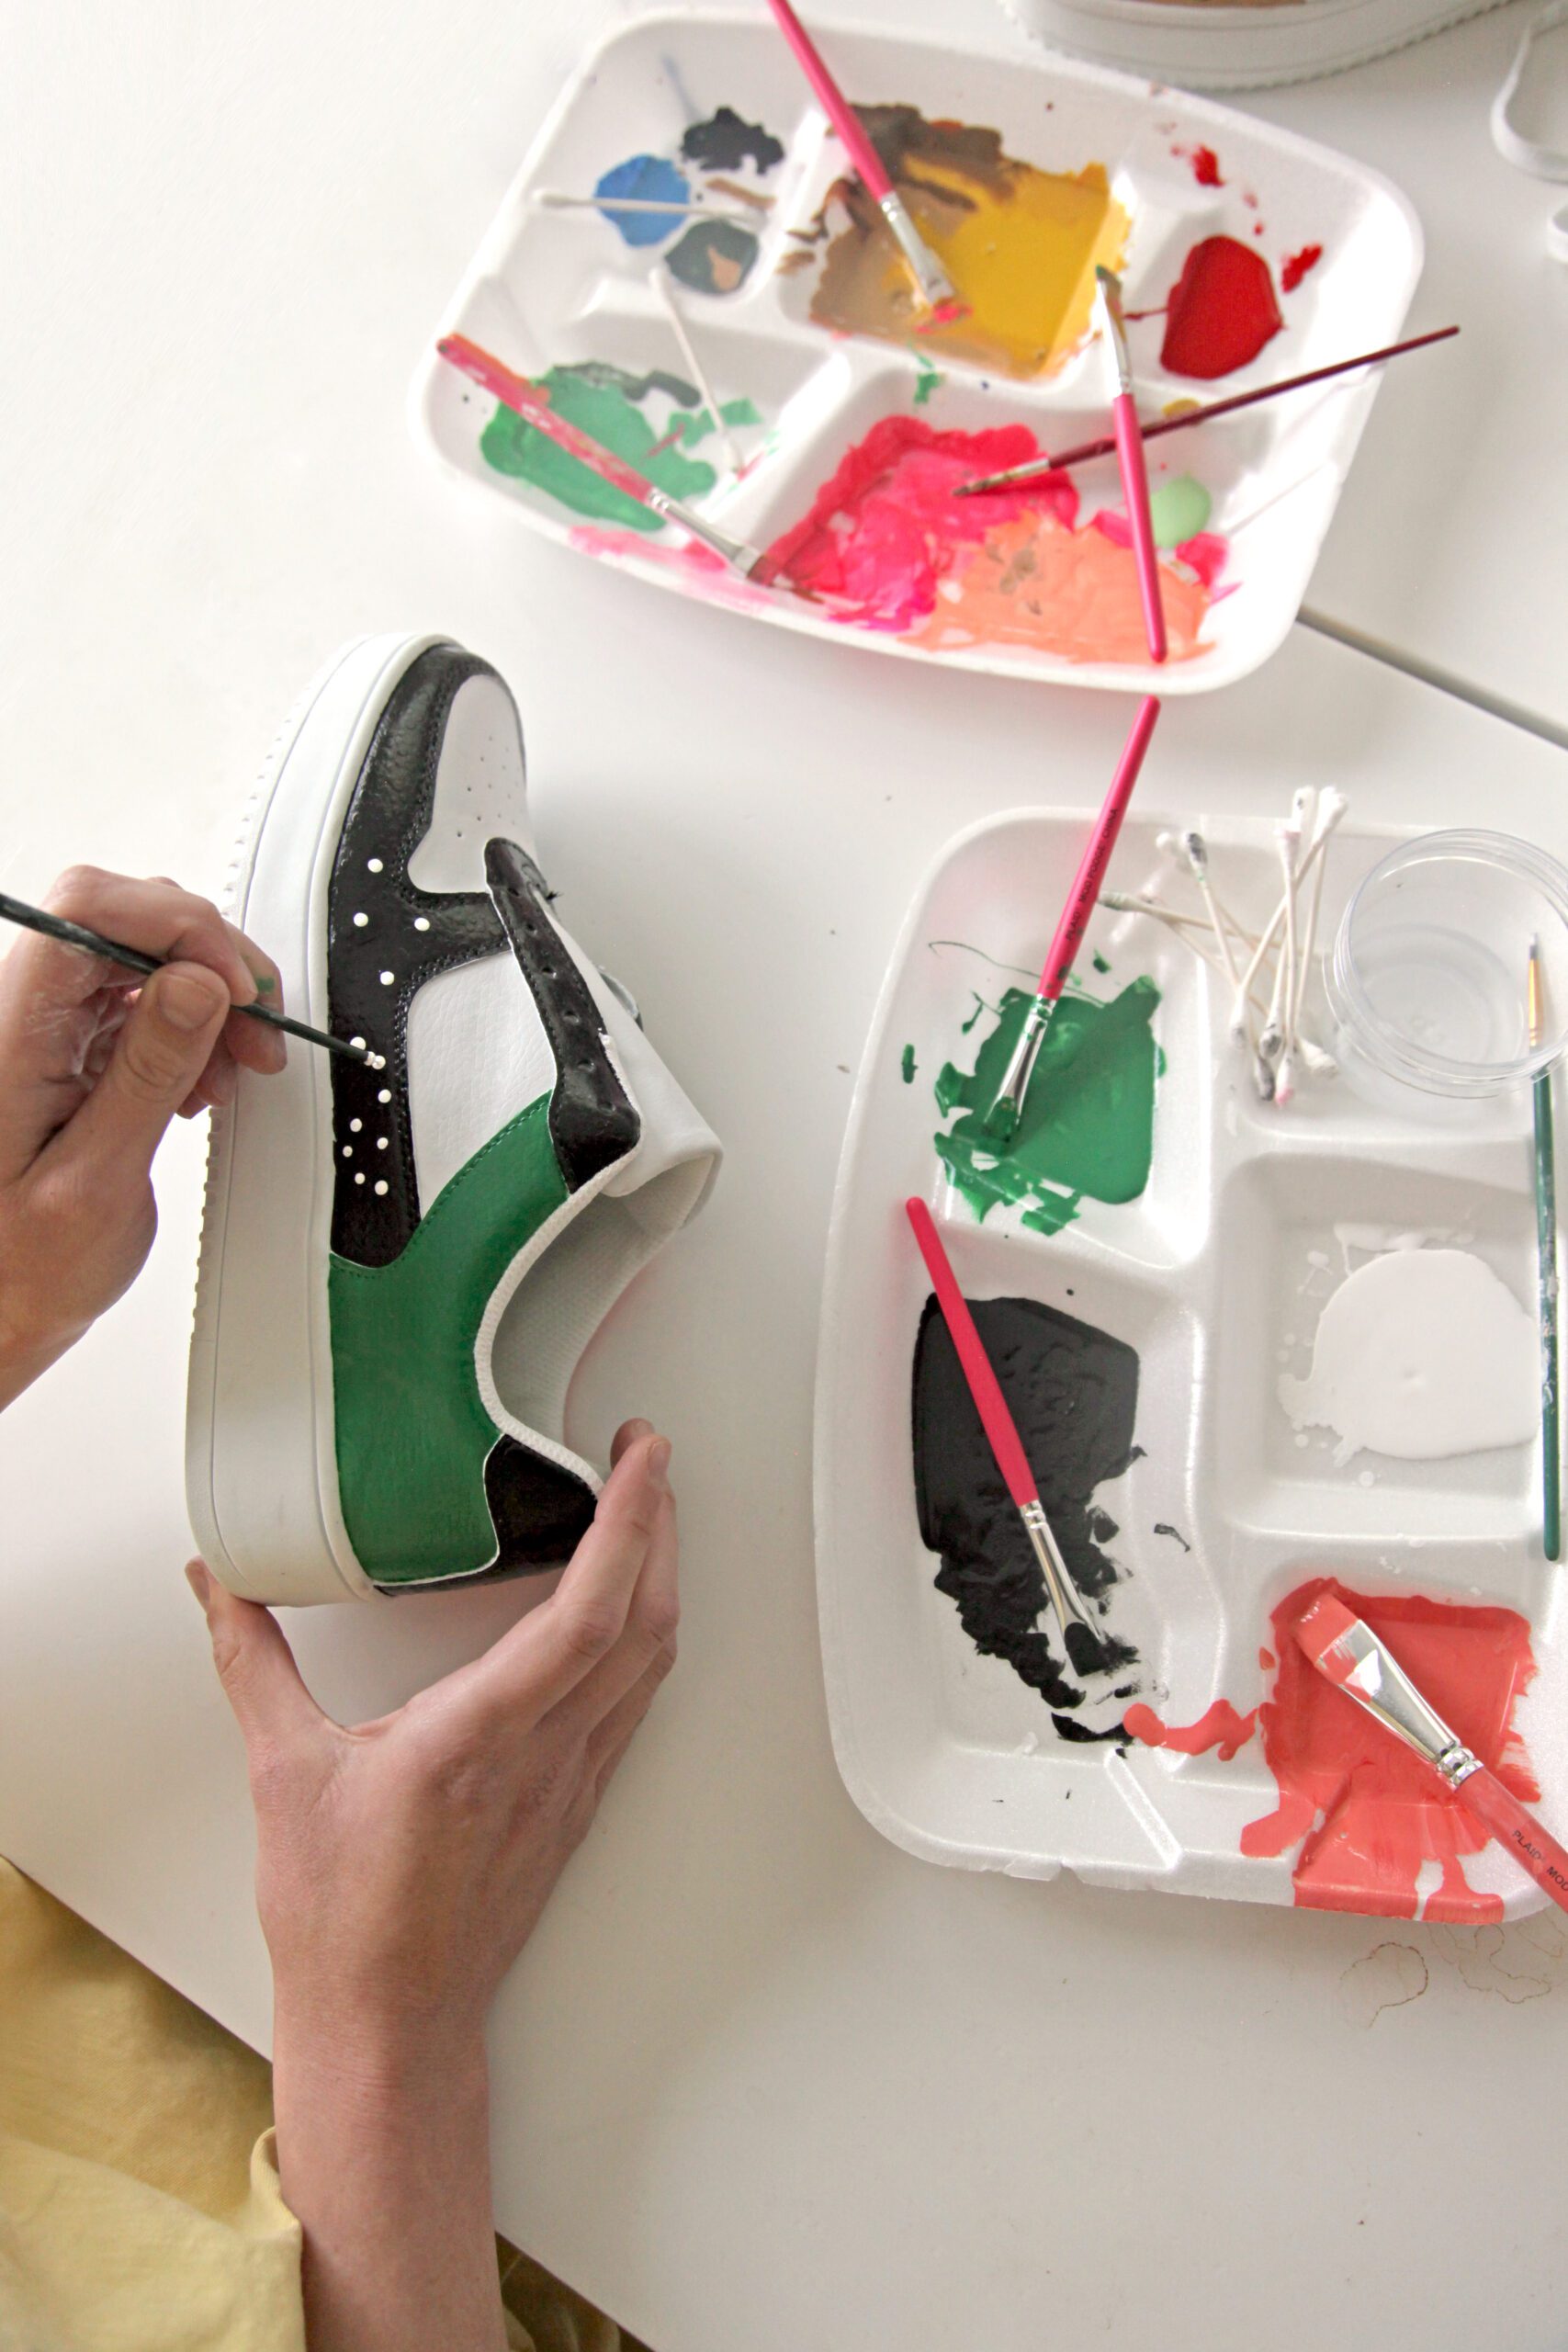
Step 2: Decide on a paint palette. If the colors you’d like aren’t available, make them! We mixed together all sorts of combinations of paints until we found just the colors we wanted.
Step 3: Start painting! Always begin with a thin layer of paint to get a feel for the consistency. (Thinner coats also help to prevent cracking.) Let each coat dry completely before applying the next and apply 1-2 extra coats until you have achieved the desired effect.
Step 4: Once you have finished painting, use a q-tip and fingernail polish remover to clean up any areas where paint shouldn’t be.
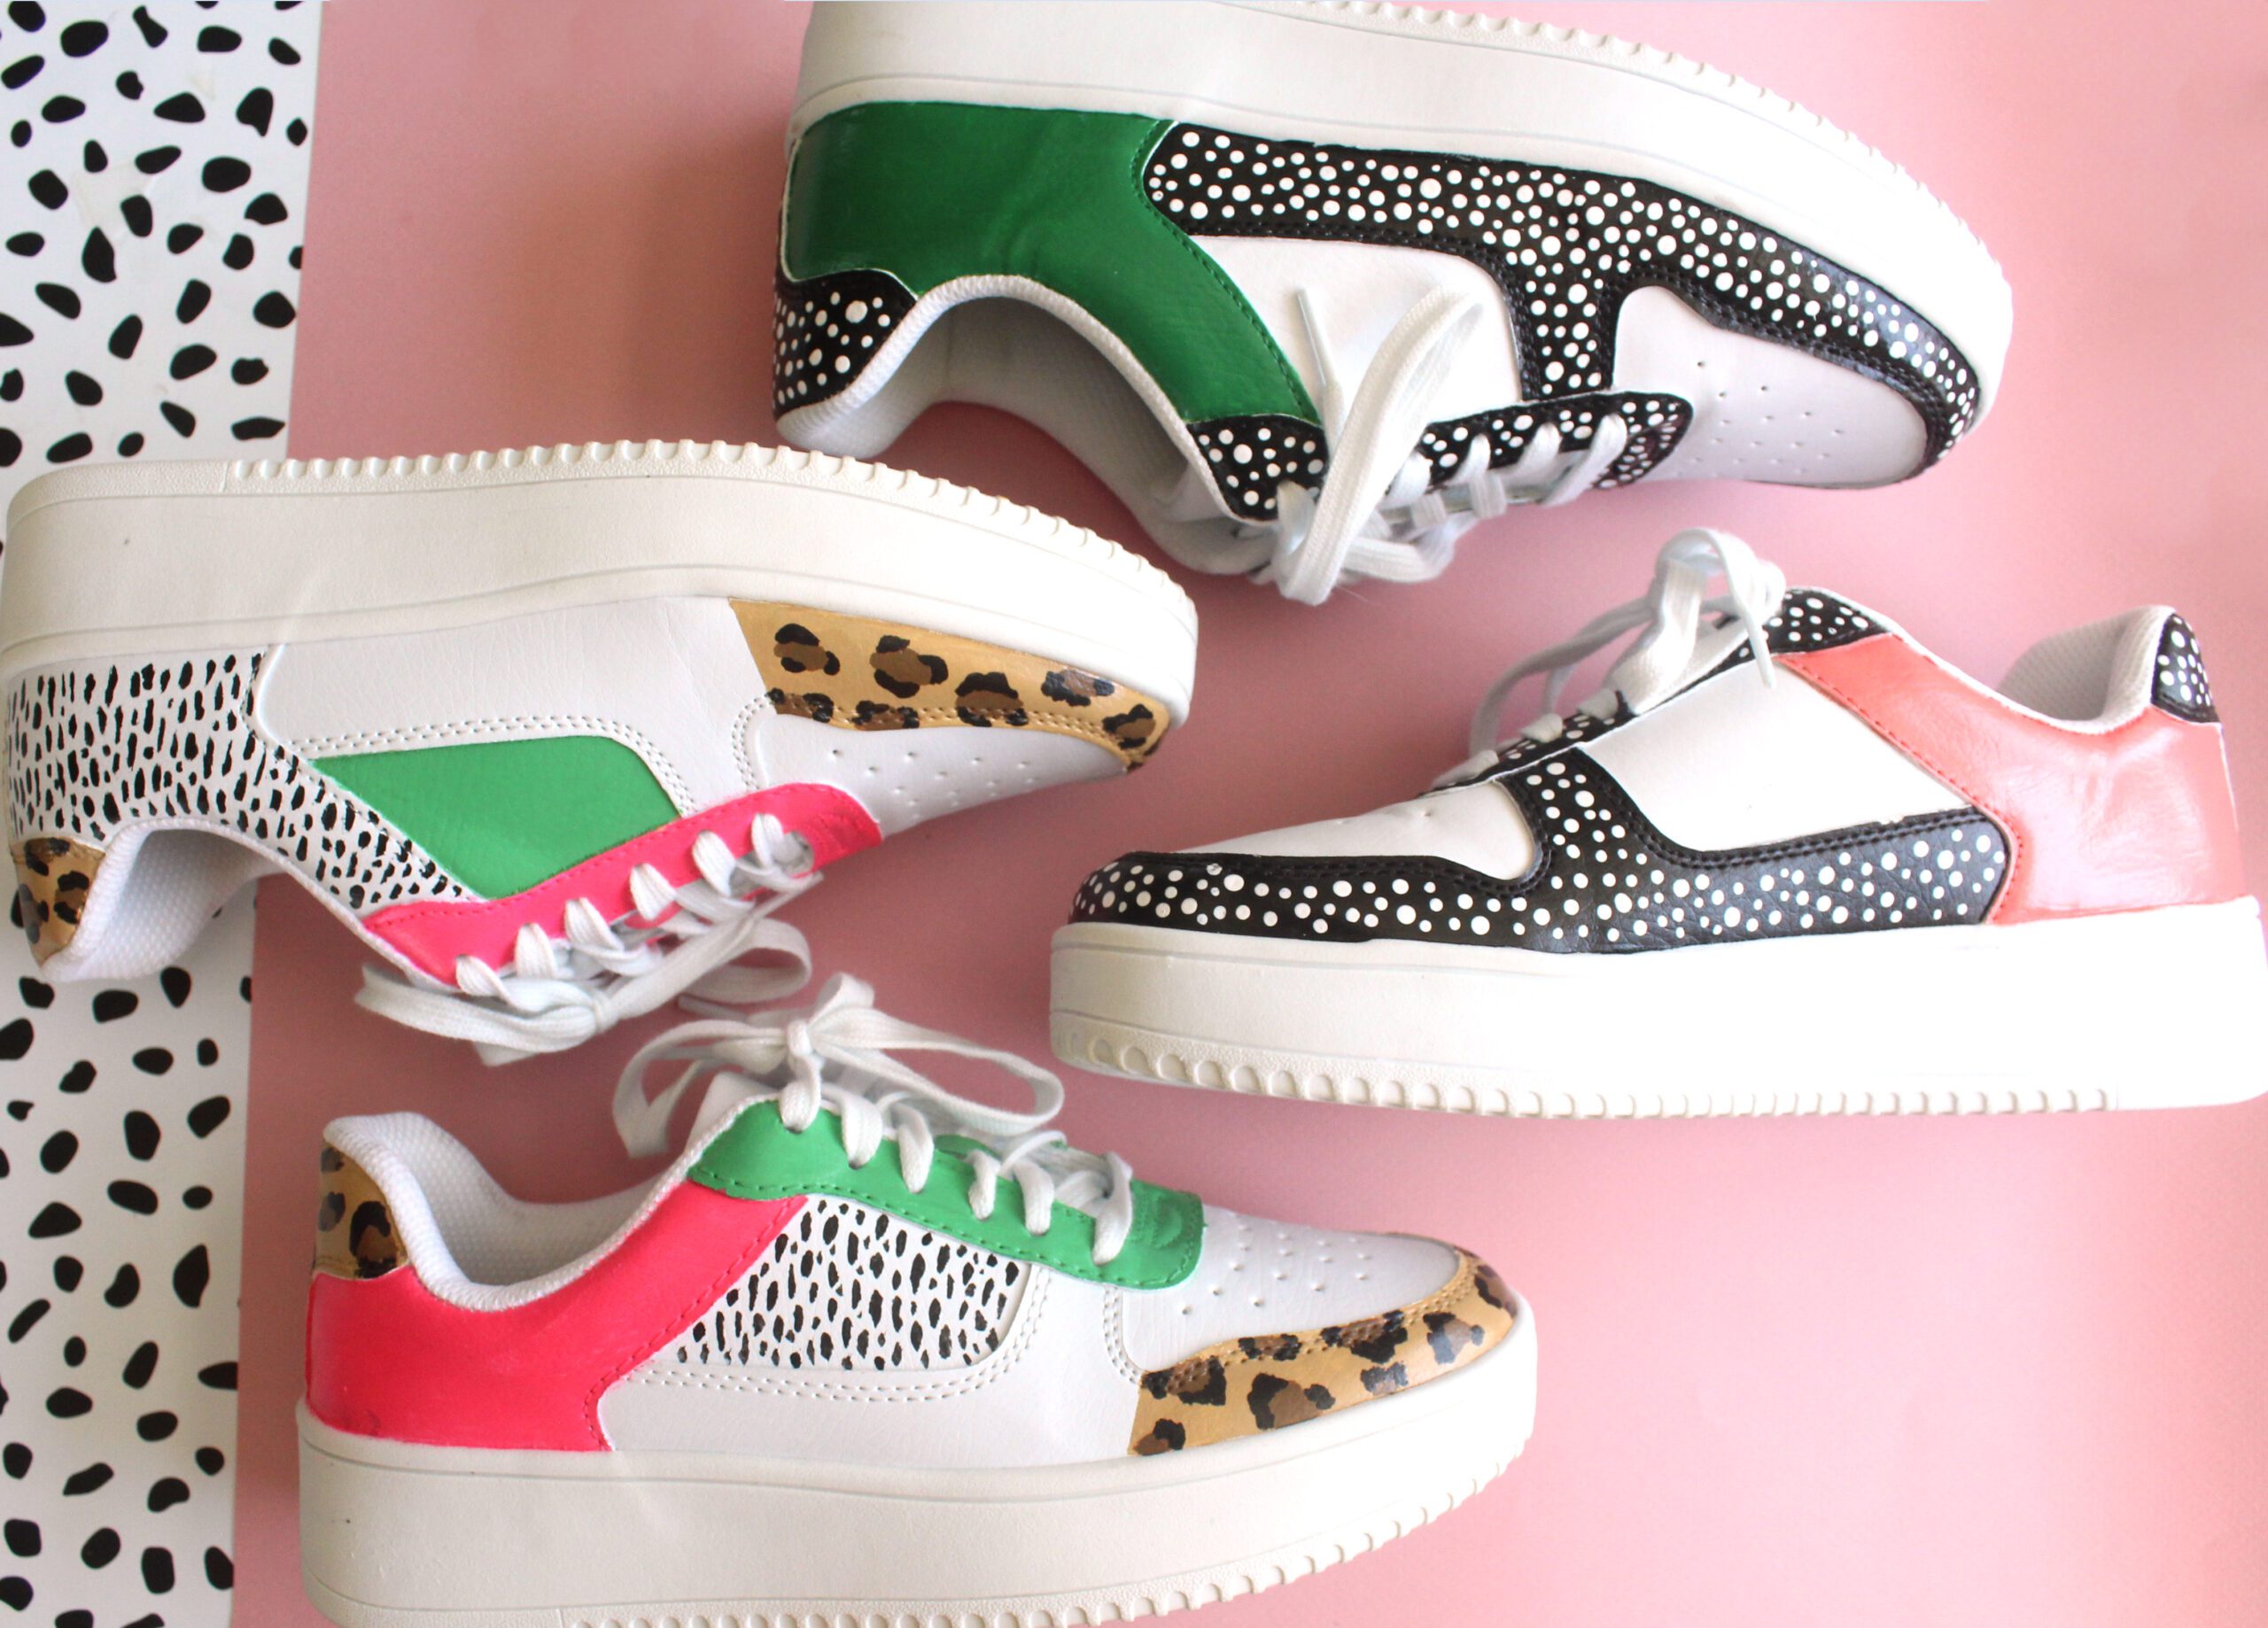
Aren’t they the most fun!? We now want to make custom sneakers to go with everything in our closet. Just imagine of the possibilities! I’m thinking I might go floral on my next pair. What would you paint on yours?
 Be sure to join our email list to stay up-to-date on all things Pretty Life Girls!
Happy making!

