


Custom mugs are one of our favorite and most reliable gift ideas. And with adhesive vinyl, you can easily make your own! In this post we’ll teach you all our tips and tricks for how to put vinyl on mugs.
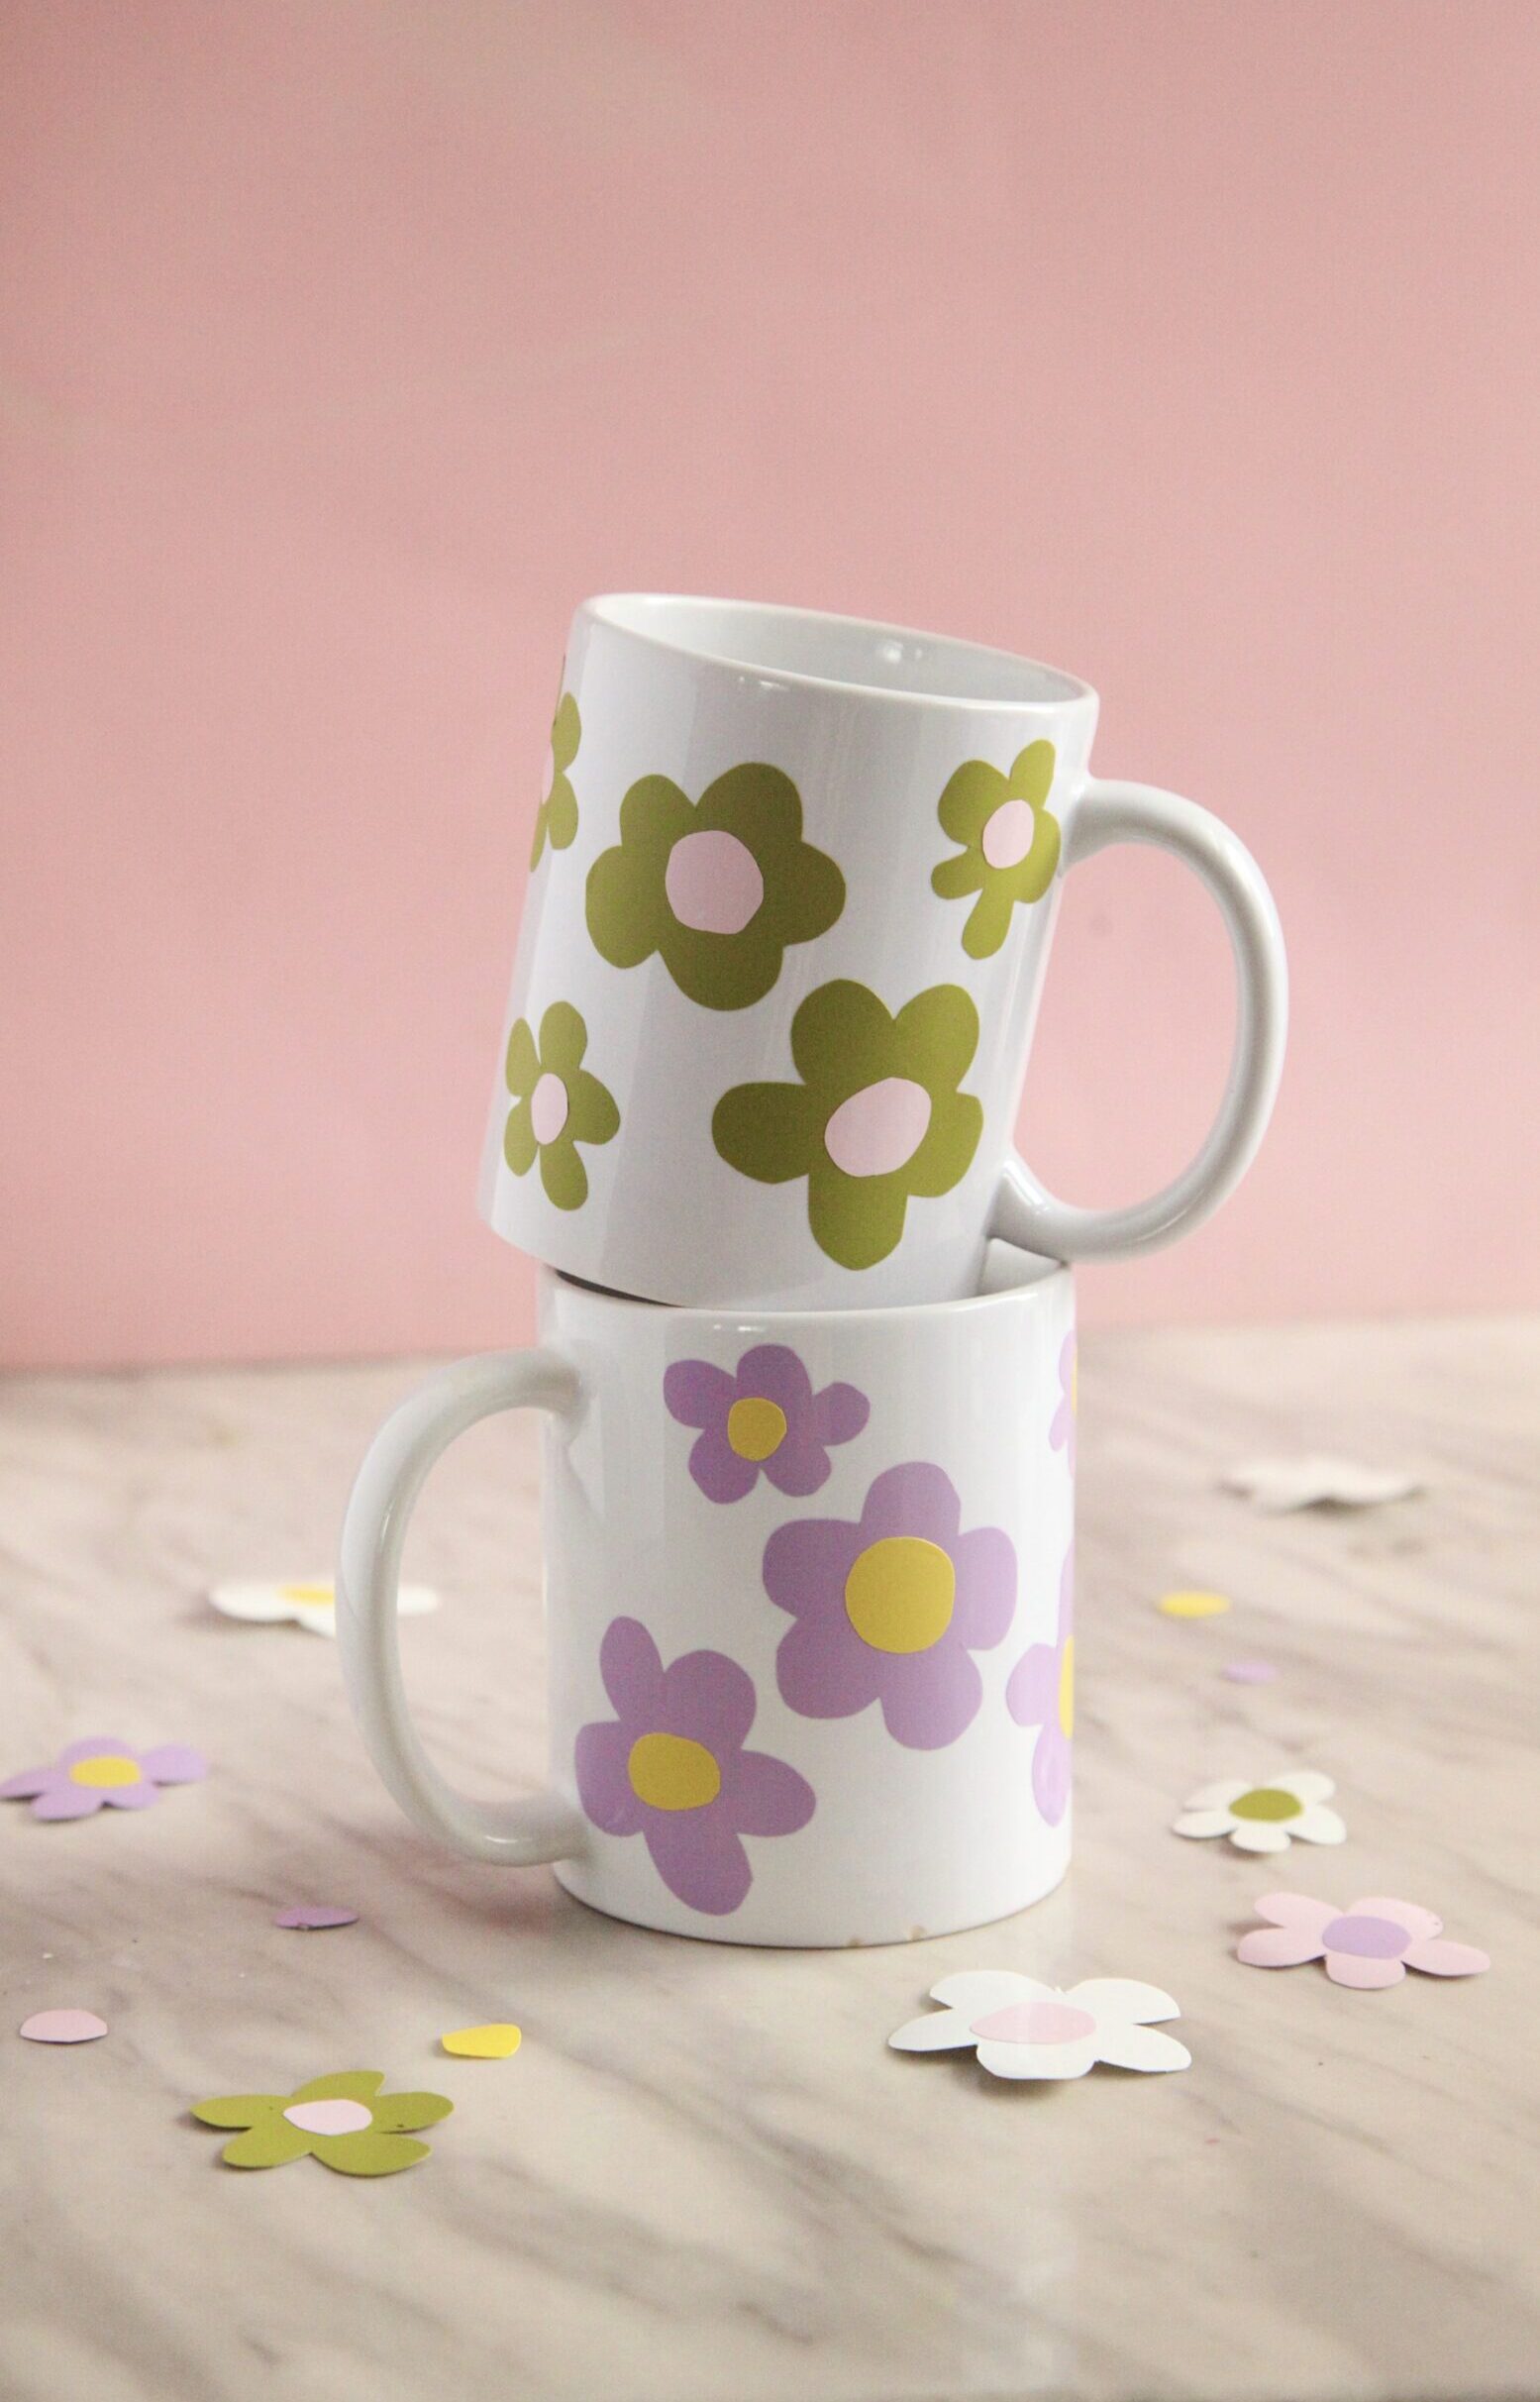
How to Put Vinyl on Mugs: DIY Daisy Mugs
You know we love our cutting machines here at the PLG. They are a super helpful tool for cutting intricate designs or for cutting in bulk. However, if you are cutting simple shapes for a small project, using scissors can be just as effective!
If you don’t have a cutting machine, you can use stencils, trace them on adhesive vinyl, cut with scissors and then apply. Or, if you are doing a simple shape that you can freehand, even better!
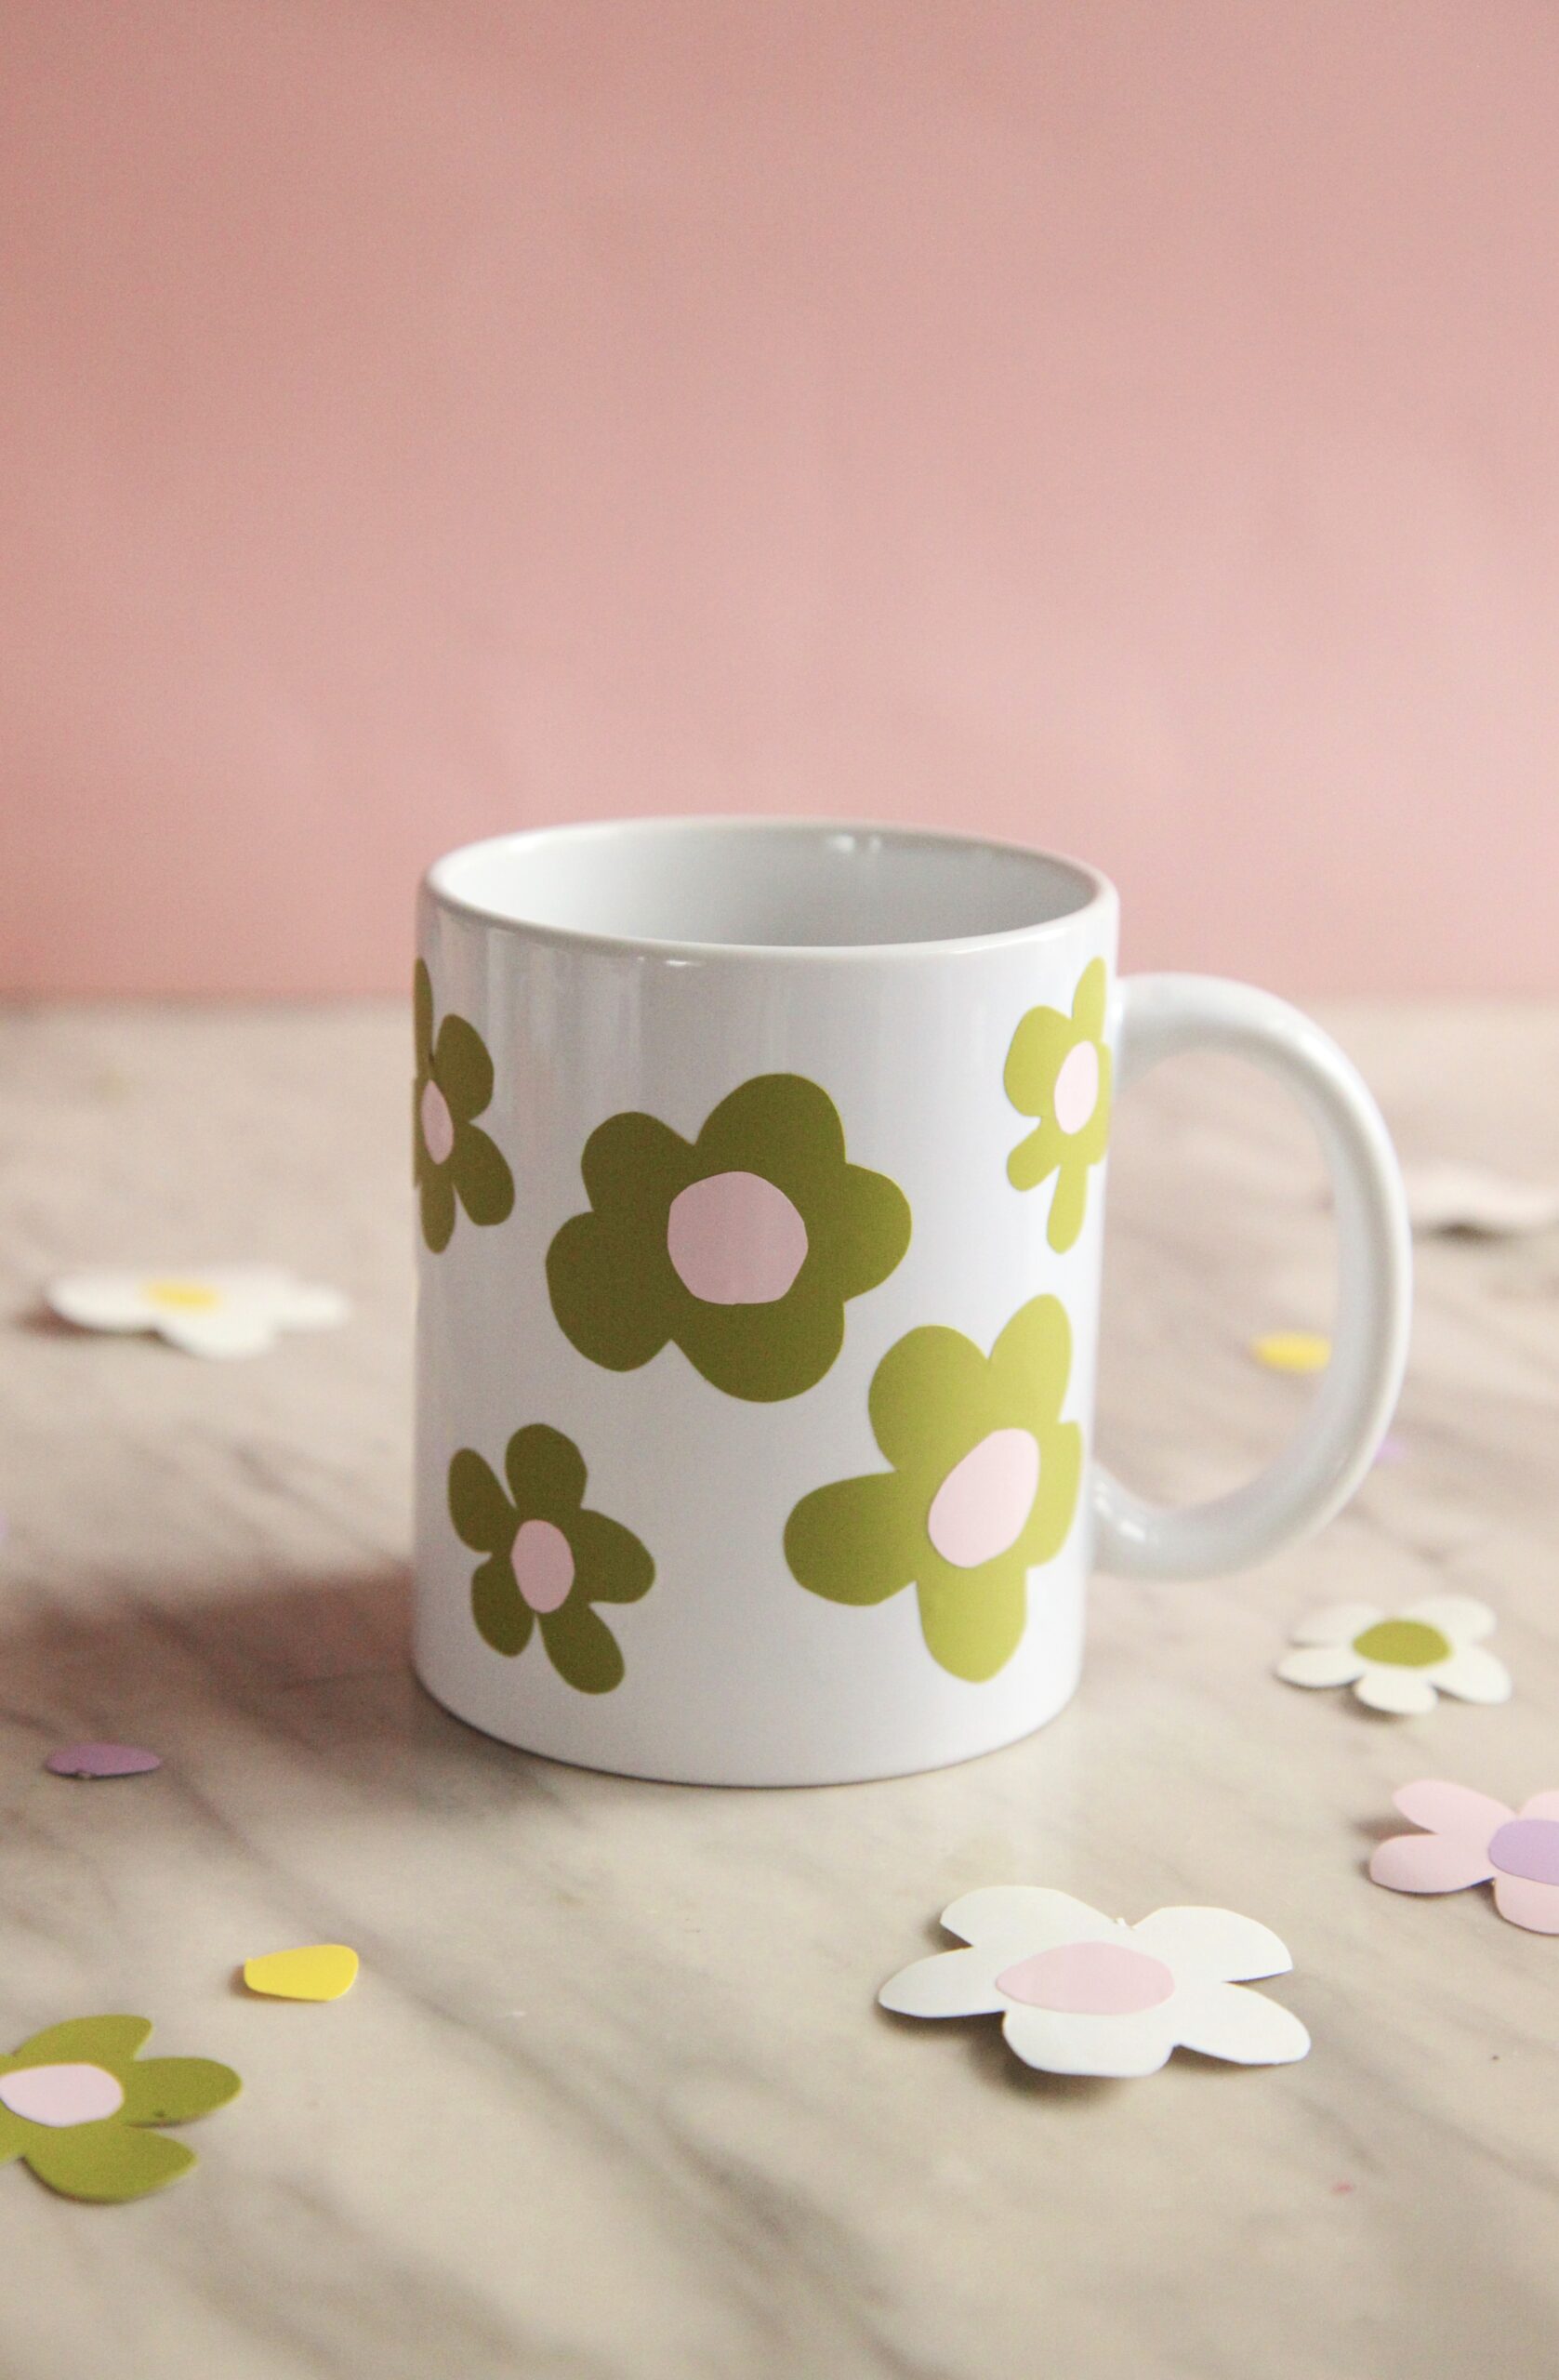
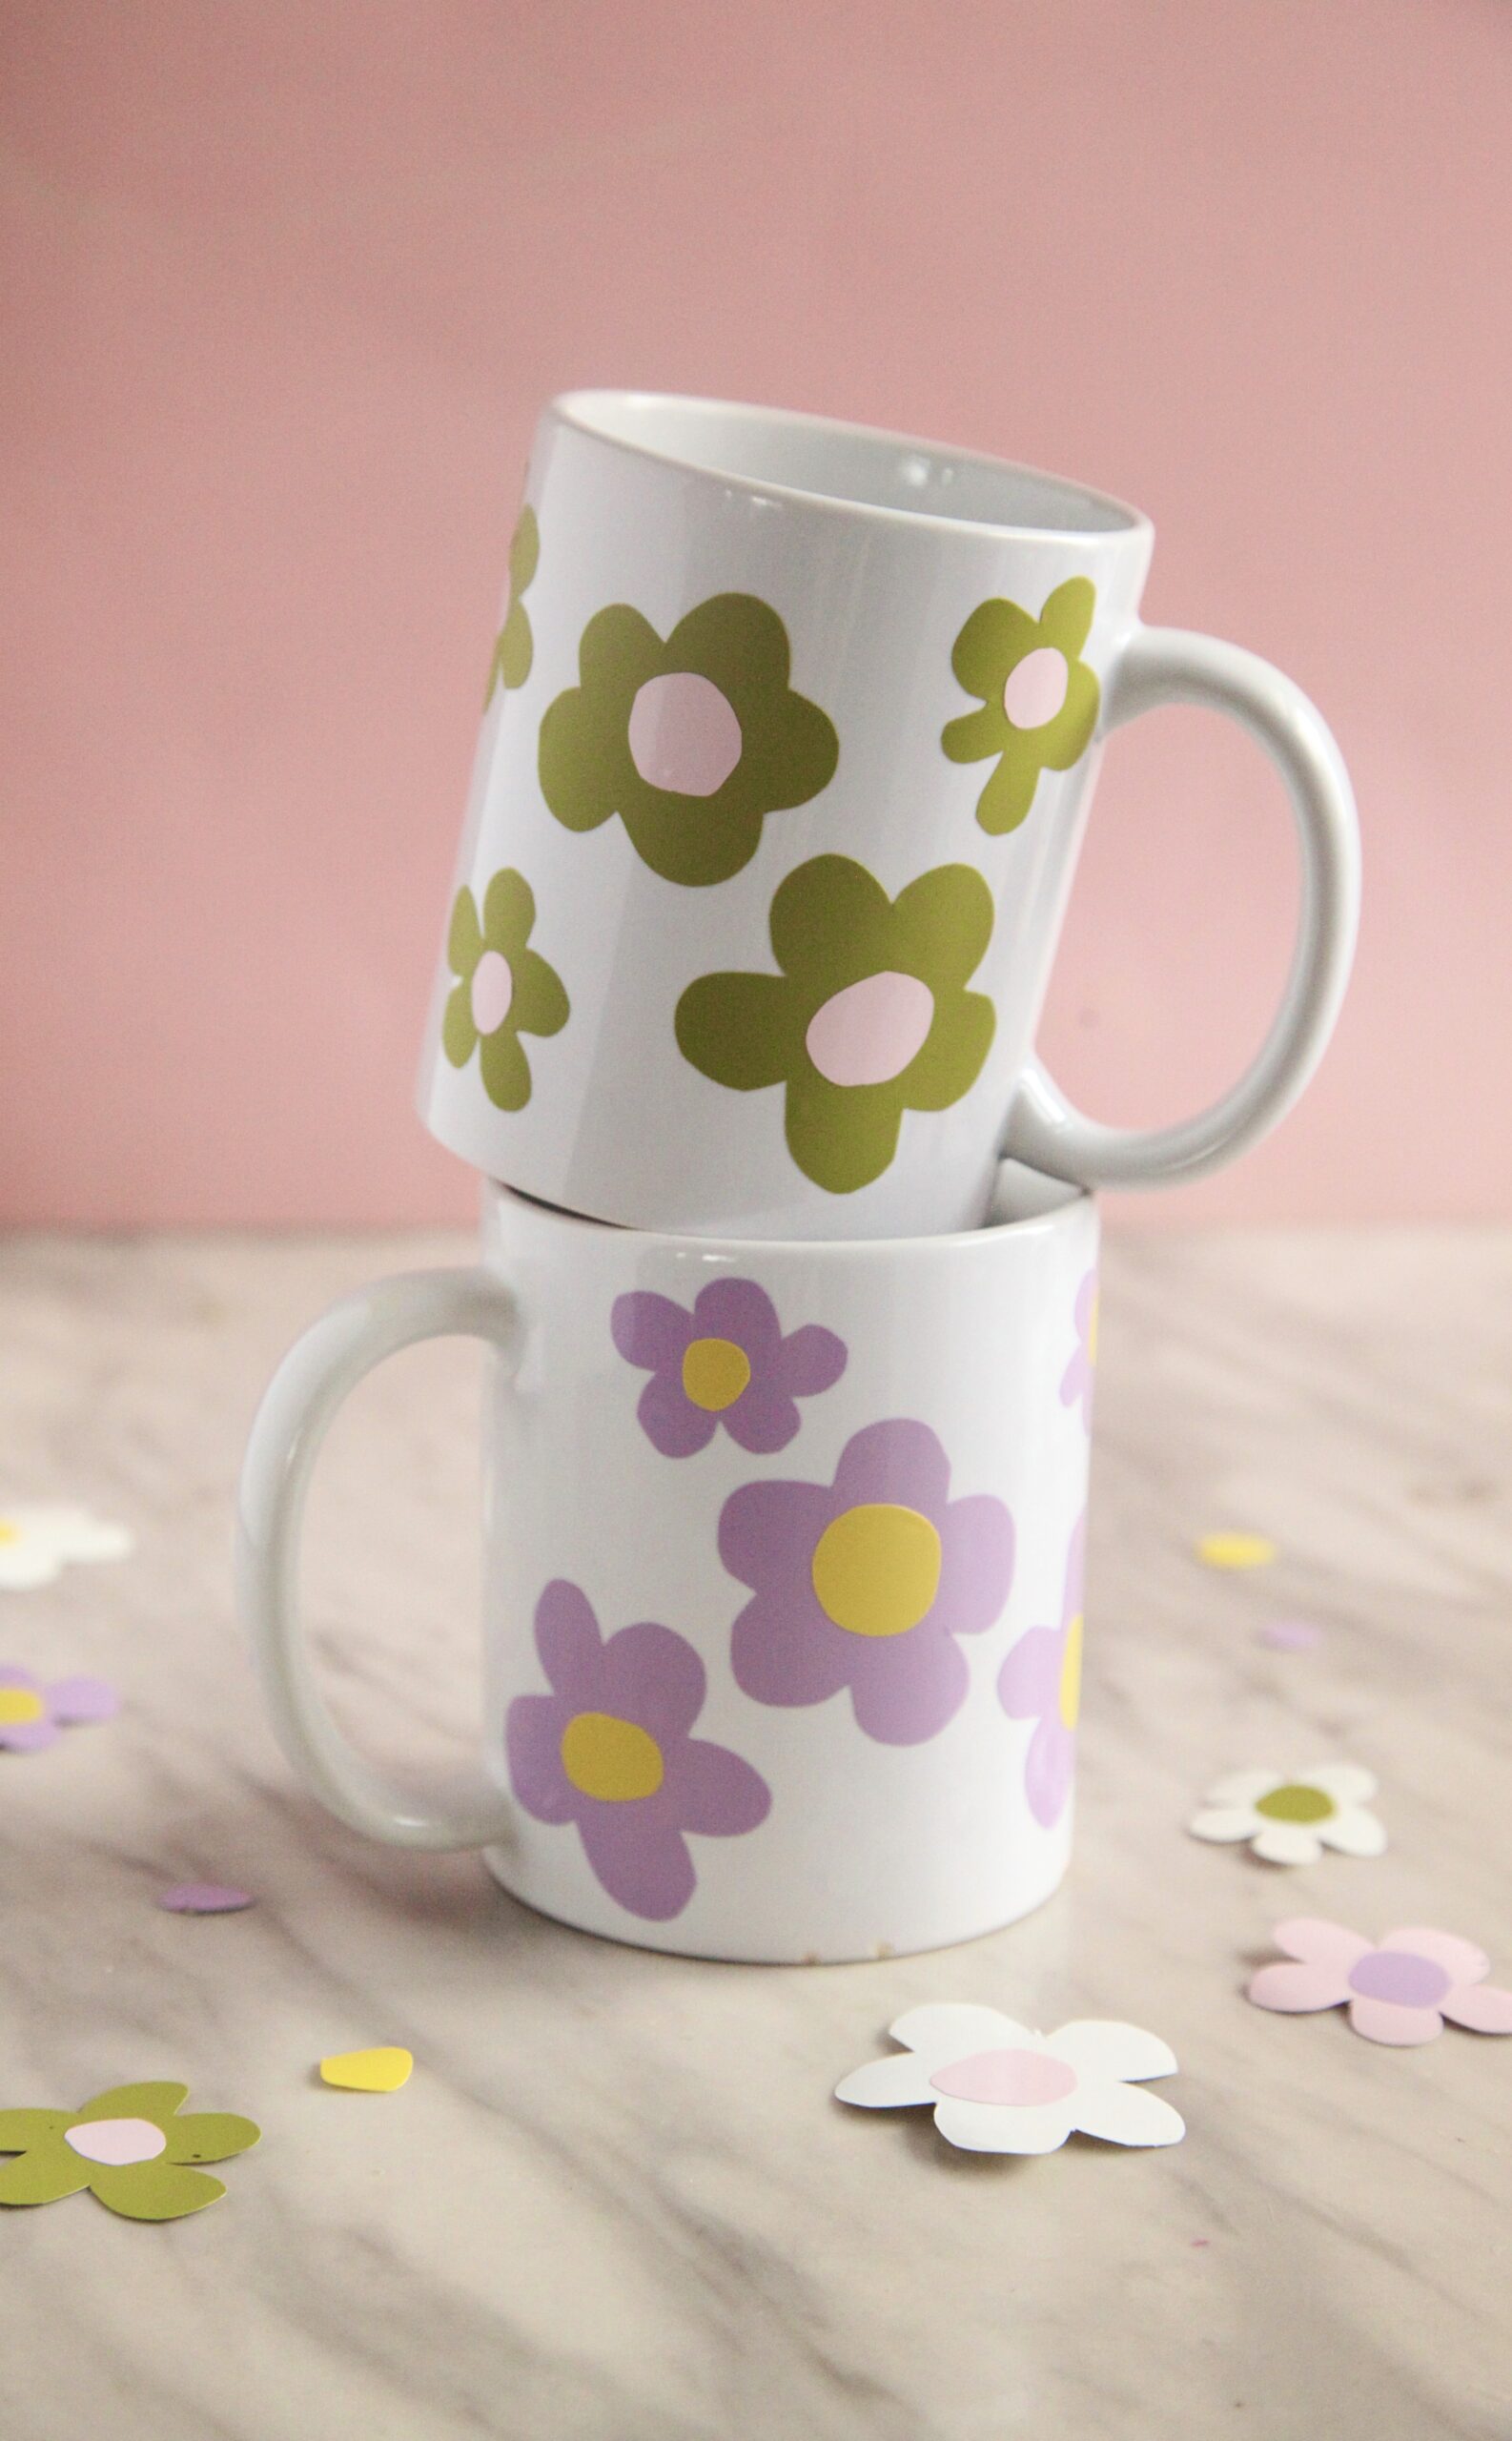
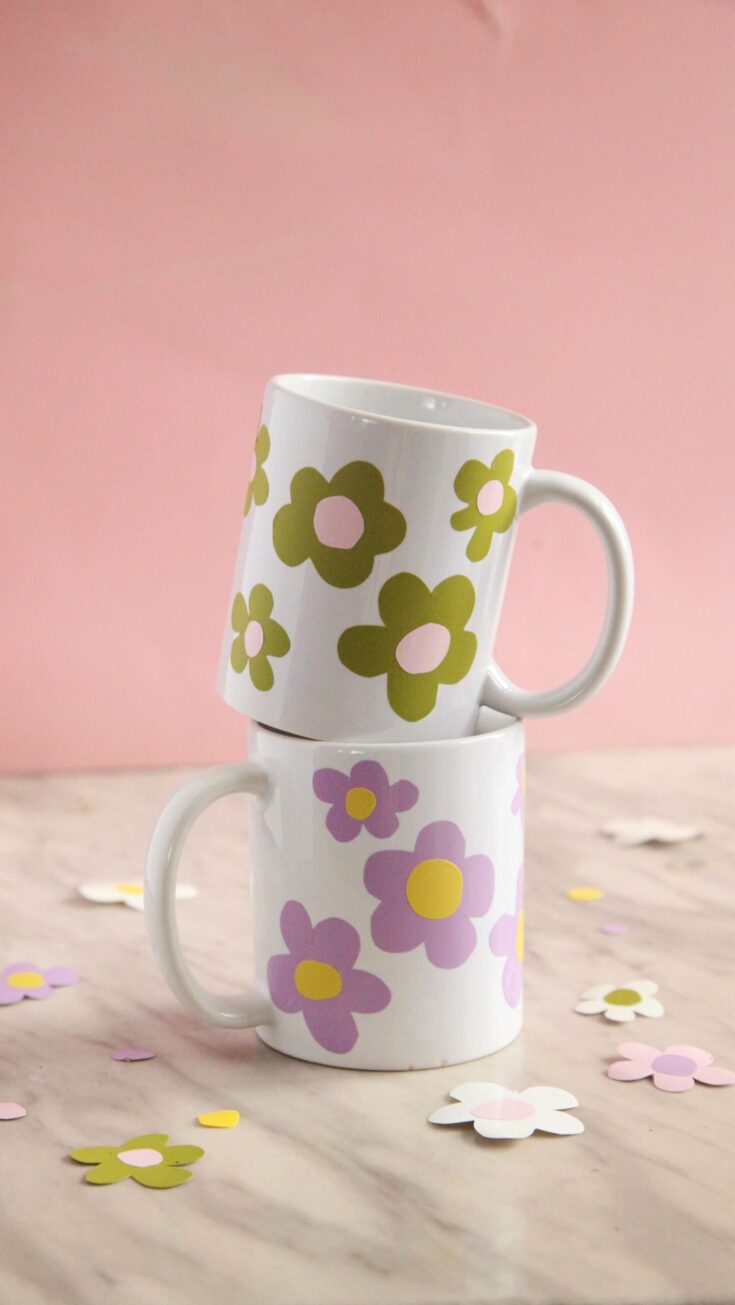
Today we are making some trendy mugs by cutting daisies from vinyl freehand, then applying them to the mugs. So easy and unique with no fancy tech required!
Can you use adhesive vinyl on mugs and other dishes?
Yes! Permanent adhesive vinyl will hold up when hand-washed and can be run through the dishwasher, depending on your machine. And while, it is likely to not last forever on the mugs, we have mugs with permanent adhesive vinyl that were made years ago that still are in perfect condition.
How do you get vinyl to stay on a mug?
For mugs that are intended to be used (and not just displayed), you will want to follow a few steps to ensure that your vinyl design stays put as long as possible.
First, use permanent adhesive vinyl. That’s right, not all vinyl is equal. Some varieties are removable, some are permanent. For this type of project, use permanent vinyl.
Second, cleanse the surface of the mug with rubbing alcohol to remove any dirt or debris that might interfere with vinyl application and let it dry completely.
Third, seal the design with Dishwasher-Safe Mod Podge (like we did here).

Materials needed to make Daisy Mugs with Adhesive Vinyl
Blank mug (Ikea, The Dollar Tree, or the thrift store are great places to find these!)
Permanent adhesive vinyl
Scissors

How to Make Daisy Mugs with Adhesive Vinyl
Step 1: Use a pencil to draw your daisy design on the backing side of the vinyl.
Step 2: Using scissors, cut out the daisy shape from one color of vinyl.
Step 3: Using scissors, cut out the circular center of the daisy from a contrasting color of vinyl.
Step 4: Remove the backing from the circular vinyl pieces and apply them to the center of the daisy pieces.
Step 5: Remove the backing from the daisy pieces and apply the daisies to the mugs, rubbing and applying pressure to ensure they are adequately adhered.
Now you can add simple adhesive vinyl designs to all kinds of surfaces, no cutting machine needed!
Custom mugs are one of our favorite and most reliable gift ideas. And with adhesive vinyl, you can easily make your own! DIY Mugs with Vinyl
Materials
Instructions
Notes
any dirt or debris before applying vinyl.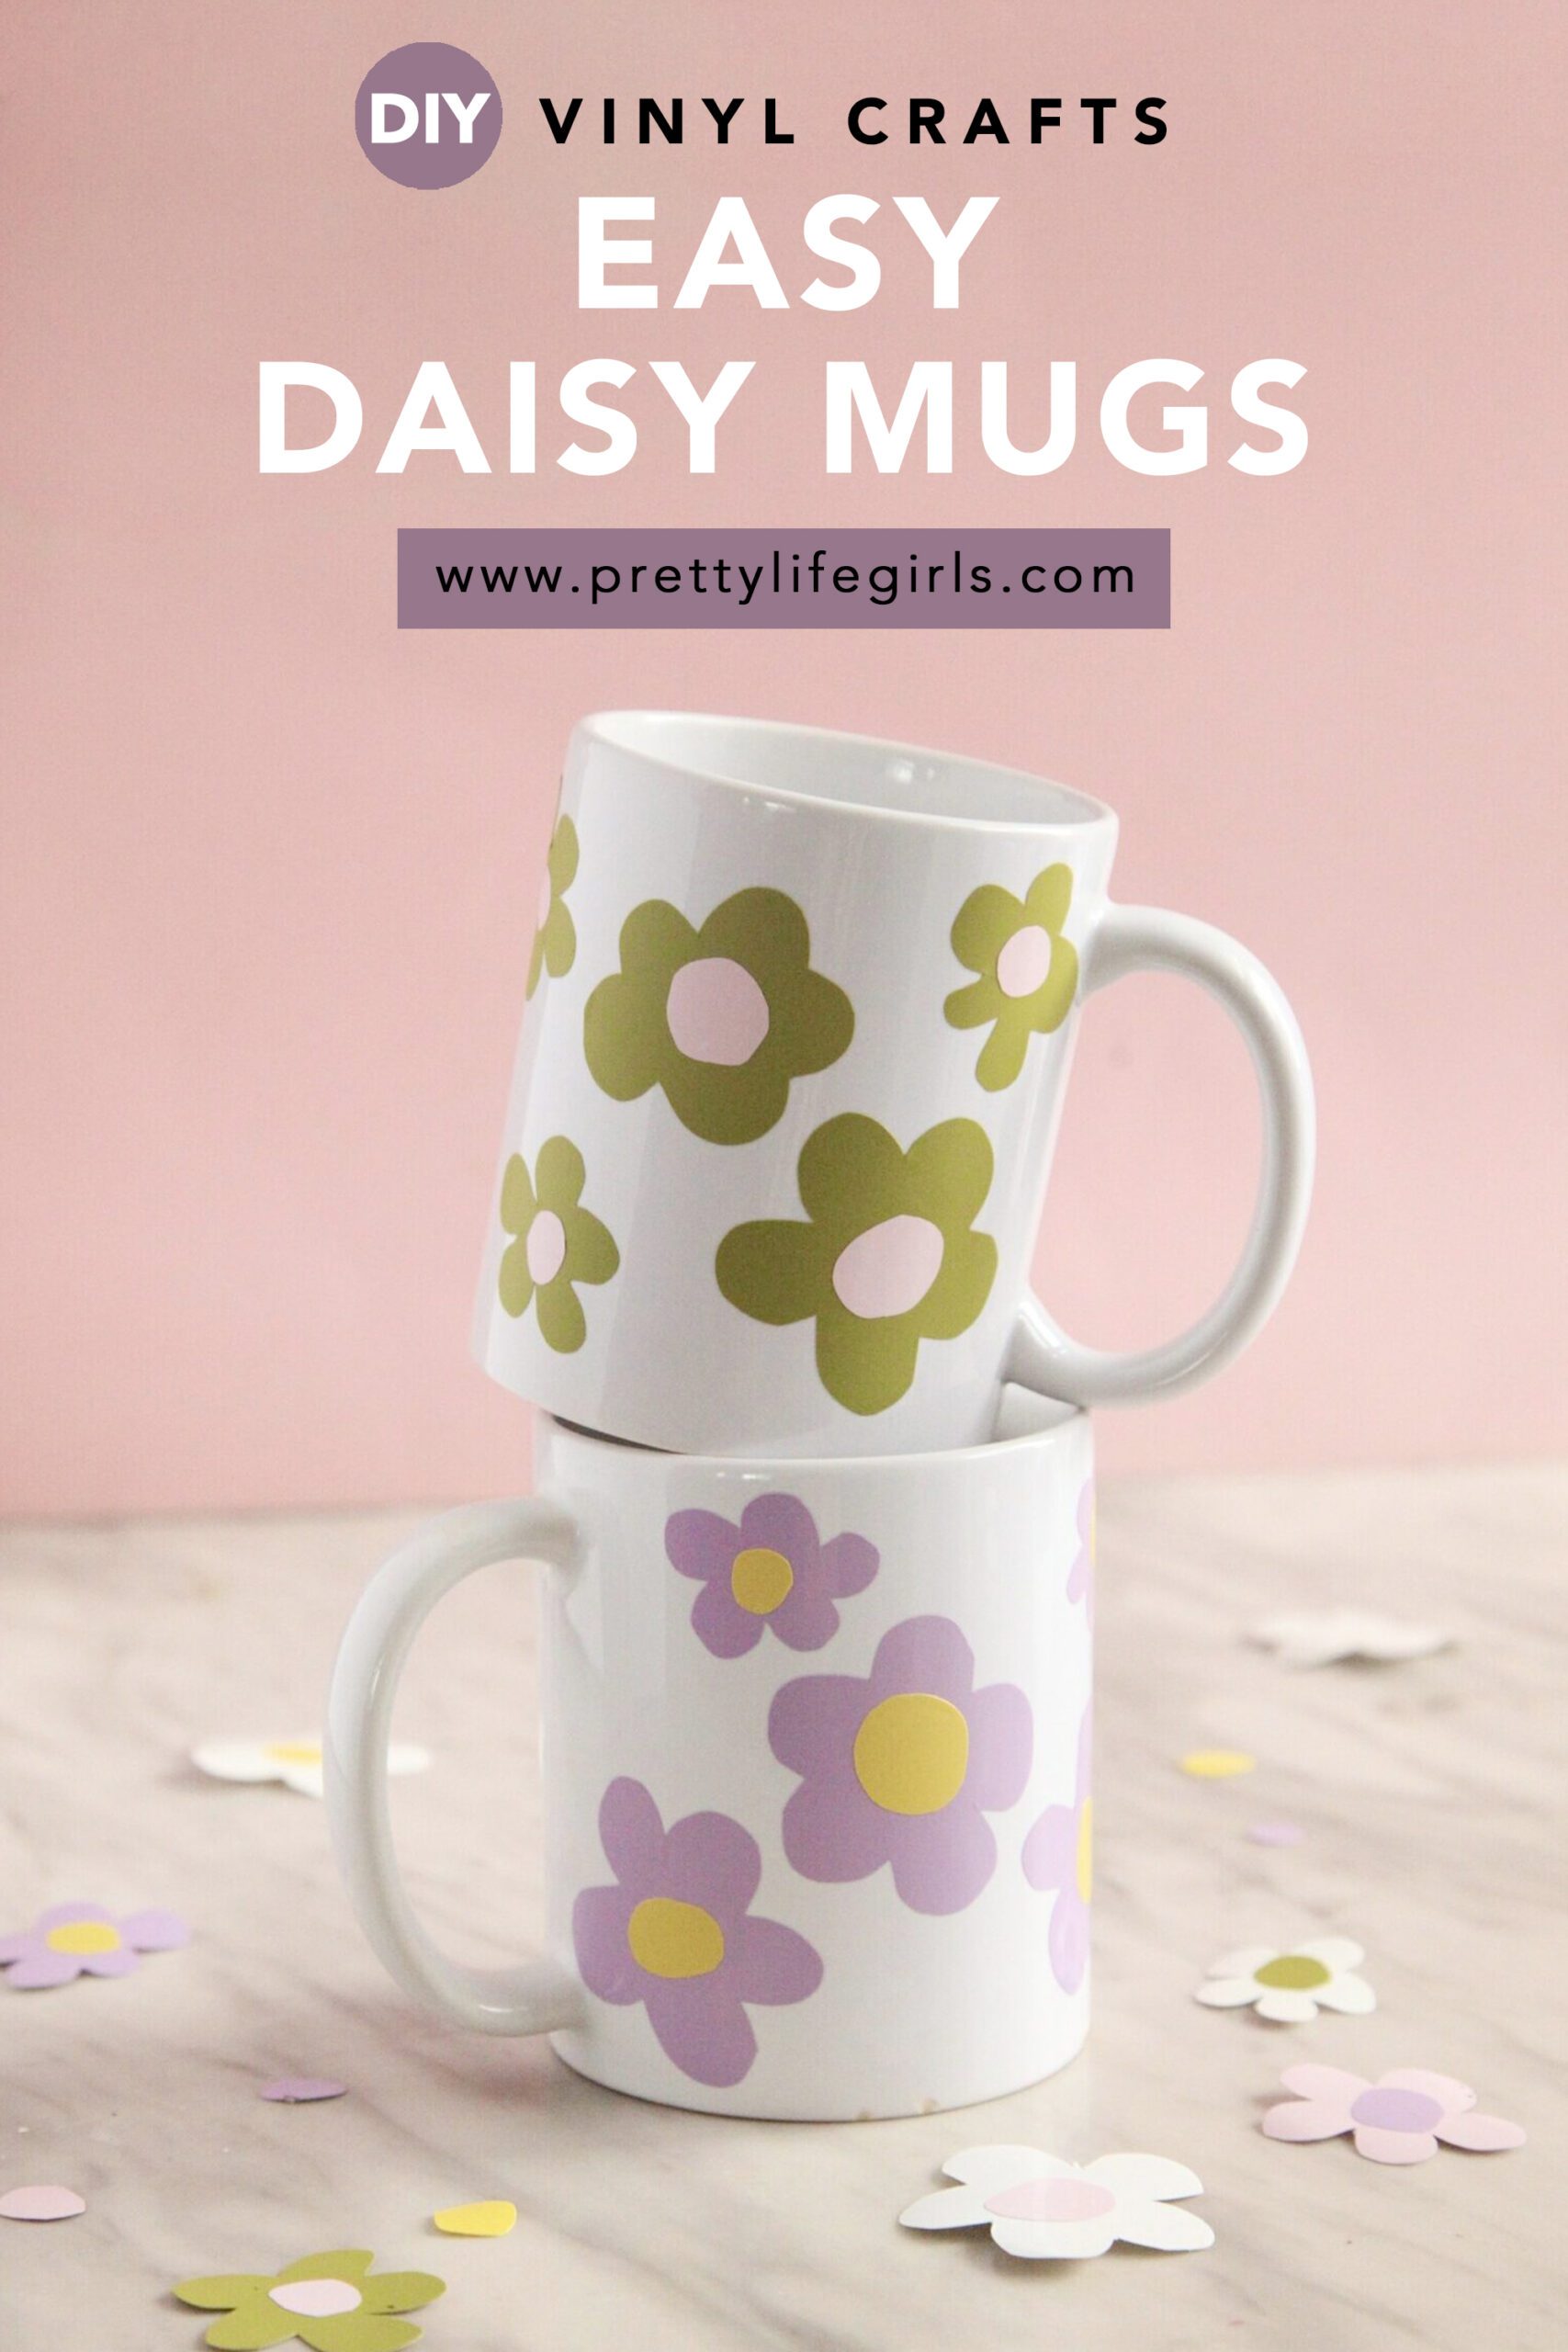
For more inspiration using craft-room staples, visit our archives, here! Happy making!
ox. Liz and Sam

