


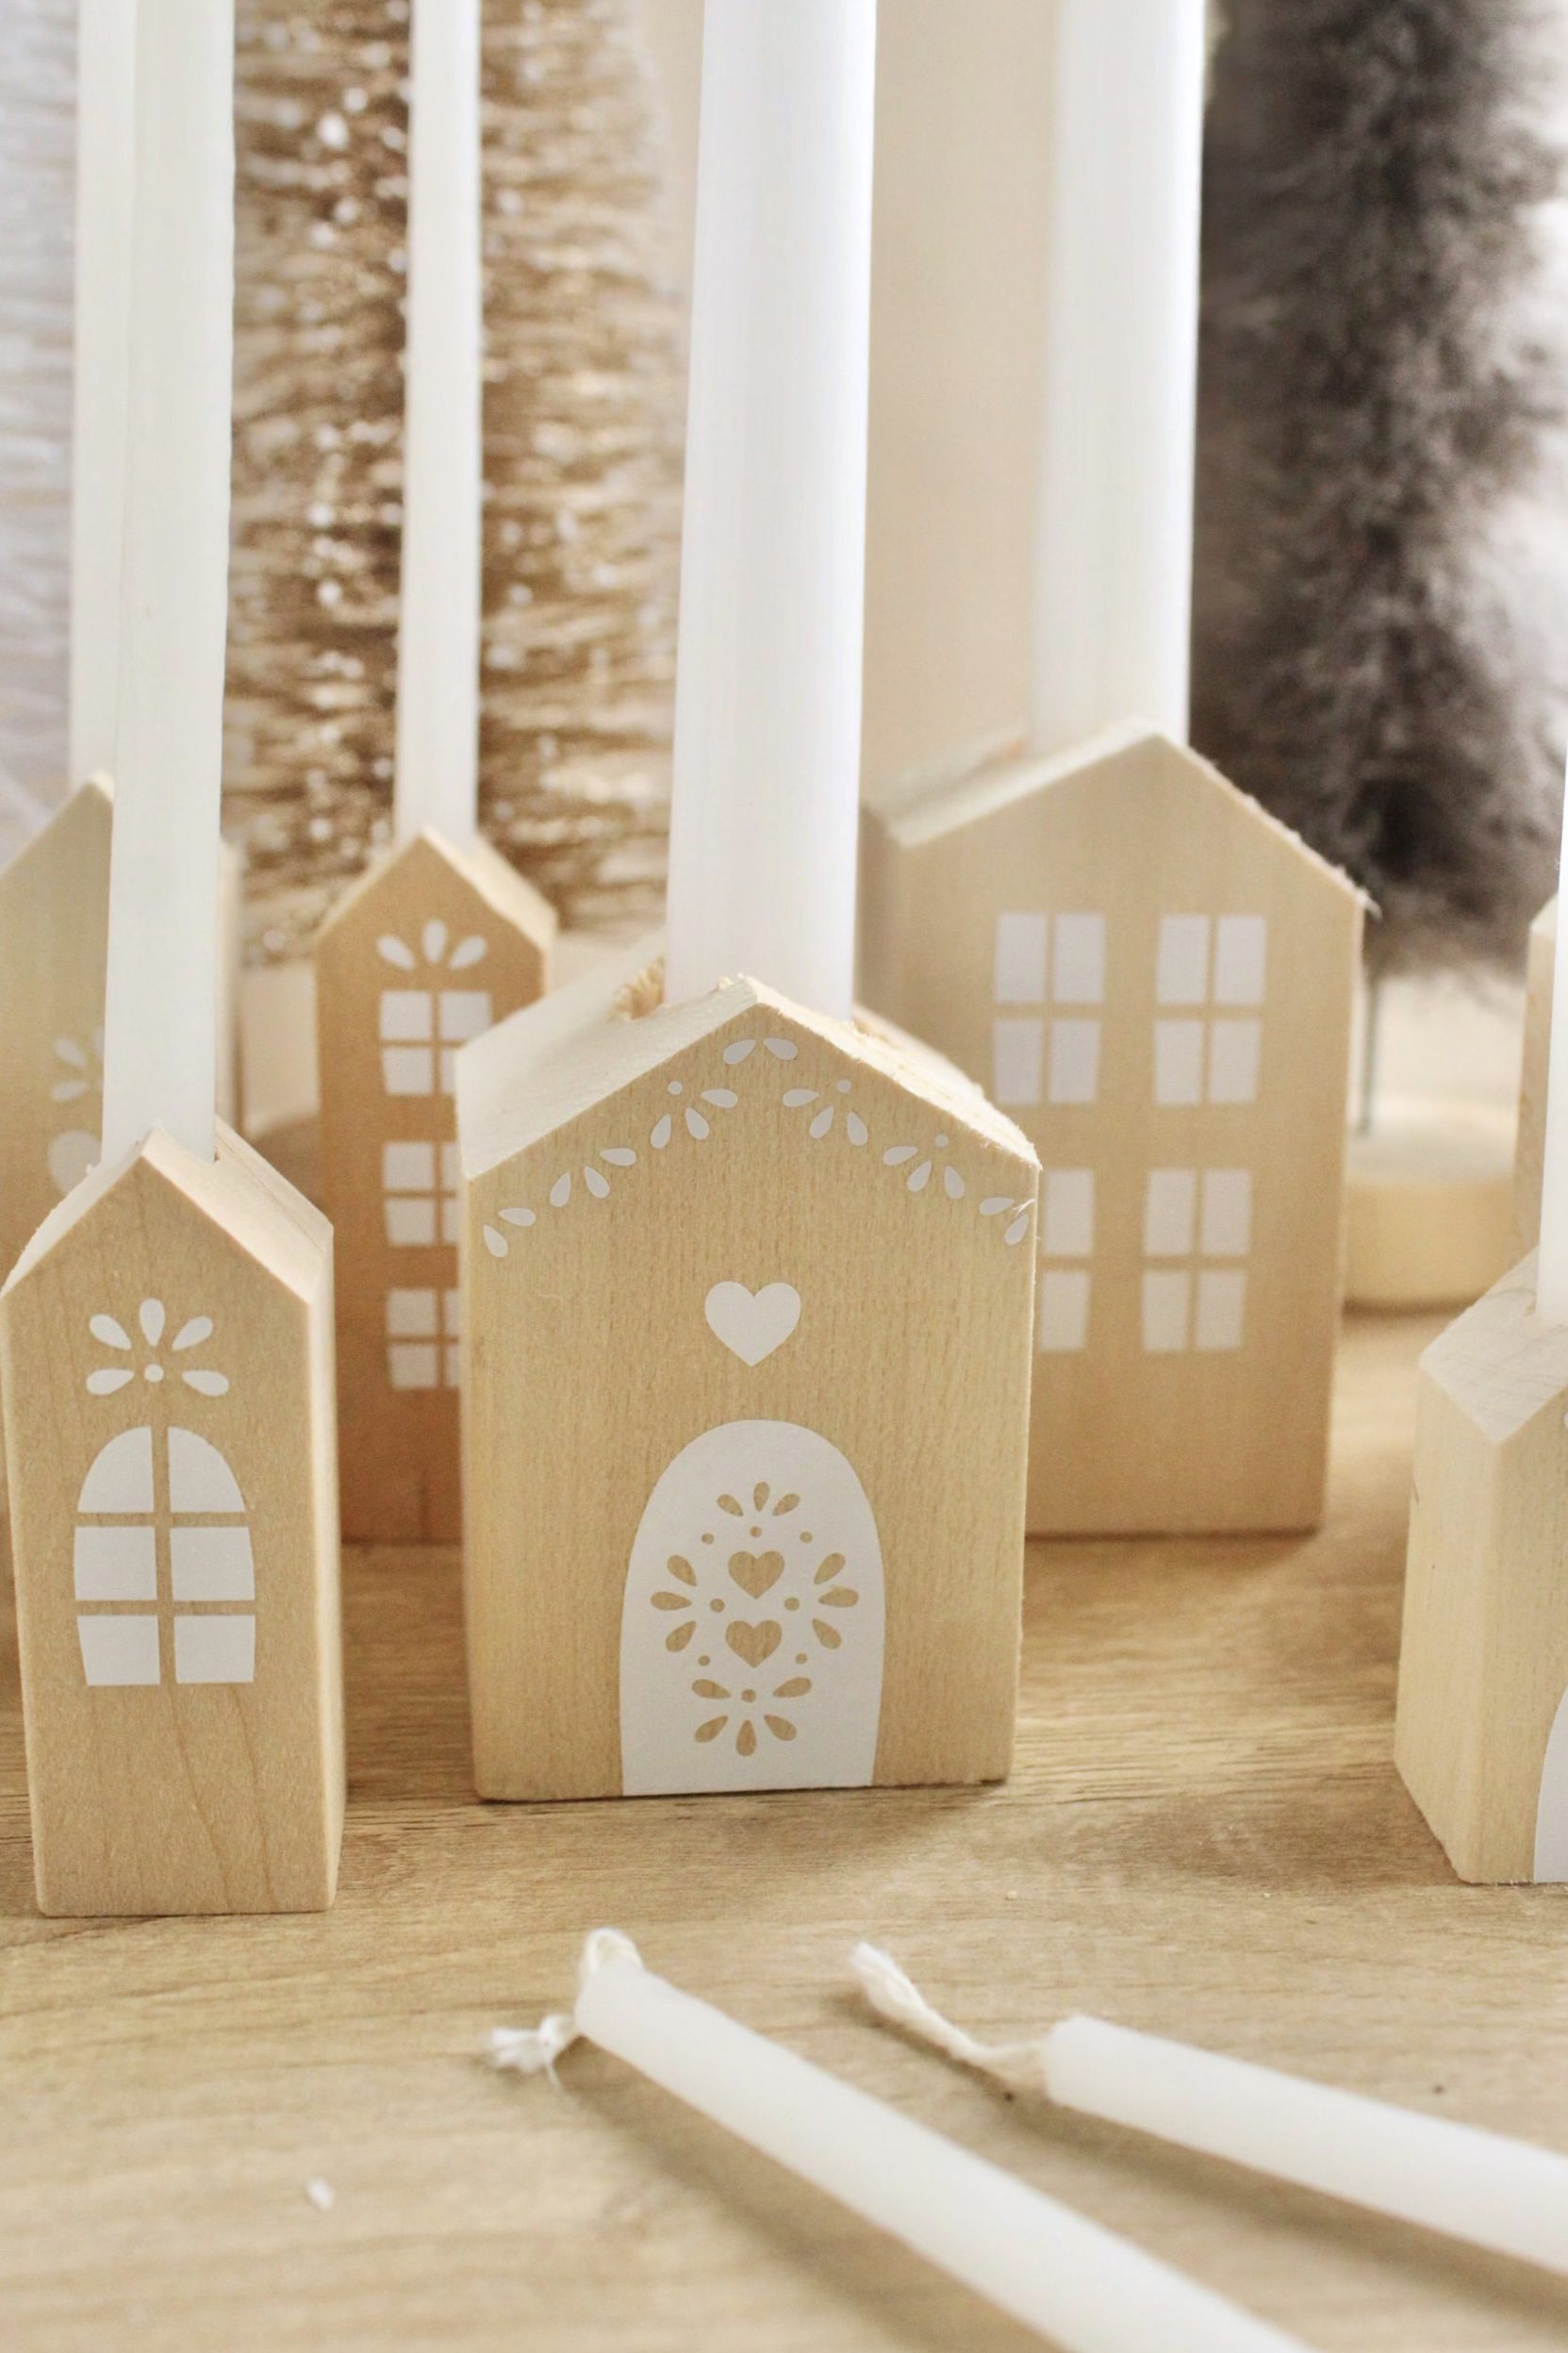
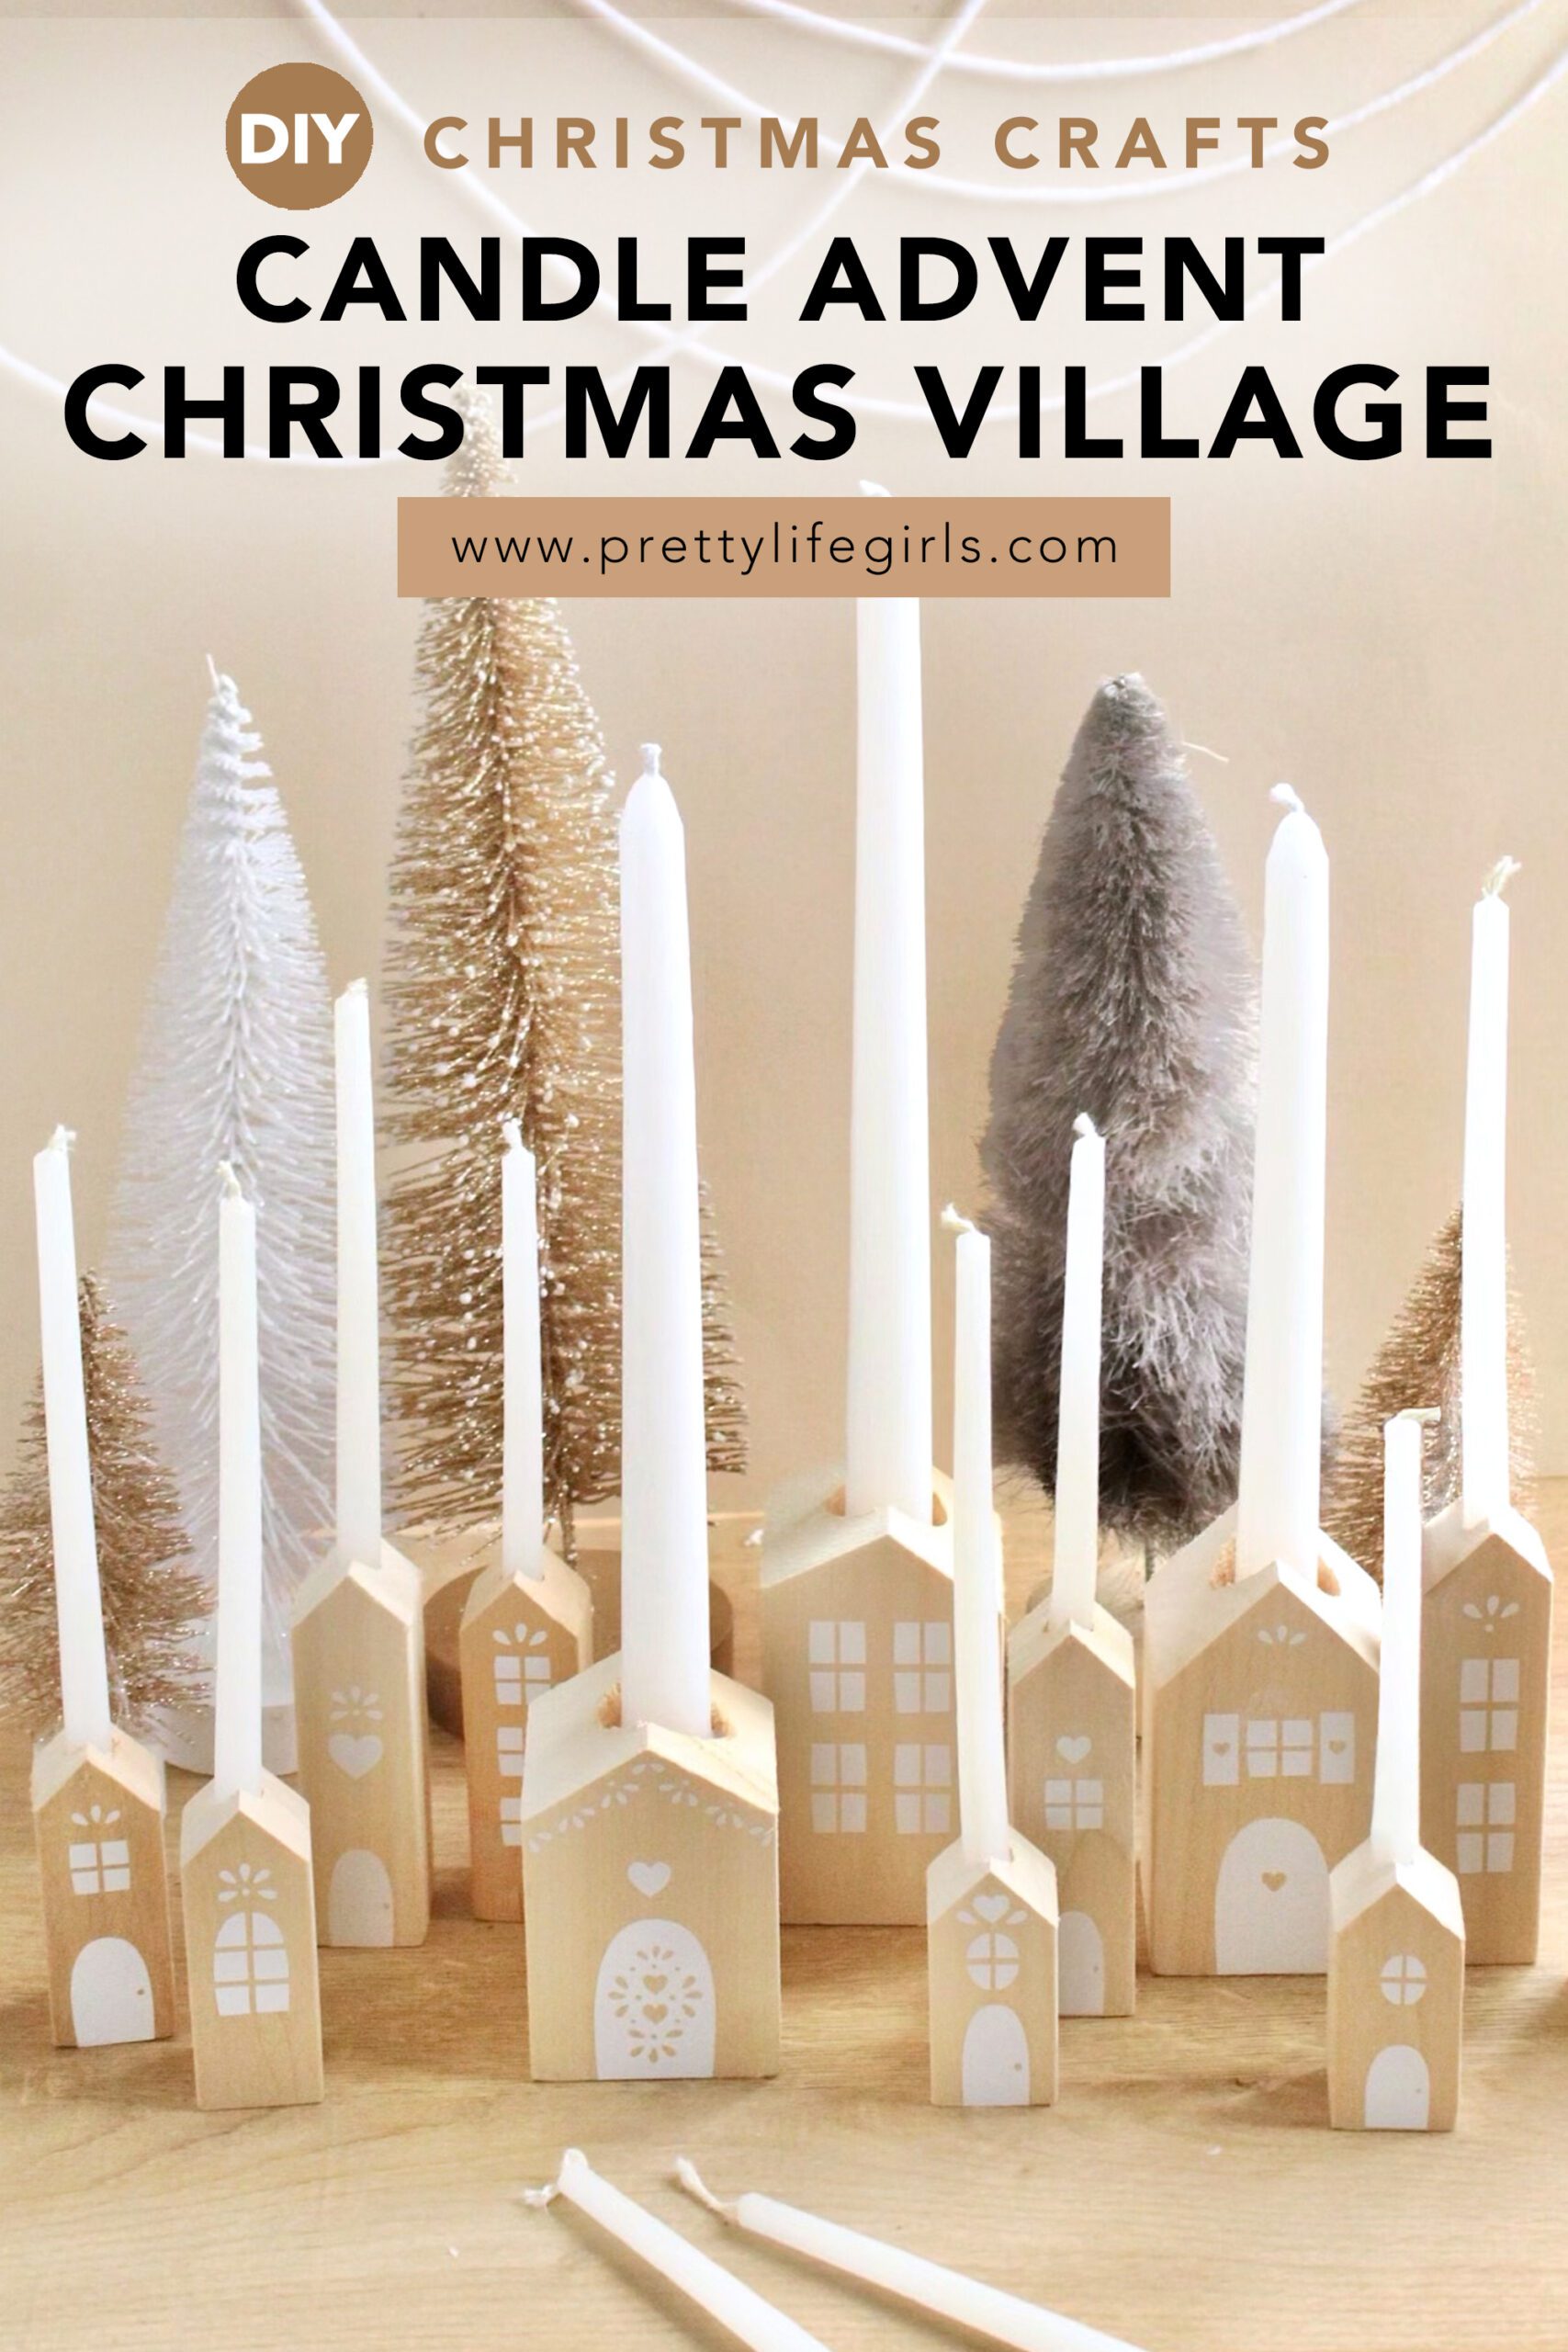
This DIY Candle Advent is the sweetest way to countdown to Christmas with a mini wooden Christmas Village display! Add to the village for 12 days leading up to Christmas, and light the candles as you go!

How to Make a DIY Candle Advent Christmas Village
DIY advents and Christmas villages are our very favorite projects to make at Christmas time, so it seemed like a no-brainer to combine the two. There are so many fun ways to countdown to the holiday and we love this one for its simplicity–just light a candle each night until Christmas!
The glow of these cuties is so cozy and inviting and the houses themselves couldn’t be sweeter. You’re going to love pulling this adorable village out year after year!
How do you make a DIY Advent Calendar?
Making this advent calendar is surprisingly simple! Once you have compiled all of the supplies and tools you need, it can be made and assembled in minutes! We used a craft cutter to cut the vinyl pieces to decorate our blocks but you could also paint or draw on the details of your houses. Then, just drill your holes and add candles!
Supplies needed to make a Wooden Christmas Village Advent
Basswood carving blocks
White adhesive vinyl
Transfer tape
Cutting machine
Cut file
Drill
Saw
Candles (large, small)
Holiday Decor: DIY Christmas Village Advent
Watch this quick video, or read the steps below!
Step 2: Cut adhesive vinyl using our cut file. Weed the excess vinyl and use transfer tape to apply designs to the blocks.
Step 3: Use a drill, and drill bits the size of your candles, to make holes in the tops of the houses.
Step 4: Put candles in the holes.


 Be sure to join our email list to stay up-to-date on all things Pretty Life Girls!
Happy making!
-Sam

