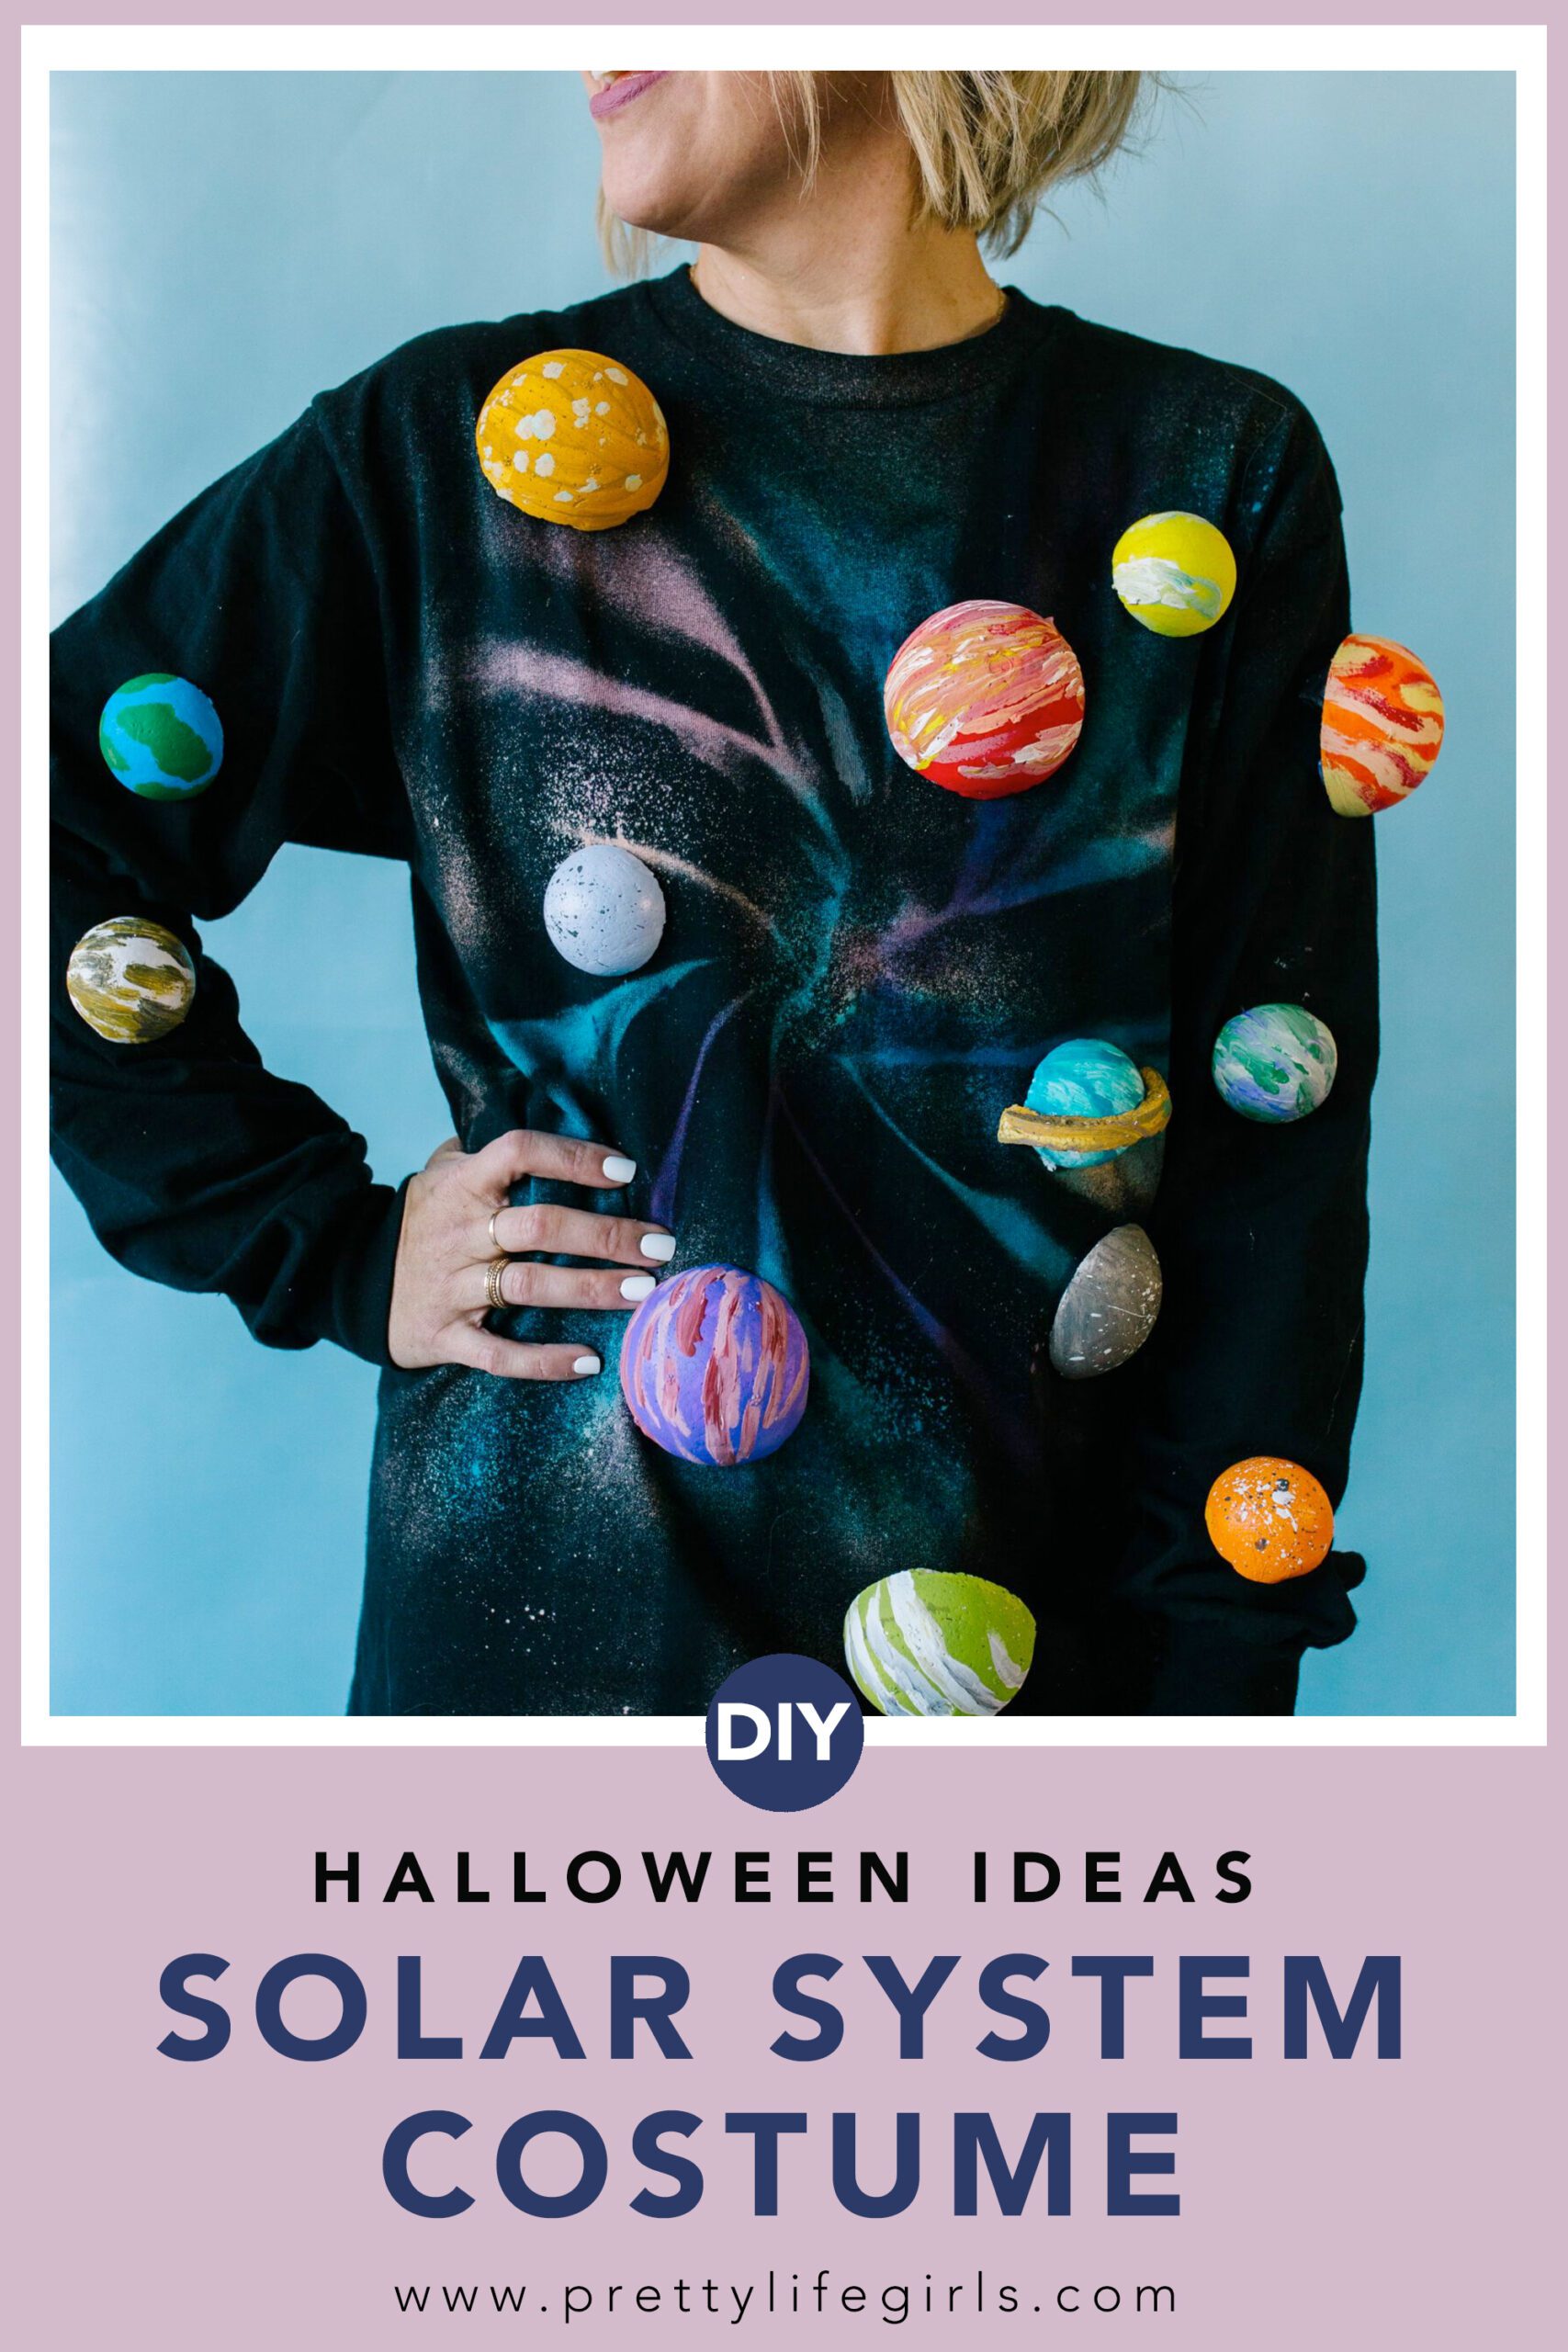
Learn how to make your own DIY Solar System Costume with tie dye! This is a comfortable Halloween costume that works for all ages—kids or adults!



DIY Halloween Costumes: DIY Solar System Costume
We love this solar system costume for several reasons which I will now list with gusto. First, it uses one of our favorite tie dye techniques–reverse dye layered with regular tie dye–to create the perfect galaxy backdrop. AND once you’ve mastered this technique you can apply it to so many other fab projects (like these t-shirts we made)! Next, this costume can be sized up or down to fit adults or kids! Lastly, it is affordable to whip up and super comfortable. You might say it’s the best costume in the galaxy!


Materials needed to make a DIY Solar System Costume
Black shirt (ours was 100% cotton)
Equal parts bleach and water in a spray bottle
Hydrogen peroxide
Blue and purple tie dye (we use Tulip One-Step)
Plastic wrap
Foam balls in various sizes (these ones are already halved!)
Craft knife
Multi-surface craft paint
Paint brushes
Hot glue and/or fabric glue
Headband
Black pipe cleaners
Scissors
Wooden stars
Craft glue
Glitter
How to make a DIY Solar System Costume
Apply the Dye
Step 1: Bind your shirt in a spiral by pinching and twisting the shirt into a bundle.
Step 2: Spray the bleach mixture on the bound shirt. If desired, flip the bundle over and spray the back.
Step 3: Open the shirt and lay it out flat in the sun to lighten. Once it has lightened to an off=white, flip the shirt to lighten the back to an off-white.
Step 4: Once the shirt has lightened, soak it in a mixture of 1 part hydrogen peroxide and 10 parts water to deactivate the bleach.
Step 5: Wash the shirt. We recommend running it through the washing machine with detergent so the bleach is completely washed out.
Step 6: While the shirt is washing, mix your dye colors. Once the shirt is washed, lay it out on a dye-safe surface.
Step 7: Slowly squeeze the dye over the bleached areas of the shirt, filling in all the white.
Tip: You don’t need to saturate the shirt too much, just apply enough dye to fill the white areas with color.
Step 8: Flip the shirt over and add color to any remaining bleached areas (some of the color should have come through from the front).
Note: If you’d like more control over the color placement on the back of the shirt, place a piece of cardboard or plastic inside the shirt to keep dye from spreading.
Step 9: Let the dye set according to package directions. Then rinse until the water runs clear and wash alone for the first wash.
Make the Planets
Step 1: Carefully cut the foam balls in half using a craft knife.
Step 2: Paint the rounded sides of the halved balls to look like planets. Let dry completely.
Step 3: Once dry, attach the planets to the shirt using fabric glue or hot glue.
Make the Star Headpiece
Step 1: Apply craft glue to the surface of the wood stars. While it is wet, cover the glue with glitter. Let the glue dry completely.
Step 2: Cut 2-3 pipe cleaners in half using scissors. Starting at the center of the headband and working toward the ends, wrap the pipe cleaners around the headband until secure and about 1-2 inches are sticking up.
Step 3: Attach the glitter stars to the pipe cleaners using hot glue.


That’s it! Now you’ve whipped up a costume that is truly out of this world! We love the idea of getting kids involved with the making of this one. It would be so fun to see what the solar system might look like through their eyes as they paint and create it themselves!






Happy making!
Sam


