This Gold Foil Wrapping Paper post was originally published in November 2019
and updated as of December 2021.
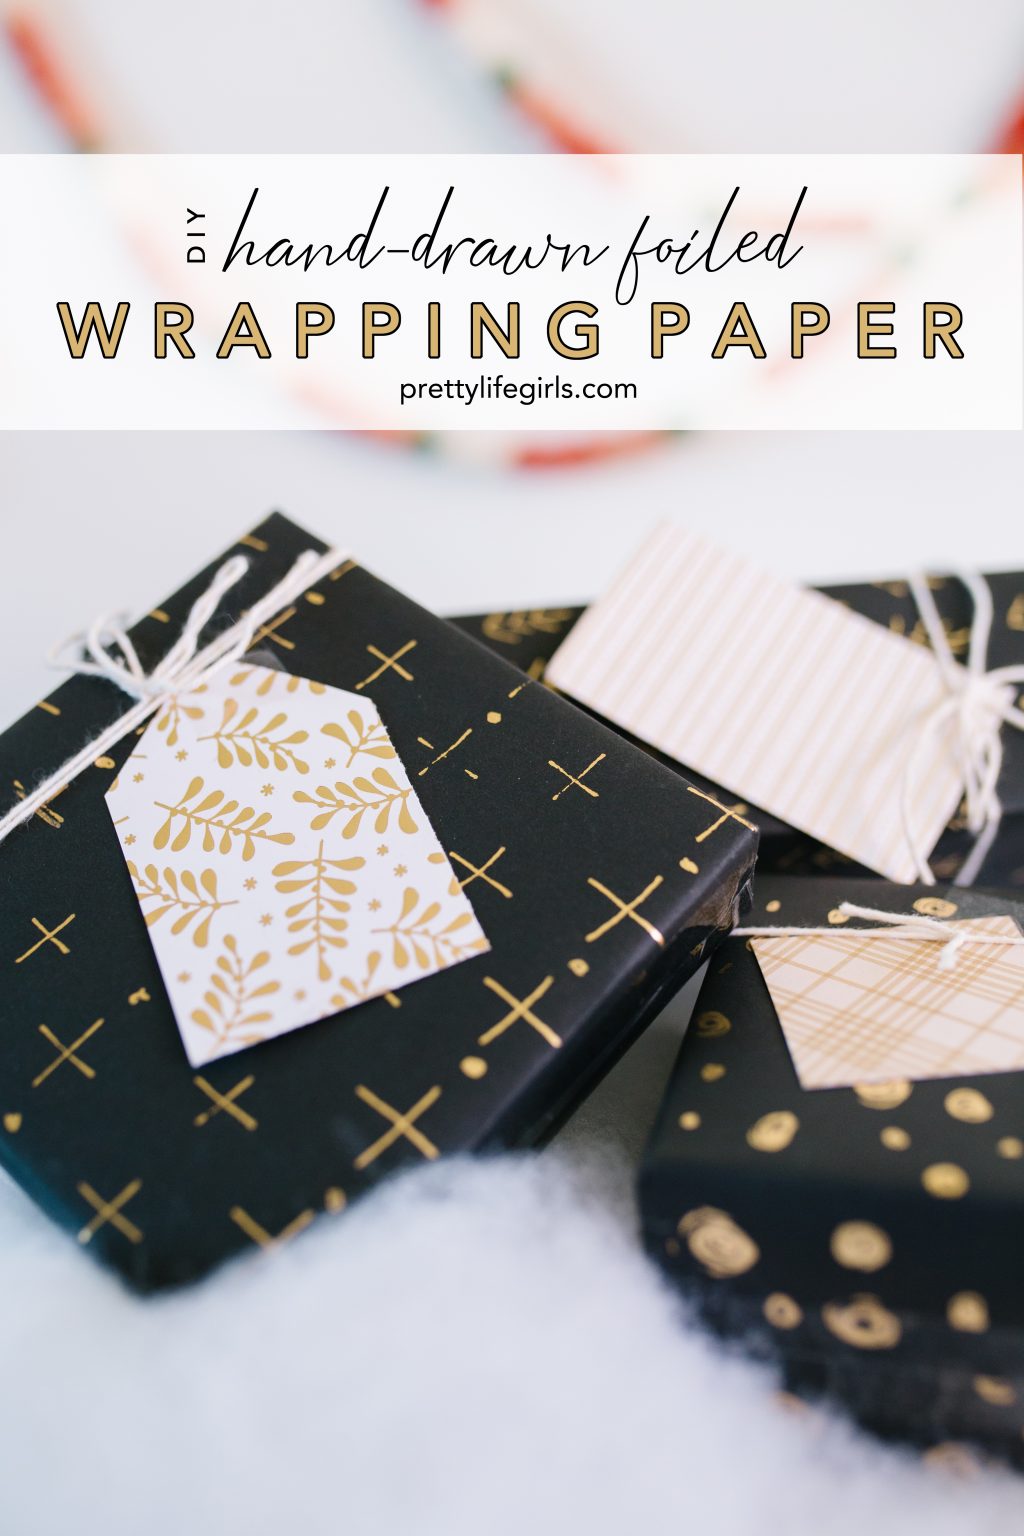
Handmade gifts are the best gifts, but if you aren’t interested in the pressure of DIYing an entire gift (WE GET IT), you can try making just the wrapping! And with this incredibly easy tutorial for DIY Hand Drawn Gold Foil Wrapping Paper, you can make beautiful, shiny, original gift wrap that is sure to elevate any gift you’re giving (and is gonna be a lot less time and energy-consuming)! Keep reading for the tutorial!

Supplies needed to make your own gold foil wrapping paper:
Black craft paper roll
Freestyle Foil Quill
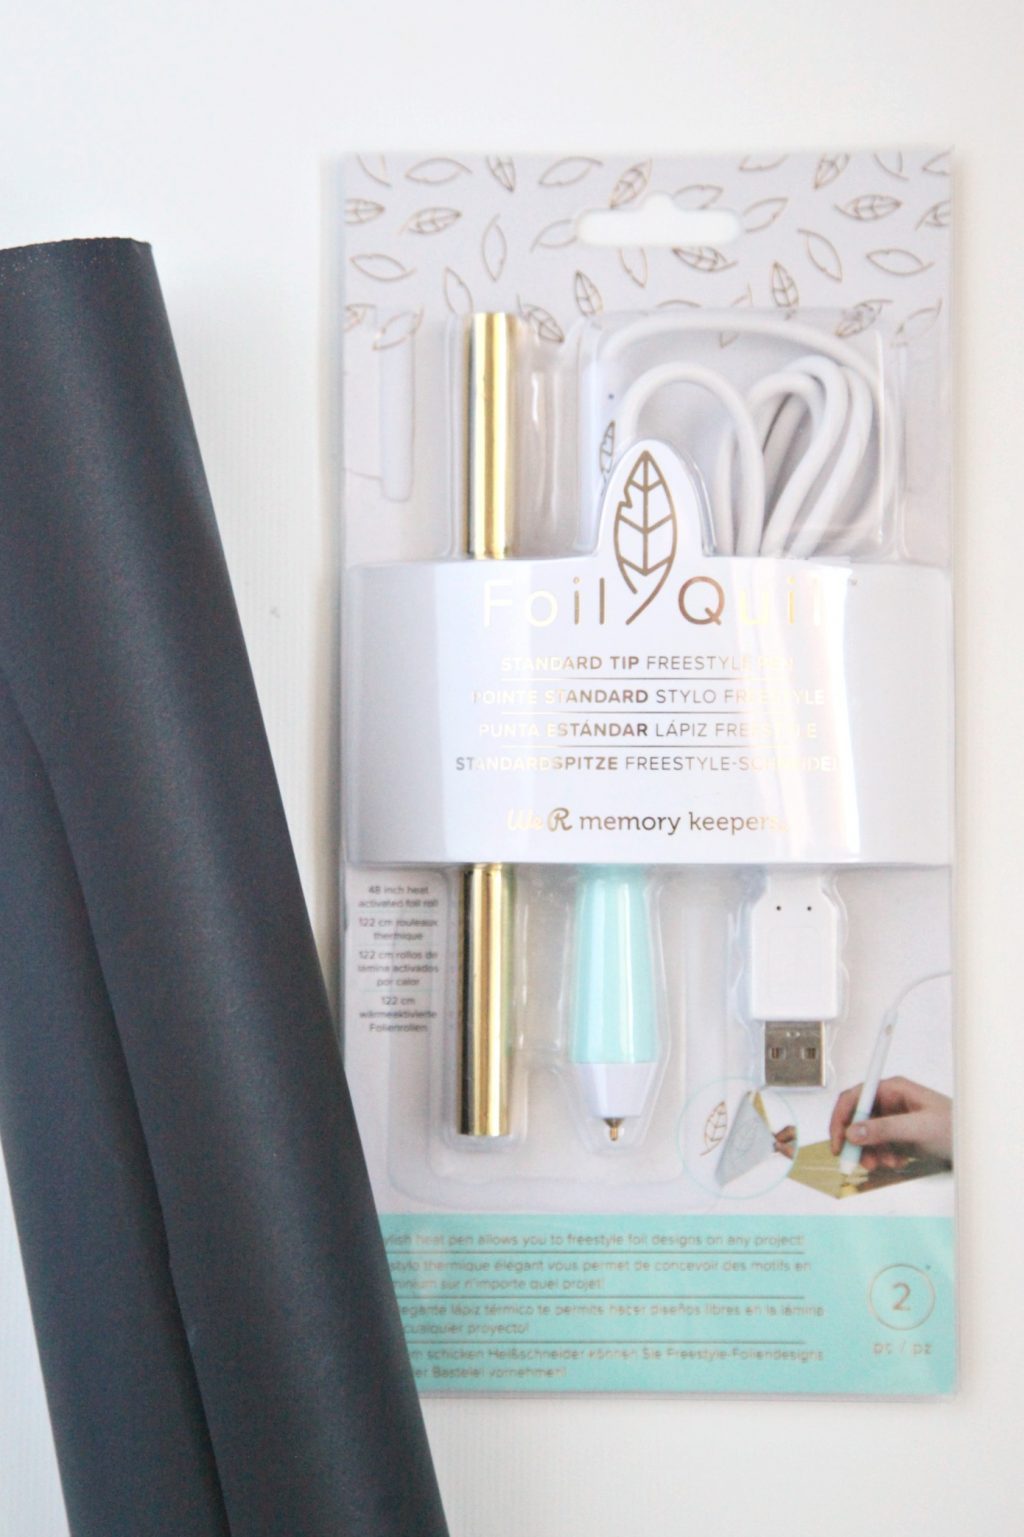

How to make your own gold foil wrapping paper:
Step 1: Cut your black paper to fit your gift.
Step 2: Lay paper out, taping the corners to your surface to keep it tight and in place.
Step 3: Unroll the foil included with the We R Memory Keepers Foil Quill and cut to fit the paper.
Step 4: Lay the foil on top of the paper, shiny side up. Tape the corners of the foil to keep it tight and in place.
Step 5: Plug the Foil Quill into a USB charger (a light will indicate that it’s charging) and allow to heat up for about five minutes.
Step 6: Draw your design on the foil, pressing firmly.
Step 7: Remove the tape and peel the foil away from the paper.
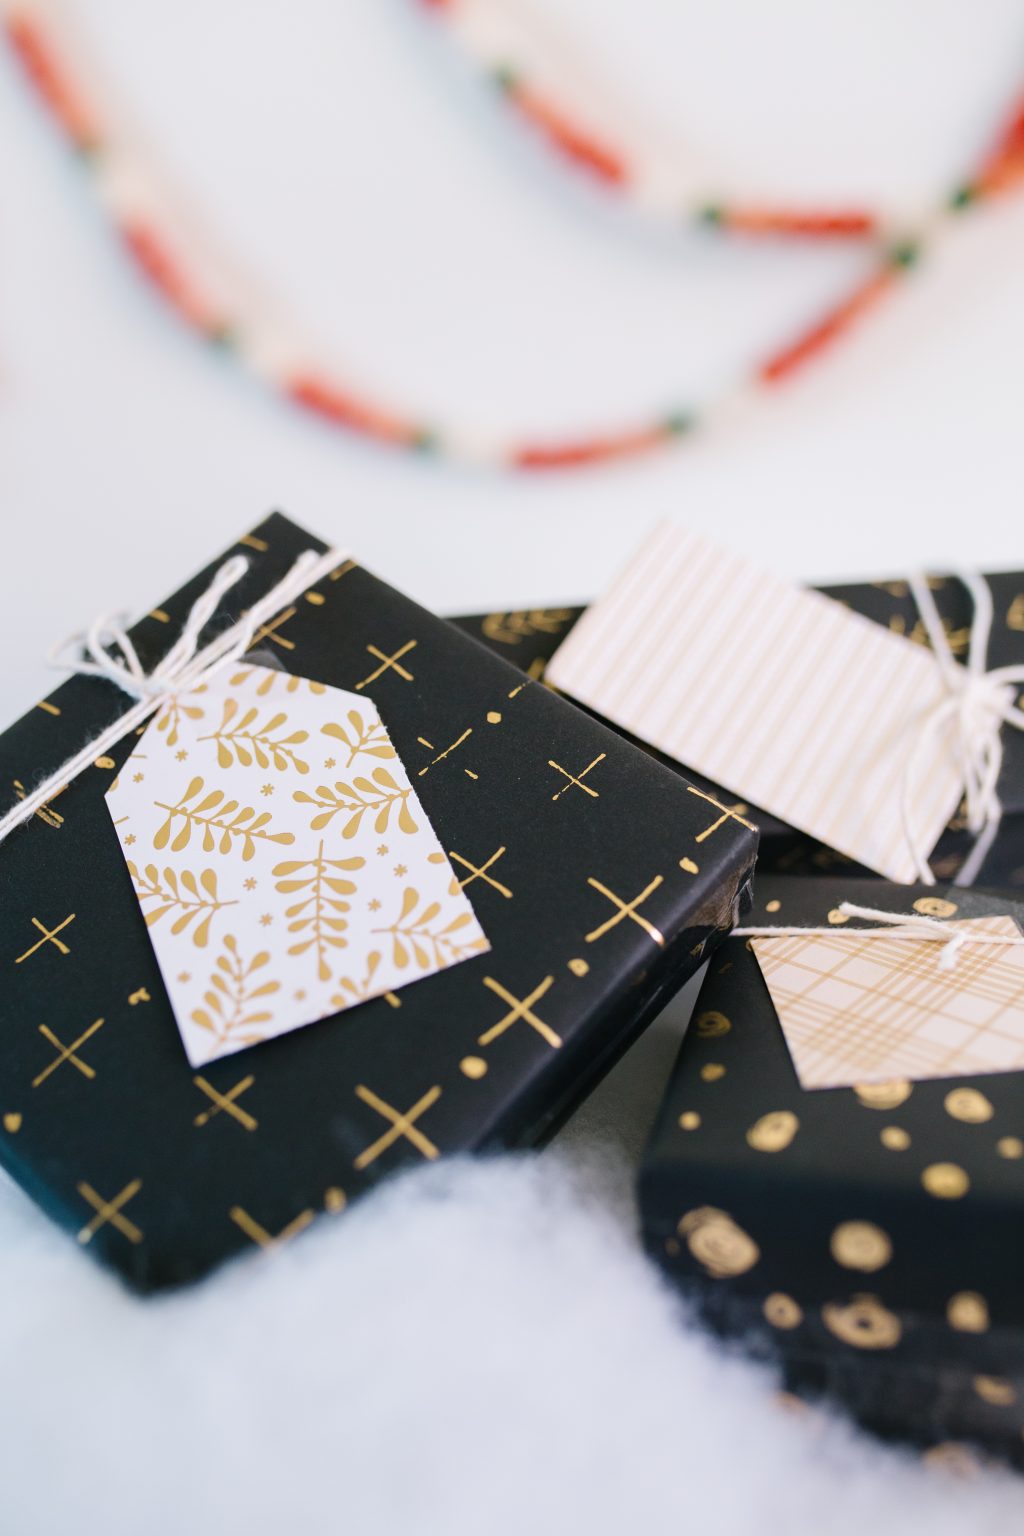

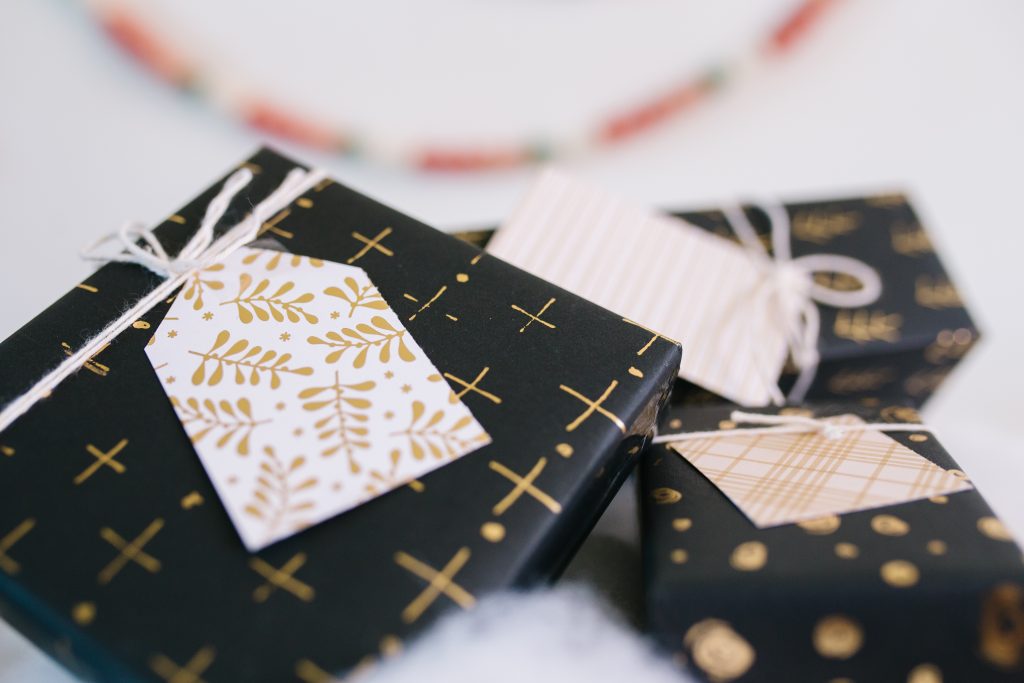
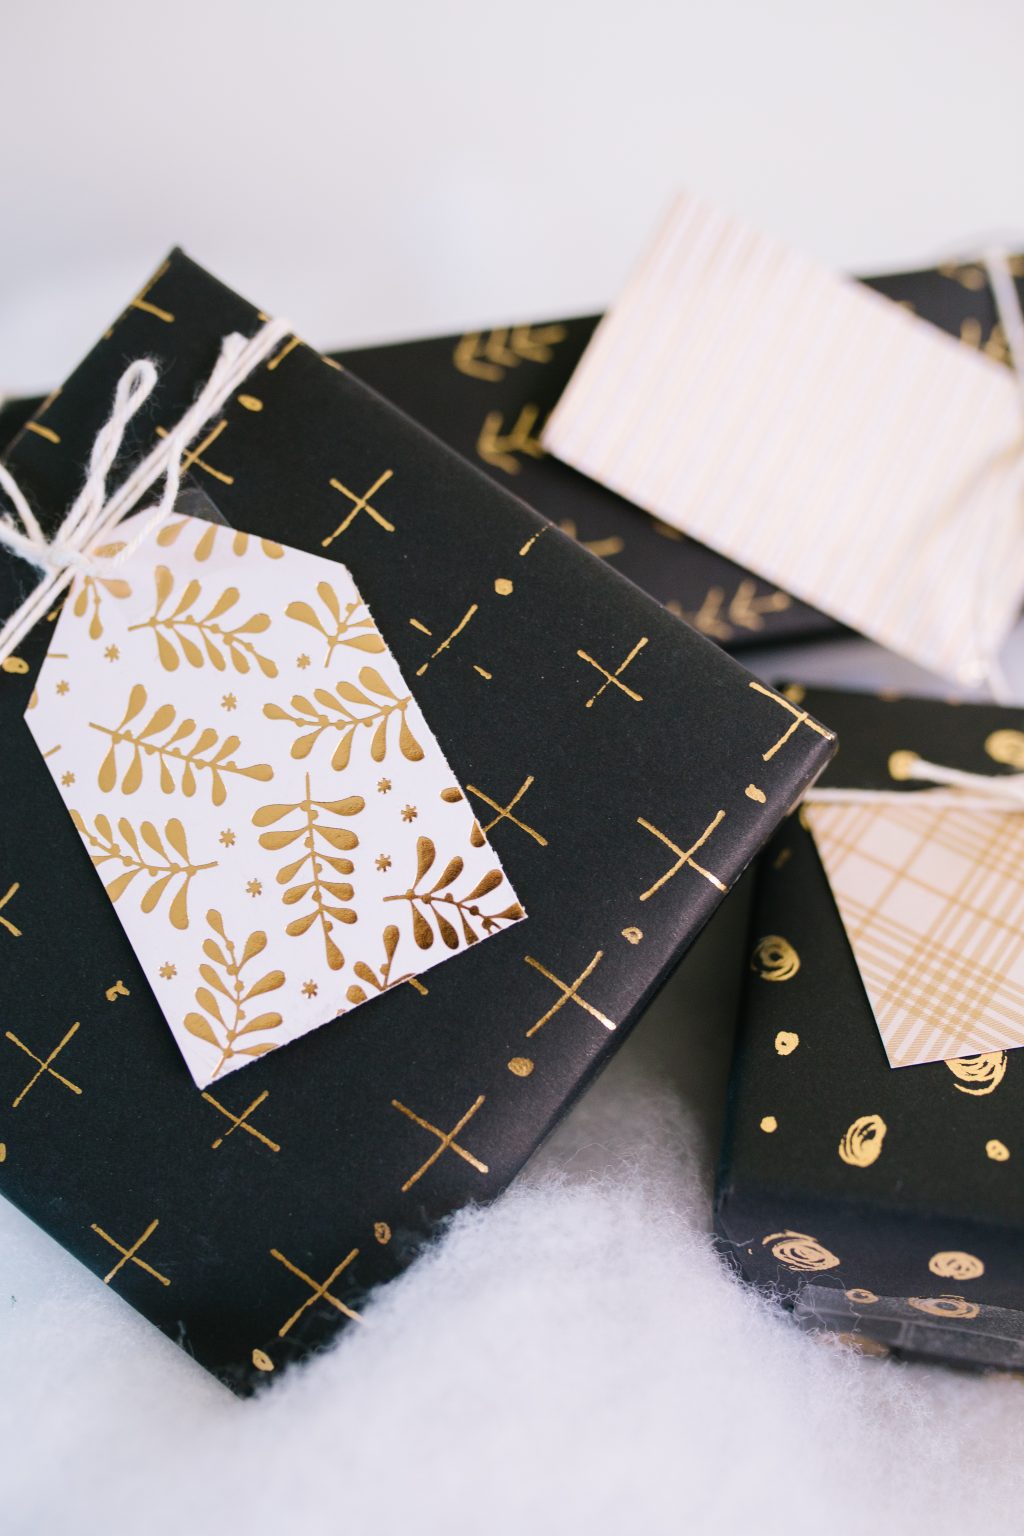
Now you have darling one-of-a-kind wrapping paper, perfect for Christmas or any holiday! I love how the foil shines, and the imperfections make it feel original. If you are an actual artist (unlike me), you could make the most beautiful gift wrap, but I’m still pretty thrilled with my simple attempt!
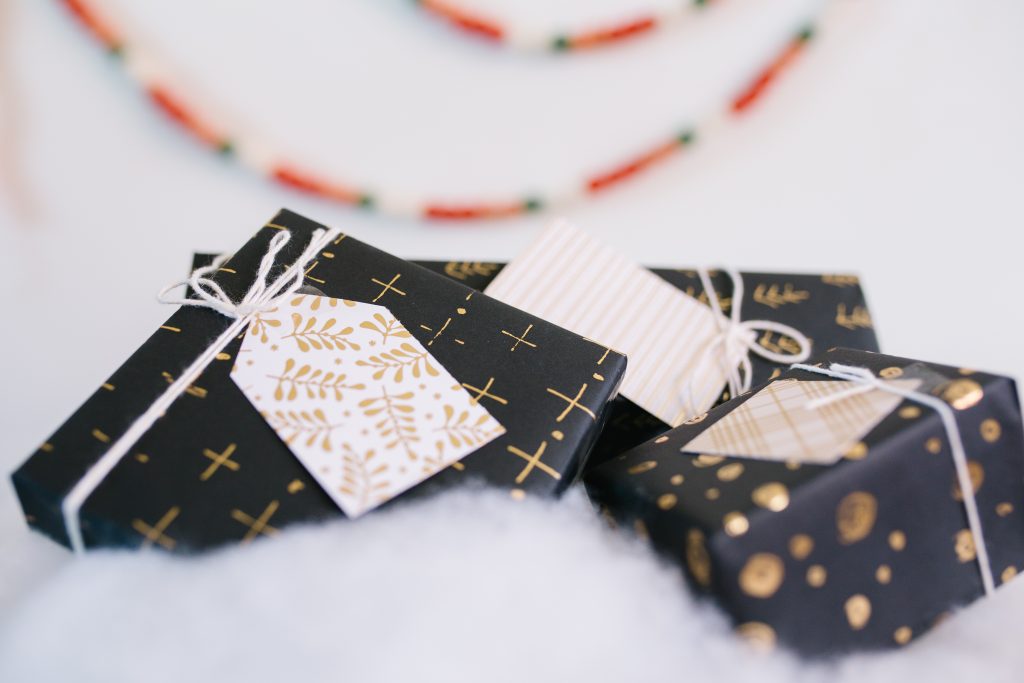



Happy gifting!
xo, Sam
