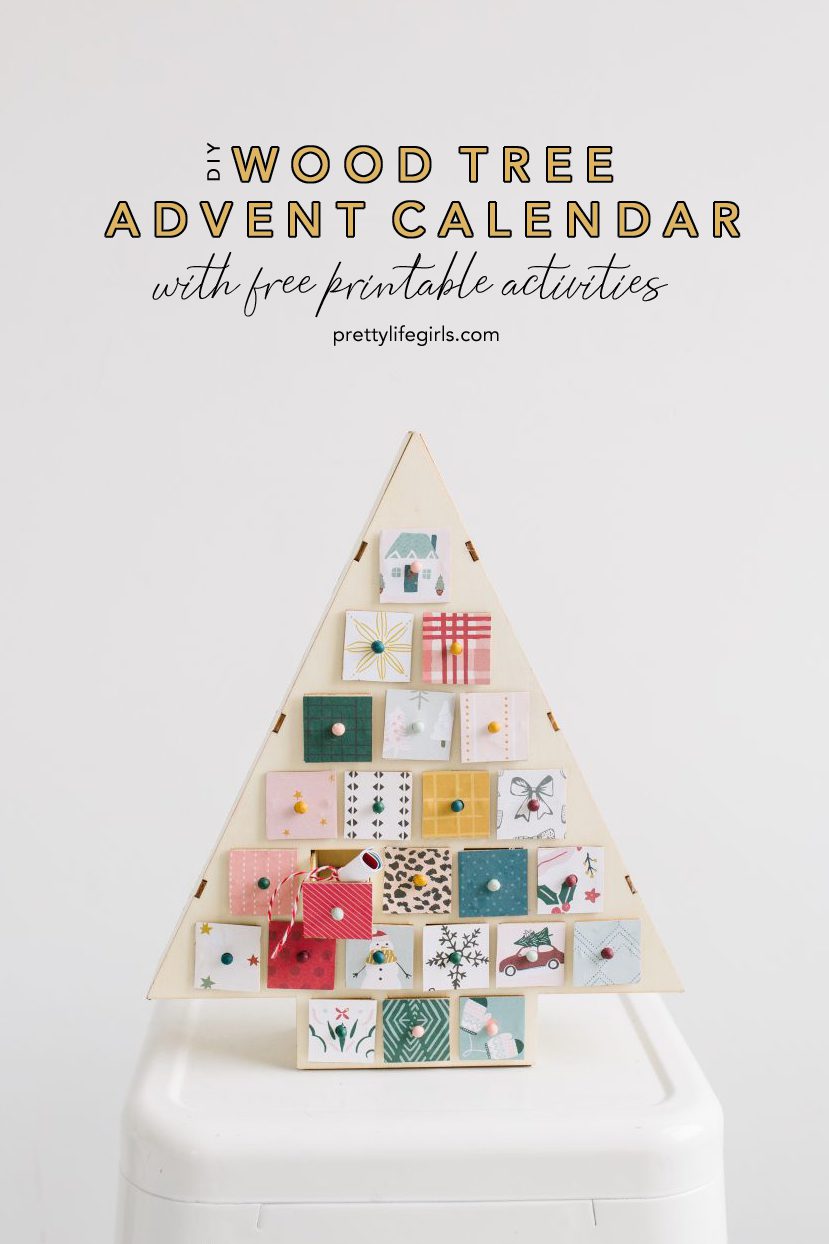
This Christmas Tree Advent Calendar was originally published in November 2019
and updated as of December 2021.
A couple years ago on Studio5, we shared a bunch of our favorite advent calendar ideas for all budgets, skill levels and schedules, so whether you love spending hours in the craft room making the perfect heirloom calendar, or whether you’d like to buy one completely made, we’ve got you covered! And, one of our favorites that we shared falls right in the middle of the spectrum and we’re giving you all the details to make your own, right now! It’s this adorable Christmas Tree Advent Calendar!
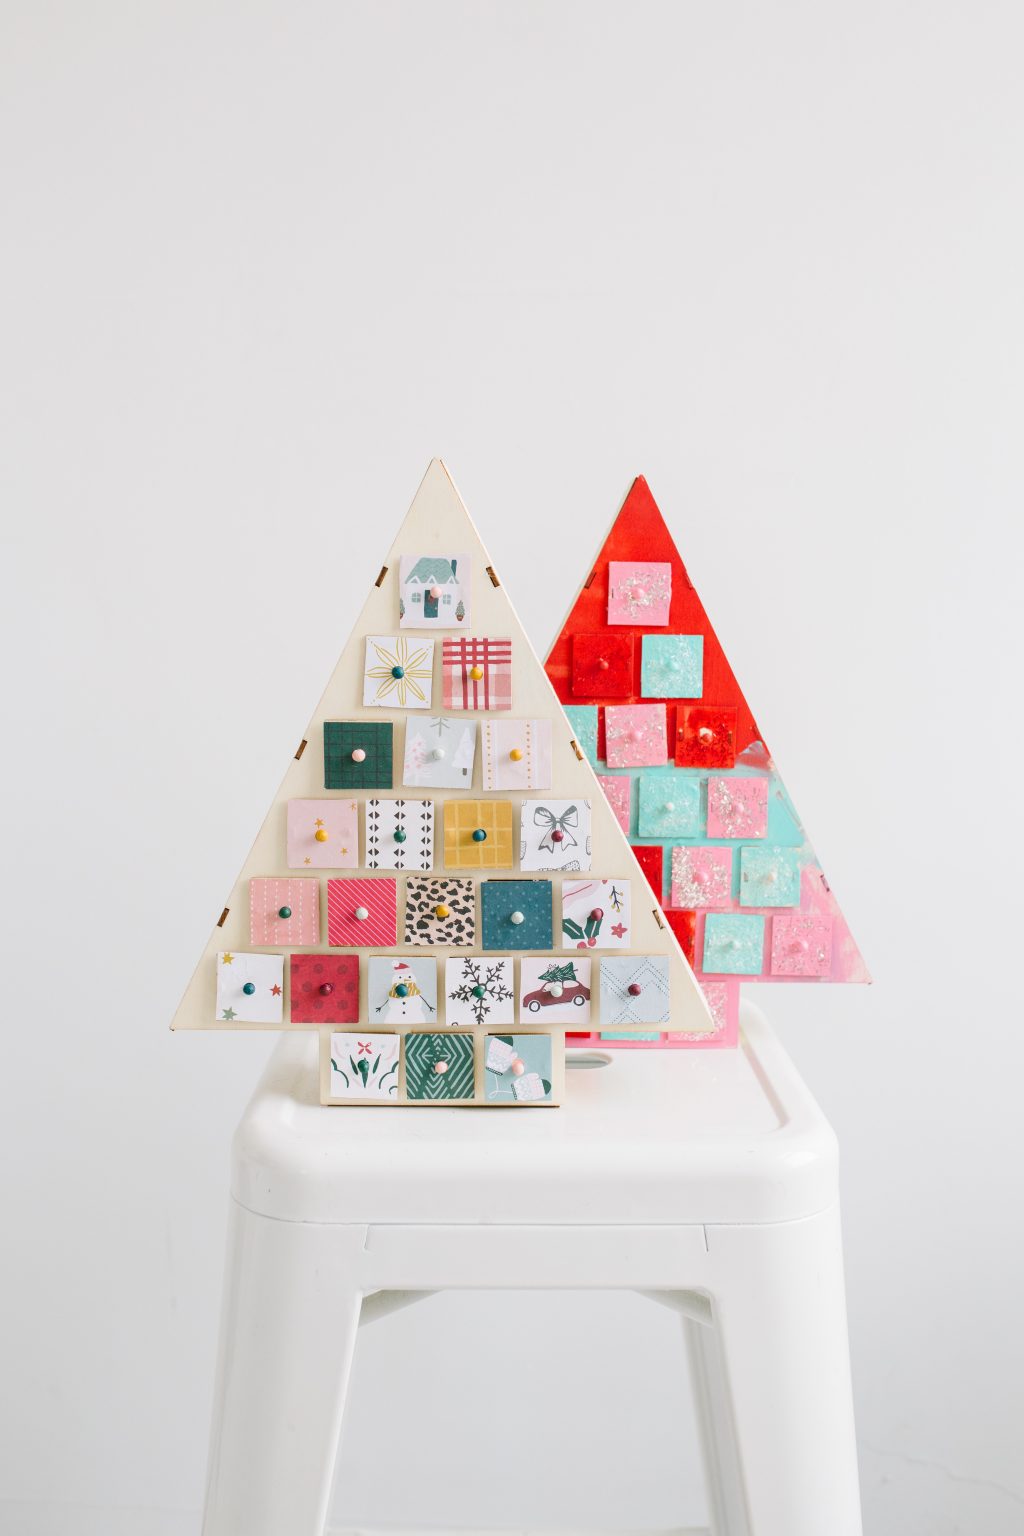

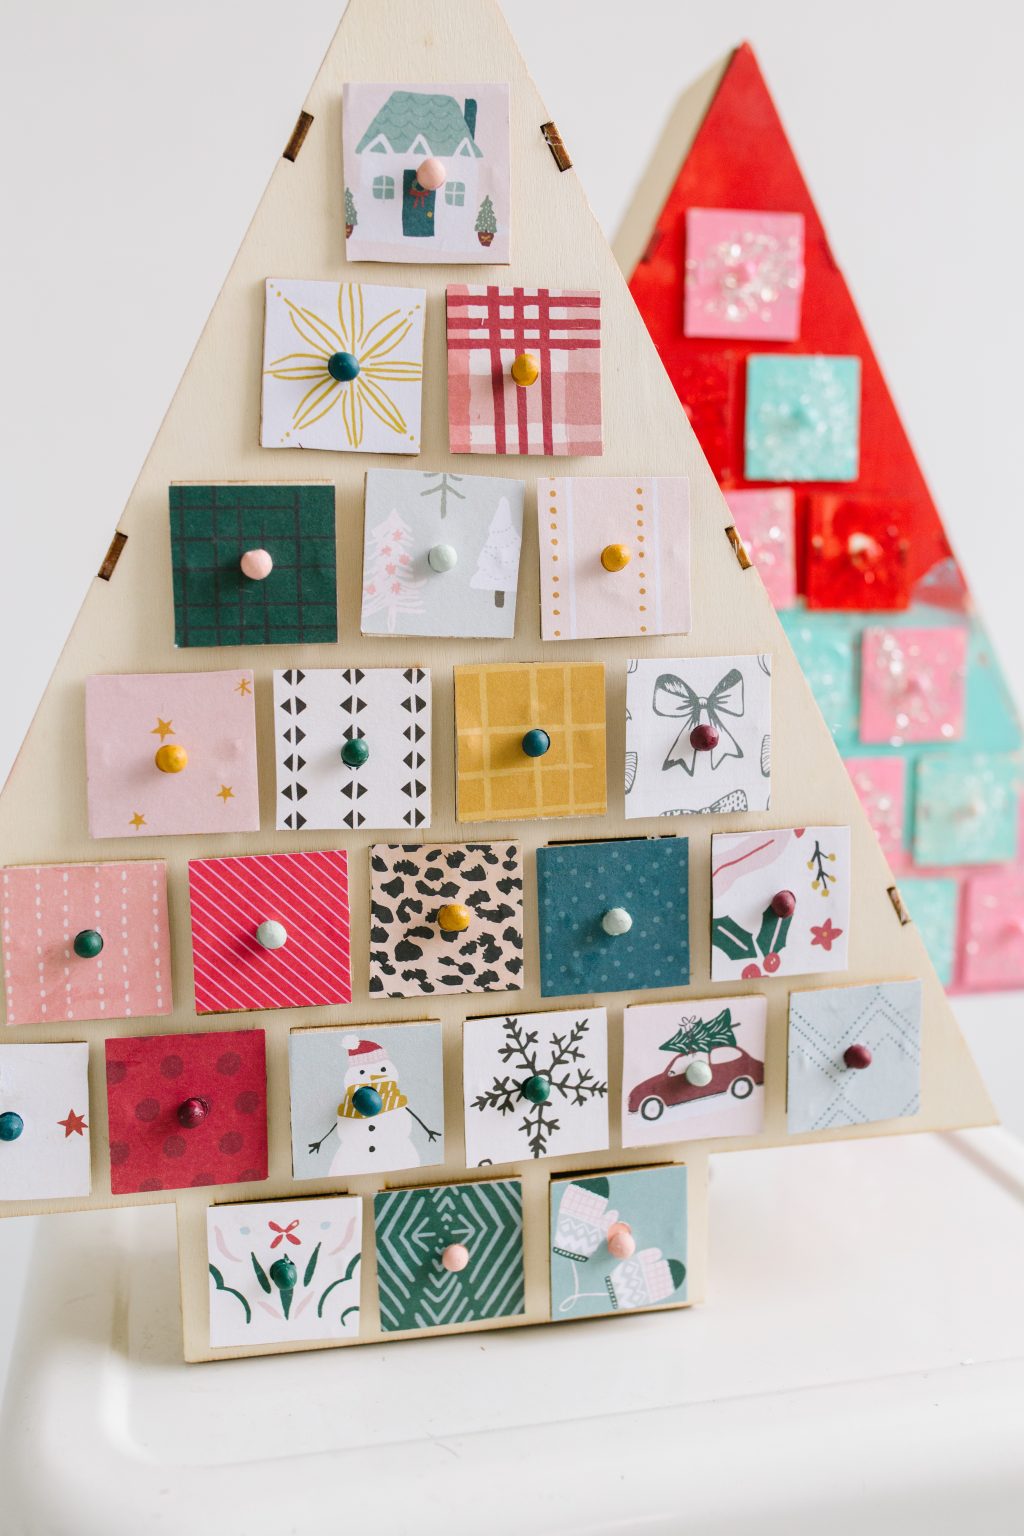
You can find these adorable calendars unfinished from Michaels or Amazon (depending on your preferred size), along with a bunch of other styles, and then you can decorate them in whatever method suits your style best! I bought a couple of them and let my daughter paint hers in a glitter explosion, and then I made one with some stylish paper. The results are the sweetest, one-of-a-kind calendars that you can reuse year after year. Plus, we’ve got the perfect advent download that is just the right size to cut, fill your tiny drawers, and be ready for Christmas magic. Let us show you how!

Supplies needed to make a Christmas Tree Advent Calendar
Unfinished Wood Tree Advent Calendar (12.5″ or 20″)
Patterned cardstock
Scissors
Hole punch
Mod Podge
Craft paint
Paint brushes
Advent Download (find the link below!)
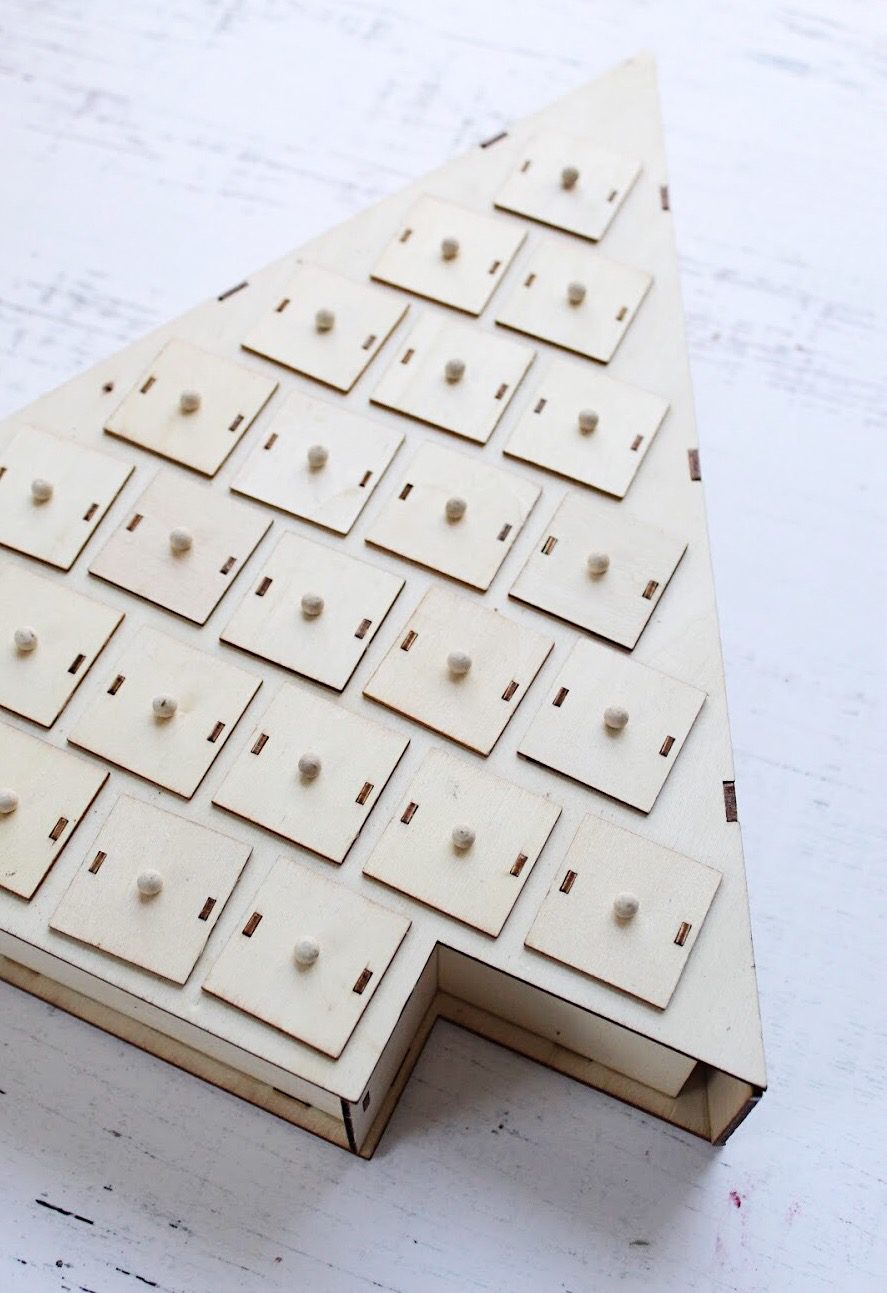

How to make a Christmas Tree Advent Calendar
Step 1. Decide how you’d like to decorate your calendar! For my 5-year old it meant choosing bright paint, covering every inch of it with it, and letting dry. For me, it mean starting by painting each of the knobs in colors that matched my scrapbook paper. Then I let them dry completely.
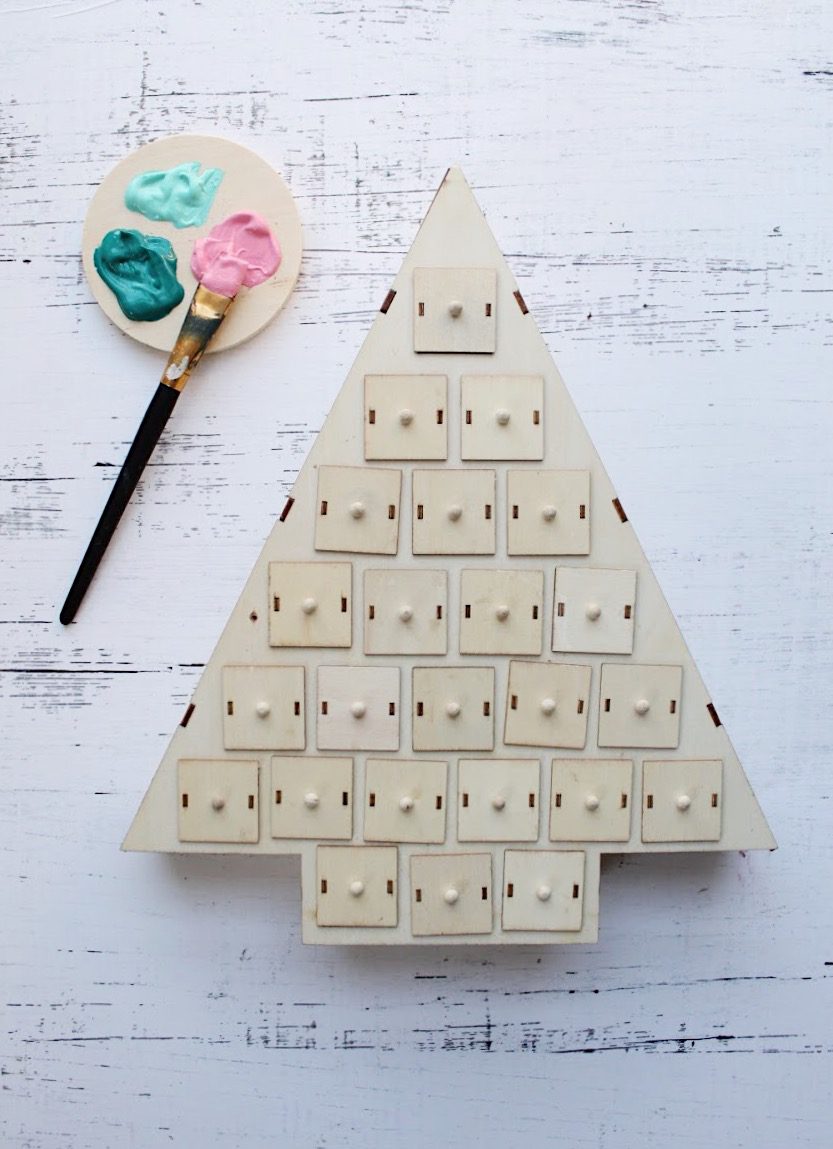


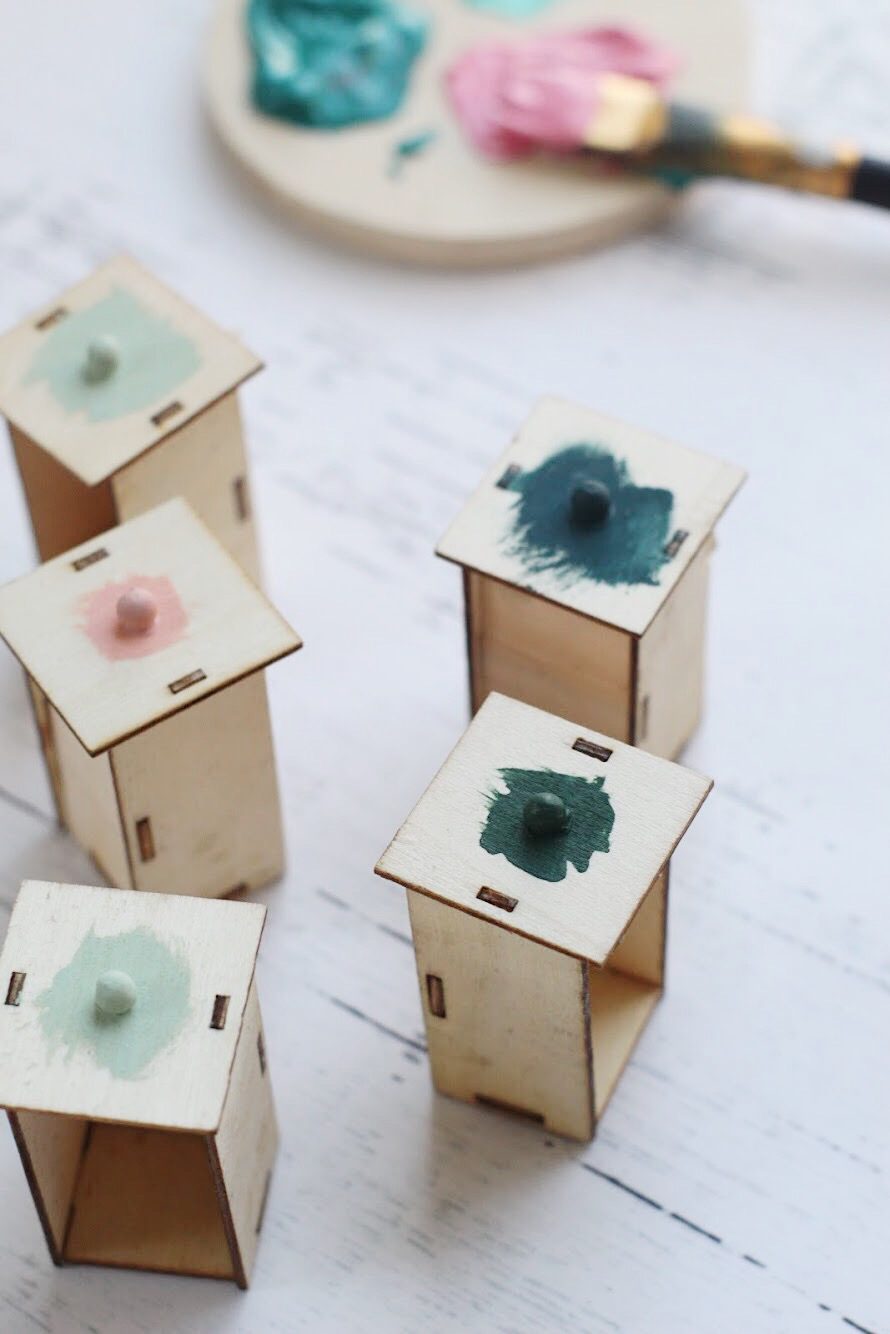

Step 2. Trace and cut your cardstock to fit the face of the drawers. Then, use a hole punch to punch out the center of the drawer where the knob will go.
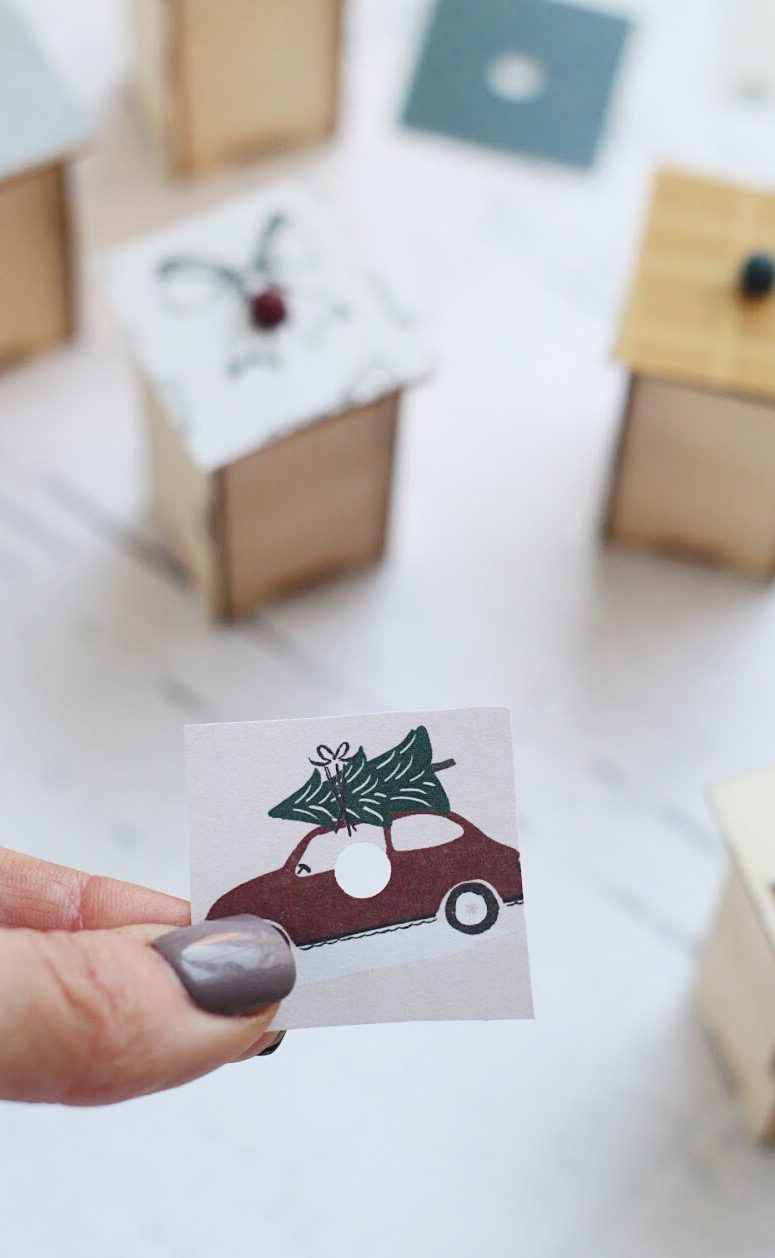

Step 3. Apply a layer of Mod Podge to the front of the drawer and the back of the cardstock squares. Then, place the cardstock on top of the front of the drawer, using your fingers to smooth out any bubbles.
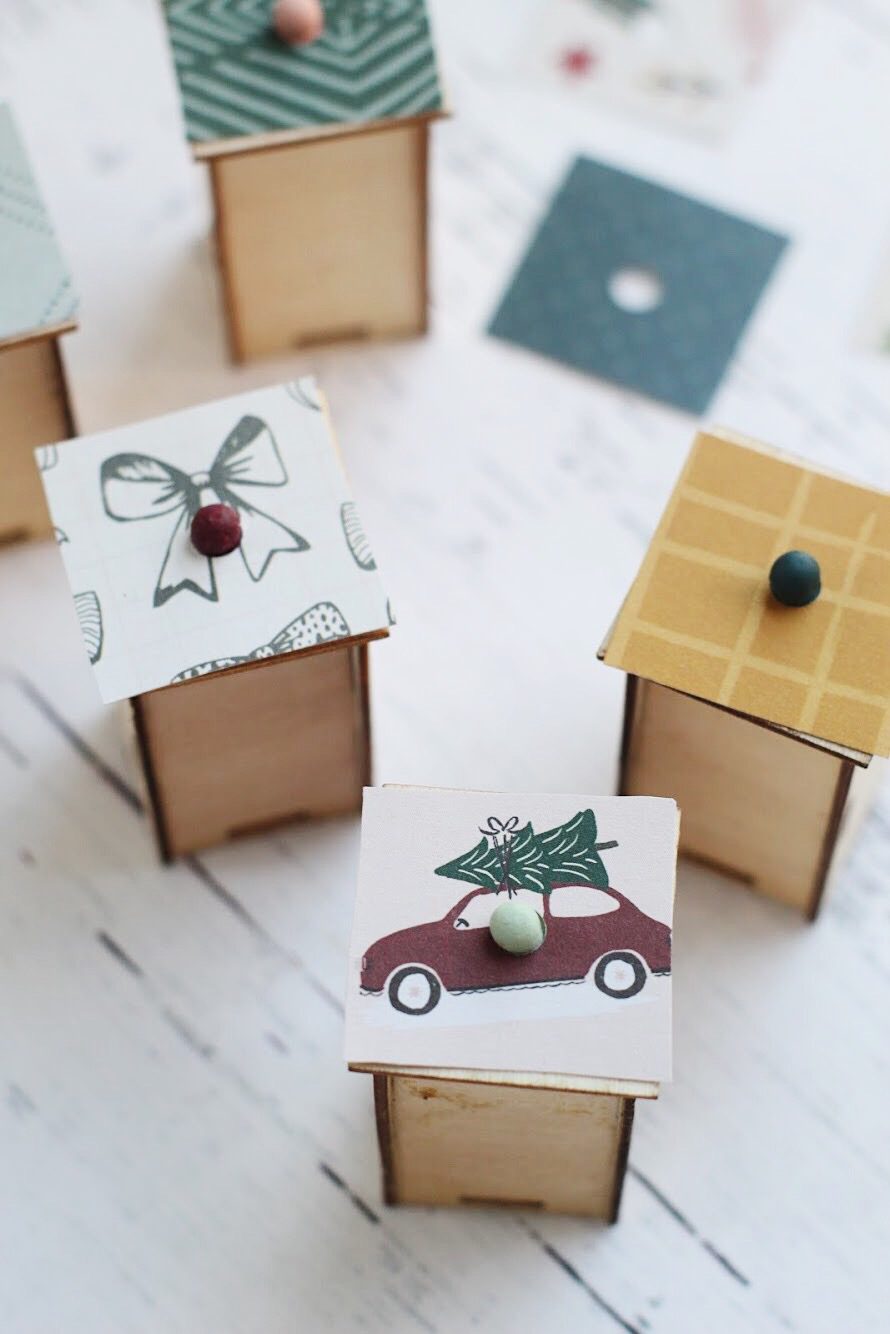

Step 4. Let the drawers dry completely, then put them back into the calendar. After downloading our calendar activities sheets (find the download below) use scissors to cut out the advent calendar activities, roll them up, and put them in their drawer!


That’s it! Now you’re ready for 24 days of Christmas fun!
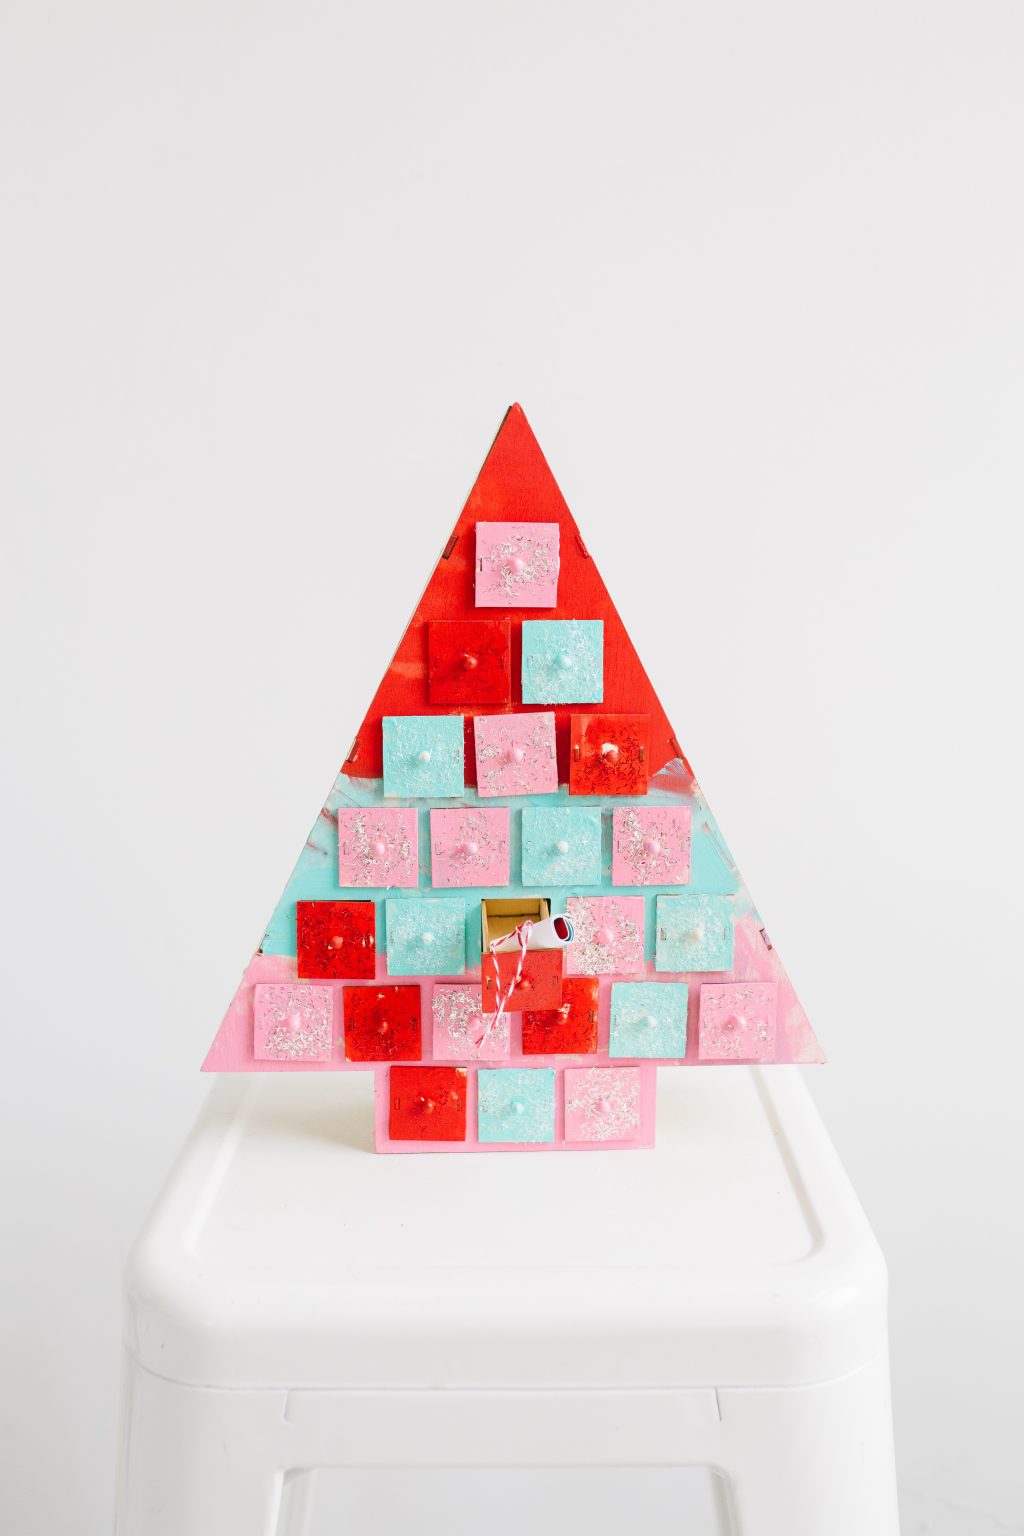

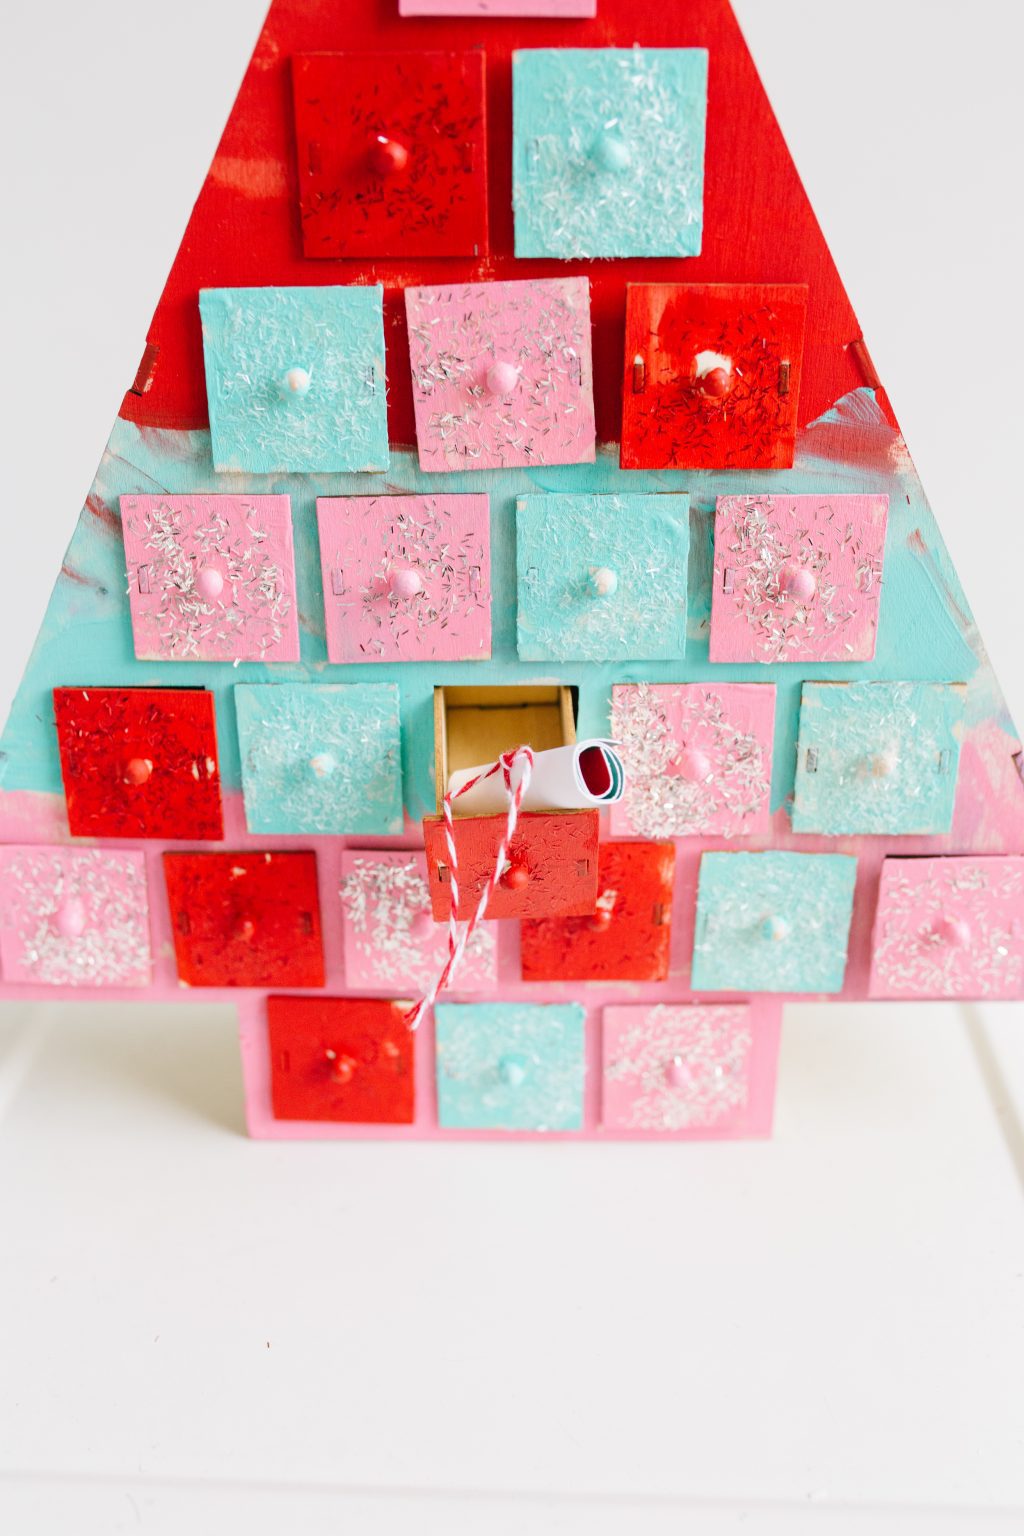

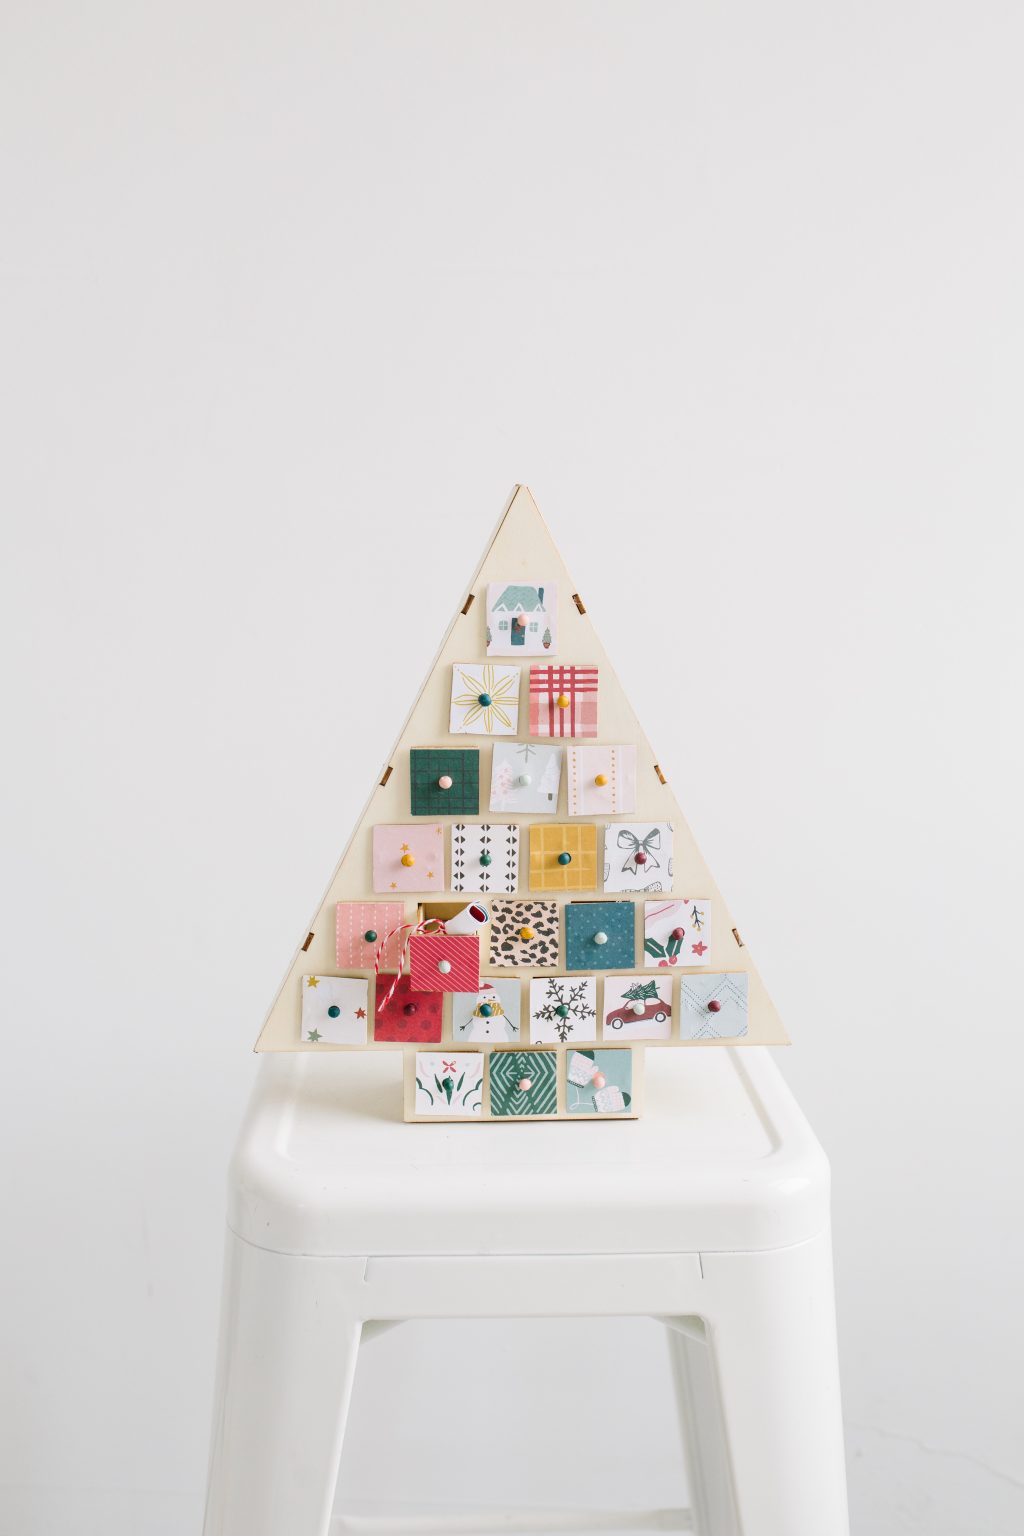




Isn’t it so fun? And it’s a piece of cake to put together!


Now tell us, what are your adventing plans this holiday season? We’d love to hear your ideas!
Happy crafting!
xo, Liz
