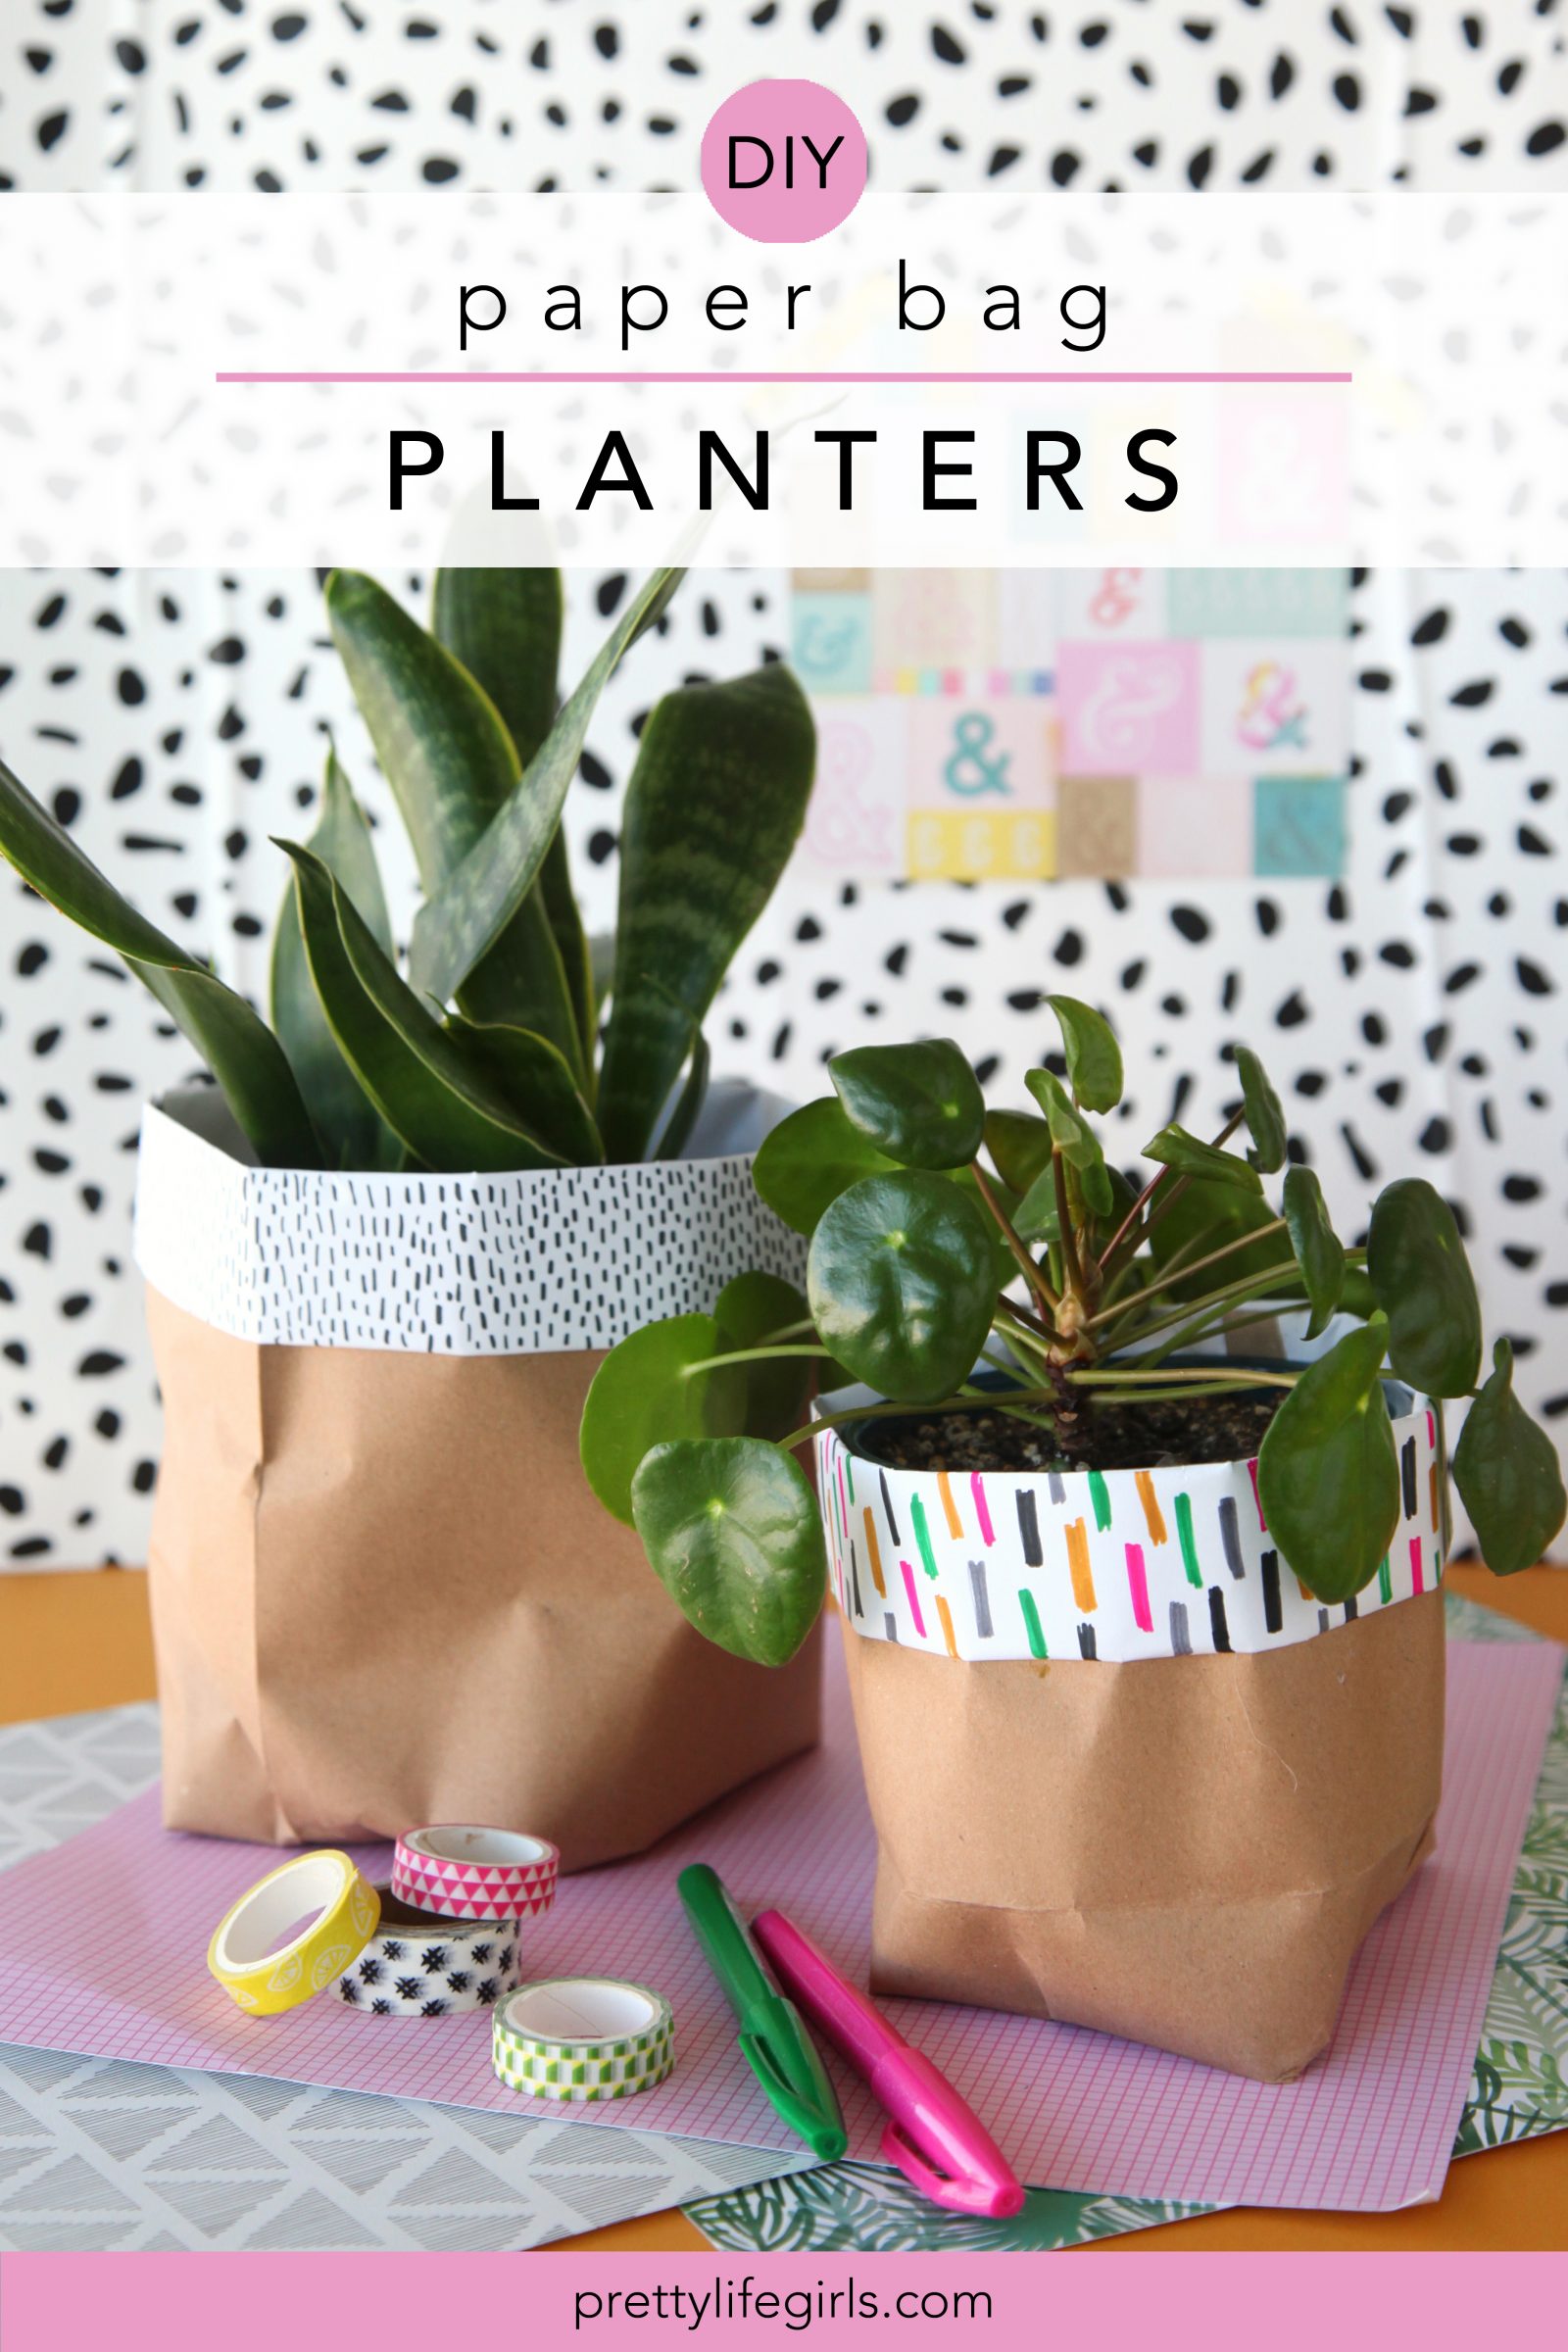
If you have an affinity for giving something green like we do (THE best gift) and you are looking for a pretty way to wrap/give them, we have the perfect idea (and it happens to be green in more ways than one)! Today we’re sharing the tutorial for a DIY paper bag planter made from recycled paper grocery bags; an easy, affordable and adorable way to wrap up plants and reuse your shopping bags! Here is what you need to make your own:

Supplies needed to make a DIY Paper Bag Planter
Brown paper bag
Hot glue gun + sticks
Contact paper (if desired)
White paper or patterned paper of your choice (wrapping paper works well)
Pens/markers
Scissors
How to make a DIY Paper Bag Planter
Watch the video, or read the steps below:
View this post on Instagram
Step 1: Using scissors, cut off the base of the paper bag and cut one side of the bag using to create a large flat piece of paper. Wrap the paper around your plant’s pot to determine how much paper you will need (be sure to add two inches to the top and two inches to the bottom for construction purposes.) Then, cut the paper to size.
Step 2: Lay the trimmed paper bag flat and cut a piece of the white or patterned paper that is the same length as the bag piece and about 3 inches wide.
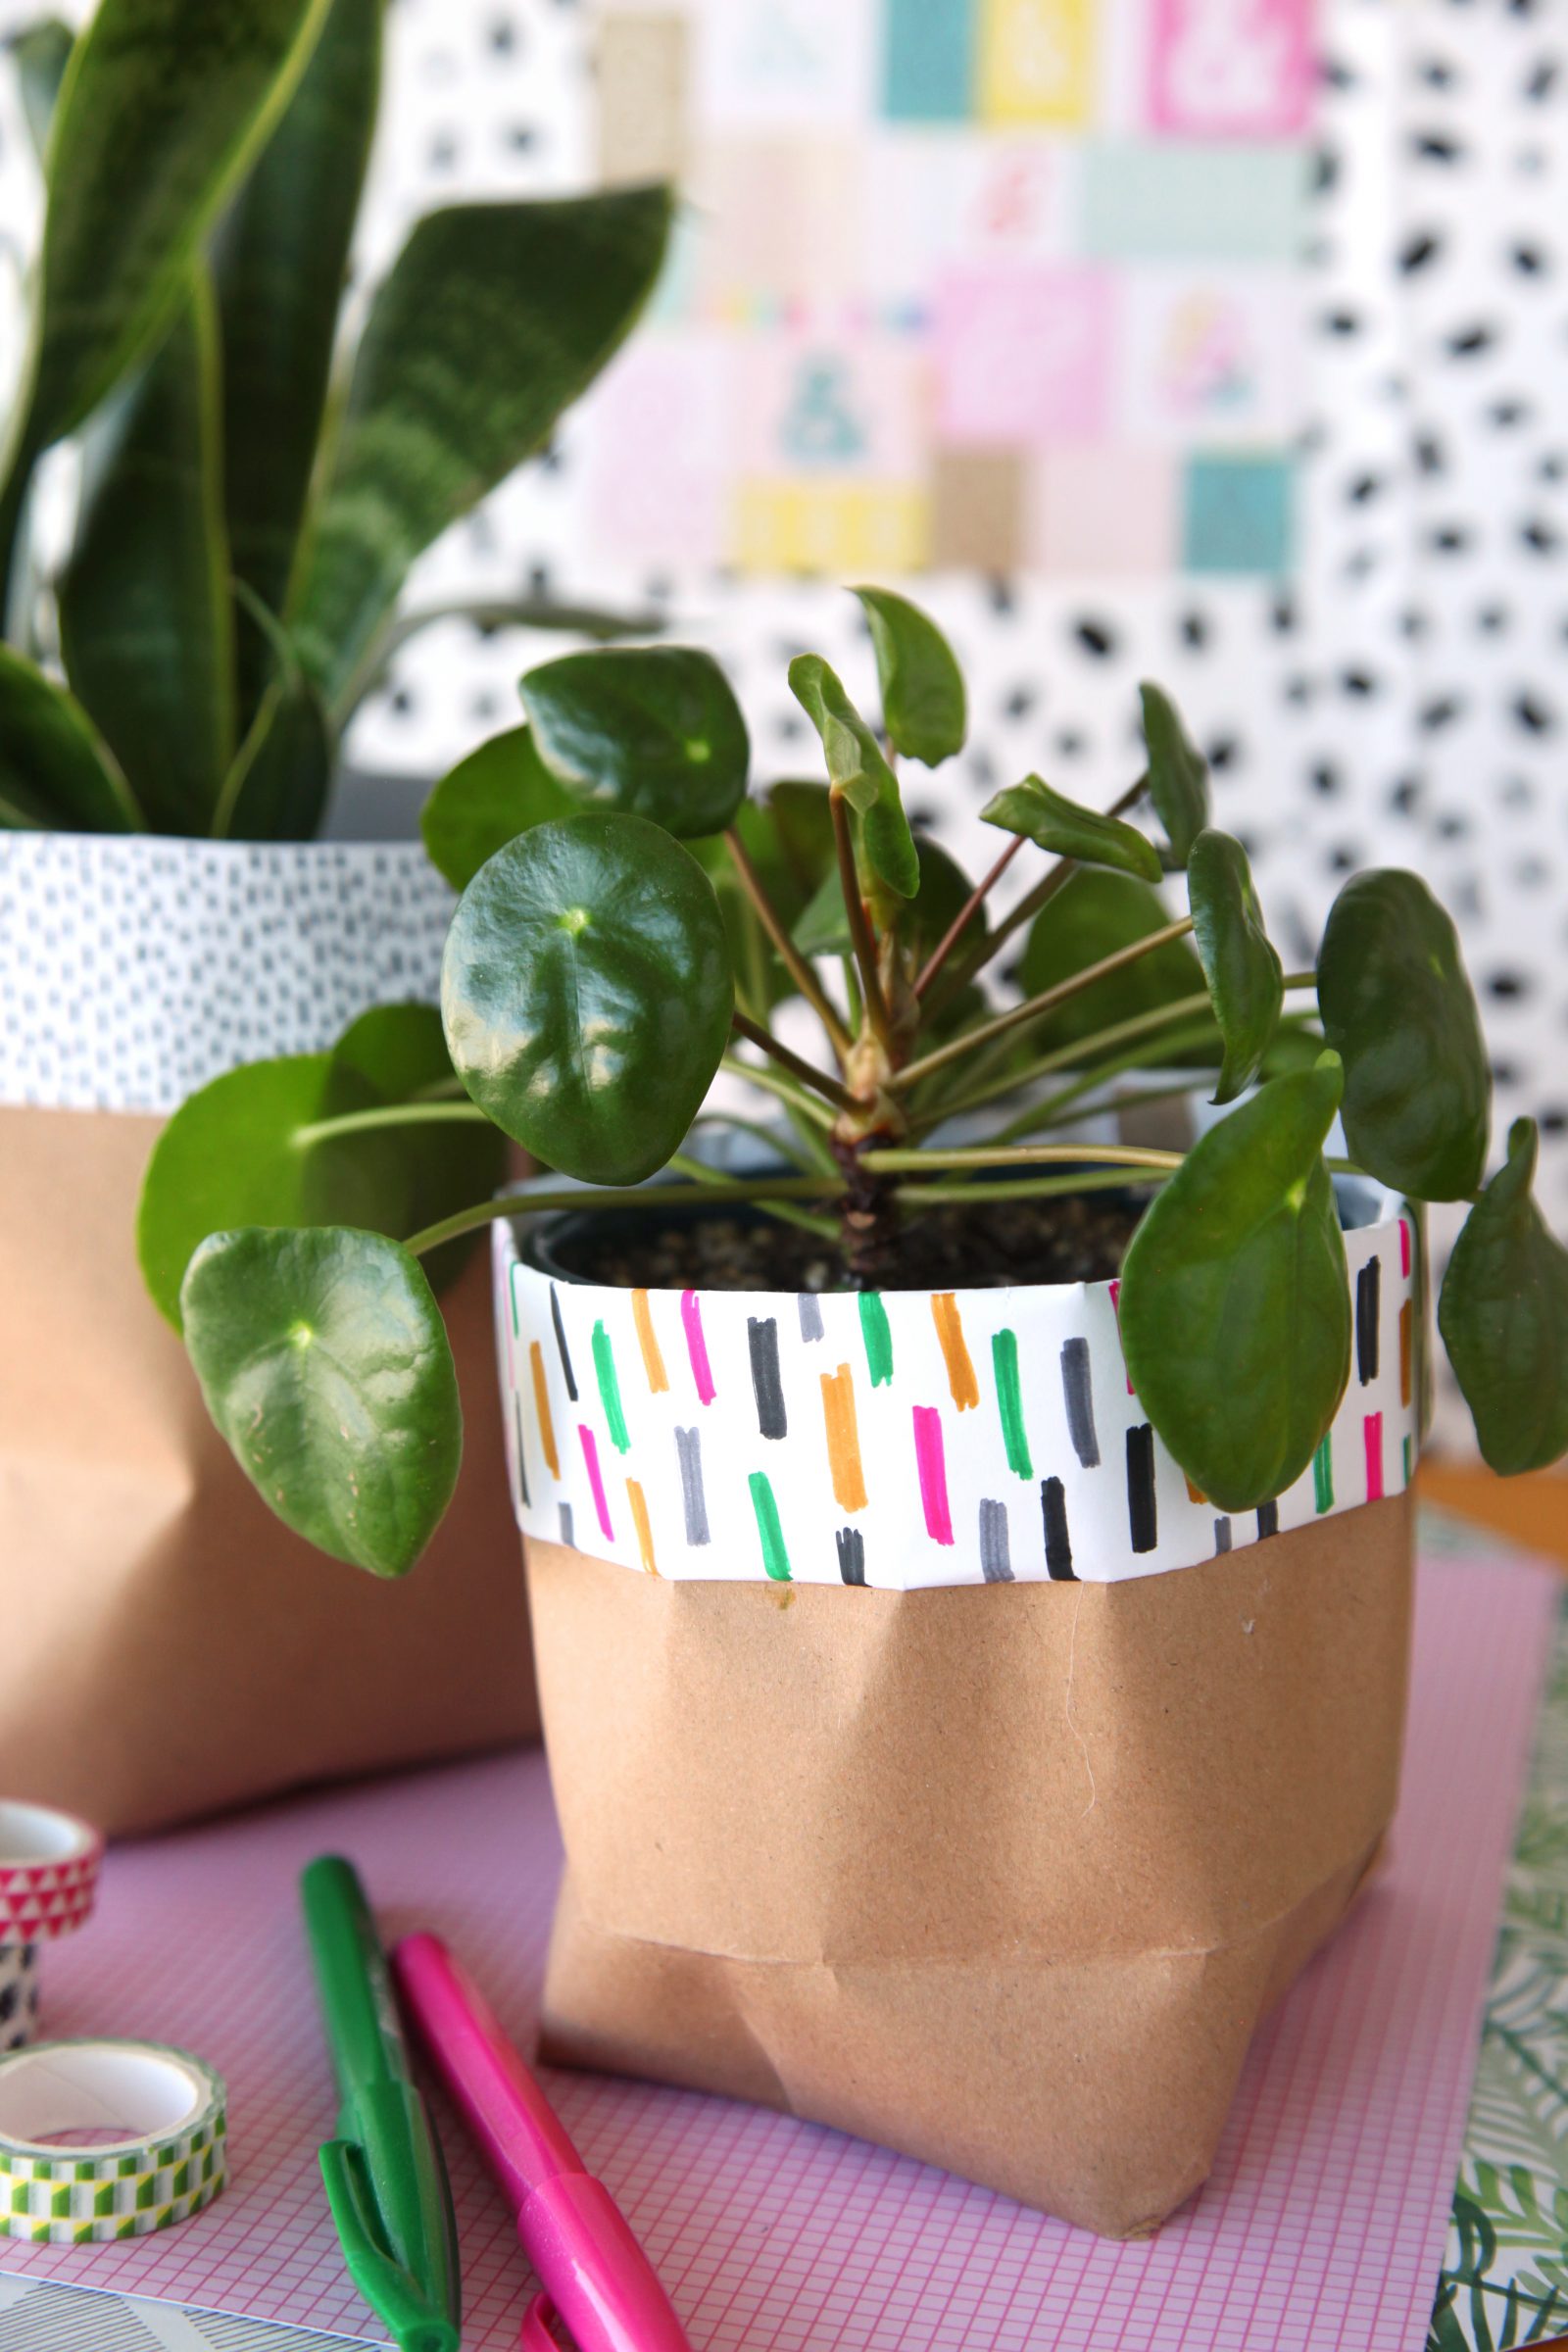
Step 3: If the paper is not patterned, add your design using markers or pens.
Step 4: Align the patterned paper with the top of the paper bag piece and attach with hot glue.
Step 5: If you would like to make the planter waterproof, cut a piece of contact paper that would fit the bottom half of the paper bag piece. Peel off the backing and apply it to the bottom half of the paper piece, just under the patterned paper piece, if desired.
Step 6: Flip the paper bag over and fold the top of the bag down twice to create a finished folded edge on the other side with the patterned paper showing.
Step 7: Wrap your paper into a cylinder with the folded edge facing outward and connect the sides using a hot glue gun.
Step 9: Place the cylinder folded-edge-side down on your work surface, and fold the other side closed like you are wrapping a present, using hot glue to seal.
Step 10: Place your plant inside and gift away!
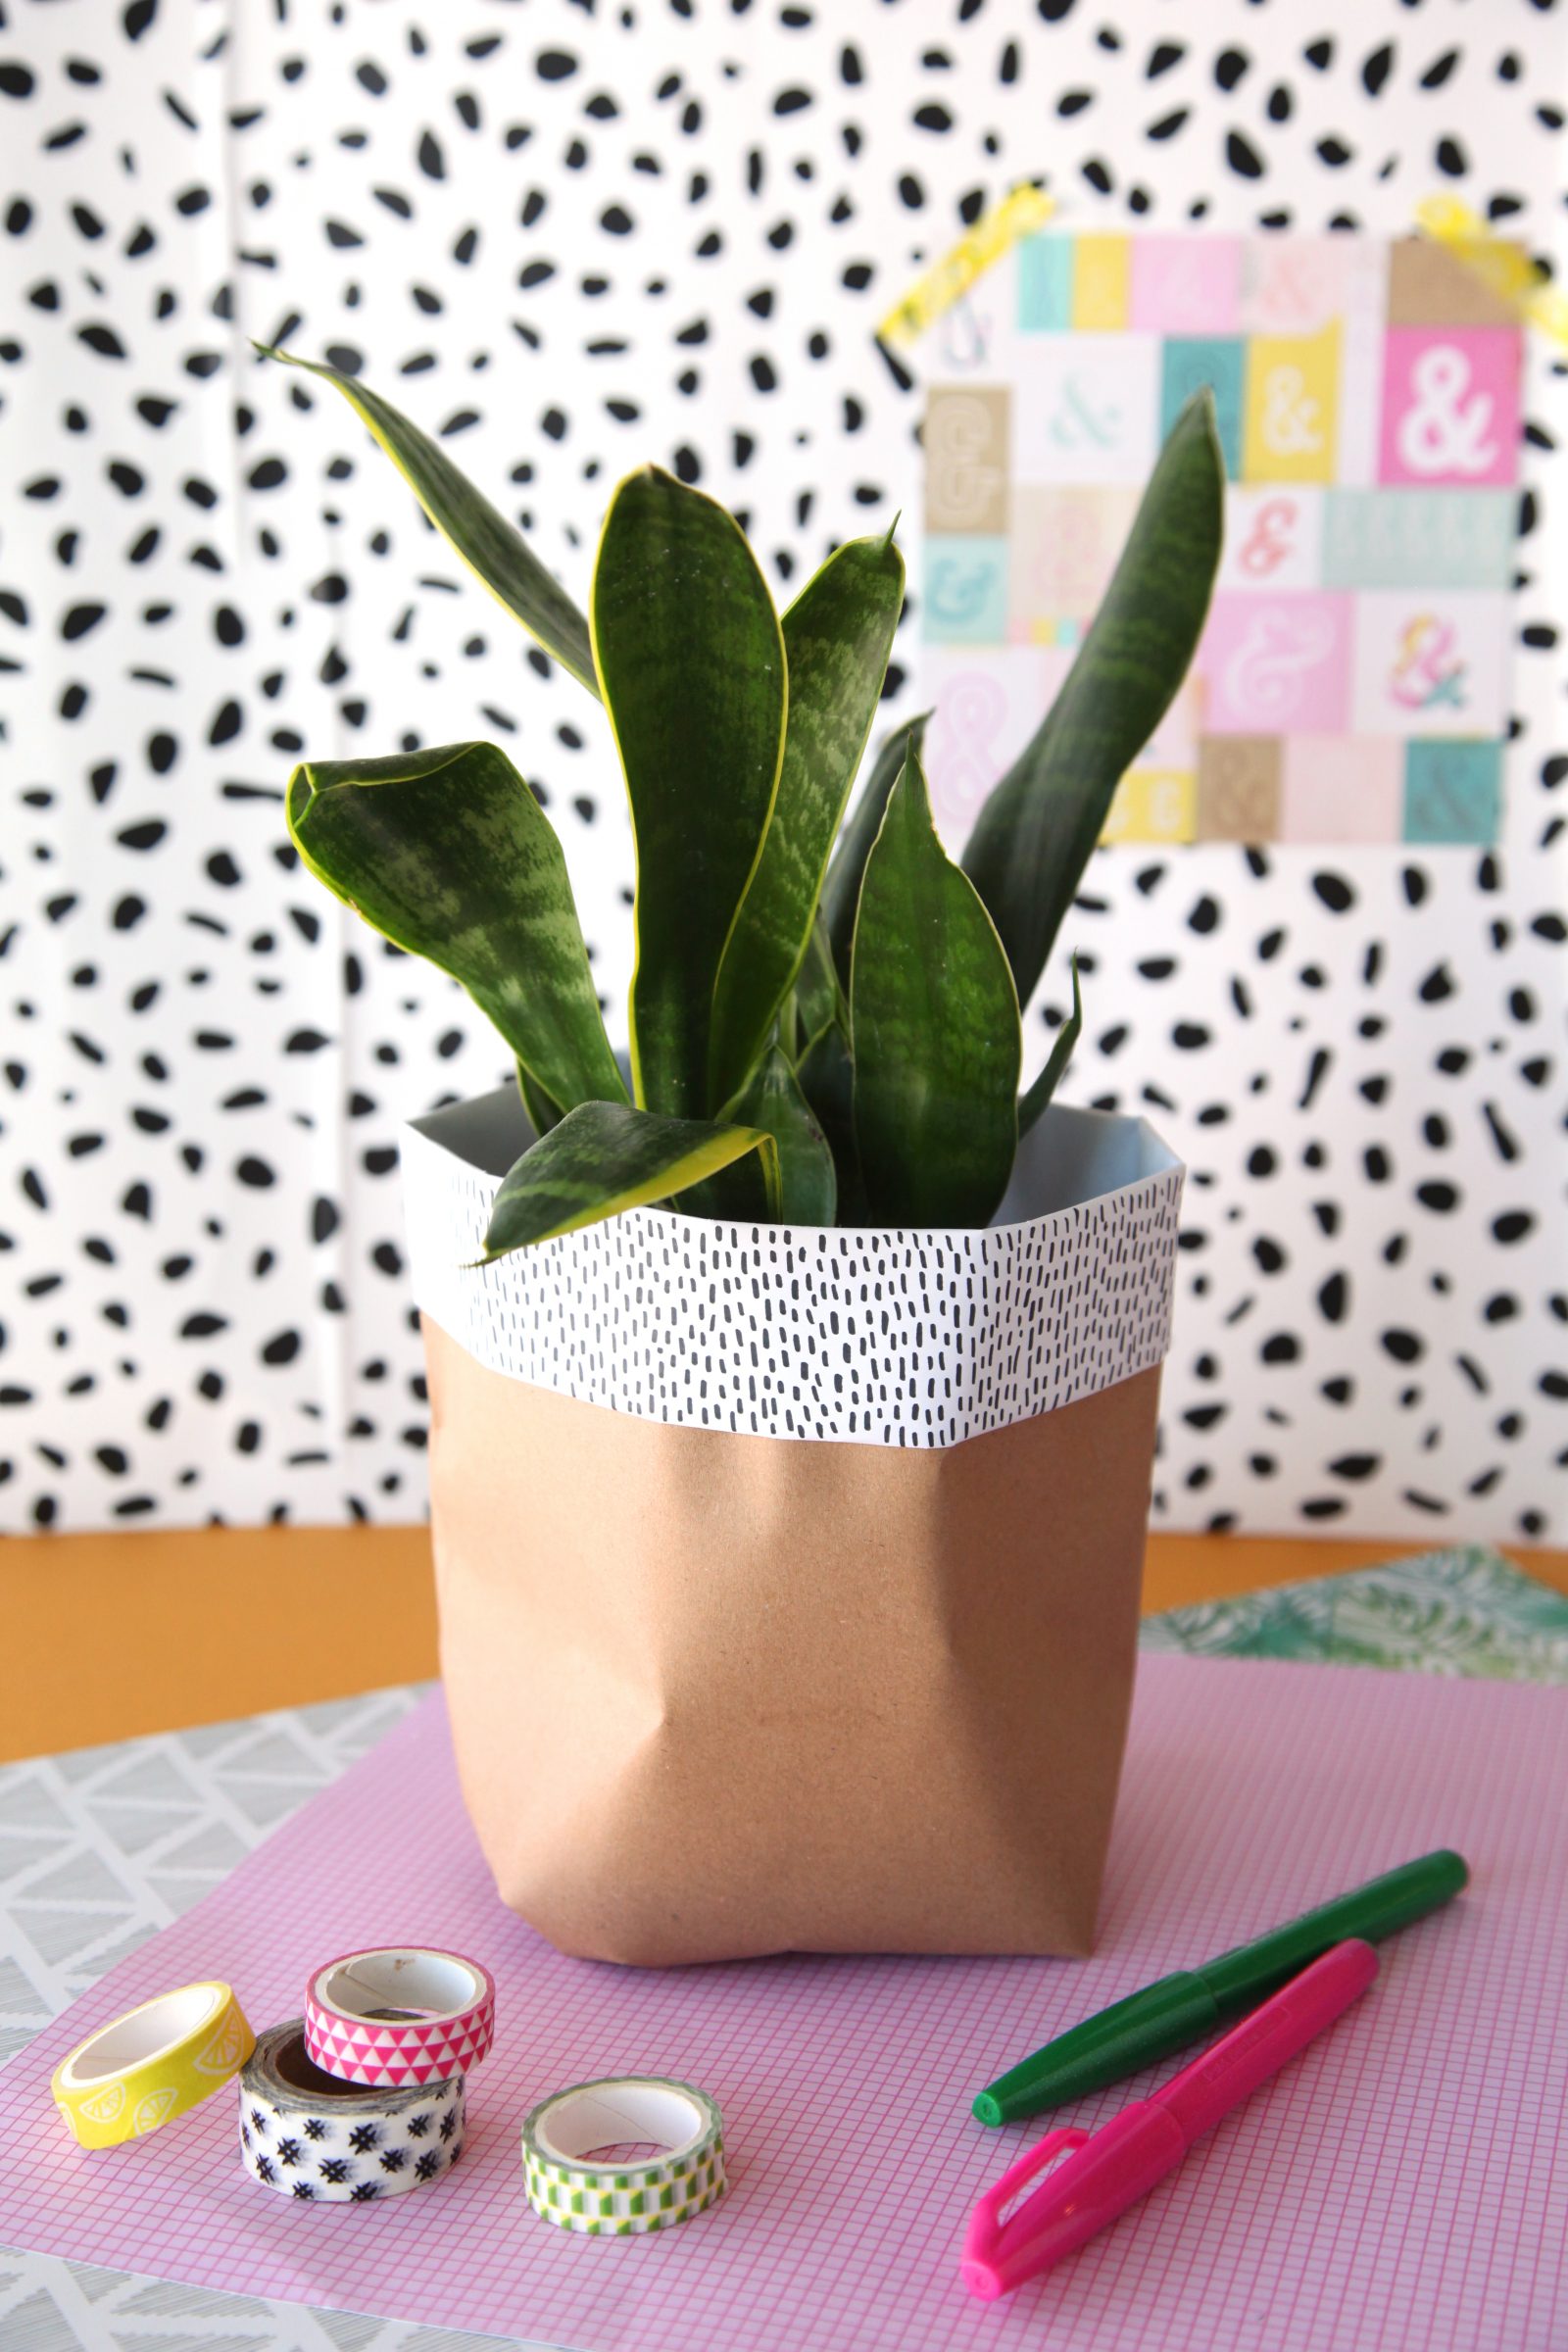

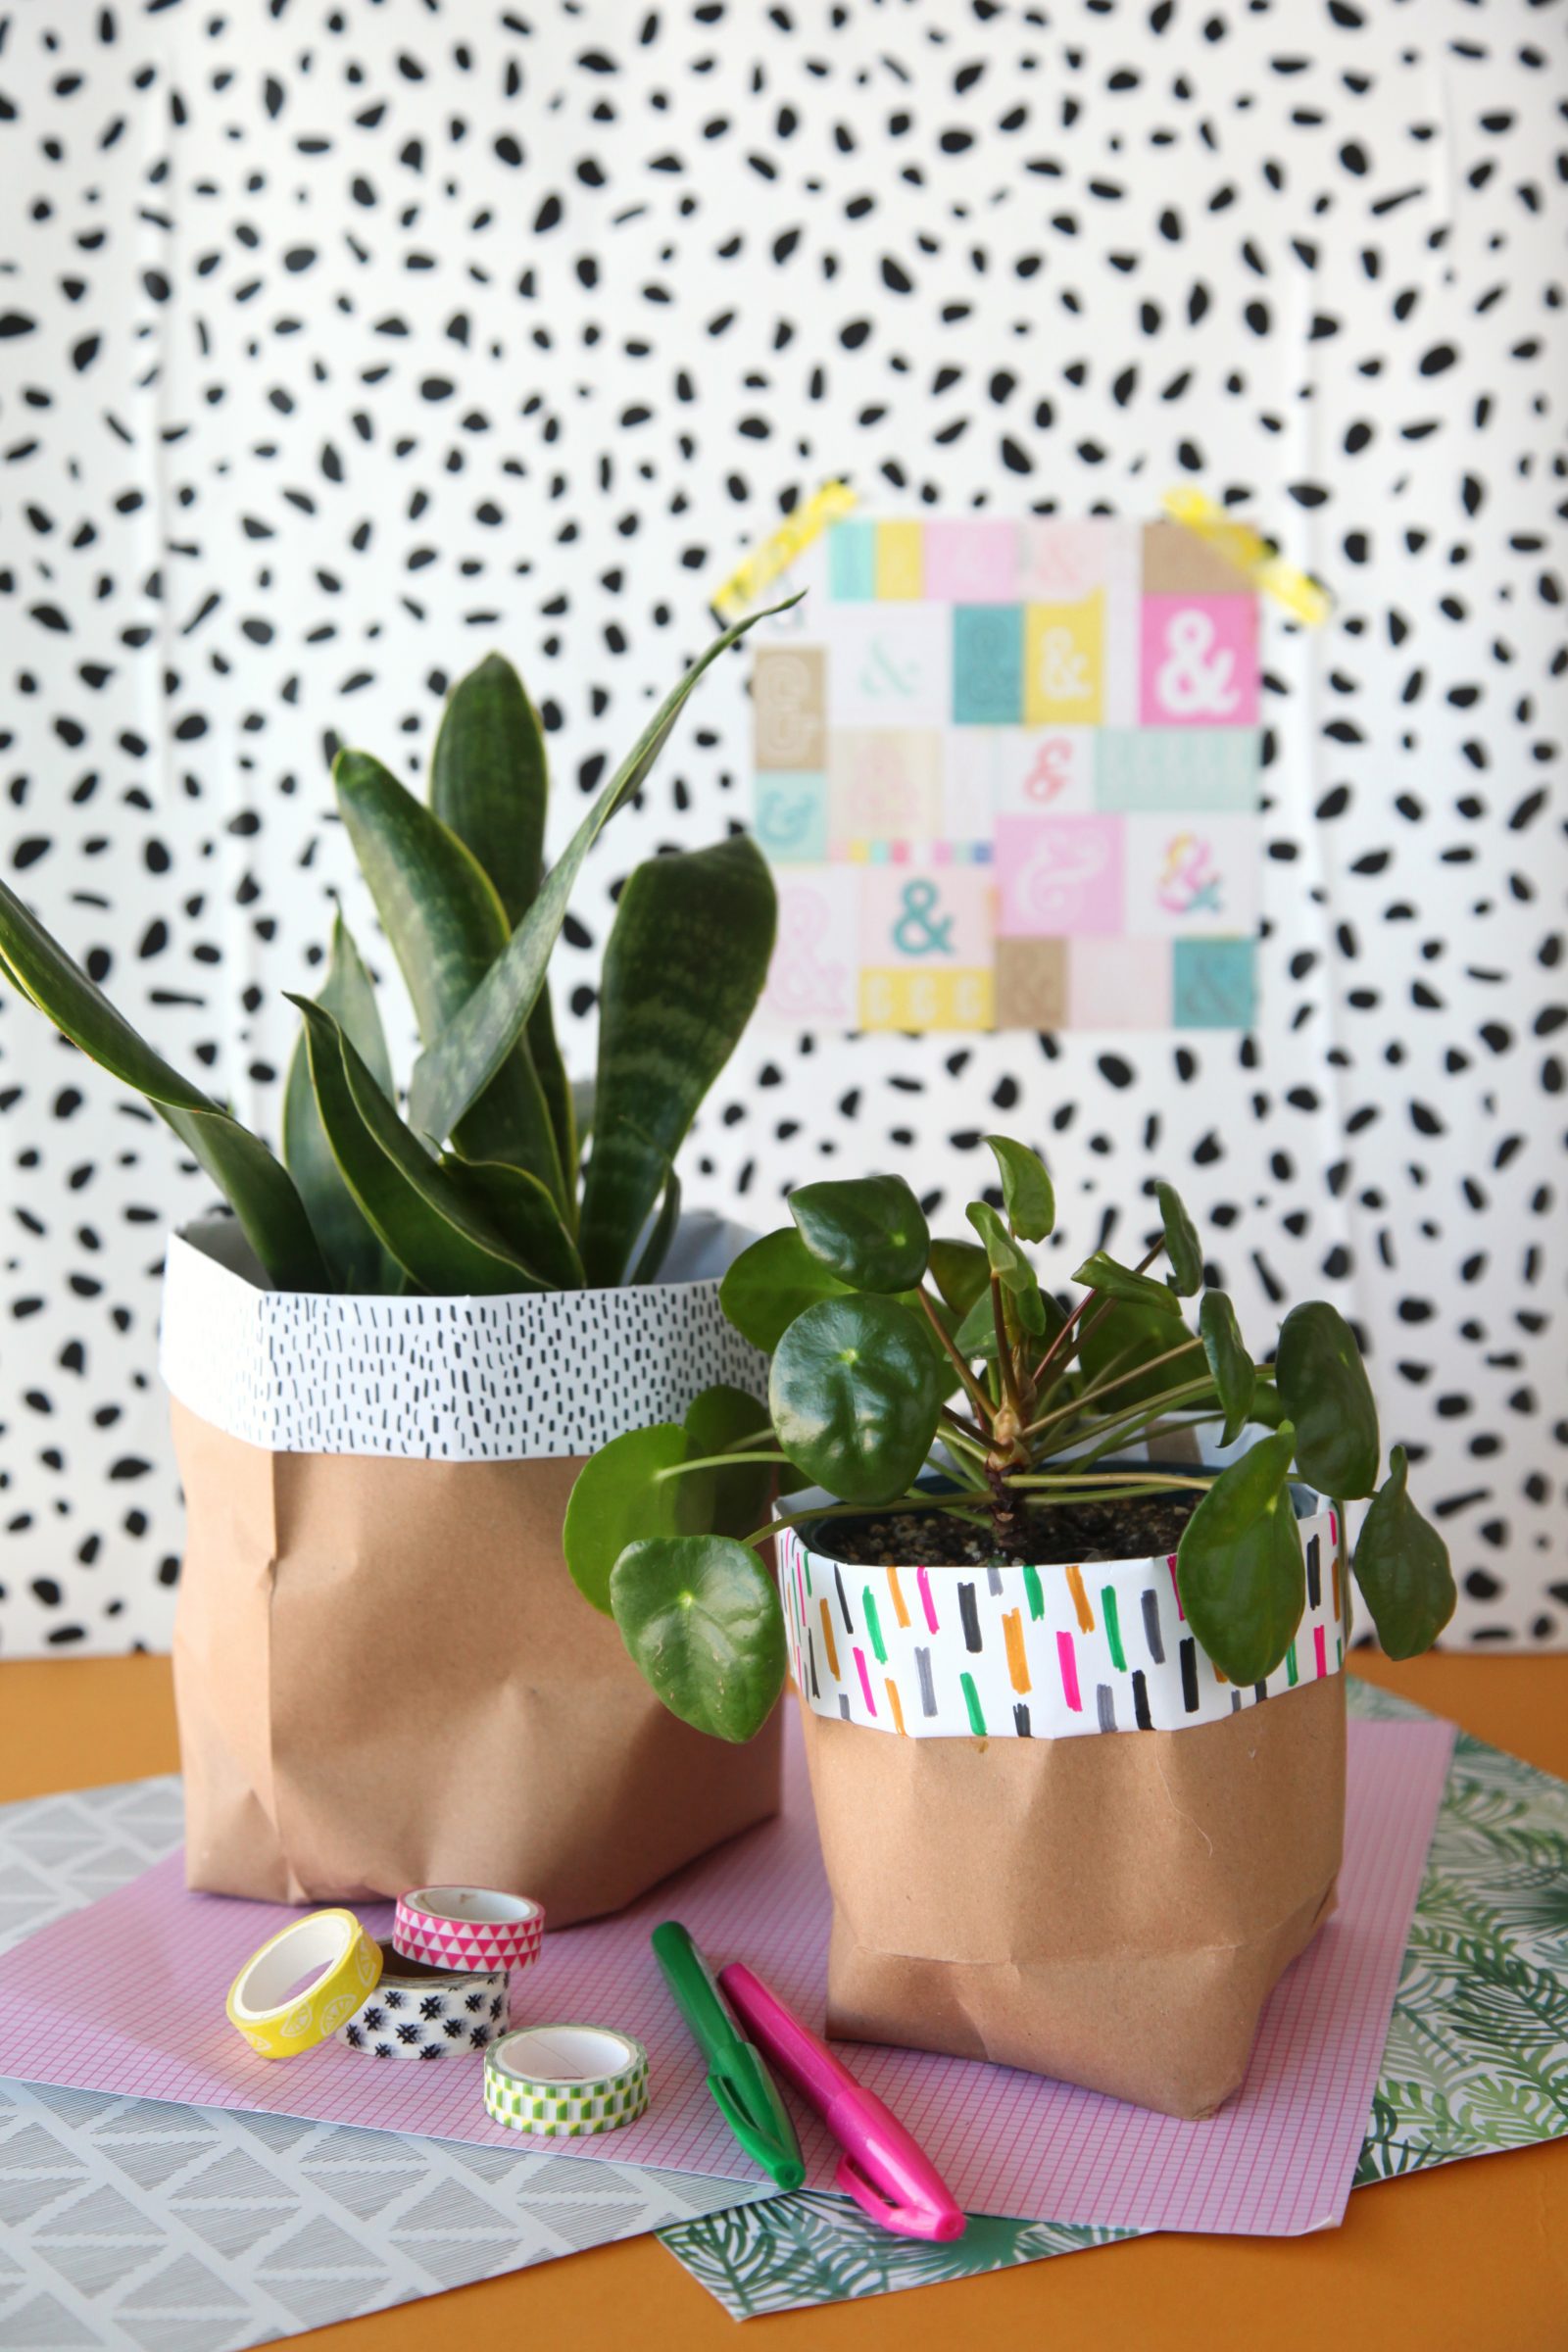
They are just so cute, aren’t they? This project is the perfect partner to any houseplant and will surely delight an recipient! We love thinking about all of the ways you can customize them with different kinds of paper or by drawing different designs. Plus, since paper bags are free you can experiment without any extra expense!
Happy making!
ox. Liz and Sam
Looking for more DIY Planter ideas? Here is some inspiration!
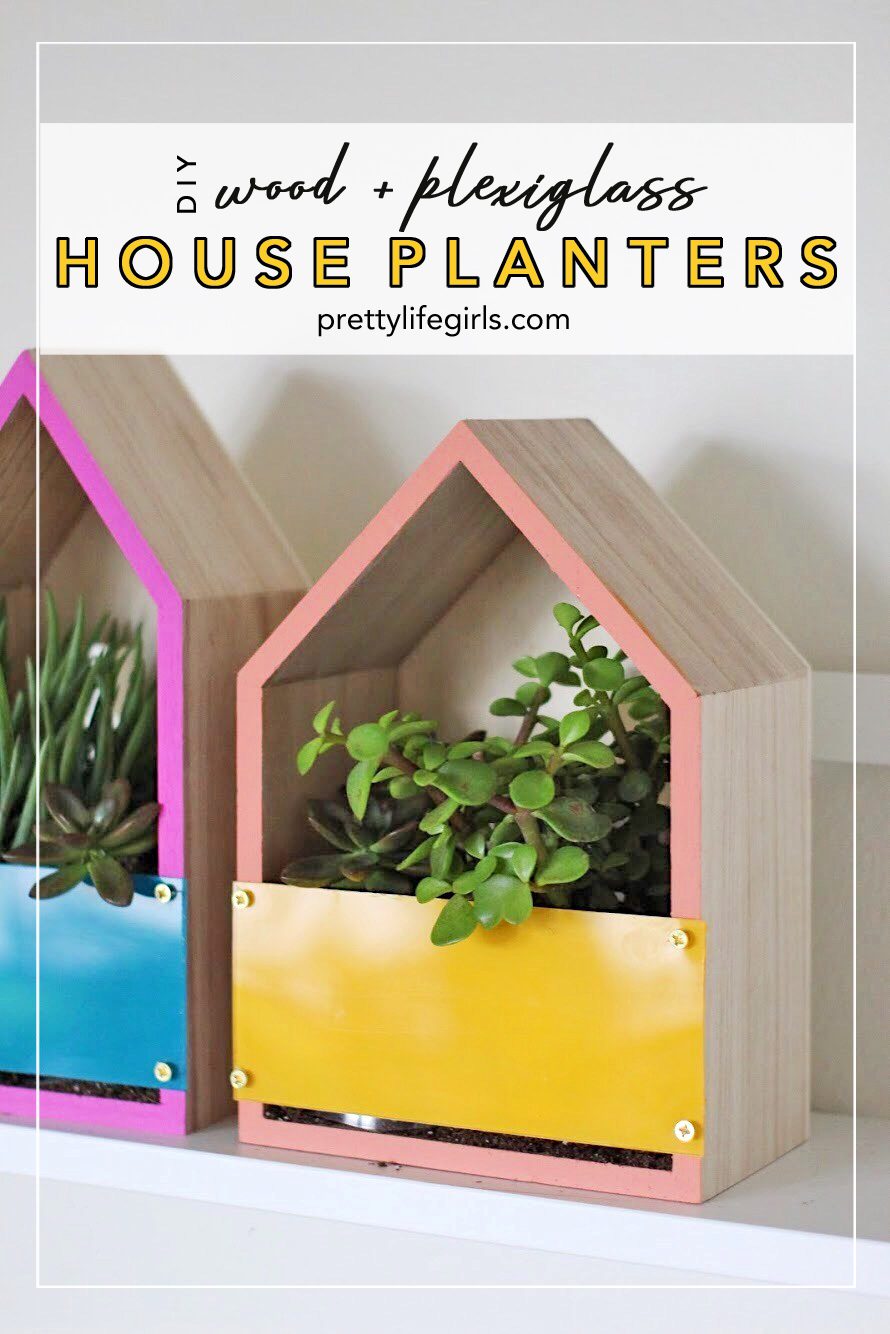 Wood and Plexiglass House Planters