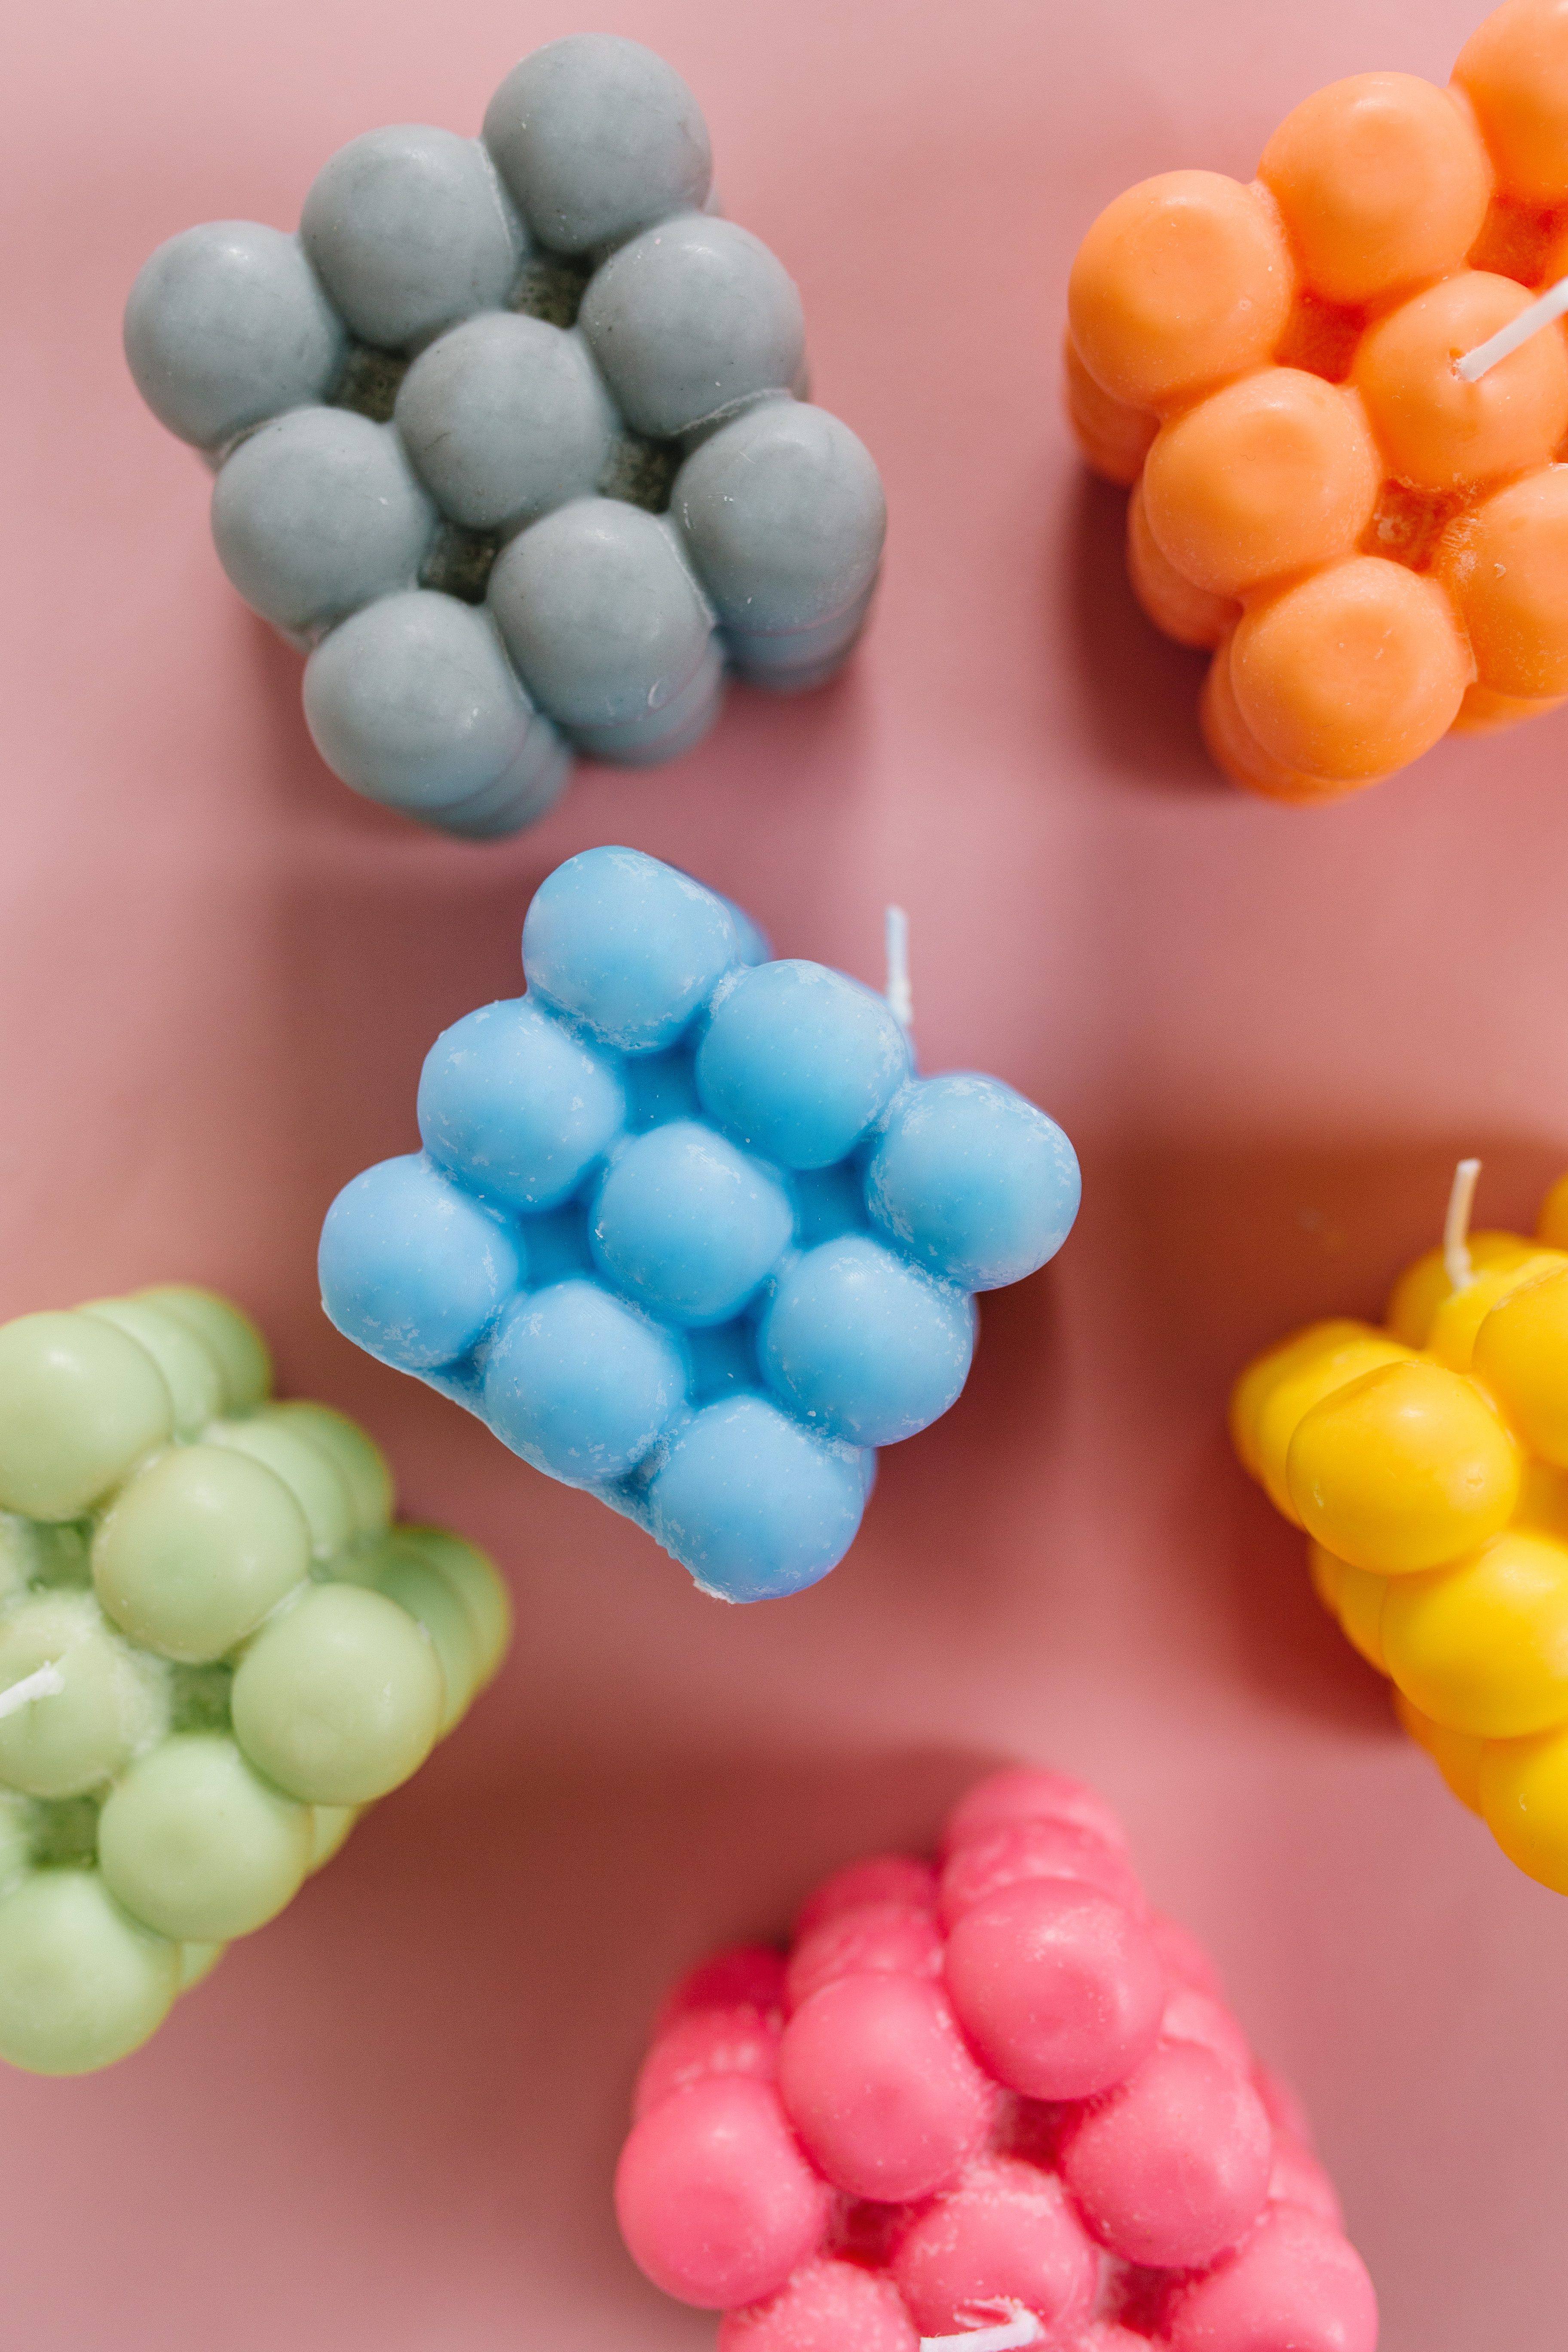
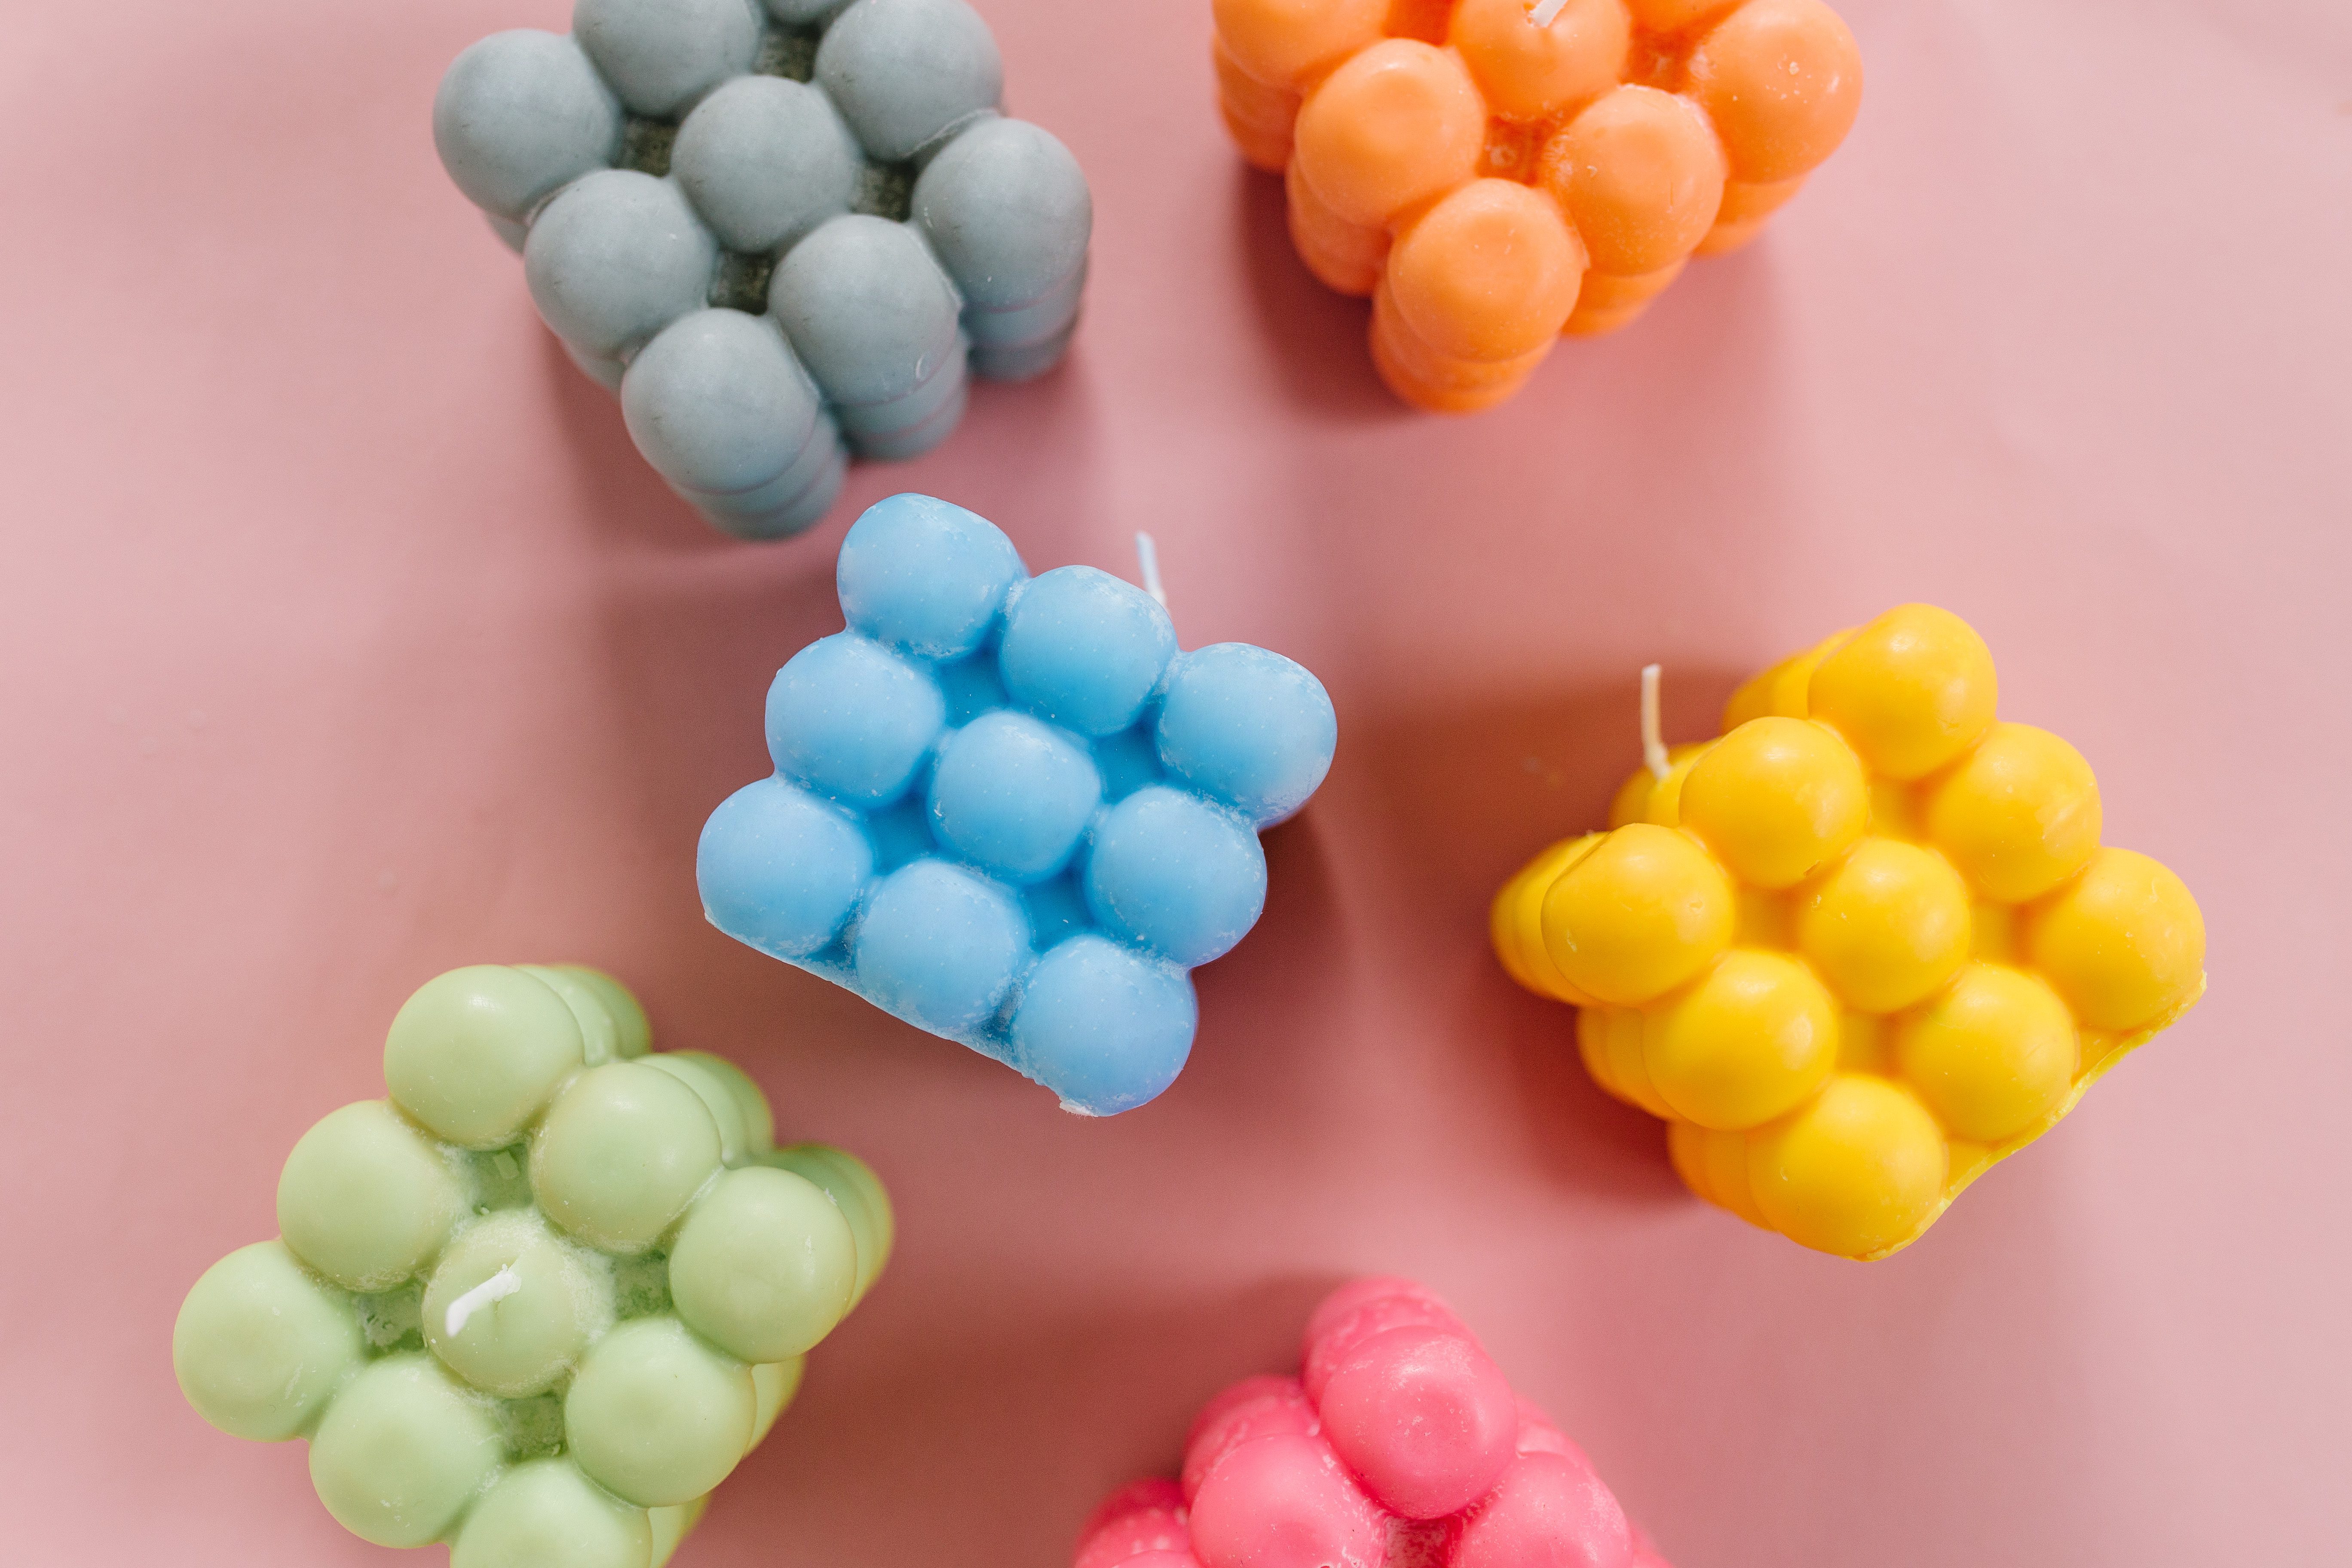
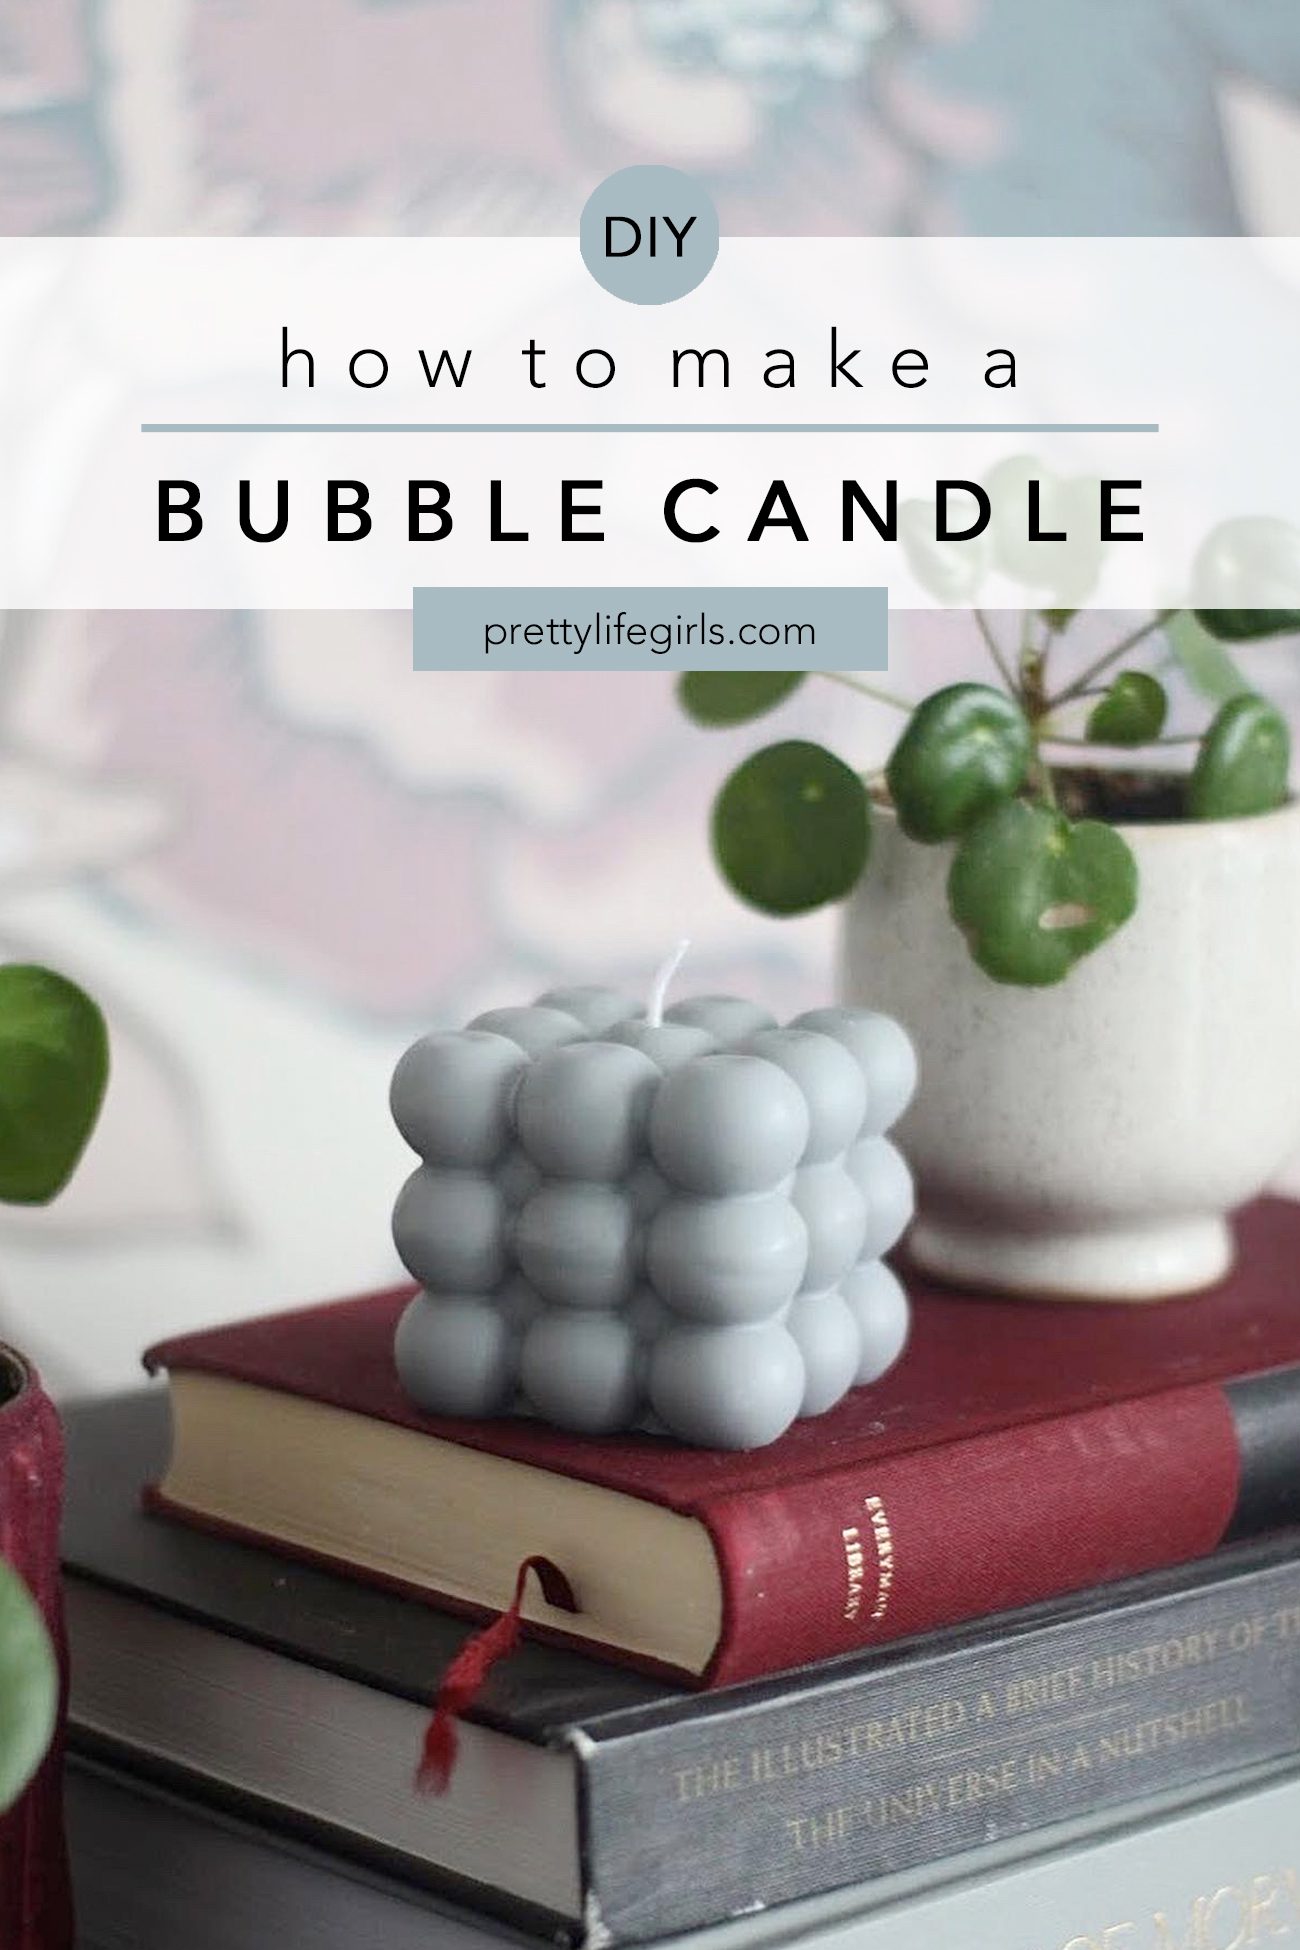
Have you ever made candles before? You know…bought wax flakes, melted them down, added scents, poured them, etc? We’ve tried it a couple of times here on the blog, but they have always been in tins or jars. However, since we have started noticing a trend in graphic candles we decided it was time to take the plunge and make them in molds, starting with the DIY bubble candle we have seen everywhere. And, as often happens when we try a new DIY method, we are very obsessed!
I’ll admit that I was a little intimidated by making candles this way, but after watching a couple of YouTube videos I gained some confidence and after a few attempts I am thrilled with the results! We’ll walk you through all the steps so you can do it, too!
Here is what you’ll need:
Supplies needed to make a DIY Bubble Candle
Silicone bubble candle molds
Candle wax dye
Soy candle wax
Candle wicks (comes with the mold link above!)
Bow tie wick bar (comes with the mold link above!)
Candle scents (if desired)
Pouring pot
Wooden skewer
Mason jar
Paper plate
Sauce pan
How to make a DIY Bubble Candle
(If you’d like to see a quick video of us making these candles, watch our Instagram reel here!)
Step 1: Thread the candle wick through the bow tie wick bar and through the hole in the mold. Place the mold wick-bar side up on a paper plate and set aside. (Note: The molds we used didn’t have a hole for the wick in the top so we used a thumb tack to create a small hole for the wick to fit through while still being tight enough that no melted wax would seep through.)
Step 2: Fill a sauce pan halfway with water and bring to a low boil on medium heat.
Step 3: Fill your pouring pot with wax flakes and place the pot in the water in the saucepan to melt. Stir frequently (I used a disposable wooden skewer to stir.)
Step 4: Once the wax is completely liquid, pour an amount equal to the size of your molds into a mason jar and add candle wax dye. Mix with skewer until dye is completely dissolved. Add scents as desired.
Step 5: Carefully pour the colored wax into the mold. Let set completely.
Step 6: Once the candle is completely set, remove the bow tie wick bar and the mold. Trim the wick as needed.
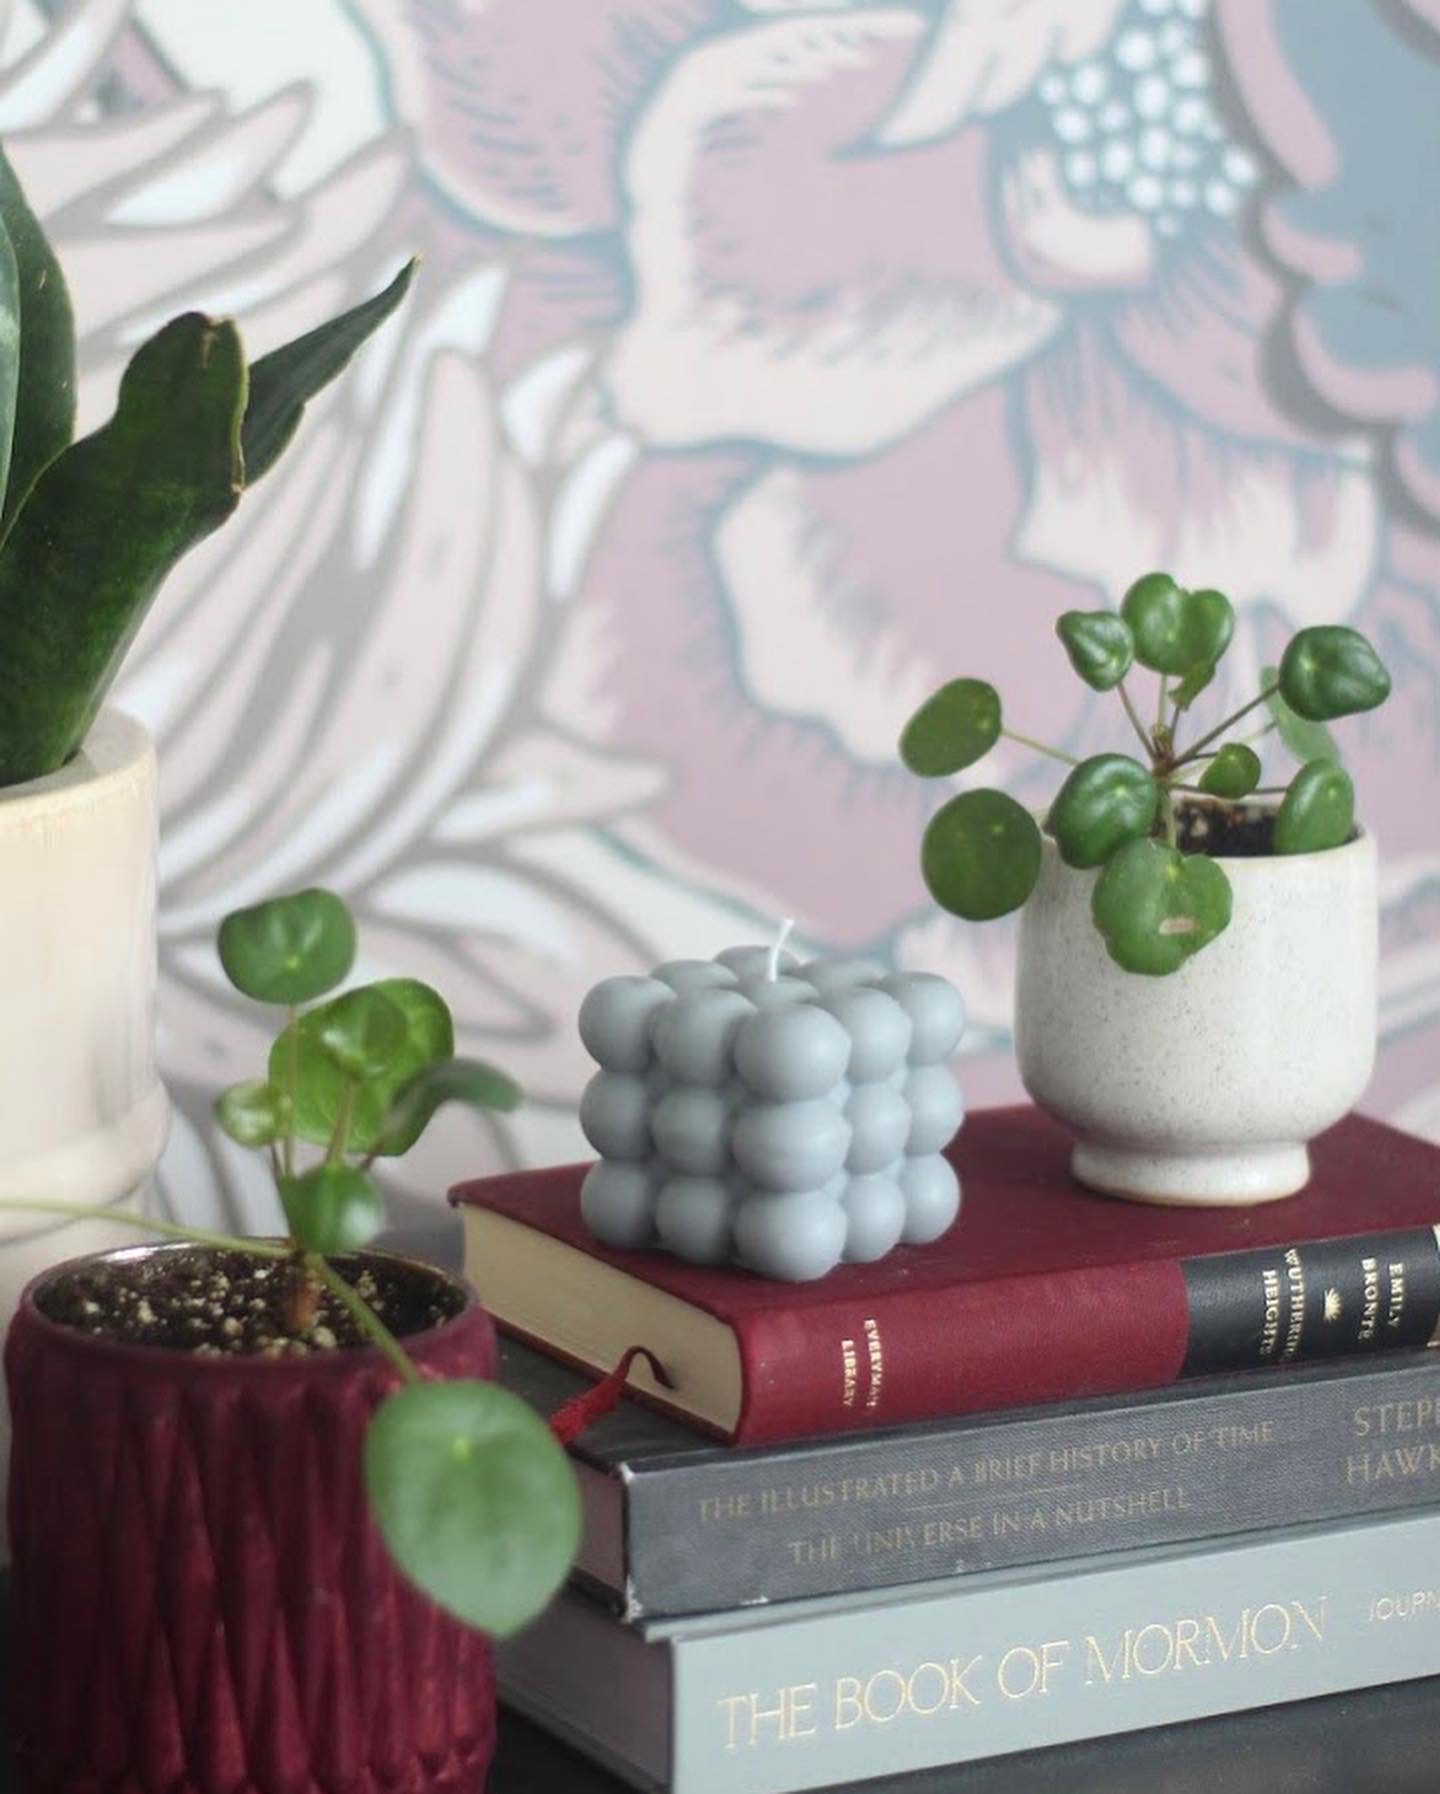
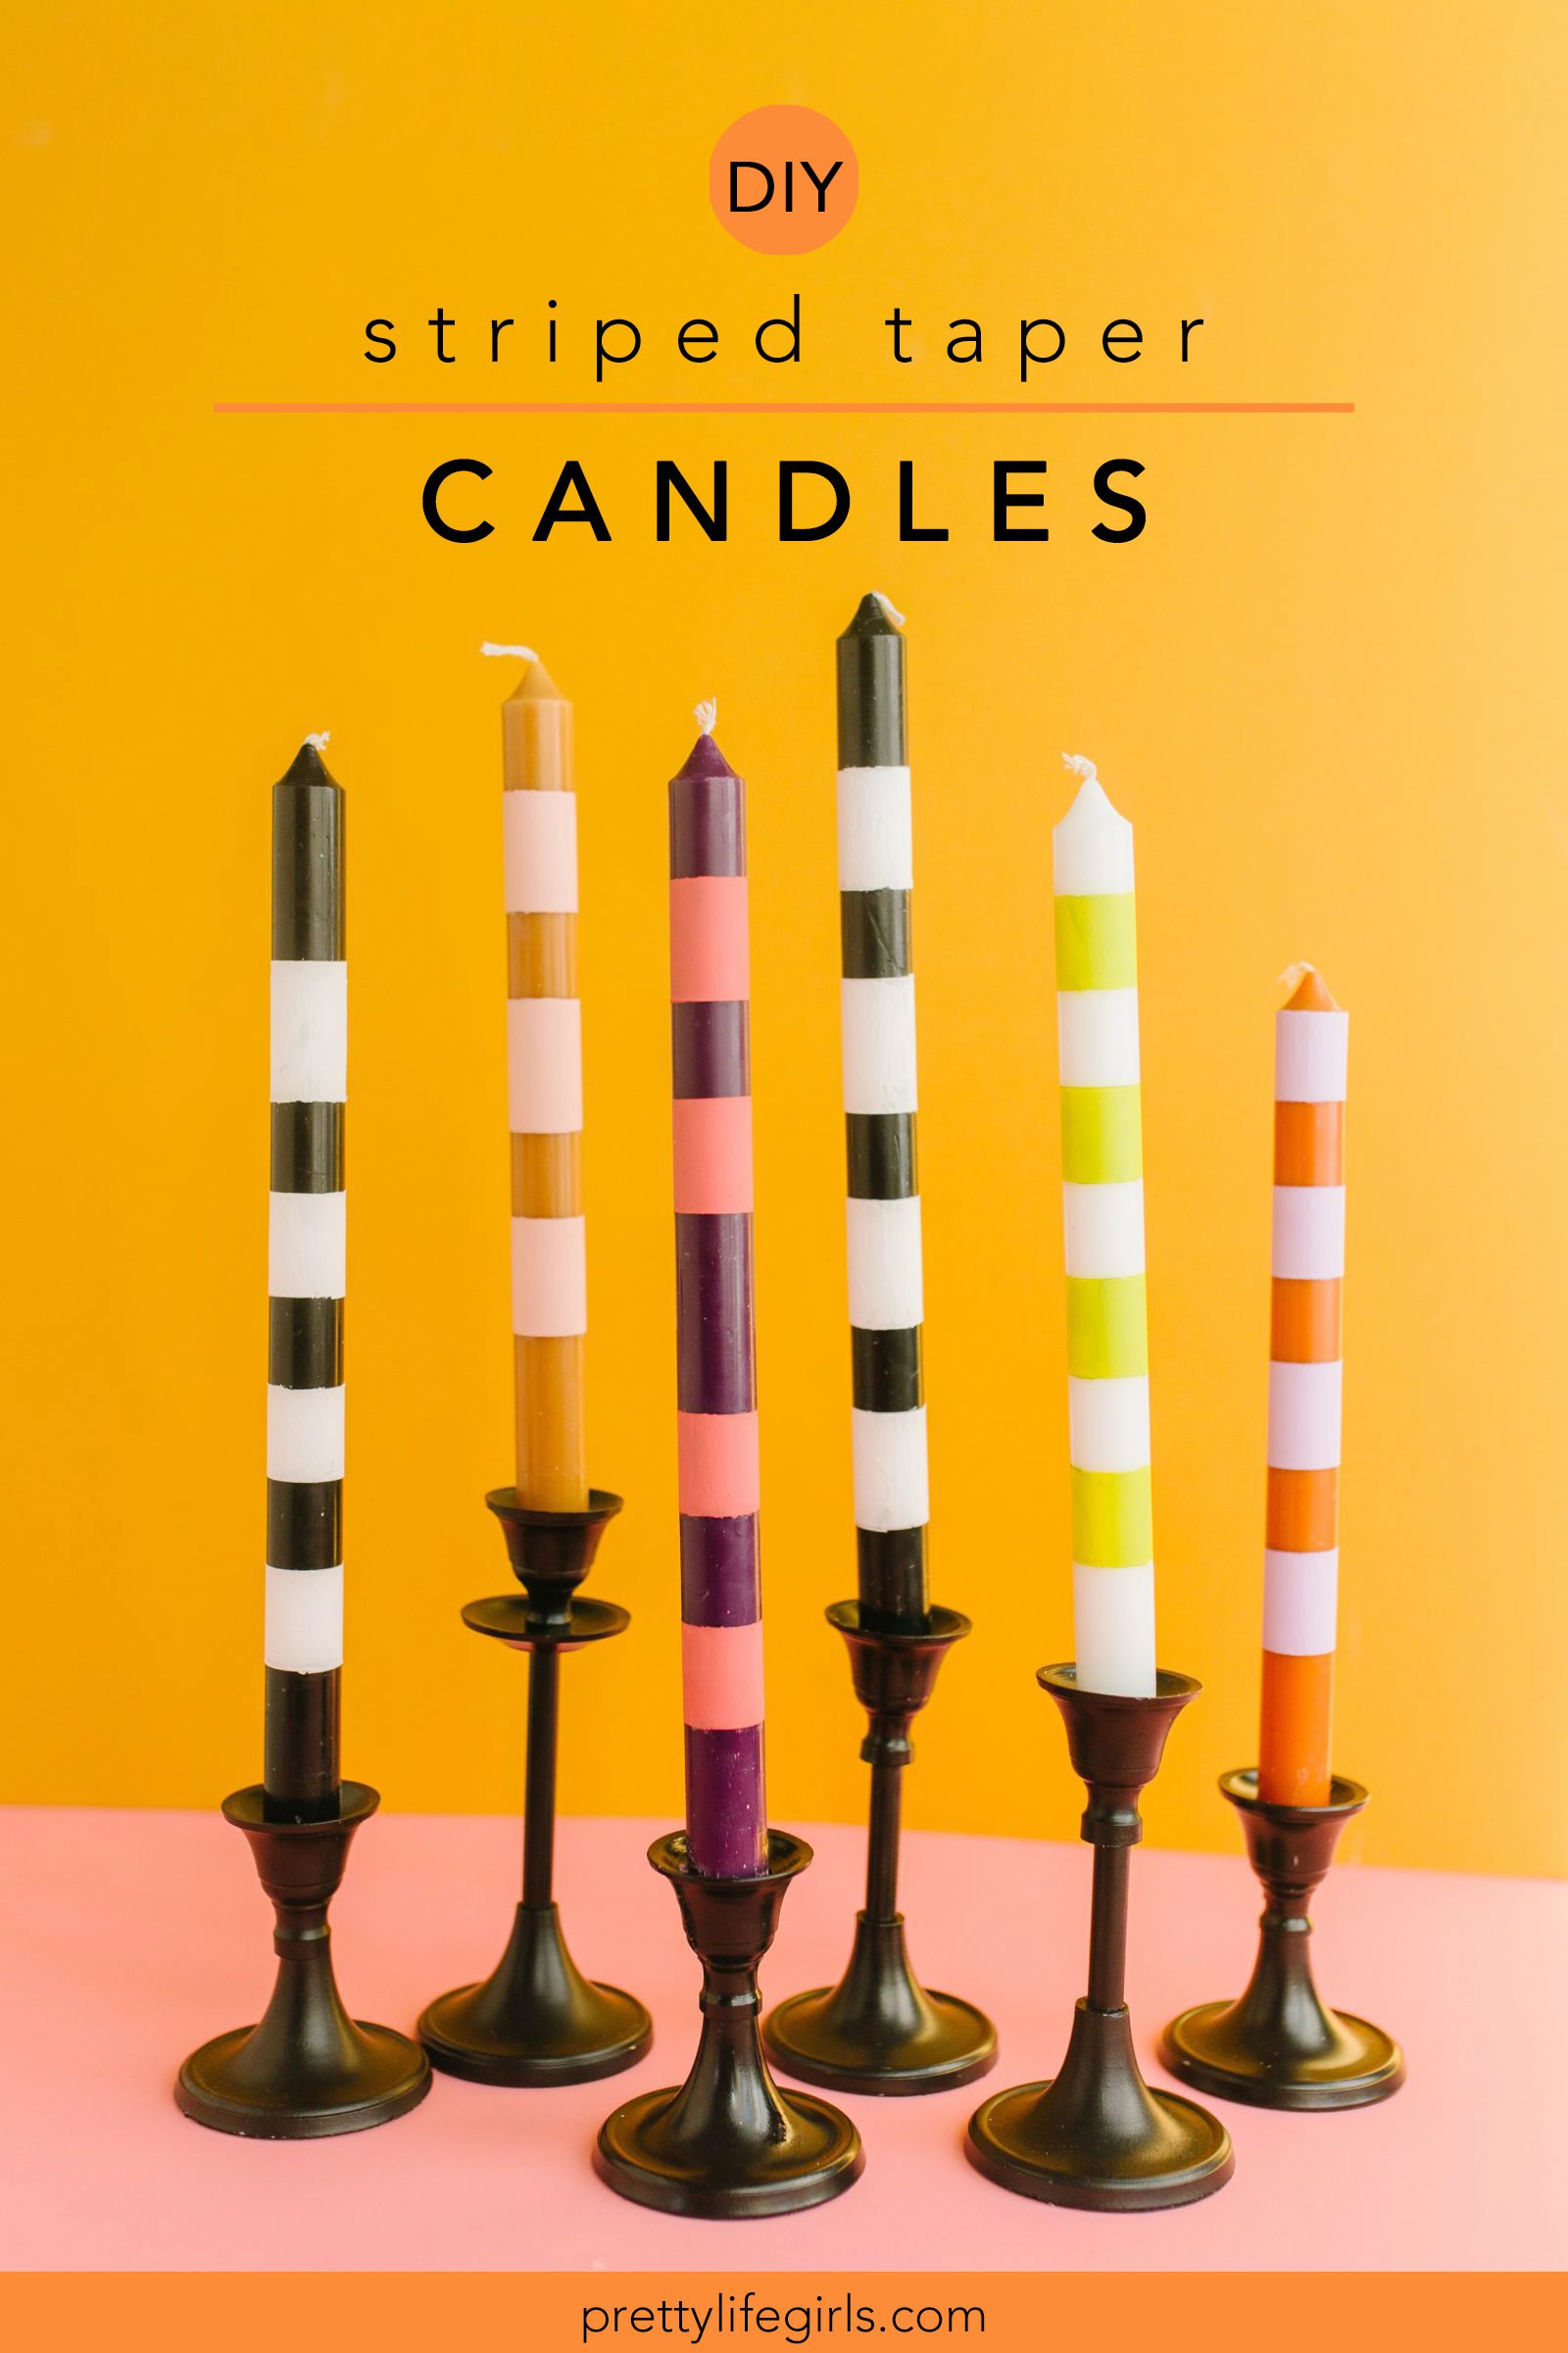
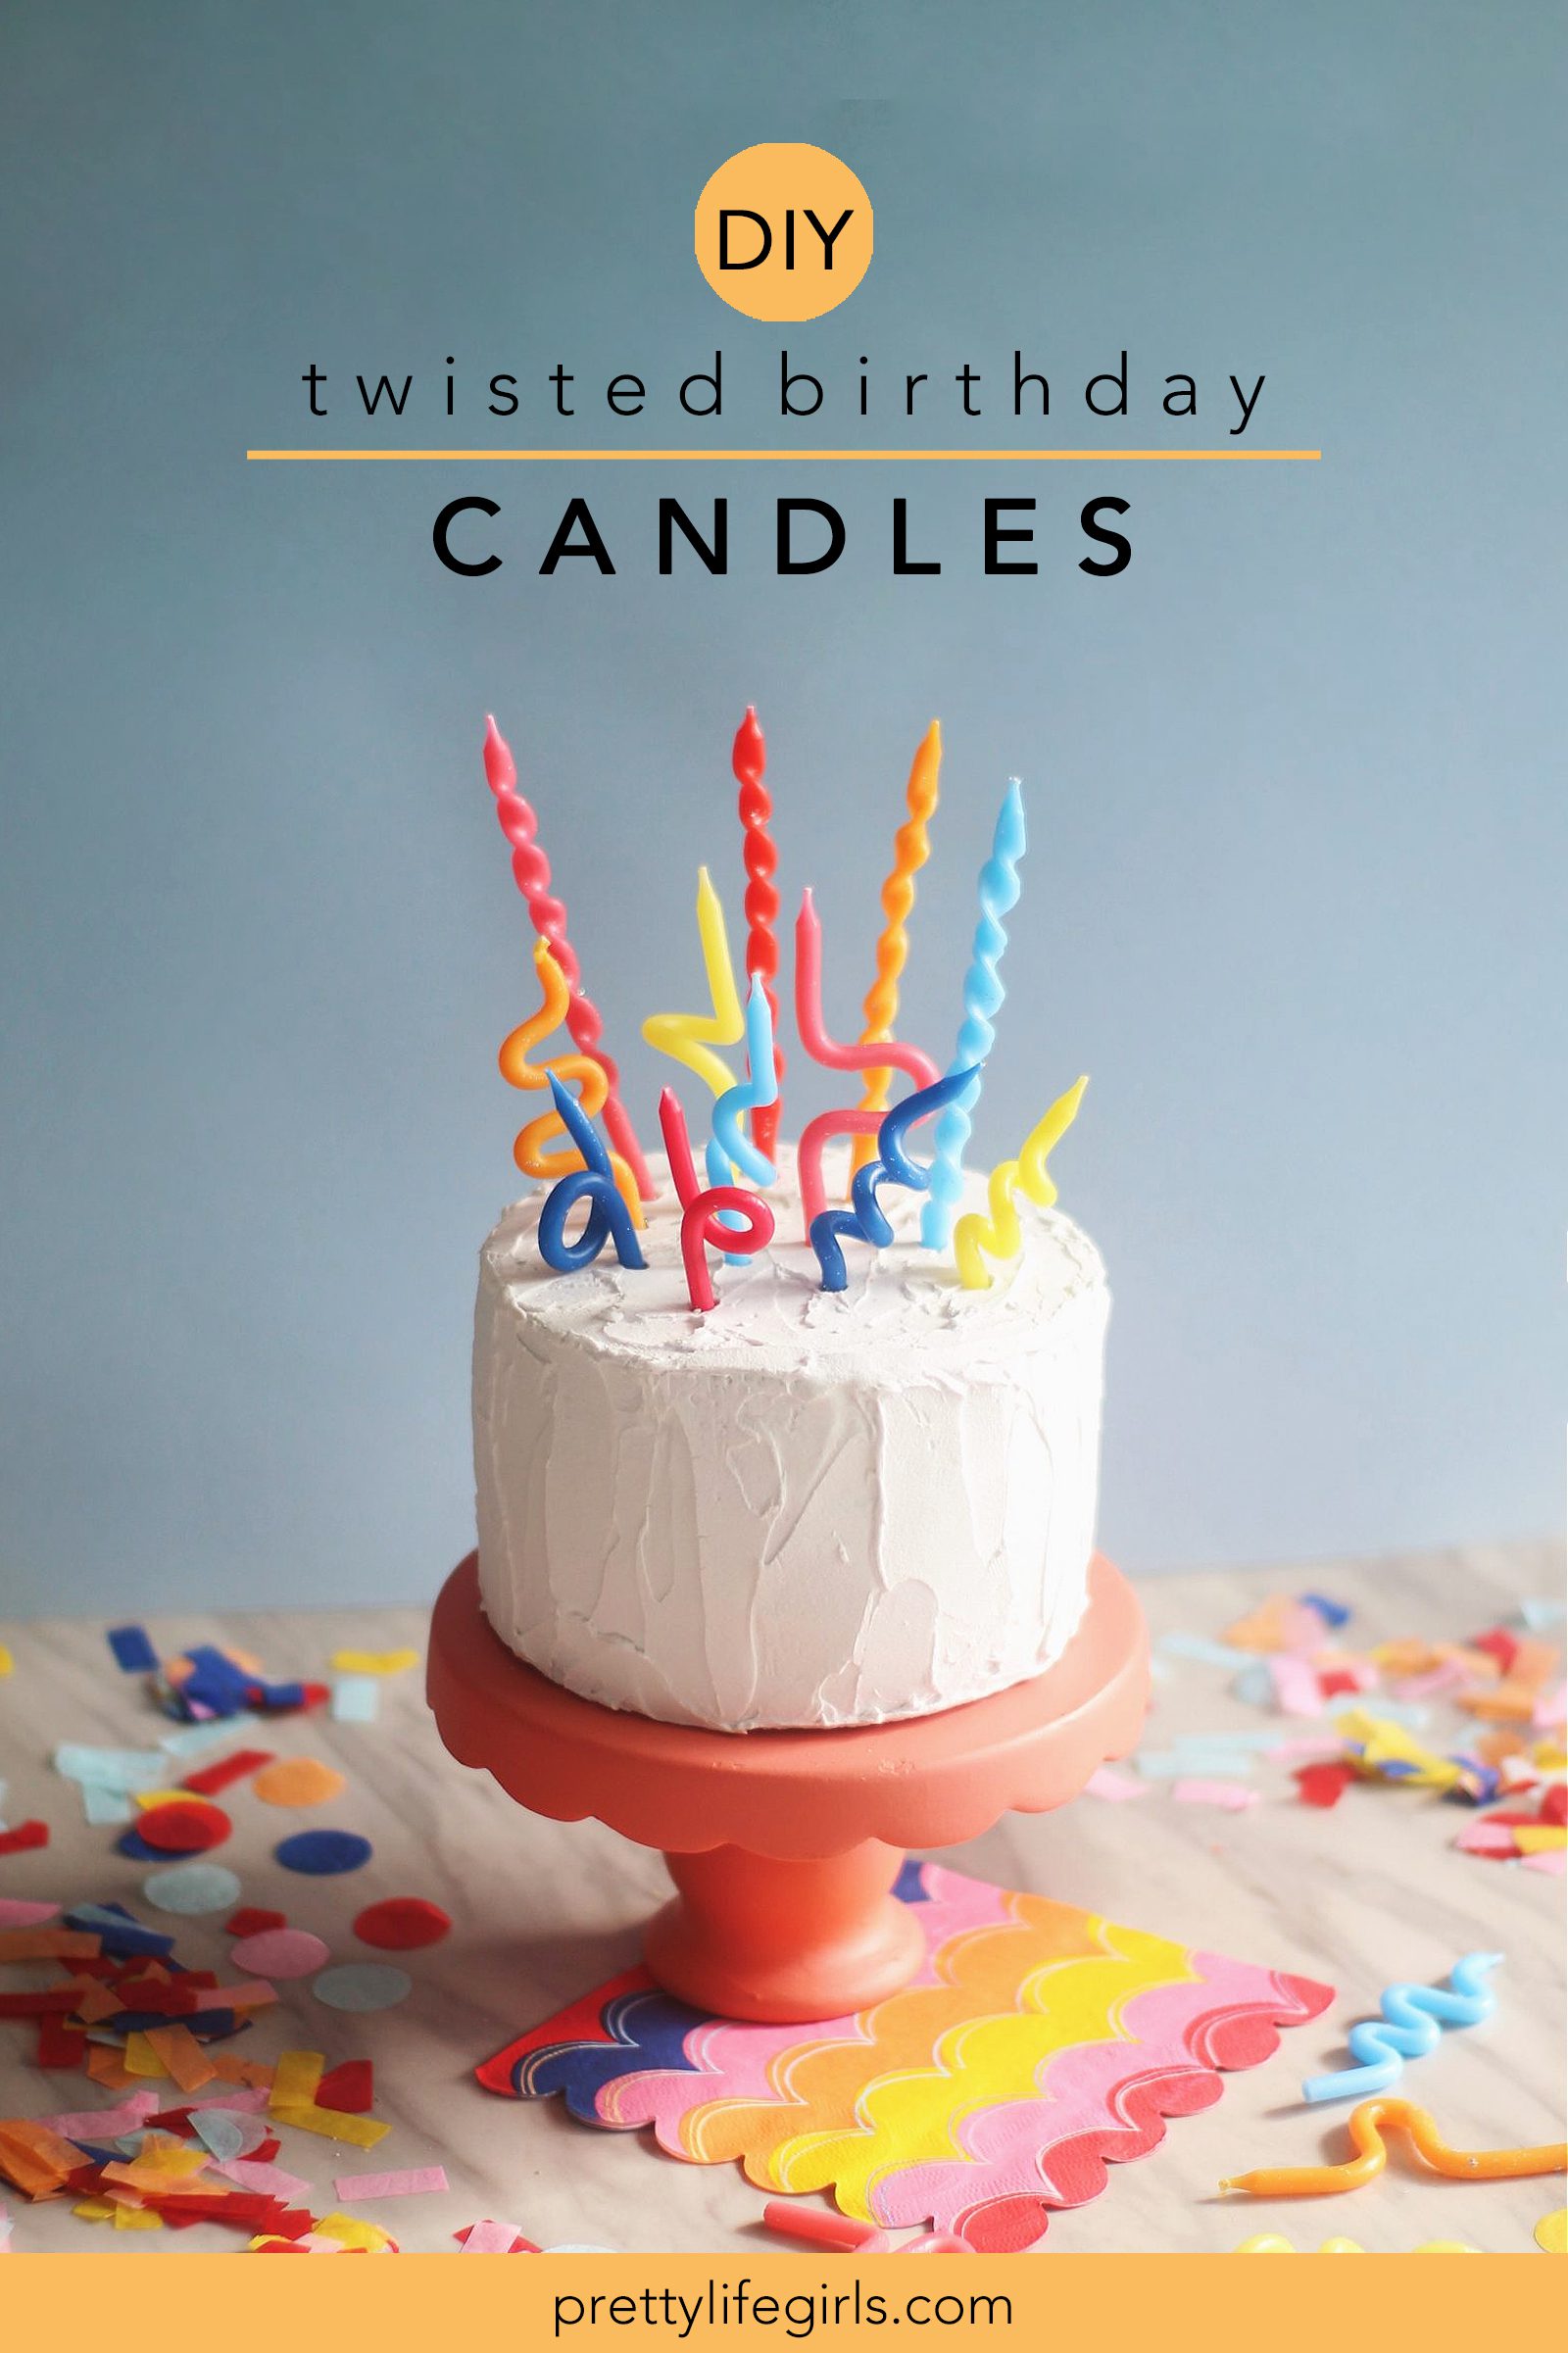
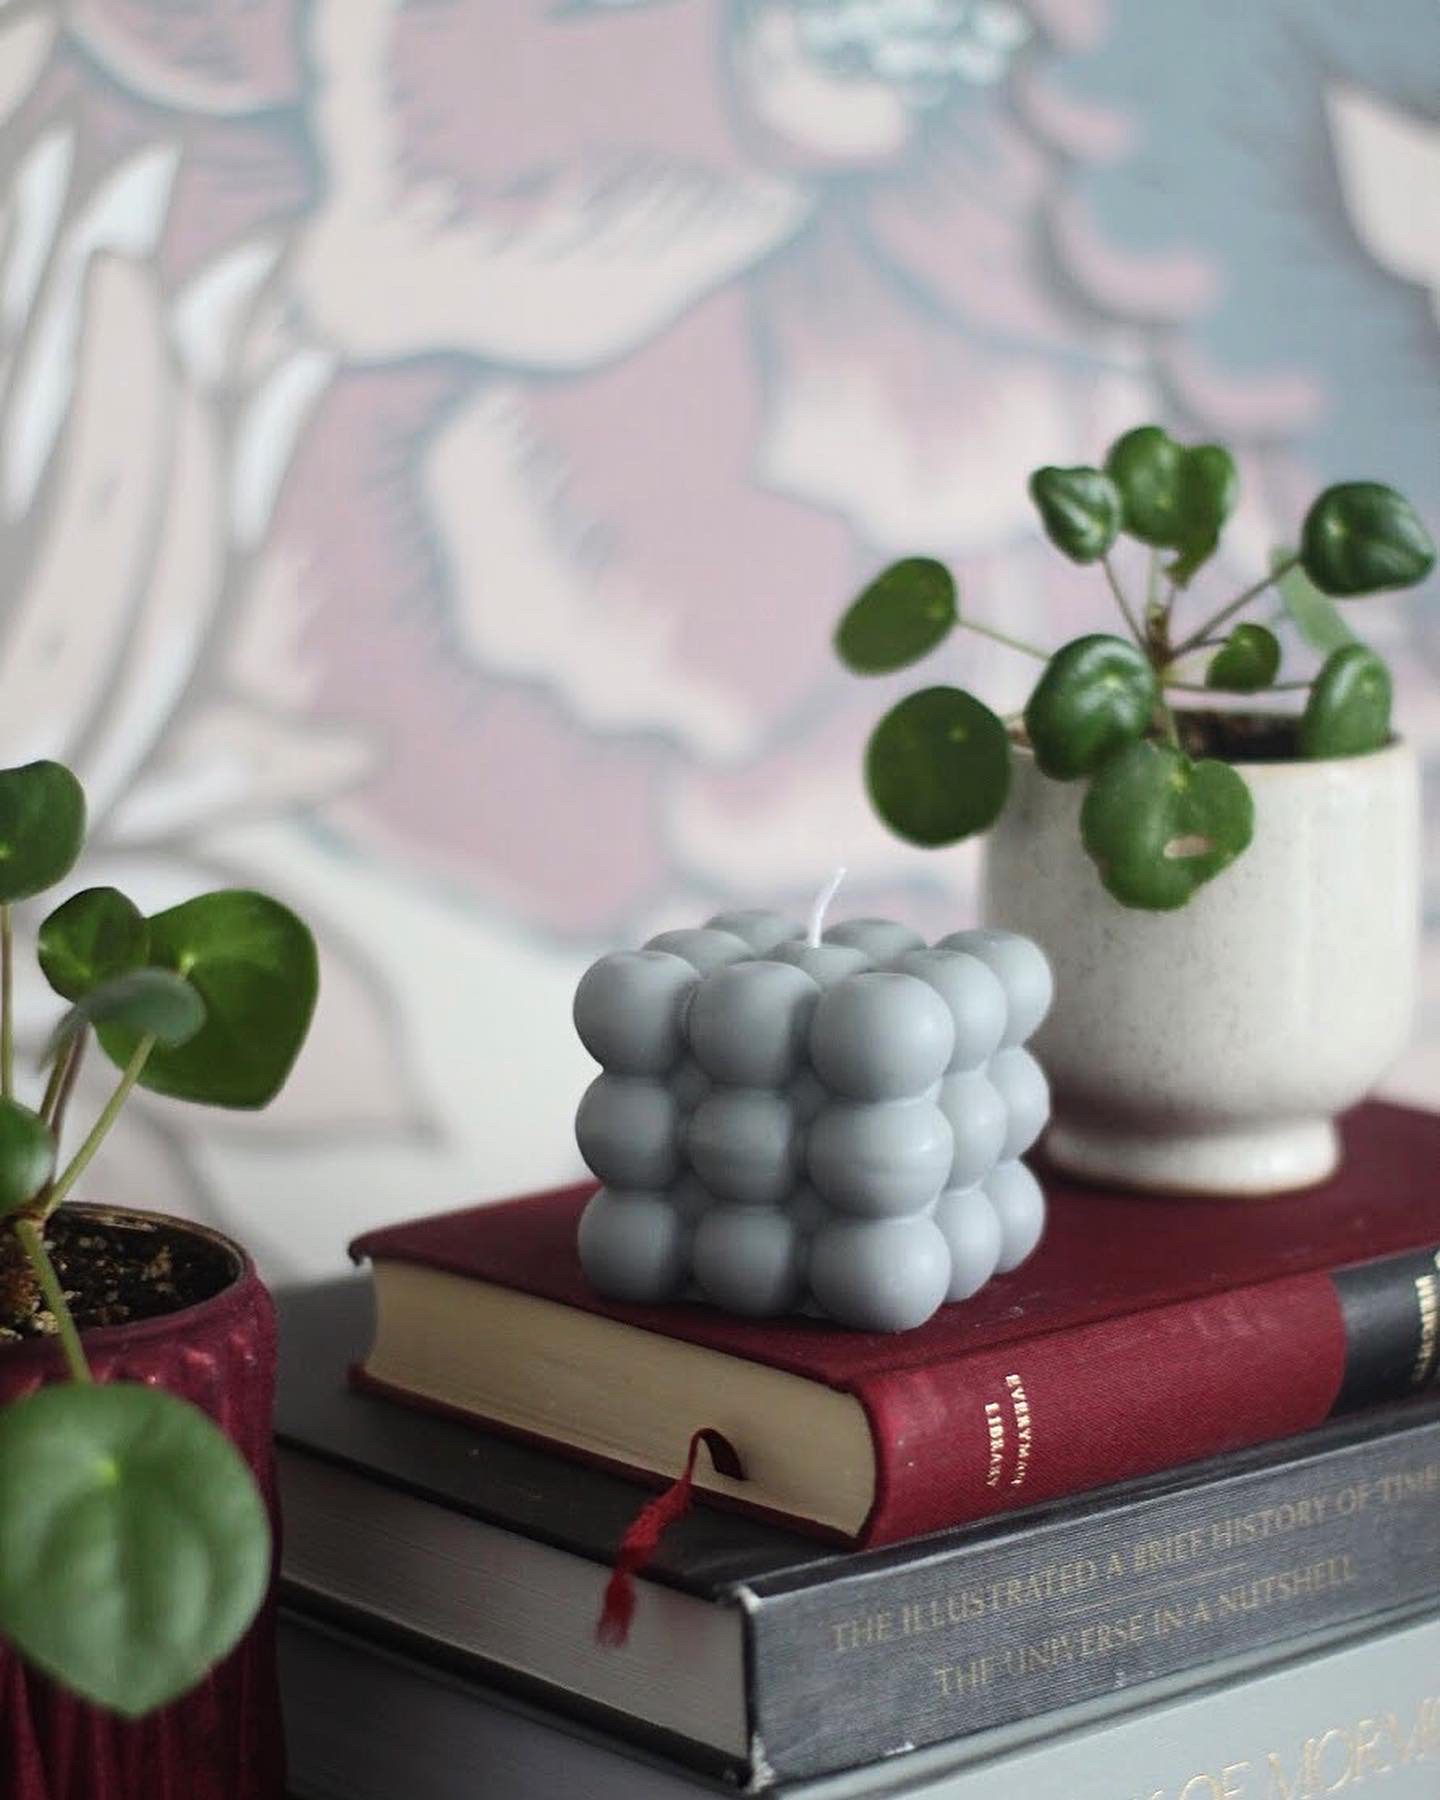
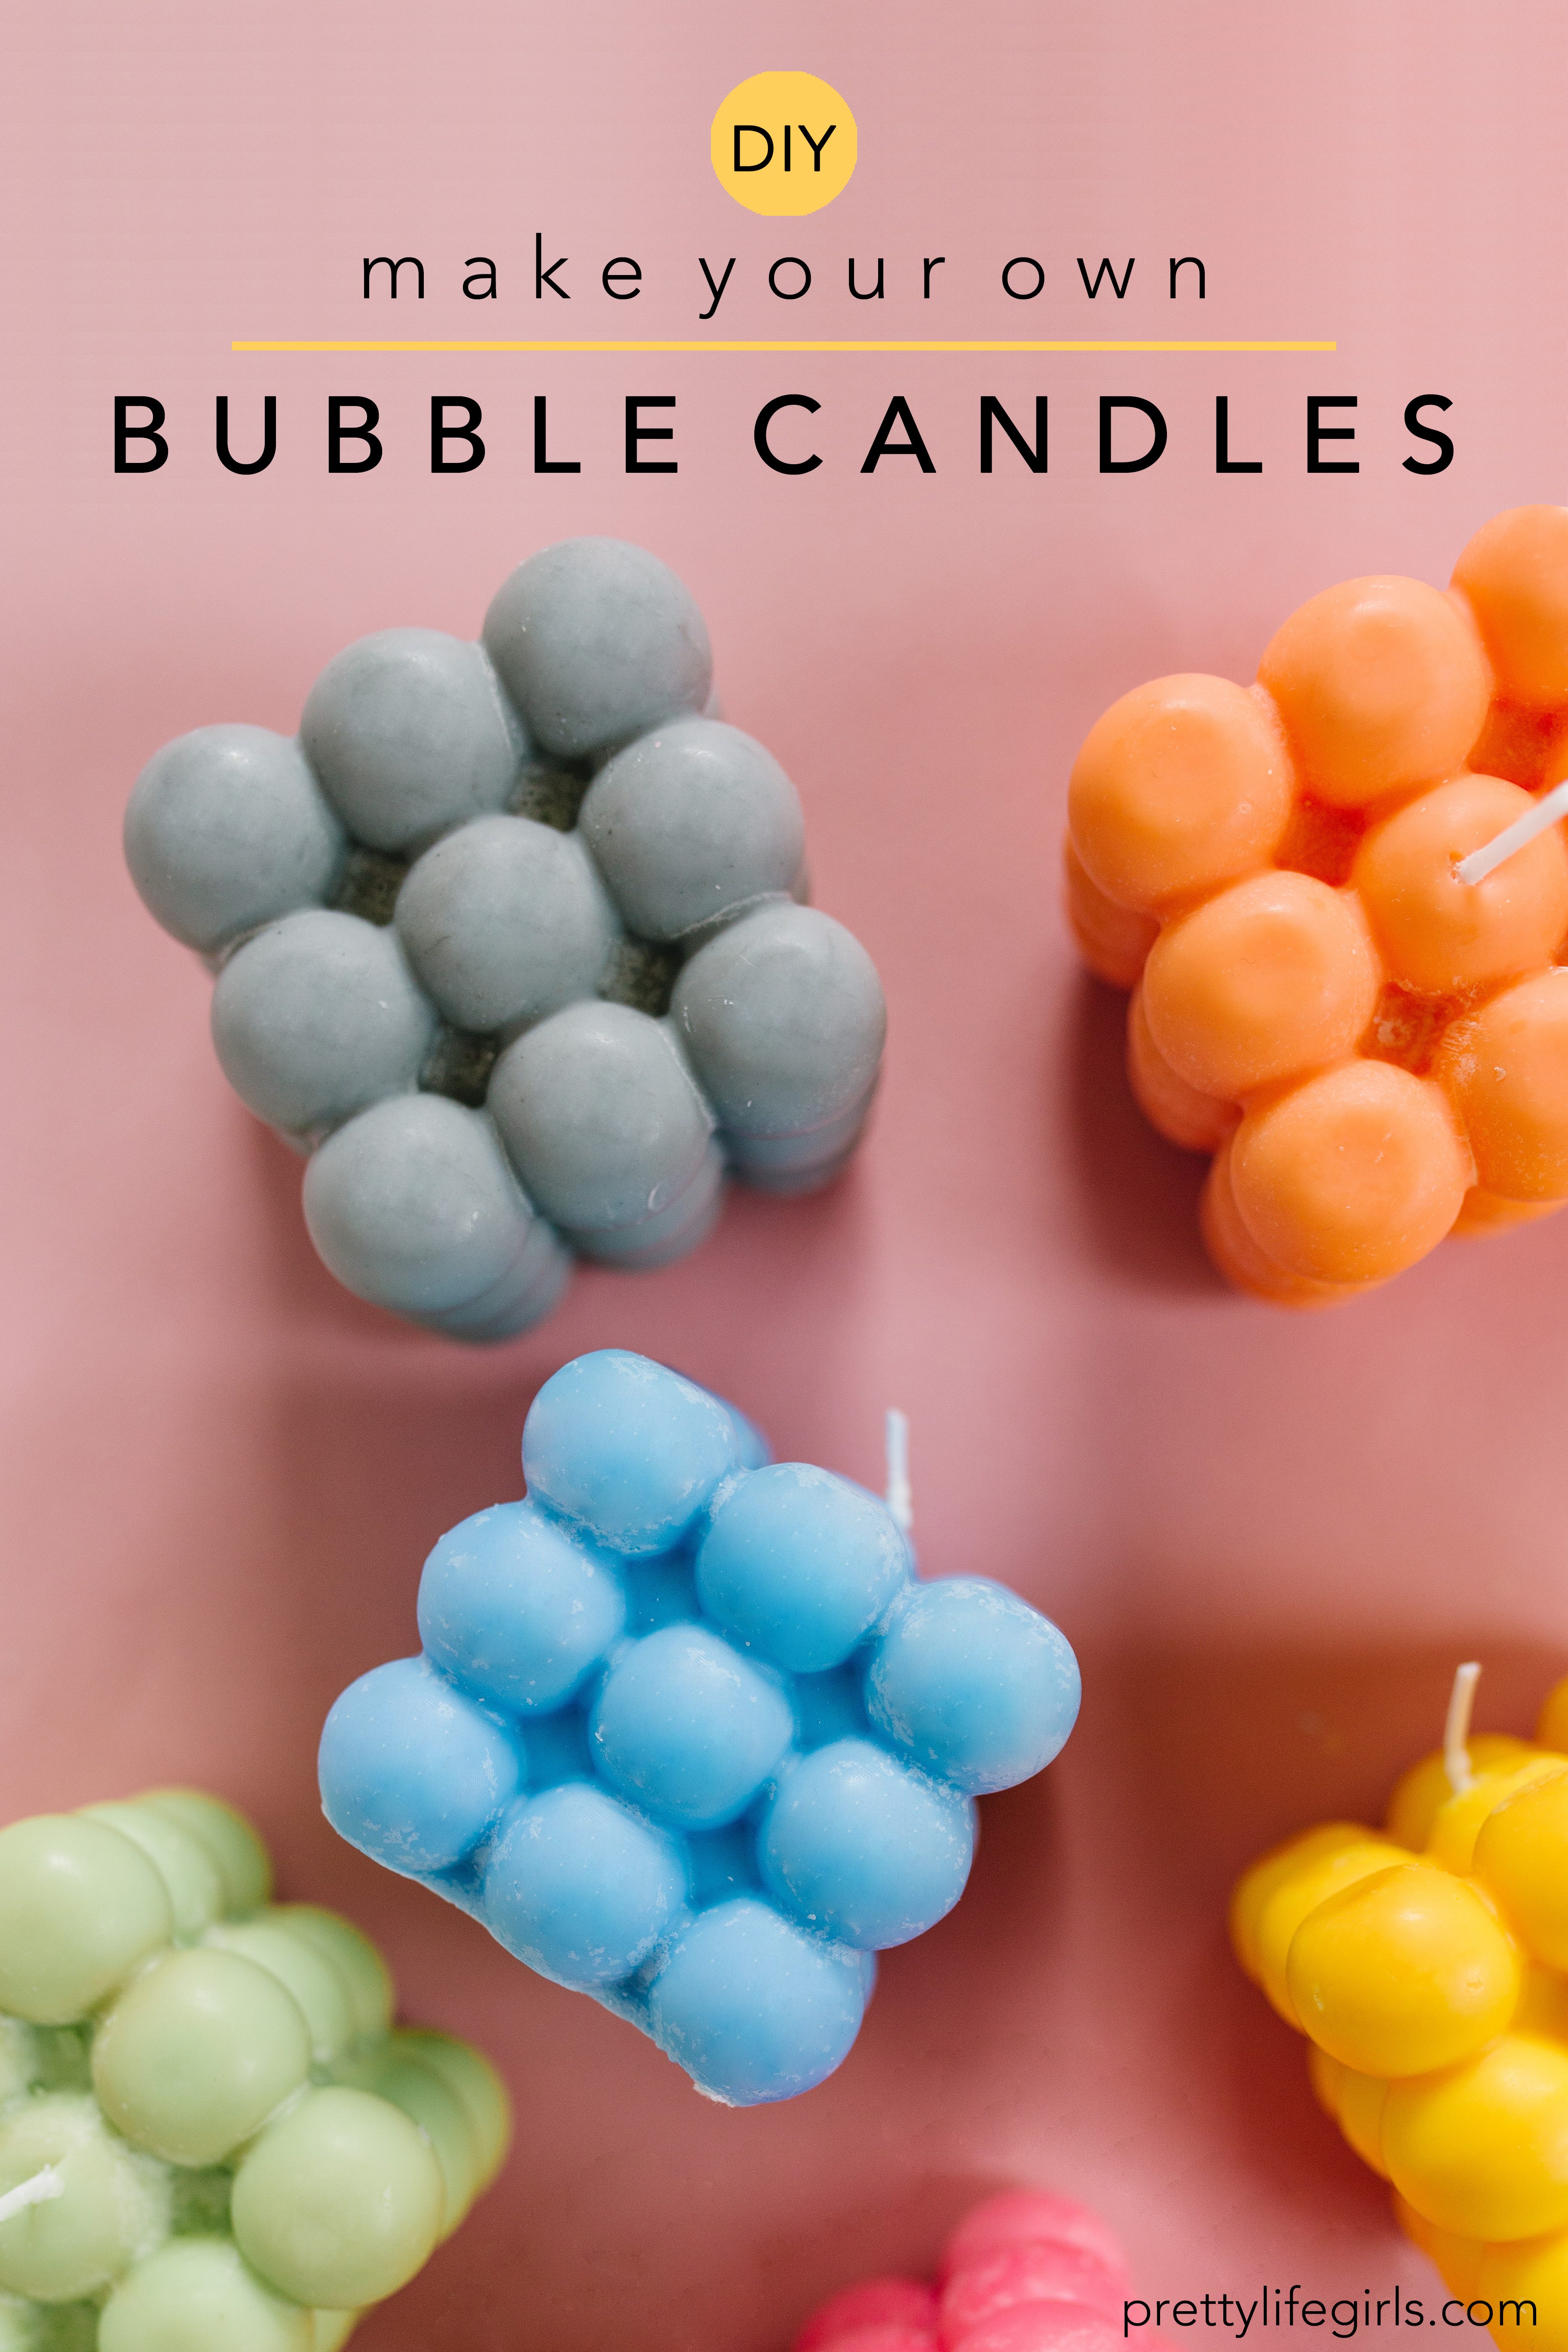
Hopefully those steps don’t feel to burdensome, because really, once you have gathered all of your supplies, the actual process of making these candles is a piece of cake! We’ve made them in a bunch of colors and love using them to add some interest to our home decor. They would also make a fun gift!
Have you ever made candles using molds? What shapes have you tried? We’d love to hear about it!
Happy making!
ox. Liz