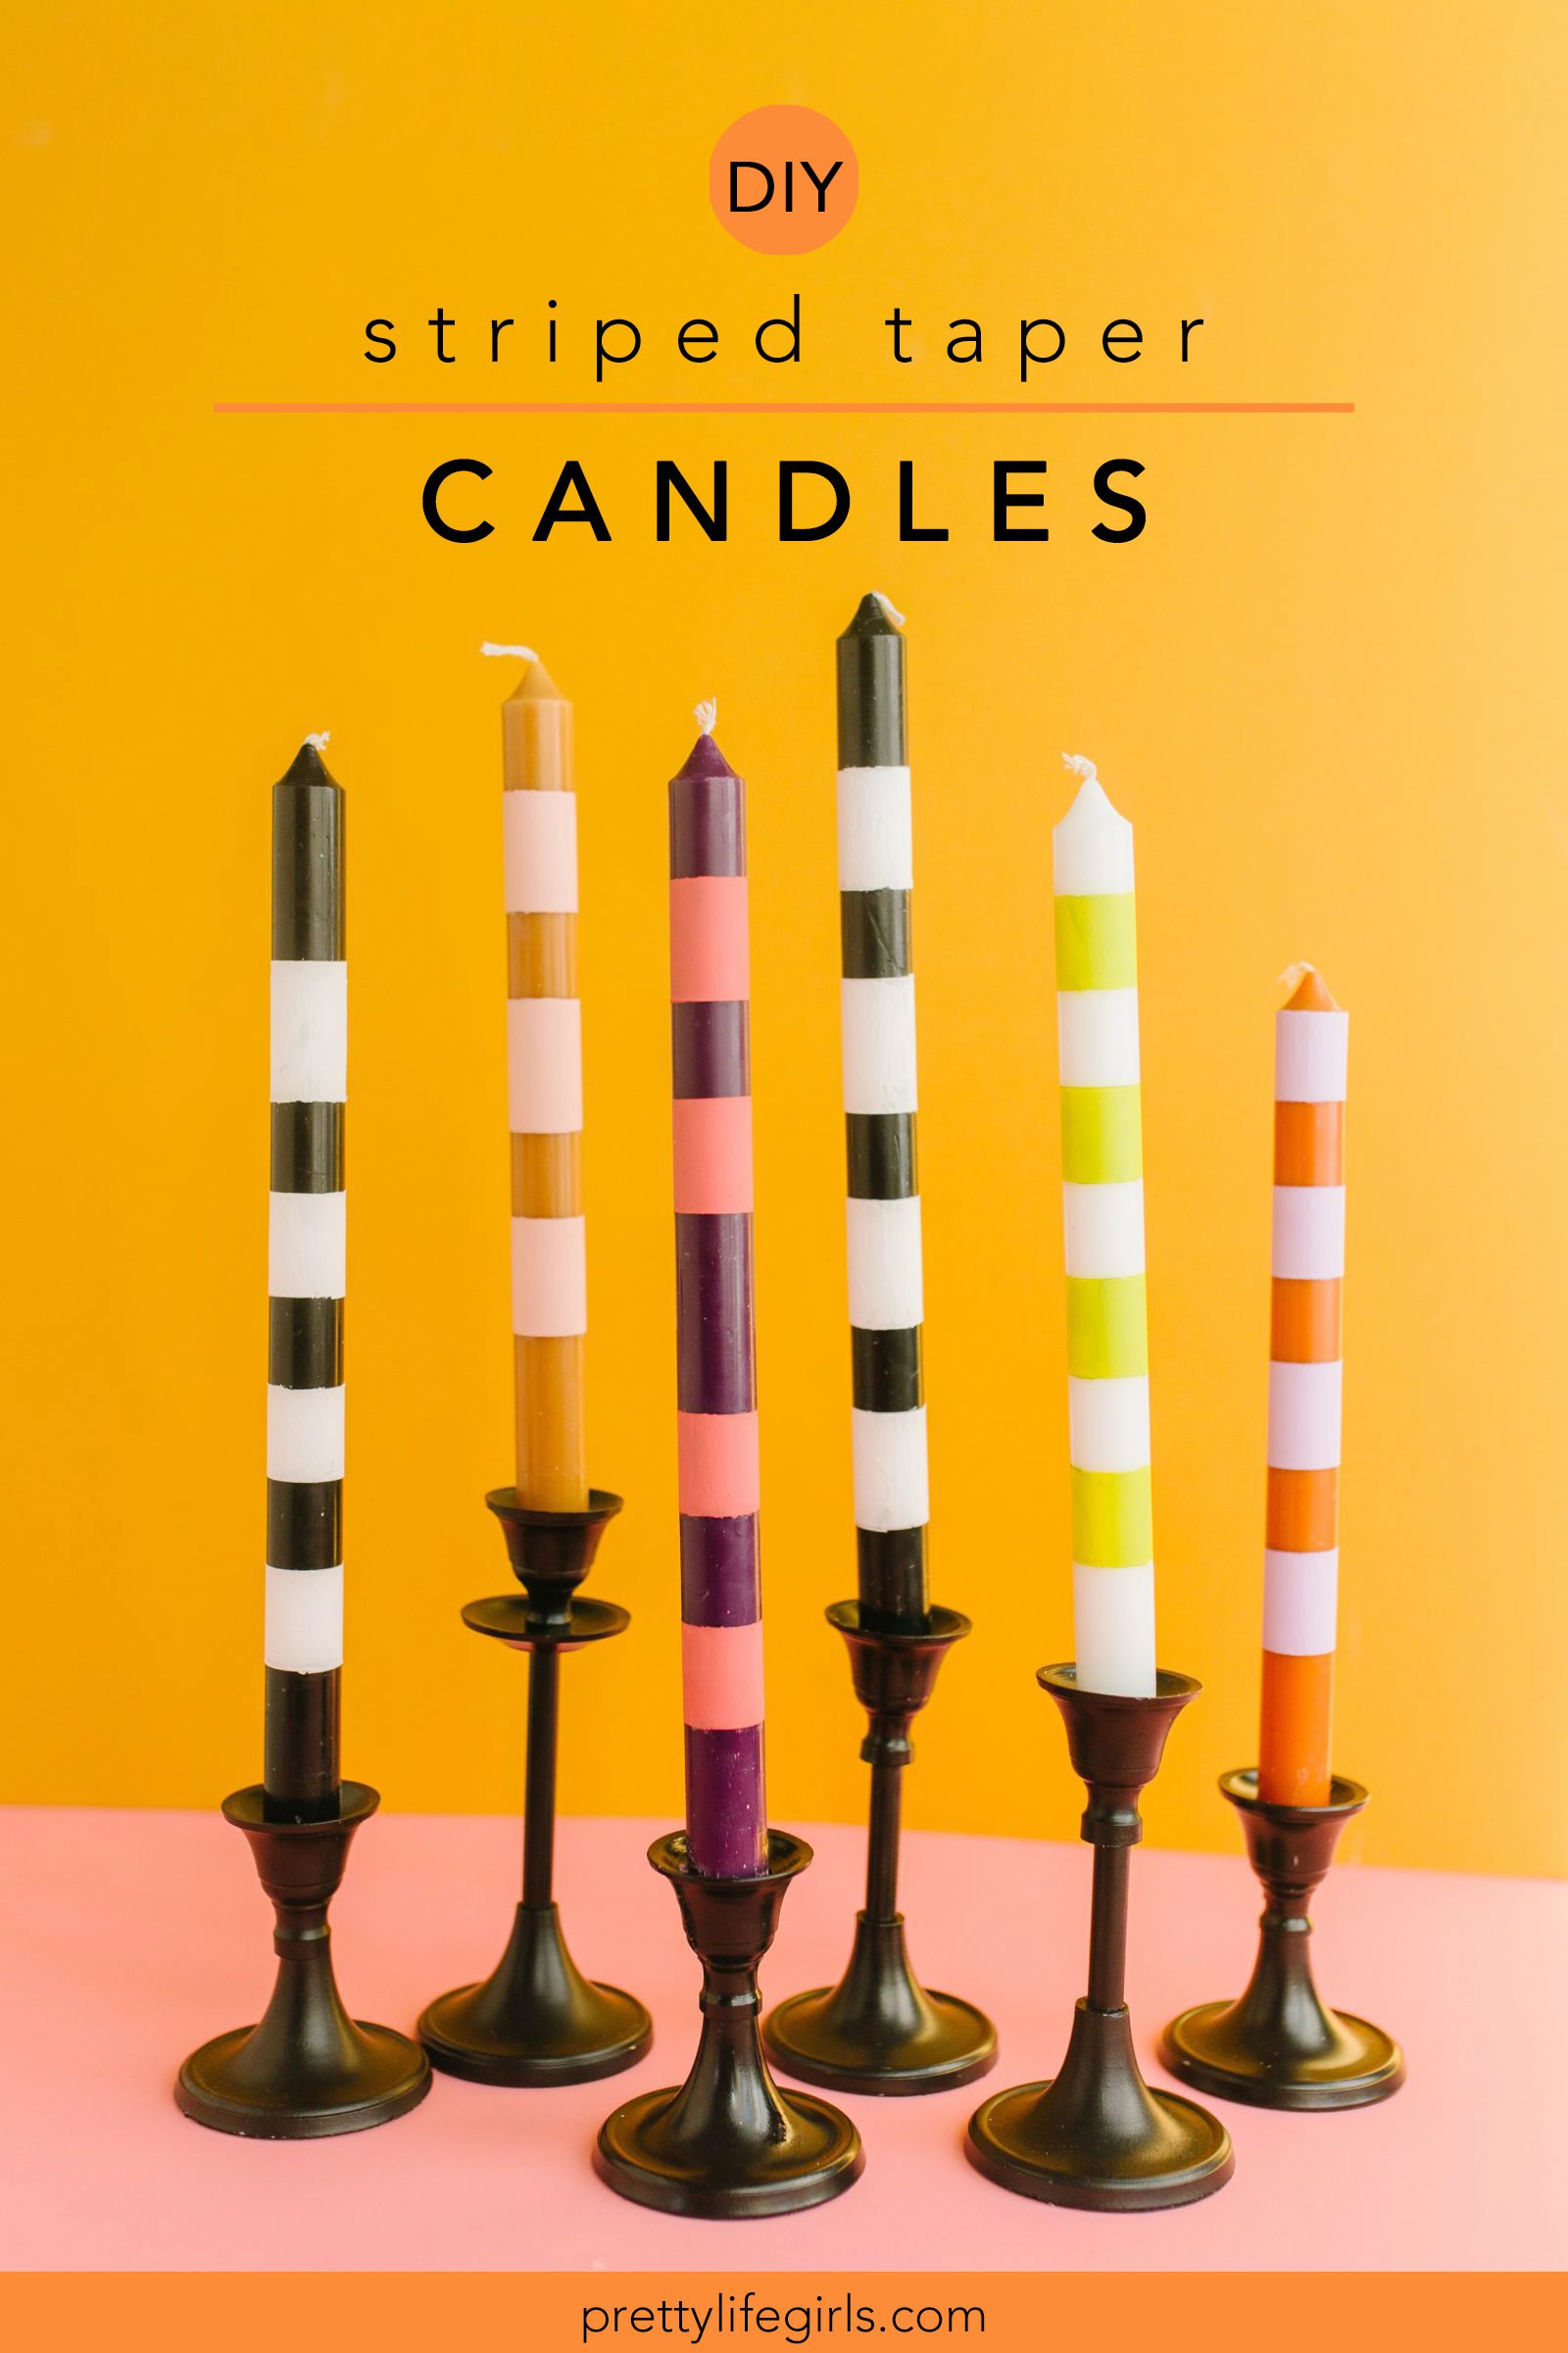
We’re sharing our second candle post of the week (with even more to come! It’s an obsession that can’t be kicked, I’m afraid.) and instead of the birthday cake variety, we’re sharing our first tutorial for upgrading taper candles! We love taper candles for home decor or making a pretty party table and today we’ll teach you how to make striped taper candles that will add a fun graphic detail wherever you use them!
One of the best parts about adding stripes to taper candles are the possibilities for making them match any decor style or occasion! In fact, we have a stash of white candles from the dollar store that we like to pull out and paint whenever we need a little extra something since you can make them fit any theme and create fun ambiance! Here is what you’ll need:


Supplies needed to make Striped Taper Candles
Solid Colored Taper Candles
Painter’s Tape
Multi-Surface Paint in Various Colors
Paint Brush


How to make Striped Taper Candles
Step 1. Wrap sections of the candles in painter’s tape to create stripes.
Step 2. Paint in between the taped stripes using a paint brush. While the paint is still wet, remove the painter’s tape. (I found that if you let the paint dry the painted stripes would peel off with the tape.) Once the tape has been removed let the painted stripes dry completely.
Step 3. Paint a second coat of paint on the painted stripes. Let dry completely. Repeat this step until the desired color is achieved.
Step 4. Once all of the stripes are painted, place candles in candlesticks and enjoy!


That’s it! Aren’t they fun? The possibilities for color combinations has my mind reeling!
Also, a quick note: If you are going to be packing up your candles to be reused for holidays, etc., you can spray them with a clear sealant to keep them from chipping. However, if you do add a sealant they should no longer be lit, and only used as decoration.


What are your feelings on the graphic taper candle trend? We’d love to hear your thoughts!
Happy making!
ox. Liz


