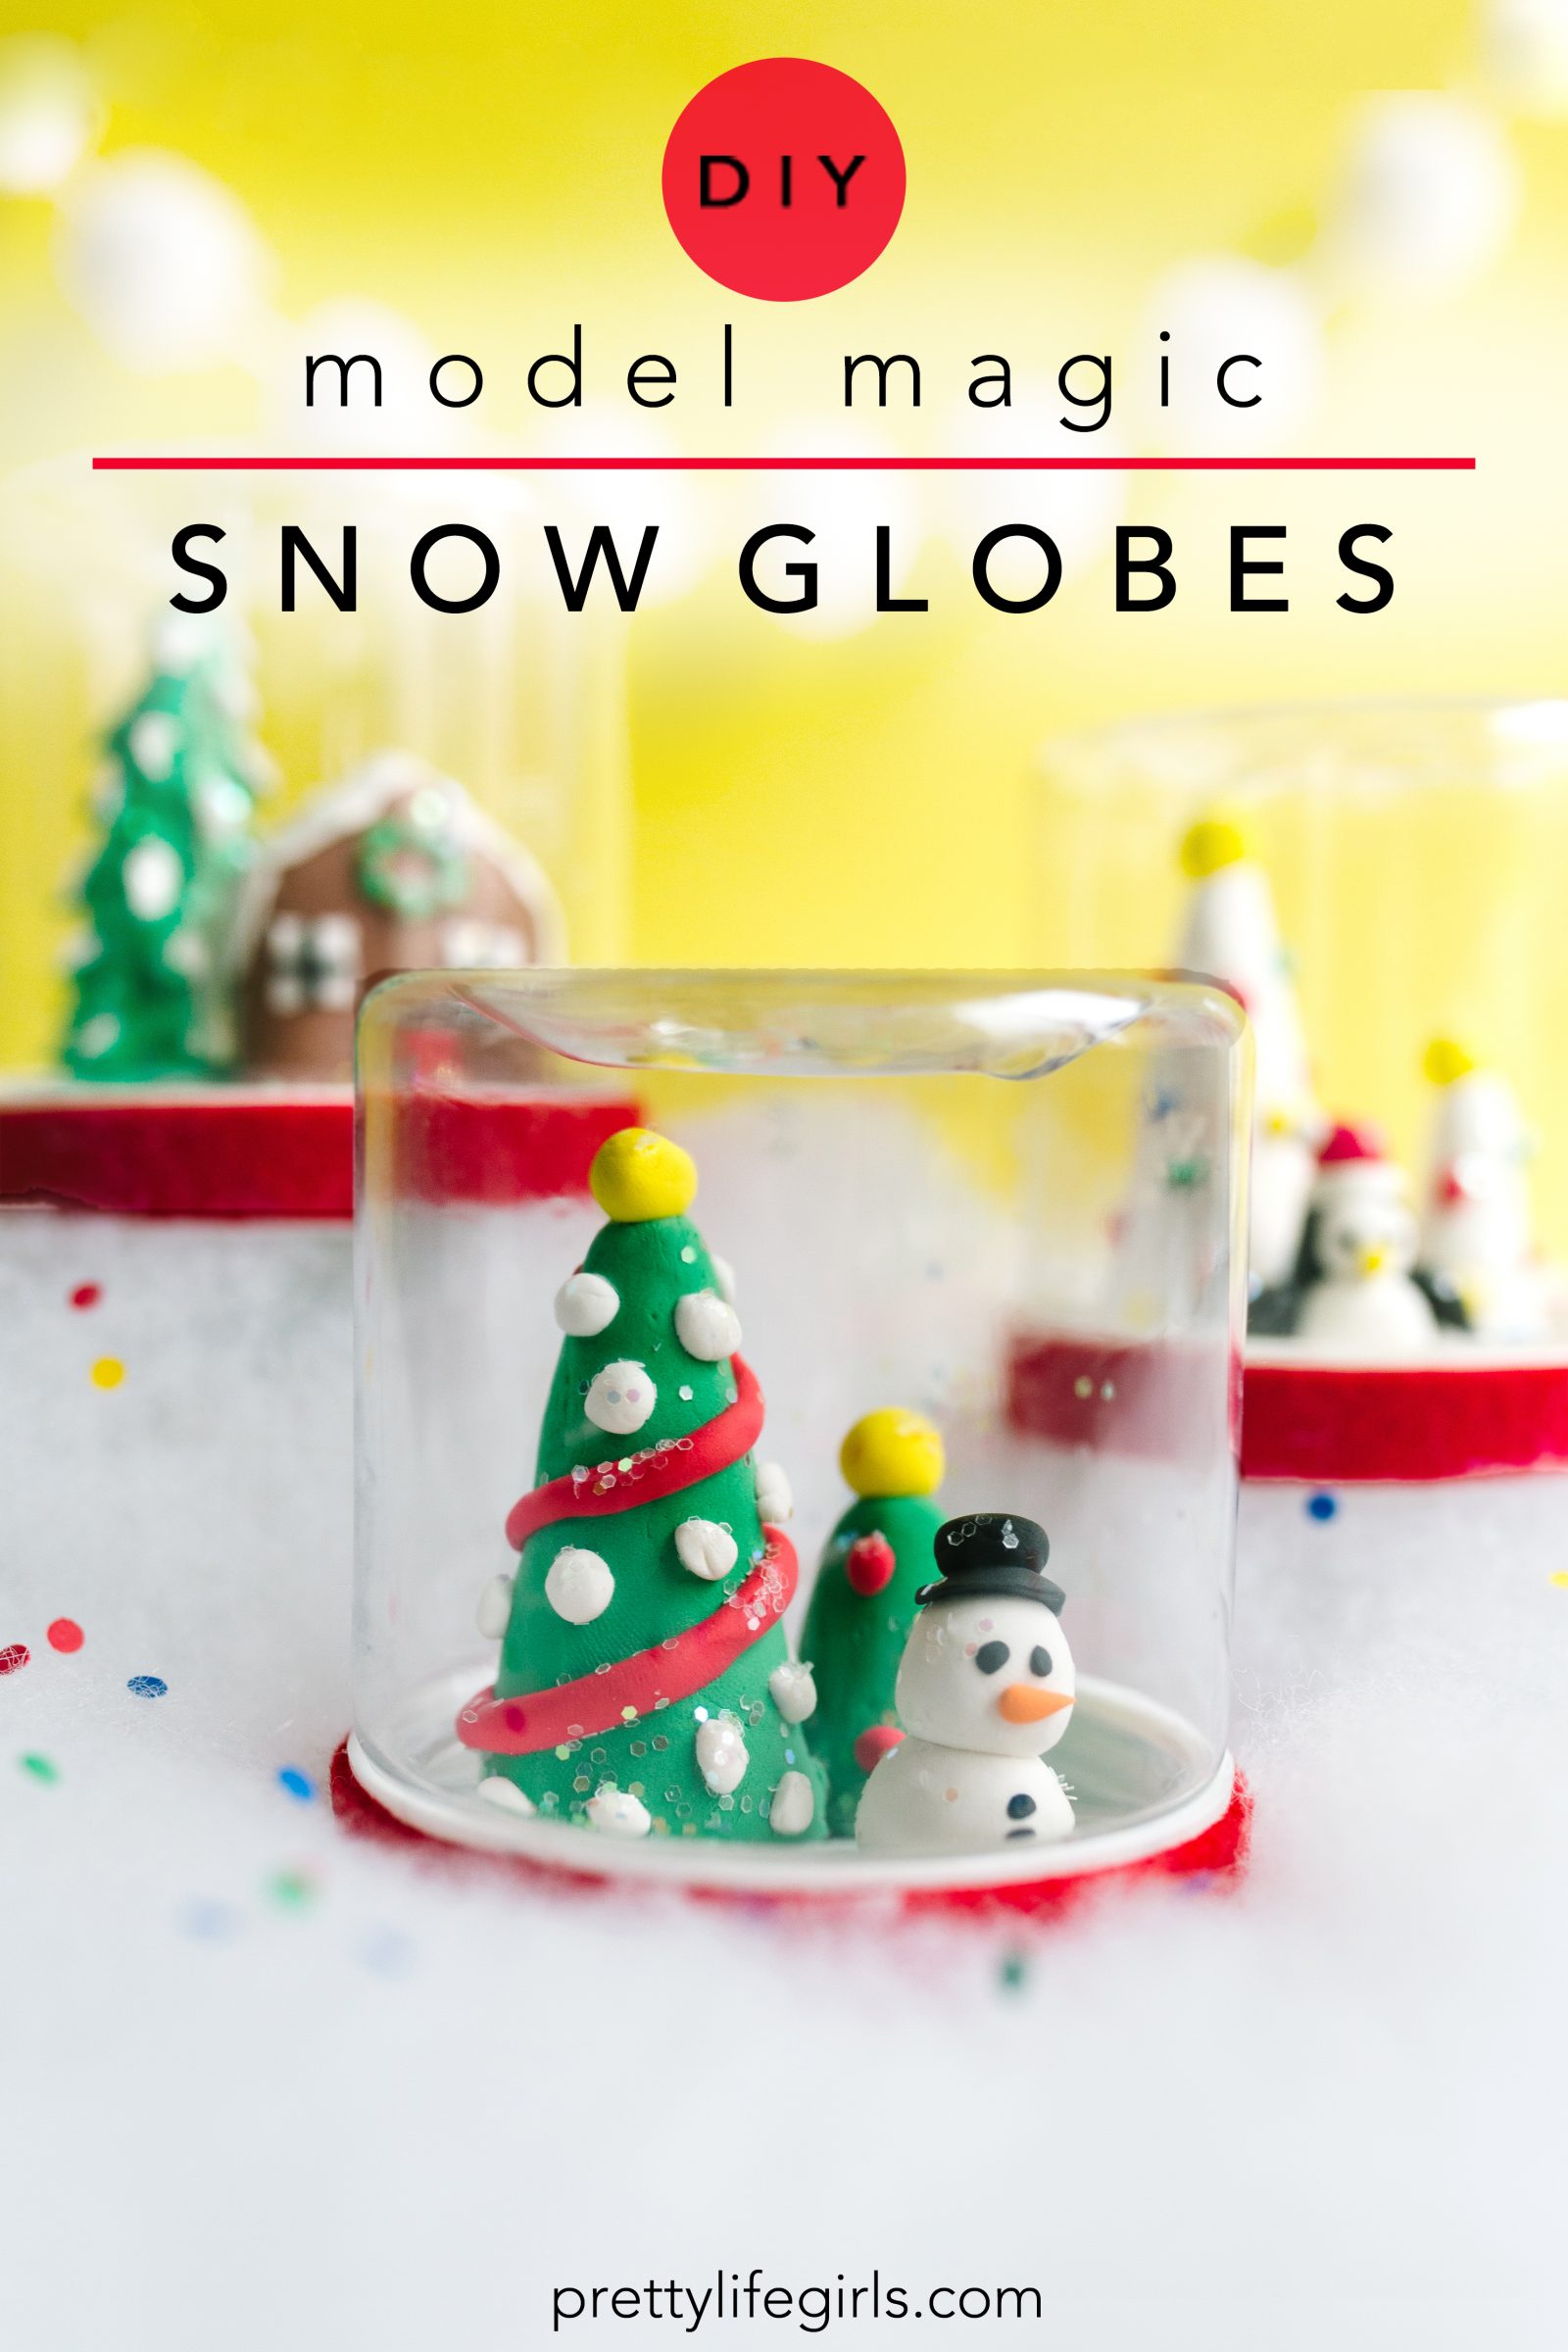
Over the last two weeks we have had a blast working with Michaels Kids Club and Crayola to teach two Christmas craft classes for kids! For the first one we made these fun snow globes using Crayola Model Magic and yesterday we made a 3D snowman card using Crayola supplies! It has been so fun to work with these colorful supplies and help the kiddos in our classes unleash their most festive creative sides, plus, both projects would make great gifts that kids can create and give to the people they love!
If you missed the classes, we are so excited to share that both were recorded (you can find the card video below), so you can gather up your supplies, re-watch them with your kids and have a Christmas crafter-noon! Plus, we’ve got all of the supplies and steps to make your own holiday pop up cards written for you below and in the snow globe post, right here. So, gather up your little ones and let’s get Christmas crafty!
Here is what you’ll need:
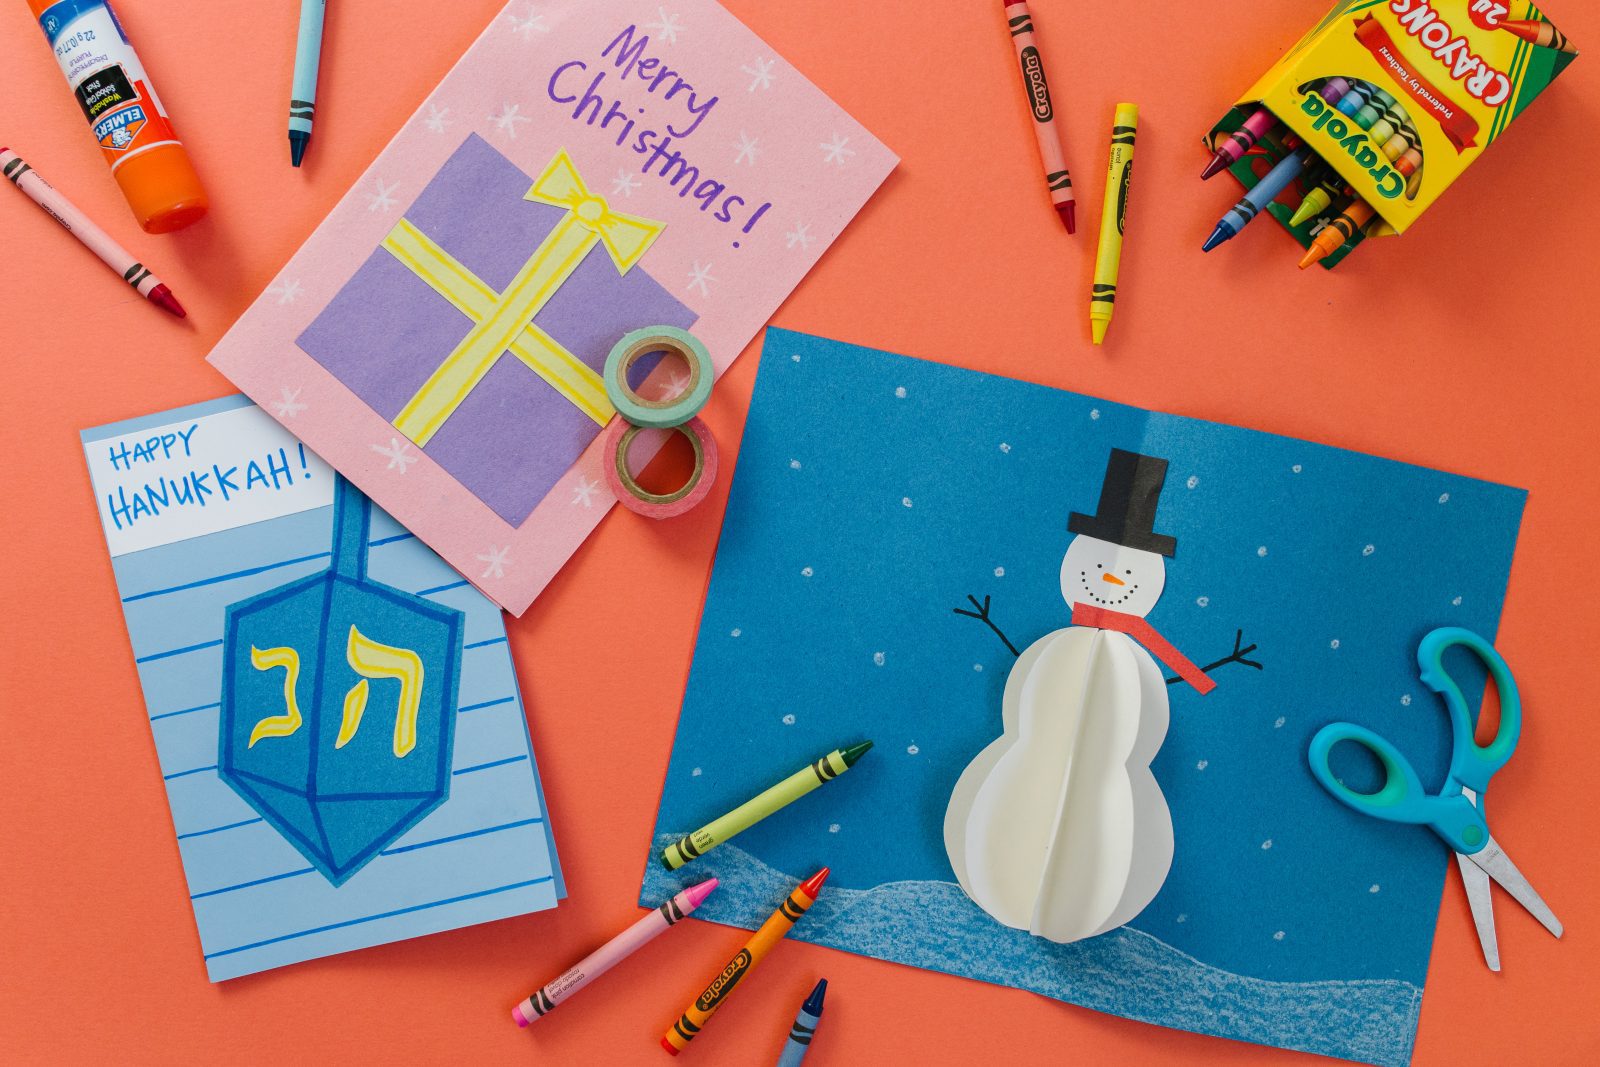
Supplies needed to make a 3D Snowman Card
Crayola Construction Paper
Crayola Washable School Glue
Crayola Crayons
Crayola Markers
Crayola Blunt Tip Scissors
How to make a 3D Snowman Card
Watch the video or read the steps below.
Step 1: First, click here to download and print the template; then cut out all the pieces.
Step 2: Trace the mitten shape onto red construction paper, the hat onto black construction paper and the two circles onto white construction paper. Trace four of the snowman’s body onto white construction paper. Cut out all the pieces and set aside.
Step 3: Fold a piece of blue construction paper in half.
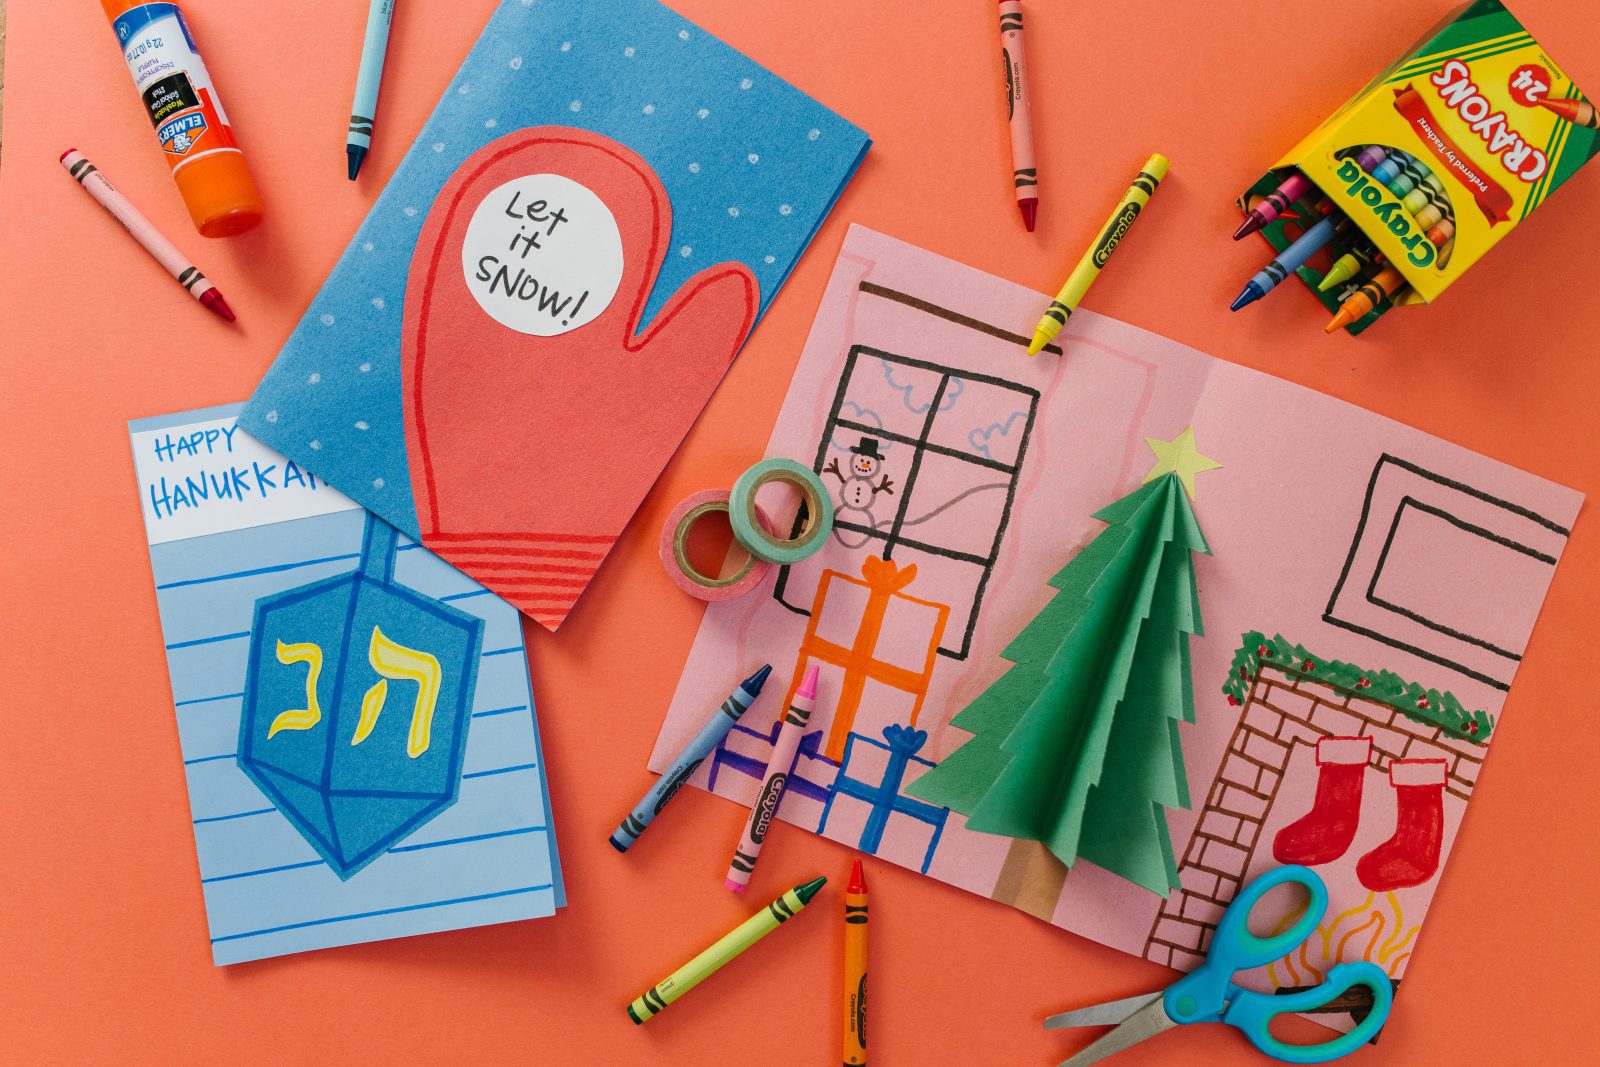
Step 4: Glue the mitten onto the front of the card. Line up the bottom right side of the mitten with the bottom right edge of the card. Then, glue the snowball (the largest circle) onto the mitten.
Step 5: Write a message, such as “Let it Snow” on the snowball and add detail to the mitten if desired with the markers.
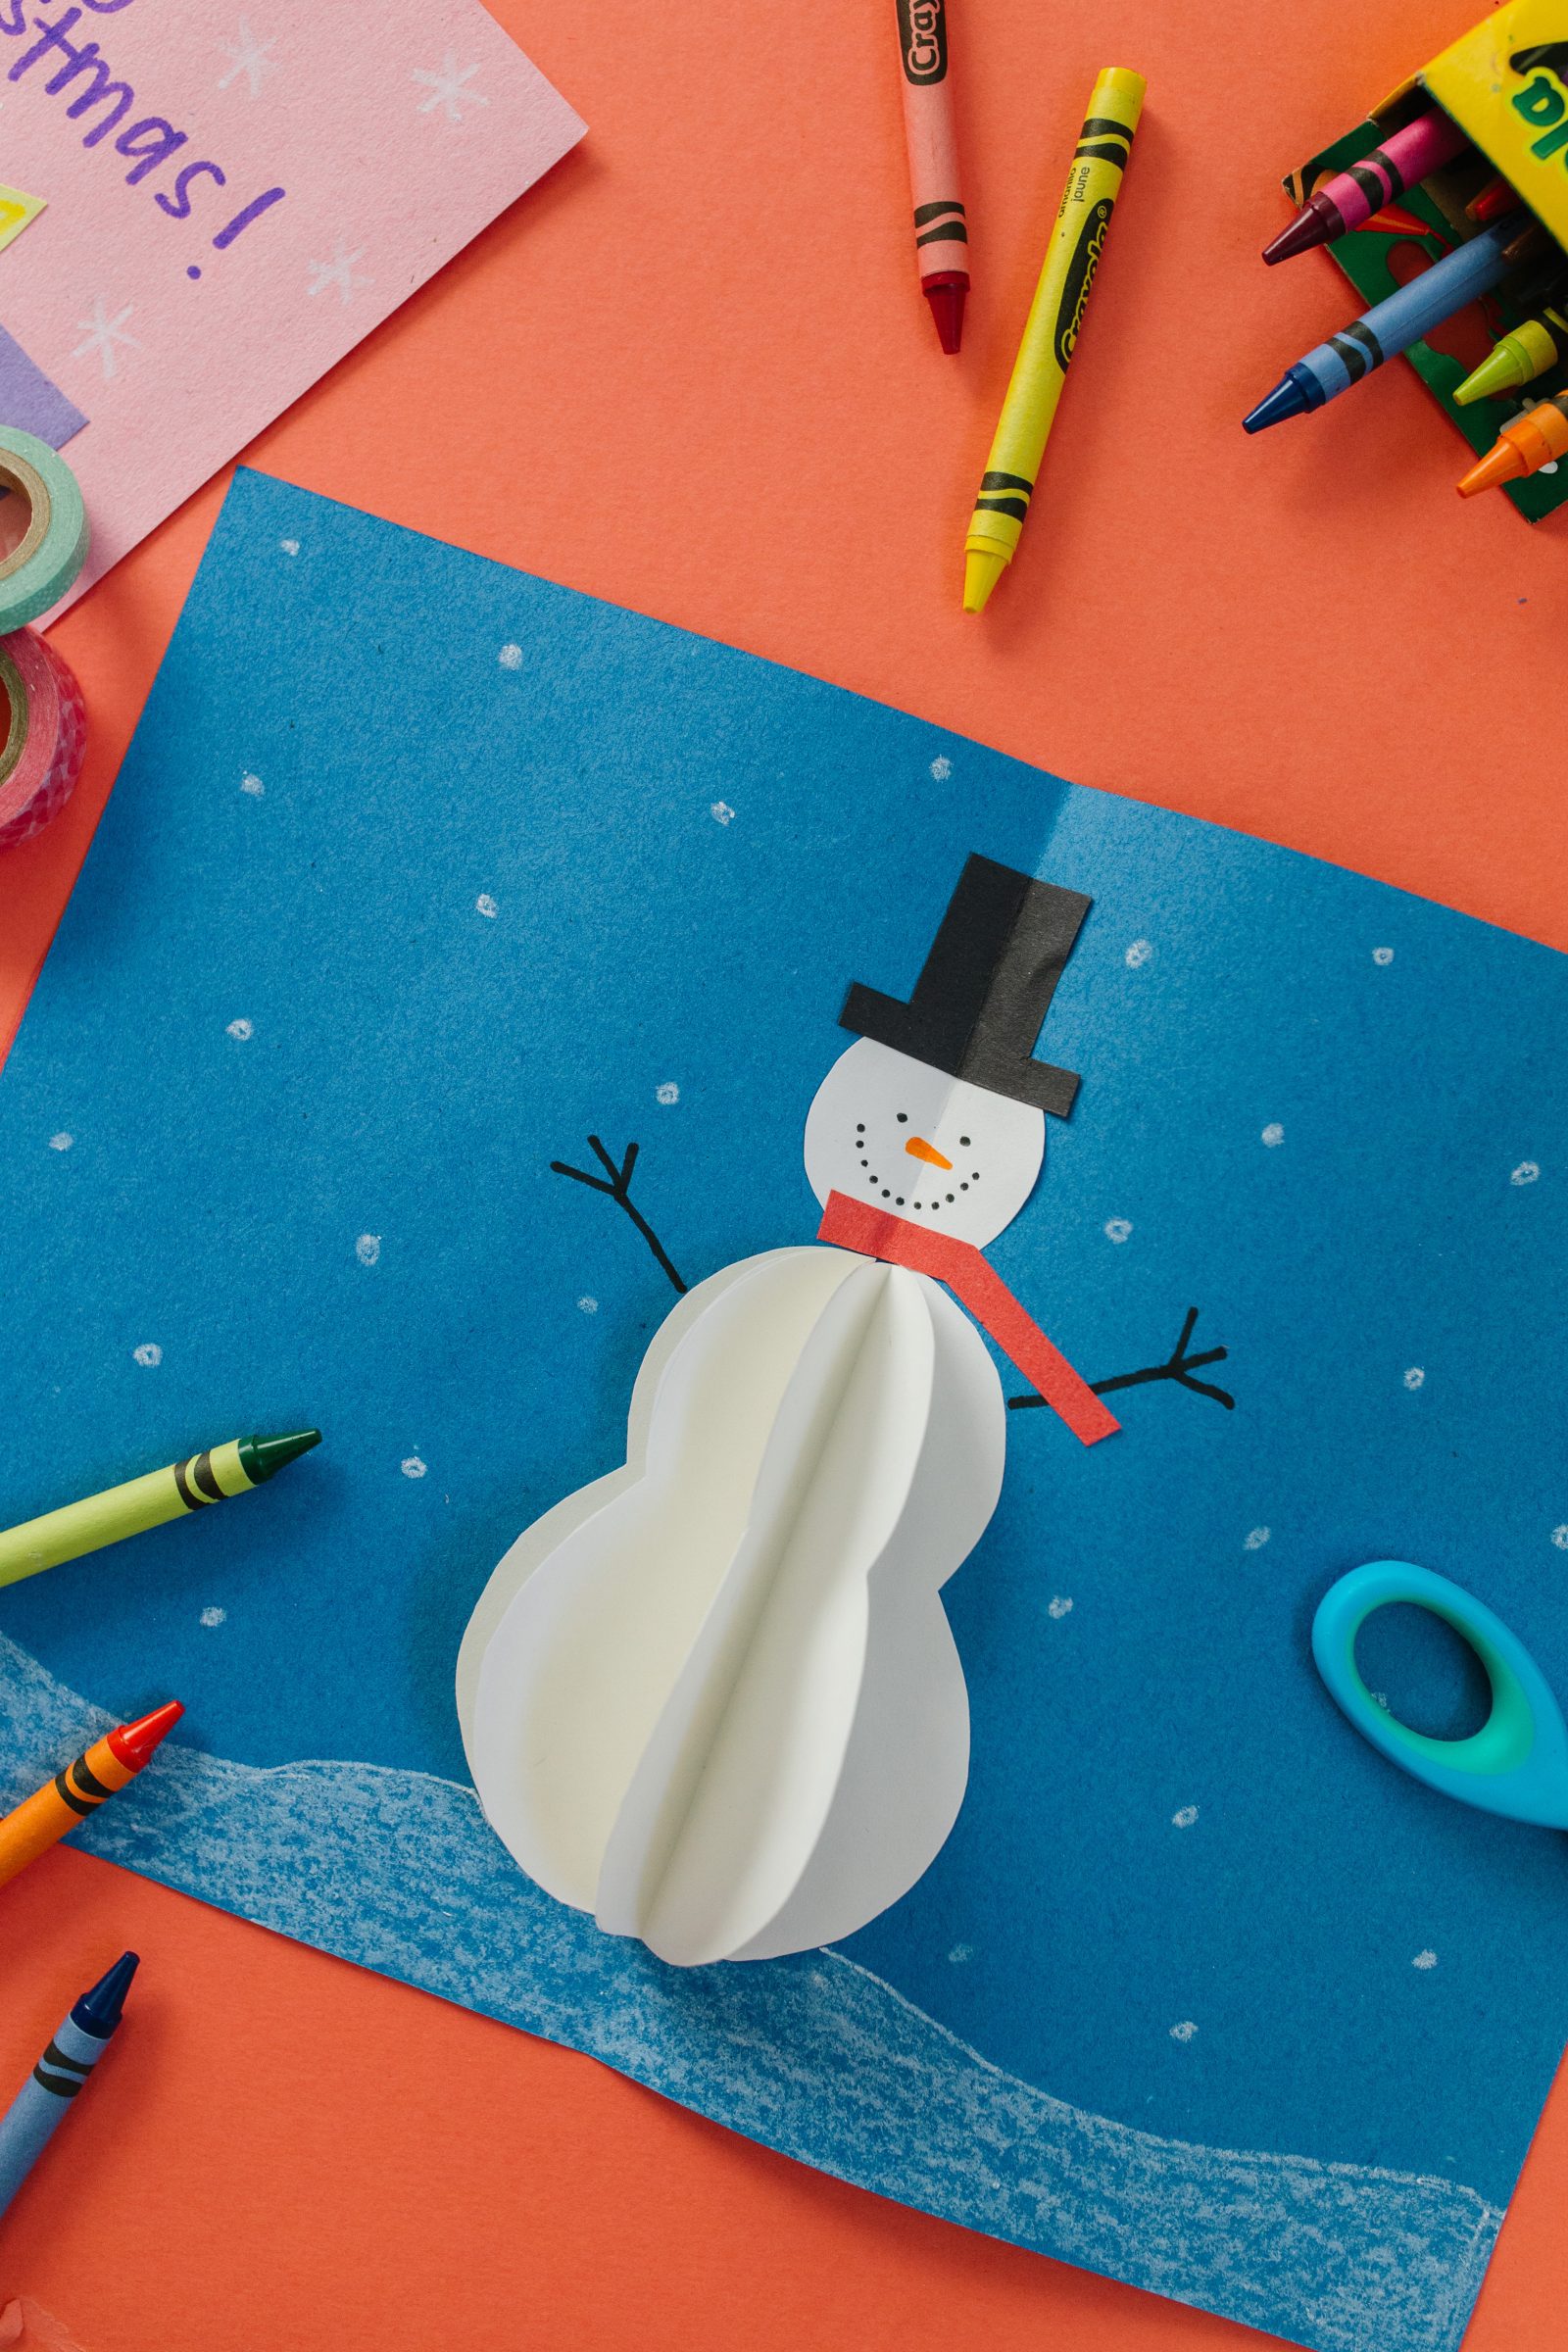
Step 6: Fold the four snowman bodies in half vertically. Glue them back to back, then glue the remaining two sides into the middle of the card on the fold. Fold the card and press to make sure the snowman is adhering to the inside of the card. Now, open the card and glue the snowman’s head and hat in place.
Step 7: Draw on the snowman’s face, add arms and a scarf with markers.
Step 8: Draw white snowflakes in the background behind the snowman with a white crayon.

Happy Making!
ox. Liz and Sam