This Spider Web Poncho Costume is sponsored by Silhouette. All opinions are ours alone.
This post may contain affiliate links, which help us support this site.
Maybe it’s October talking, but I just feel compelled in this moment to quit my job, runaway and become a costumer. I just love thinking up and making costumes so much! The only real roadblock I can foresee with this dream is probably the fact that I don’t know how to sew so at all so everything will have to done with a glue gun, and I take a lot of short cuts because I have no patience so you really can’t rely on my craftmanship, but what I lack in skill I surely make up for with enthusiasm!
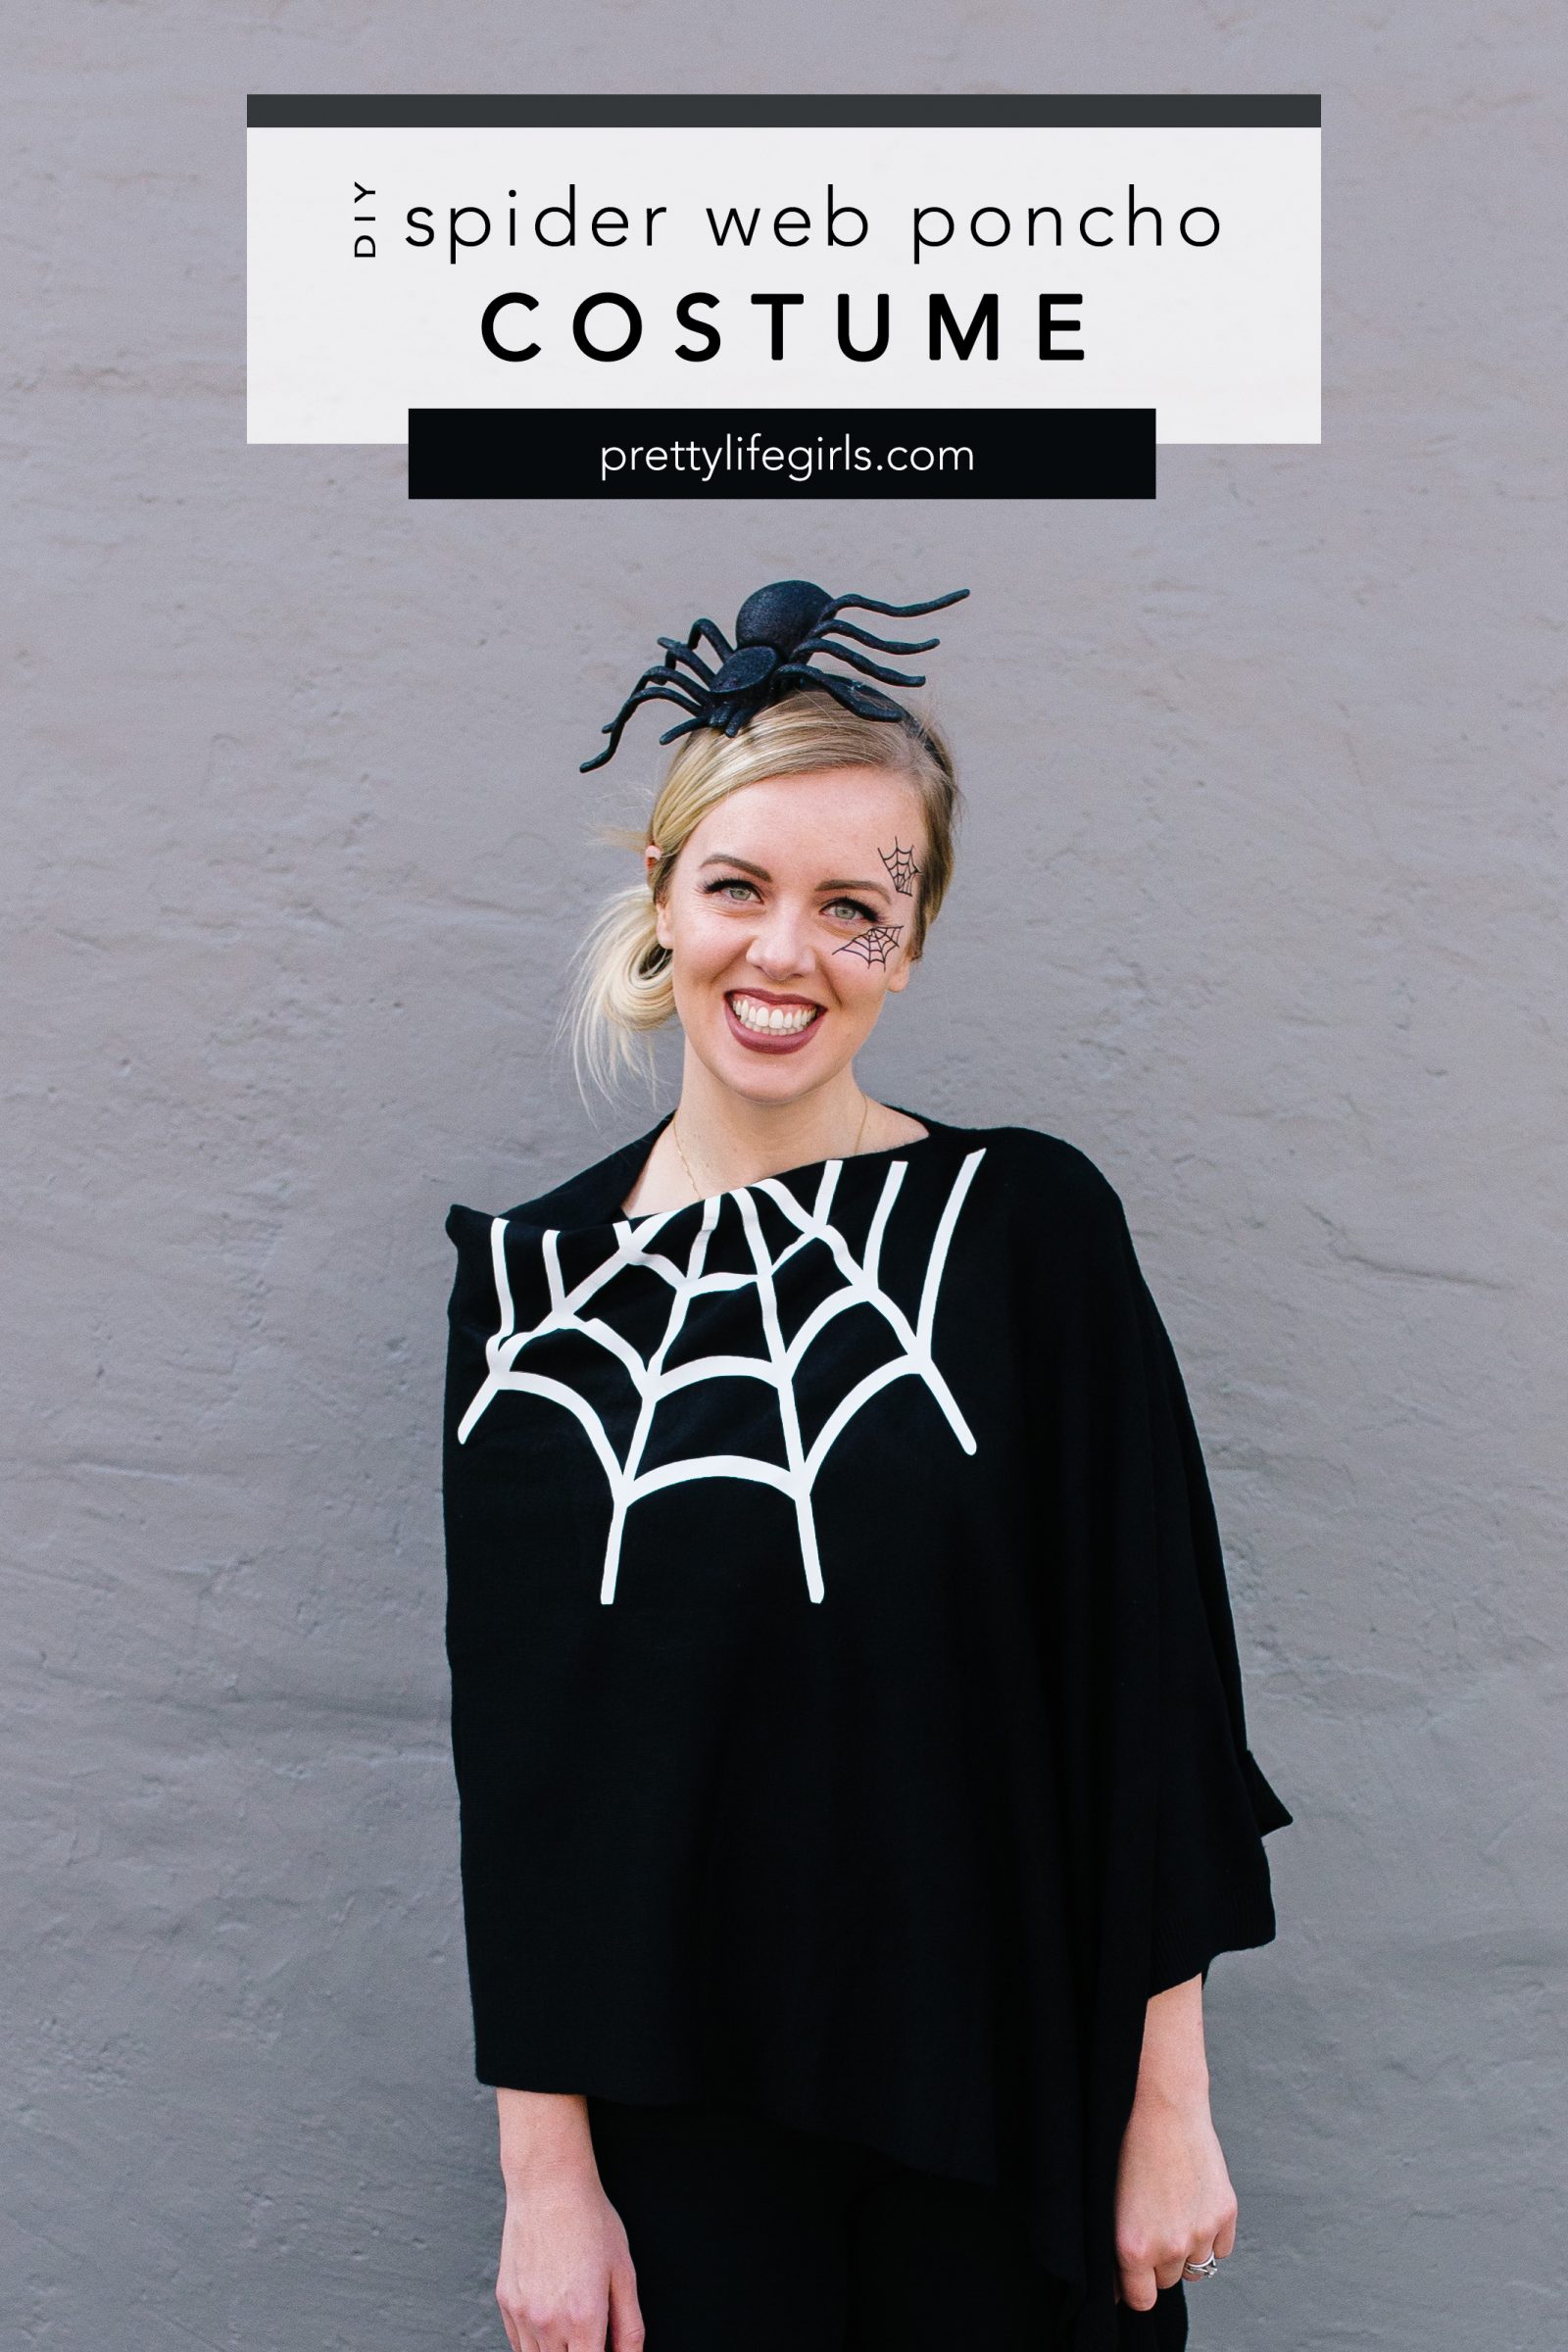
Anyway, while I wait for the moment until I can finally make my costuming dream a reality, there is always Halloween, and BOY, do we have some fun ideas for you this year! Our favorite kind of Halloween costuming is simple, doable, and fun, and we are ready to get you inspired (Obvs, no sewing required!). To start, we are sharing the first of a series of cape-centric costumes! Just start with a cape, add some simple embellishments and details and you are ready to get spooky! This first one is an adorable women’s spider web poncho costume, made by using our Silhouette Cameo 4, some Silhouette Heat Transfer Vinyl and some Silhouette Tattoo Paper! I’m not sure how we could possibly Halloween without our Silhouette arsenal and those magic tools made it so this whole costume took maaaaybe 2 hours to put together!
Here is what you need to get spooky:


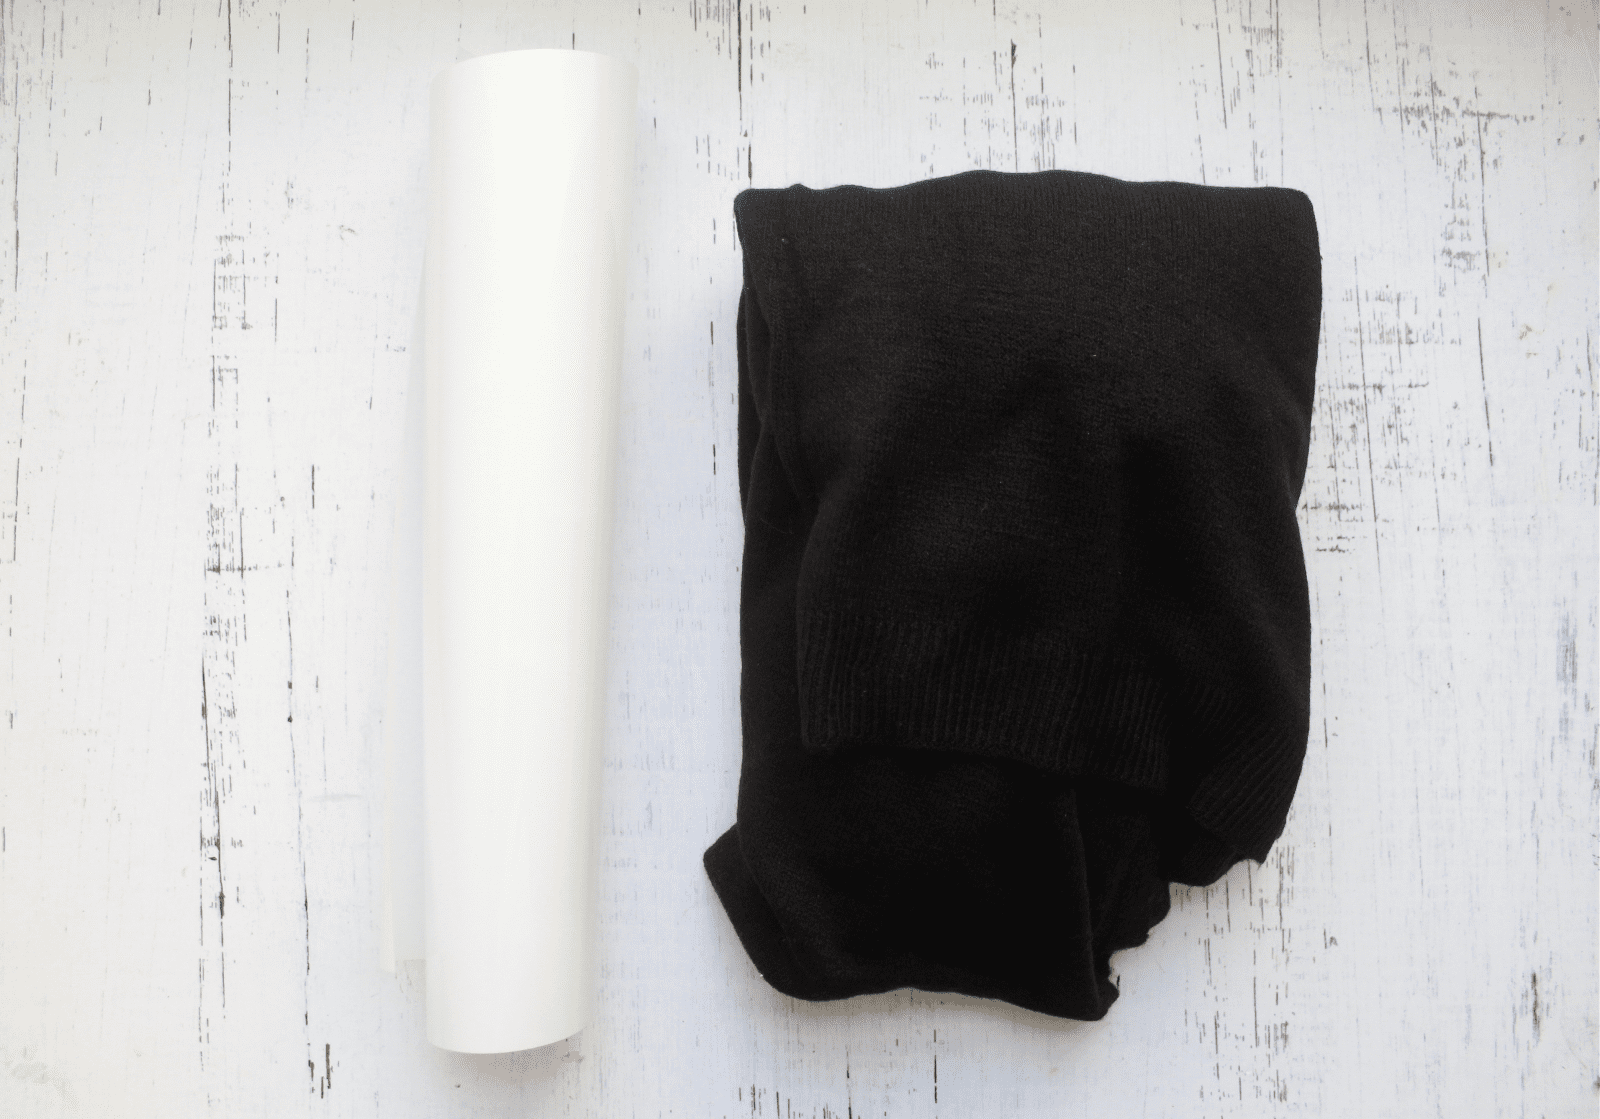
Supplies needed to make your own Spider Web Poncho Costume
Silhouette Cameo 4
Silhouette Heat Transfer Vinyl
Spider Web Design
Poncho
Silhouette Tattoo Paper
Headband
Plastic Spider (we found ours at Dollar Tree!)
Hot Glue Gun + Glue Sticks
How to make a Spider Web Poncho Costume
Step 1: Load your spider web design from the Silhouette Design Store into your Silhouette Studio software. Lay out your poncho to determine the size you would like your spider web to be, then adjust your spider web to the correct size in Silhouette Studio.
Step 2: Adjust your cut settings to cut smooth heat transfer vinyl, then sent your design to cut.


Step 3: Weed your design and remove all excess vinyl. (Note: You’ll see a spider in our shot, but we decided not to use him in the end. Would be a cute addition if you feel inclined!)


Step 4: Apply your web design to your poncho, plastic backing side up. Using a hot and dry iron, press the design in 30 second increments, checking to see if it adheres as you go. Once it has fully adhered, carefully remove the plastic backing.


Step 5: Go back into your Silhouette Studio Software and resize your spider webs to a couple of inches wide. Turn on registration marks in the page setup tab and ensure that your design is within the marks. Then, print them on your Silhouette Tattoo paper. (You’ll see there are also leopard dots on our paper which are for another costume coming soon!)
Step 6. Load your tattoo paper back into your Cameo, adjust your cut settings to tattoo paper and send to your machine to cut.


Step 7: Make your headband by glueing the spider to the headband using a hot glue gun.
Step 8: Apply the spider webs to your face using a wet paper towel.
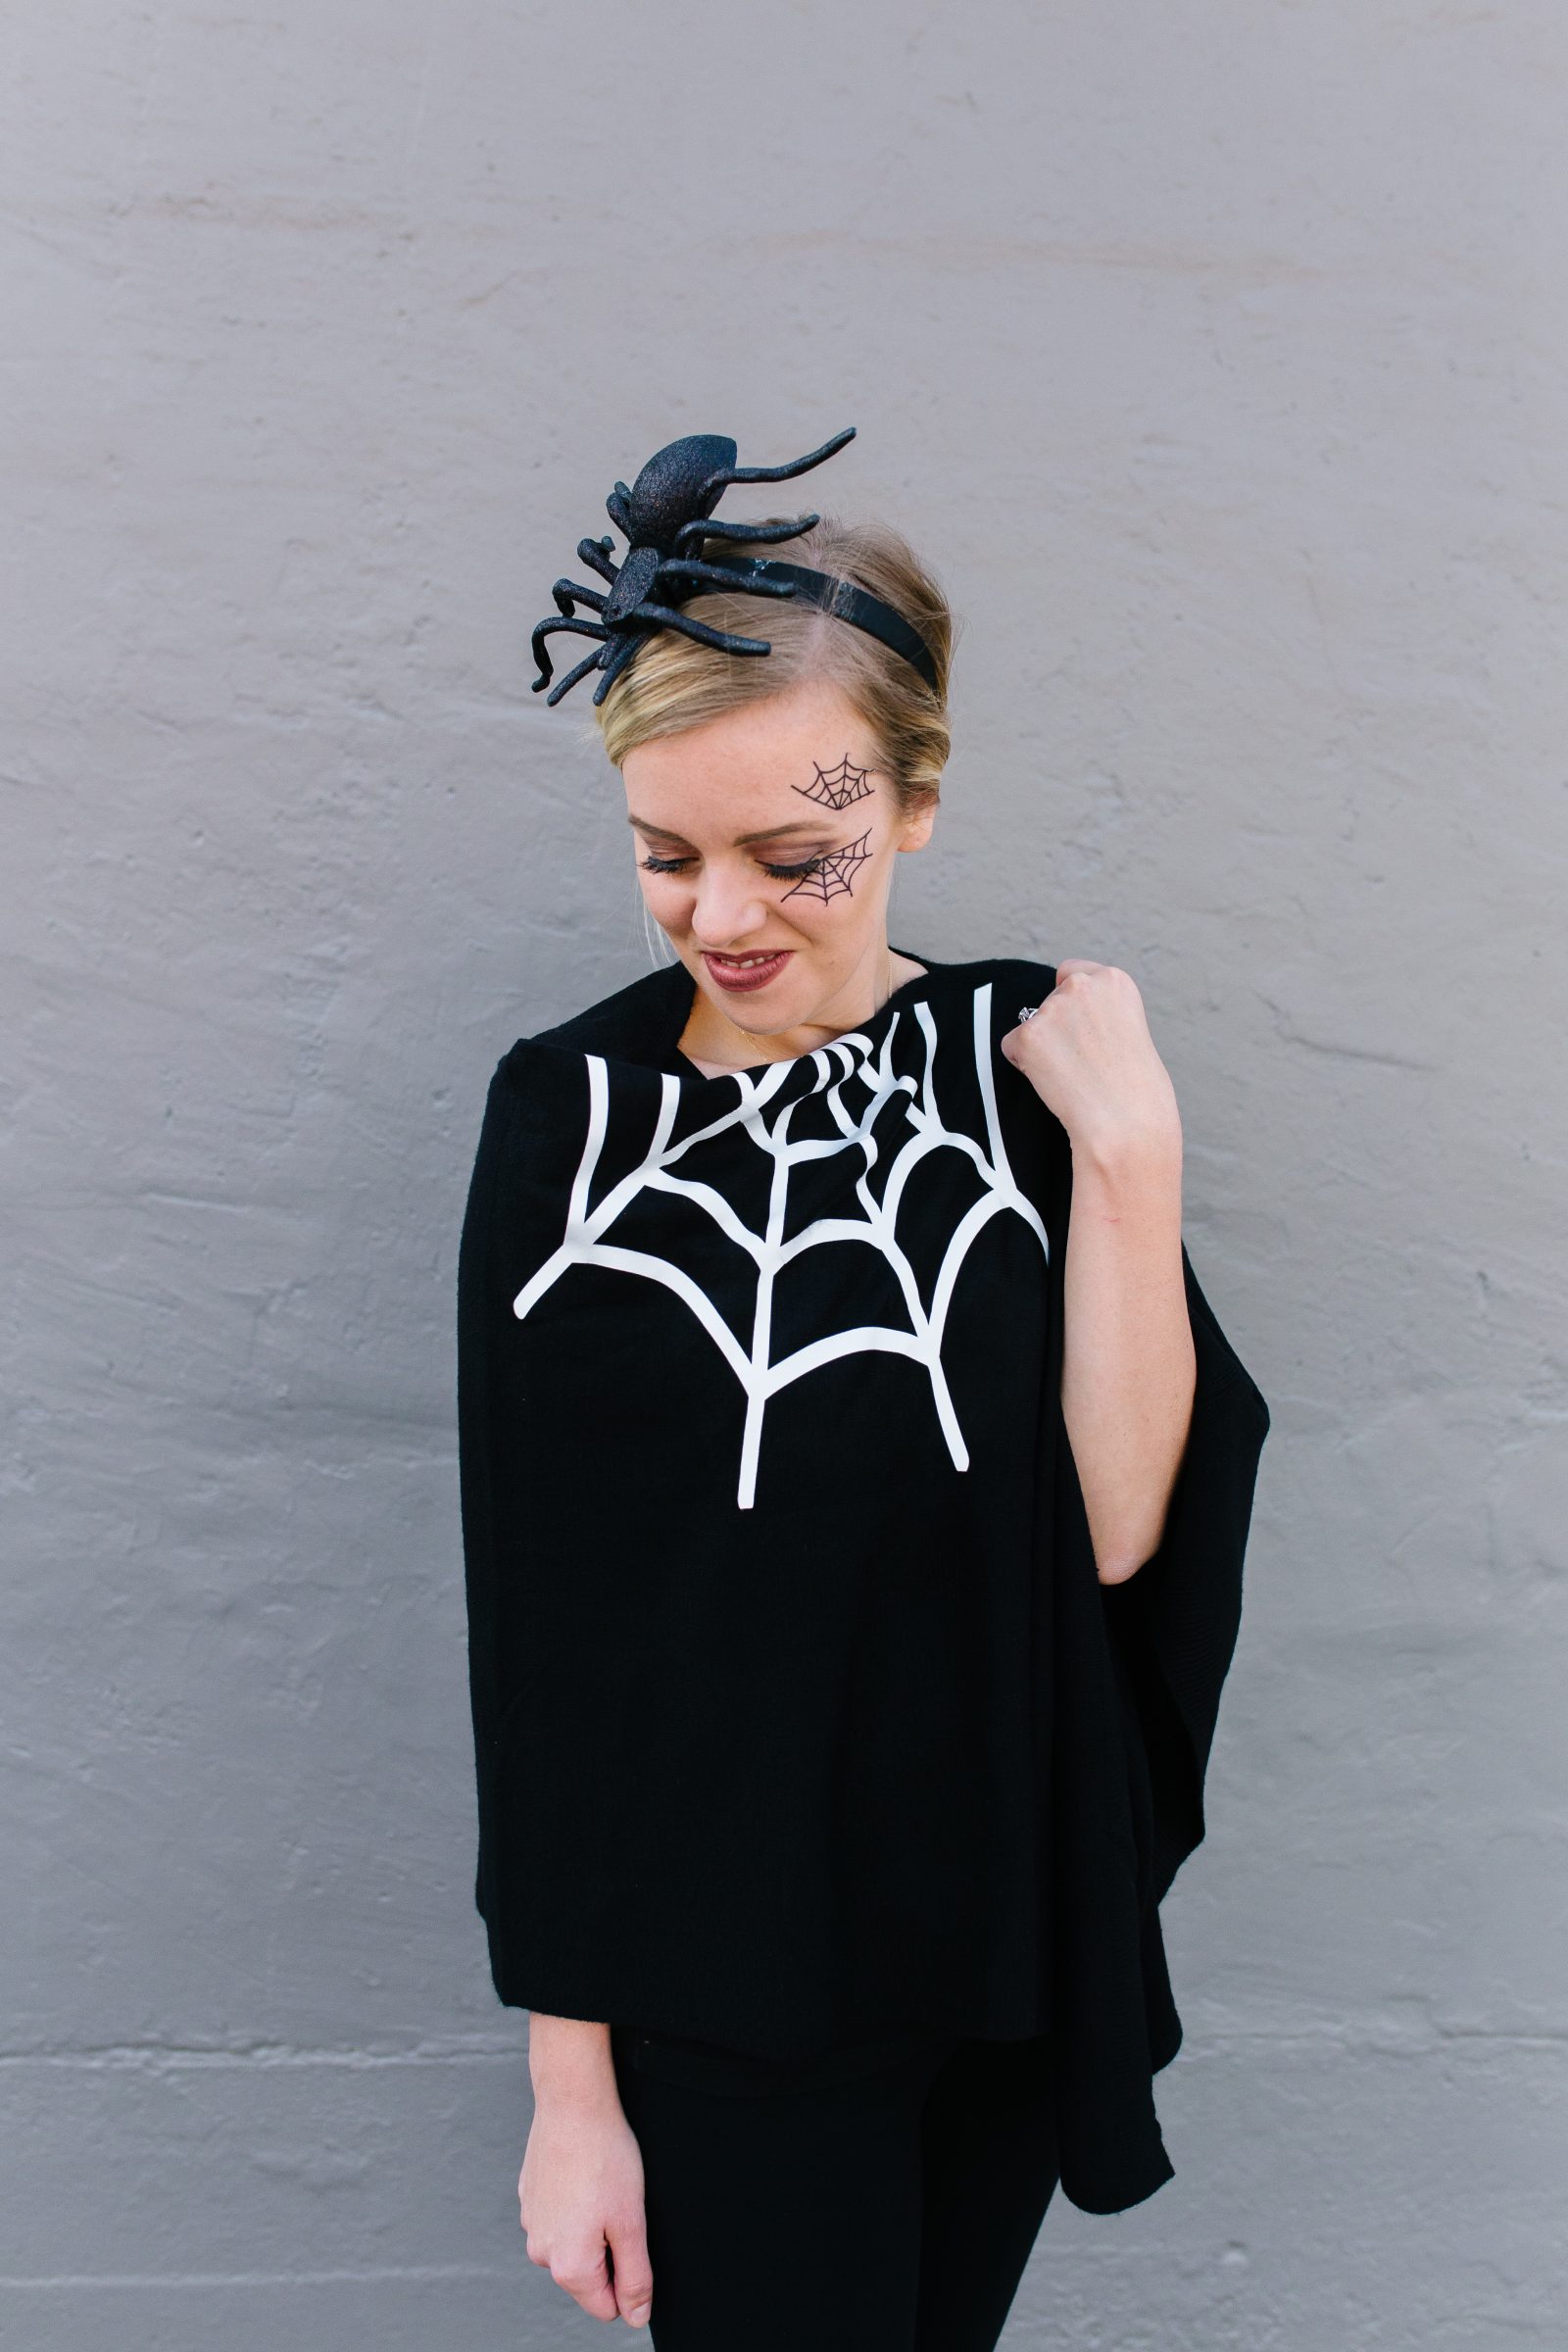

That’s it! Isn’t it so spooky and cute? We love the way it feels chic with the combination of the poncho and a spidery fascinator! Plus, this poncho is COZY and warm and feels like you are straight up wearing a blanket.
We’re also very obsessed with the hack of using temporary tattoos to get the perfect spidery makeup effect without needing any makeup skill! That stuff makes the possibilities for adding details to any costume truly endless!
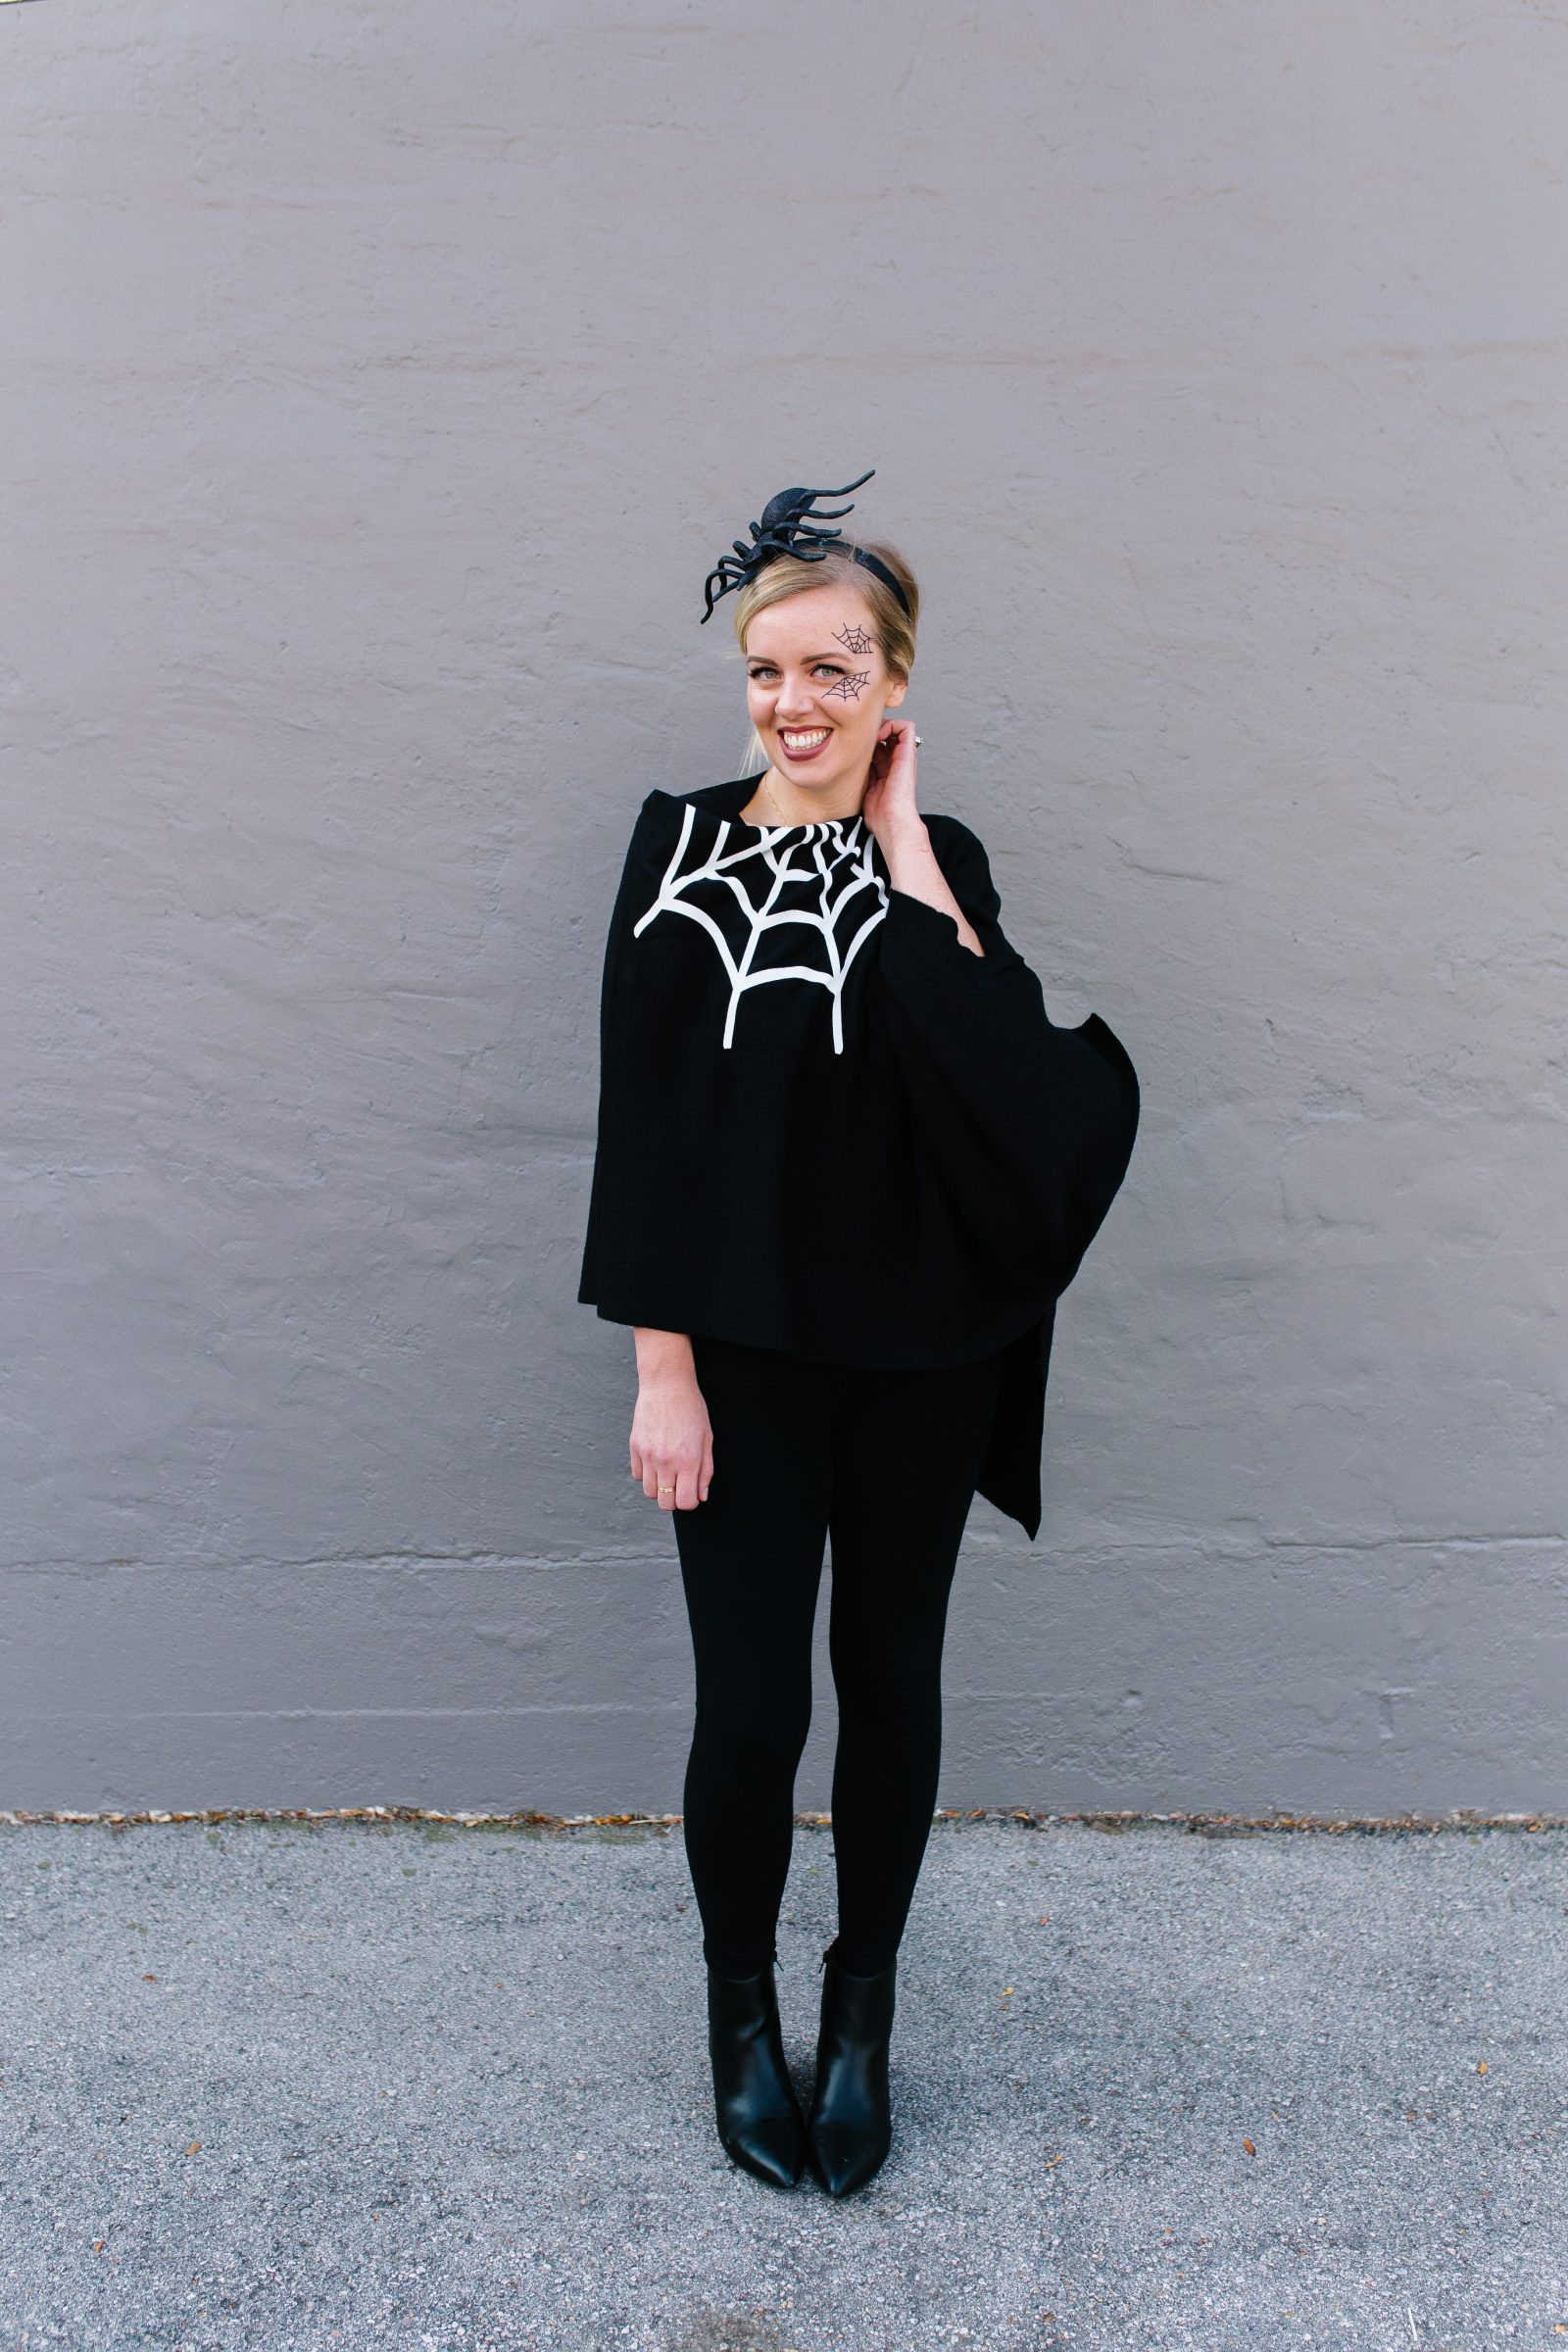

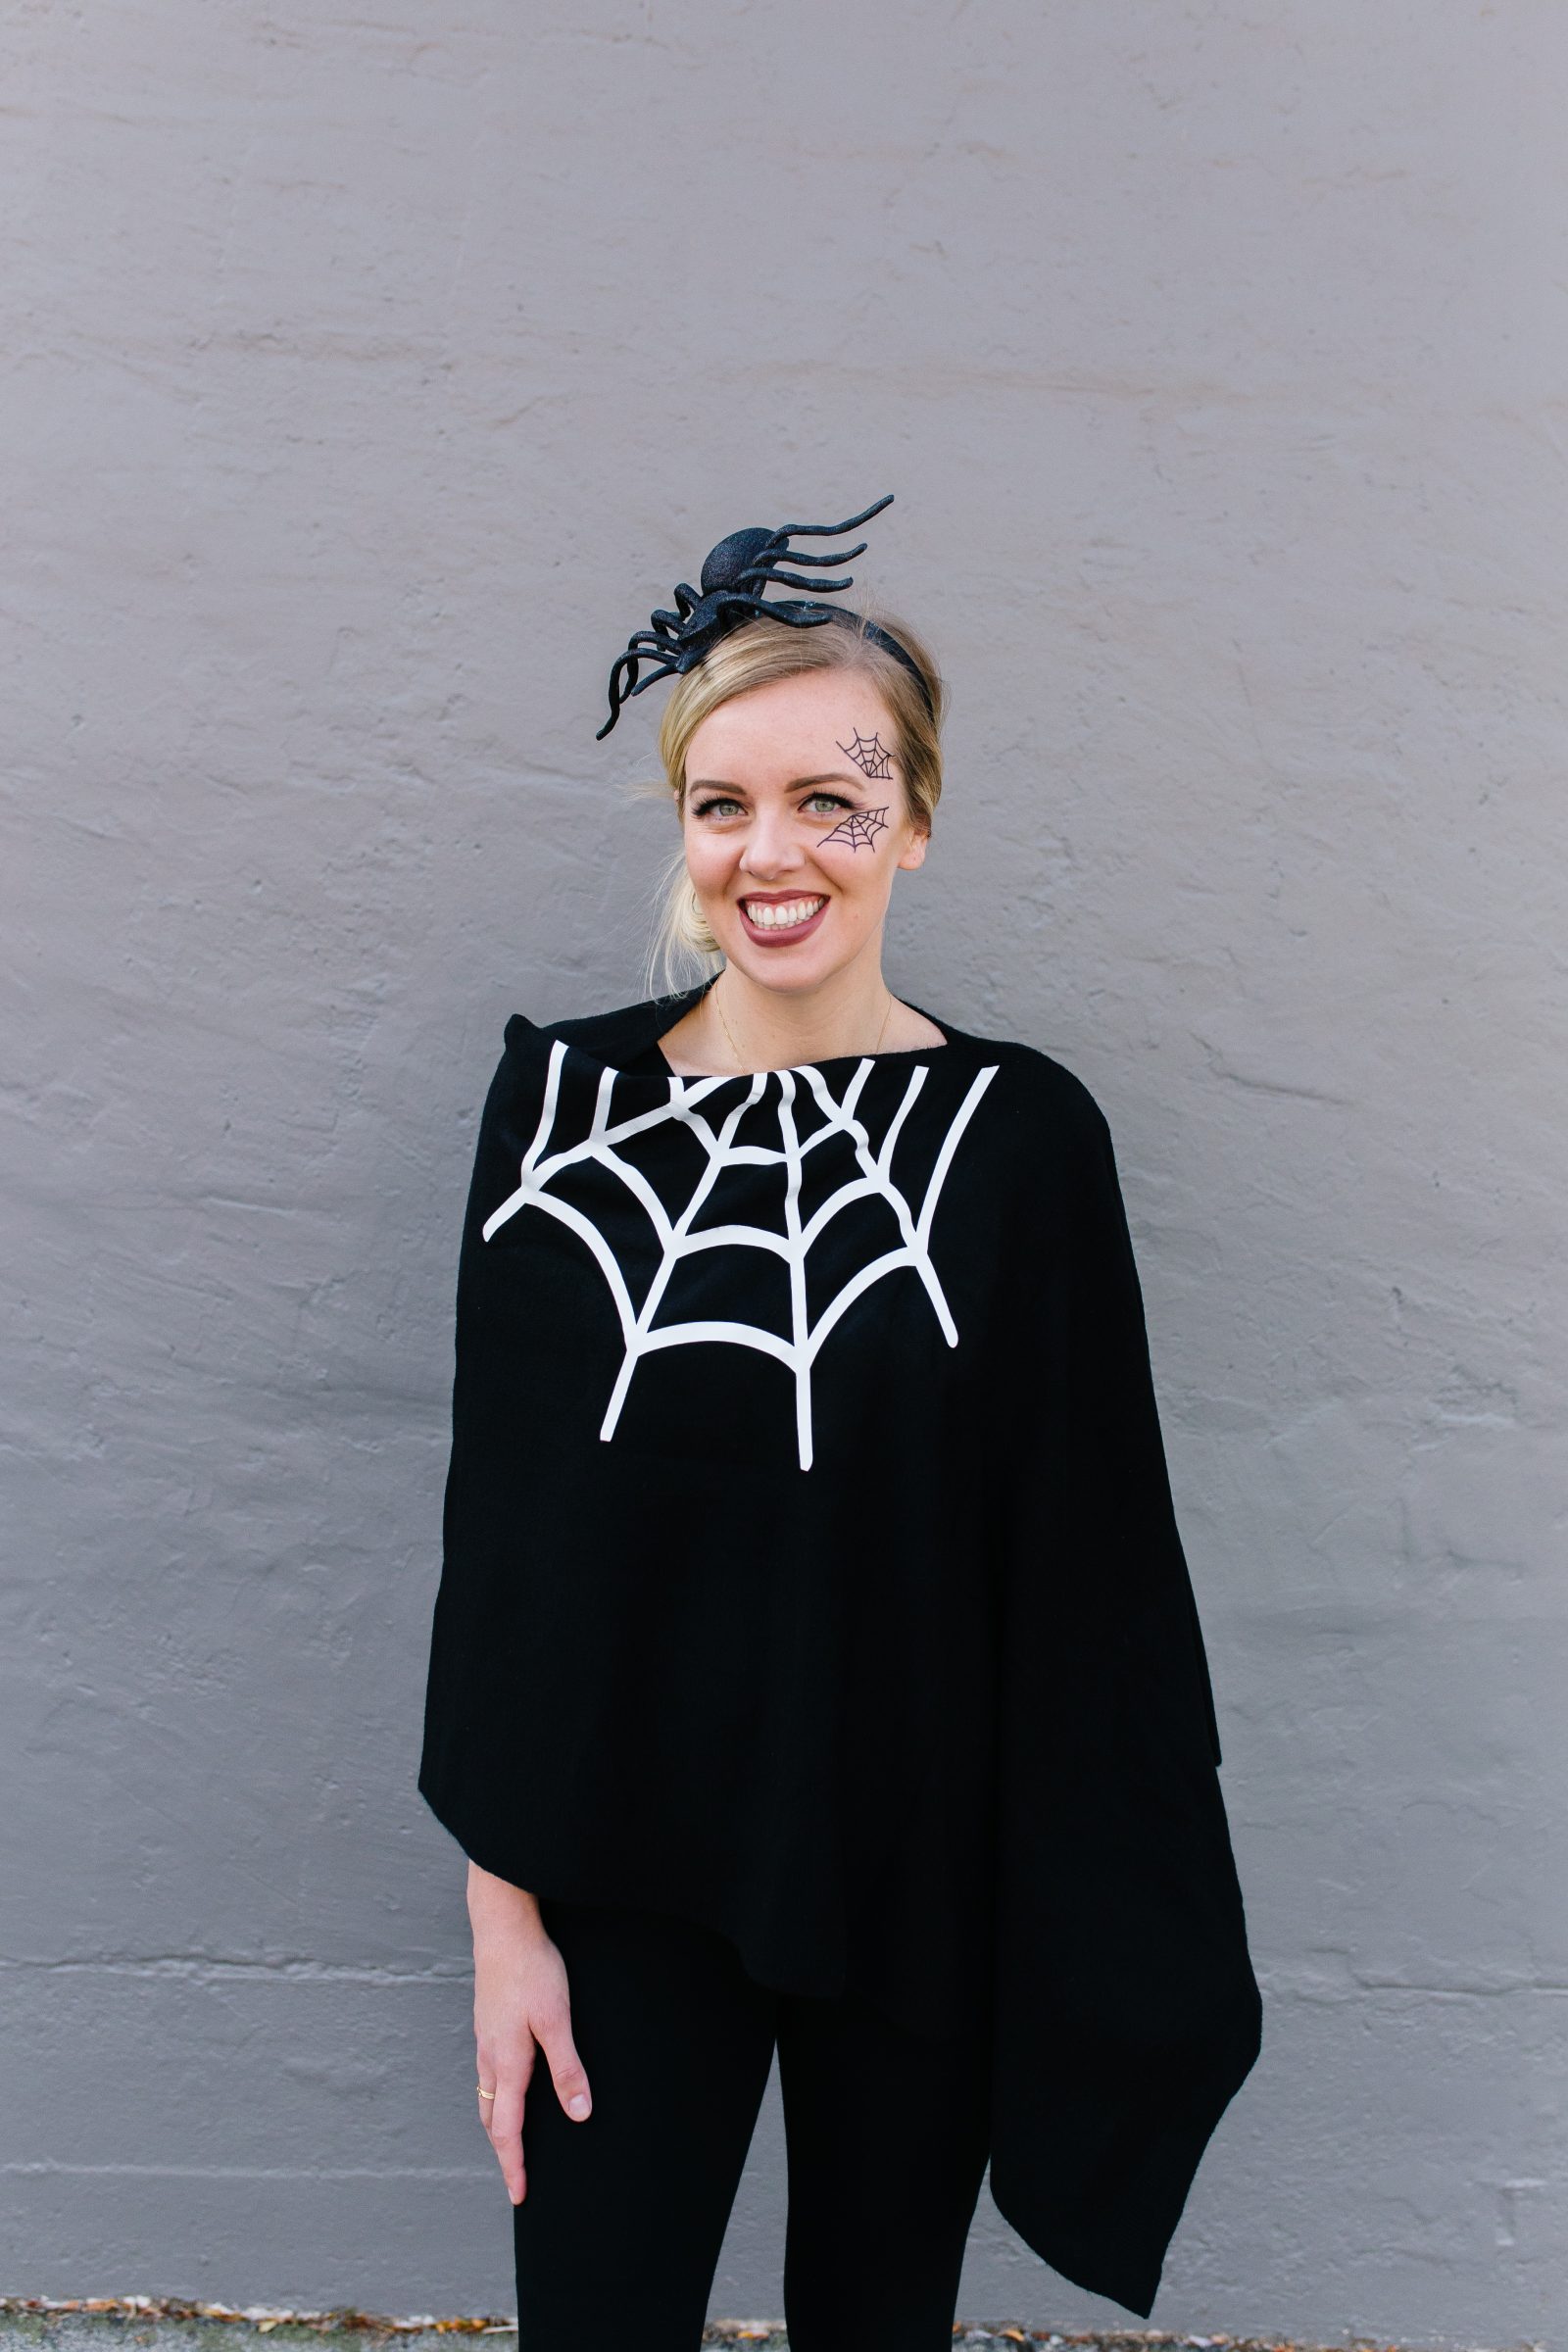


Cape costumes! Just so fun and easy. We can’t wait to show you the other cuties we have cooked up, and in the meantime, we’d love to know what DIY costumes you have in store! To the comments with you!

Happy making!
xo, Liz


