It’s officially fall! Have you decorated? Are you baking? Do you have a visit to a pumpkin patch on your calendar? It really felt like fall here over the weekend and it is truly wild how a cooler temperature just ignites a fall monster inside of me. It’s almost like I become hypnotized and just find myself at Home Goods all the sudden with a cart full leaf-scented candles and pumpkin paraphernalia and no recollection of how I got there! So, given my recent hypnosis, it’s time to share our first fall project of the season, using a new-to-us method from Silhouette — we made fall magnets using the Silhouette Doming Kit and our Silhouette Cameo!
If you haven’t heard of a doming kit, its a fun method to give your projects dimension and shine. The kit comes with everything you need to print of your design, seal it, and create the resin-like coating that creates the doming effect. From there you can make puffy stickers or magnets with a fun added dimension! We’ll show you how to do it:
Supplies needed to make your own Fall Magnets
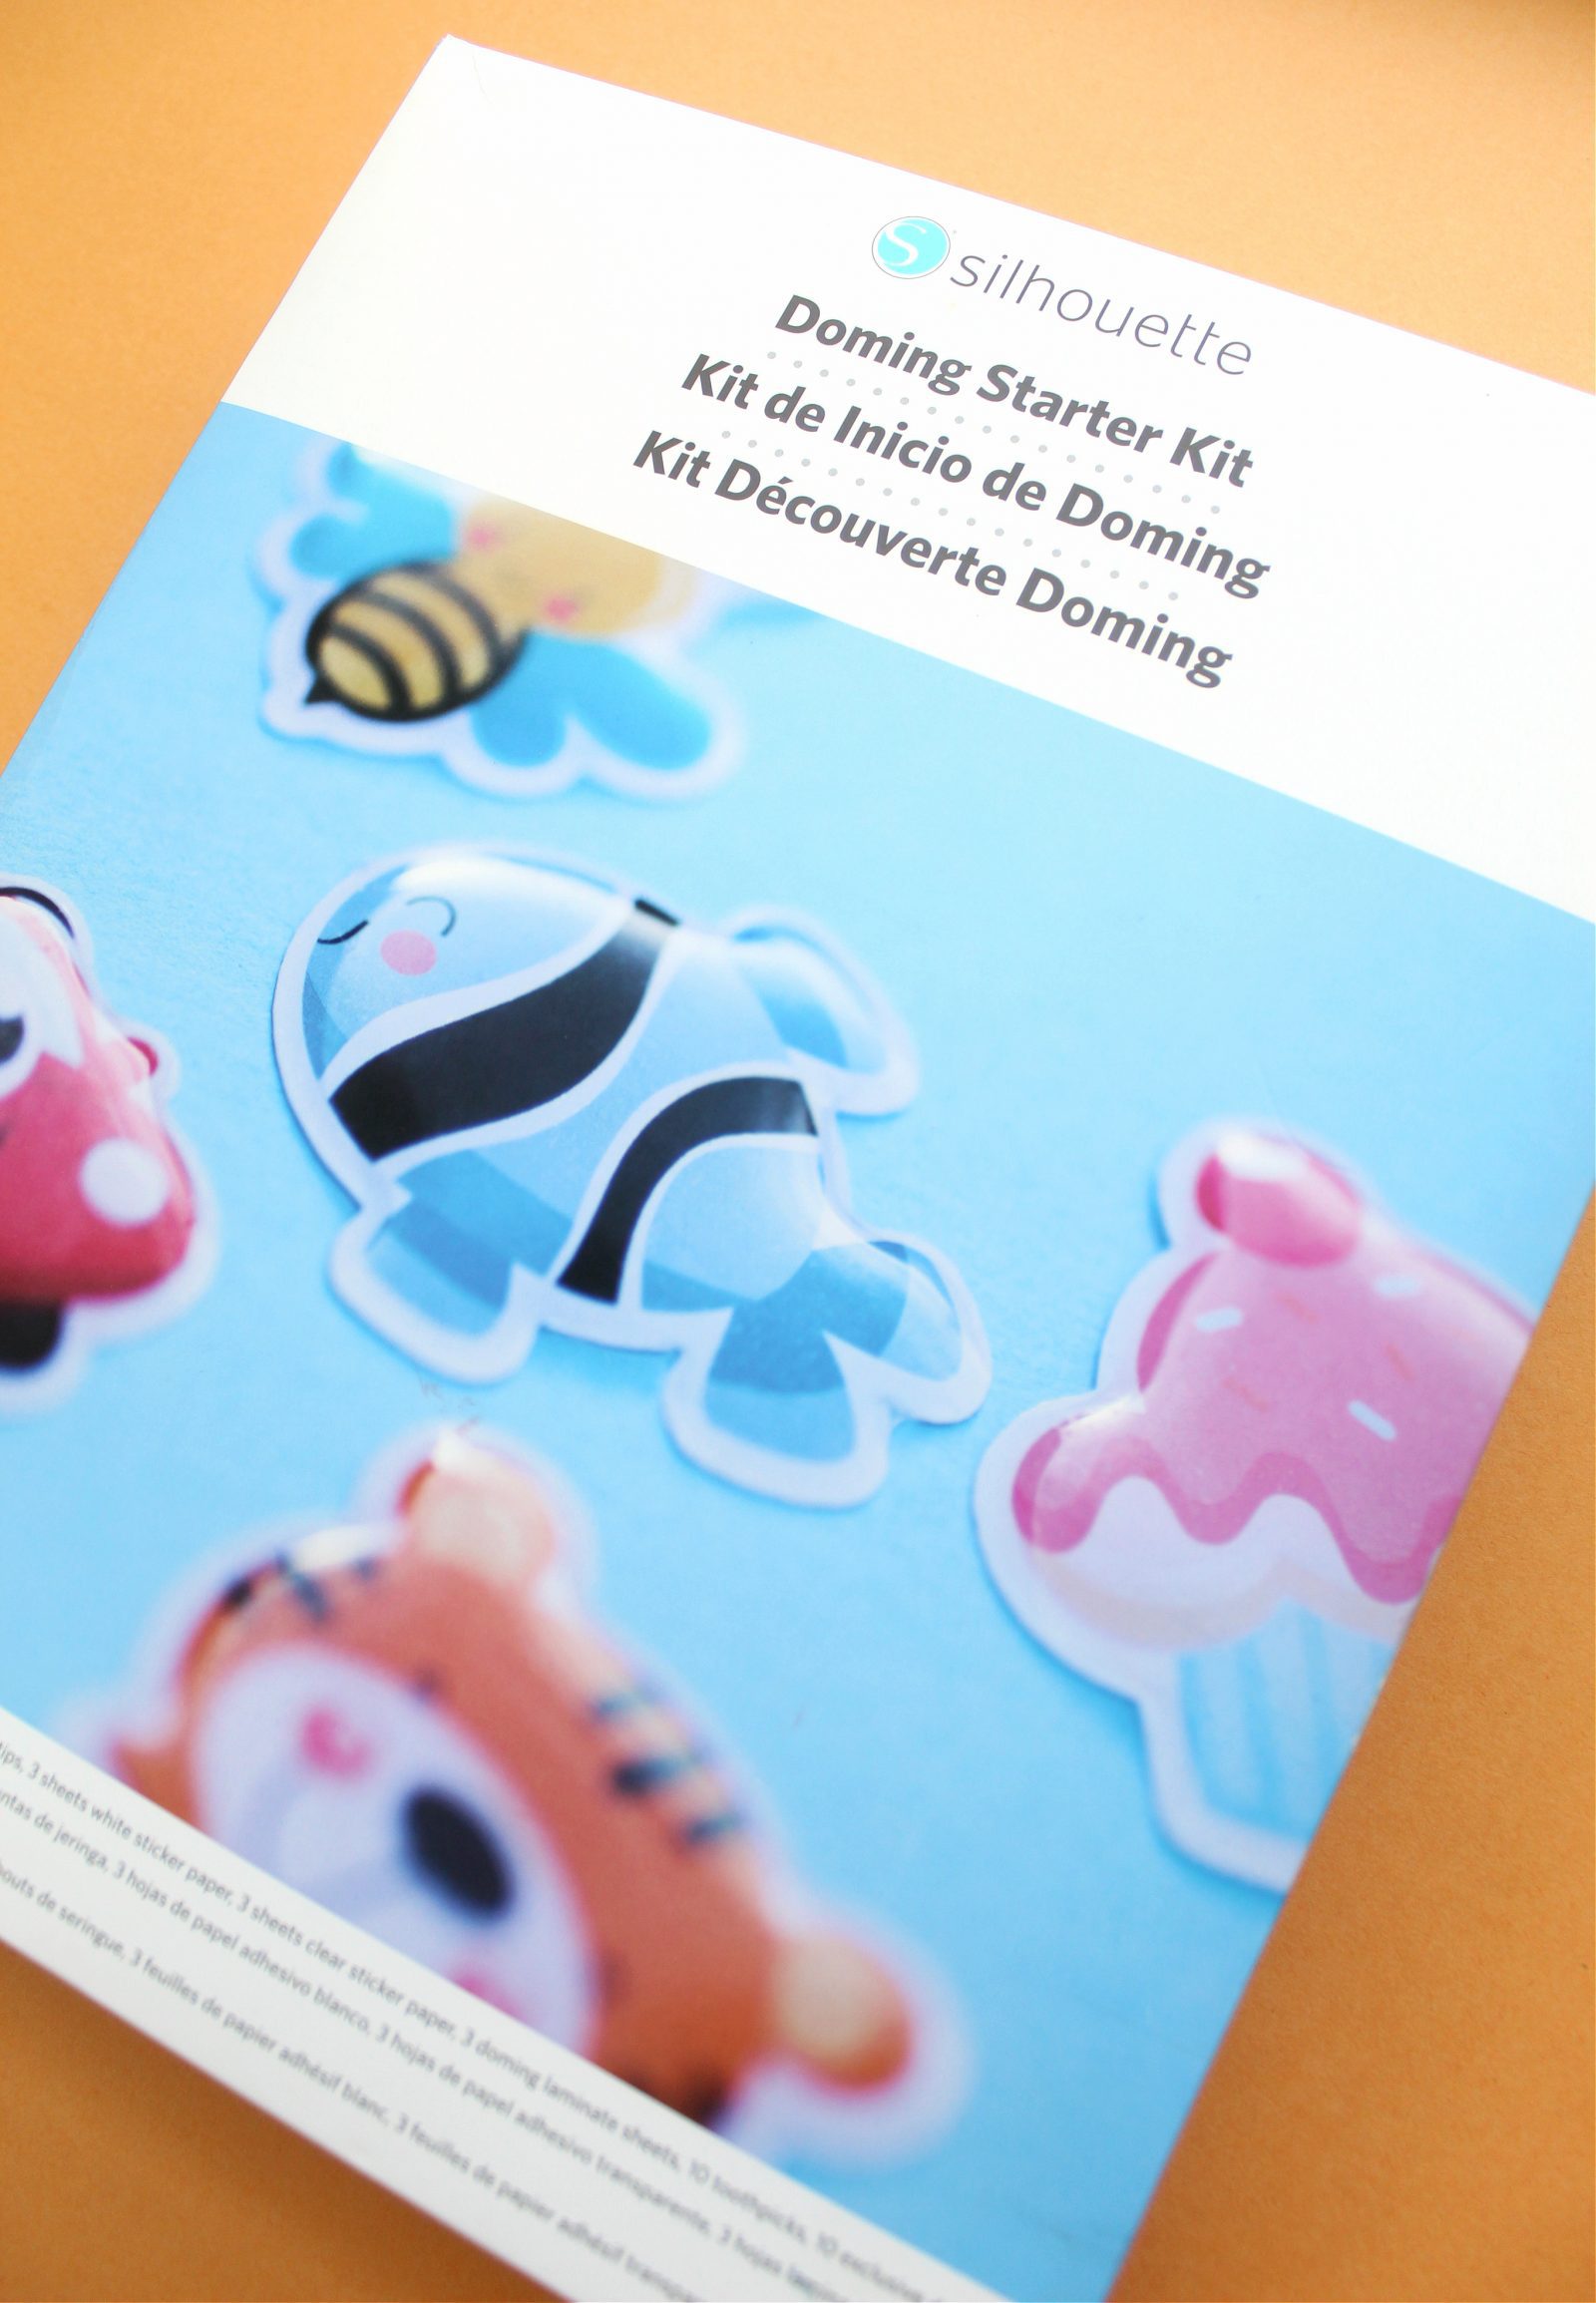
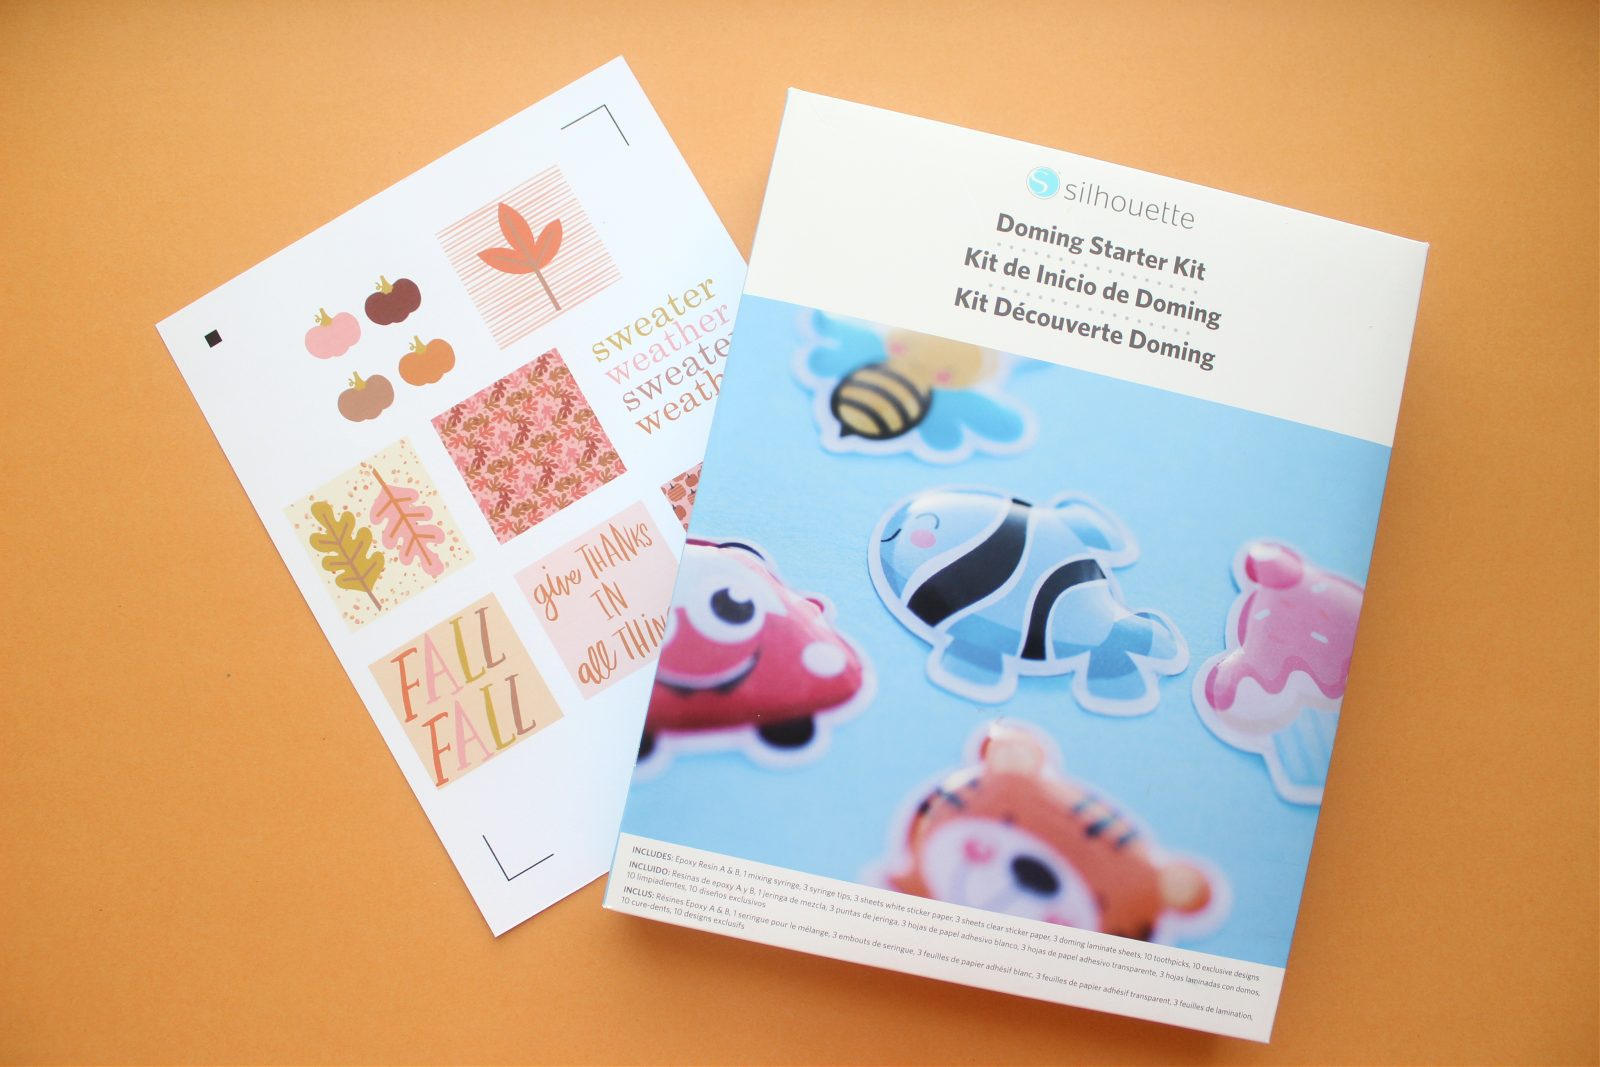
Silhouette Doming Starter Kit
Silhouette Cameo
Printer
Fall Designs (we found each of ours in the Silhouette Design Store. Just type “fall” in the search bar and you’ll find a wealth of designs!)
Magnet
Glue
How make your own Fall Magnets
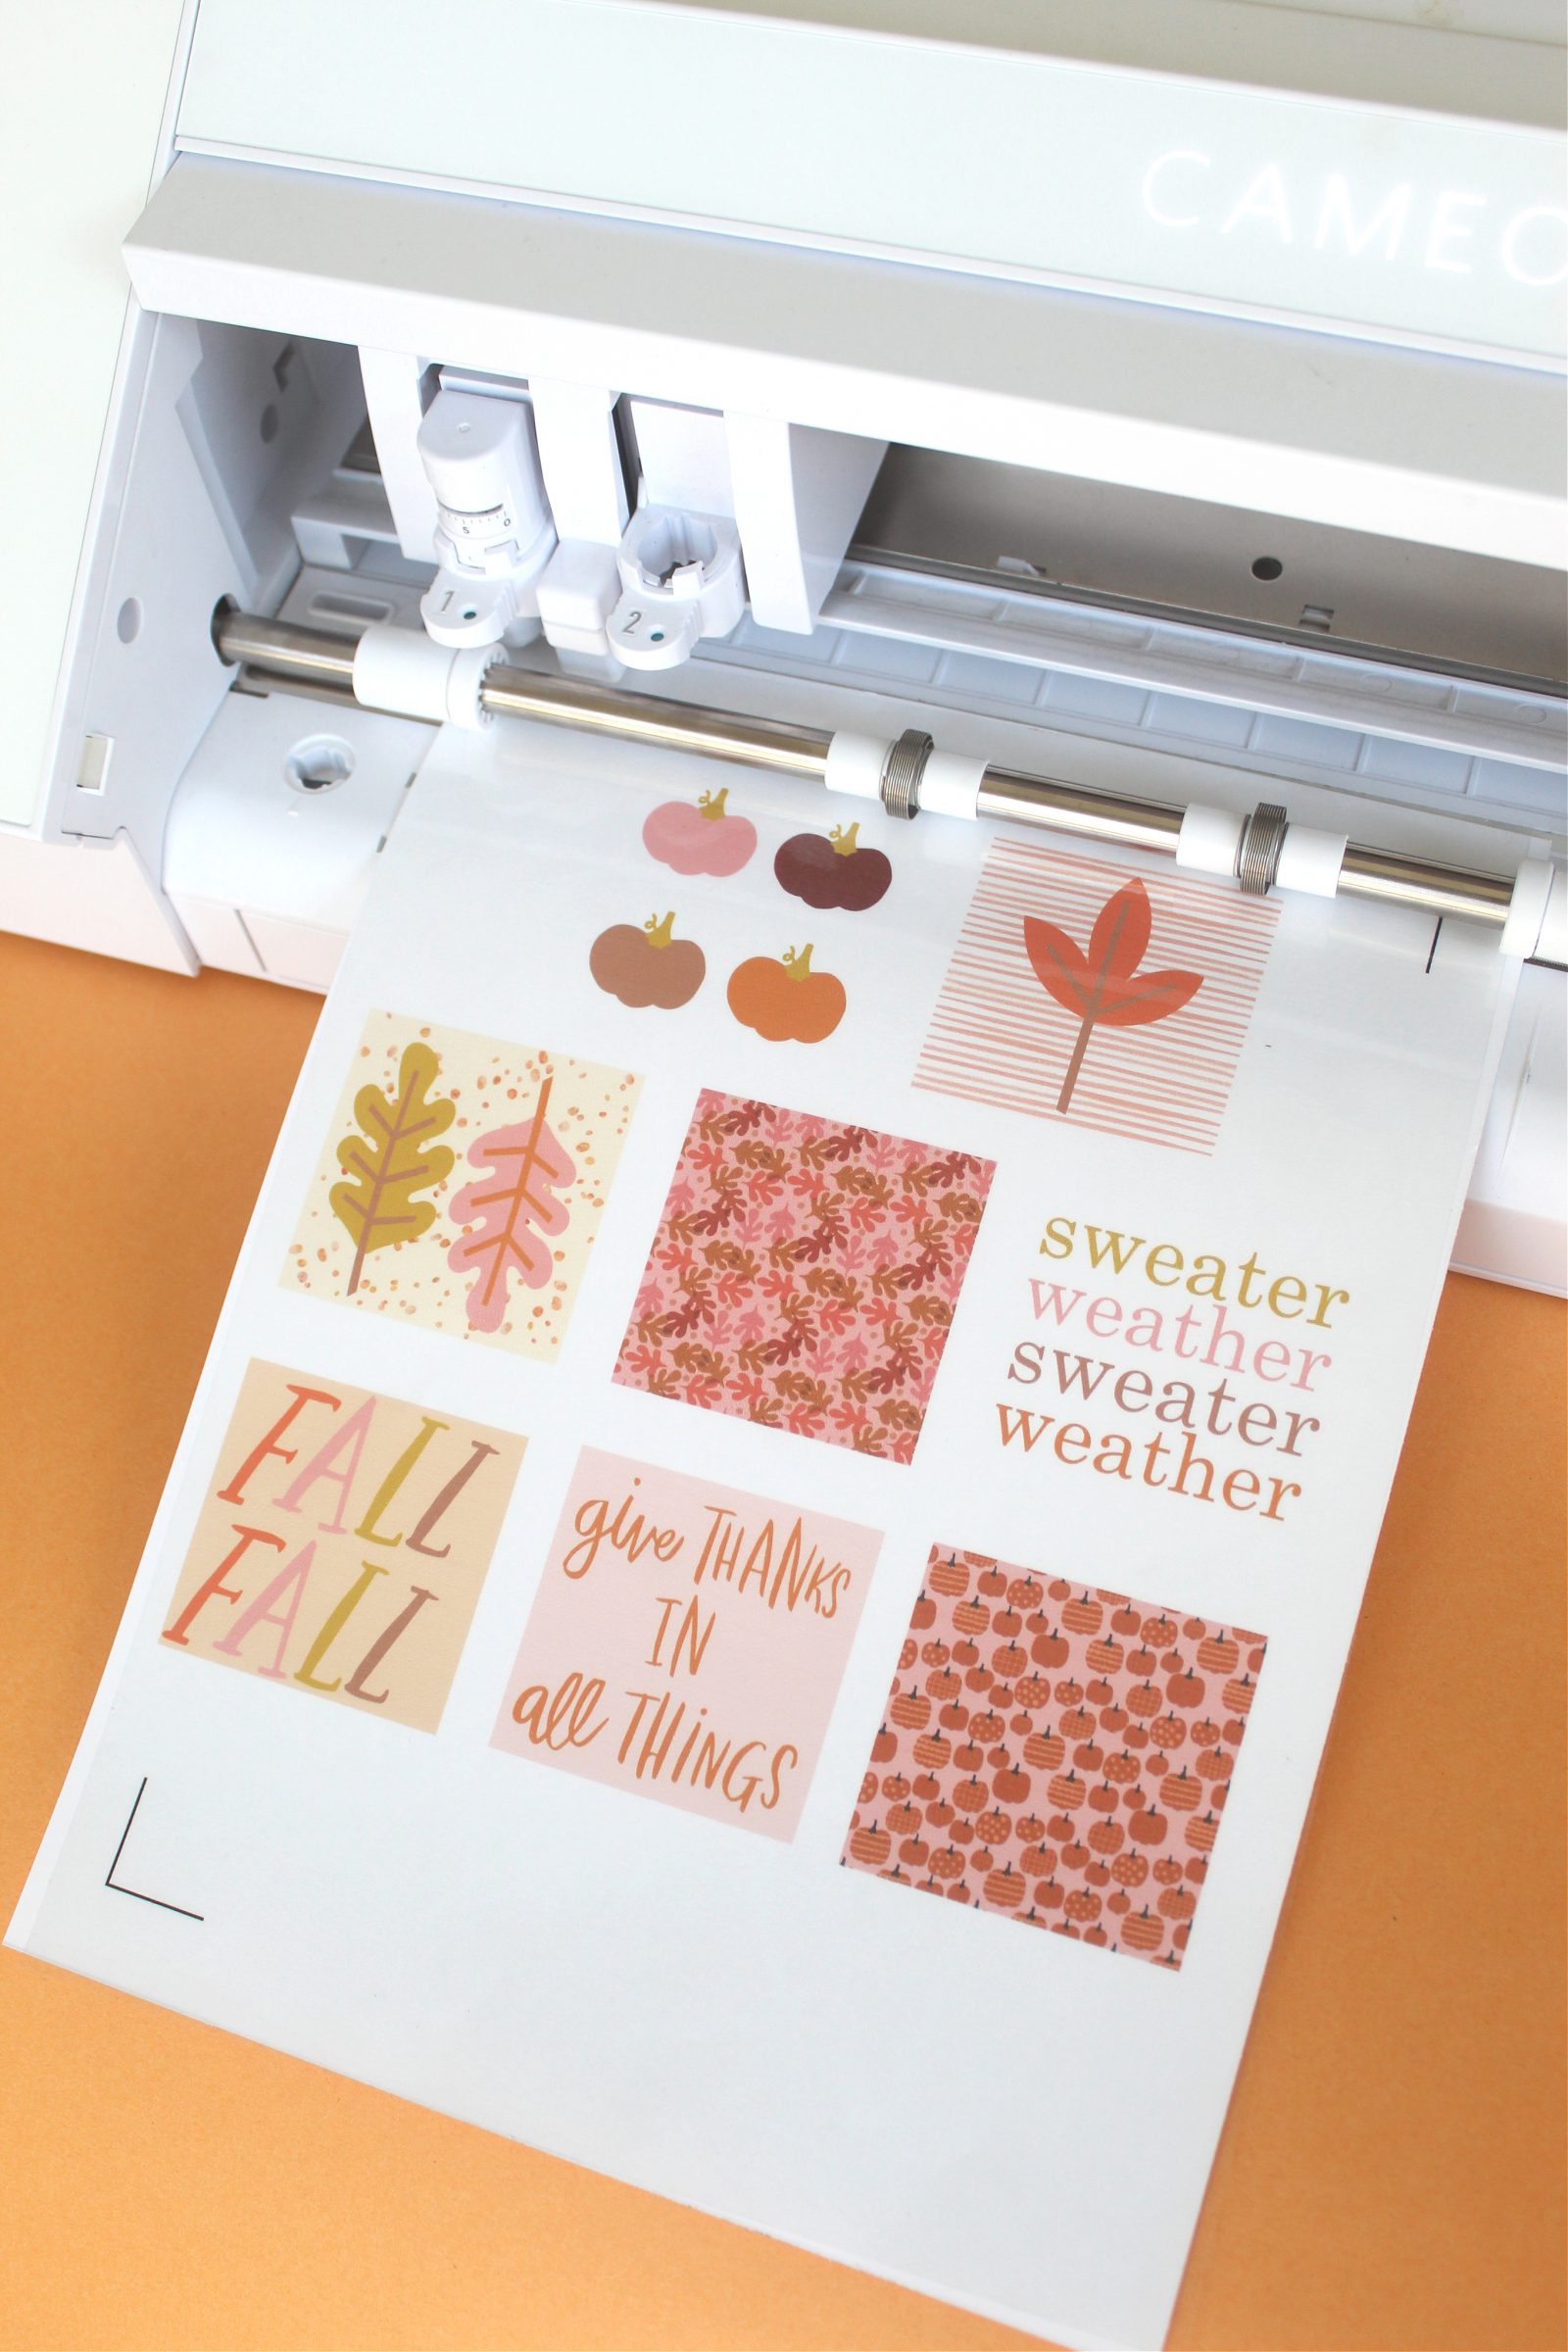
Step 1: Load your designs into Silhouette Studio and adjust them to your desired size. Add registration marks to your design (page setup –> registration marks –> on) then print your design on cardstock.
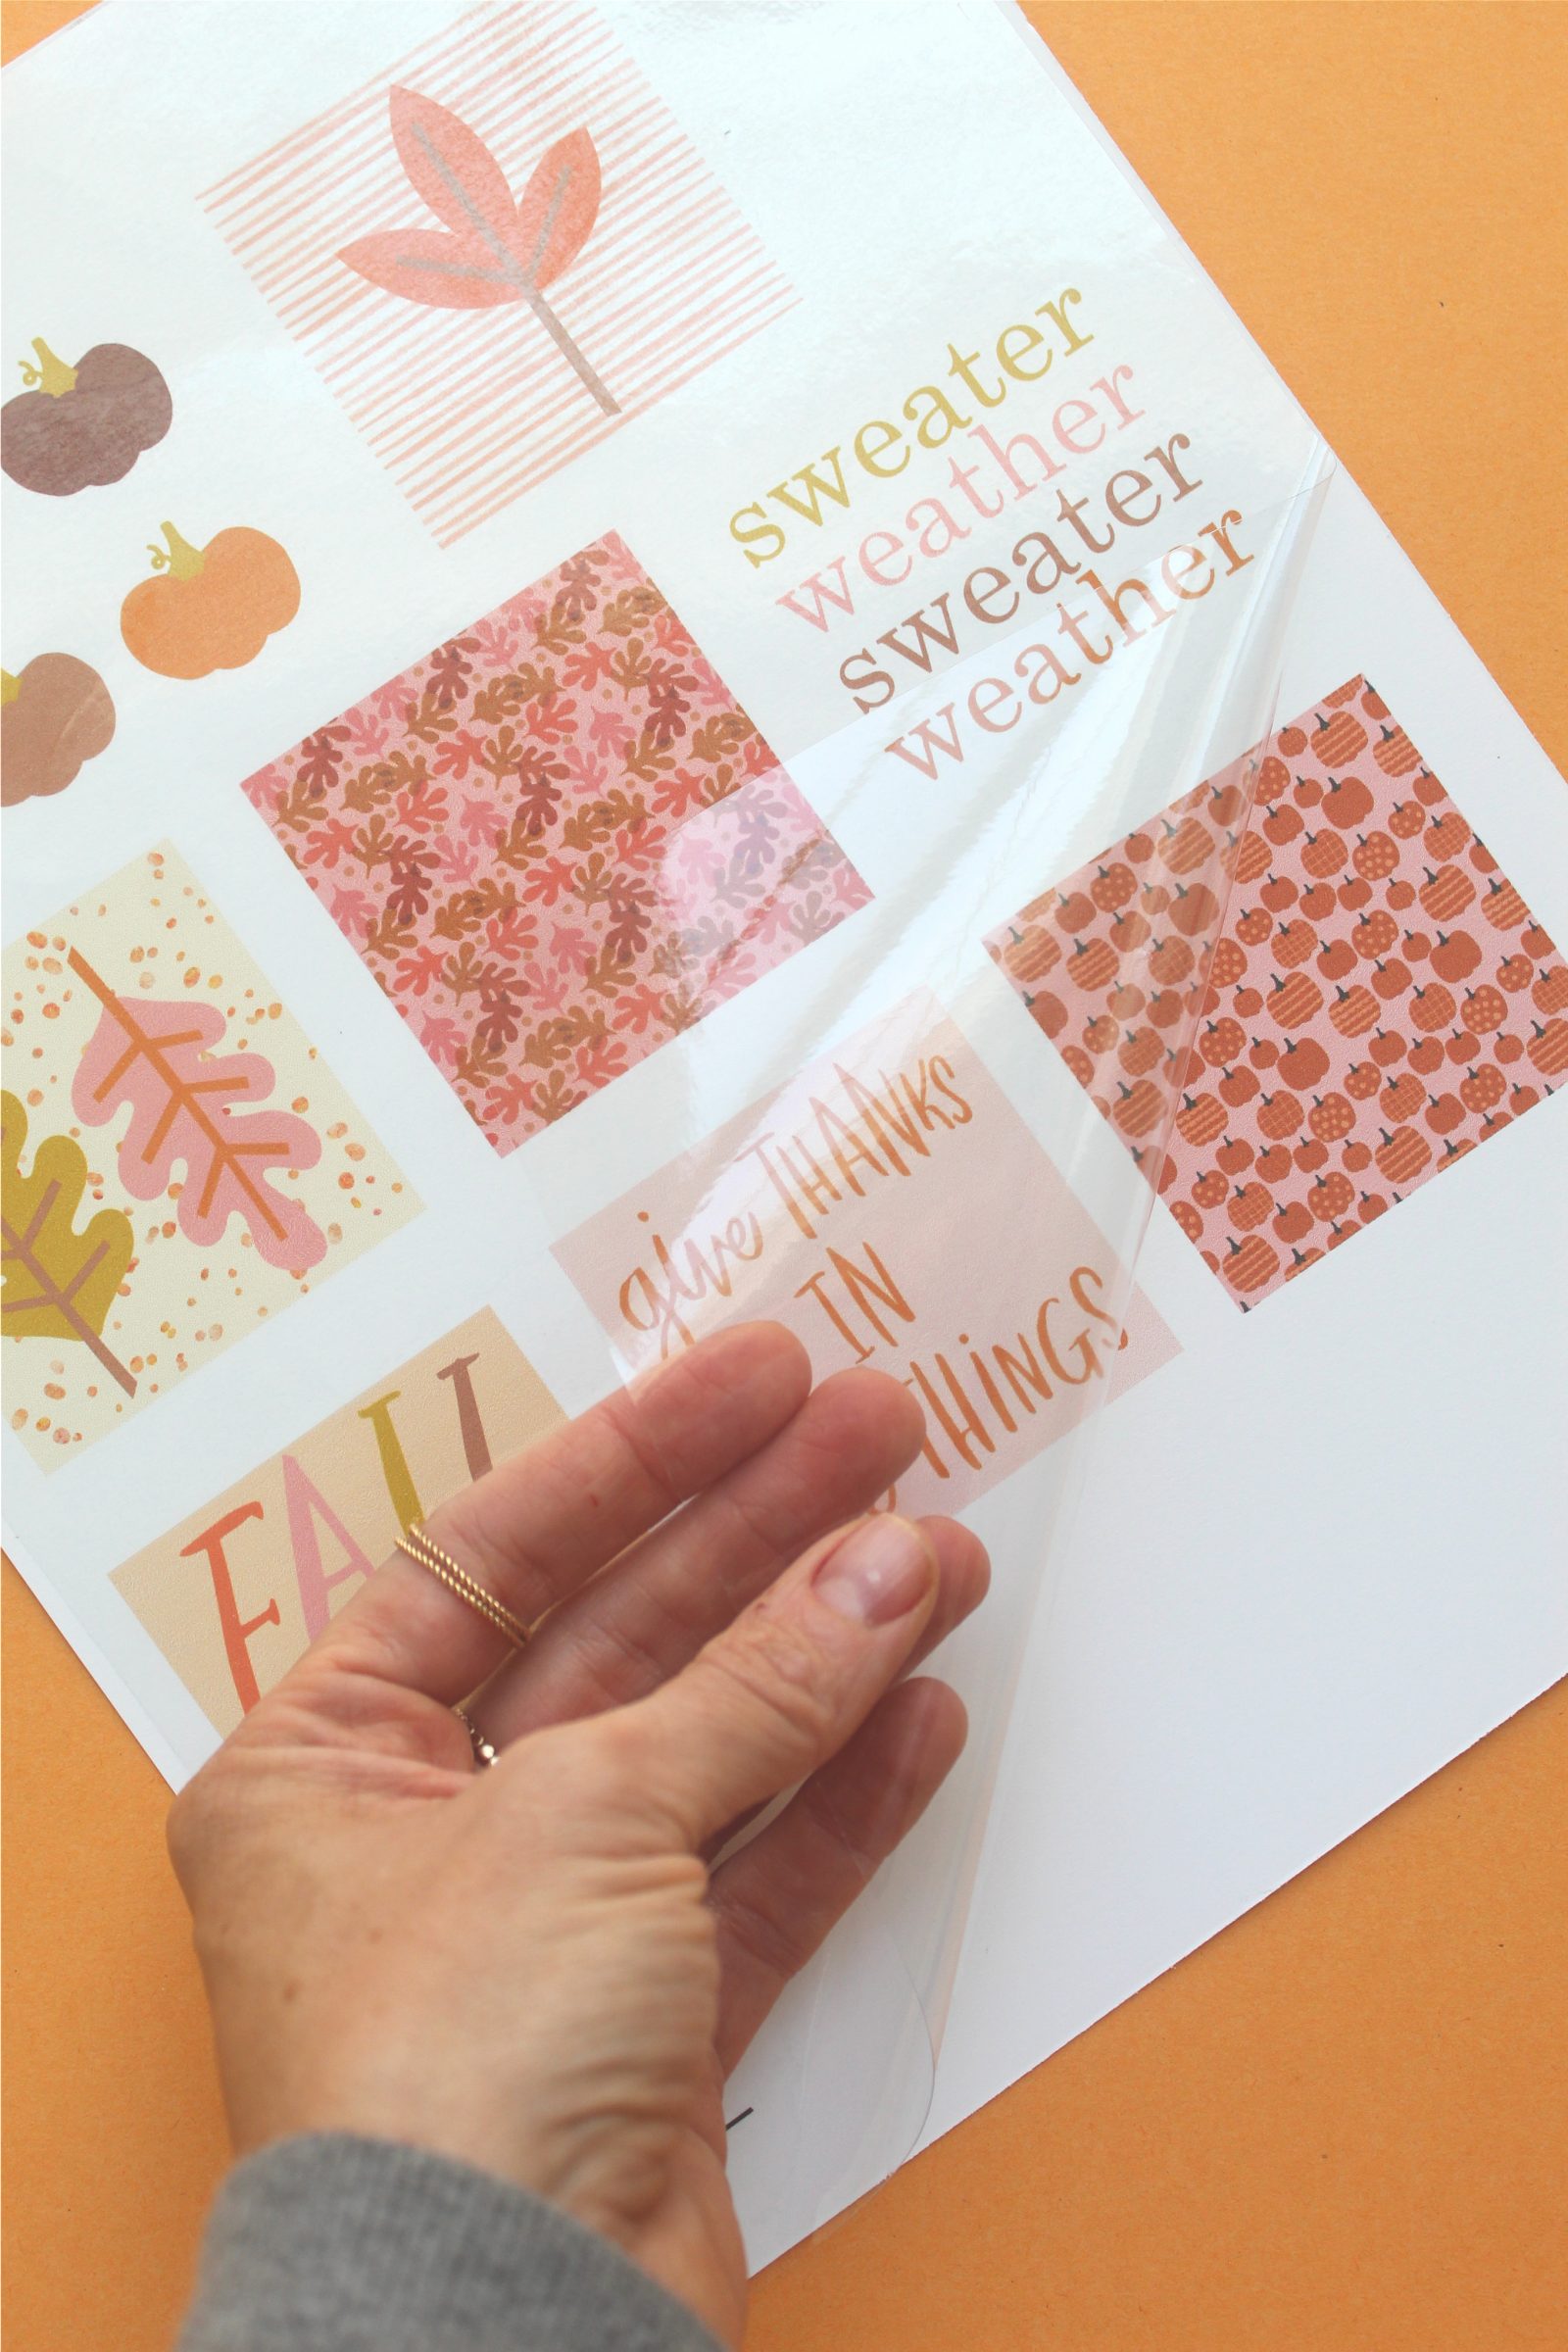
Step 2. Remove one of the doming laminate sheets in the kit from its backing and apply it to the printed page. This will protect your design from getting saturated by the resin when it is applied. Use your fingers to smooth out any bubbles.
Step 3. Load your design into your machine. Select “Sticker Paper, White” from the media list in the Send tab and adjust the cut settings to Blade – 4, Speed – 8, Force – 18, Passes – 1. Adjust your blade accordingly and click Send.
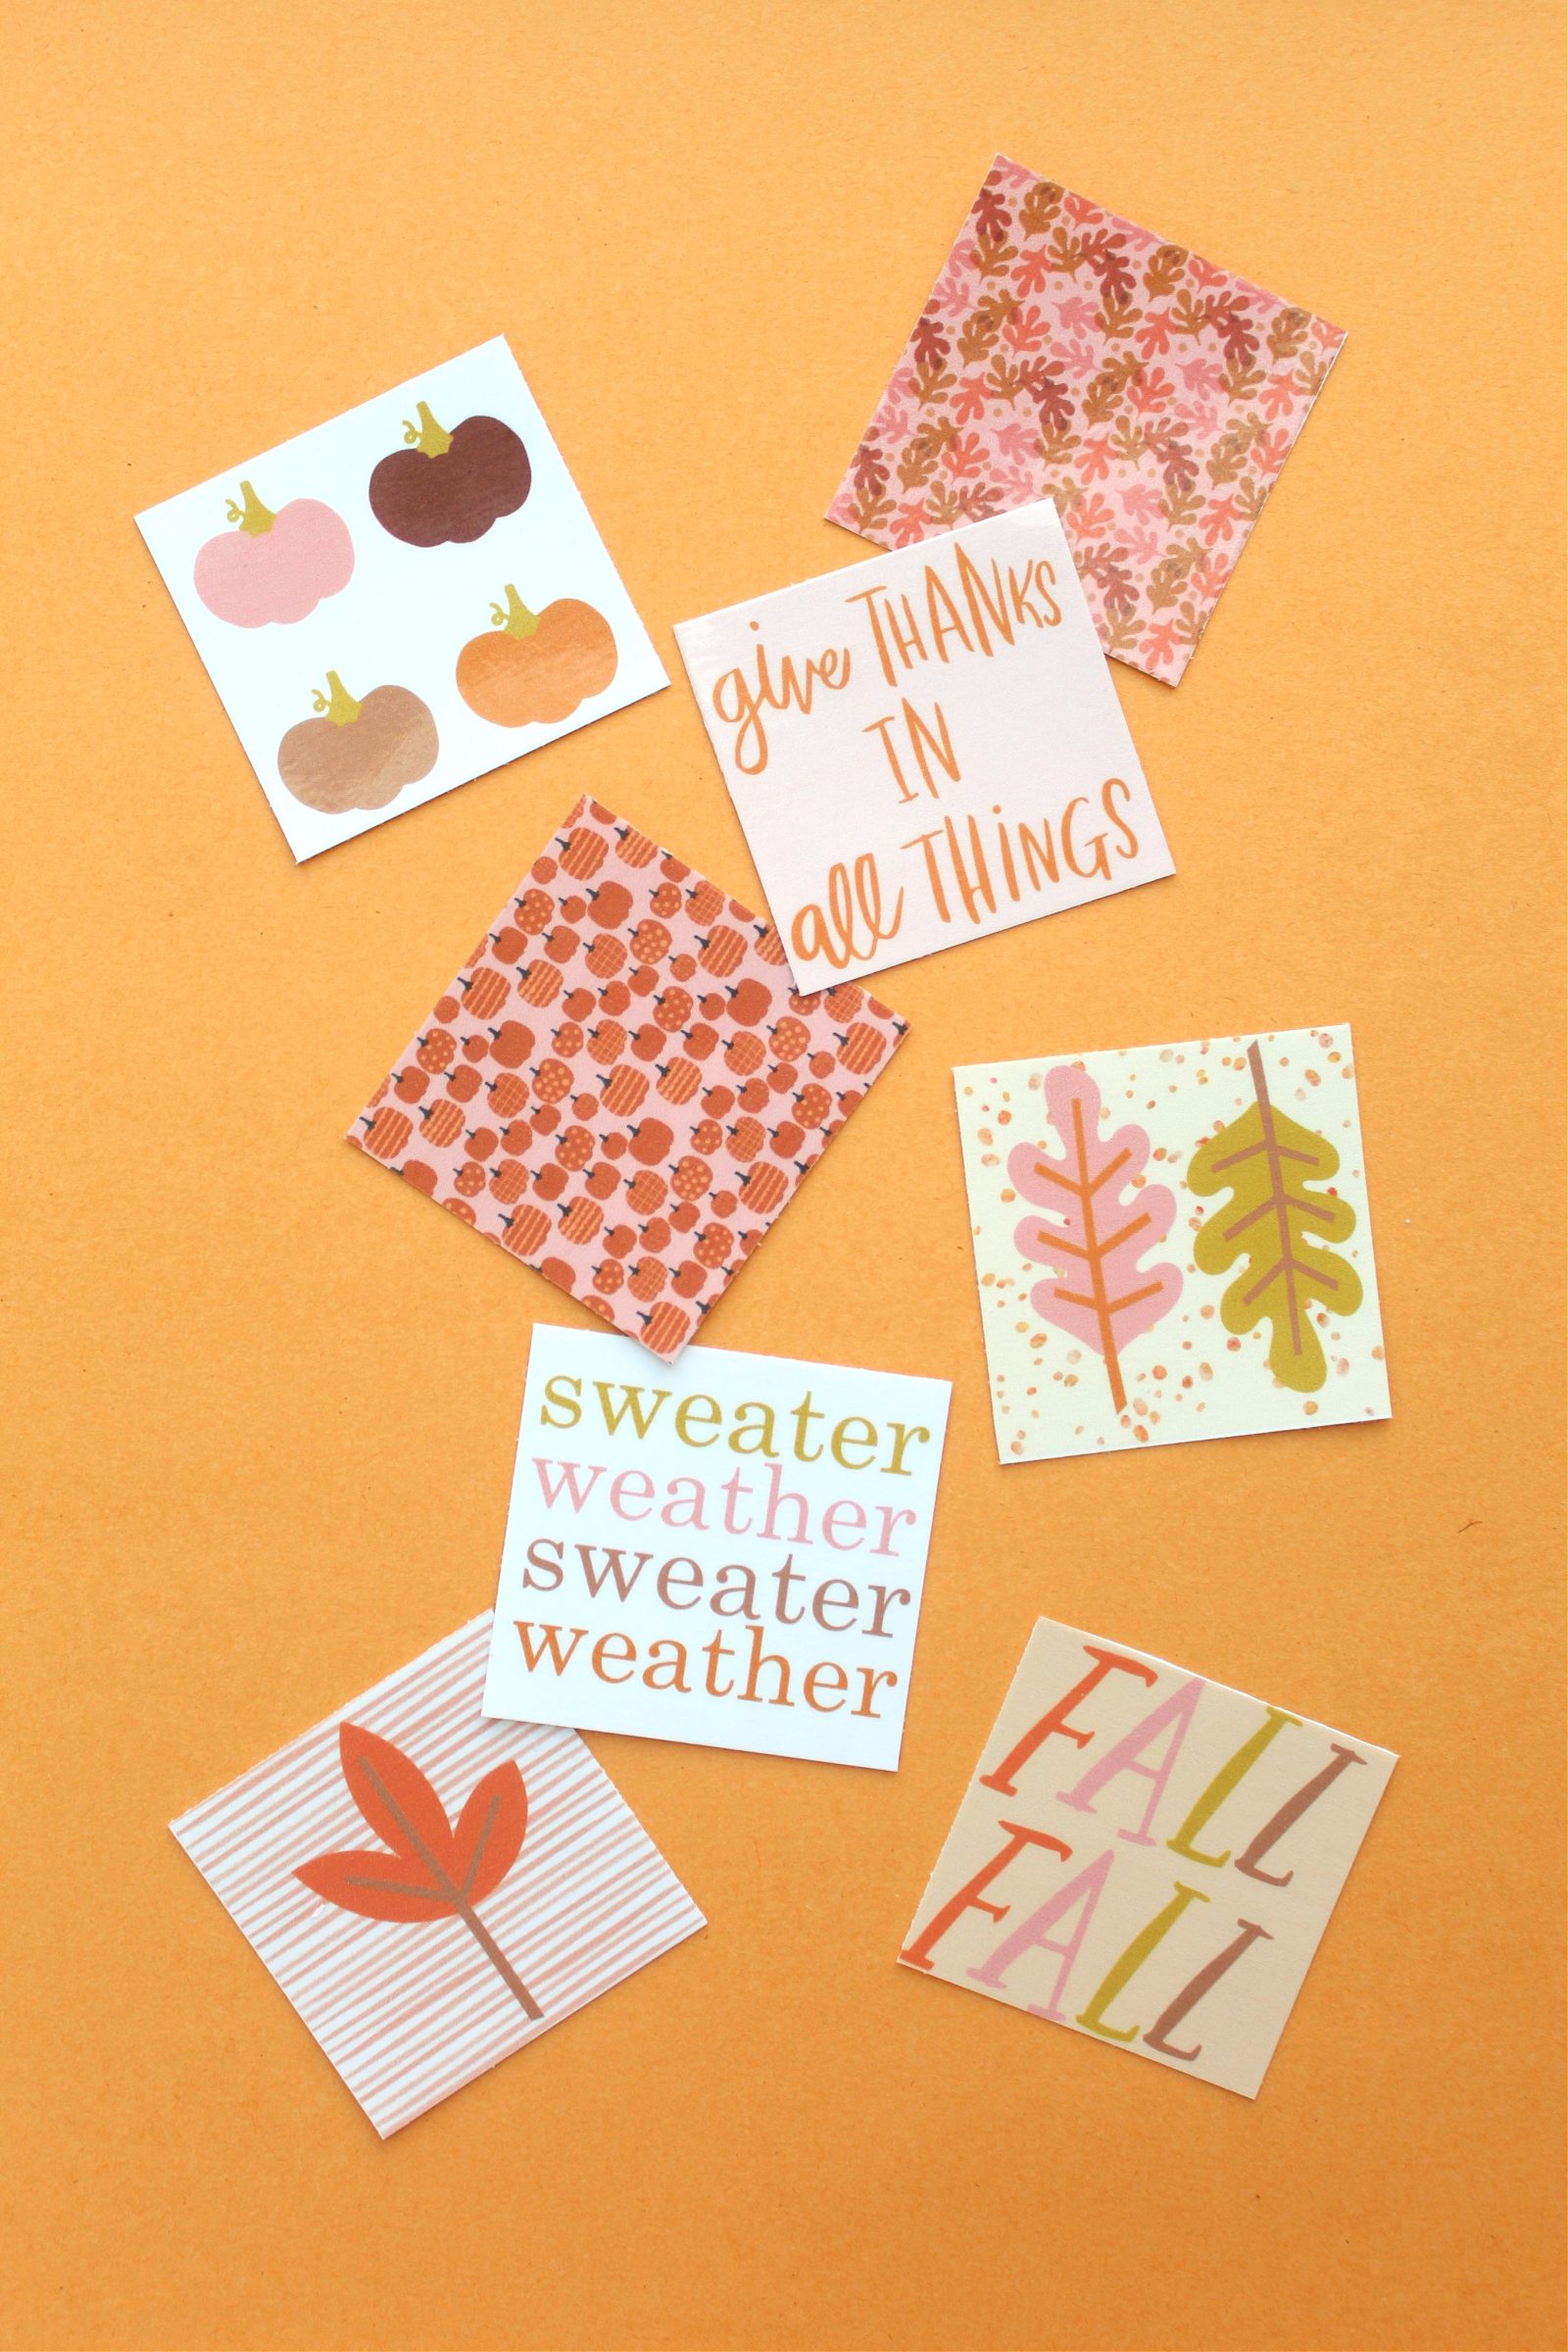
Step 4. Remove the cut squares from your cutting mat.
Step 5. Prepare the resin in the syringe provided according to package directions.
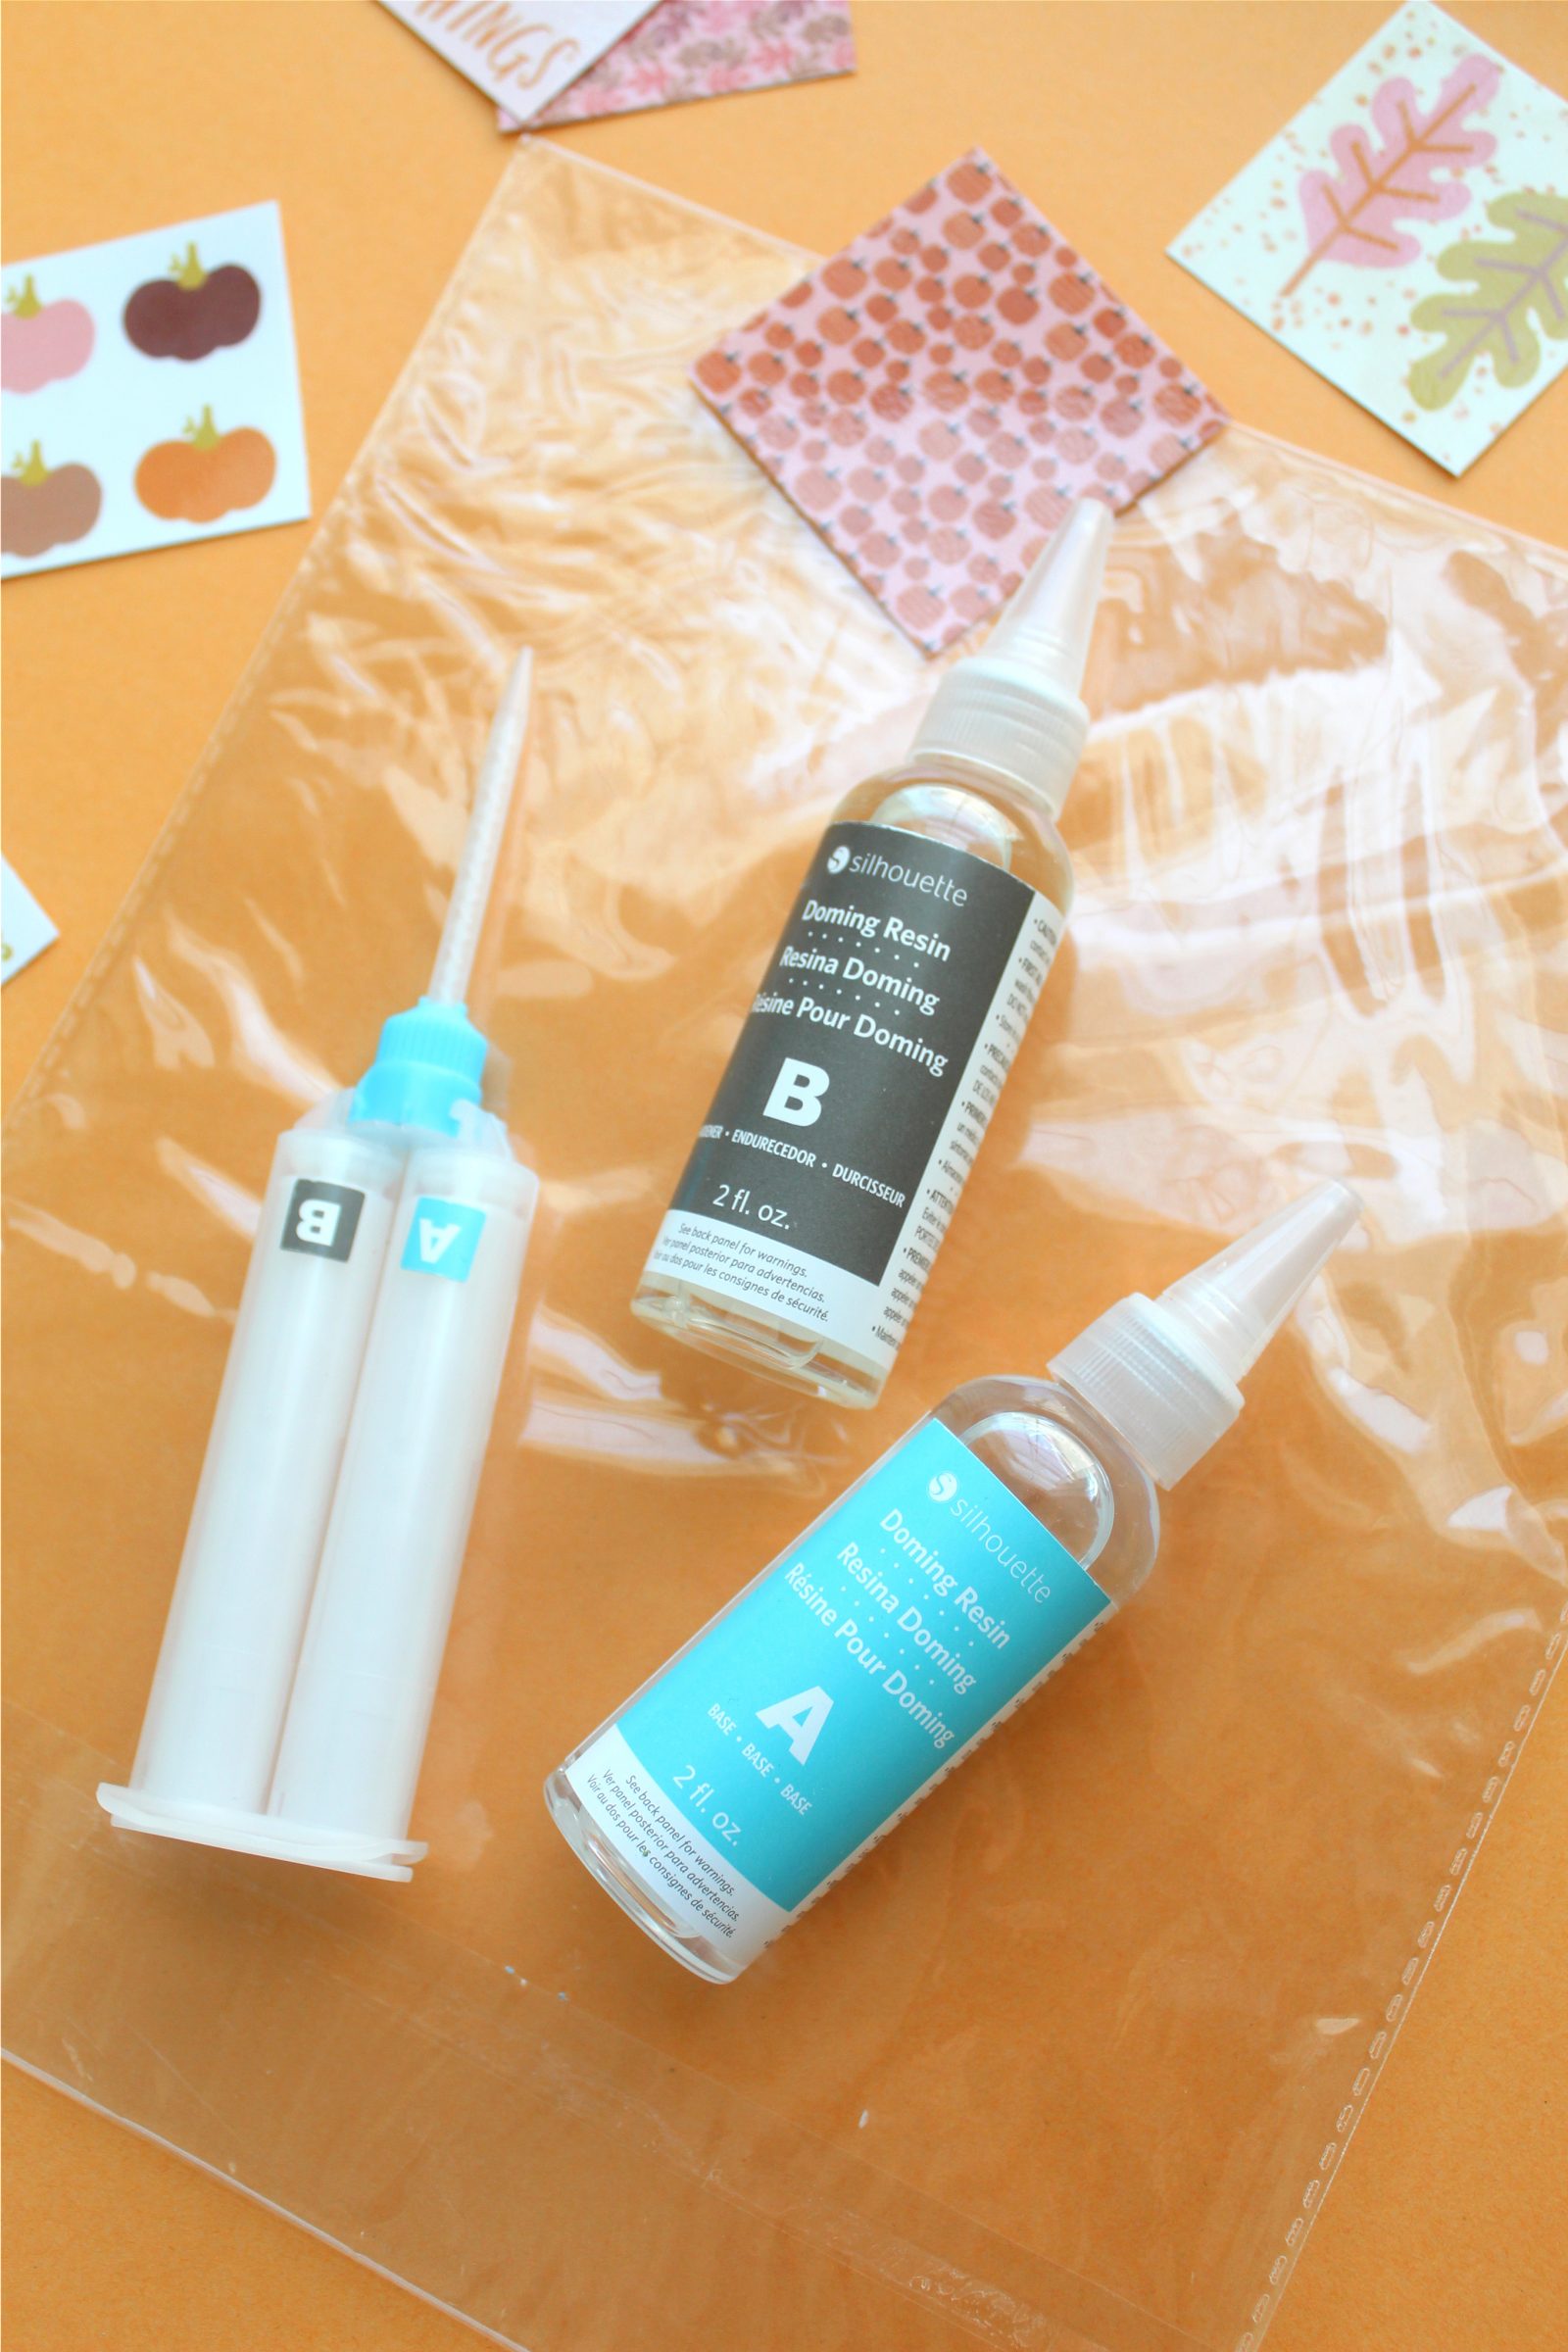
Step 6. Slowly apply the epoxy resin onto the surface of your cutout design, starting from the outer edge and moving toward the inside of the design. Be careful not to over-apply the resin as the resin may overflow off the edge of your cutout design. Allow the resin to set for 12 hours to fully cure and harden.

Step 7. Once the resin is fully cured, attach magnets to the backs of your designs using glue.
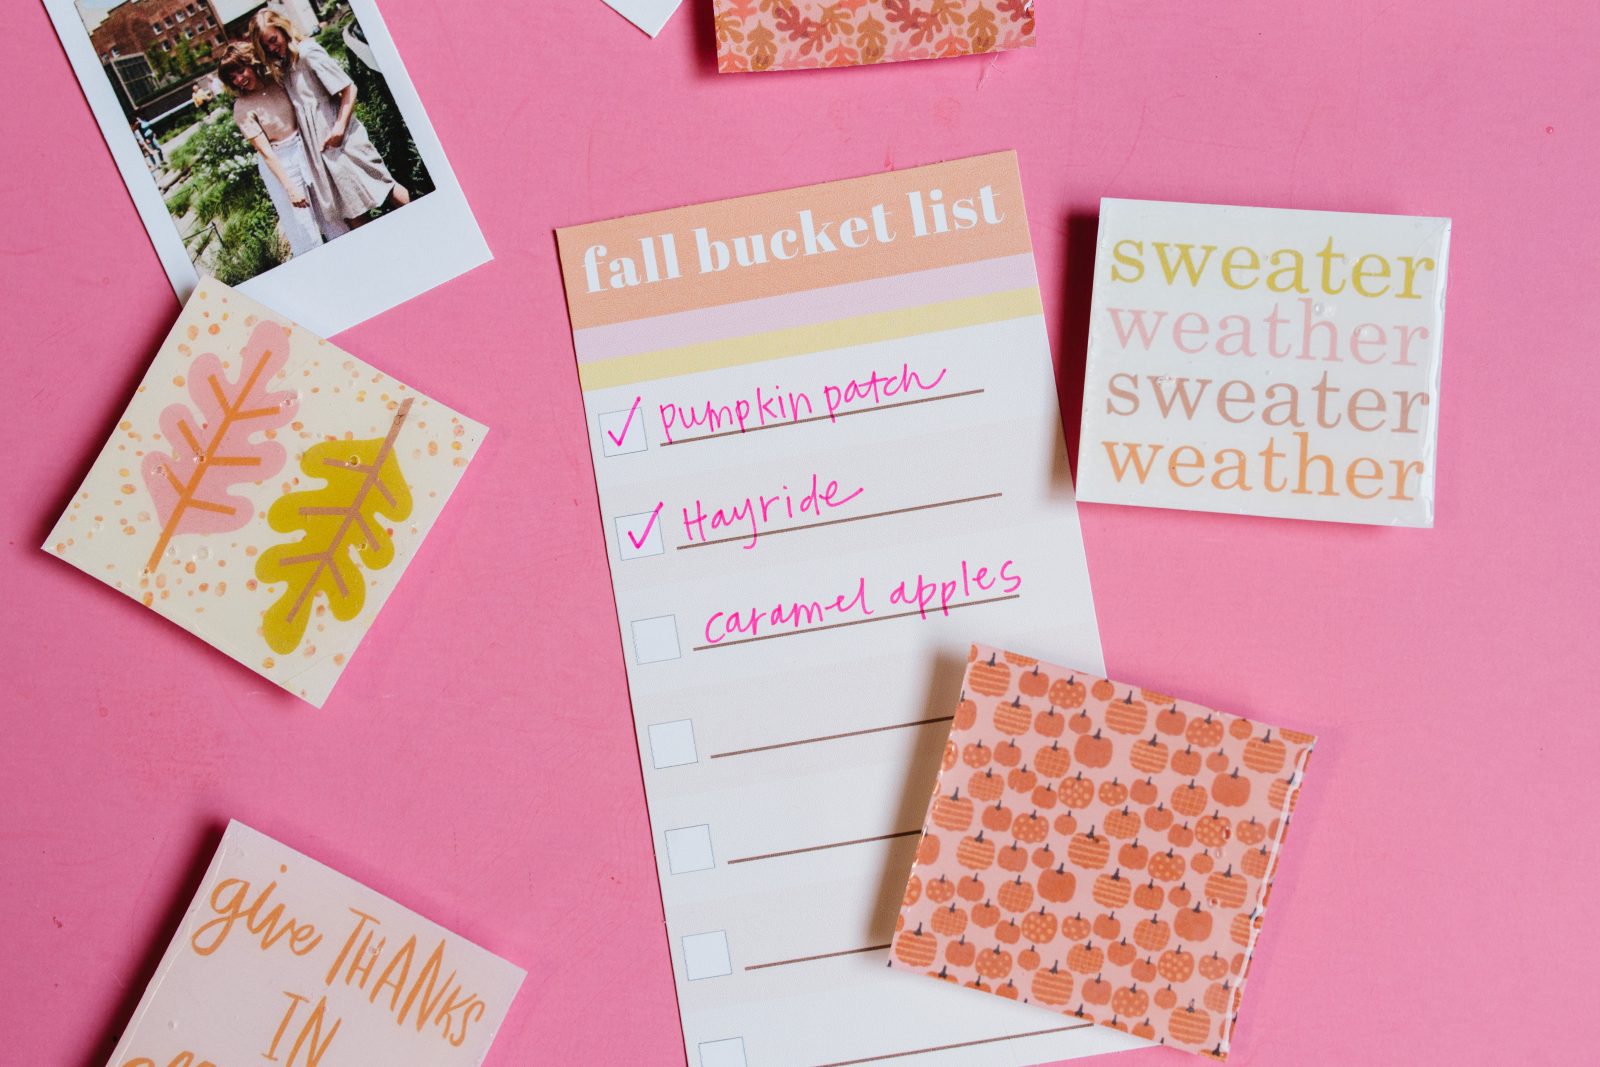
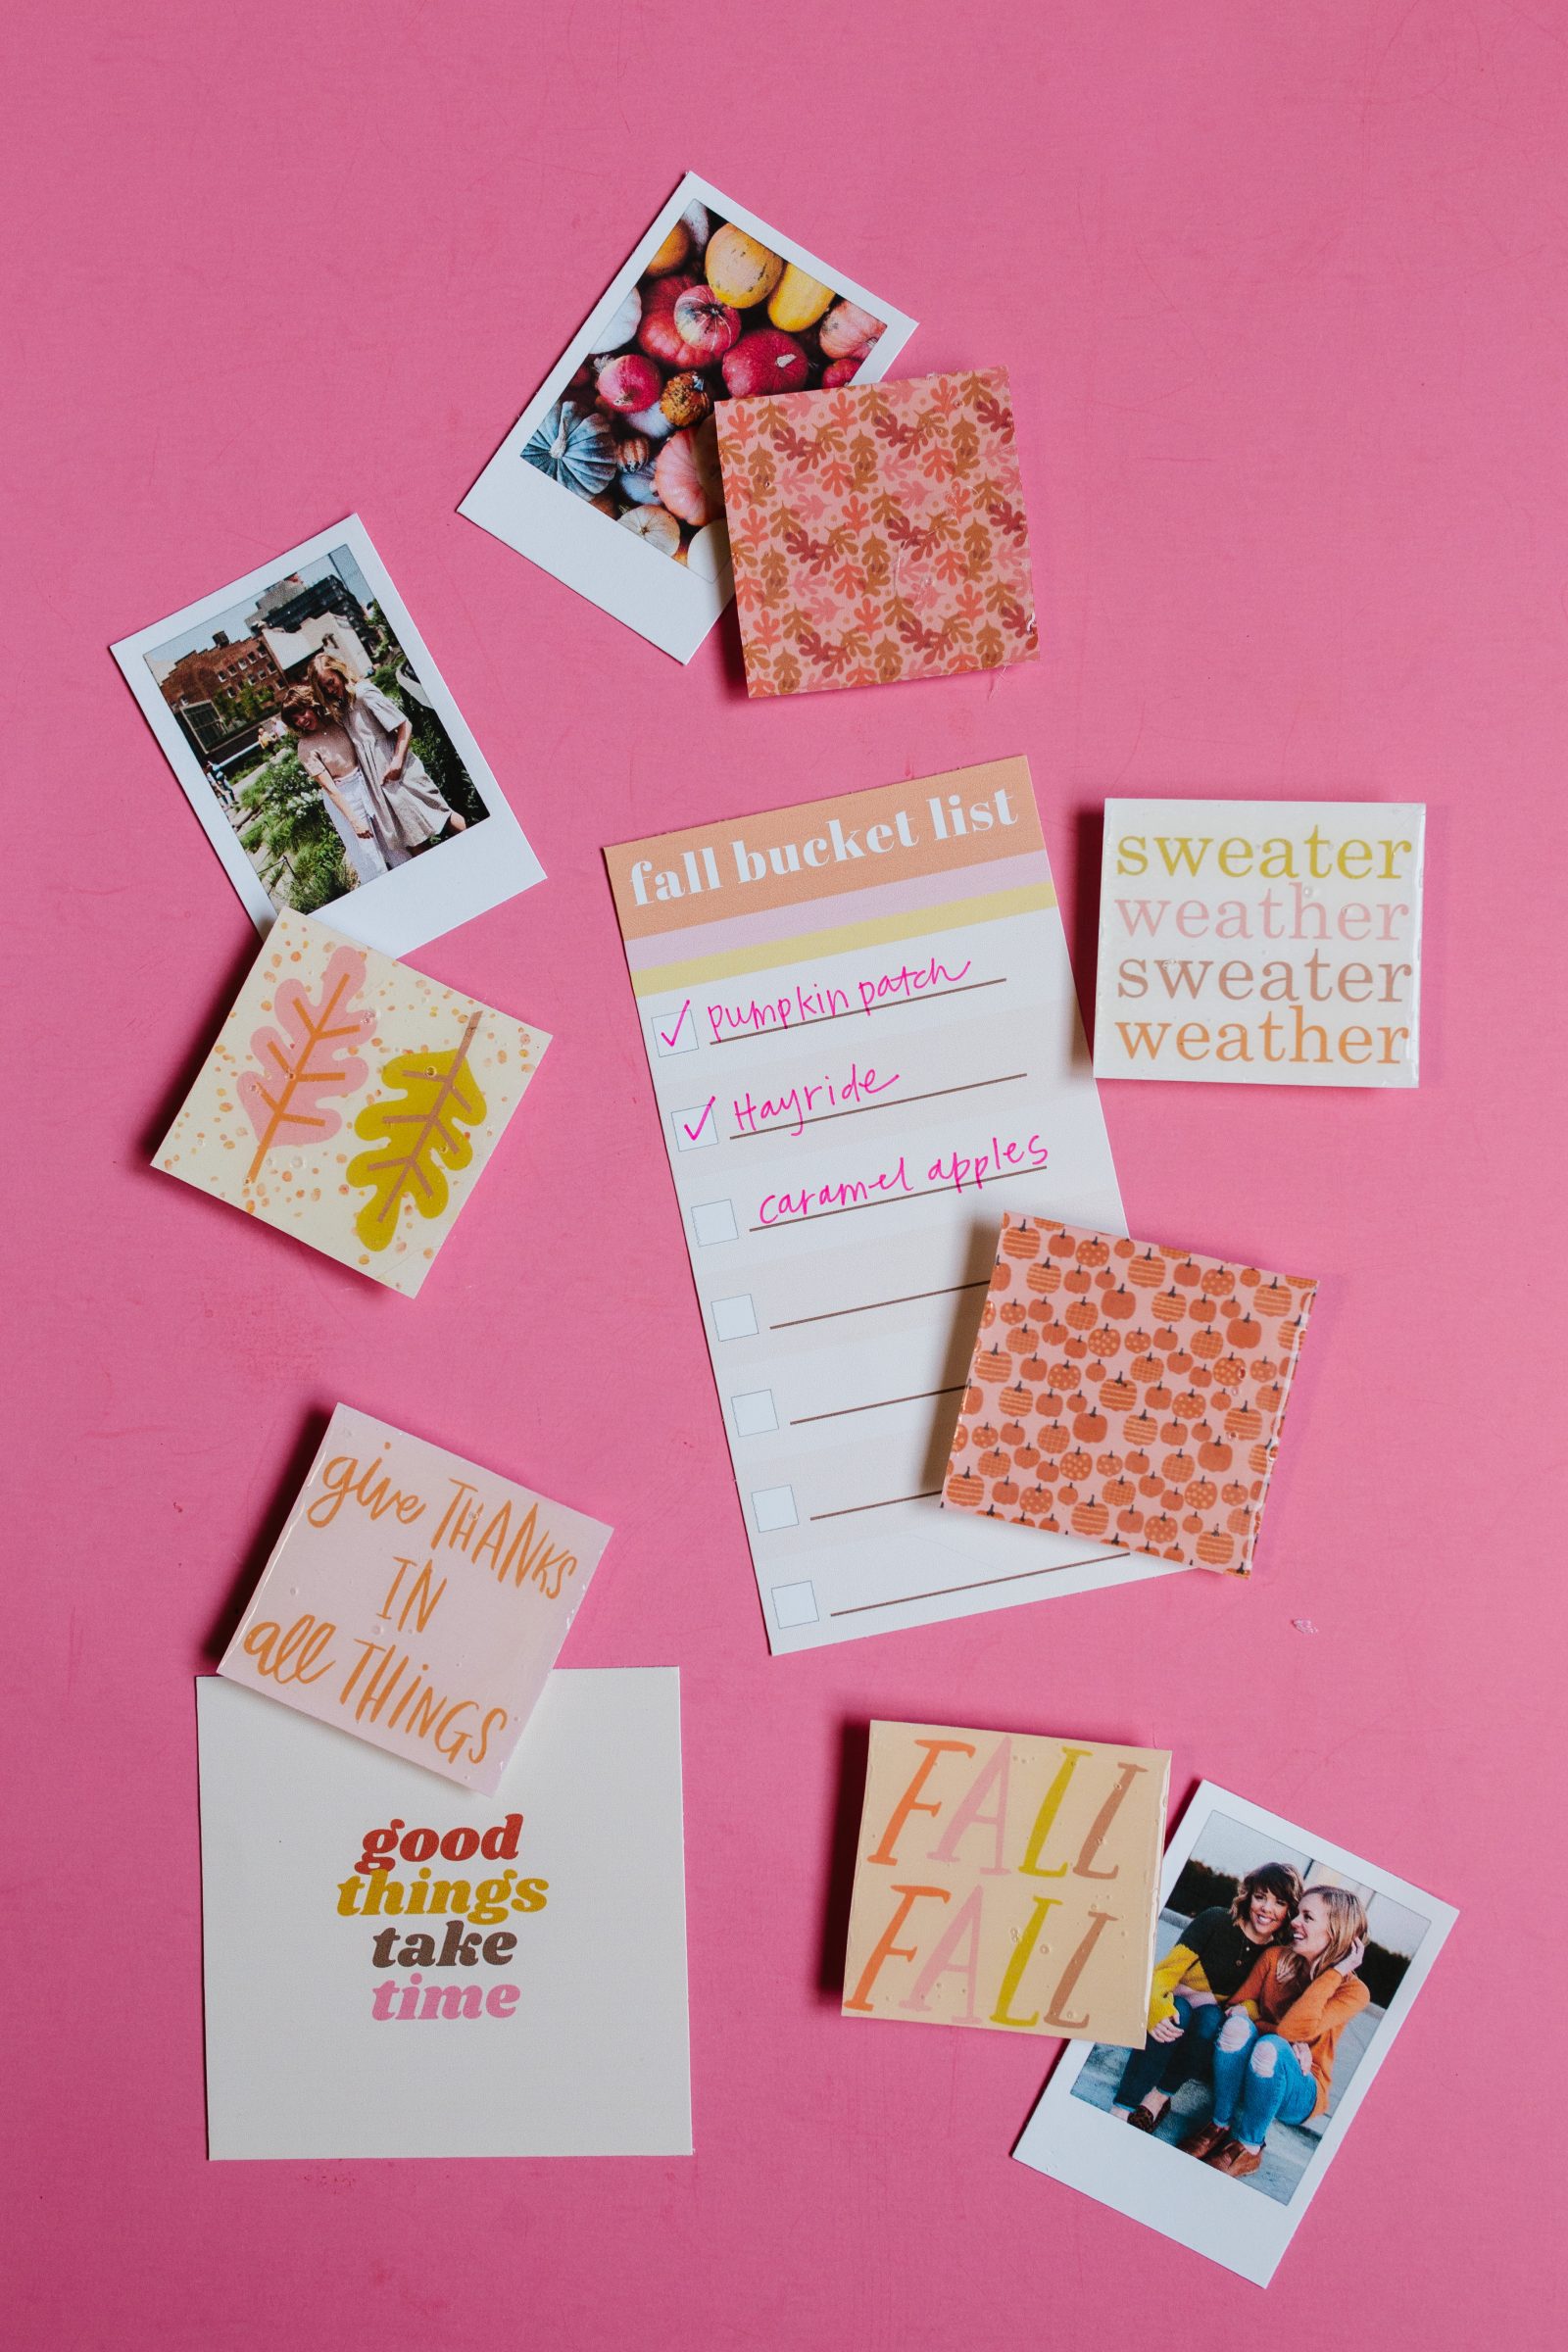
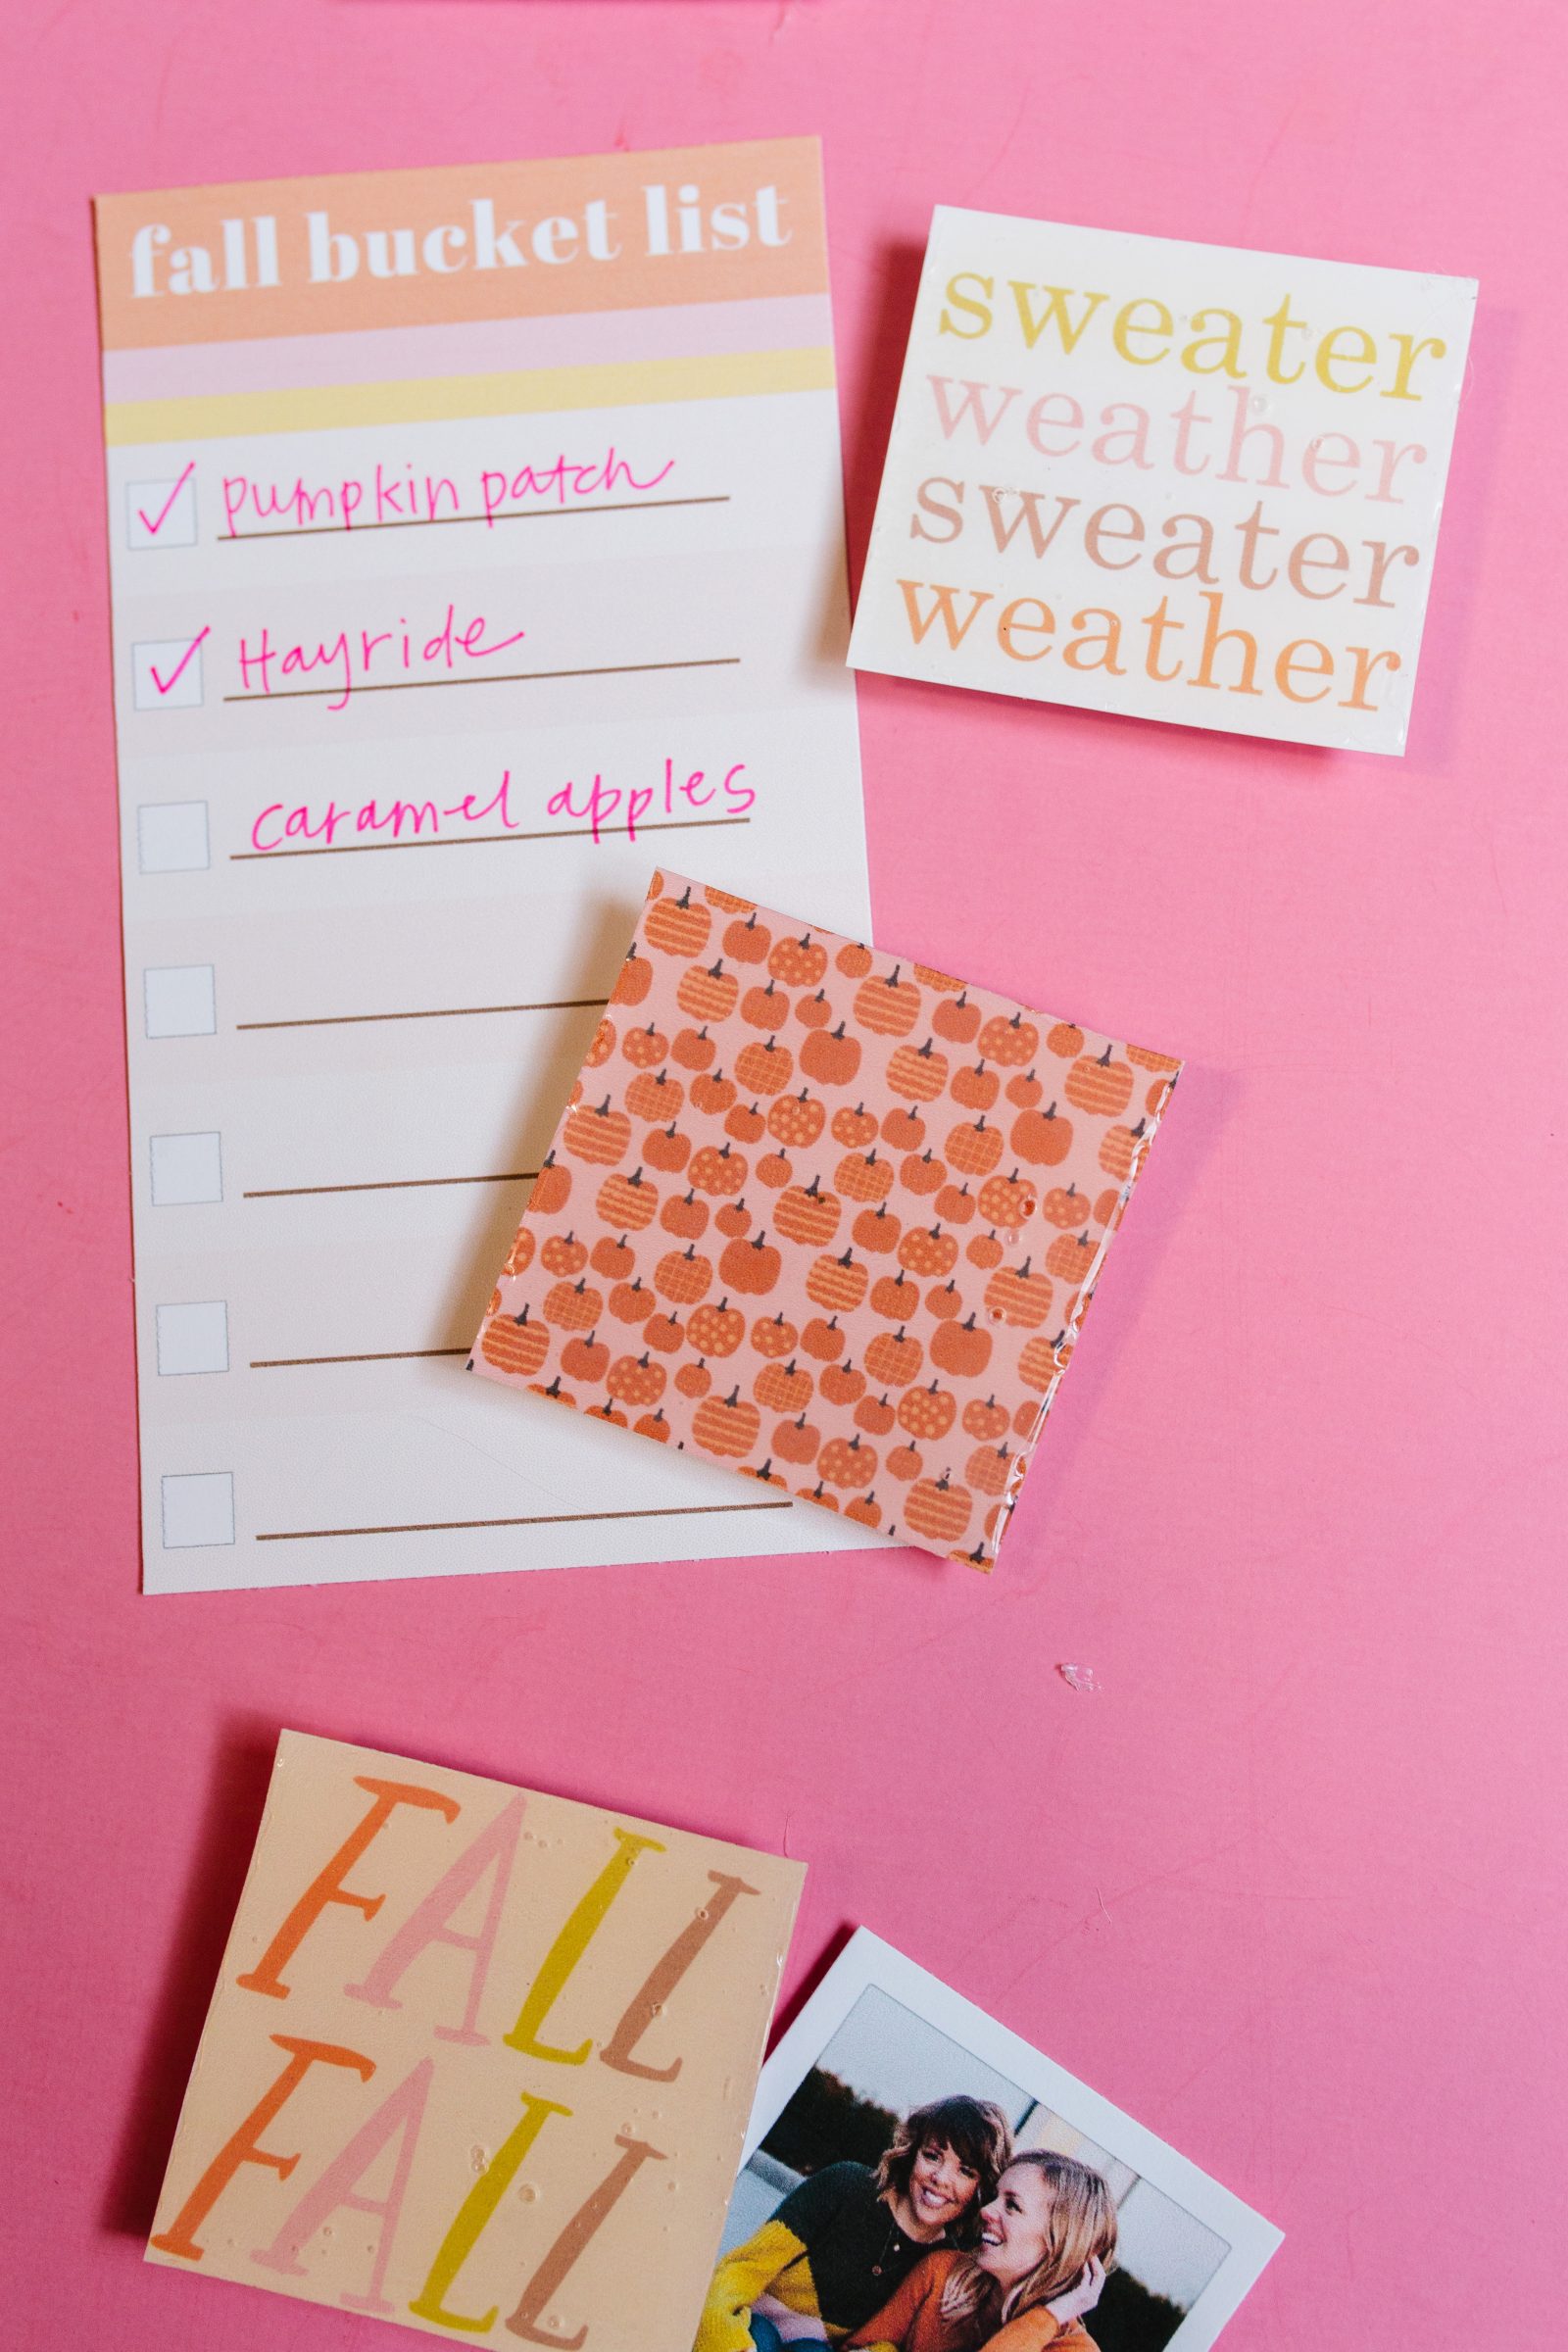
That’s it! Now your fridge will be ready for fall, too! Use them to hang up your fall bucket list, Polaroids of your trips to the pumpkin patch, and the recipe for the pumpkin bread you have been dying to make.

It was so fun to try out this method and we loved the cool dimension the doming resin gives to these magnets! Plus, with all of the amazing designs in the Silhouette Design Store, the possibilities for what you can make are endless!


What projects are on YOUR list for fall making? We’d love to hear all about them!
Happy making!
xo, Liz