This DIY Leopard Costume is sponsored by Silhouette. All opinions are ours alone.
This post may contain affiliate links, which help us support this site.
Leopard print is most definitely considered a neutral in my closet. I have it on shoes, dresses, sweatshirts, pants, and tees, and anytime I see it in the store I think I need more. So, it only made sense when we were creating the last costume in our cape costume series to bring some leopard print into the mix! We fell in love with these cozy sweater poncho capes that we used for our spooky spider cape costume, and had to use another one to make a comfy and chic leopard costume come to life! To do this we used our Silhouette Cameo 4 and some black and brown heat transfer vinyl to create our leopard pattern, then we used Silhouette printable tattoo paper to make the perfect spots for our skin!
Here is what you’ll need to make your own:

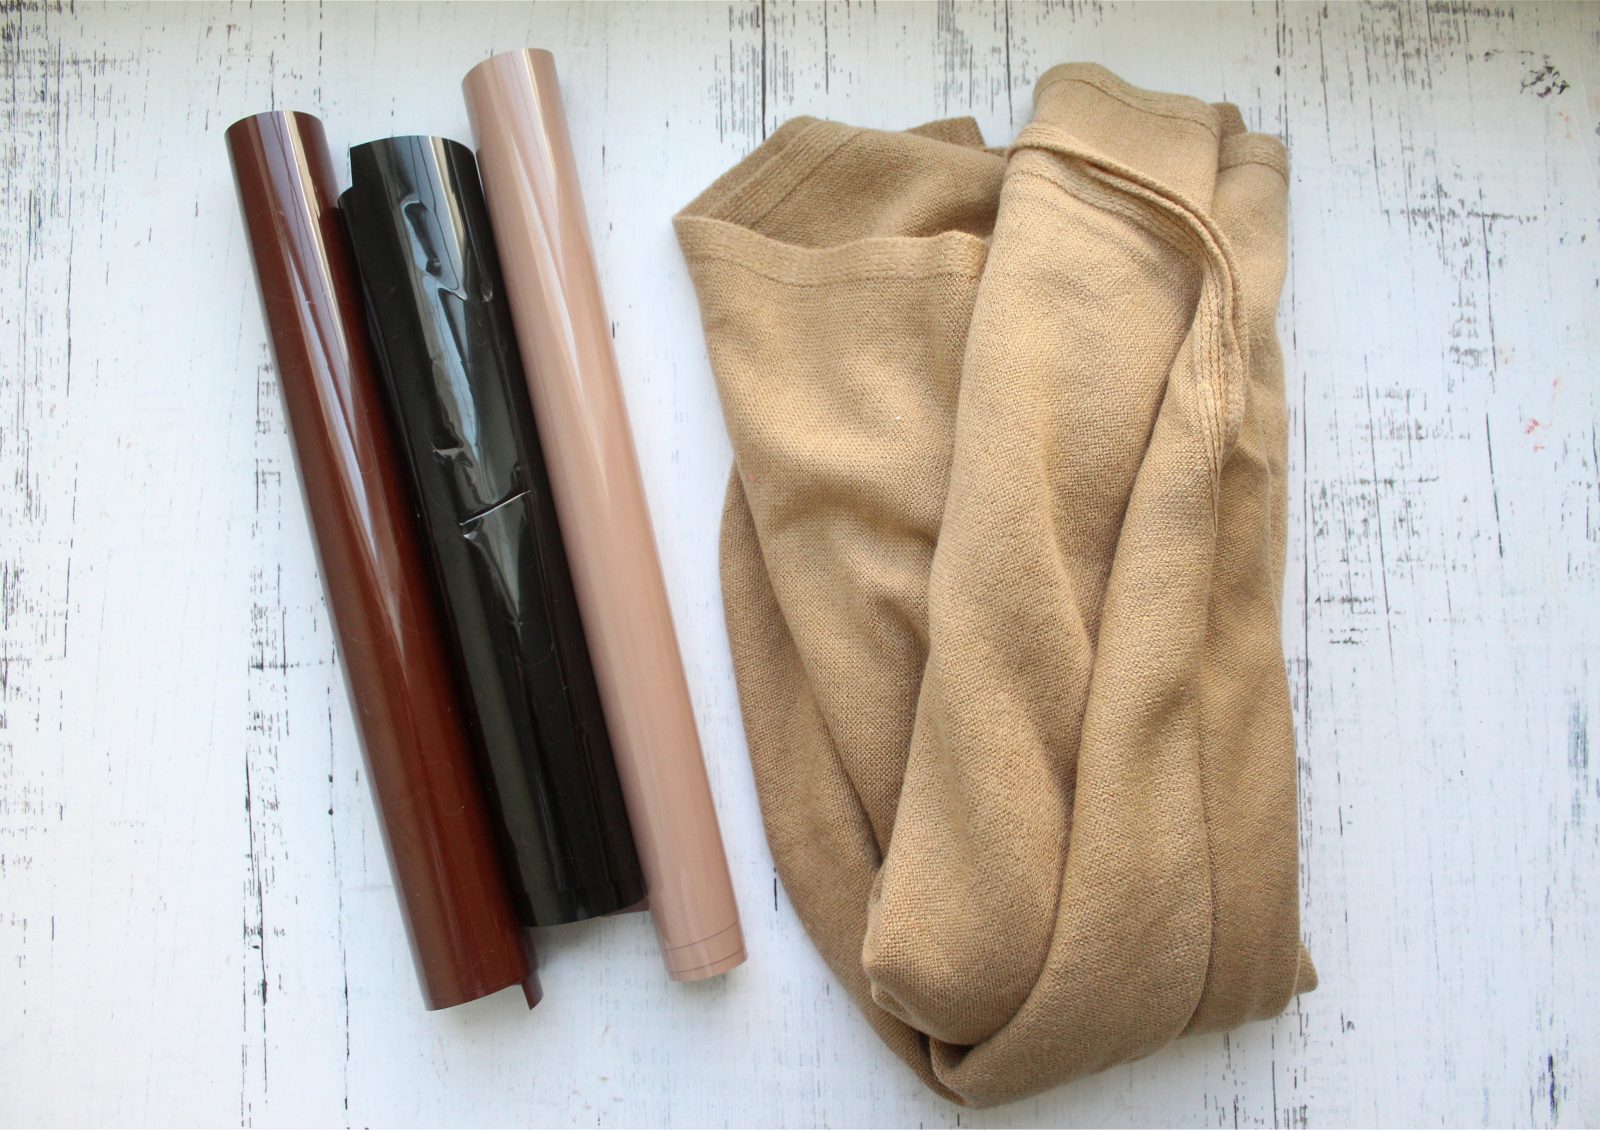
Supplies needed to make your own DIY Leopard Costume
Silhouette Cameo 4
Silhouette Heat Transfer Vinyl
Leopard Print Design
Poncho
Silhouette Tattoo Paper
Leopard Headband (We found ours at the Dollar Tree!)
How to make a DIY Leopard Costume
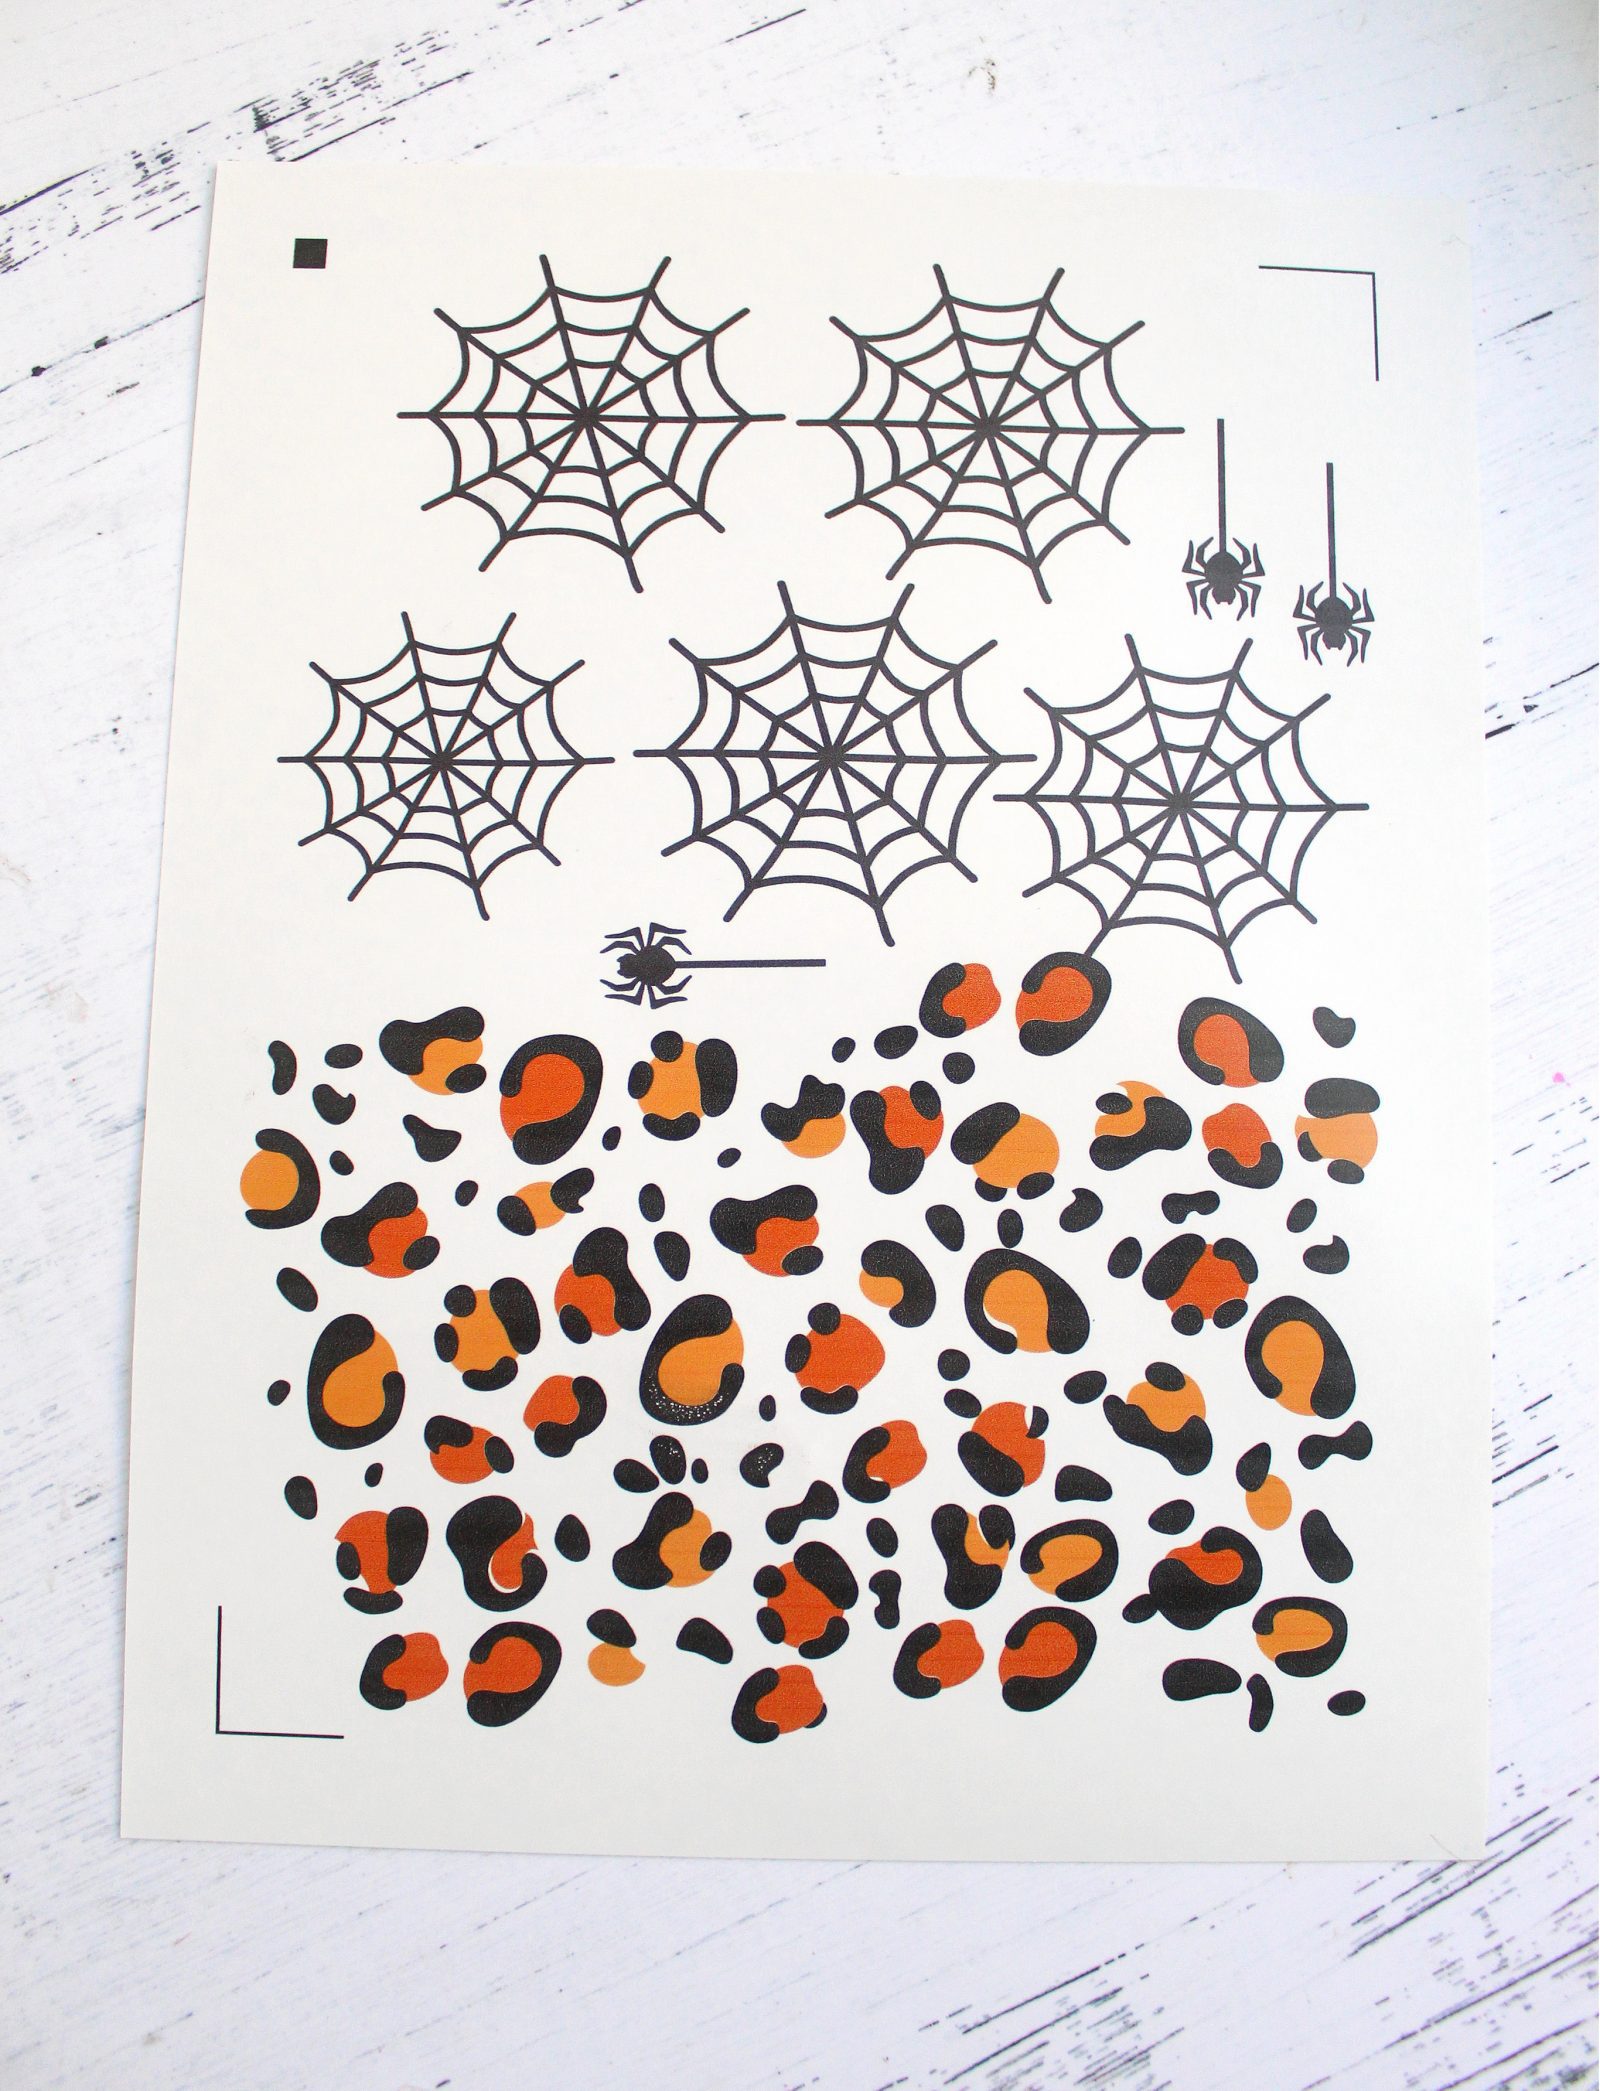
Step 1: Load your leopard print design from the Silhouette Design Store into your Silhouette Studio software. Lay out your poncho to determine the size you would like your spots web to be, then adjust your design to the correct size in Silhouette Studio.
Step 2: Assign a color to the inside and outside of your spots so you can cut them by color. Click the Line or Fill tab in the Send panel. You’ll see each of your line or fill colors (respectively) in the list. Double check the Materials and Actions for each color. To cut each color separately, add a pause after each color so you can switch out the material. After you’ve loaded your first color into your machine and started cutting, the machine will pause after it finishes each color and allow you to unload your material. After you have switched the color and loaded it into the machine, click Resume in the software. Repeat with each color.
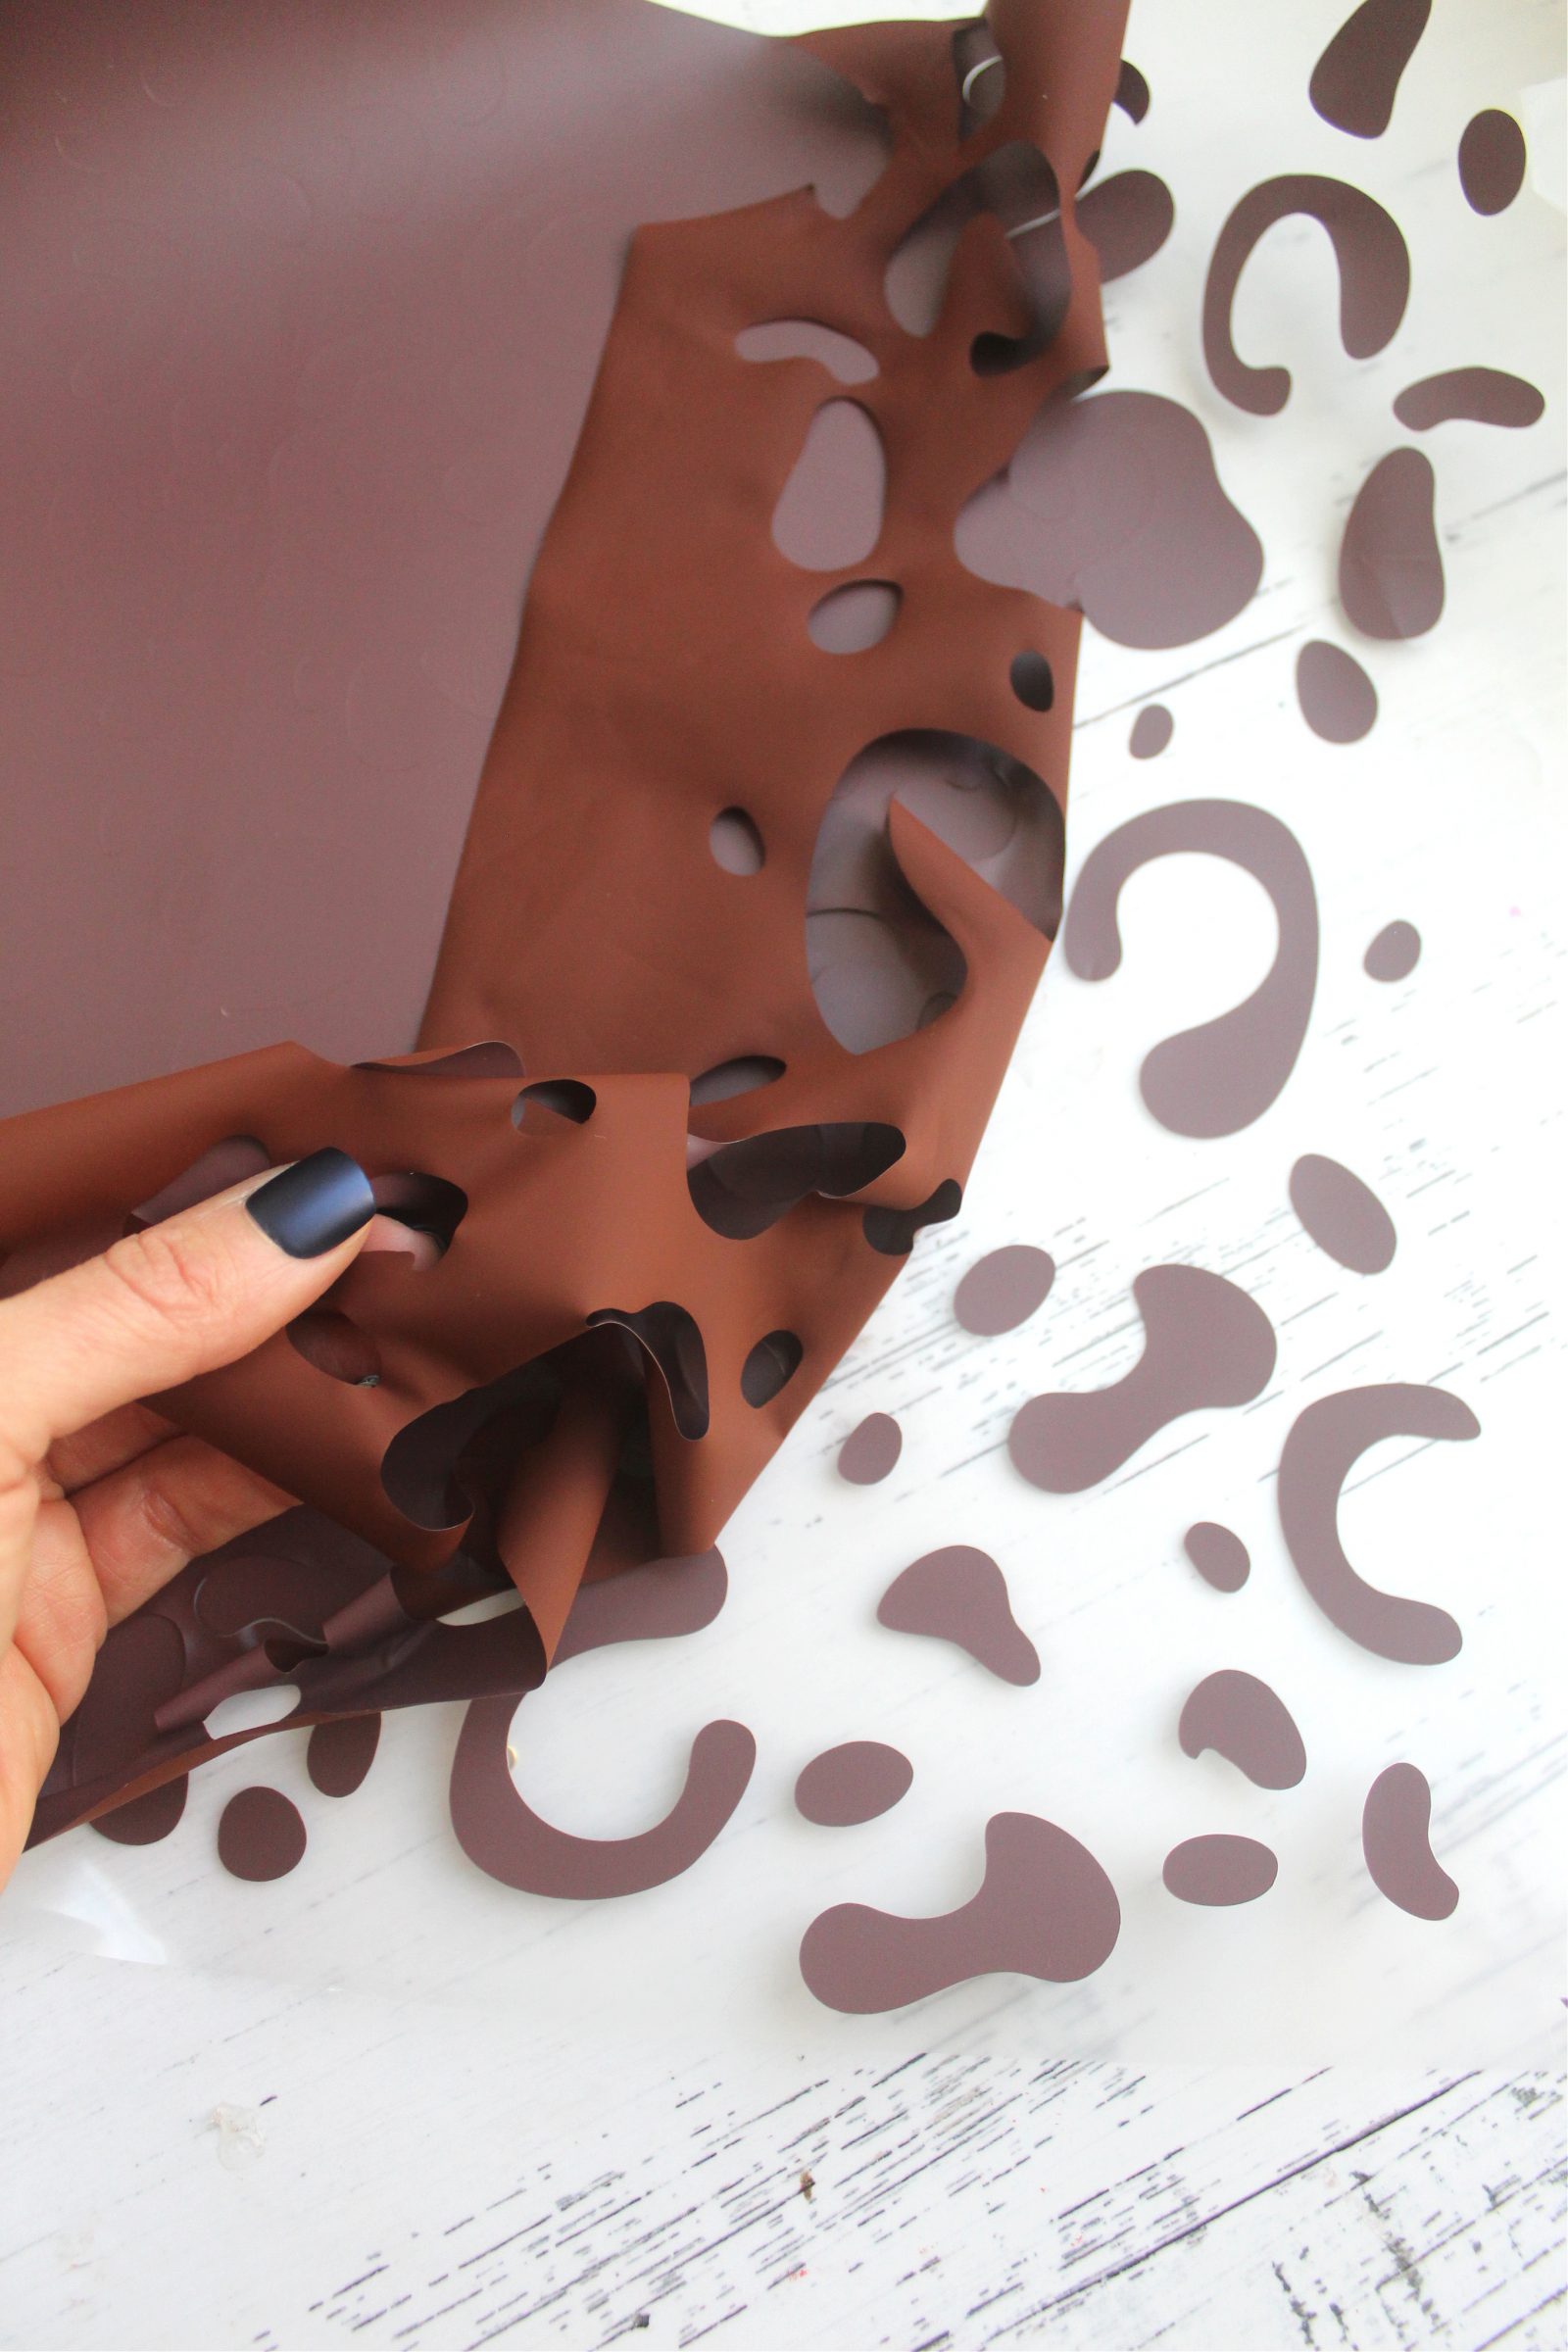
Step 3: Weed your design and remove all excess vinyl.
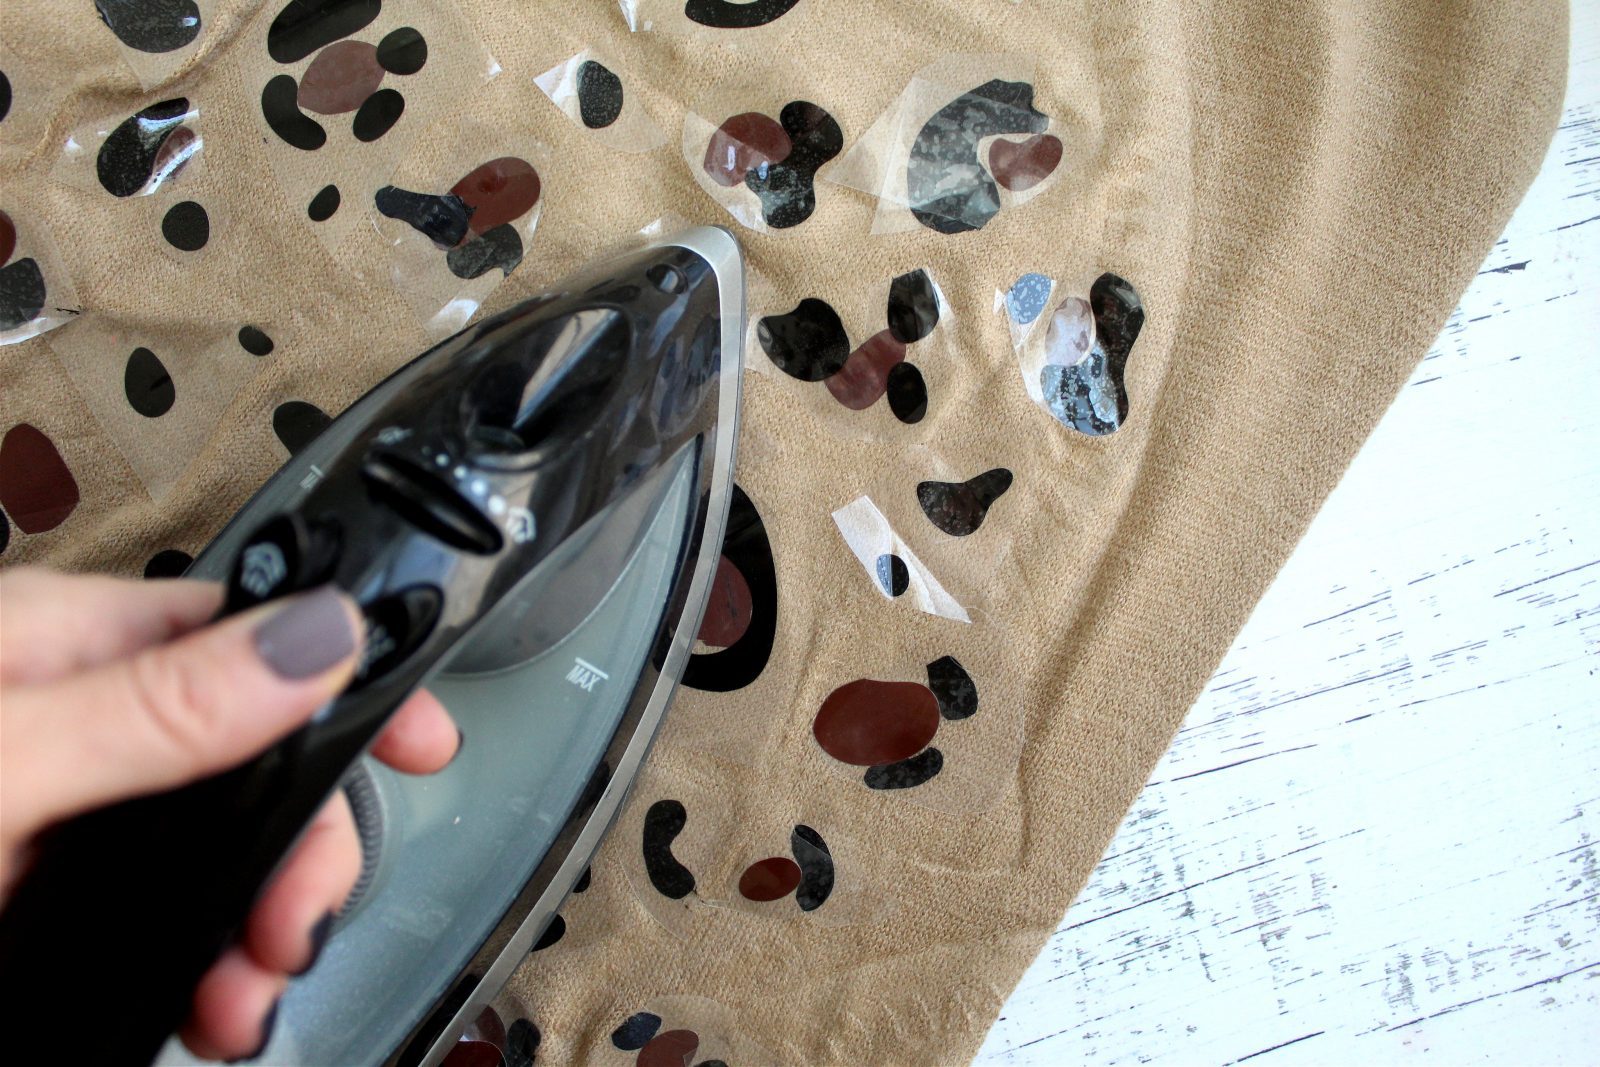
Step 4. If you like the way the spots are arranged on your vinyl backing, lay down the inner color of the spots and press them to the poncho with a hot, dry iron. Press the spots in 30 second increments until adhered. Remove the backing on the first layer of spots.
Tip: If you’d like to arrange exactly where the spots go after they are cut, simply use scissors to cut them into loose spots with the backing still attached and iron them on individually.
Step 5. Lay the outer layer of the spots over the inner layer and press until adhered.
Step 6: Go back into your Silhouette Studio Software and resize your spots to a couple of inches wide. Turn on registration marks in the page setup tab and ensure that your design is within the marks. Then, print them on your Silhouette Tattoo paper.
Step 7. Load your tattoo paper back into your Cameo, adjust your cut settings to tattoo paper and send to your machine to cut.
Step 8: Apply the leopard spot tattoos to your face using a wet paper towel.


That’s it! Now you are ready to go on the prowl for some Reese’s pumpkins, the MAIN Halloween candy worth mentioning here.
Anyway, this costume! So comfy and cozy, with touches of personality that are so easy to whip up with your Silhouette Cameo 4!


 Happy making!
xo, Liz