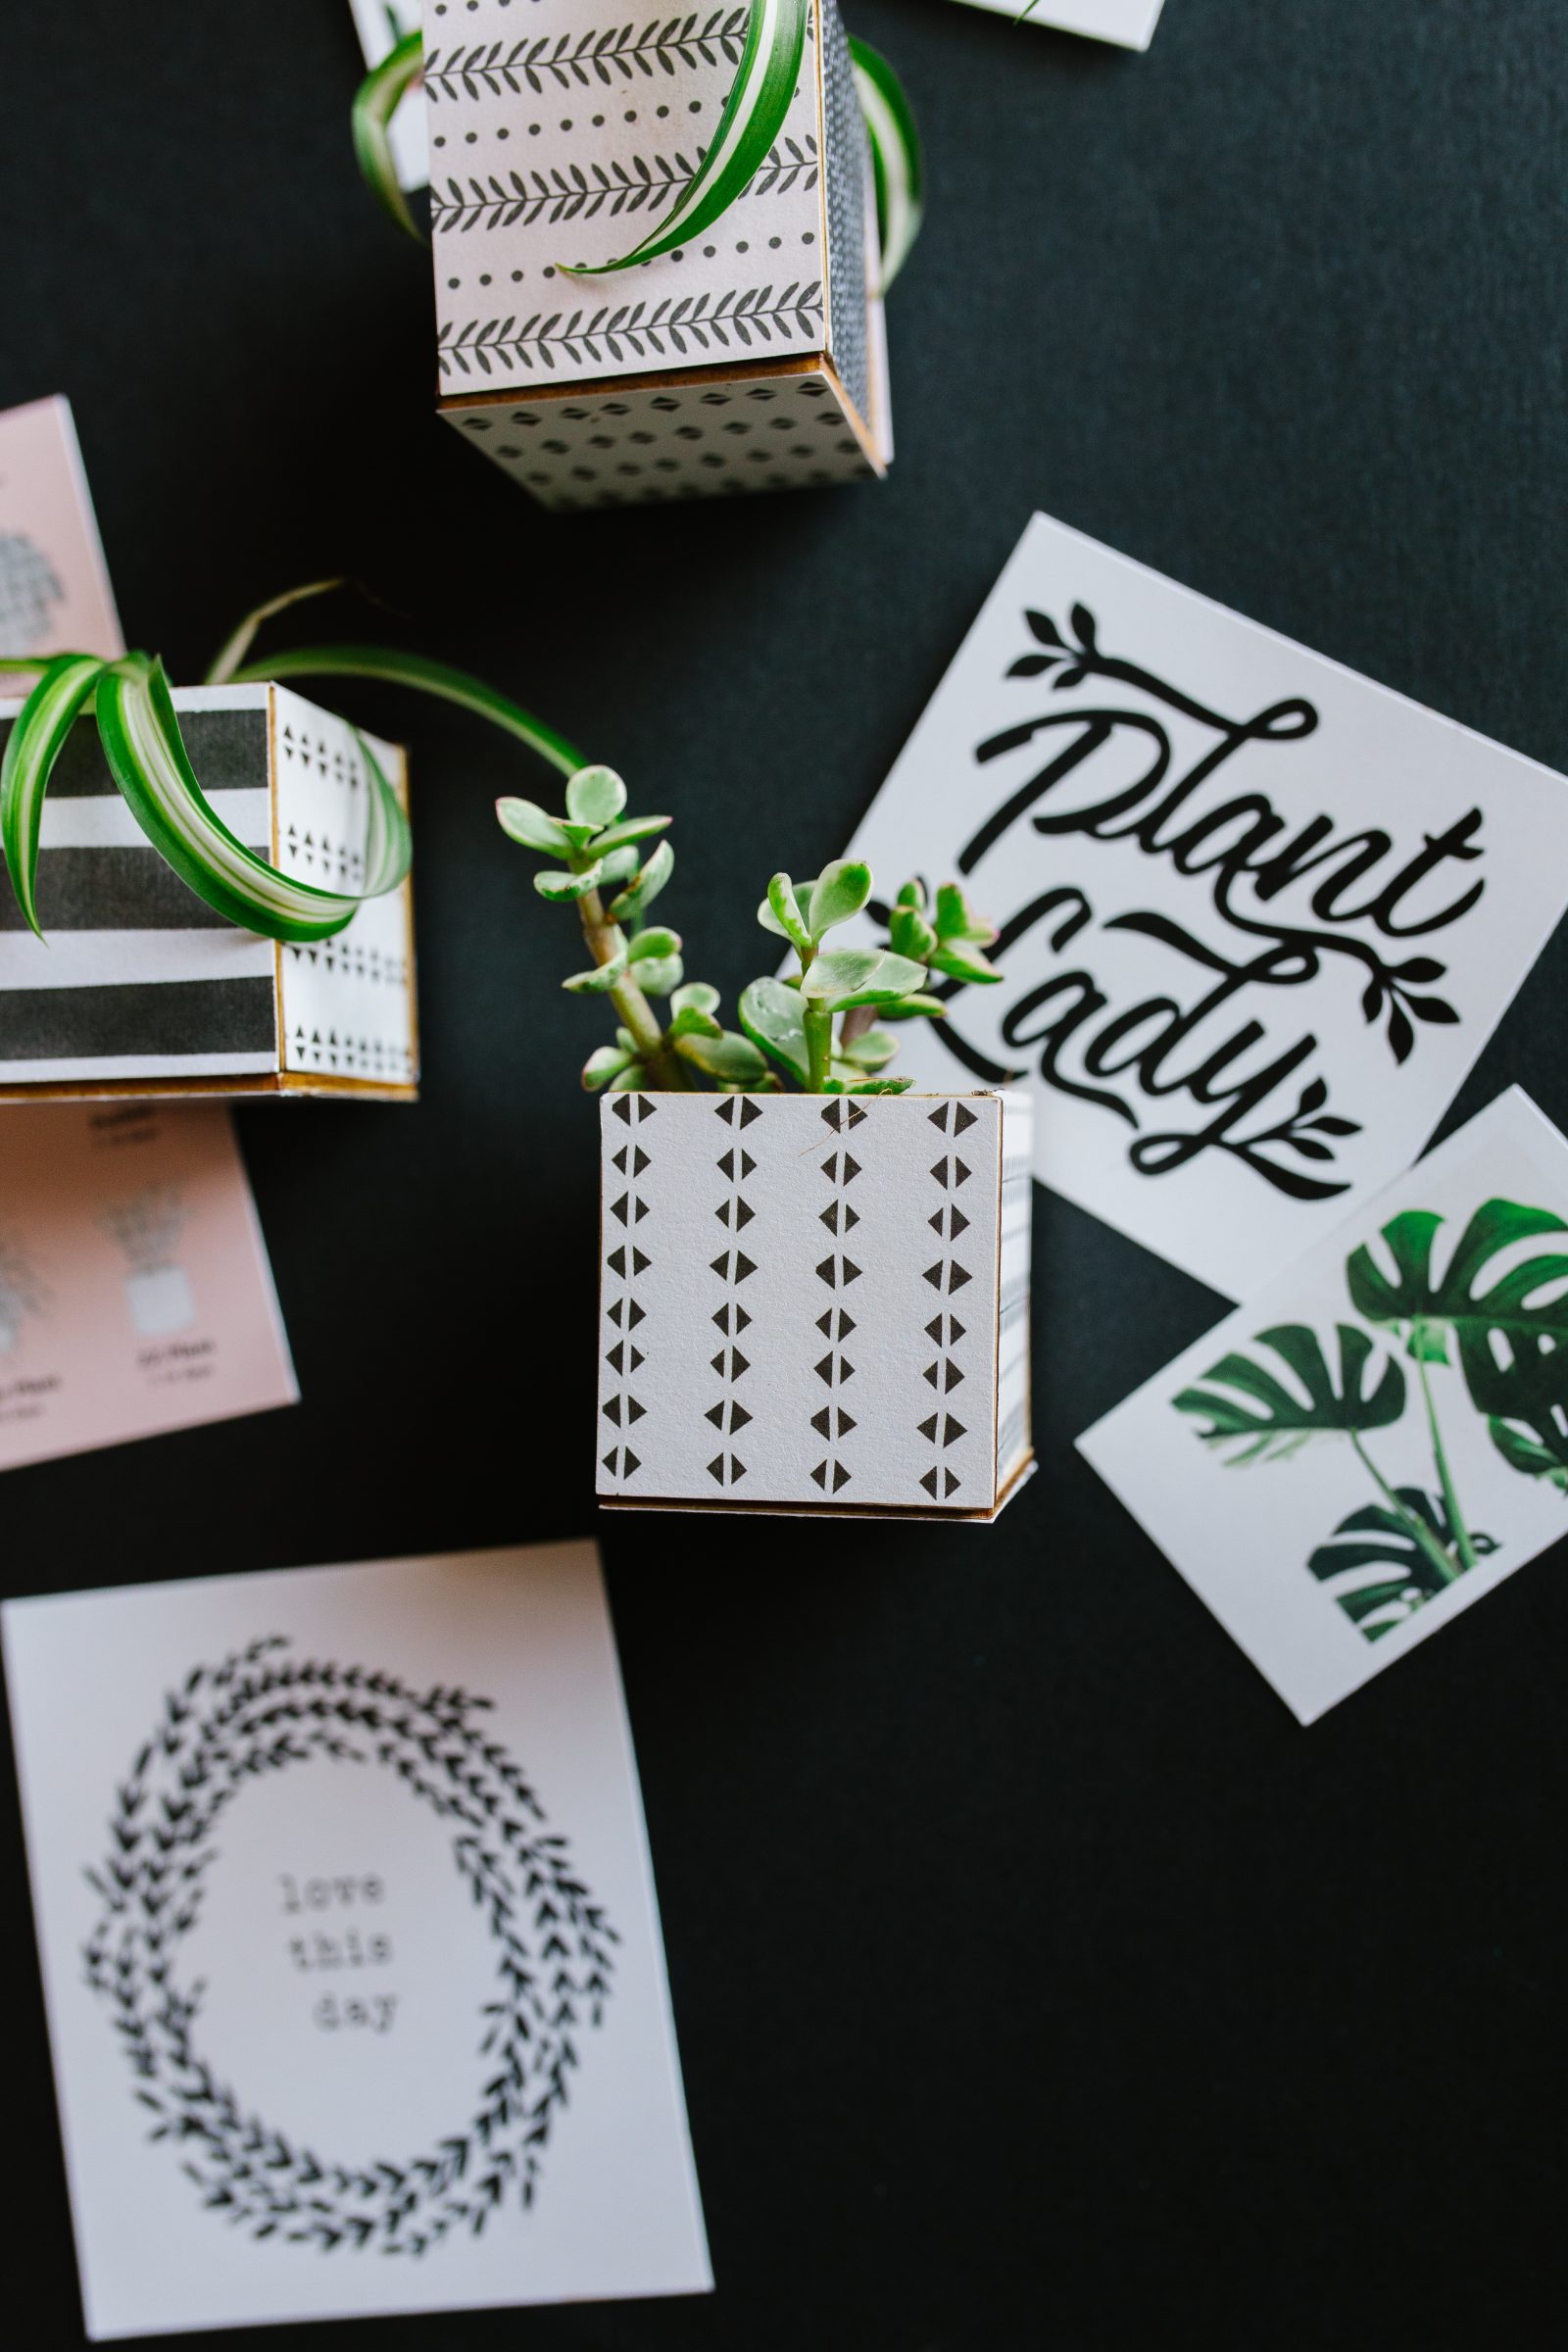
A little known fact about the PLG’s is that we are major plant ladies. We shop for plants together. We discuss our plants. We fuss over our plants. We look through Instagram to see the plants of the other plant ladies we know, and we adore each plant (big or small!) that we have brought into our homes. The only problem is trying to make juuust a tiny bit more space on each windowsill to fit another one.
So, I had an idea! In my kitchen there is an entire surface that is getting just the right amount of filtered light for a couple of my plant babies, I only need to find the right way to utilize it! That’s right, I’m talking about the fridge! So, we decided to whip up some cute little magnetic planters, perfect for tiny plants (or faux ones), that are sure to bring renewed life to your fridge and let you bring a couple more tiny plants into your home. Here’s what you’ll need:

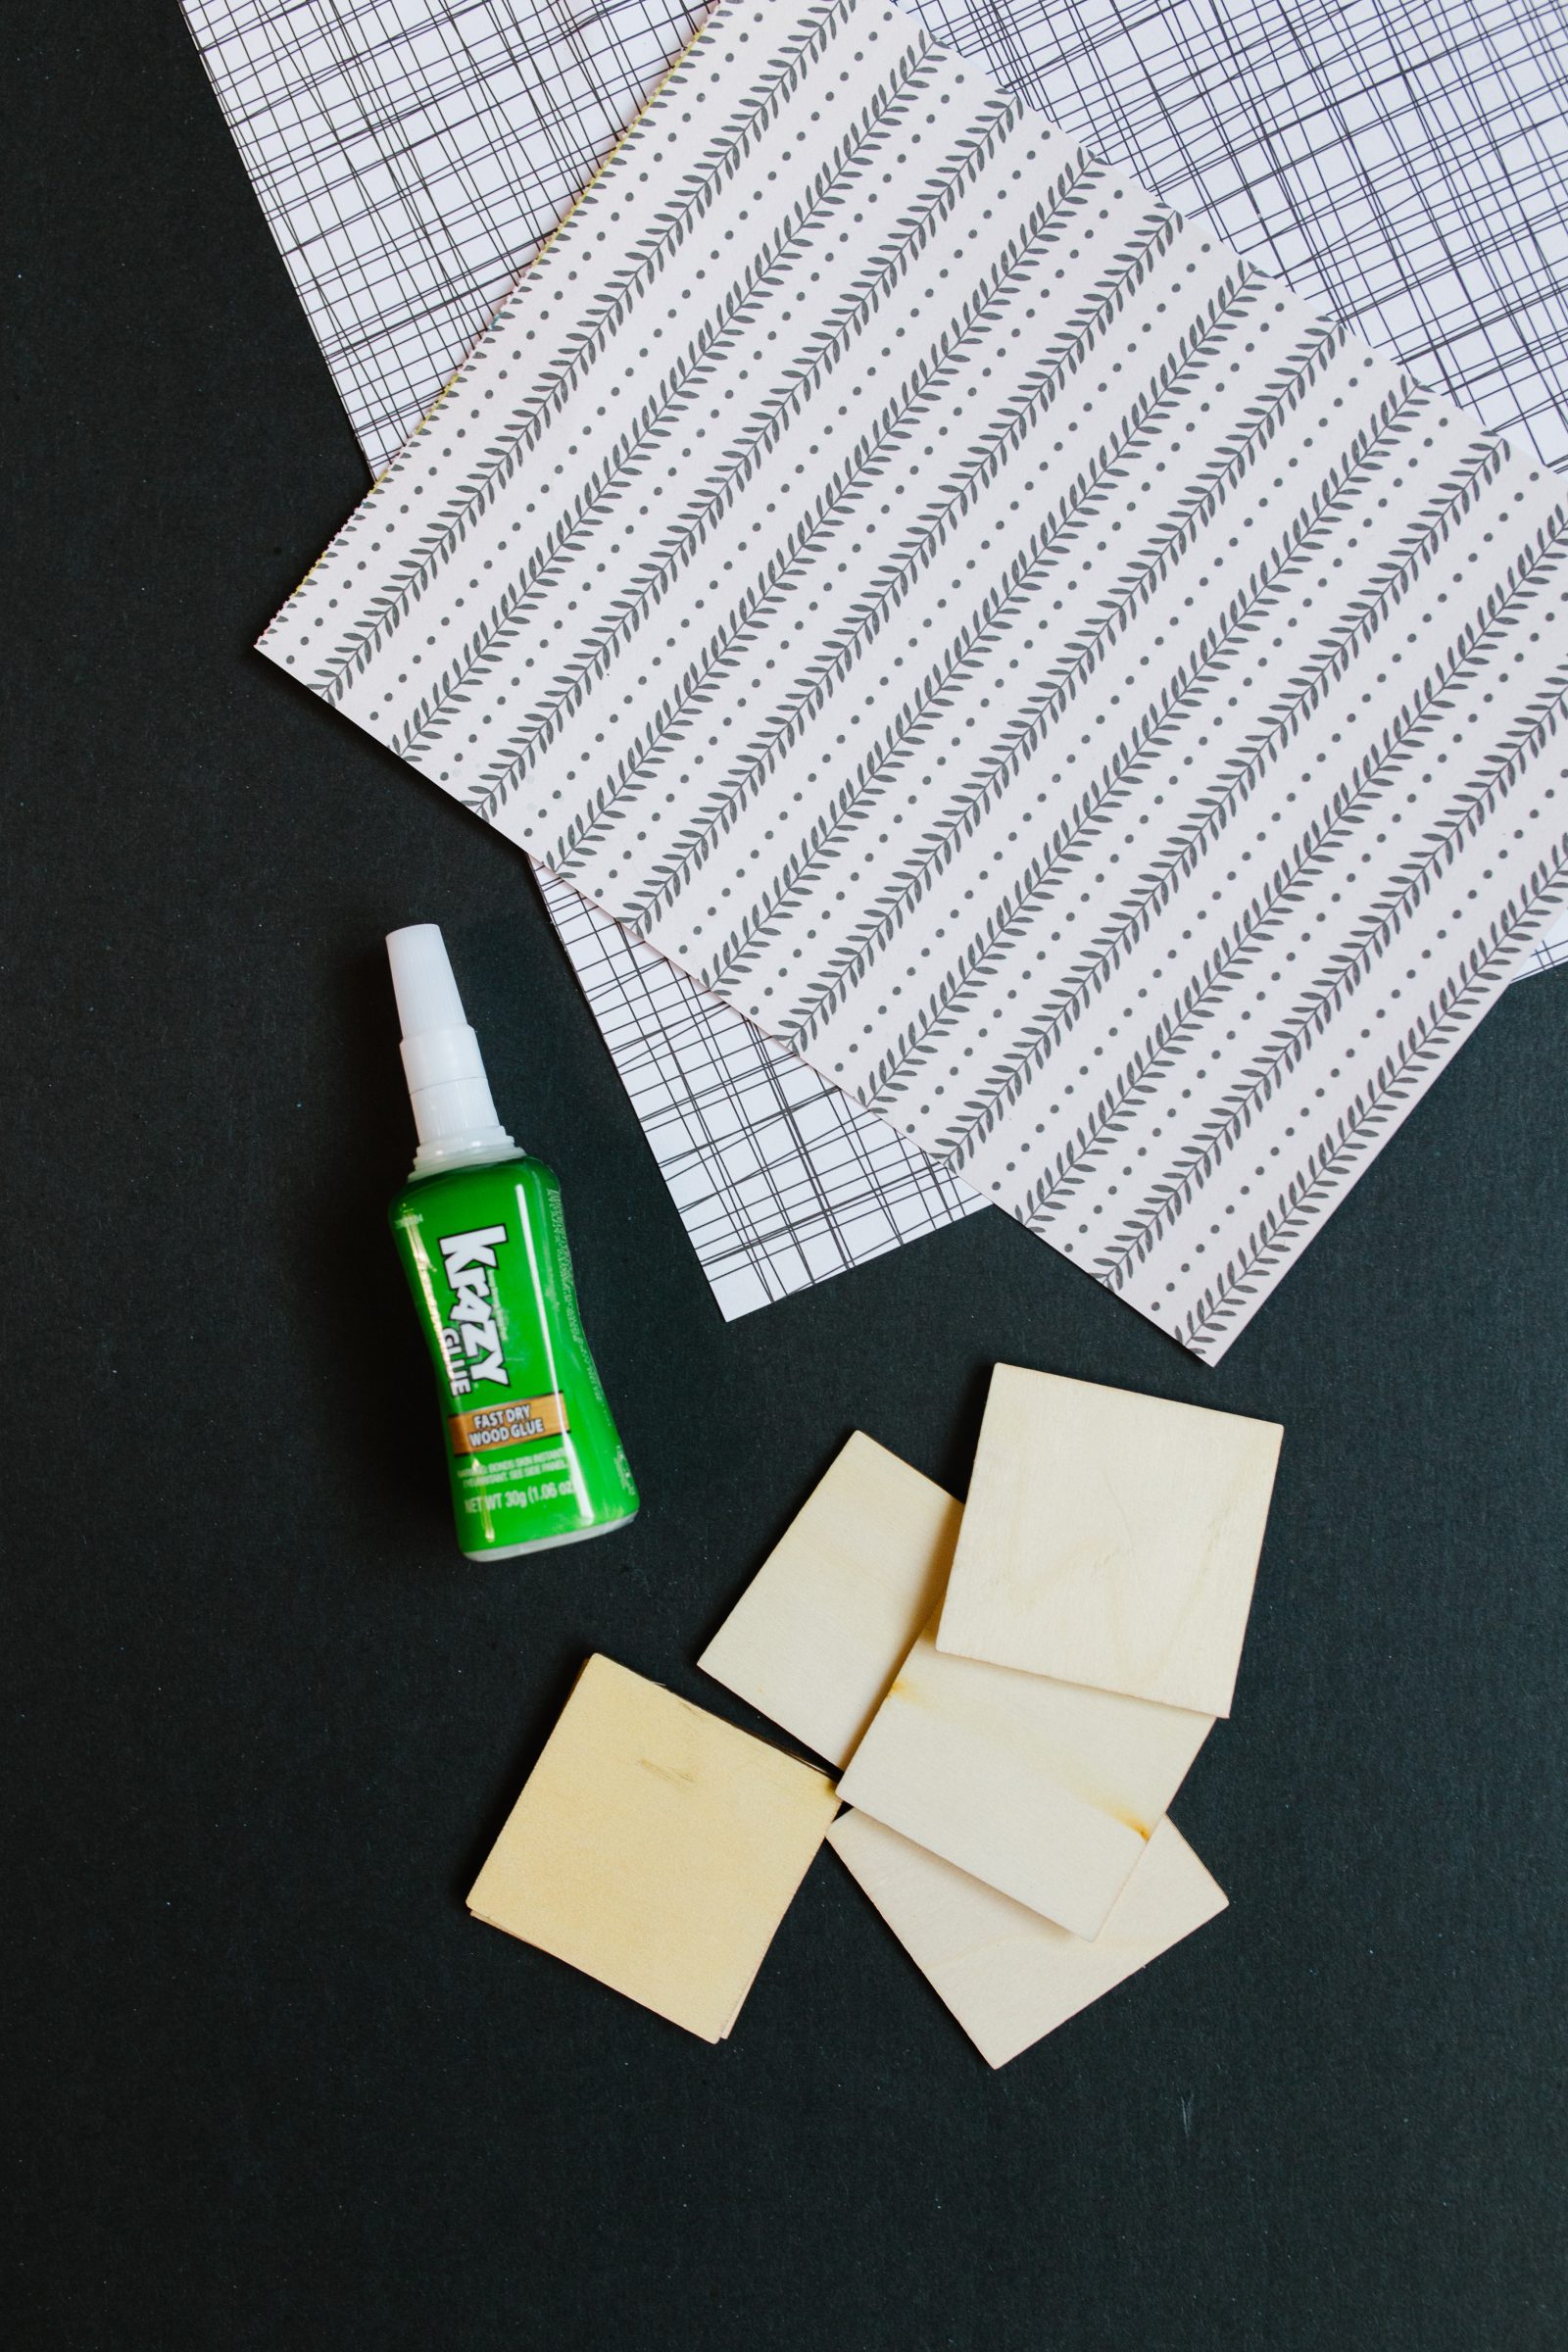
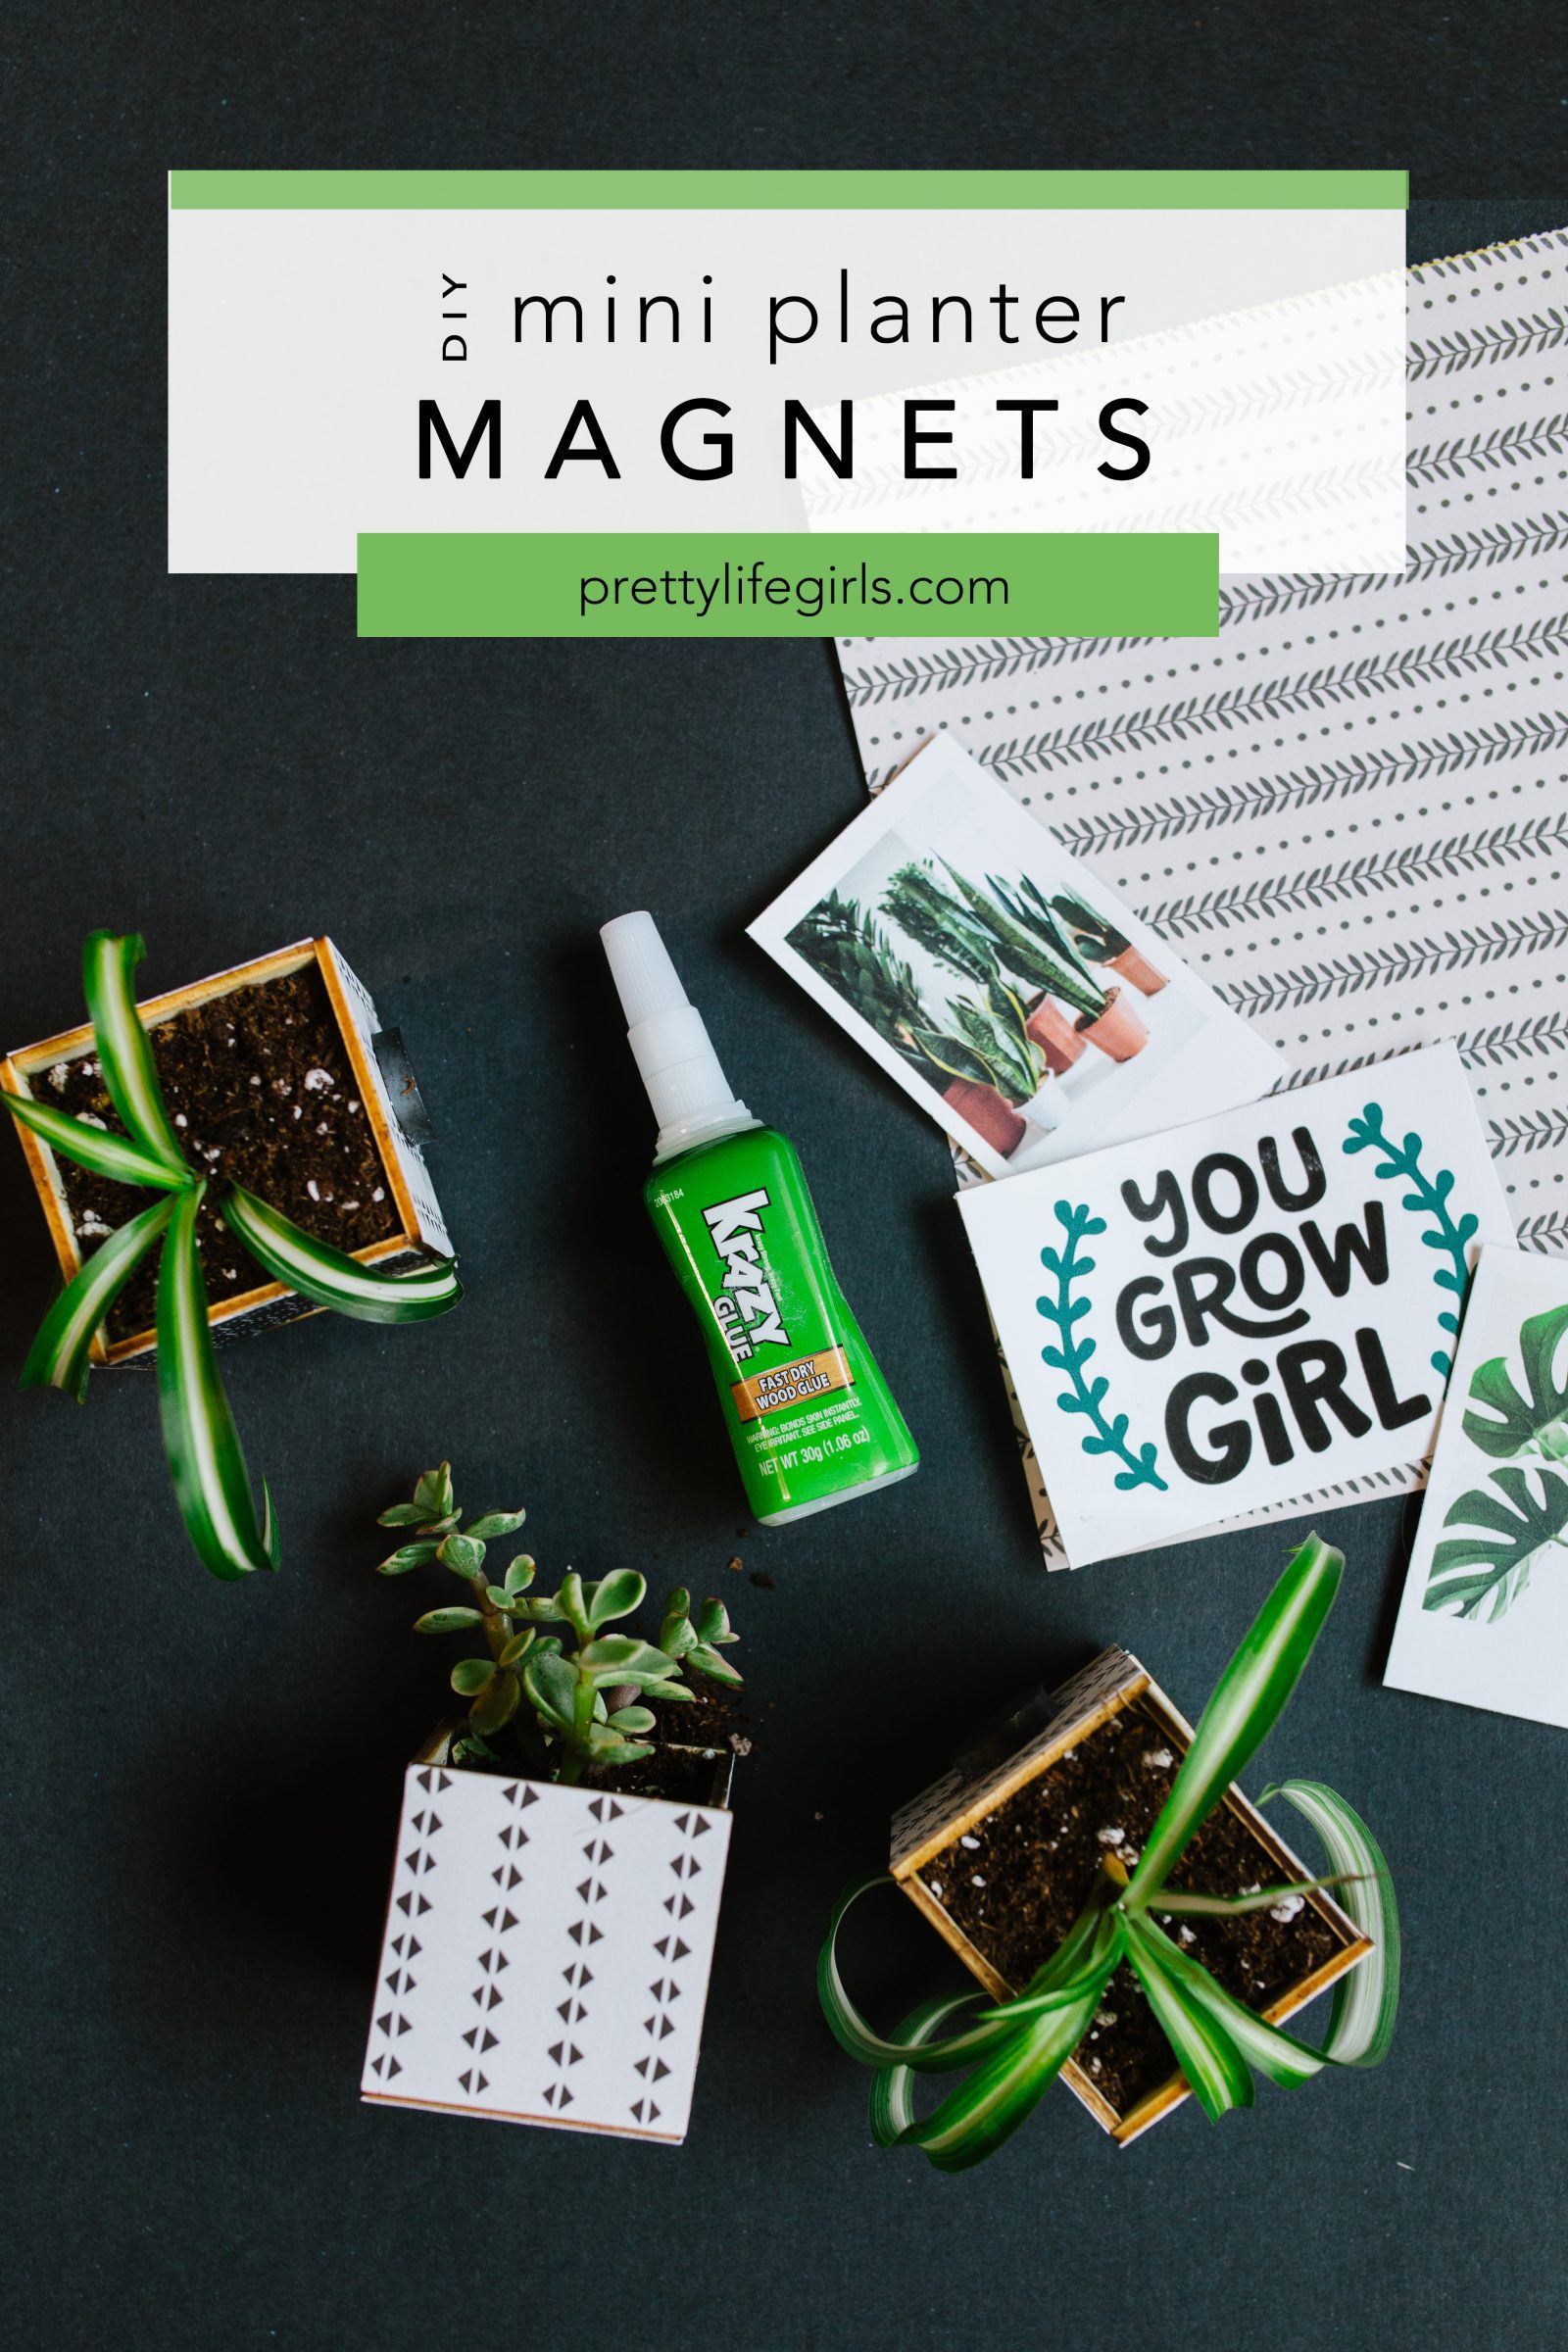
Supplies needed to make your own Mini Magnet Planters
2″ Wood Squares
Krazy Glue Fast Dry Wood Glue
Heavy Duty Magnets
Patterned Cardstock
Mod Podge + Brush
Pencil
Scissors
Plants
Potting Soil
How to make your own Mini Magnet Planters
Step 1: Place a square on your patterned paper and trace is using a pencil. Cut out the paper squares and set them aside for later.
Step 2: Build the outer edges of the planters by gluing them together one side at a time. The Krazy Glue Fast Dry Wood Glue dries relatively quickly, so we recommend applying the glue to one side, attaching it to another side, and holding those sides together until the glue can hold them on their own. Repeat this until you have attached four squares to make the outer edges.

Step 3: Attach the base of the planter by gluing a square to the bottom of the for glued sides, holding the base to the sides until it has adhered.
Step 4: Attach your cut paper squares to each side of the planter by painting a layer of Mod Podge on the wood and the back of the paper. Then, press the paper onto the wood, Mod Podged sides together, using your fingers to smooth out any bubbles. Repeat on each outer square of the planters.
Step 5: Let the Mod Podge dry for 15-20 minutes, then apply a thin coat over the papers, using a paint brush, to seal the planters.
Step 6: Attach a magnet to one side of the planters using the Krazy Glue. Let dry completely.
Step 7: Once the planters are dry, add potting soil and plants (real or fake!) to the boxes, then hang on your fridge!
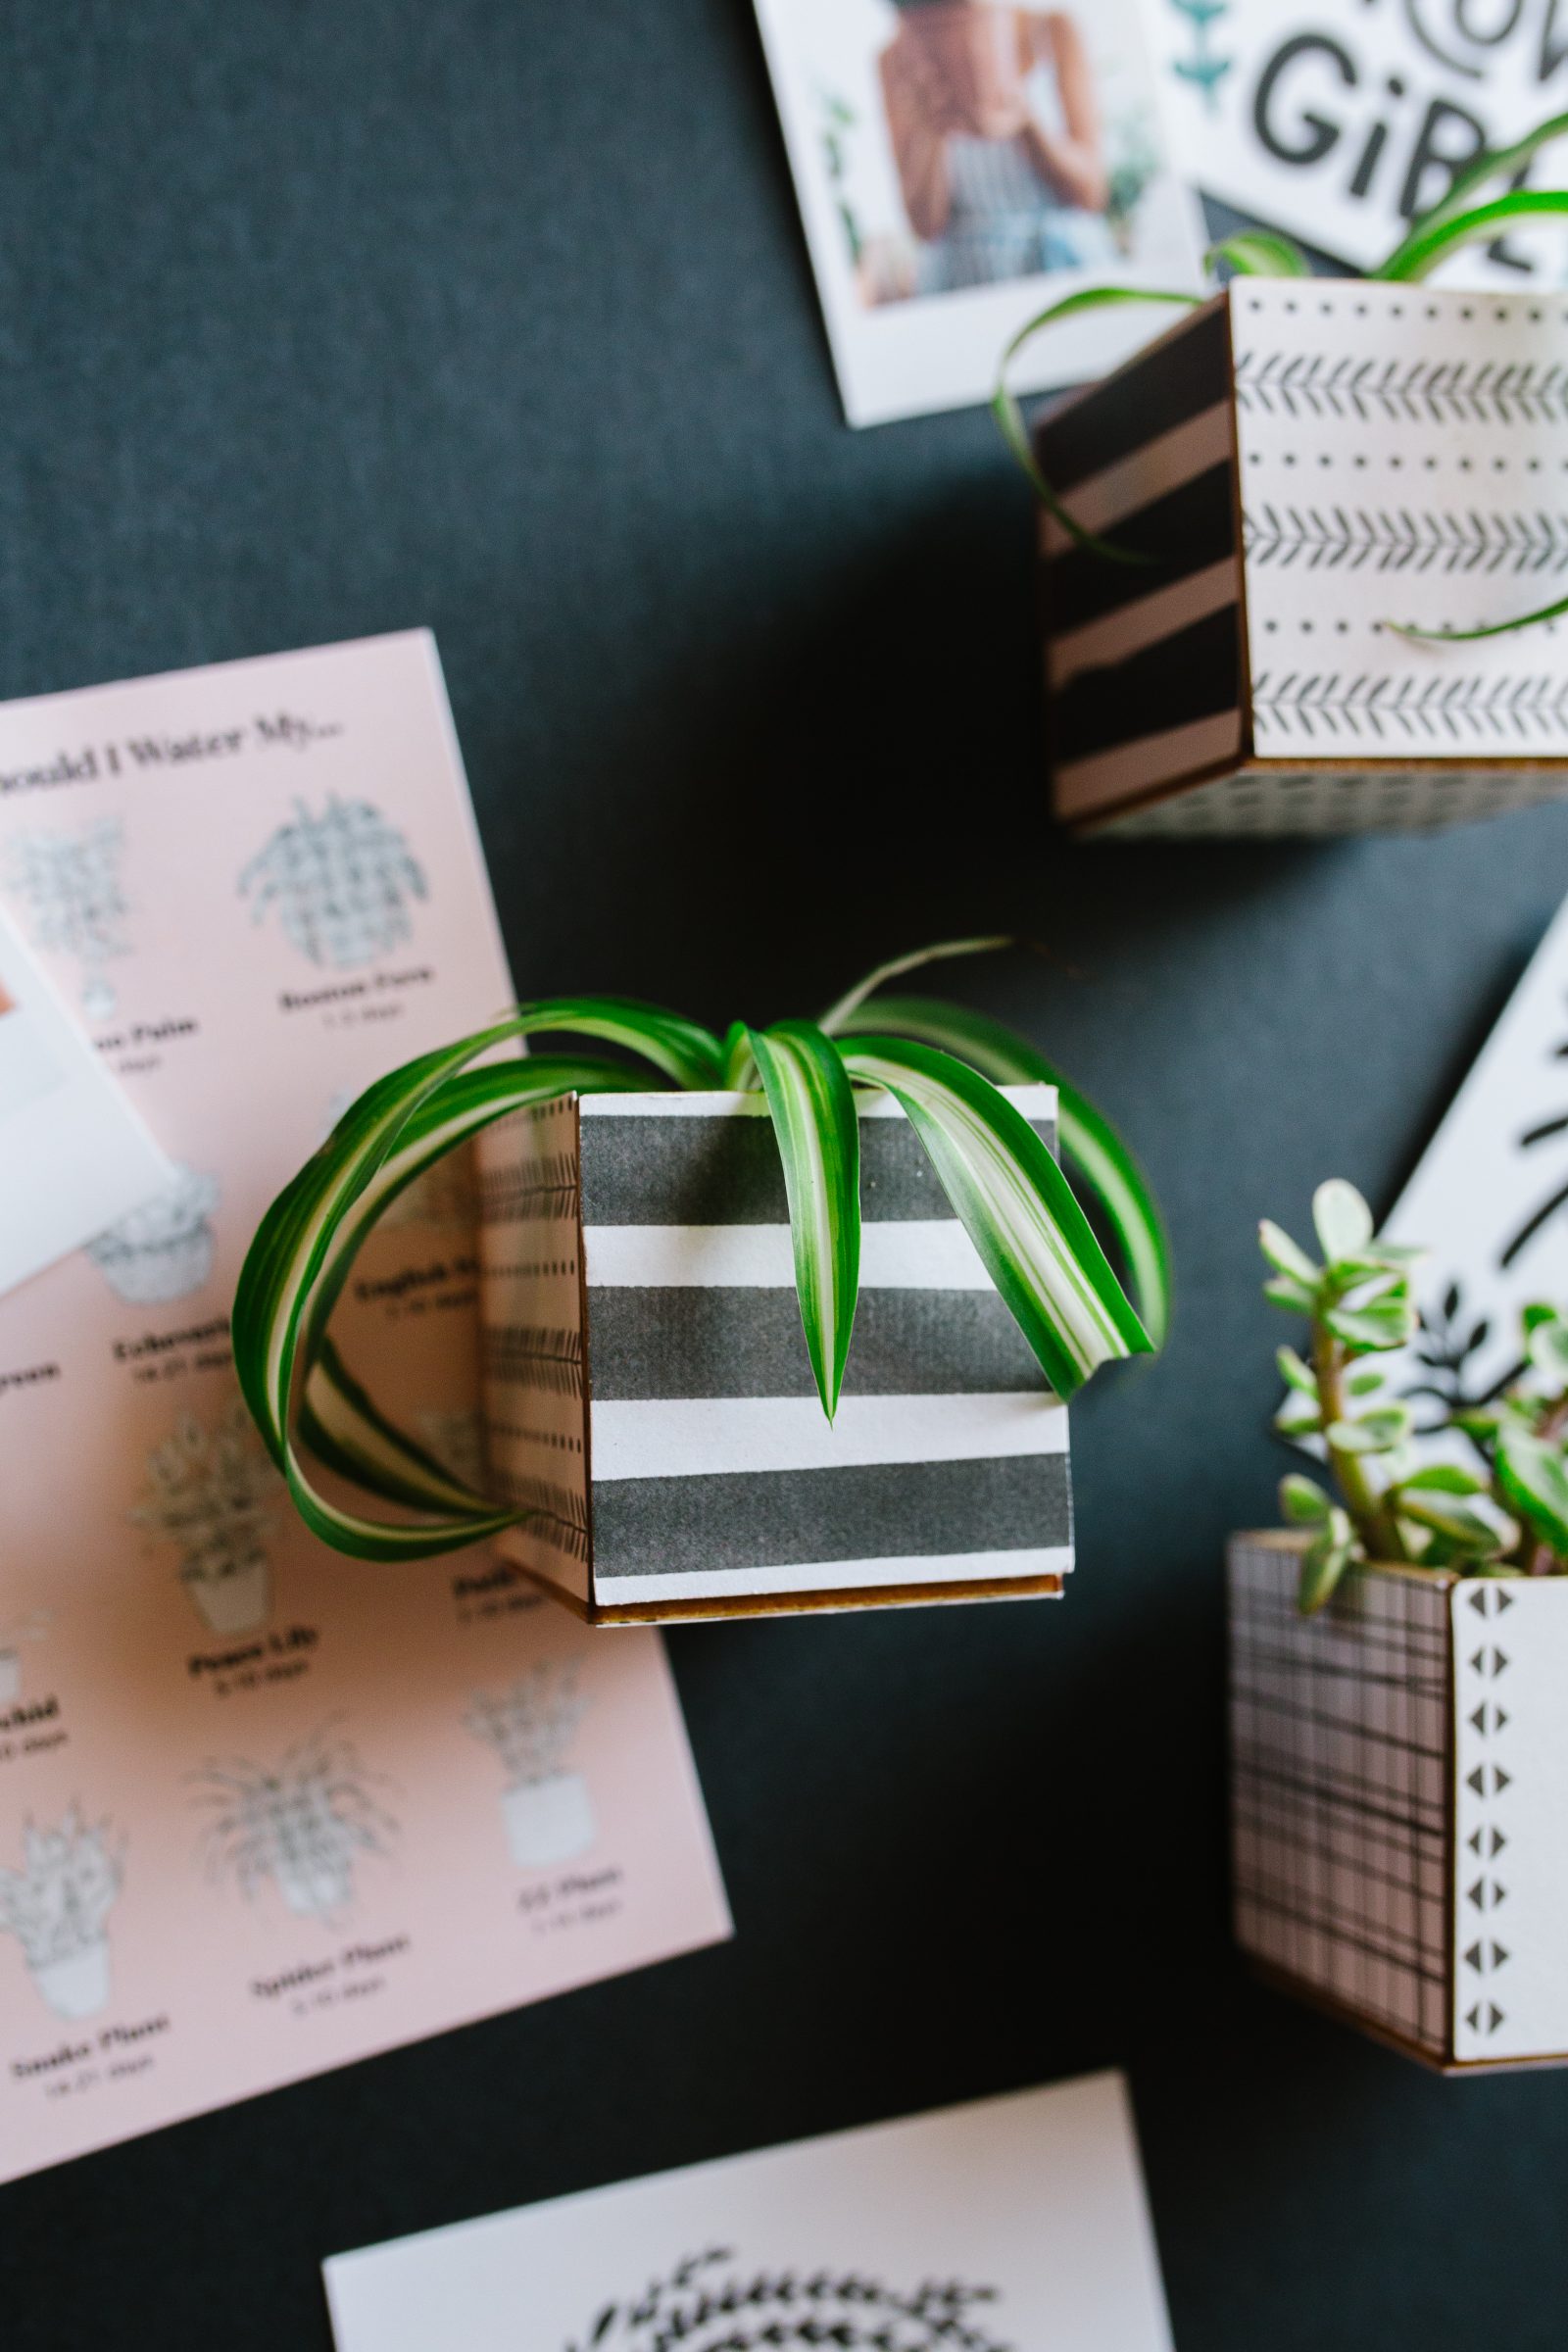
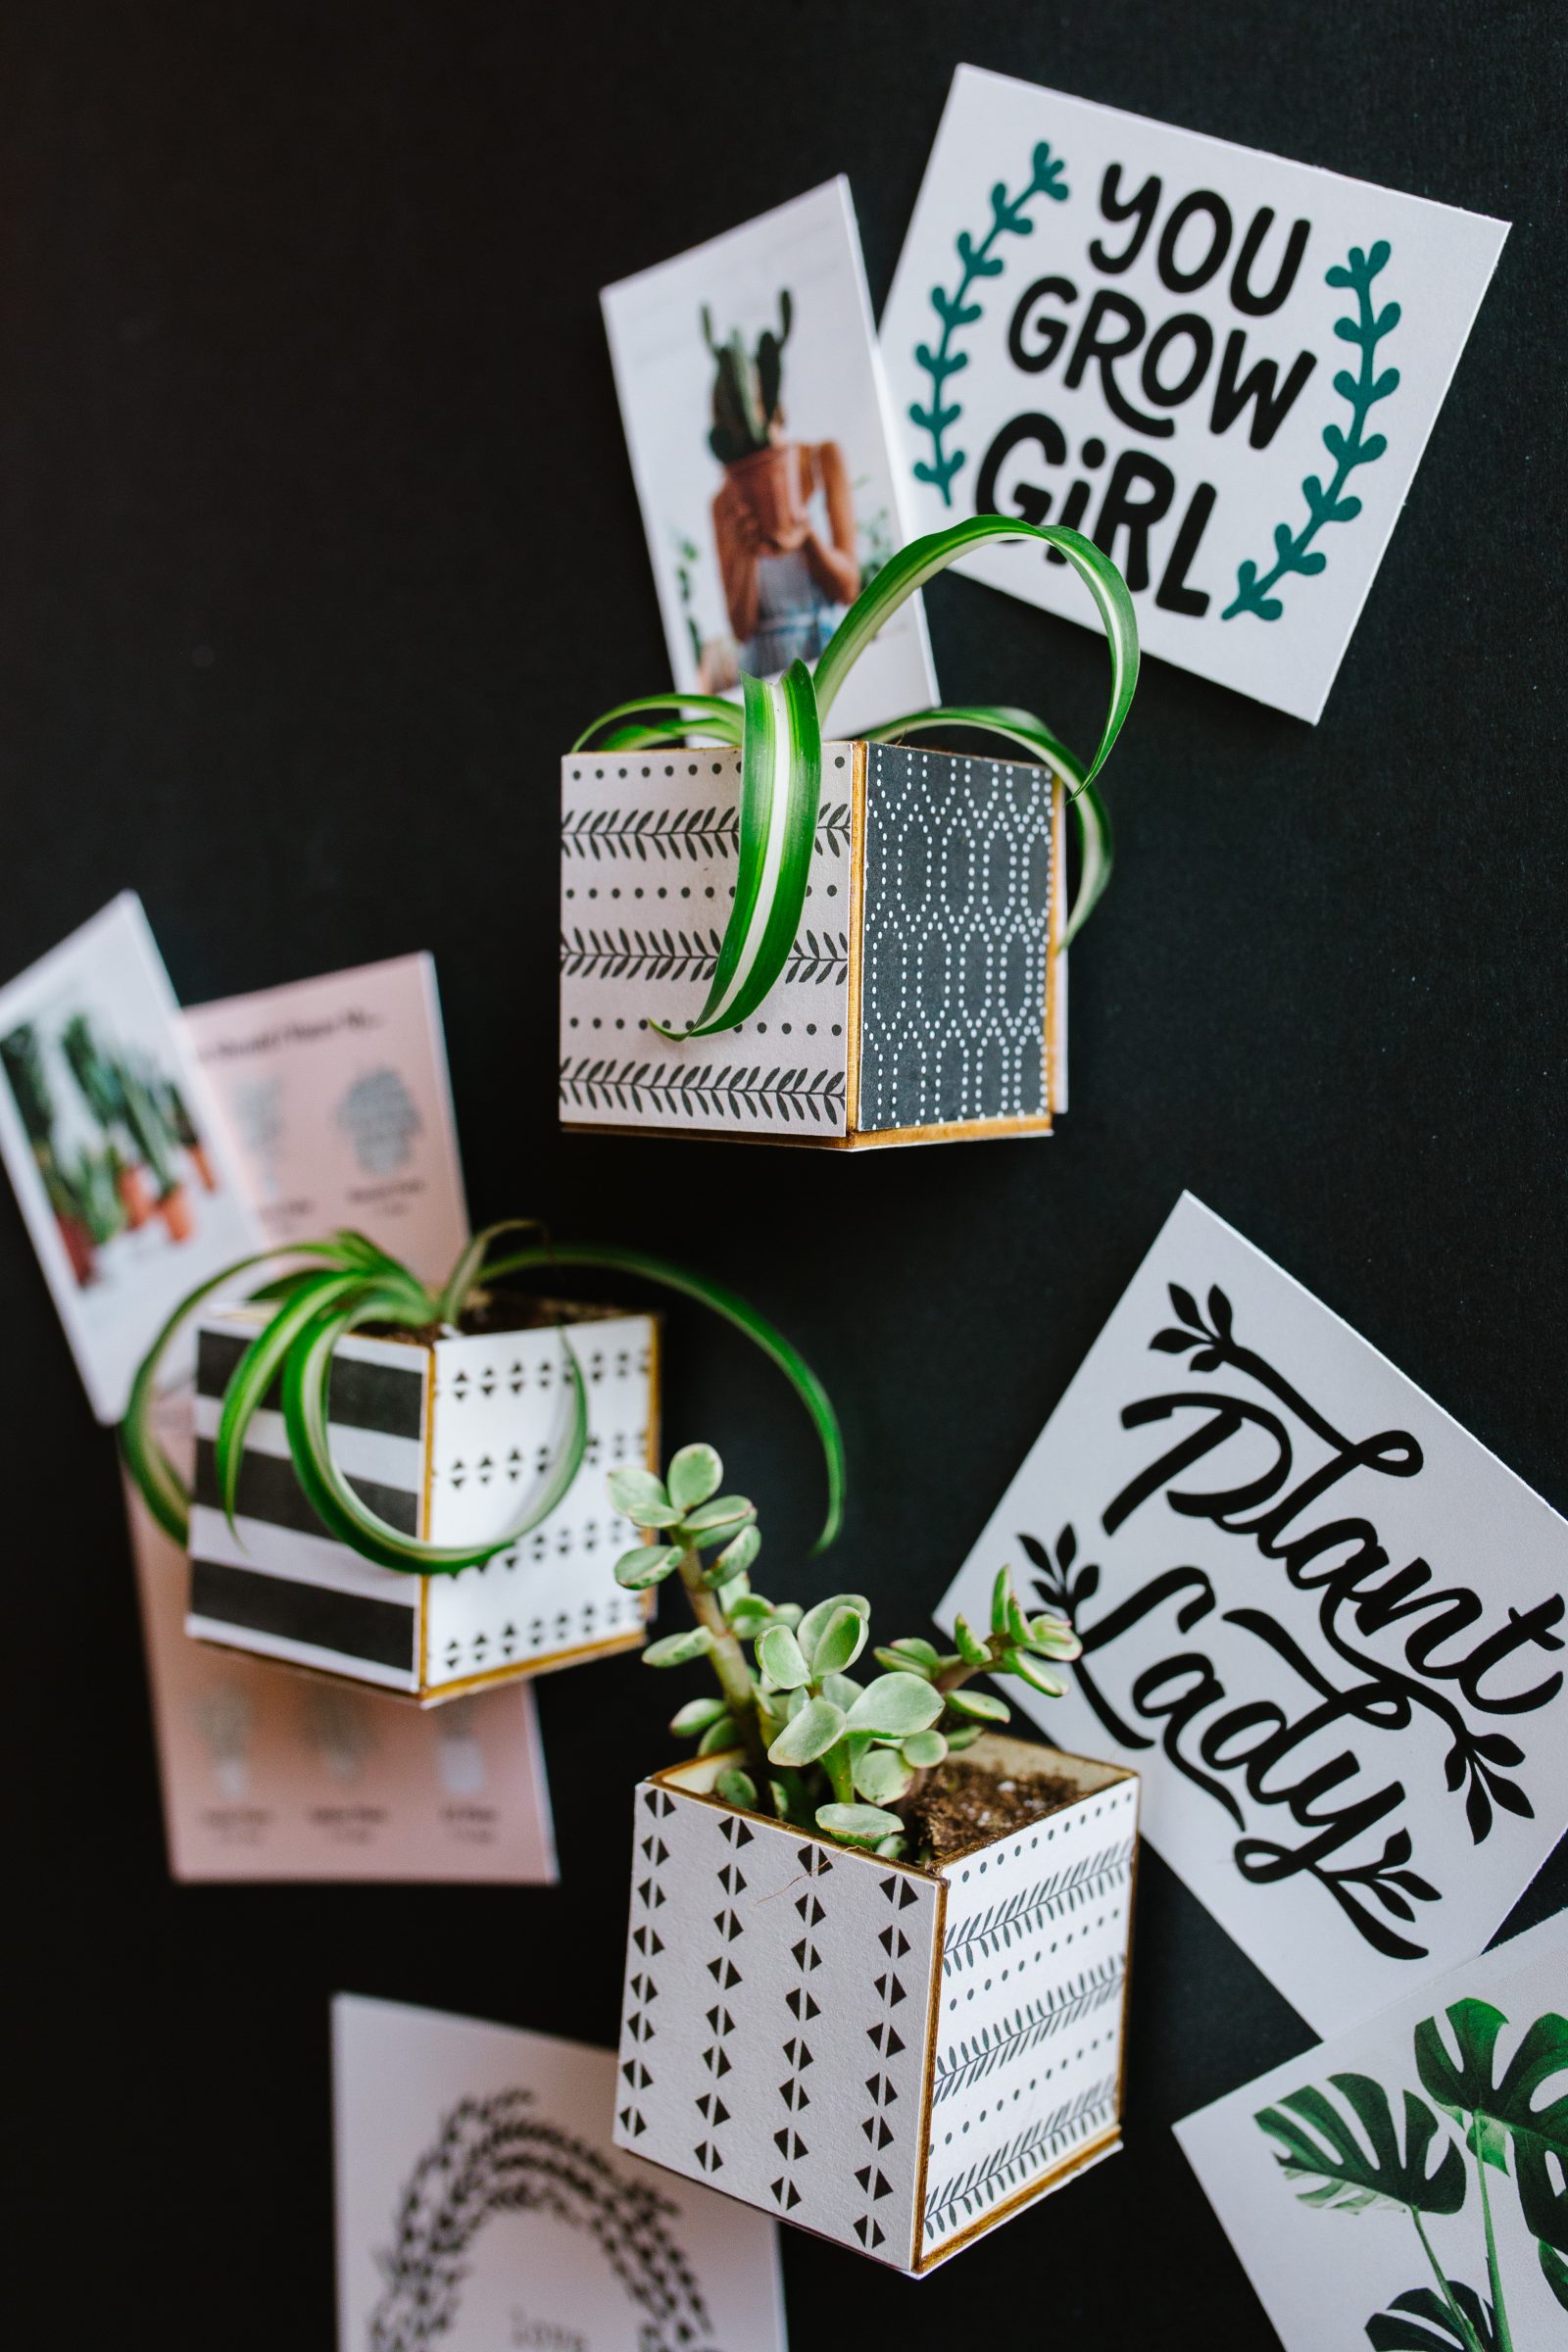
That’s it! Aren’t they so fun? I love the idea of having a mini garden on your fridge! Plus, these planters are totally customizable and you can add any kind of paper you’d like to match your kitchen’s aesthetic!

Happy making!
Liz