This Embellished Pencils post is sponsored by Plaid Crafts. All opinions are ours alone.
This post may contain affiliate links, which help us support this site.
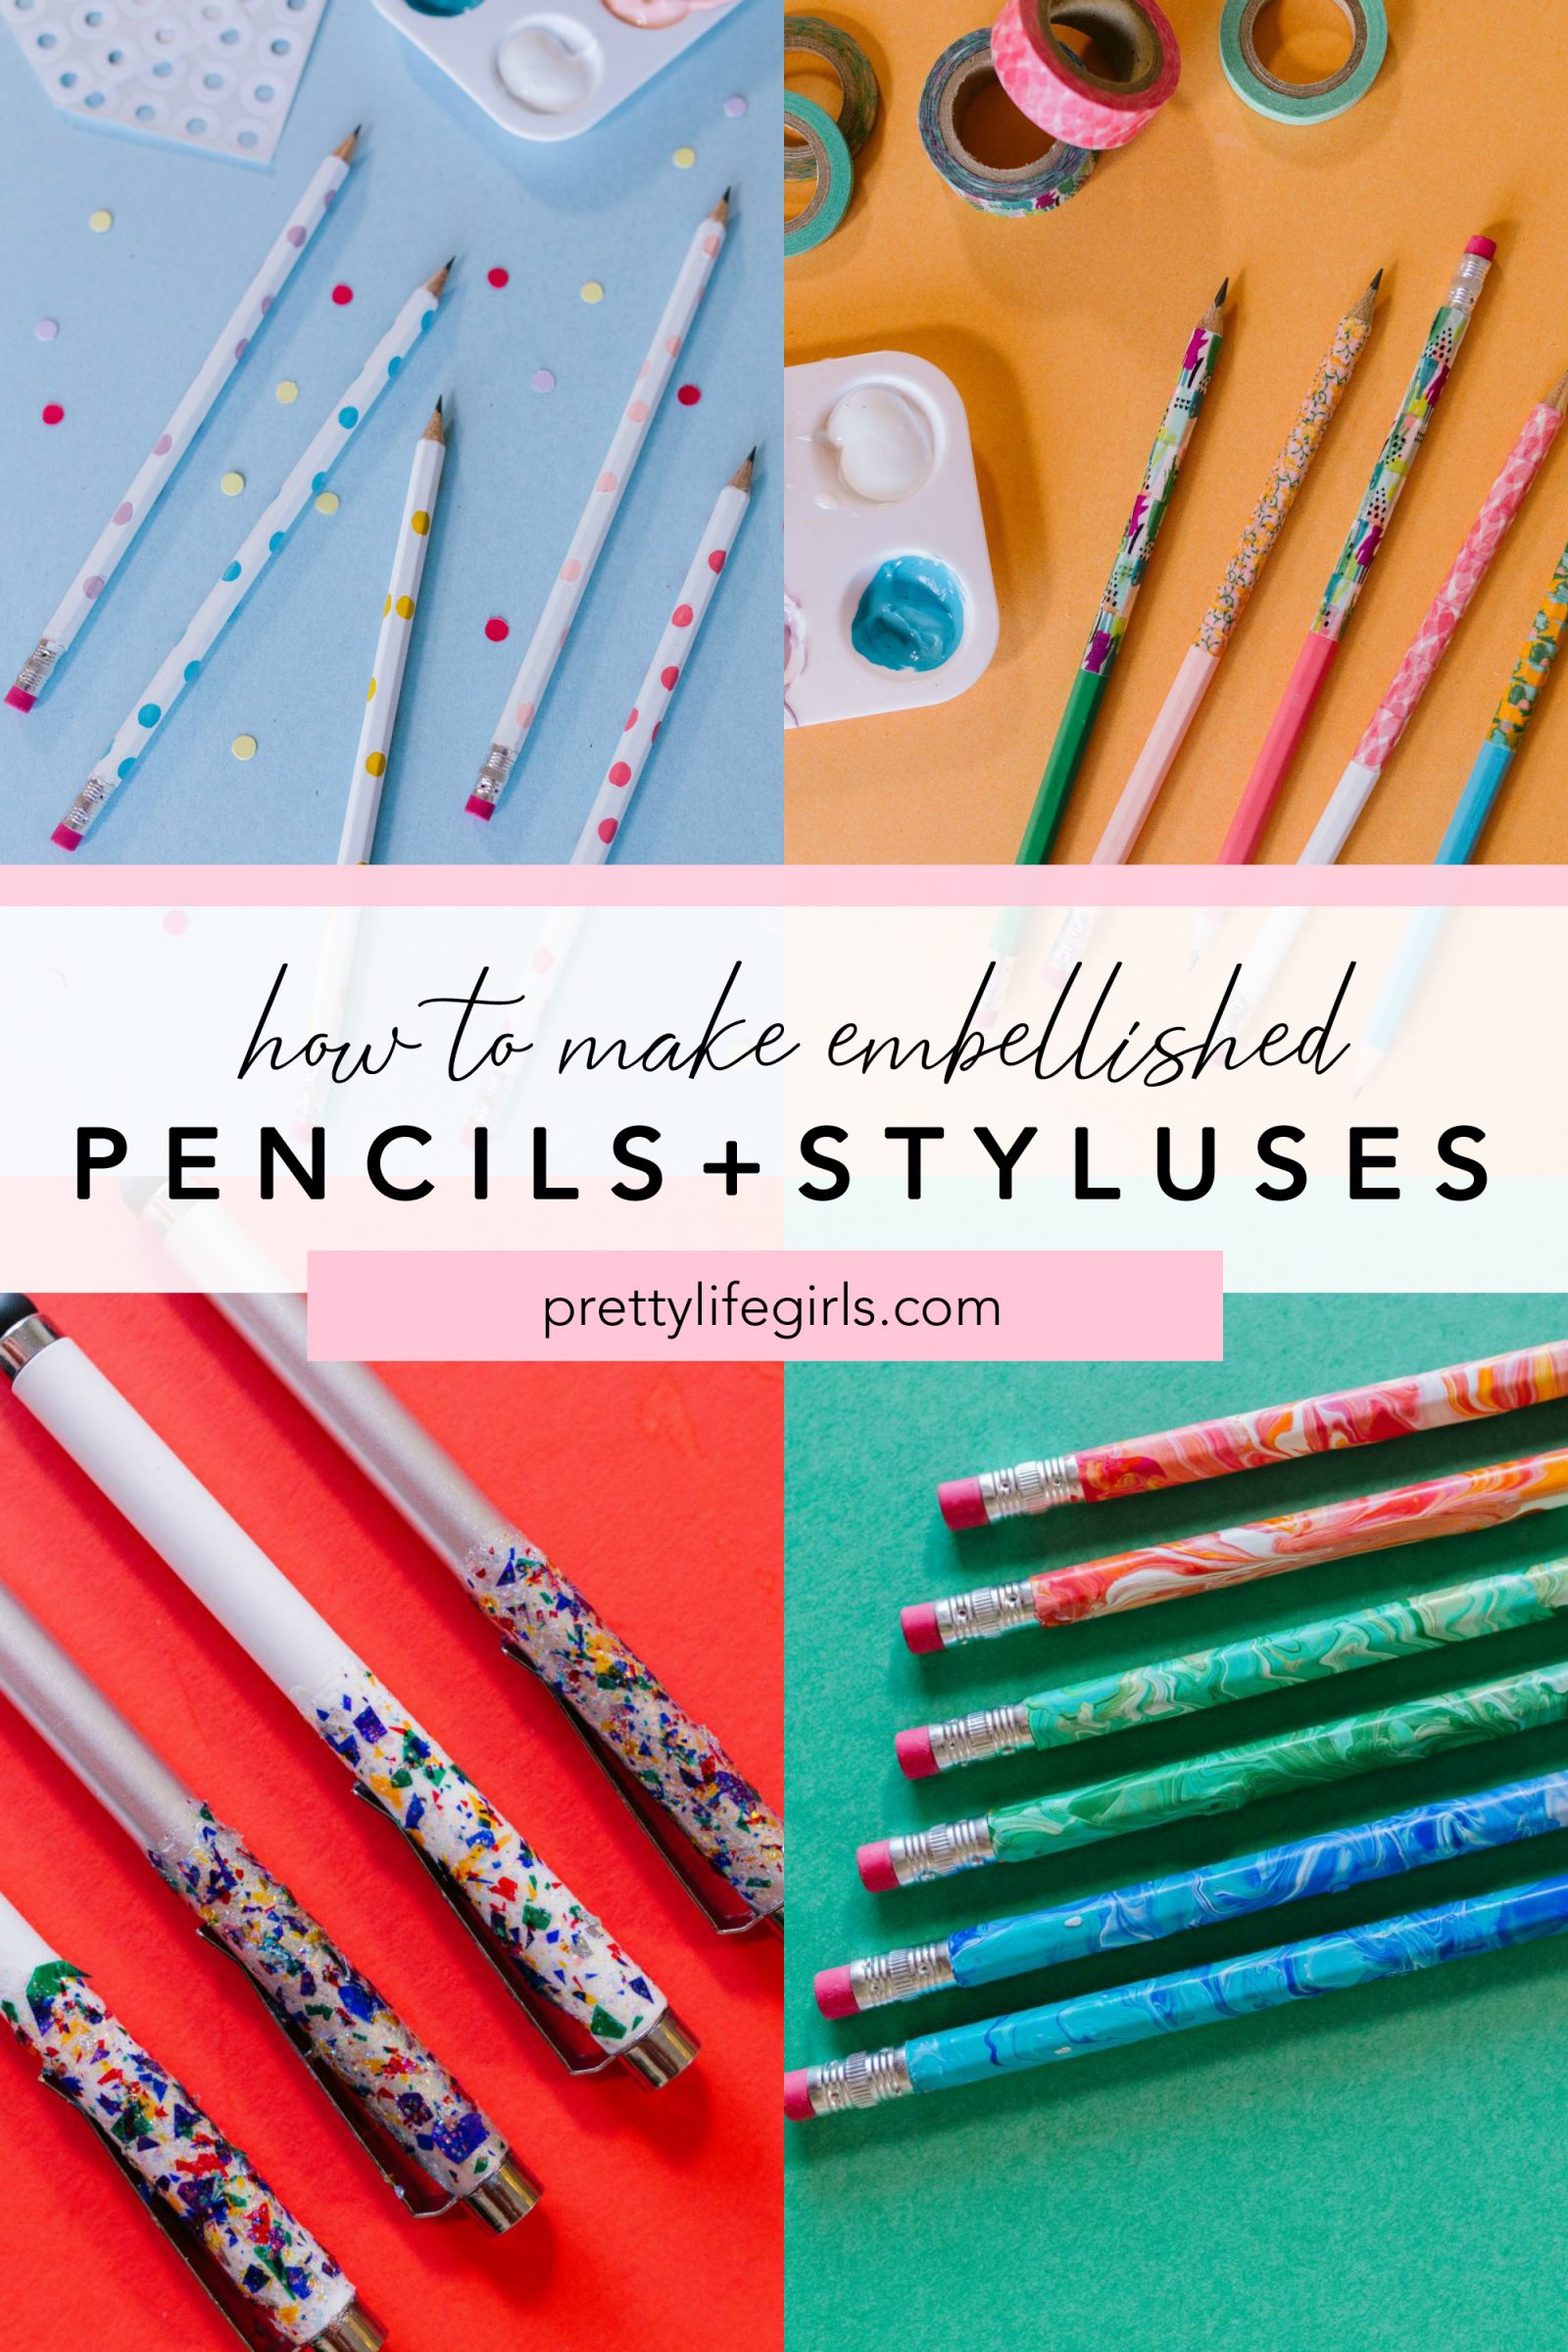
Whether you or your kiddos are in a classroom, learning remotely at home, or are doing some kind of a hybrid of the two, you’re gonna need school supplies for the new school year. But, given the feelings of uncertainty and stress that have come along with this particular back-to-school season, you’re also going to need some way to unwind and release stress. Lucky for you, today we have just the thing to accomplish both of those needs — why not spend some time DIY-ing your school supplies with three fun pencil projects, plus a way to make your styluses sparkle, too!
Making something with your hands is one of the best ways to relieve stress and these embellished pencils are so much fun to create. All of them are completely functional and will be the coolest pencils in the class, wherever class may be! Plus, we’re using a variety of our favorite FolkArt paint products and mediums to make them, and we know you’re going to love trying them out, too.
Here’s how you make them:
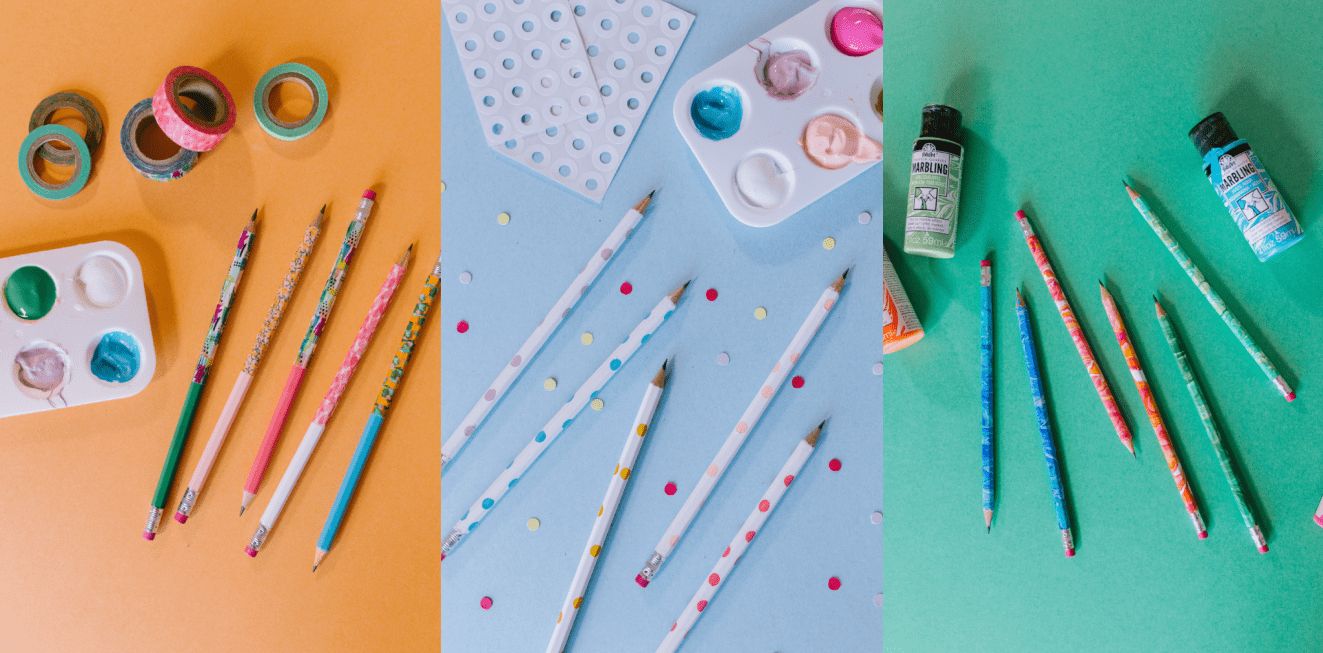
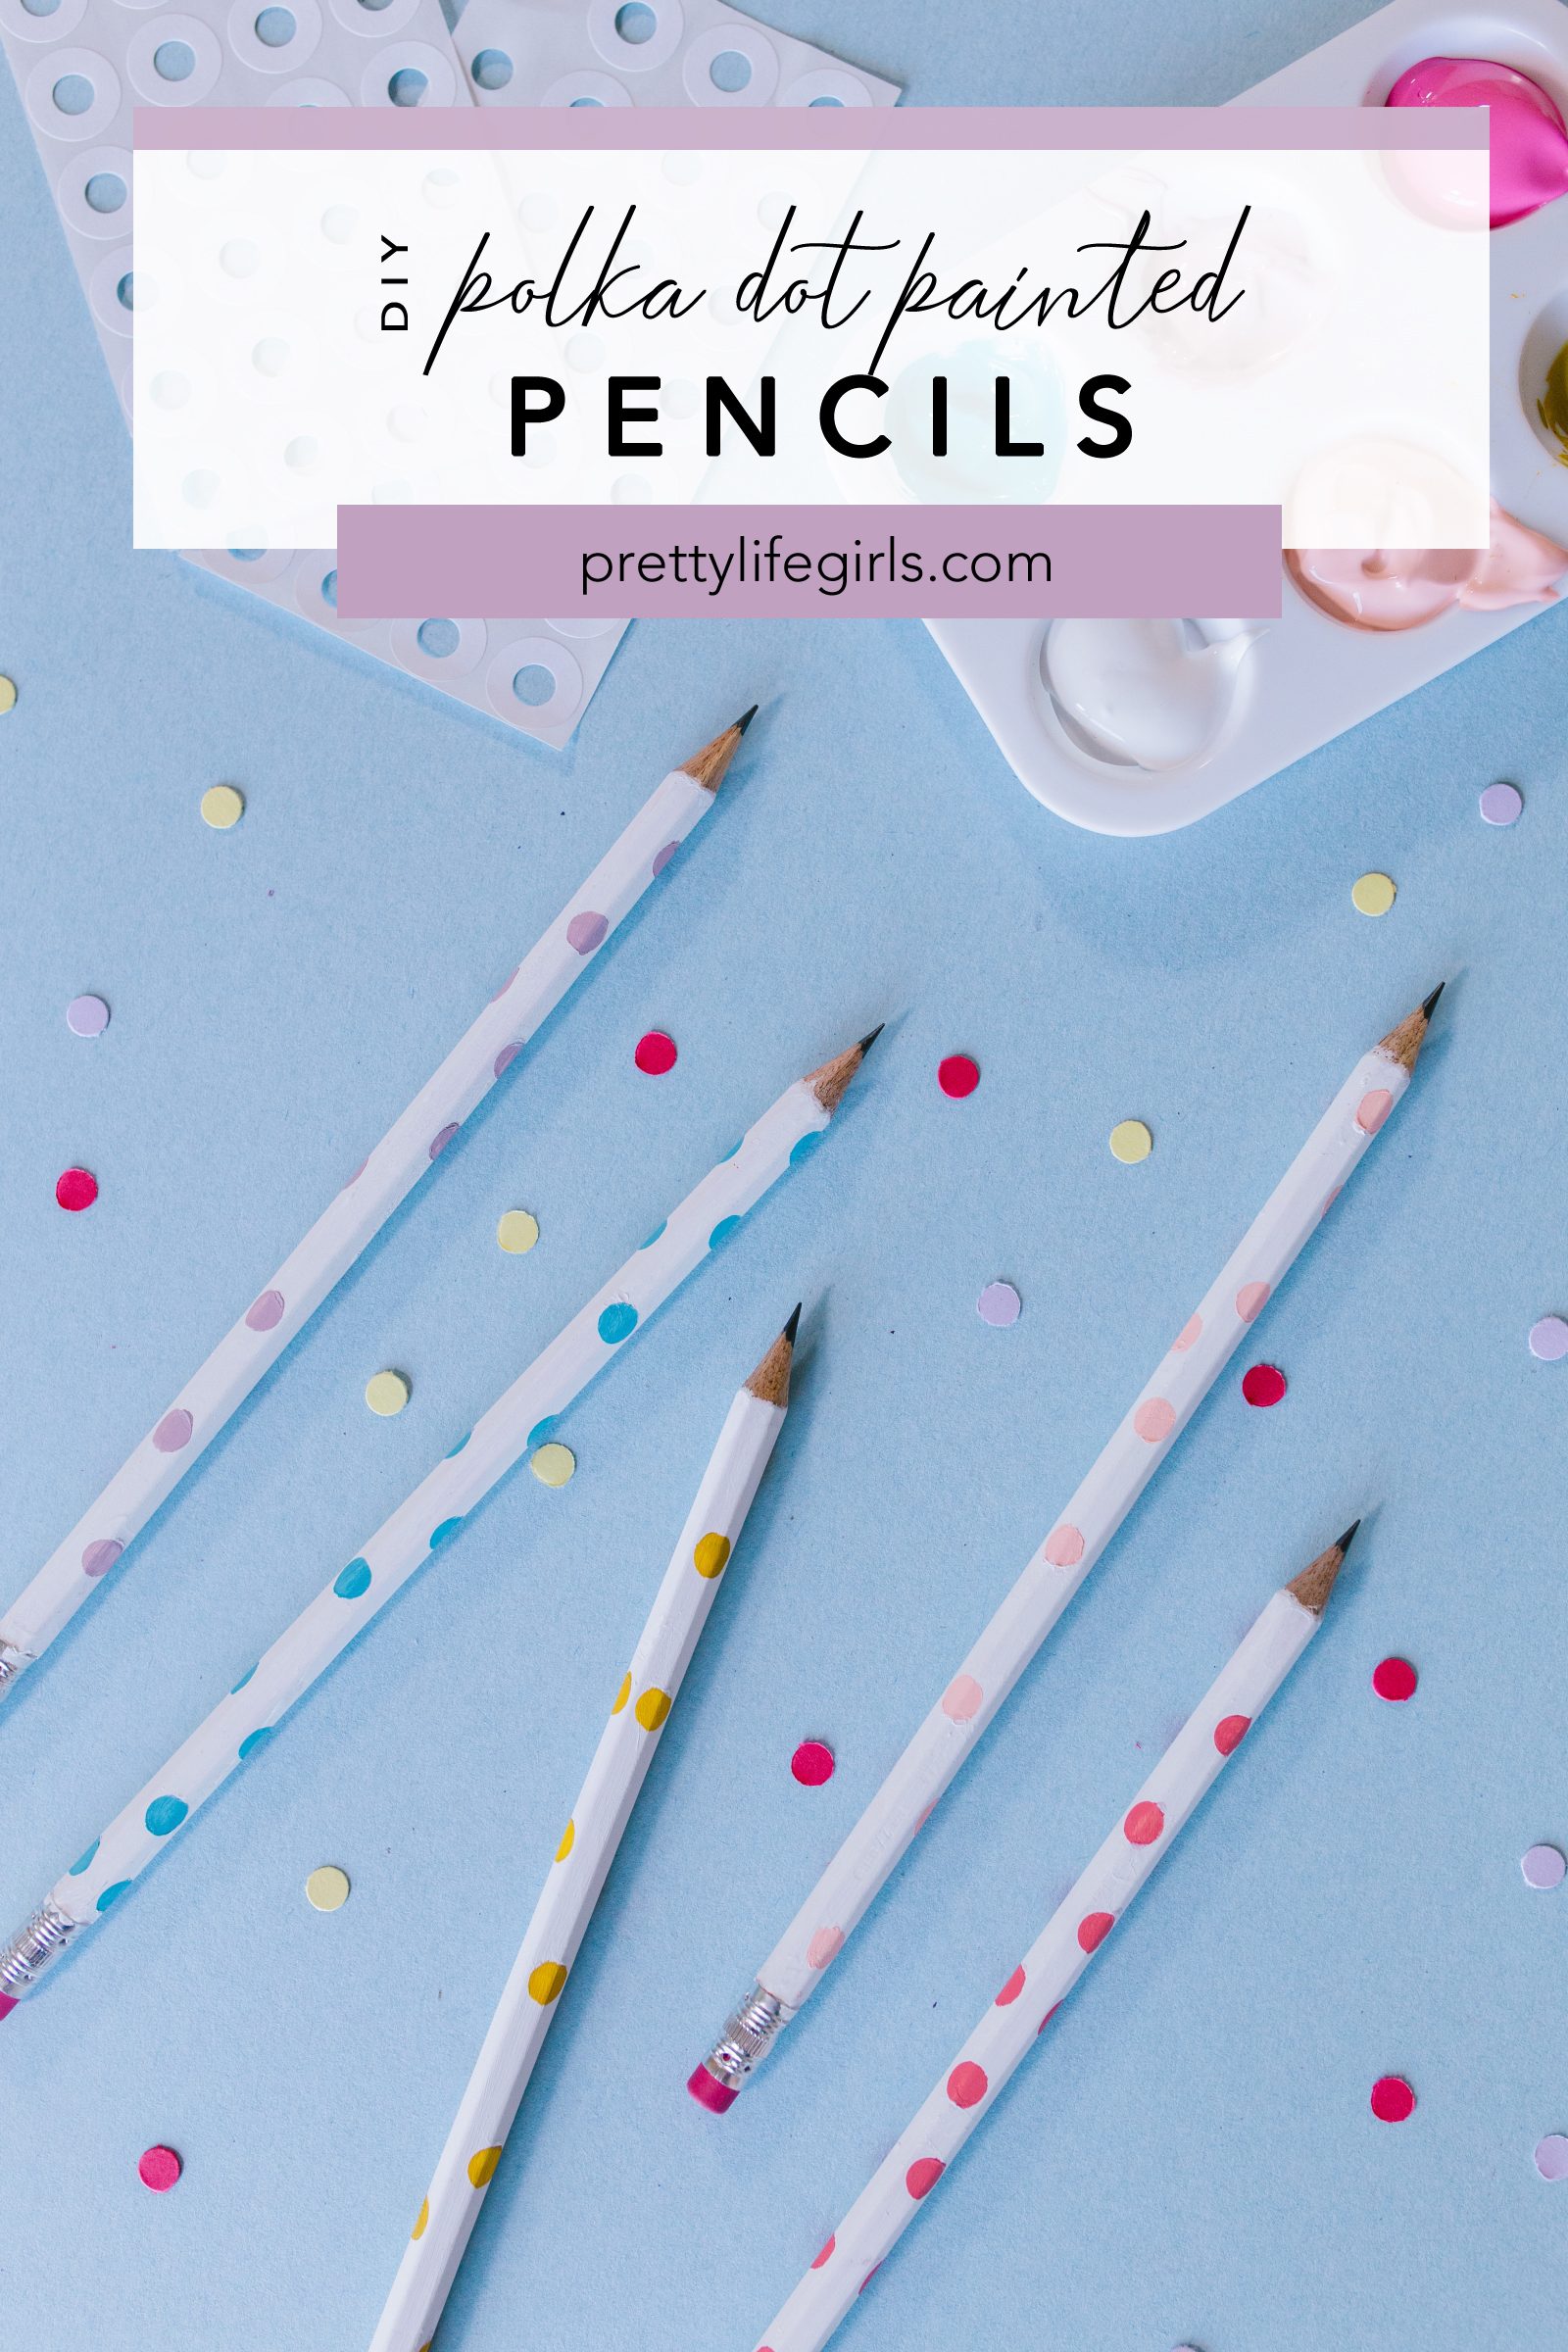
1. DIY Polka Dot Embellished Pencils

Supplies Needed to Make DIY Polka Dot Pencils
Pencils
FolkArt Multi Surface Paint in various colors, including white
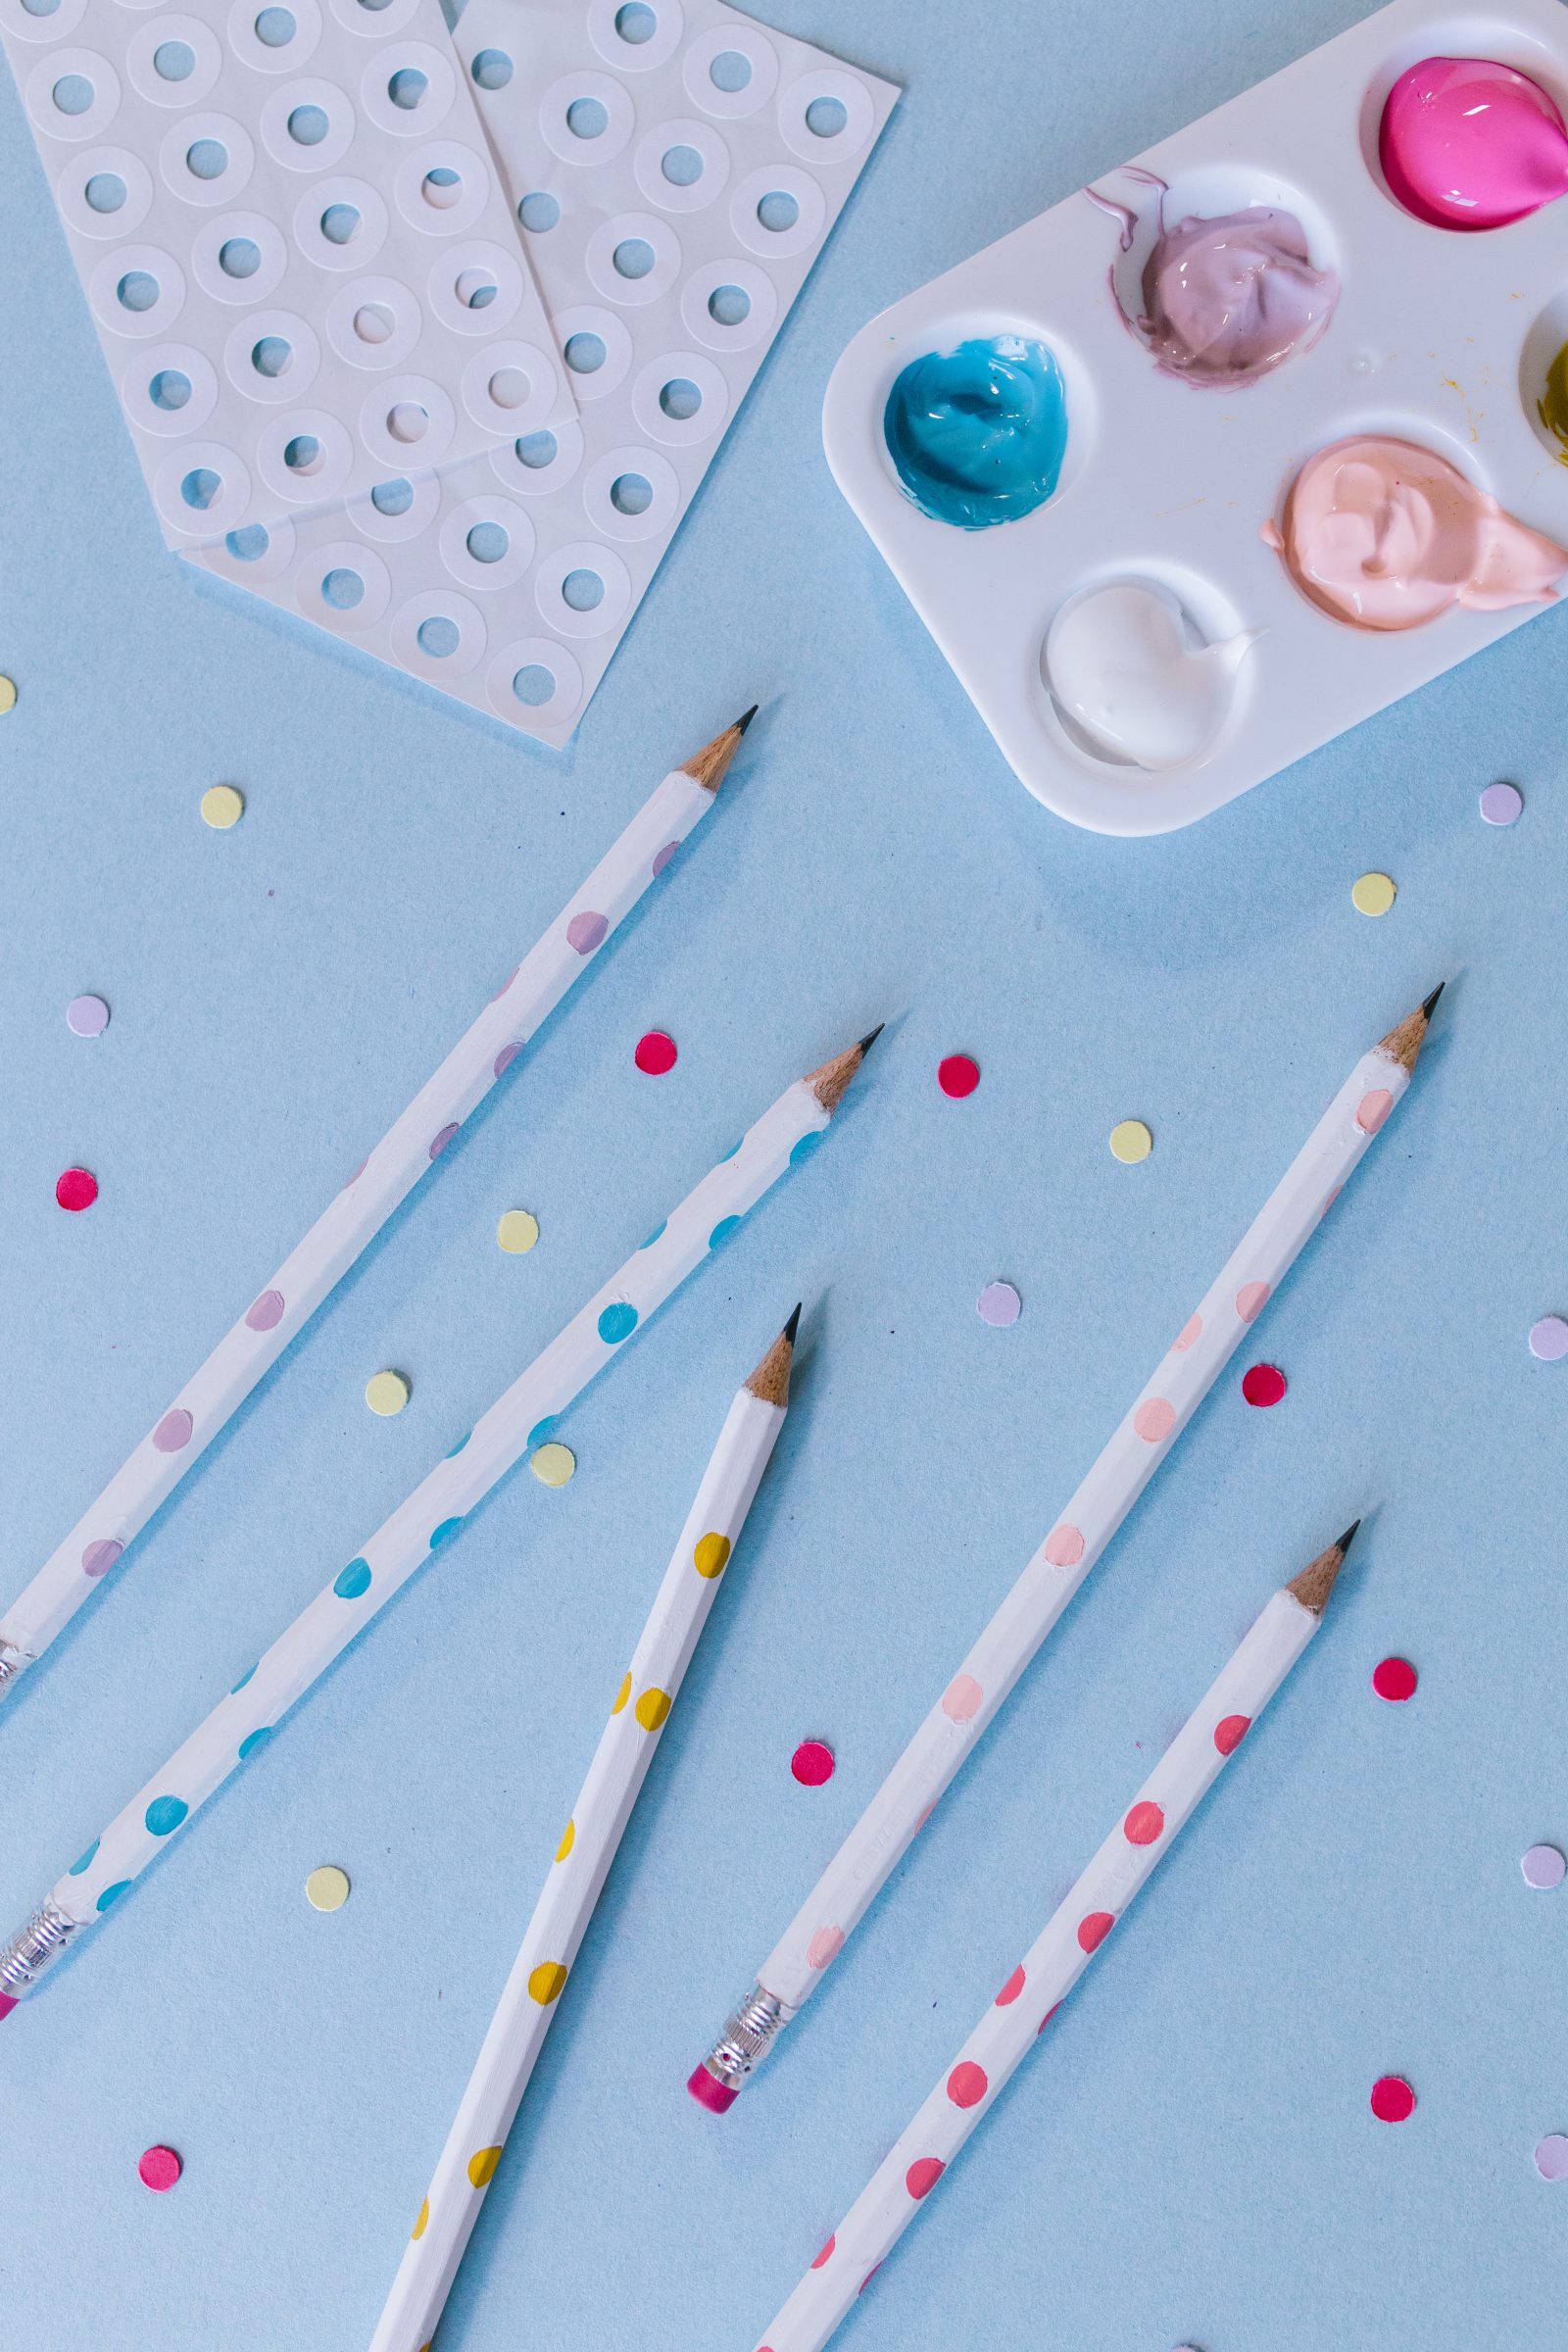
Hole reinforcement stickers
Paint Brush

How to Make DIY Polka Dot Pencils
Step 1. If you’re using yellow pencils like we did, begin by given them two coats of white paint, using a paint brush. Let dry completely.
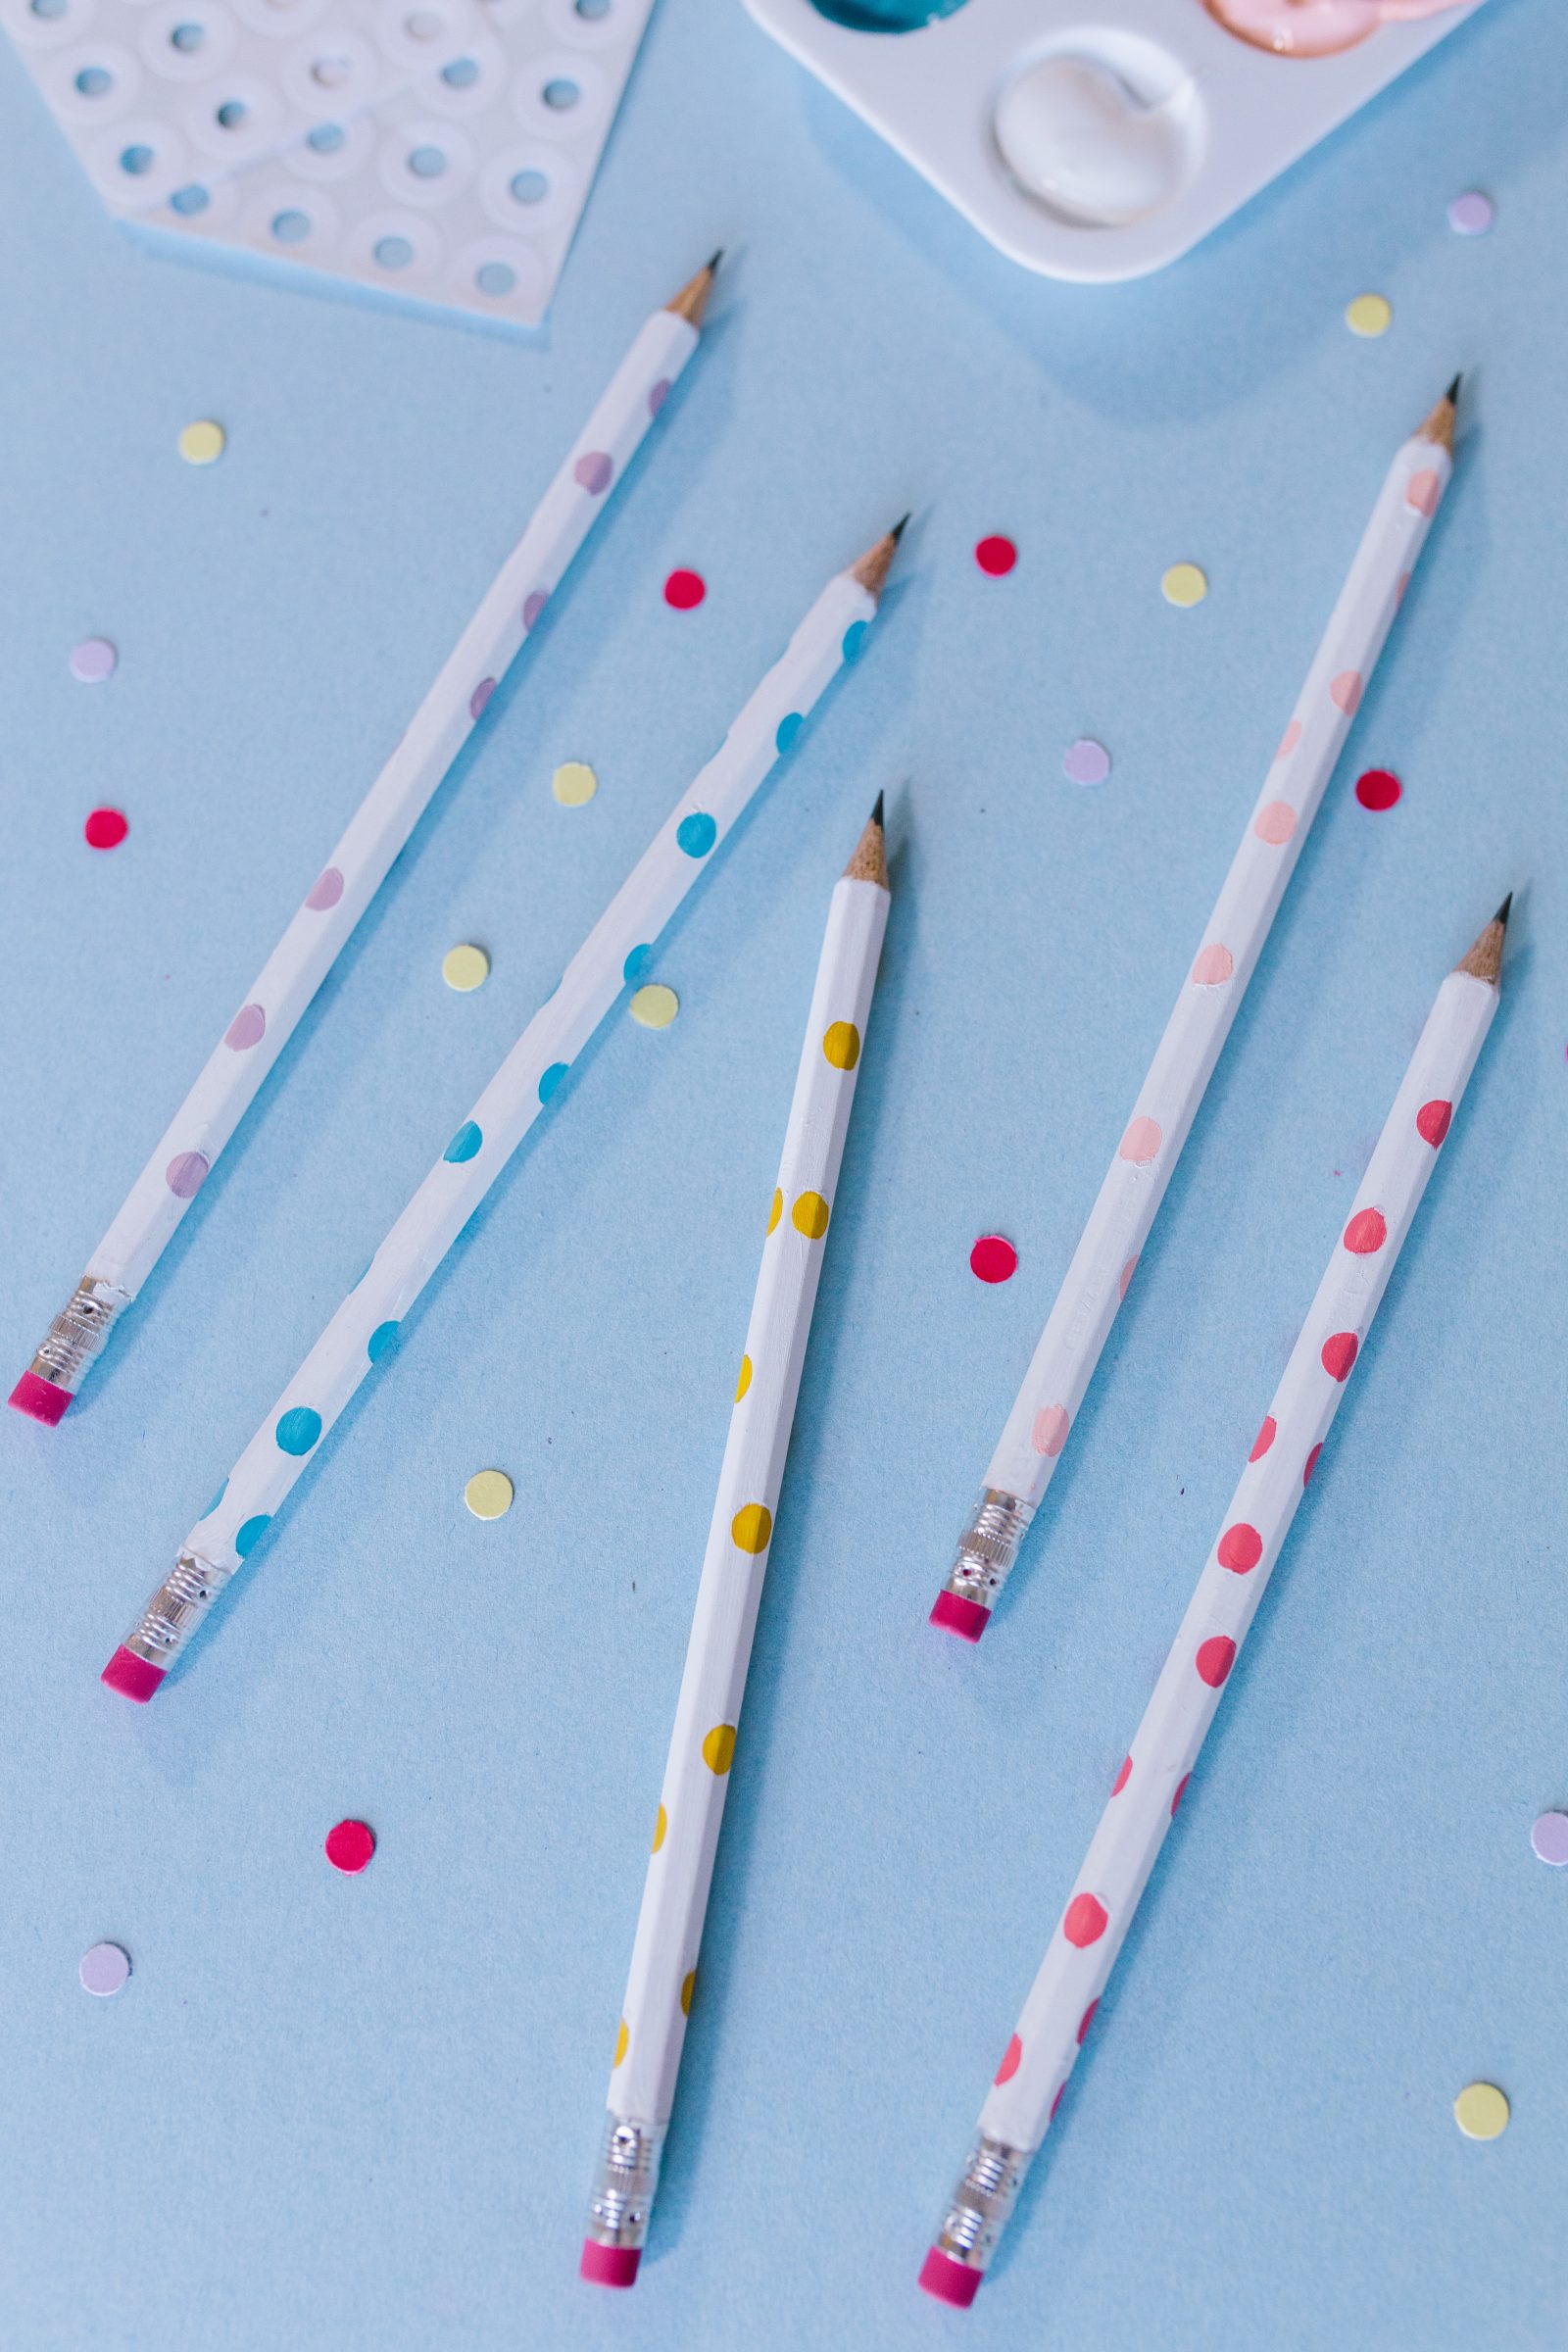
Step 2. Once the pencils are dry, apply hole reinforcement stickers all over the pencil, making sure they stick firmly so no paint leaks through.
Step 3. Using an accent color of your choice, paint over the holes. We found this worked best by doing a light coat, two times, to avoid the paint bleeding outside of the lines.
Step 4. While the paint is still wet, carefully remove the hole stickers, revealing your polka dots! Once the colors have dried completely, use white paint and a paint brush to touch up any mess-ups.
So fun, right? Like a party on your pencil! I love the idea of making different sets of these in different colorways. Just THINK of the color combo possibilities!
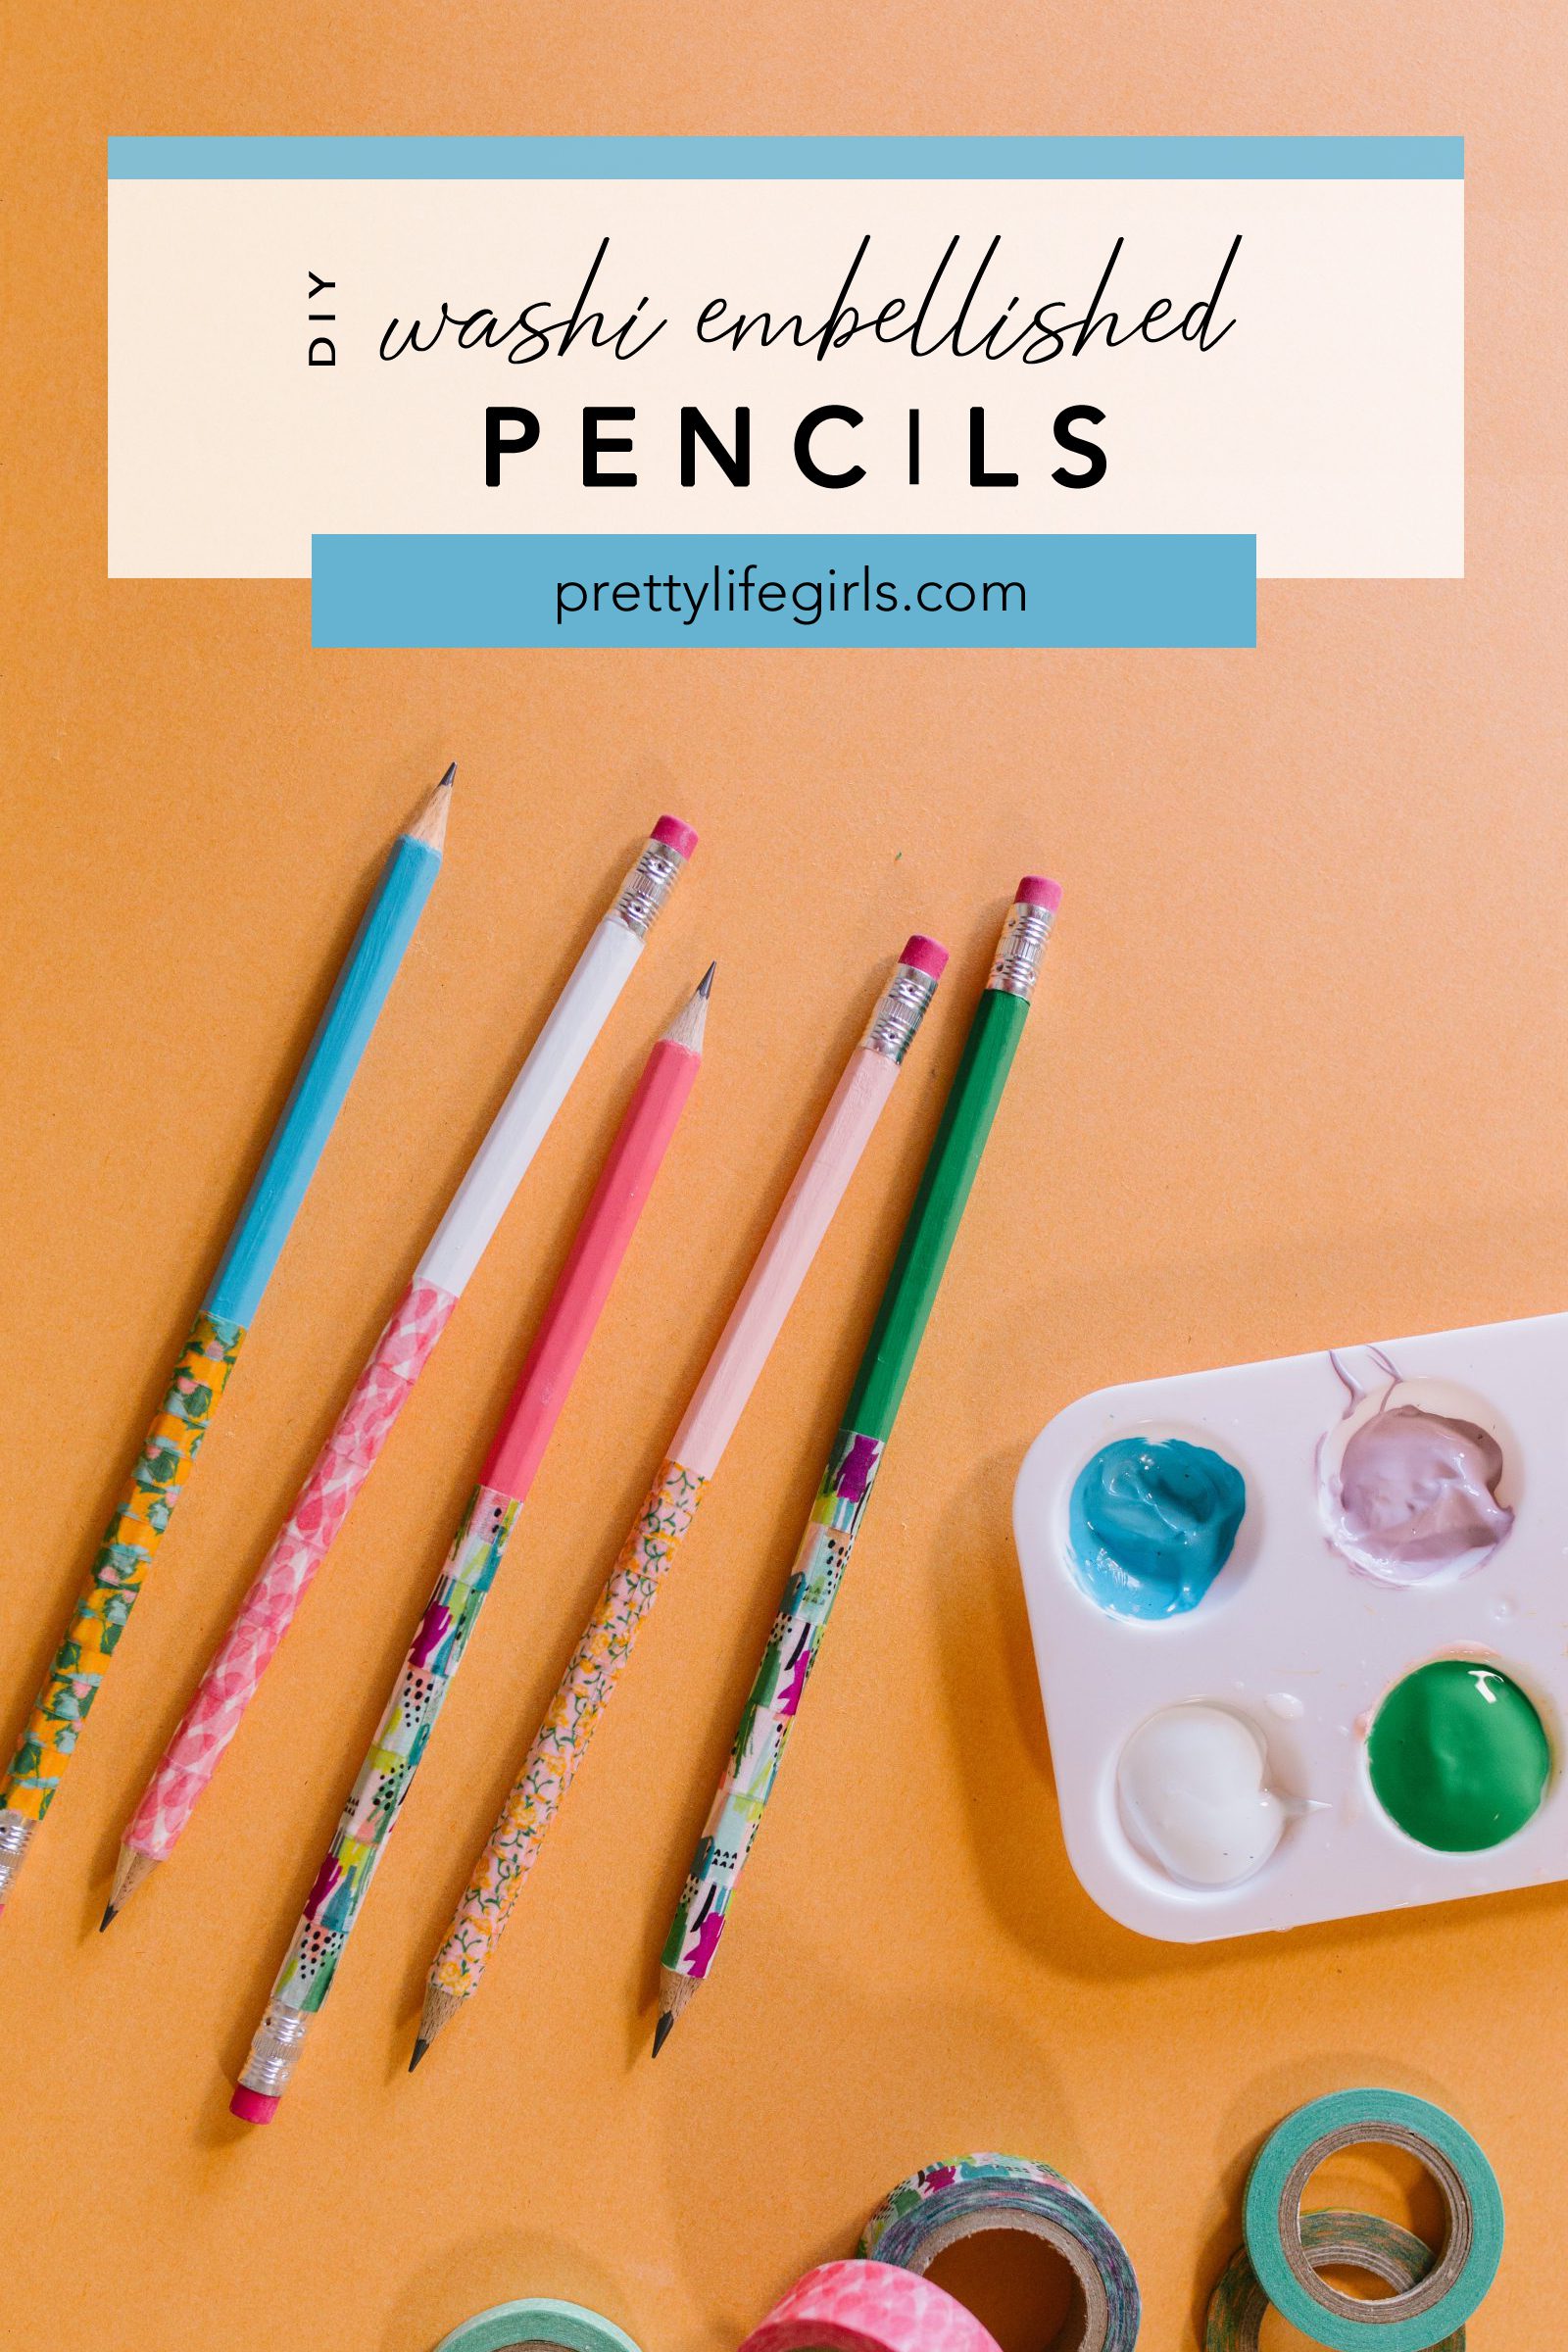
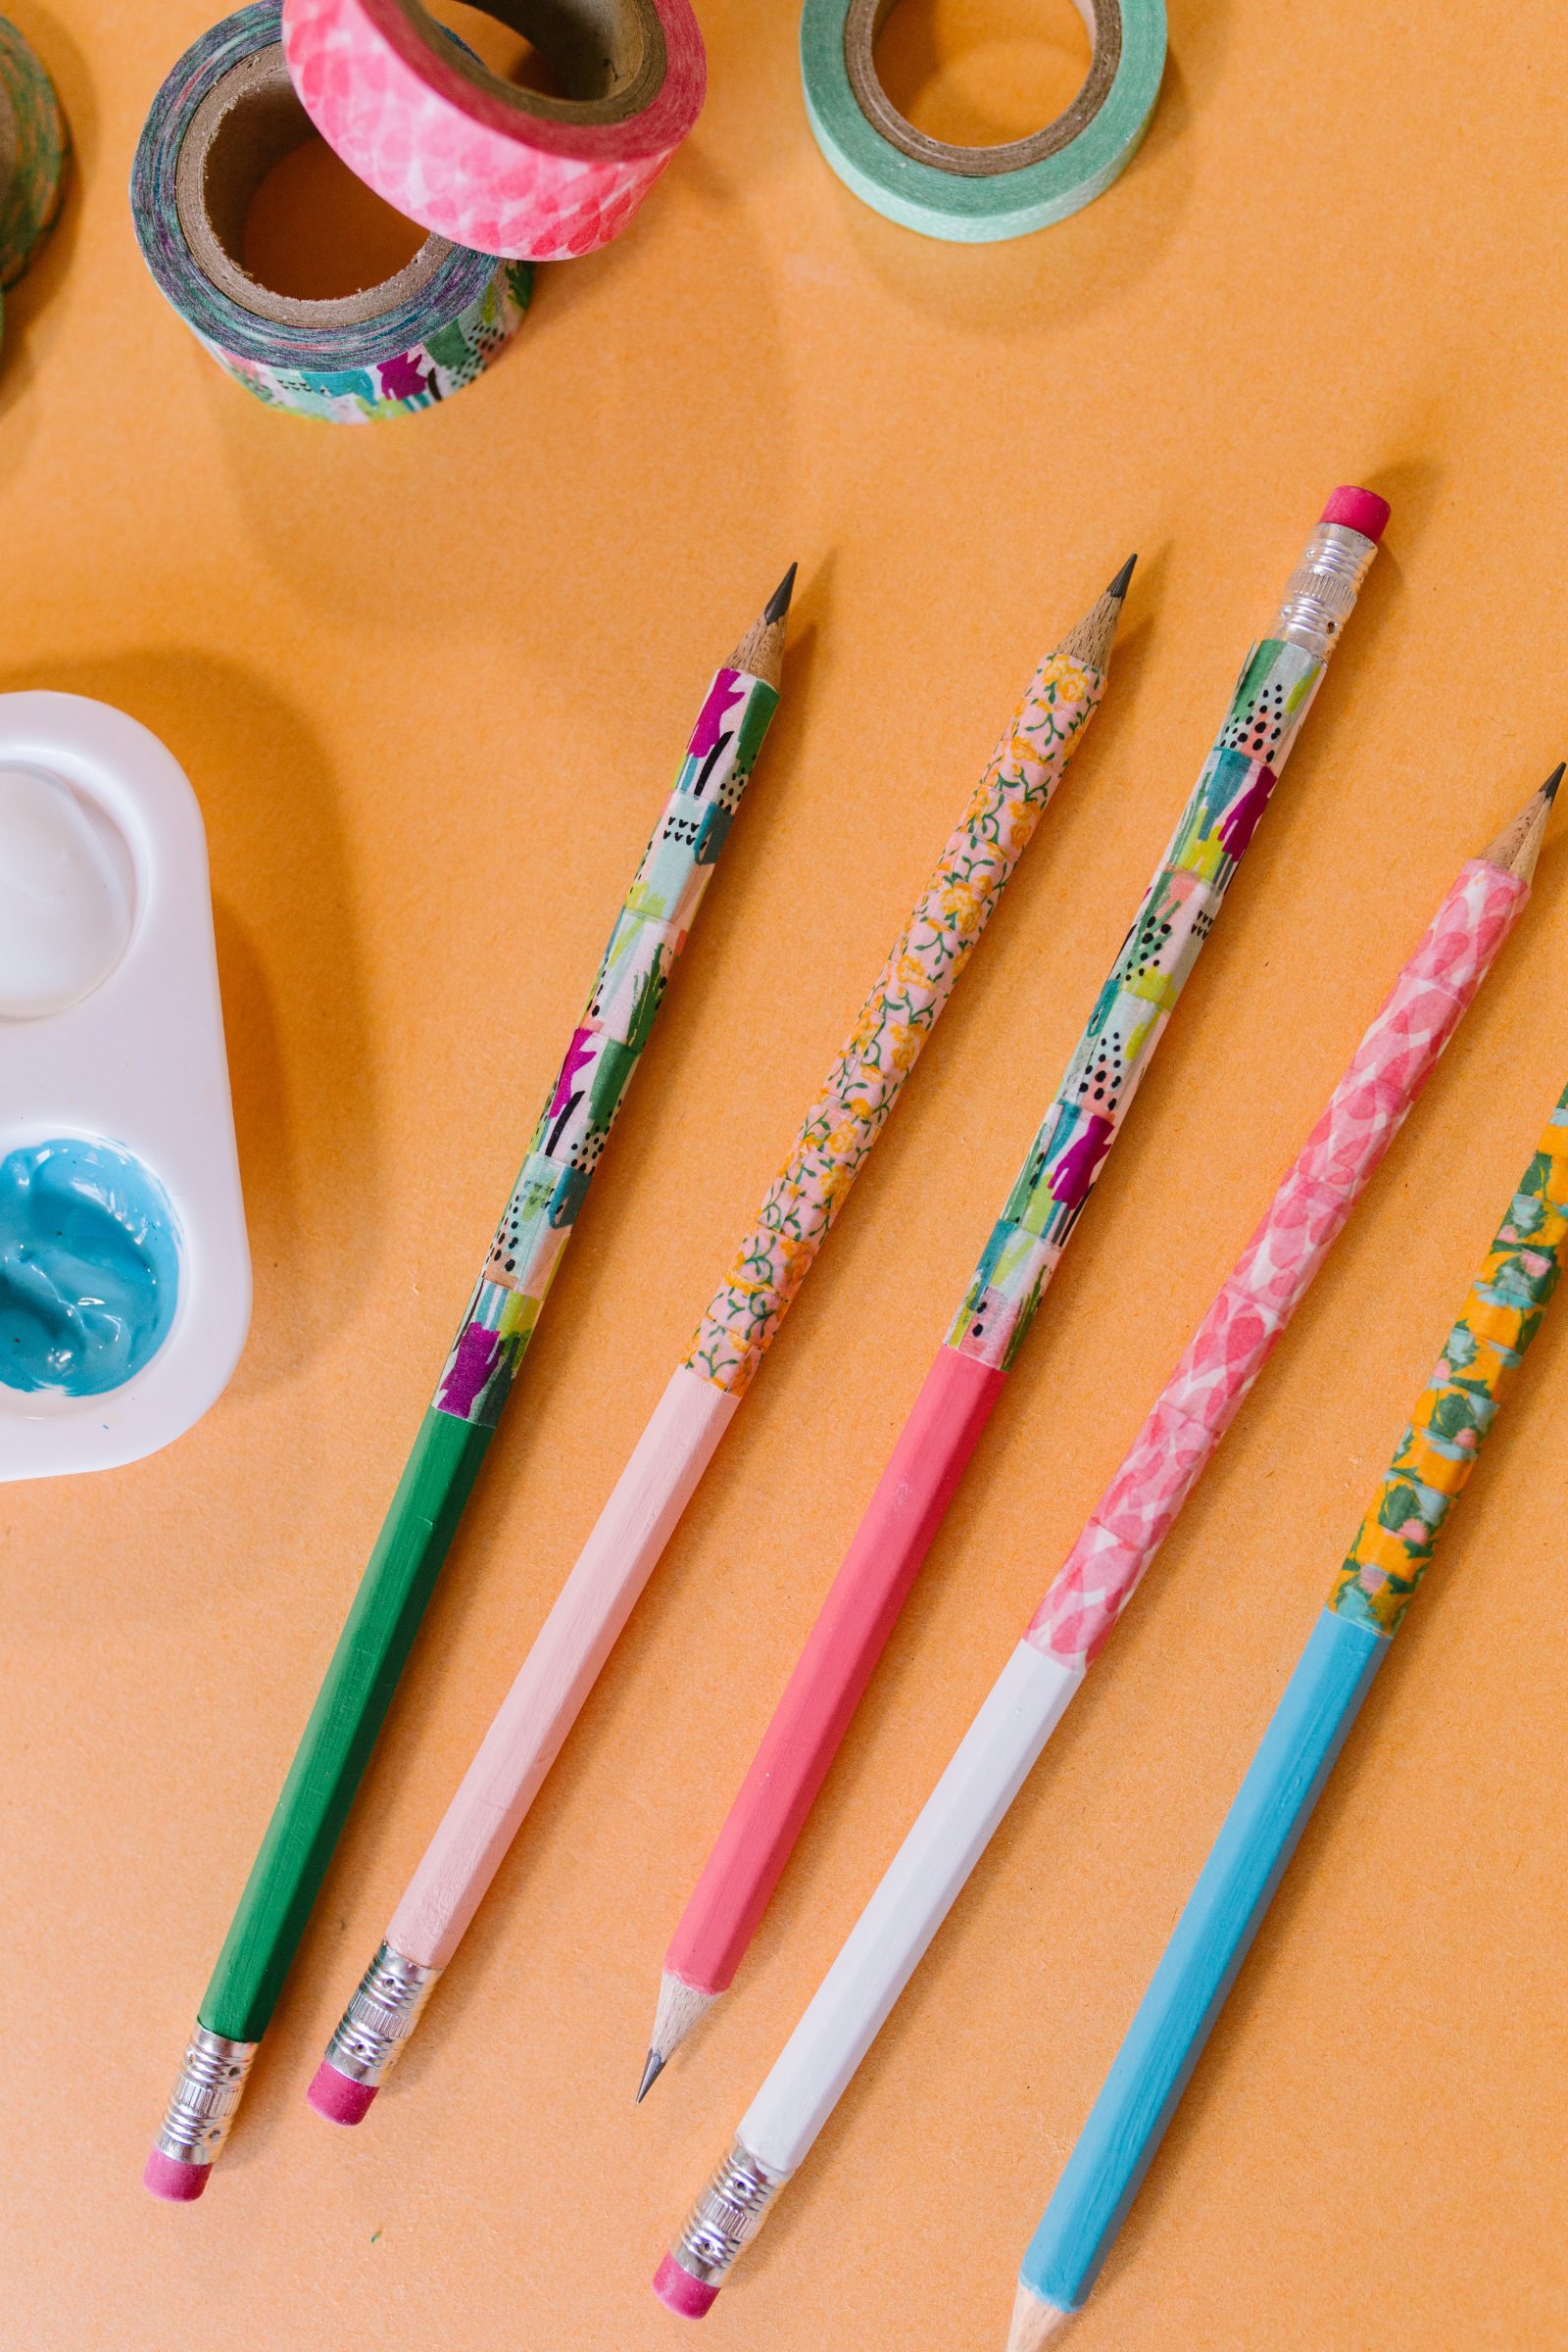
2. Color Blocked Washi Embellished Pencils

Supplies Needed to Make Color Blocked Washi Pencils
Pencils
FolkArt Multi Surface Paint in a variety of colors, including white
Paint Brush
Washi Tape
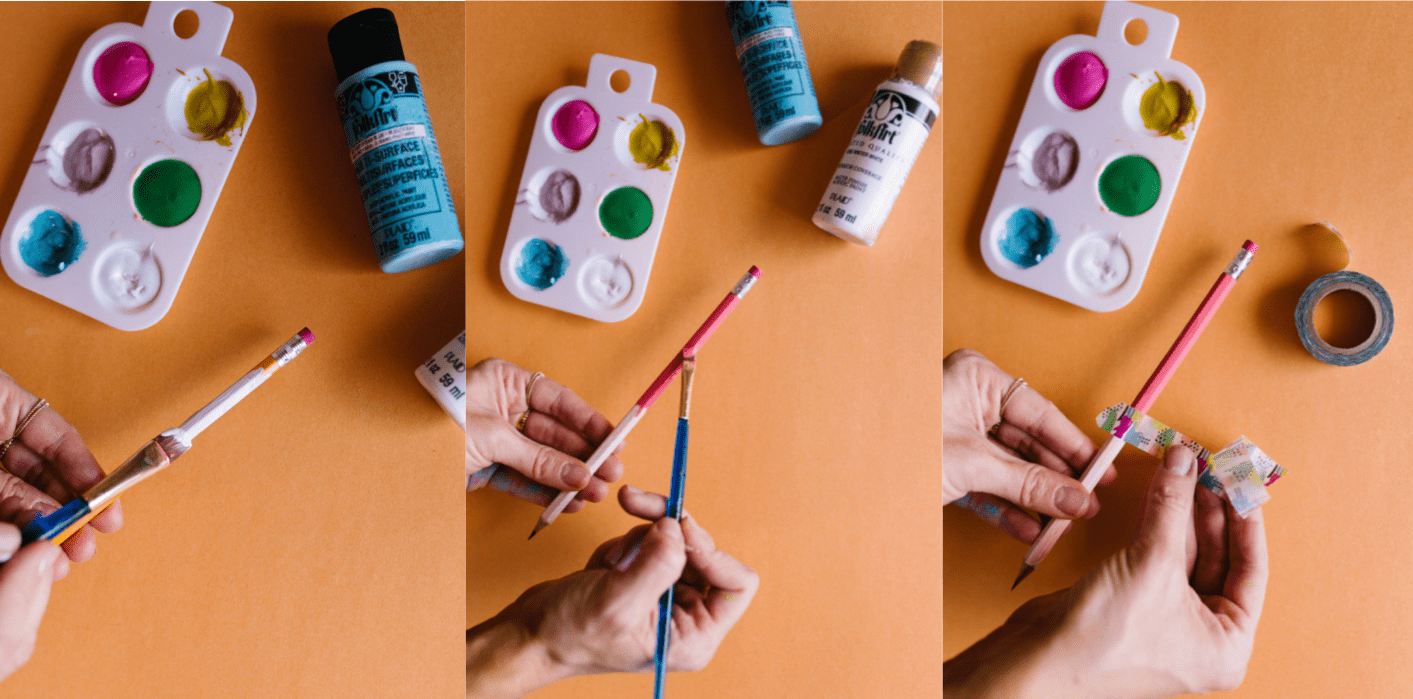
How to Make Color Blocked Washi Pencils
Step 1. If your pencil is yellow like ours, prime your surface by giving the pencil one coat of white paint. Let dry completely.
Step 2. Once the white paint is dry, paint one half of the pencil, using a paint brush, in a color of your choosing. If needed, apply two coats and let dry completely.
Step 3. Once the colored paint is dry, begin applying your washi tape to your pencil, beginning at where the white paint meets the colored paint. Wrap the white end of the pencil in washi until it is covered, being sure to smooth down the tape as you got to ensure that it sticks.
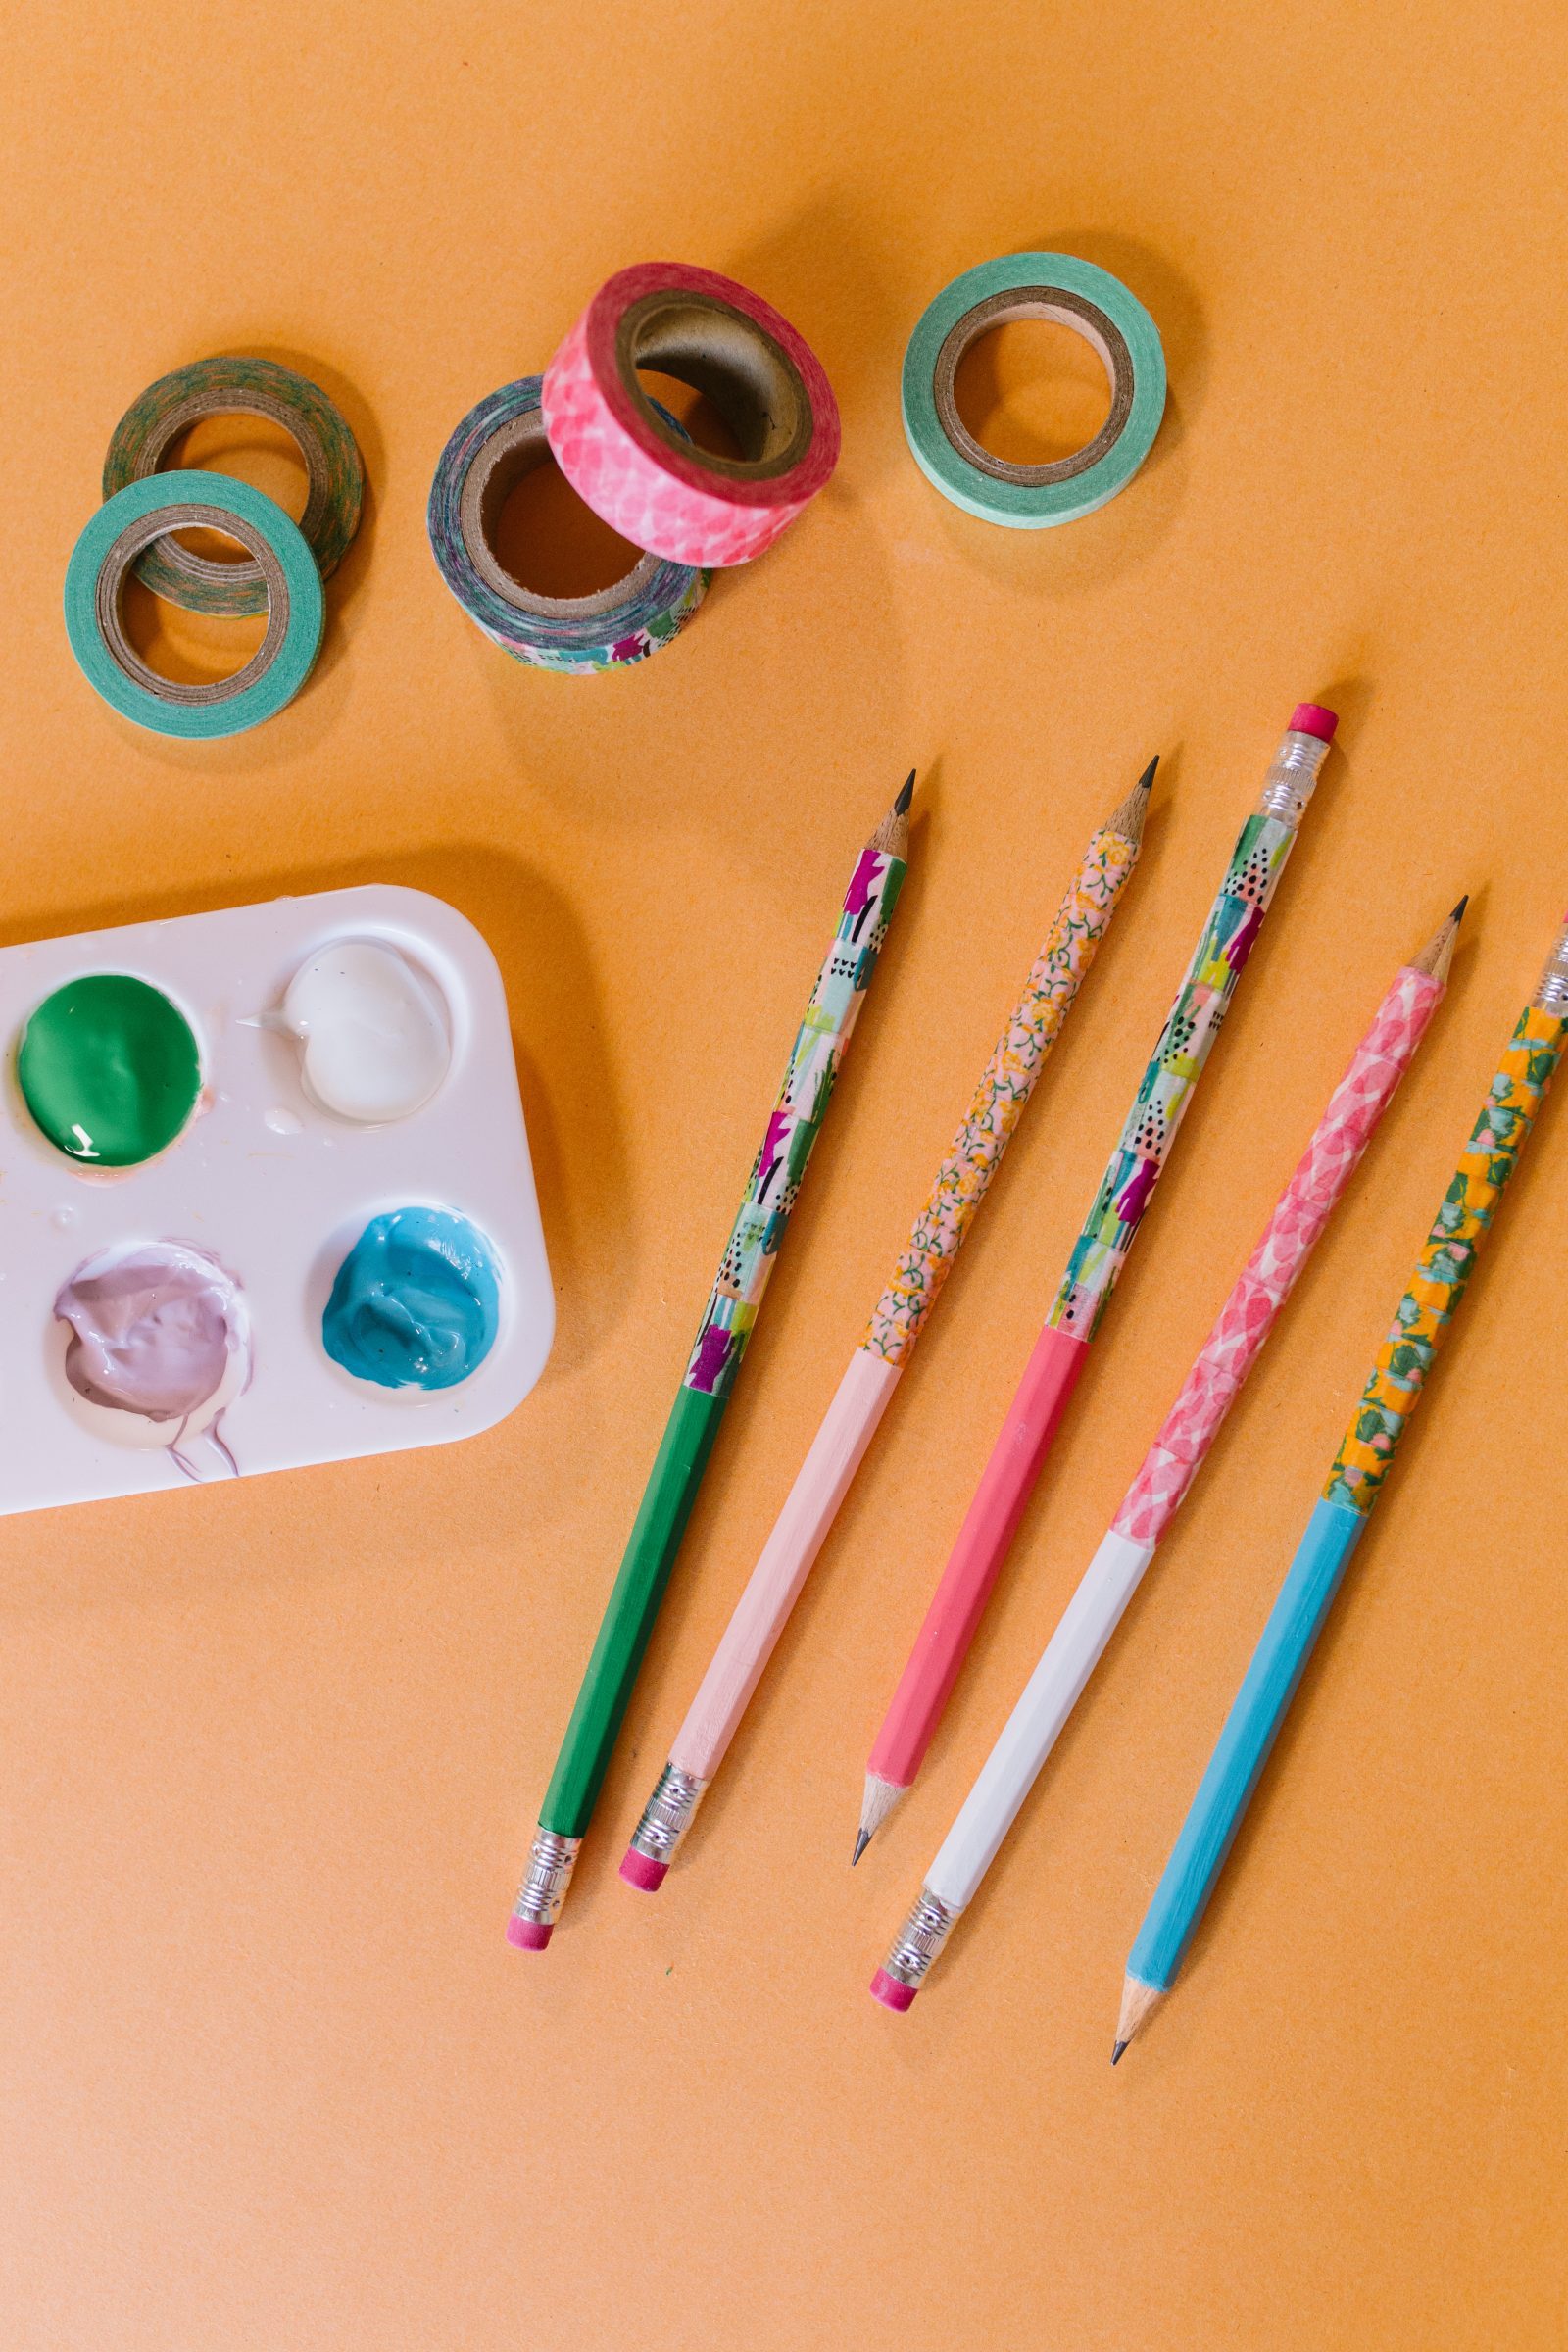
I adore how these pencils turned out! The fun patterns of the washi paired with the bold colors of the FolkArt paint make them so full of personality! They are just begging you to pick them up and write something!
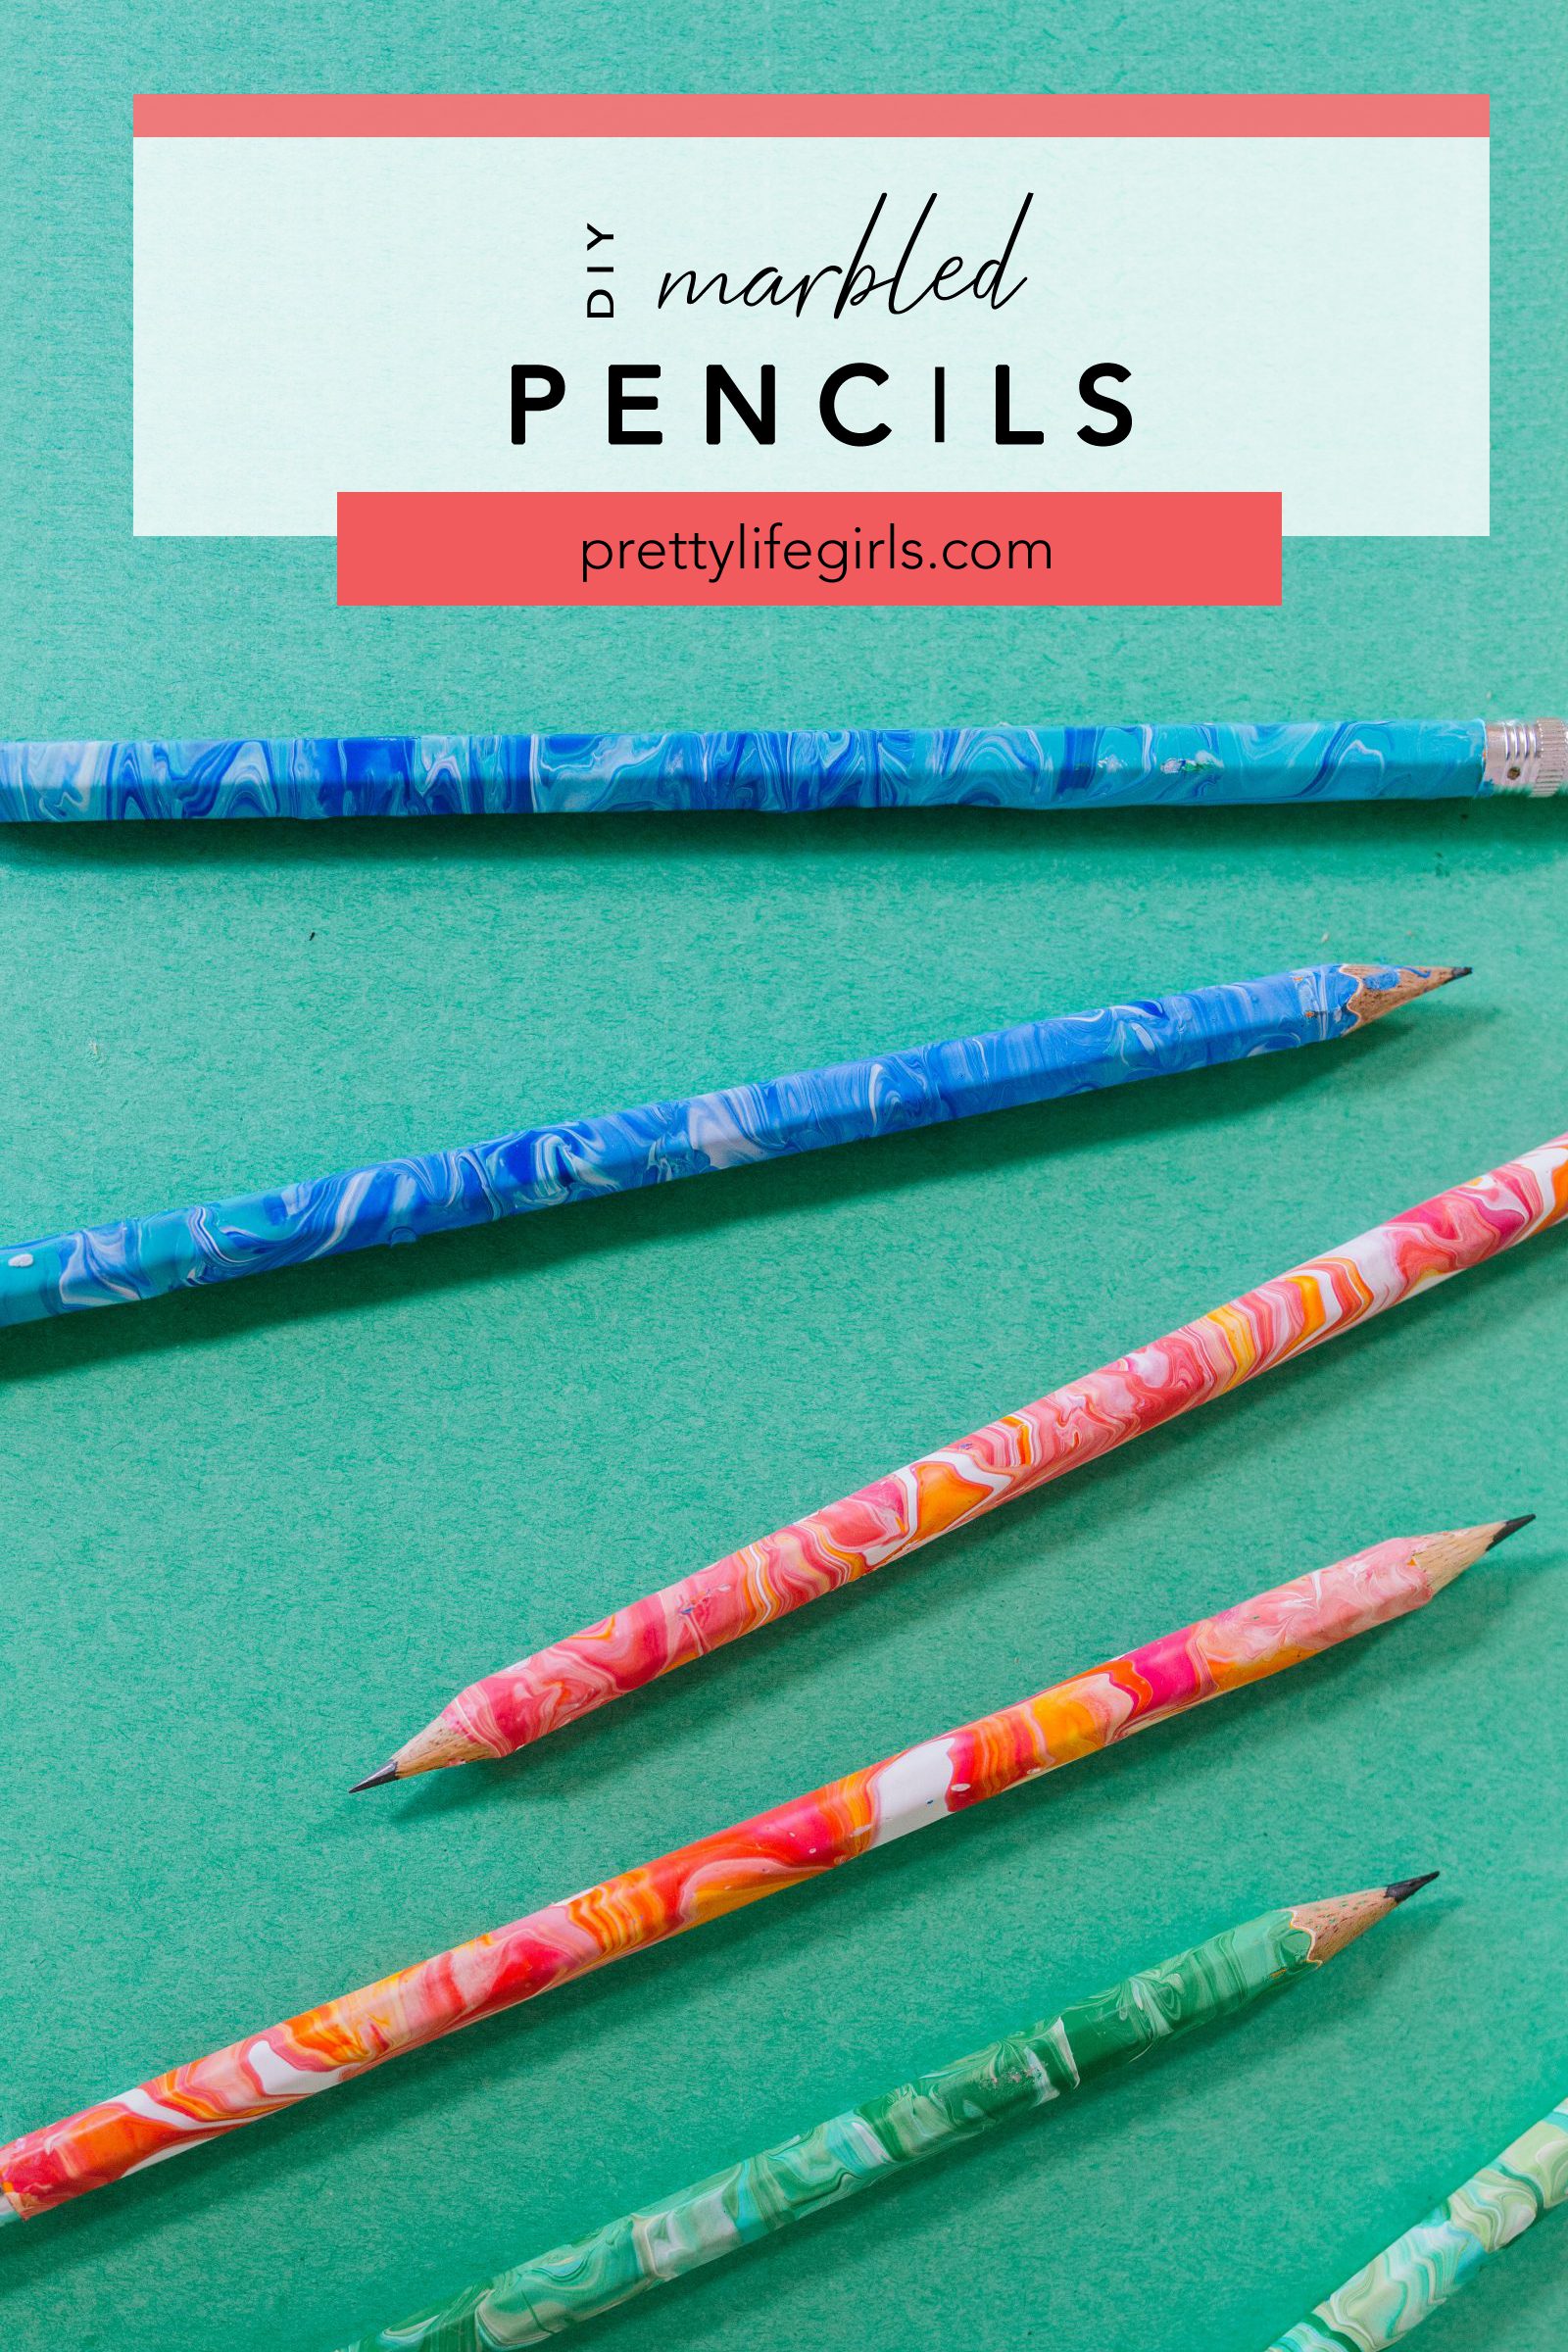
3. DIY Marbled Pencils
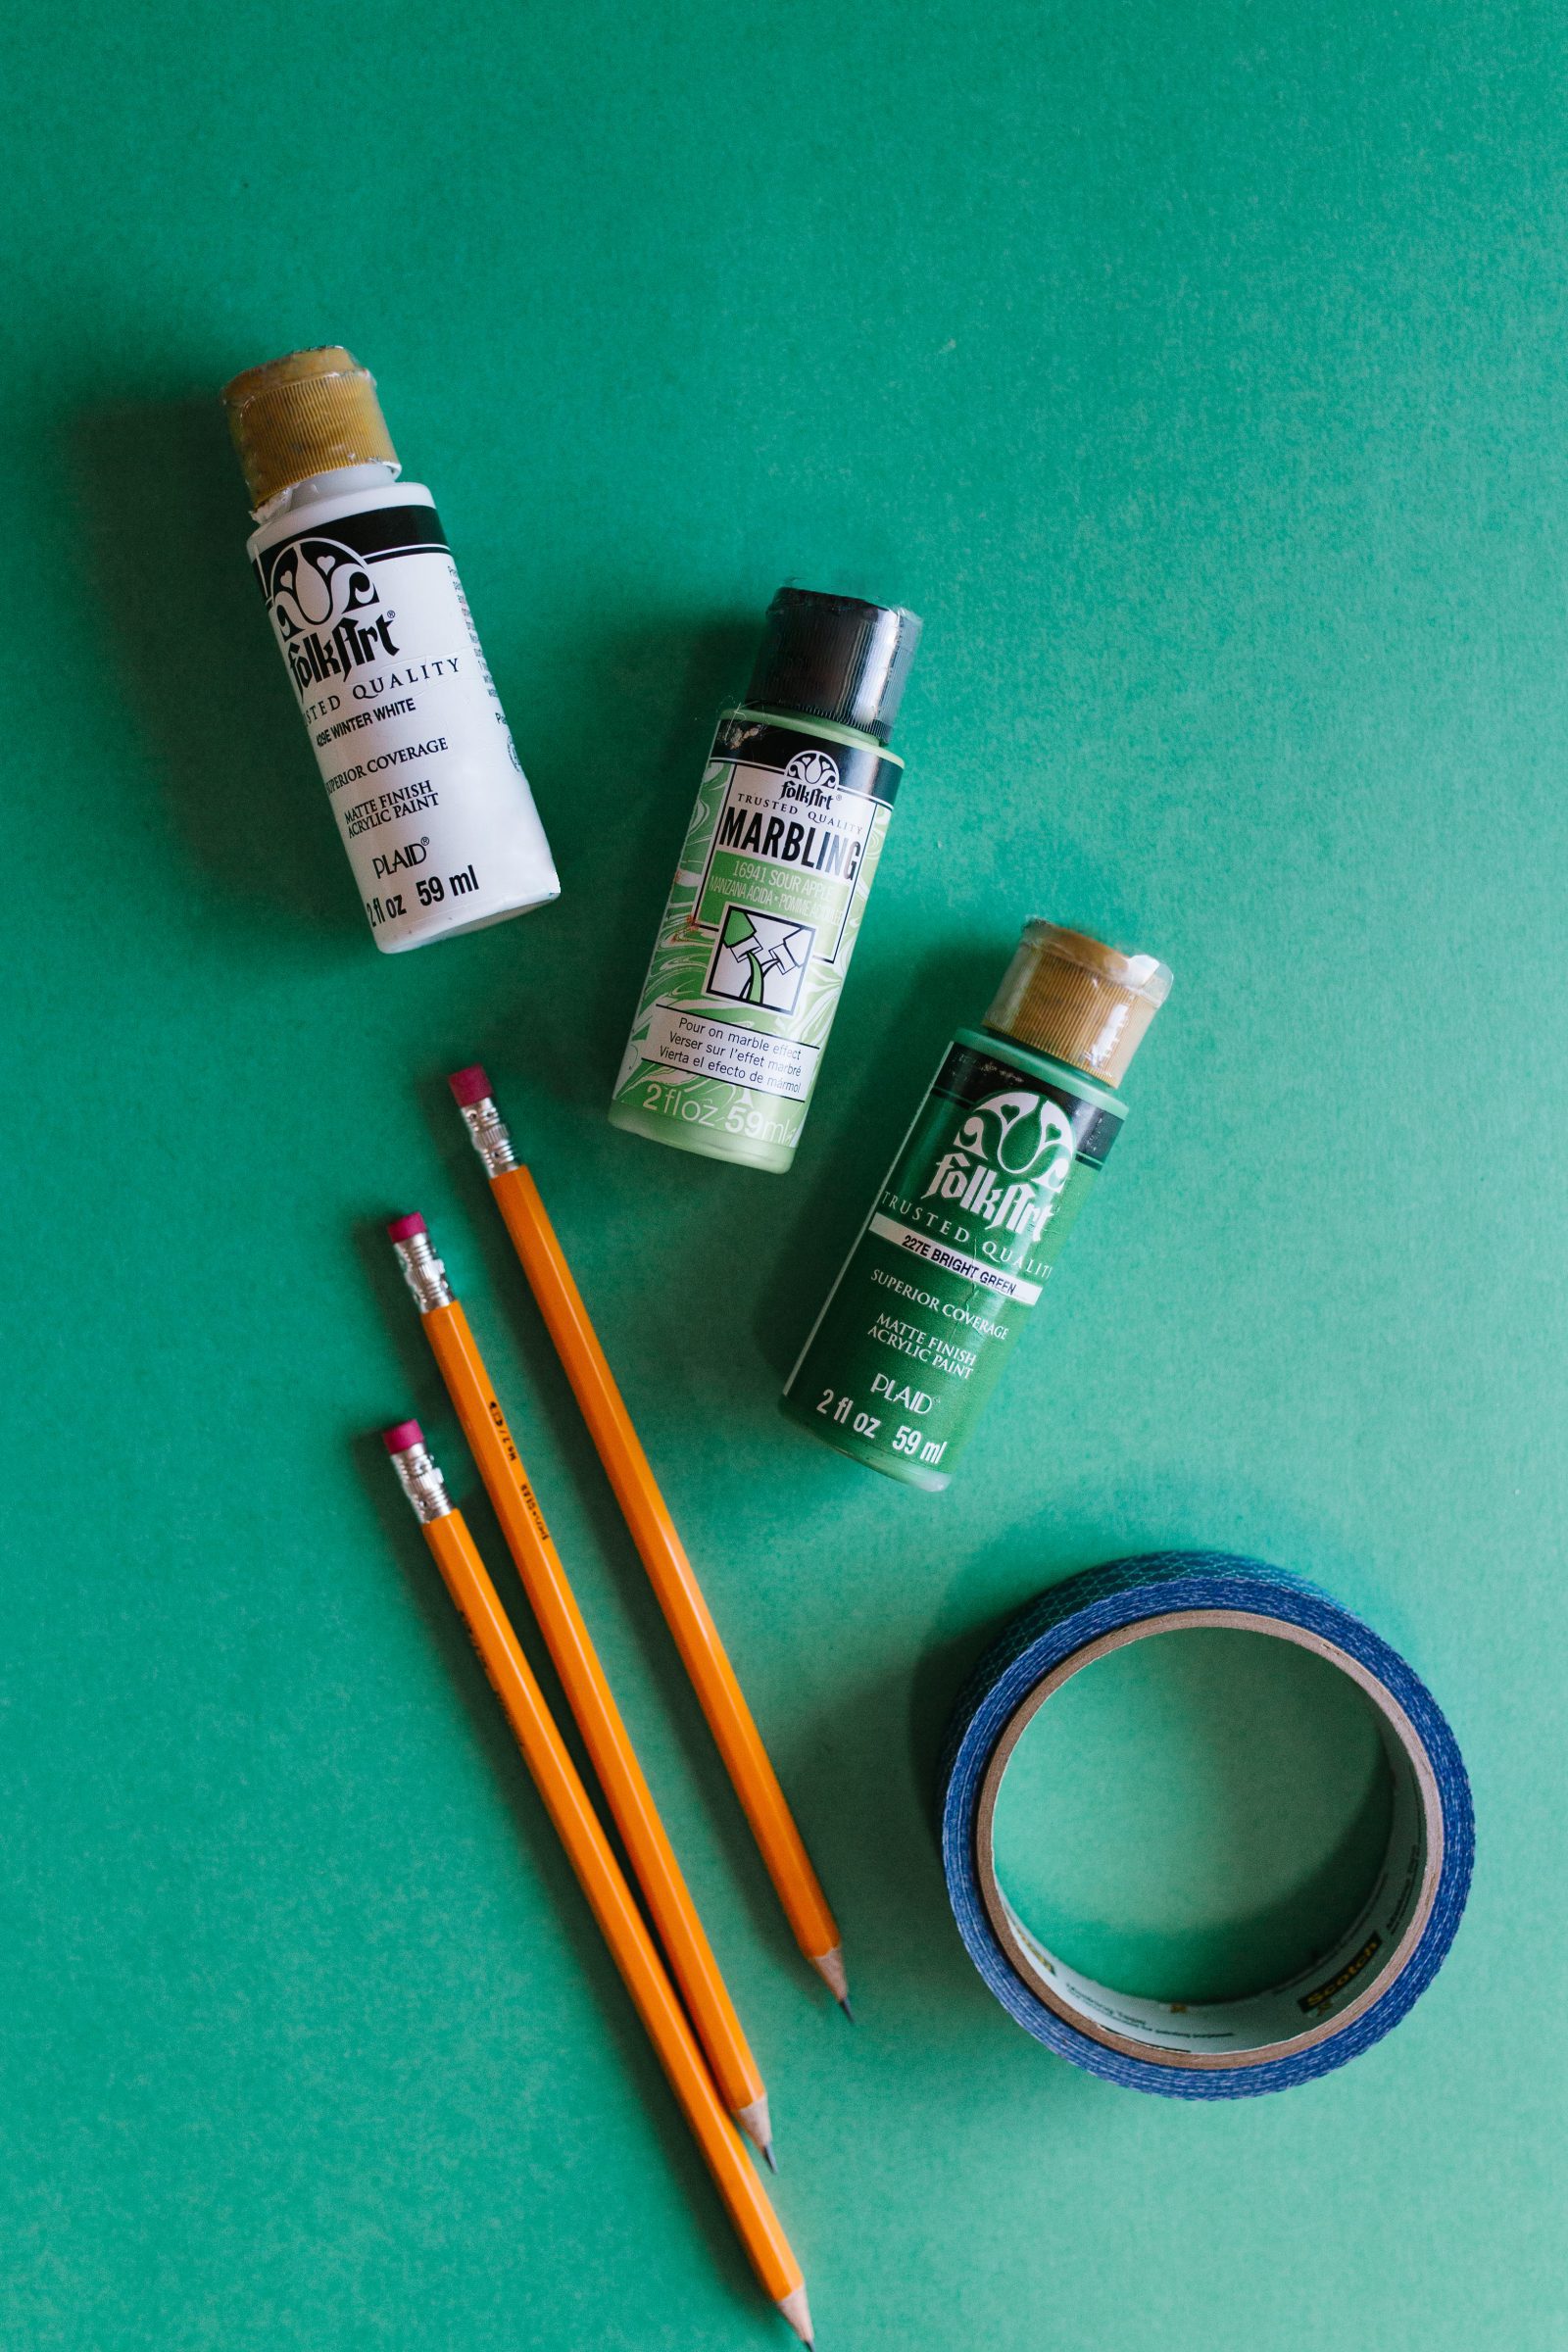
Supplies Needed to Make DIY Marbled Pencils
FolkArt Marbling Paint in at least one color
FolkArt Multi Surface Paint in 2-3 colors, including white
Painter’s Tape
Disposable Cup
Disposable Plate
Paint Brush
How to Make DIY Marbled Pencils
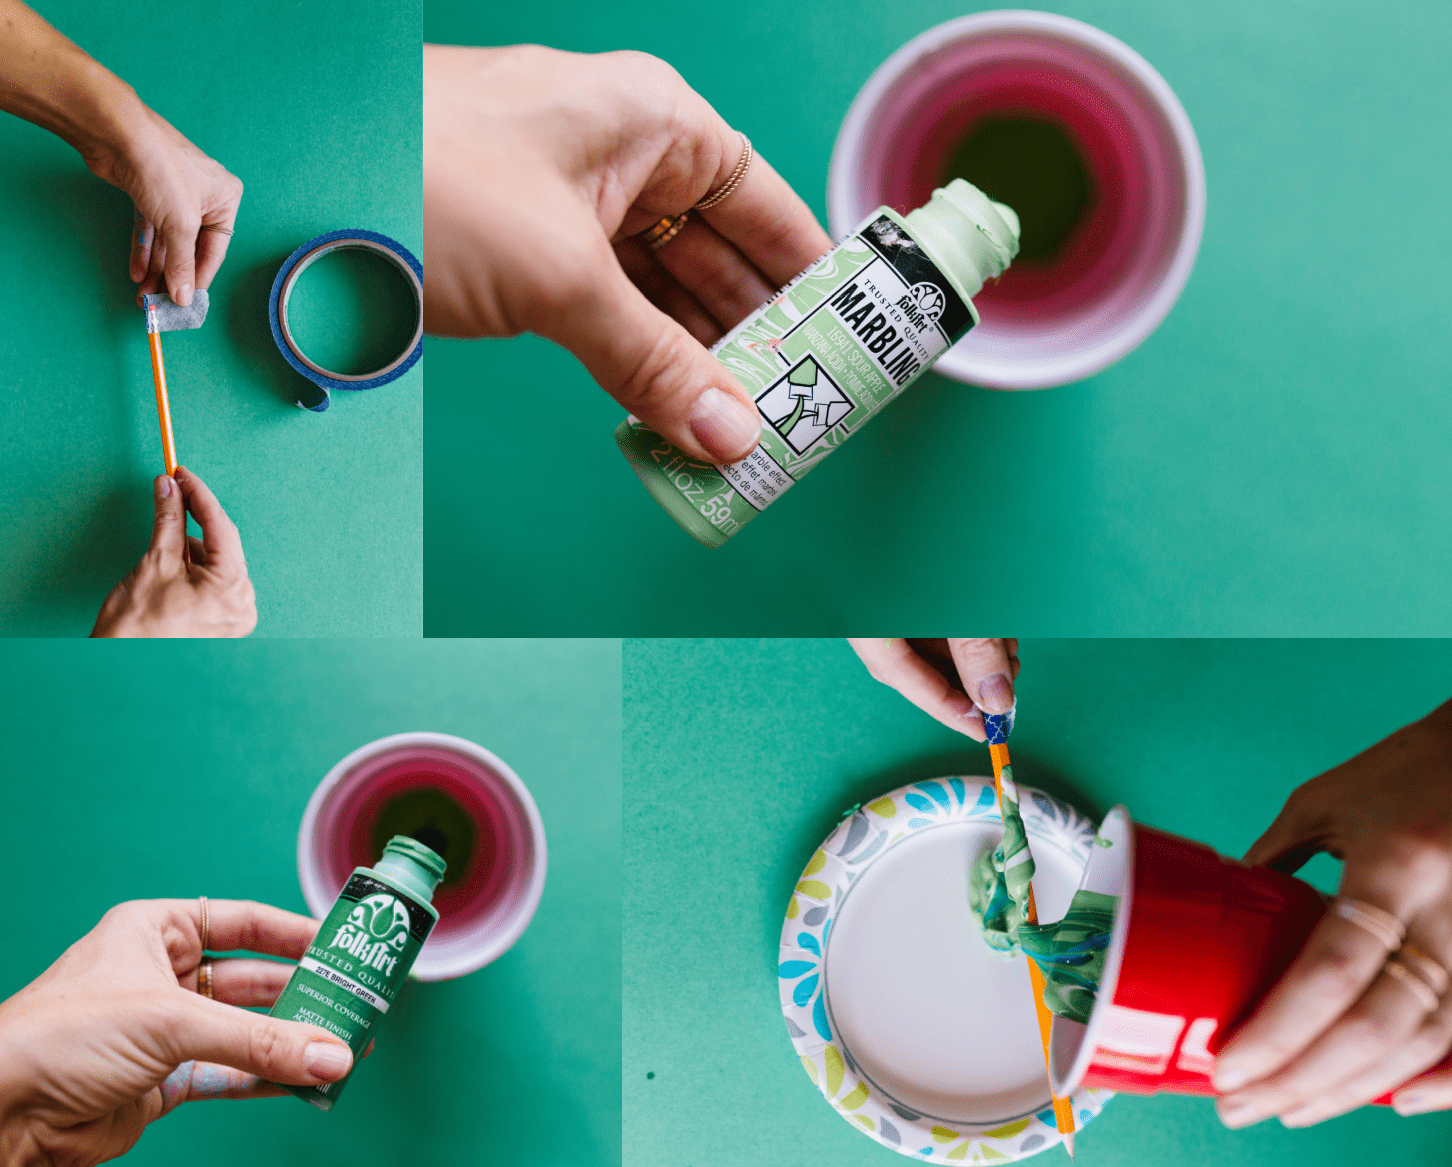
Step 1. Prepare your pencils by wrapping the top metal piece and eraser in painter’s tape.
Step 2. Begin pouring your colors into your plastic cup, in your desired order. (For example, pour a bit of the FolkArt Marbling Paint in the cup first, then your first color of FolkArt Multi Surface on top of that, then your next color of Folk Art Multi Surface on top of that, etc.) Since the pencils are small, you won’t need to pour a lot, just enough to ensure that it pours and will cover the pencils.
Step 3. Hold your pencil over the plate and slowly begin pouring the paint over the pencil, working from tip to eraser. As you pour, you can turn to the pencil to coat parts that may have been missed.
Step 4. Once your cup is empty, use a paint brush to move paint to any missed spots on the pencil.
Step 5. To remove some of the thickness of the paint, gently tap the tip of the pencil on the plate, turning the pencil as you go. This will cause some of the excess paint to come off but won’t harm the design of the marbling.
Step 6. For best results when drying, place the pencils somewhere they can be completely upright. For instance, we used a paint brush holder that let them stand straight up.
Step 7. Let dry completely, then remove the painter’s tape and enjoy.
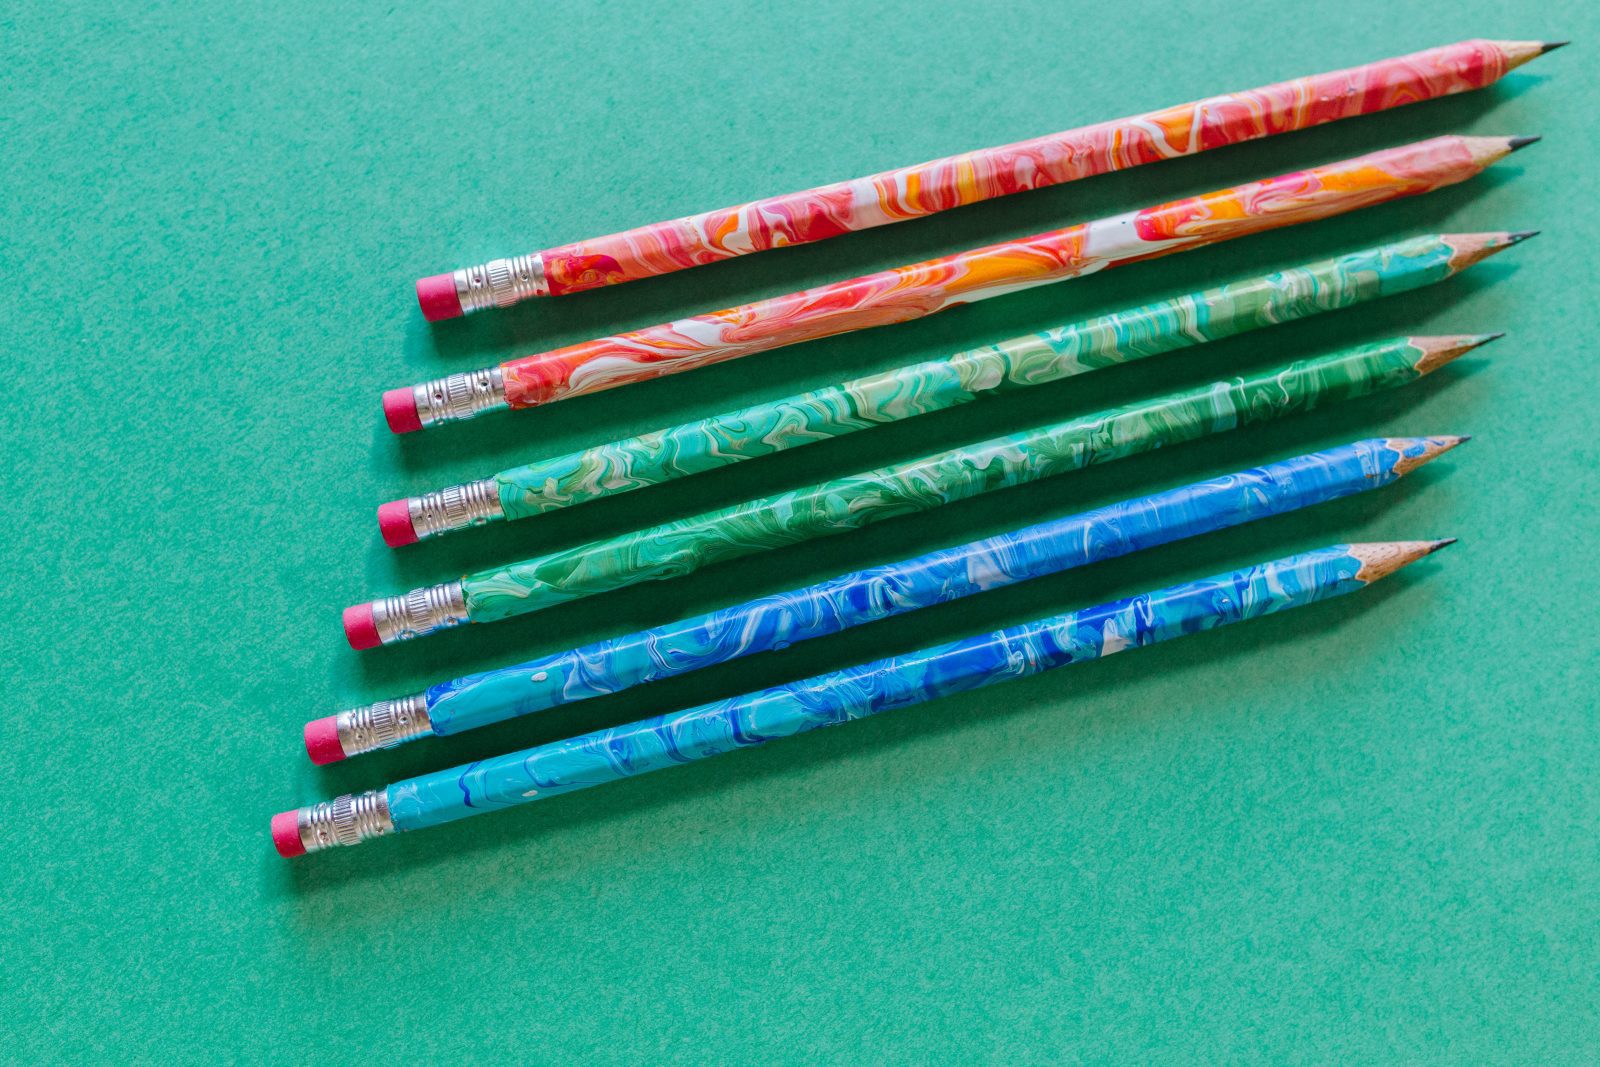
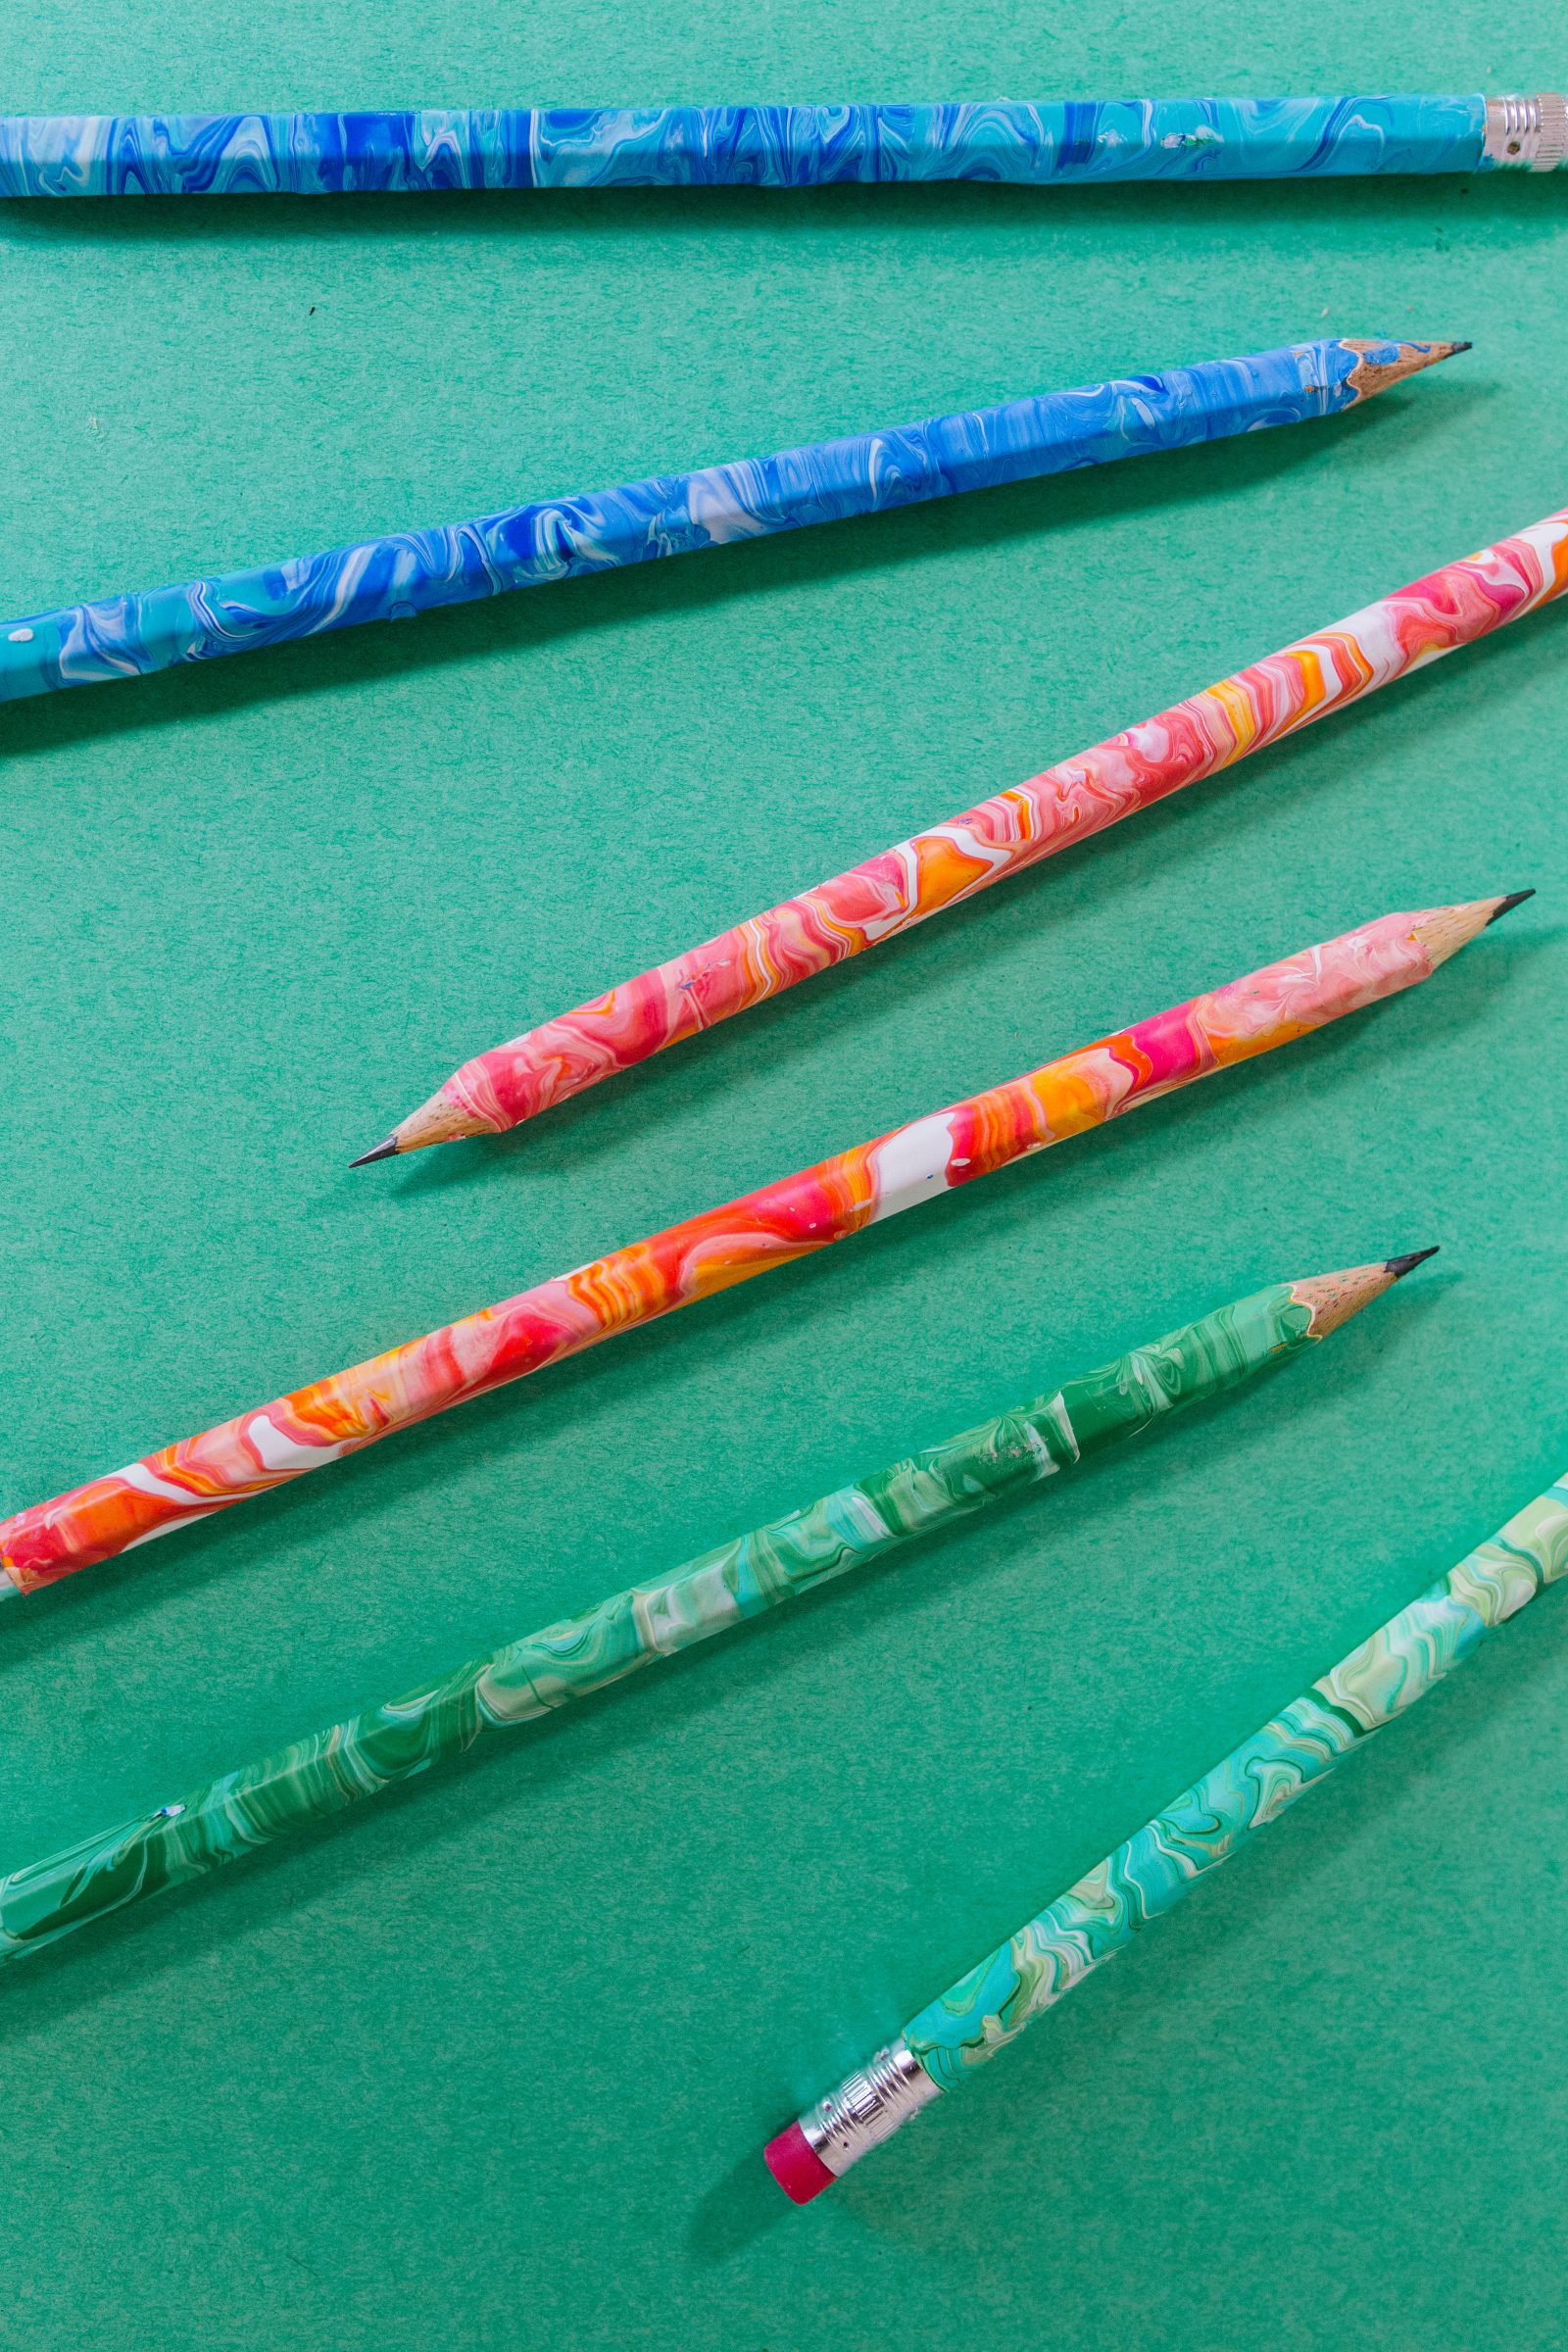
Aren’t they the coolest? These are the ones my kids definitely fought over to get in their pencil boxes. We had a blast seeing the different ways the paint would land and settle on the pencils. They are mesmerizing!
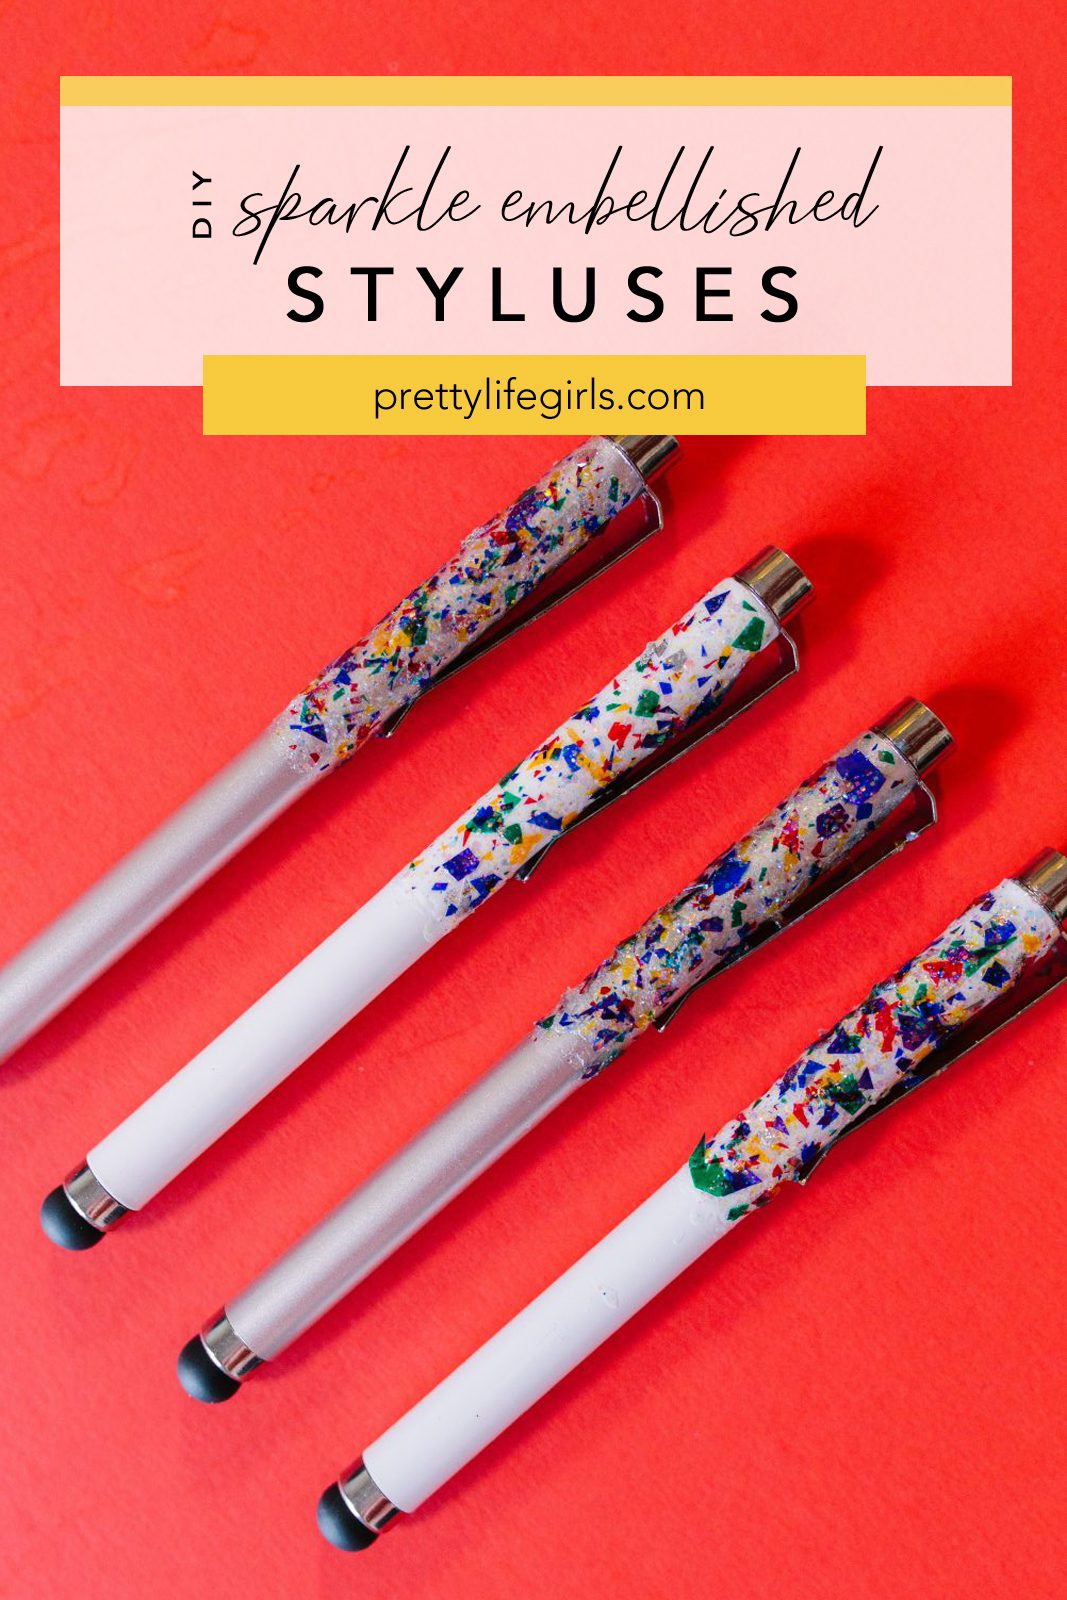
4. DIY Sparkle Styluses
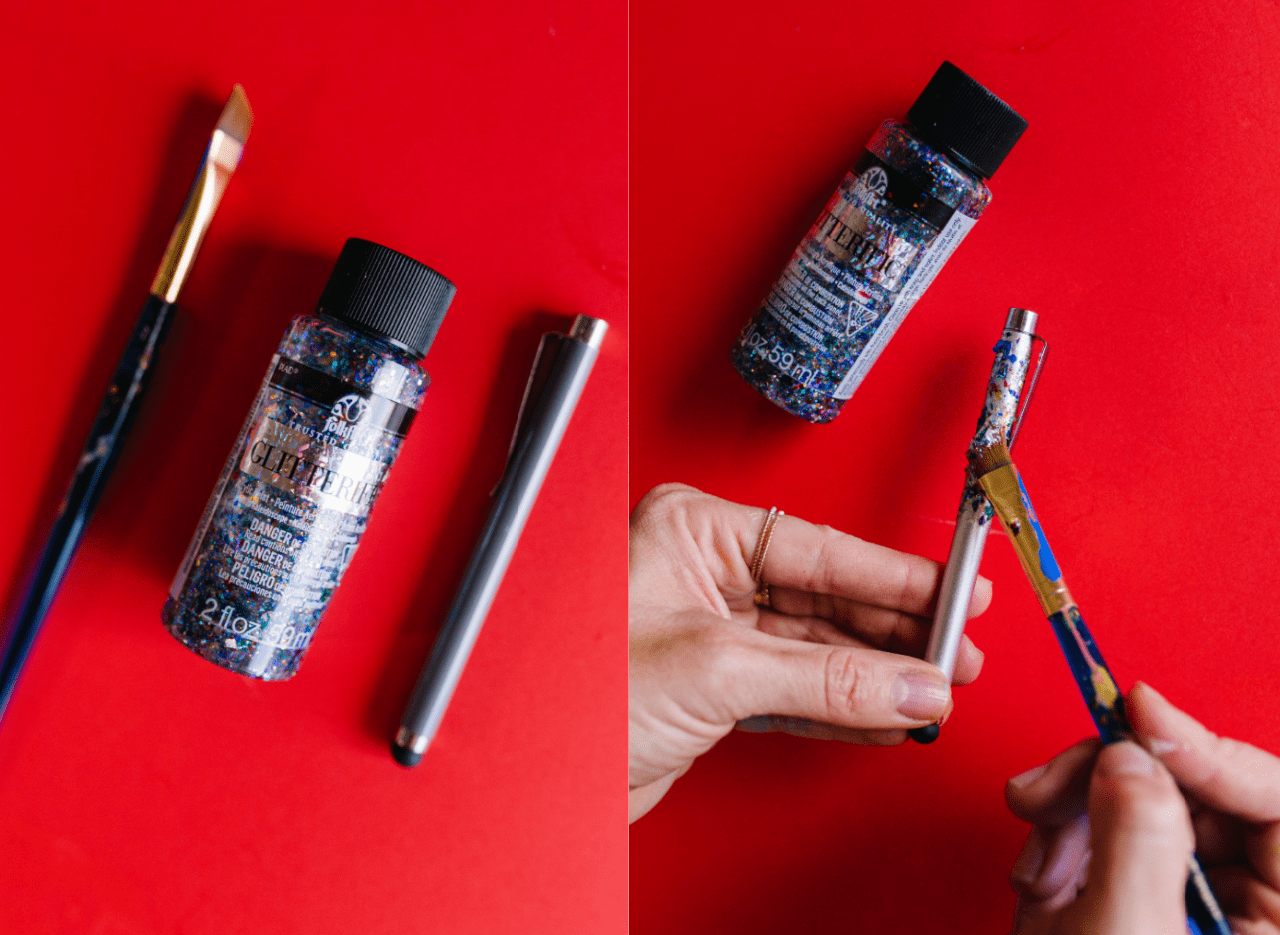
Supplies Needed to Make DIY Sparkle Styluses
Styluses in solid colors
FolkArt Glitterific Paint
Paint Brush
How to Make DIY Sparkle Styluses
Step 1. Using a paint brush, paint one coat of Glitterific paint on half of the stylus to create a dipped look. Let dry.
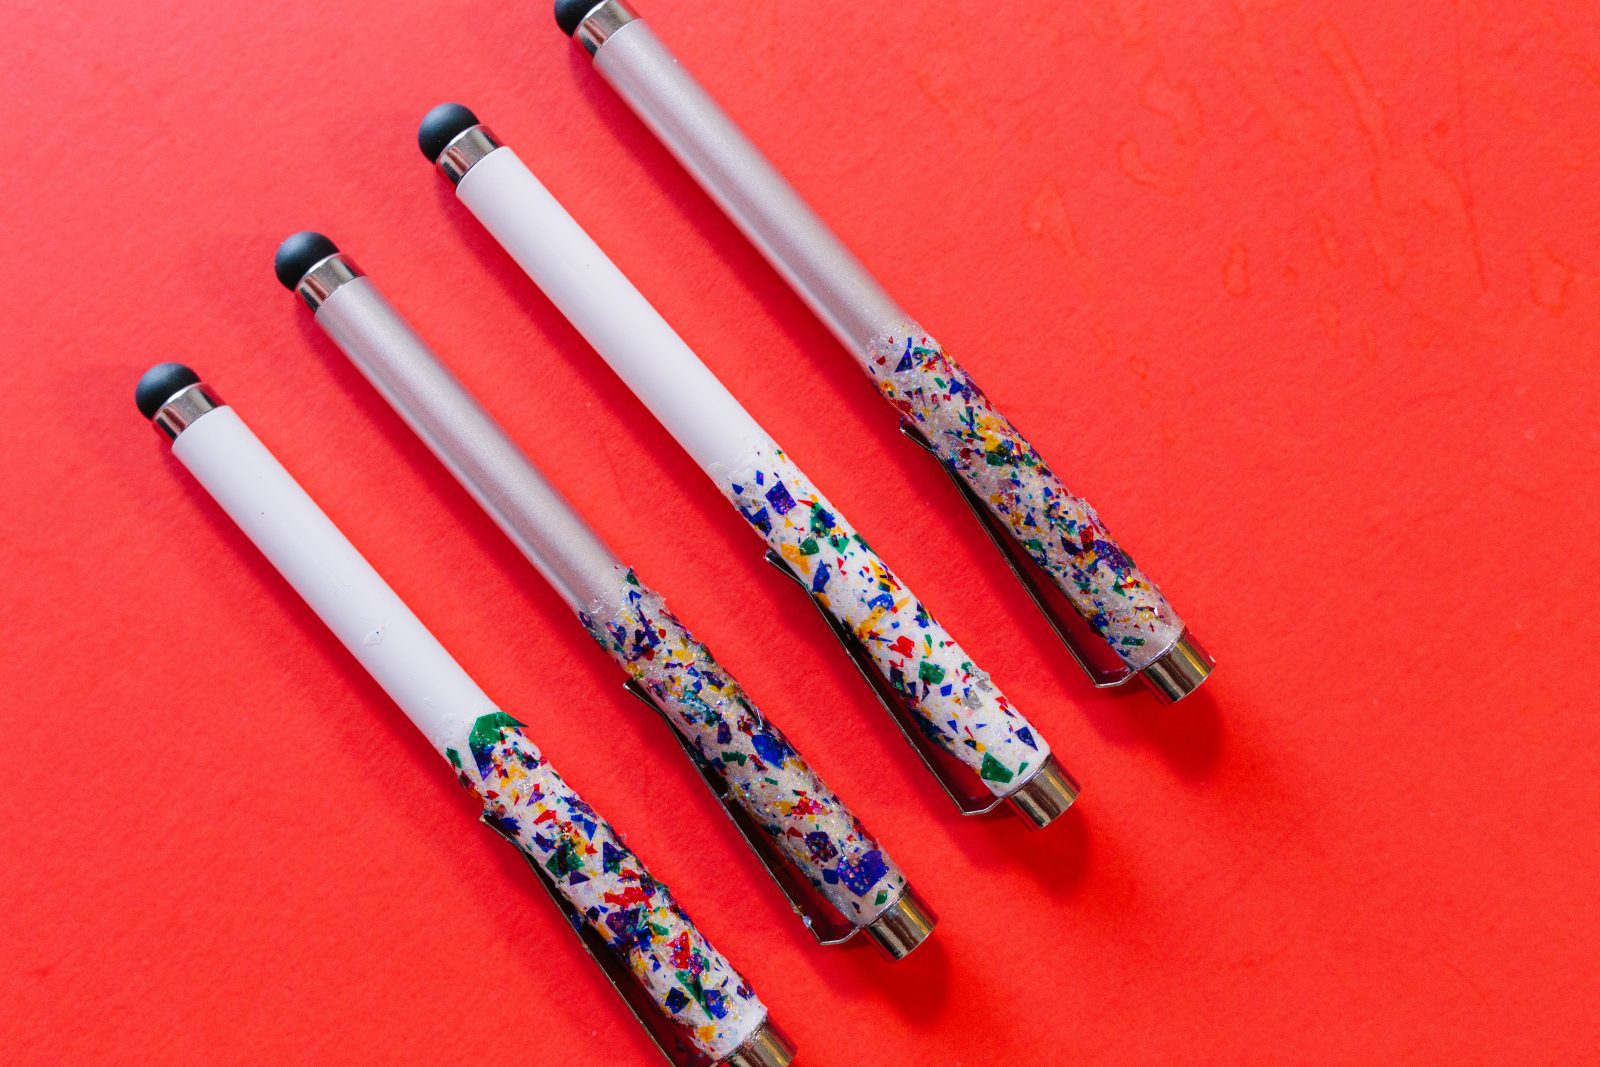
Step 2. Repeat step 1 as many times as you’d like until you have achieved your desired glitter density. Let dry completelye.
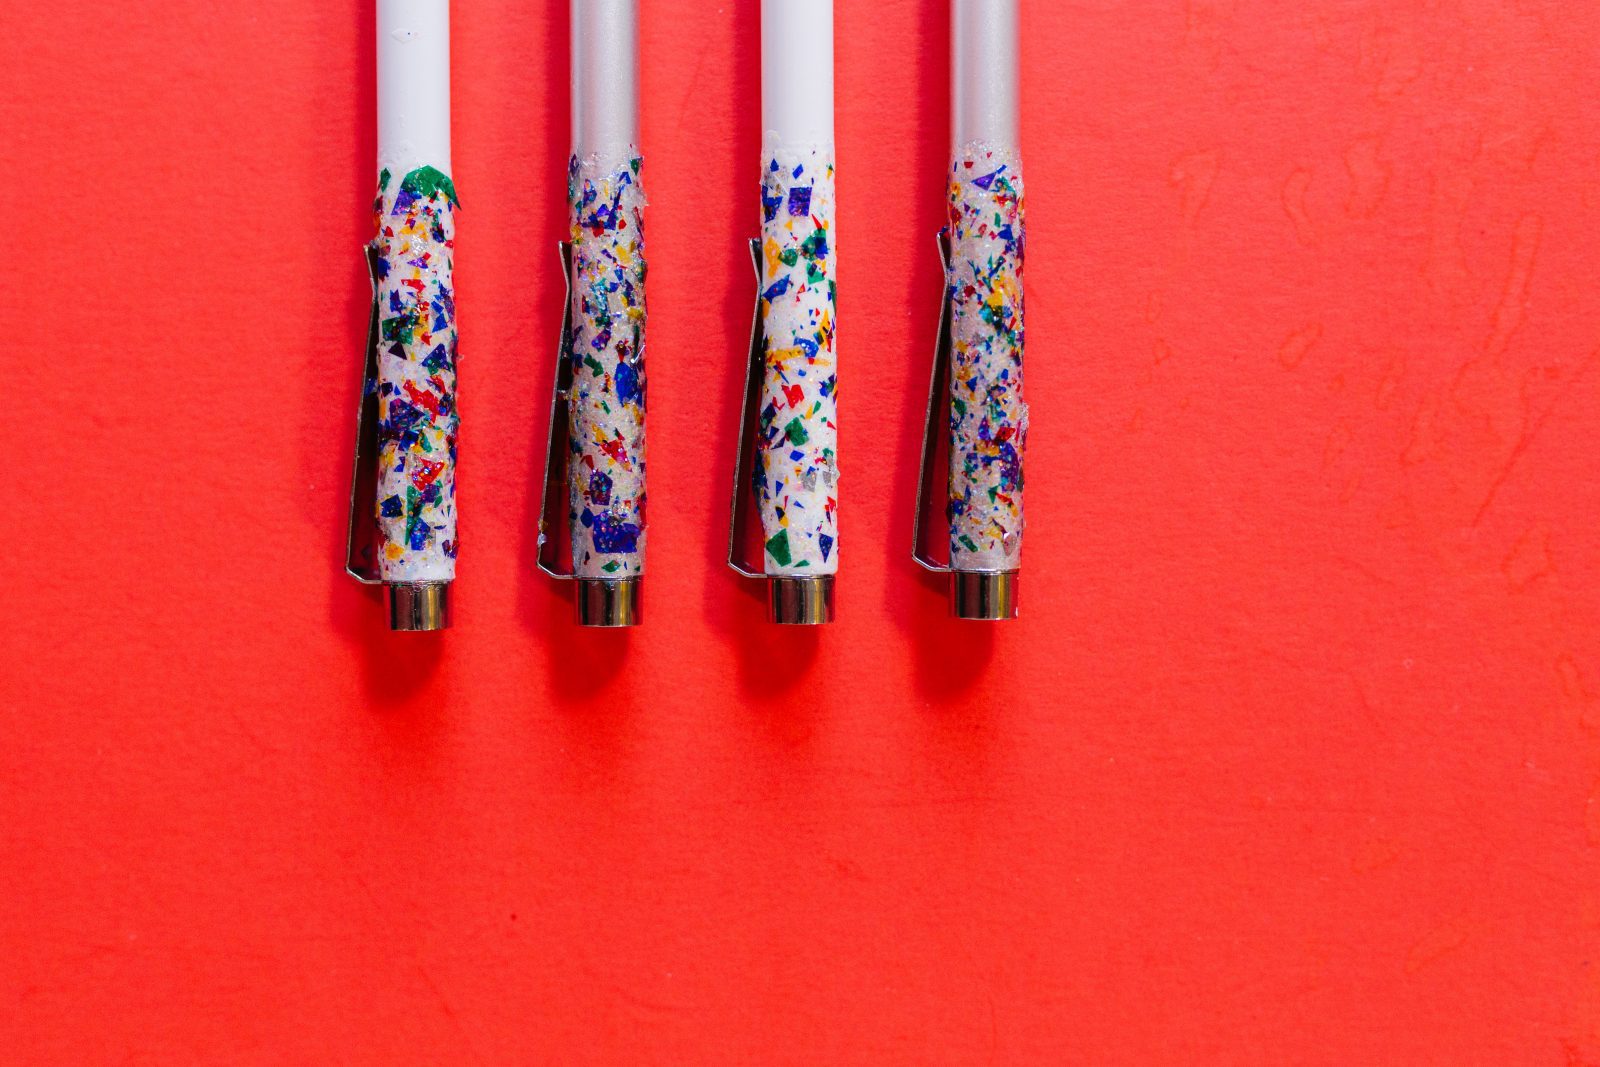
Aren’t they so fun and sparkly? Glitterific is one of my favorite products in my painting arsenal. All those big flakes of glitter are a dream and are sure to make time spent on a computer a bit more sparkly.
That’s it! Now you’re ready to take on back-to-school in DIY style. Which project are you going to make first?
Happy Making!
ox. Liz