


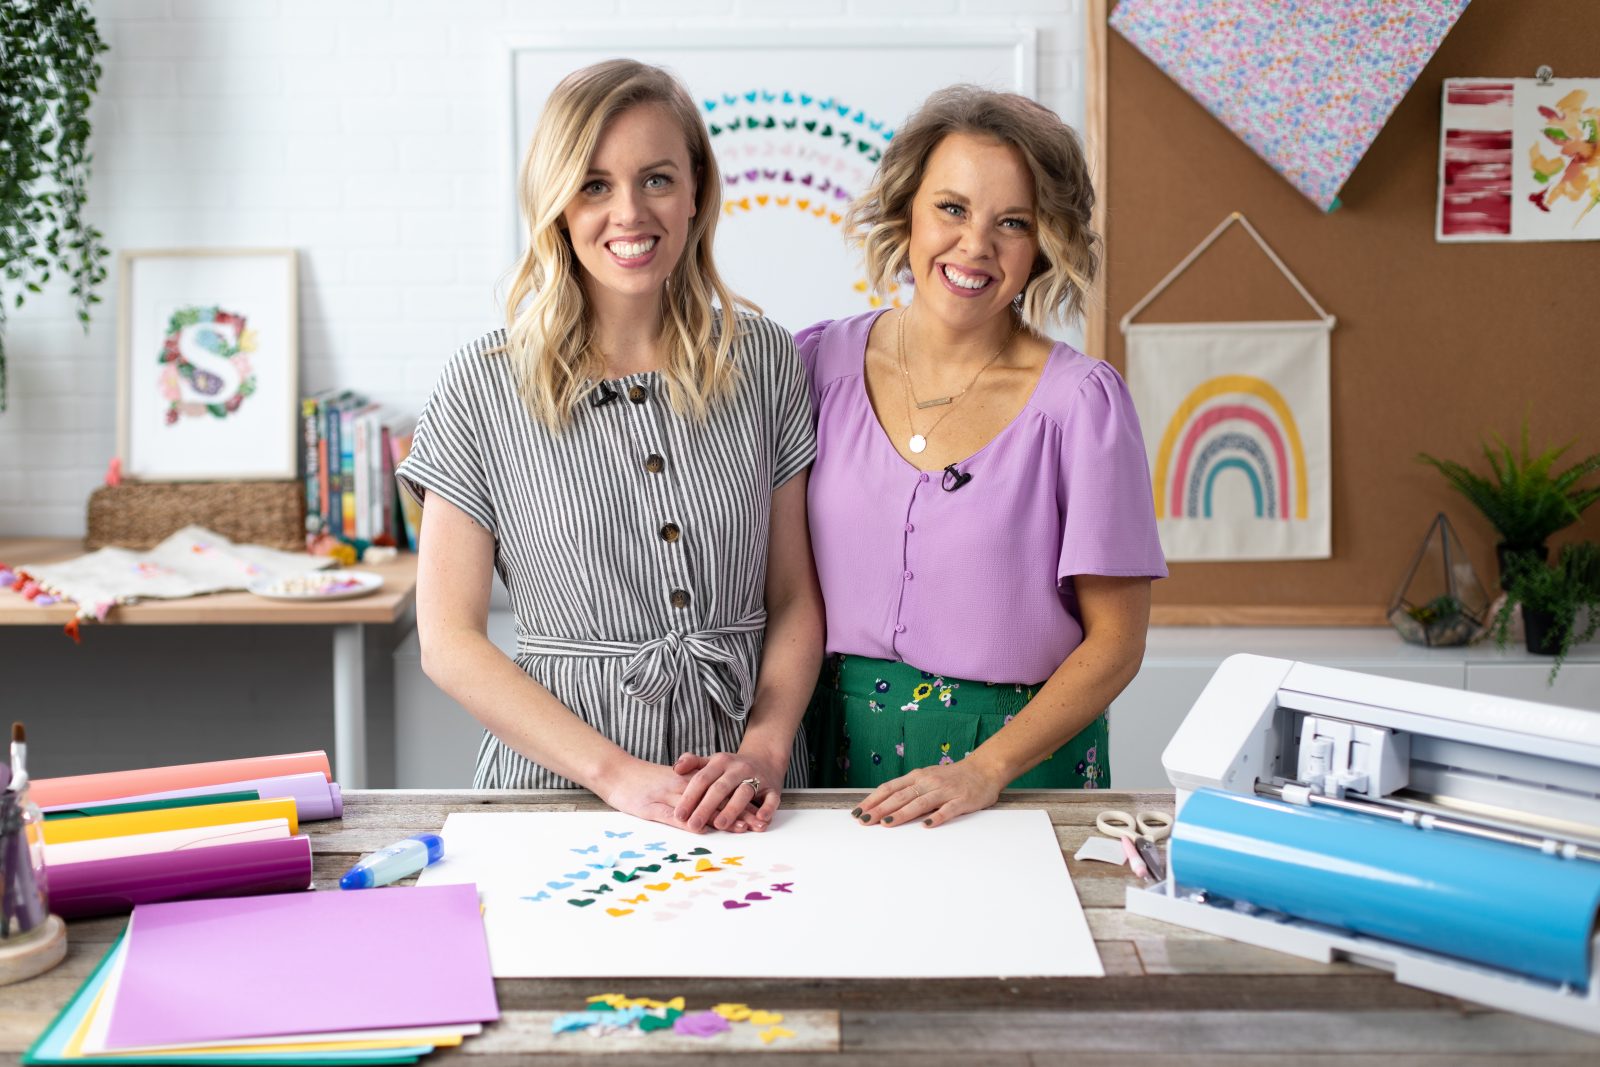
When we first started our blog we dabbled in making crafts here and there, posting projects sporadically when we made something decent. However, that all changed the day we got our hands on our first Silhouette machine. That box of magic took us from casual crafters to obsessive makers with a full-blown craft blog because the possibilities for creating blew open and could no longer be contained on this little spot on the internet. Now we are complete die-hard Silhouette loyalists who love to make things with our Silhouette machine(s) every chance we get and who love to bring others into the Silhouette fold because guys, it’s the place to BE.
And while we own and love a couple different Silhouette machines, the holy grail has to be the Silhouette CAMEO 4. So today we are sharing all things Silhouette 101 and giving you a little intro into this magic machine and help you get it out of the box and making your own magic.
Silhouette 101: Why Silhouette
We are often asked why we’ve chosen to craft with Silhouette machines (versus a Cricut or other brand), and our honest answer is that it has proved itself to be the best over and over, regardless of what we put it through! From the Silhouette Design Store that is packed with inspiration and designs for making everything you can think of, to the slick interface of the Silhouette Studio design software, to the ease of setup, to the availability of customer support when you get stuck and FINALLY, to the results that our CAMEO has given us time after time, it’s SO good. Yes, there is a learning curve to helping the machine create perfection every time, but MAN, once you’ve got it down, the mind reels as the possibilities for making and the CAMEO’s ability to make it happen.
On the machine itself, the CAMEO 4 has some amazing features including matless cutting (even with cardstock), a built-in roll feeder and cross cutter, superior print-and-cut capability, and fast and smart cutting. It also functions with many tools that are automatically detected when inserted into the machine, ensuring that you have the right settings every time!
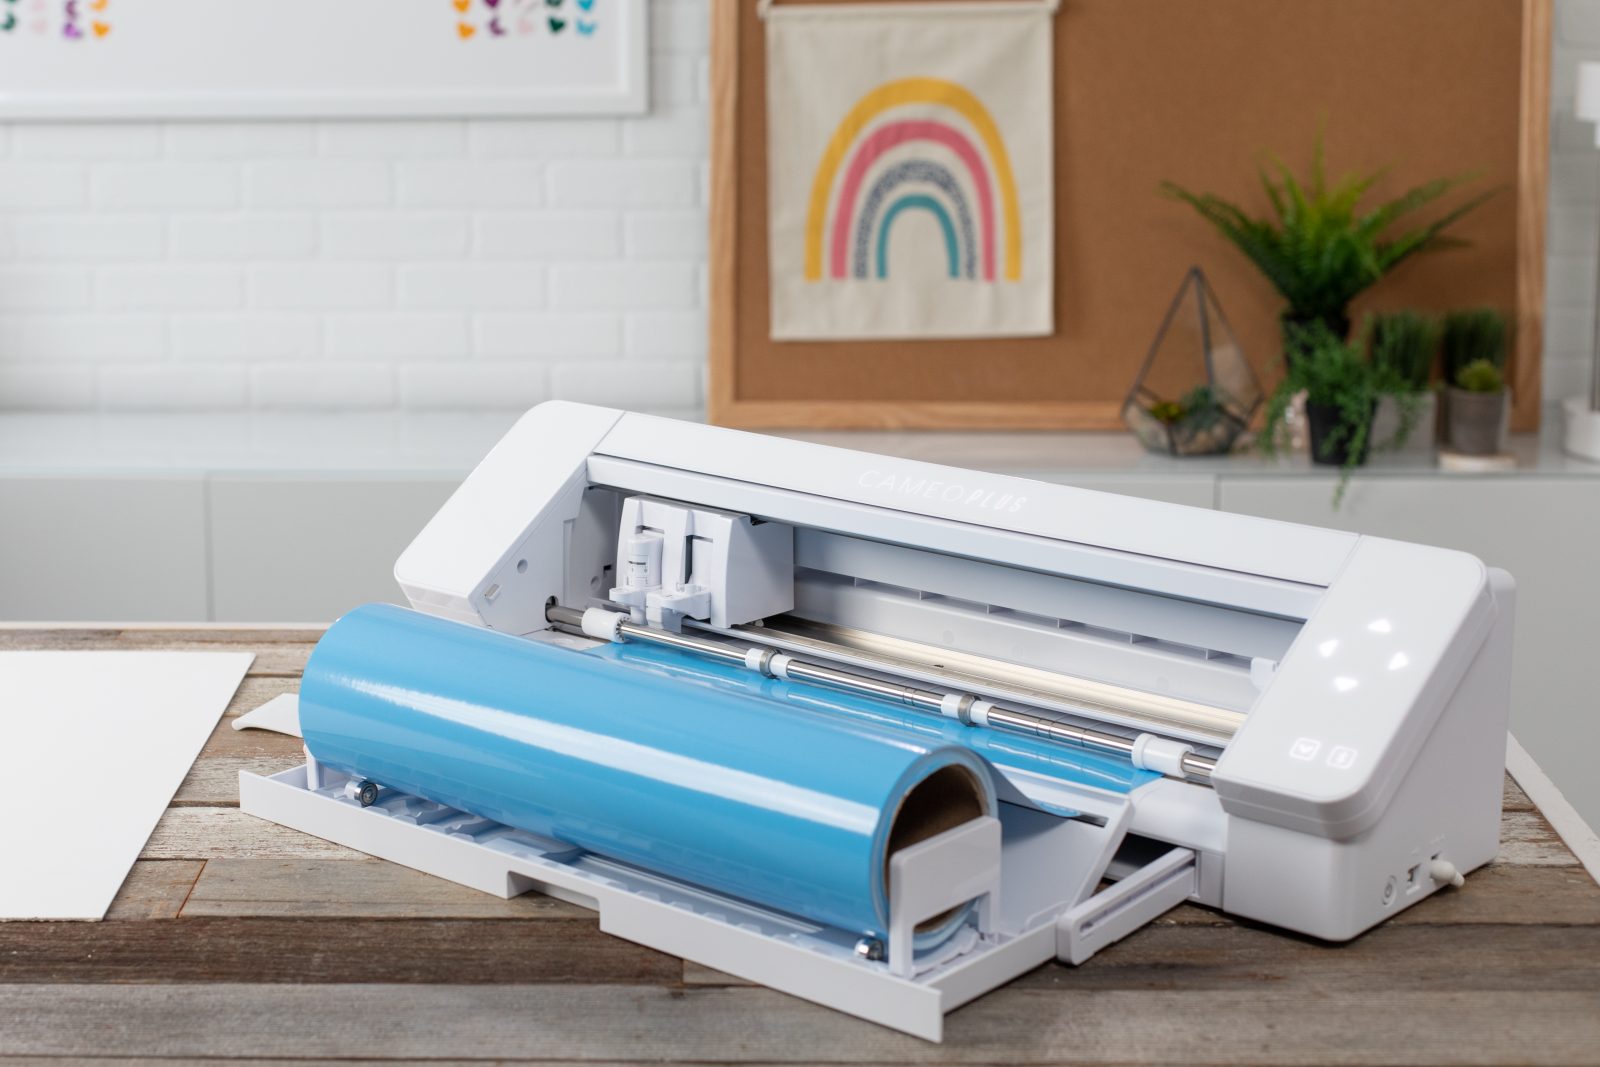
Silhouette 101: Unboxing Your Silhouette CAMEO
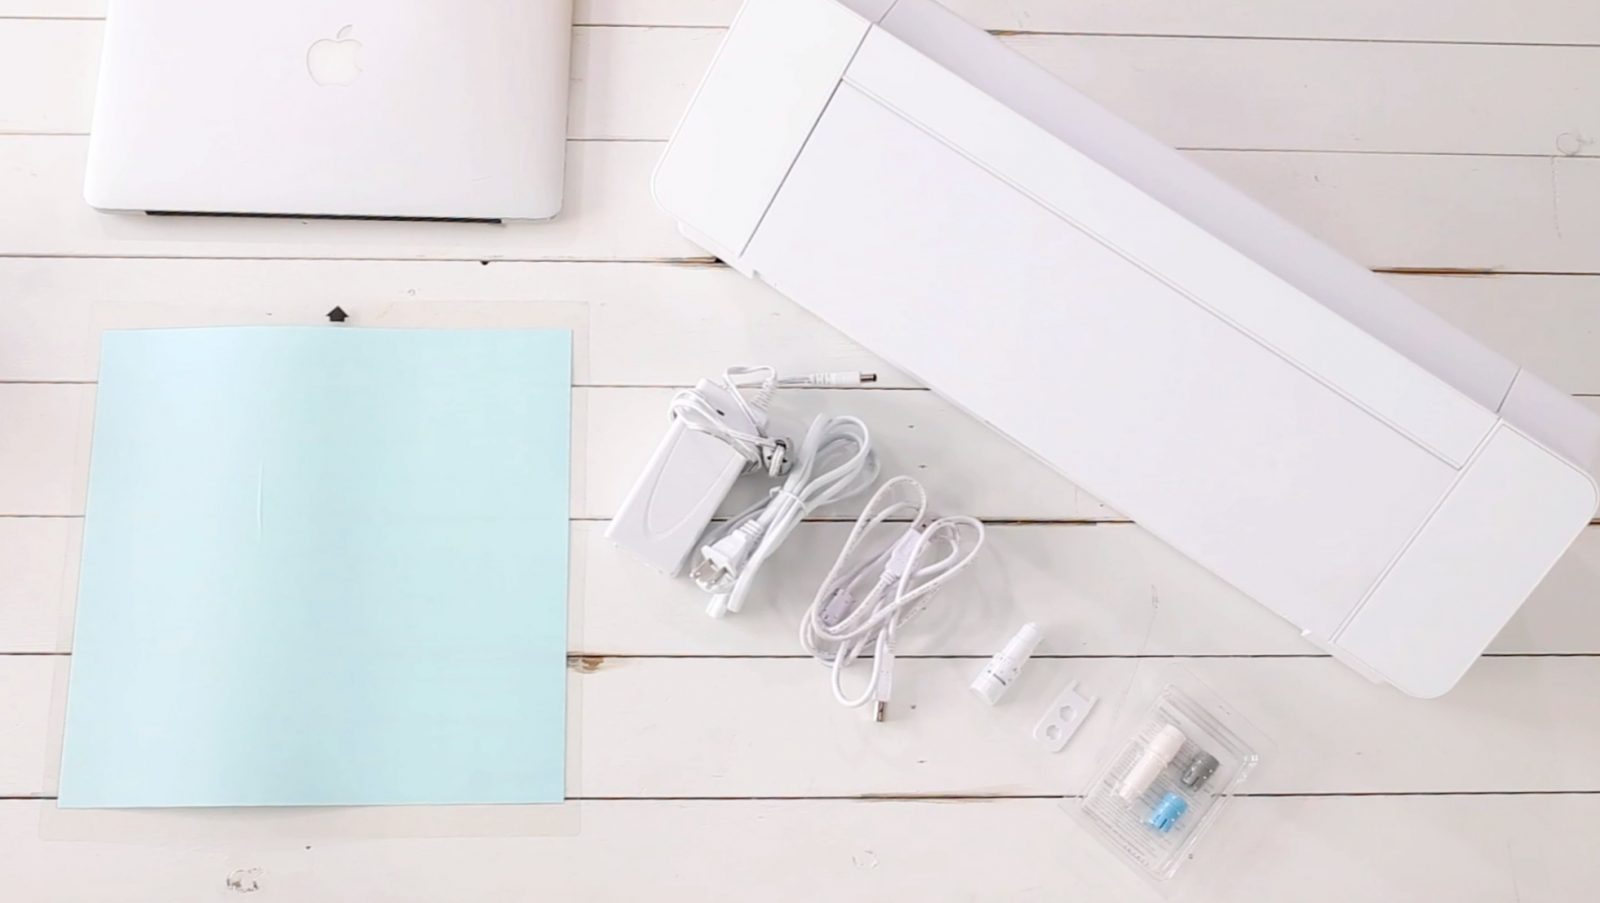
When you open the box of your Silhouette CAMEO 4, here’s what you will have:
- CAMEO 4 machine
- Power cord and adapter
- USB cord
- Autoblade
- Cutting mat
- Multi purpose tool for adjusting blade or removing bluetooth device from machine
- Set of tool adapters for older blade styles
- Silhouette Studio basic software (download)
- 100 exclusive designs downloaded upon registration (download)
- 1 month subscription to silhouette design store ($25 value credit for digital download content)
Silhouette 101: Setting Up Your Silhouette Machine
The CAMEO 4 uses Silhouette Studio design software, which allows you to send jobs from your computer to your Silhouette machine. Upgraded versions of the software are available, but the basic version is free for download at silhouetteamerica.com/software. On this page, select your operating system and follow the prompts to download and install. Once installation is complete, open Silhouette Studio from the desktop icon, and create your account if you haven’t already. Otherwise, login to your existing account
Connect the USB cord to the CAMEO 4, then insert the other end into the computer. Plug the power cord into the CAMEO 4 and then into outlet. Press the power button on right hand side of the machine. The panel will light up to indicate that it’s on. In Silhouette Studio, open the send panel. The machine status should say “ready”. If your computer is bluetooth enabled, you can connect through bluetooth instead of through the cord. Toggle bluetooth on and off with the button on the machine.
You might see an option to update firmware. If so, click to update, which should only take a few minutes. Keep your machine powered on through the process. You’ll be notified when completed.
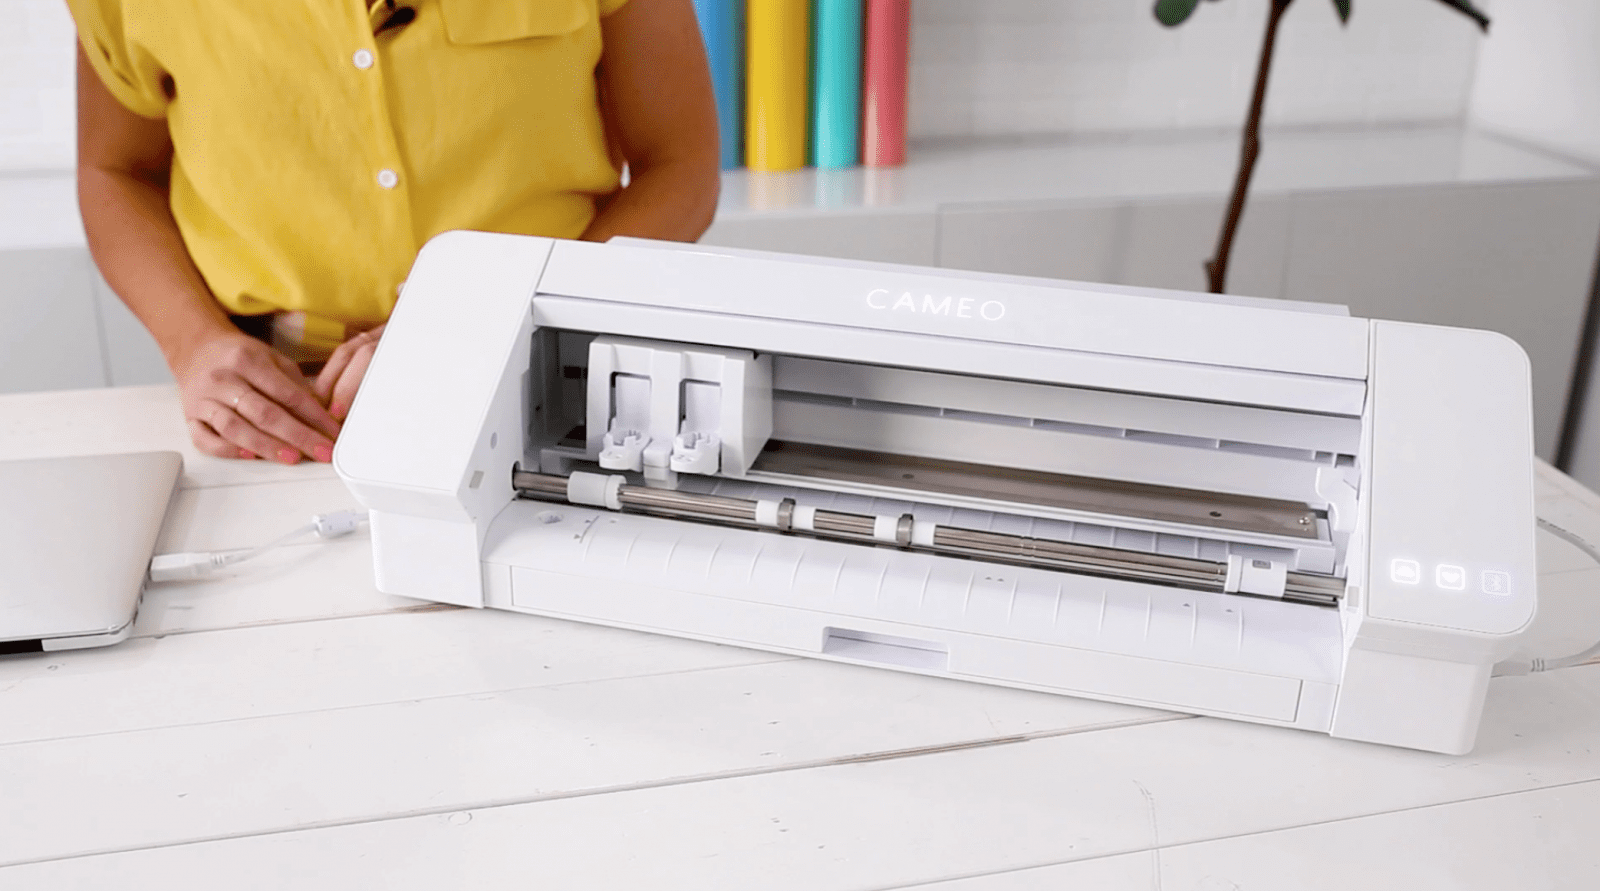
CAMEO 4 Blades and Tools
The CAMEO 4 has two tool chambers. The first chamber is designated for basic cutting with the autoblade, or drawing with sketch pens. It provides enough force for most standard materials (sticker, vinyl, paper). The second chamber provides more powerful force for other tools that are sold separately that can cut specialized materials (fabric, felt, acetate, leather, wool, craft foam).
To insert a blade or tool, unlock the slot by pulling it out and drop blade in. Push to tool down to make sure it’s all the way in, then re-lock the slot. If you are using the autoblade, it will automatically be adjusted to the settings in the software.
Other tools that can be used in the CAMEO 4 include a pen holder for sketching with variety of pens; a rotary blade for fabrics, felt, wool; a kraft blade for leather, crepe paper, craft foam; and a punch tool to mark weeding points. Each Silhouette tool will be labeled with 1 or 2 to indicate the chamber in which it should be loaded. The tools have a metal strip, which the machine reads and then adjusts cut settings to tool type.
Using Your CAMEO 4
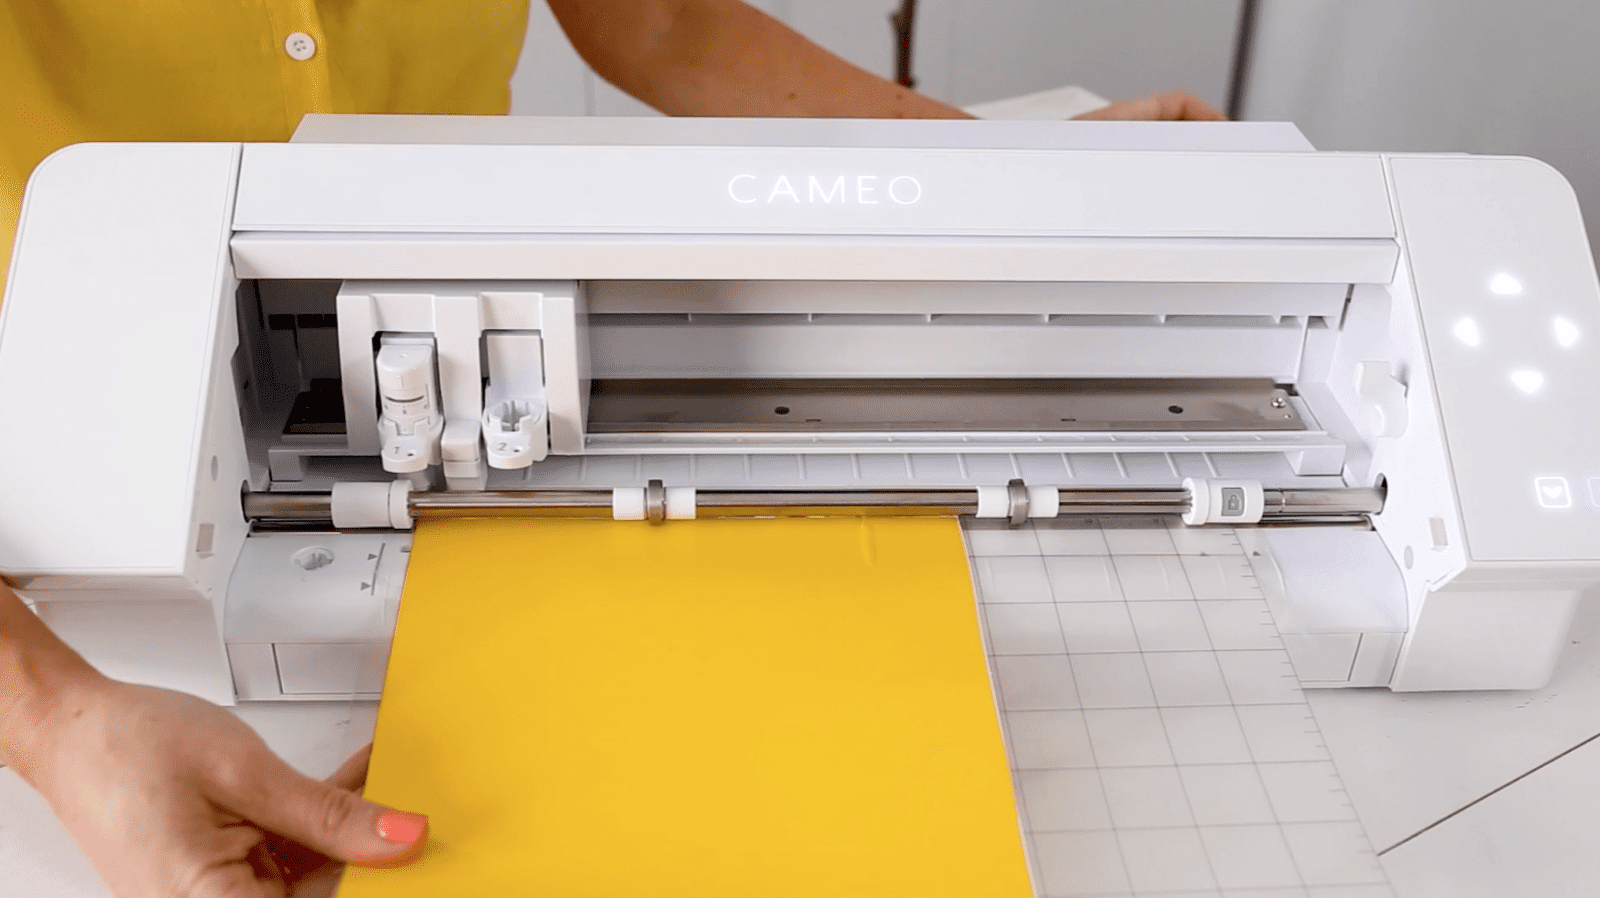
The CAMEO 4 rollers come set for the included 12 inch mat, but you can adjust the rollers to width of project (Letter, A4, 12” material, 12” mat). Make adjustments by releasing the lock lever on the right and adjusting the center rollers. Then re-lock the lever.
The CAMEO 4 has three cutting types: 1- regular cut with mat, 2- kiss cutting with no mat (cuts material, but not the carrier sheet), and 3- pop out cutting with no mat (cuts through the material completely, usually for paper and cardstock).
To load a cutting mat or material, align it with the load line indicator on the left and place it against the roller. Press the up/load arrow. After the job is finished, tap the down/unload arrow.
Other CAMEO 4 Features
The CAMEO 4 also comes with a built in roll-feeder and cross cutter. To use the roll feeder, just pull it out and fold out the roll holders. The holders can be adjusted to 9 inches and 12 inches. To use the cross cutter, feed the material through back of the machine after cutting. Then, lower the cross cutter track and pull the slicer from one side to the other. Raise and lock back into place when done.

Now that you’ve completed Silhouette 101, you’re ready to party, and we are SO excited to see what you make! And, if you ever have questions about your CAMEO, email us! We’ve seen every snag and hiccup and would love to talk you through it! Plus, if you’re looking for inspiration, we’ve got a treasure trove of Silhouette projects to get your creative juices flowing.
Happy cutting!
ox. Liz & Sam


Bought two Cameo 4s. Can I set both up on one computer and use the same silhouette design. It appears that when I change machine the design studio does not recognize the second cameo 4. Do I need to have two accounts or just set up on two different computers? I want to be able to use both. Still learning how to use.
Hi Clara! You should be able to switch between different machines on the same computer. Are you connecting your machines with USB or Bluetooth? At the bottom of the Send panel, to the left of the Send button, there is a little machine icon. If you click it, it should list all your machines and say “available” below those that it detects, and you should be able to select the machine you want to use. Let me know if you already tried that!
Buongiorno,ho appena comprato cameo silhouette ma ho un problema, sia con wjndows 7 e windows 10 non la riconosce nel momento che vado a stampare, potevo aiutarmi in qualche modo?grazie mille
Ciao! Consiglierei di contattare il supporto Silhouette. Li abbiamo trovati molto utili. In bocca al lupo!
Do you have a tutorial on how to curve the words? I have a split monogram that is curved and now need to fill in the name. Can’t figure out how to curve the name to fit into the gentle swoop of the monogram. Thank you!!
We don’t, but there are a lot out there! Try this: https://www.youtube.com/watch?v=aNlnkRbuDrI