This post is kindly sponsored by IlovetoCreate + Blueprint Social. Thank you for supporting the companies that support our blog!
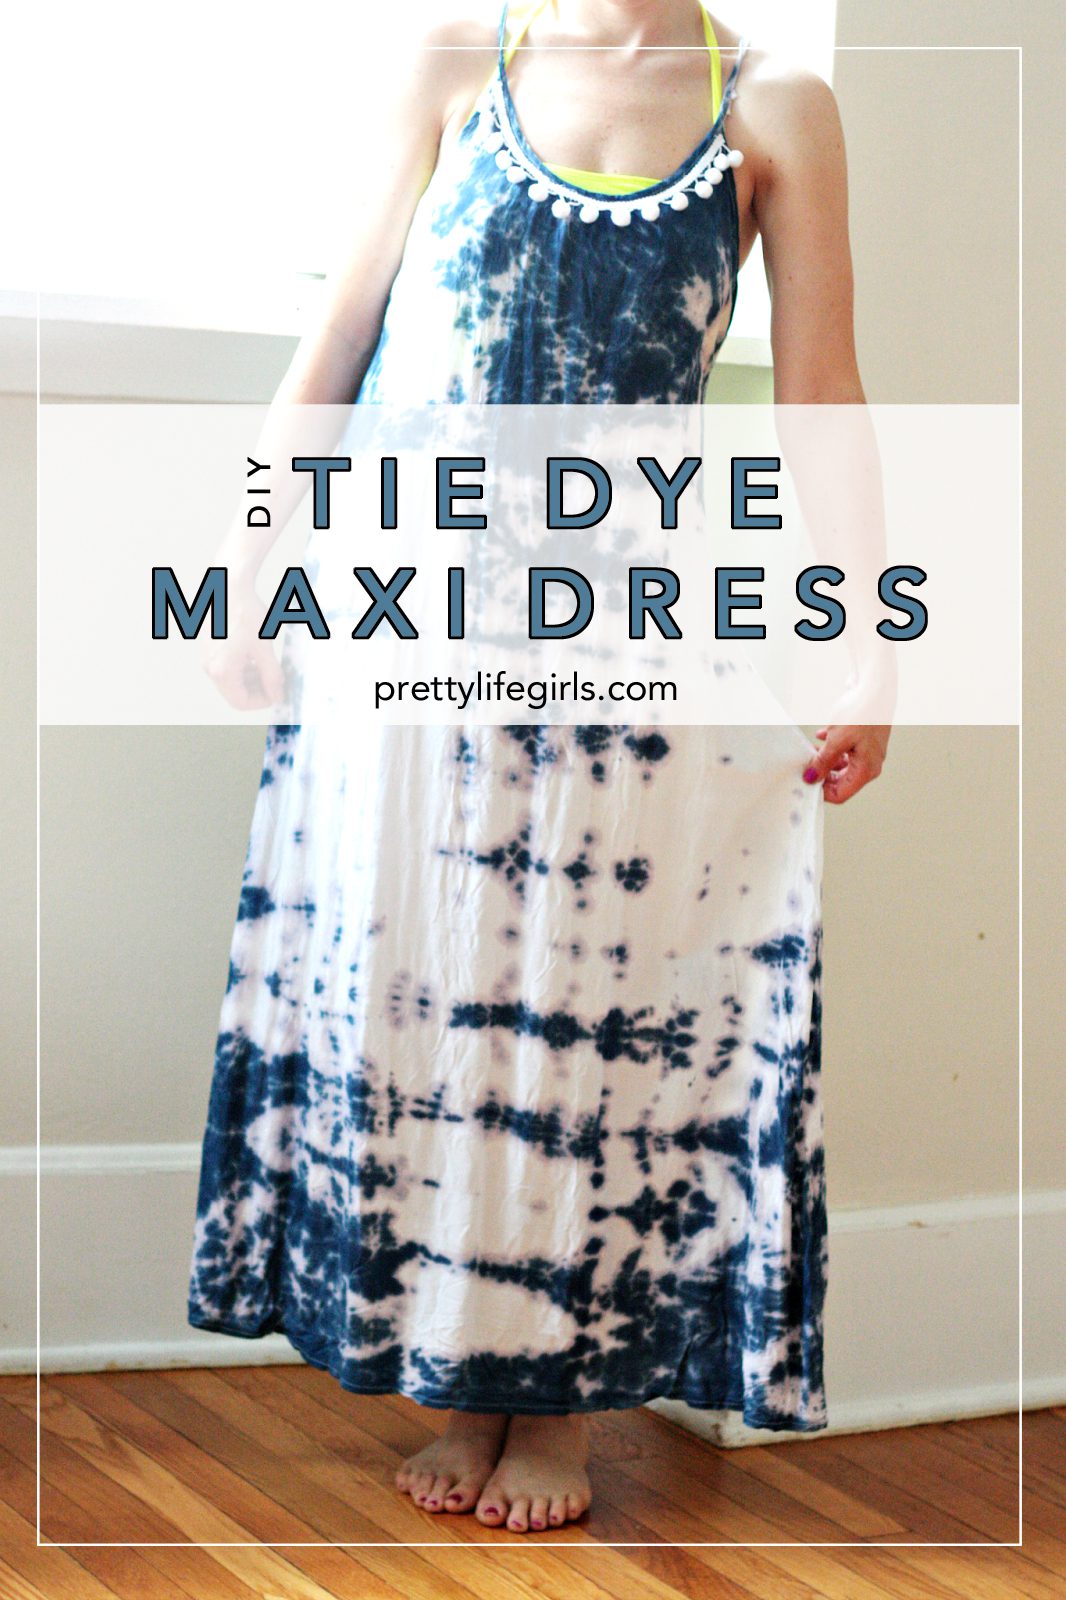
A few weeks ago I was window shopping on Anthro and came across this gorgeous embellished and tie-dyed top. That $228 price take pretty much blew my mind but it also got my wheels turning about how I could remake it for myself. That thought evolved into making a dress which evolved into making the swim cover I’m going to show you today!
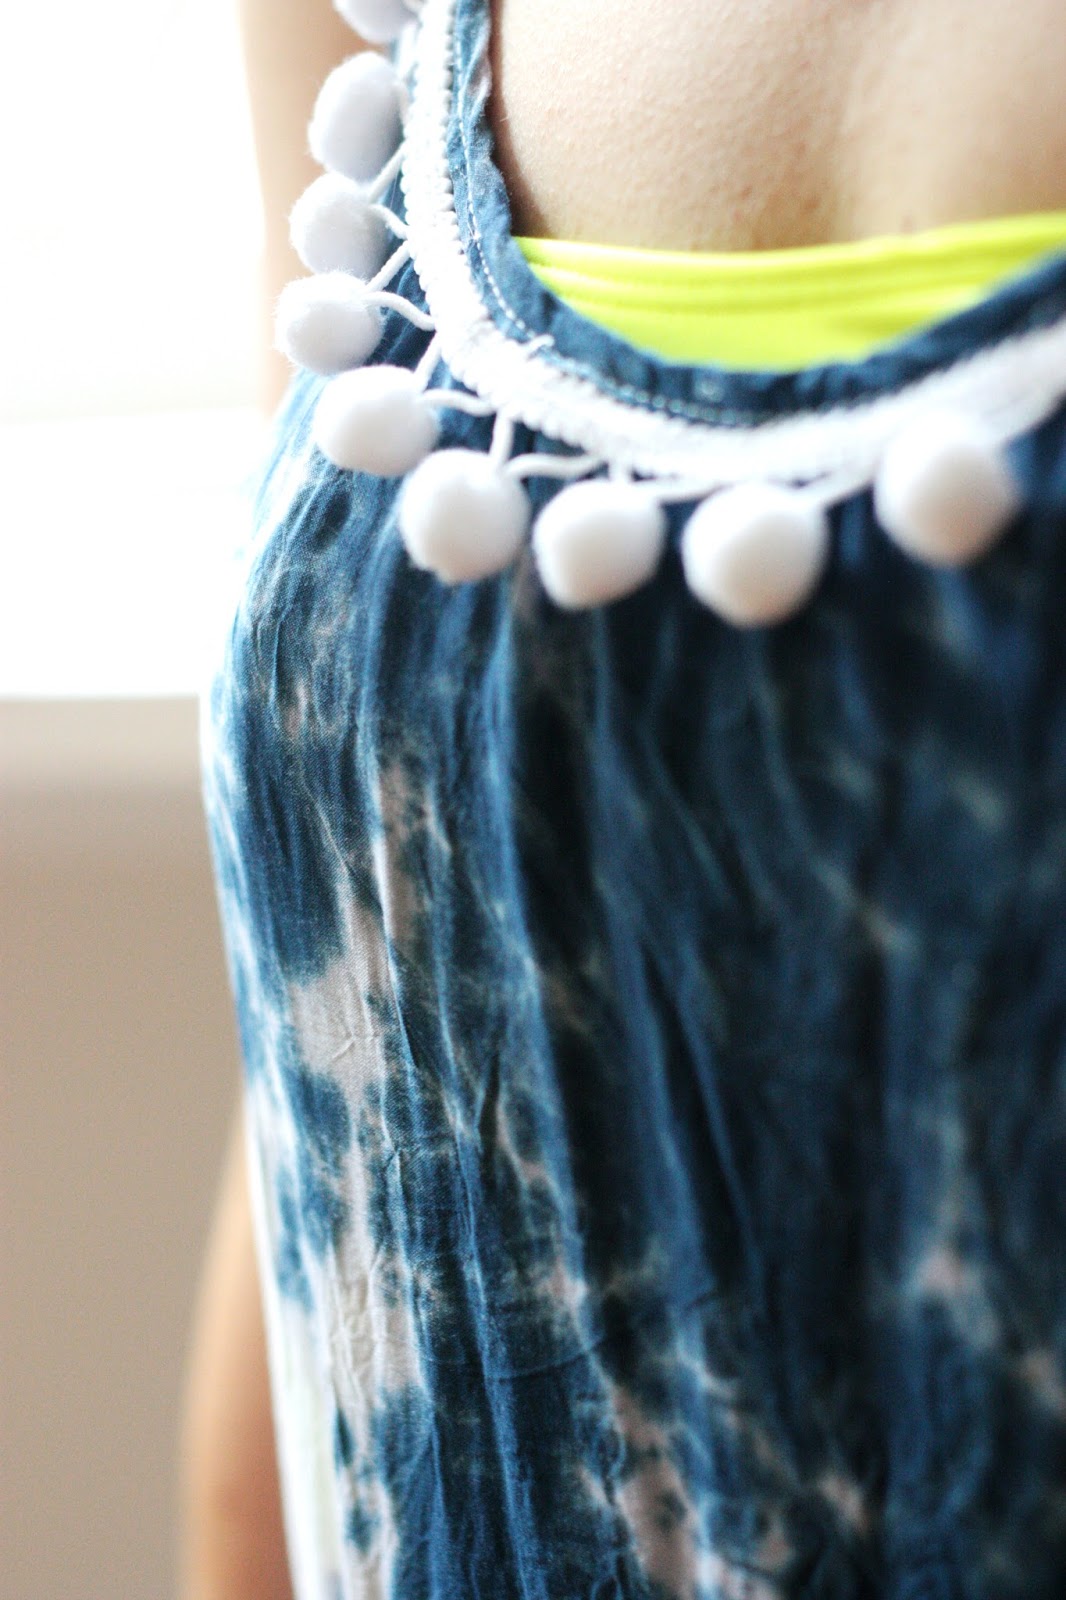
I love everything about this tutorial. First, it’s all so simple to do especially when you are using a Tulip One-Step Tie-Dye Kit like I did that includes everything you need to make tie-dye magic. Plus, by using tie-dye you always get a one-of-a-kind fabric. Next, the price for this sucker blows Anthro’s out of the water. The whole thing was well under $20! Last, adding that little pom-pom detail takes it to the next level of cuteness. It’s all so good and the result is you looking adorable at the beach. Here is how I did it:
What you need:
-White dress (I found this simple maxi on ebay for under $7!)
-Pom pom trim
-Fabric glue sticks and glue gun or sewing machine
Directions:
1. Fold your dress according to the tie dye pattern you desire. For the effect I got, I folded the dress like an accordion, then twisted it and secured a rubber band every 1-2 inches.
2. According to your tie-dye directions, apply the tie-dye to the dress. The tie-dye I used was one step, so you just add water and squirt on the fabric. Piece of cake and no mess!
3. Wrap dress in plastic wrap and let set for 6-8 hours or according to your tie dye directions.
4. Remove rubber bands and wash according to your tie-dye directions. For me this was just tossing the dress into a hot washer separately. Let dry.
5. Once the dress completely dry, attach the pom poms to the neckline. I did this using fabric glue in the glue gun and it was SO simple. You can also just run it through a sewing machine. That’s it! You’re done!
You are going to be so cute and COMFY all summer long. Now get to dyeing! And to learn more about One-Step Tie-Dye projects, be sure to visit ILoveToCreate on social media:
Facebook: http://facebook.com/ilovetocreate
Instagram: http://instagram.com/ilovetocreate
Tumblr: http://tumblr.com/ilovetocreate
Twitter: http://twitter.com/ilovetocreate
Pinterest: http://pinterest.com/ilovetocreate
Google +: http://plus.google.com/+ilovetocreate
YouTube: http://youtube.com/userDuncanCrafts
ox. Liz


This is the cutest! I love the tie-dye! I was planning on buying a bunch of white onsies and tie-dying them all differently as a gift from my sister's baby shower. I had never heard of this product but it seems so much easier then having to get buckets of warm vinegar water( especially since I live in NYC!). I'm so glad you shared this! Thank you!
This is the cutest dress ever! It's so simple and easy! I'm definitely going to make one before we head to Florida for the Fourth of July!
Paige
http://thehappyflammily.com
I haven't tie-dye in a long time. Your dress turned out awesome.
http://www.amysfashionblog.com/blog-home
Super duper cute! Love the way this turned out!
[…] we did with tie-dye (you can find our tie-dye t-shirt headbands here, and our tie-dye maxi dress here). So, when I decided to make a pile of bandanas to jazz up my summer wardrobe I knew I had to do […]
[…] DIY Tie Dye Maxi Dress […]
[…] Tie Dye Maxi Dress […]
[…] DIY Tie Dye Maxi Dress […]
[…] Tie Dye Maxi Dress […]