These Easter Egg Planters are sponsored by Silhouette. All opinions are ours alone.
This post may contain affiliate links, which help us support this site.
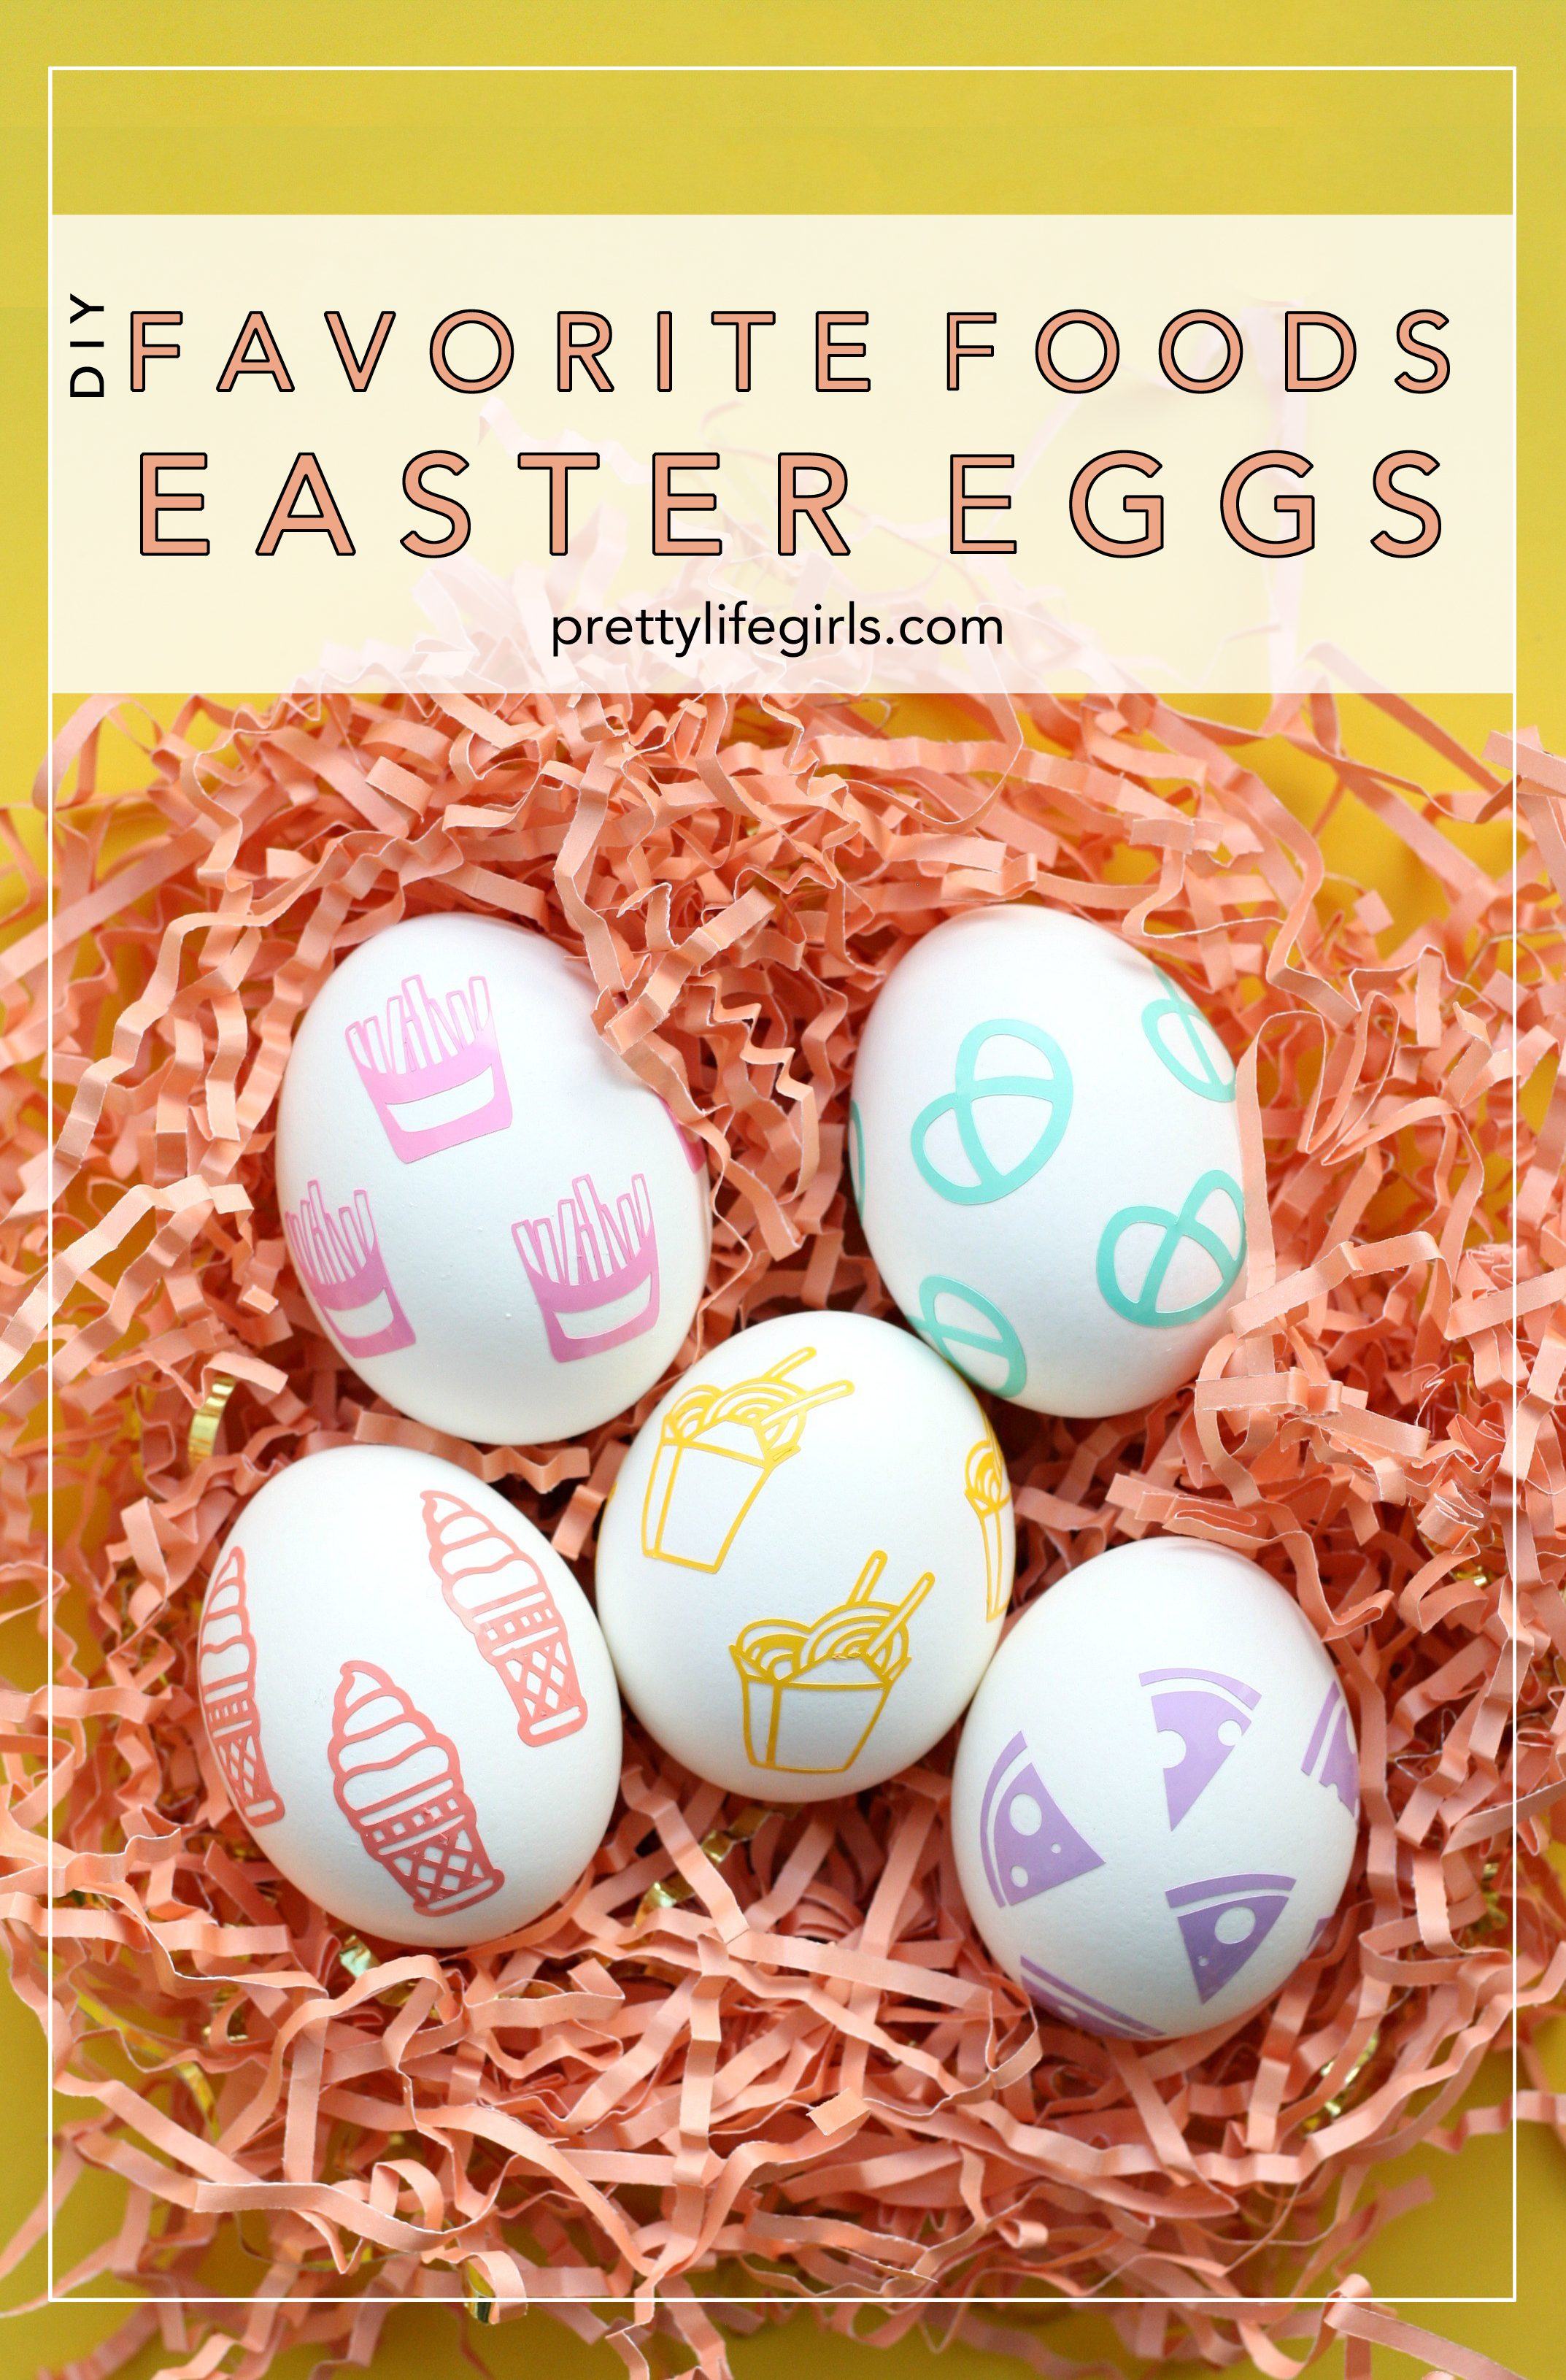
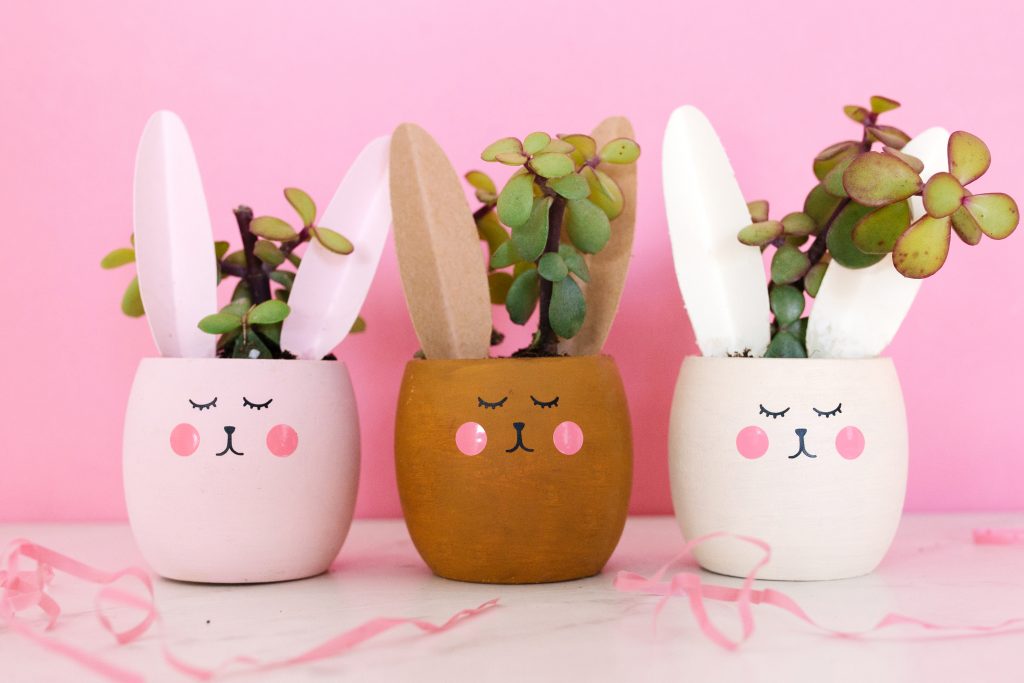
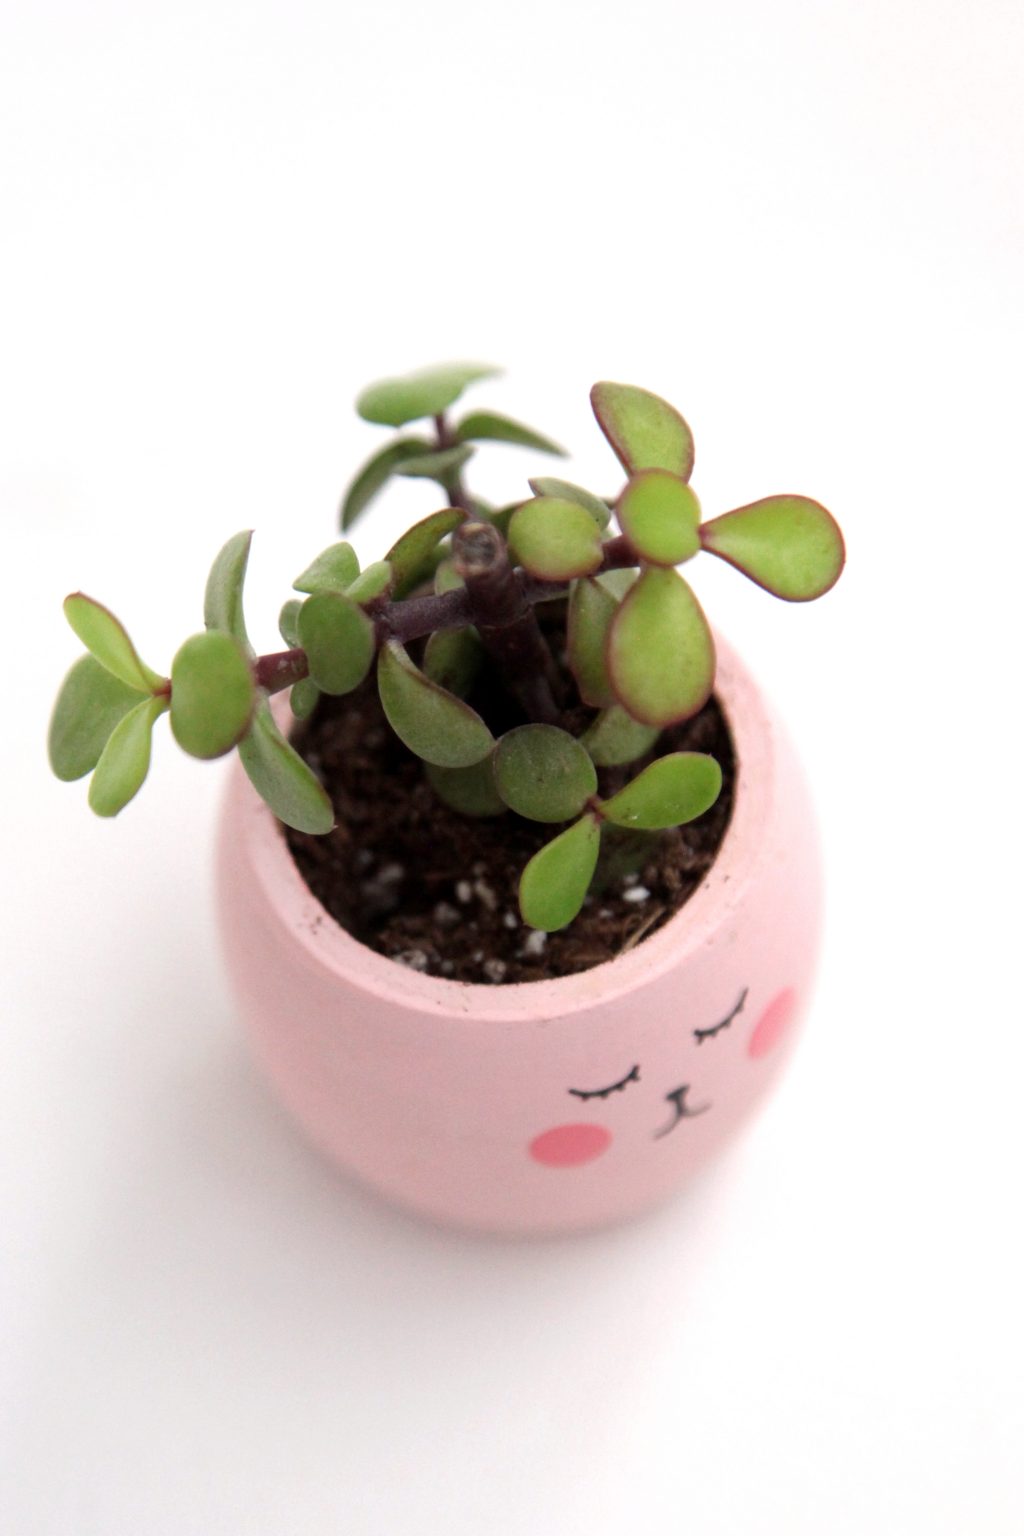
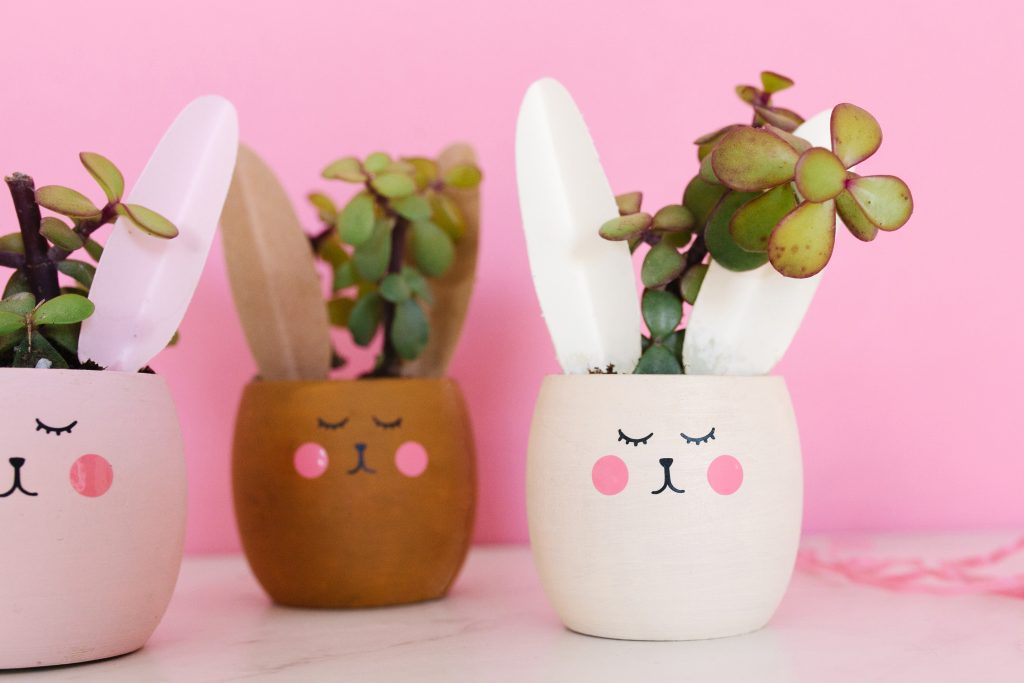
Spring has to be the cutest holiday. Fluffy bunnies, decorated eggs, a pastel color scheme and all of the blooming plants and flowers make it just plain adorable! So, to celebrate its upcoming arrival, we are combining some of our favorite parts of this lovely time of year to make these Easter egg bunny planters! These bunnies are killing us with their darling details that are all made in a snap with our fave, the Silhouette CAMEO! No drawing skills required!
These little planters are made with wooden eggs that are the perfect shape for spring and are adorably small, making them fun for a party favor or as an Easter craft for little hands. Plus, after Easter is over, the plants can be replanted in a larger pot, if desired! Here’s how to make your own:
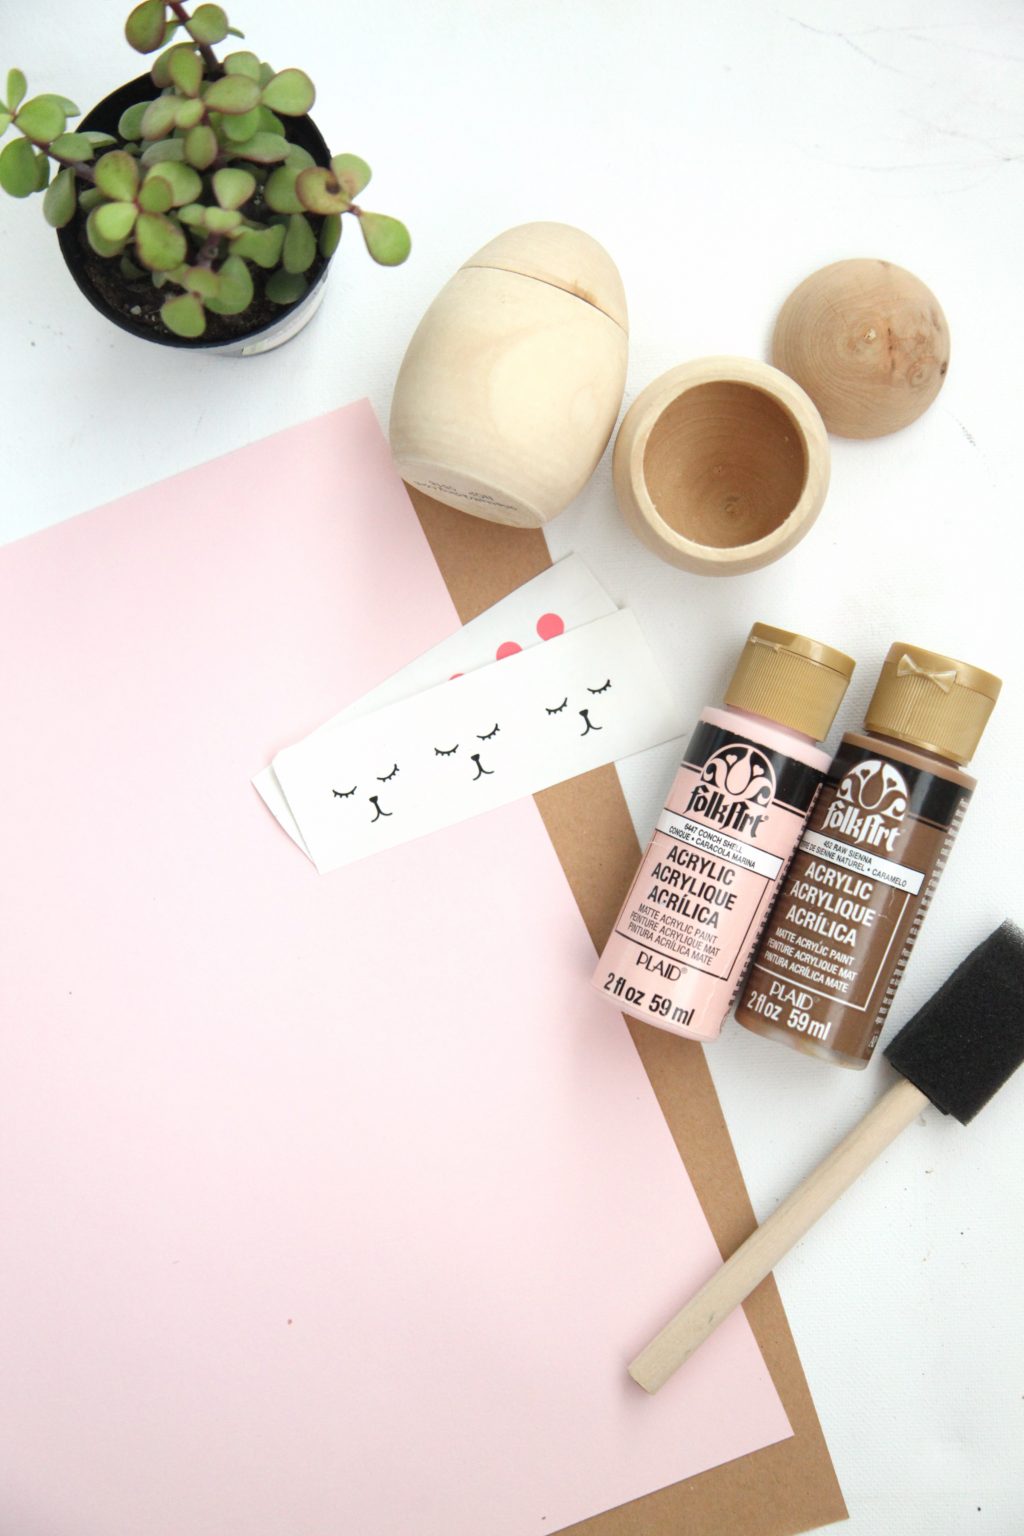
Supplies needed to make your own Easter Egg Planters
Silhouette CAMEO
Adhesive vinyl (black and pink)
Wood eggs
Paint
Paint brushes
Cardstock
Soil
Small plant
How to make your own Easter Egg Planters
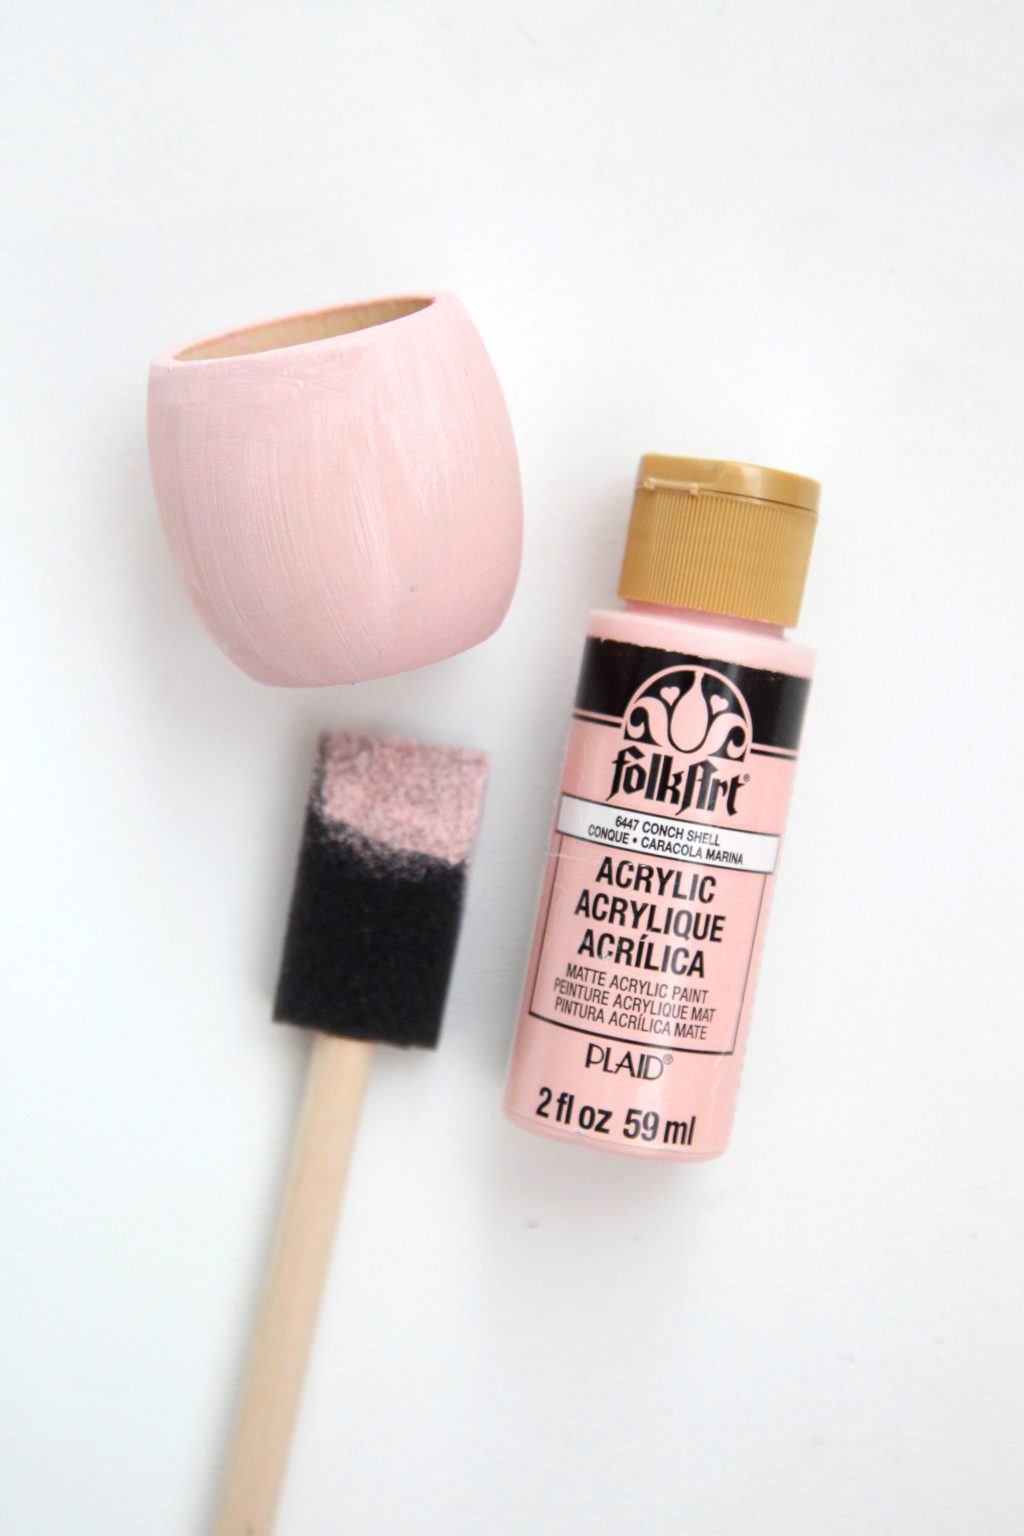
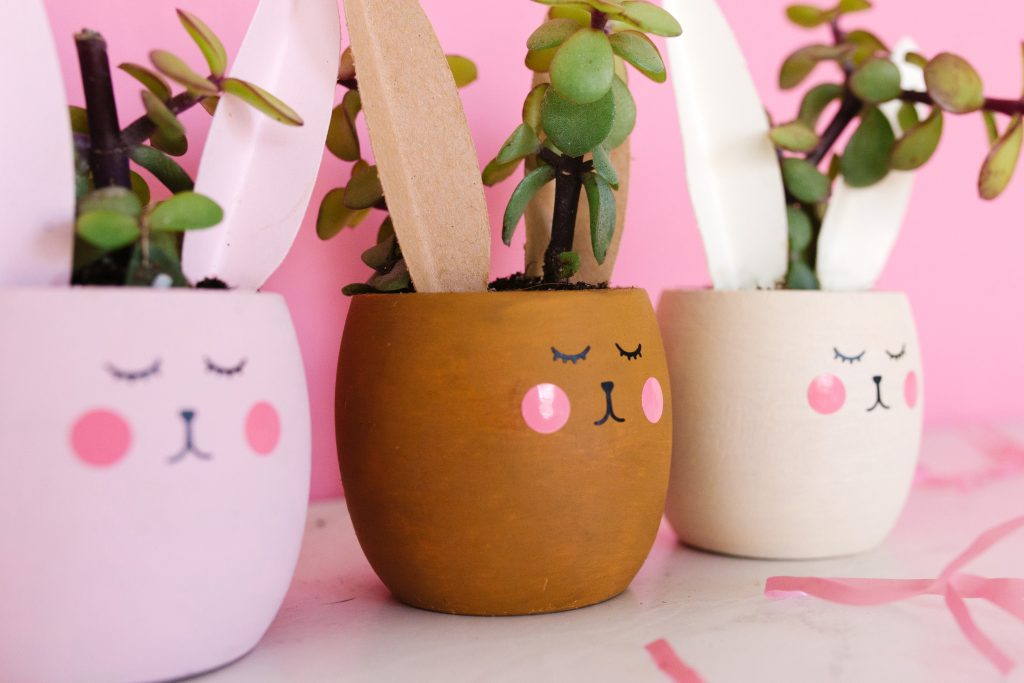
Step 1: Paint the bottom piece of the wood eggs with a layer of craft paint. Let the paint dry completely.
Step 2: Cut the bunny faces out of vinyl and bunny ears out of cardstock using the Silhouette CAMEO.

Step 3: Use transfer tape to apply the vinyl faces to the eggs.
Step 4: Separate the plants so they are small enough to fit in the eggs. Put the individual plants in the eggs, adding extra soil to fill the eggs.
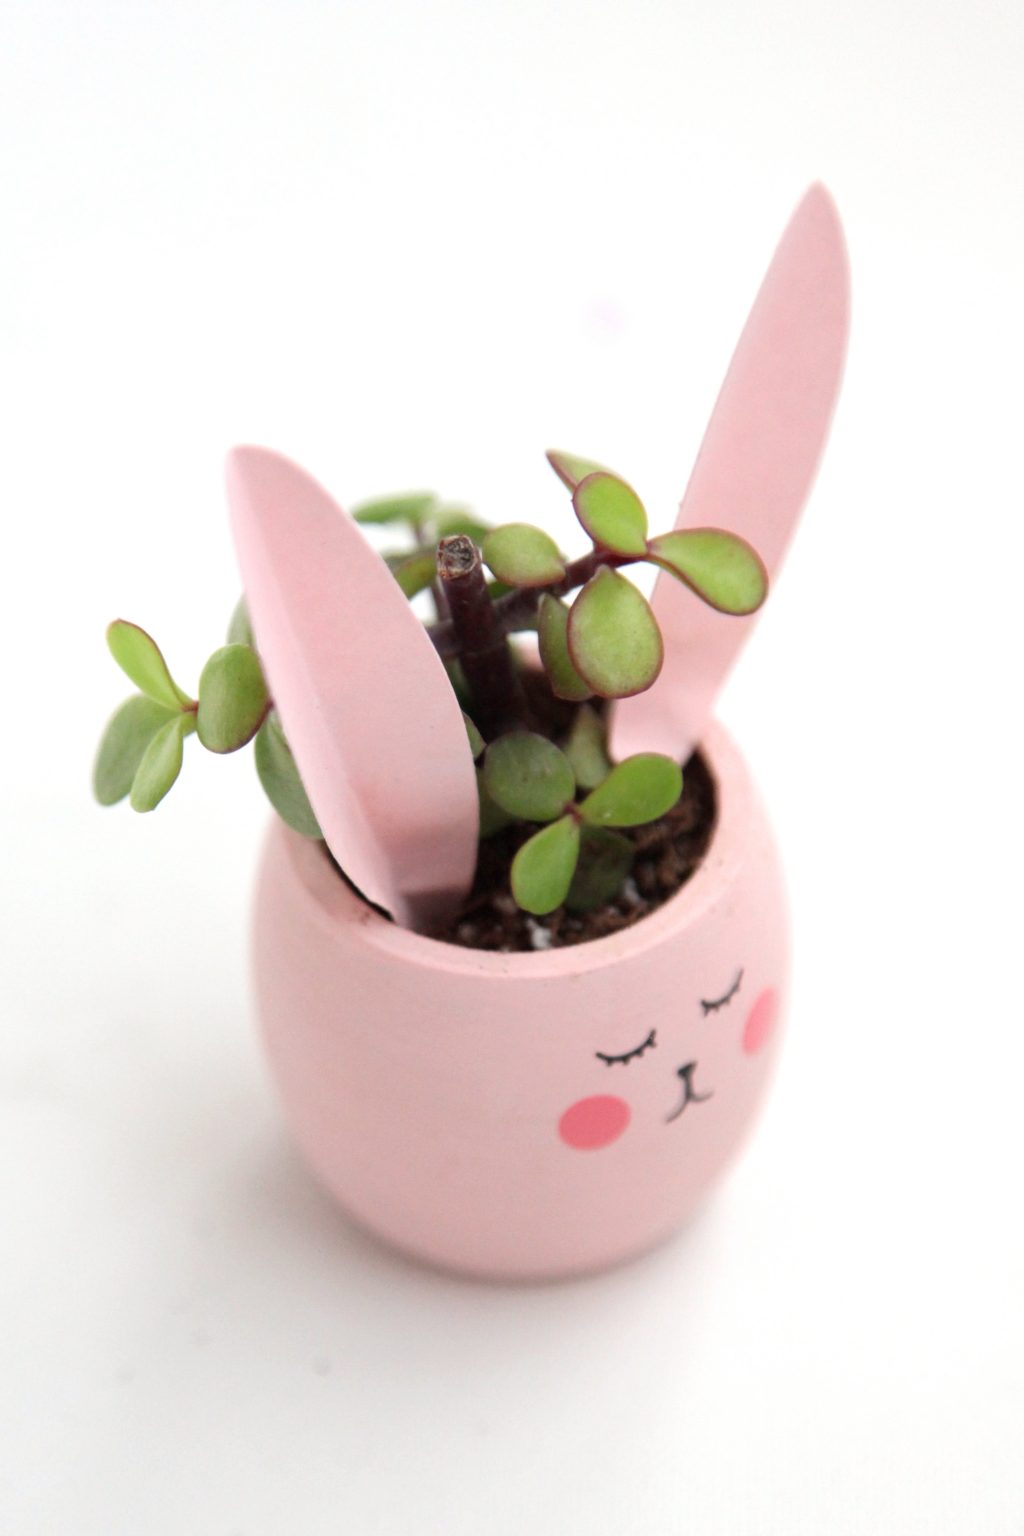
Step 5: Fold the cardstock bunny ears lengthwise. Then stick them in the soil.
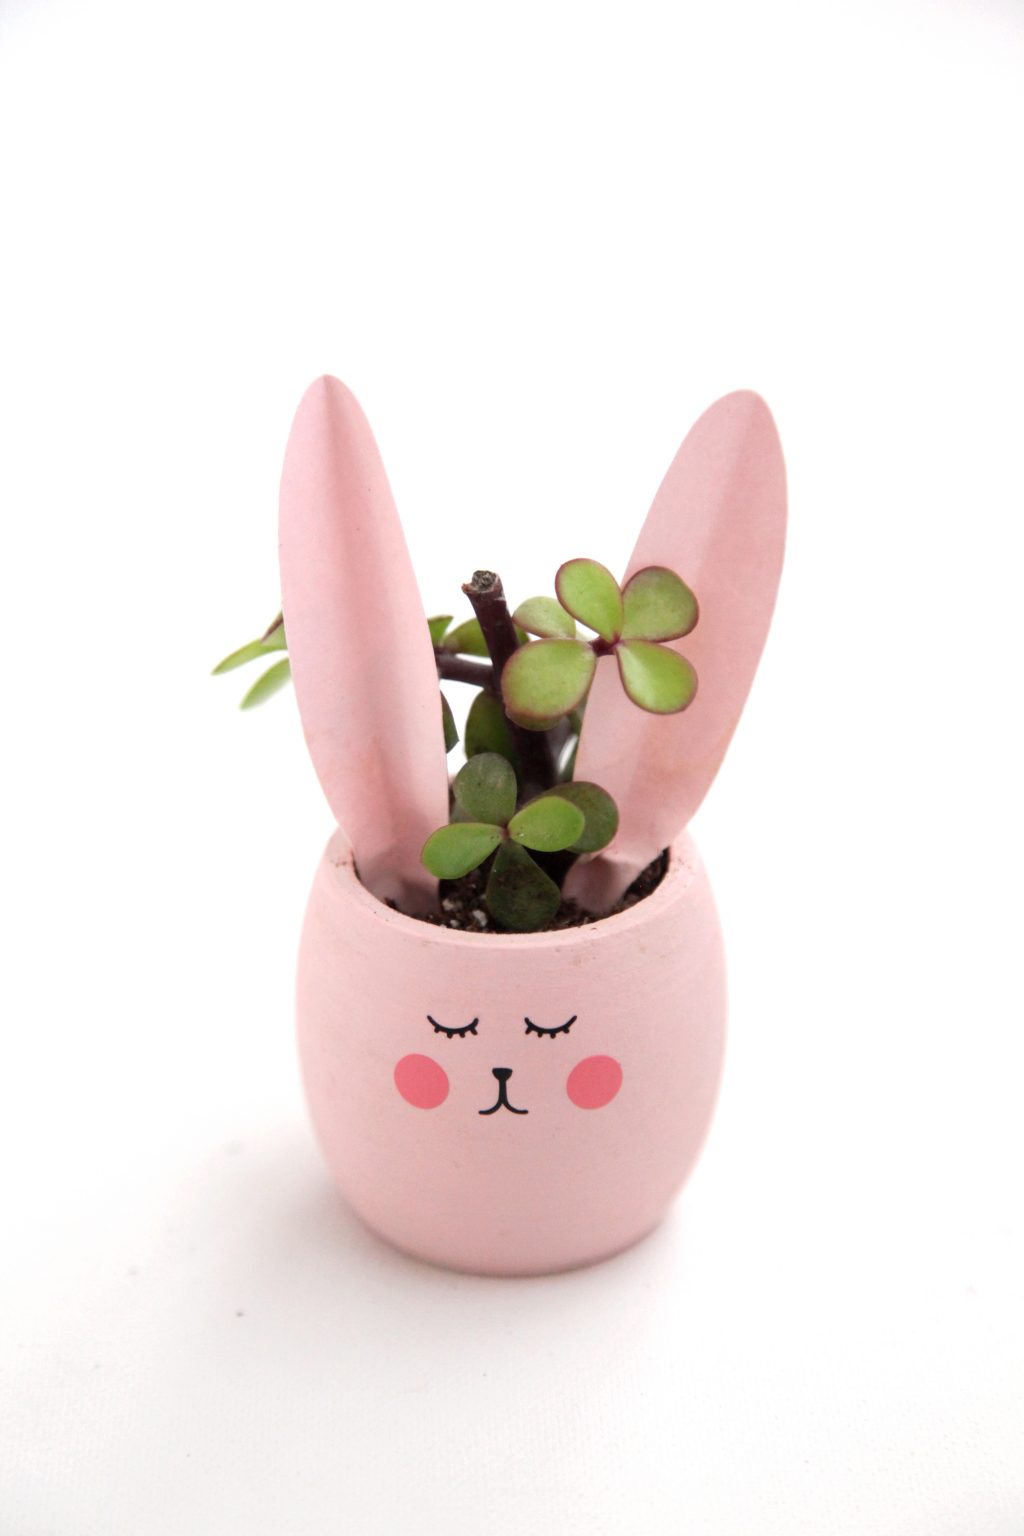
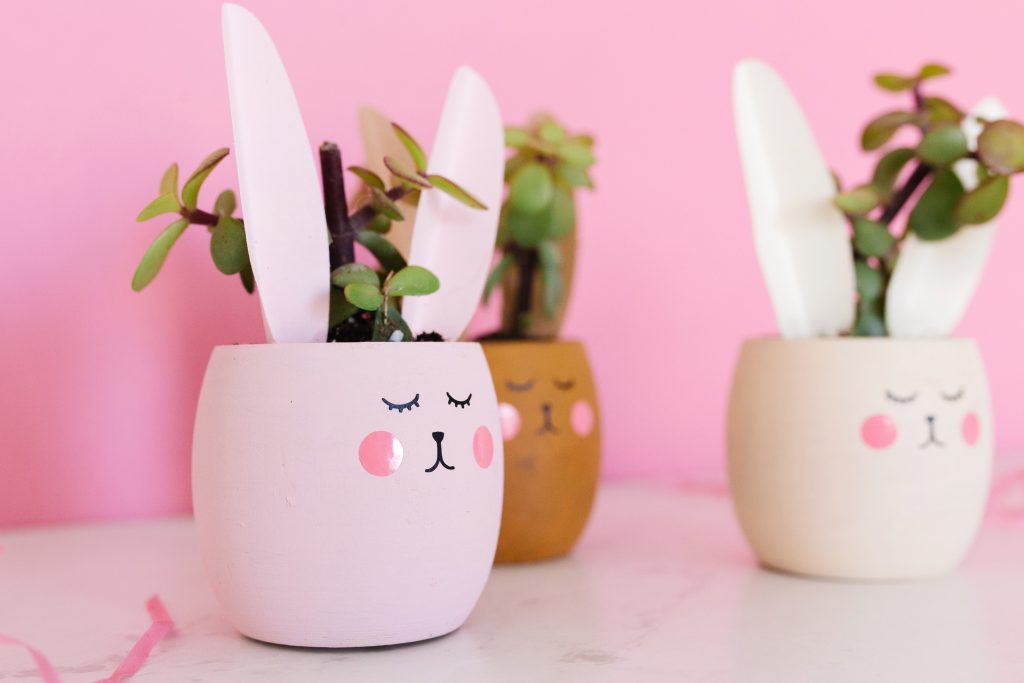
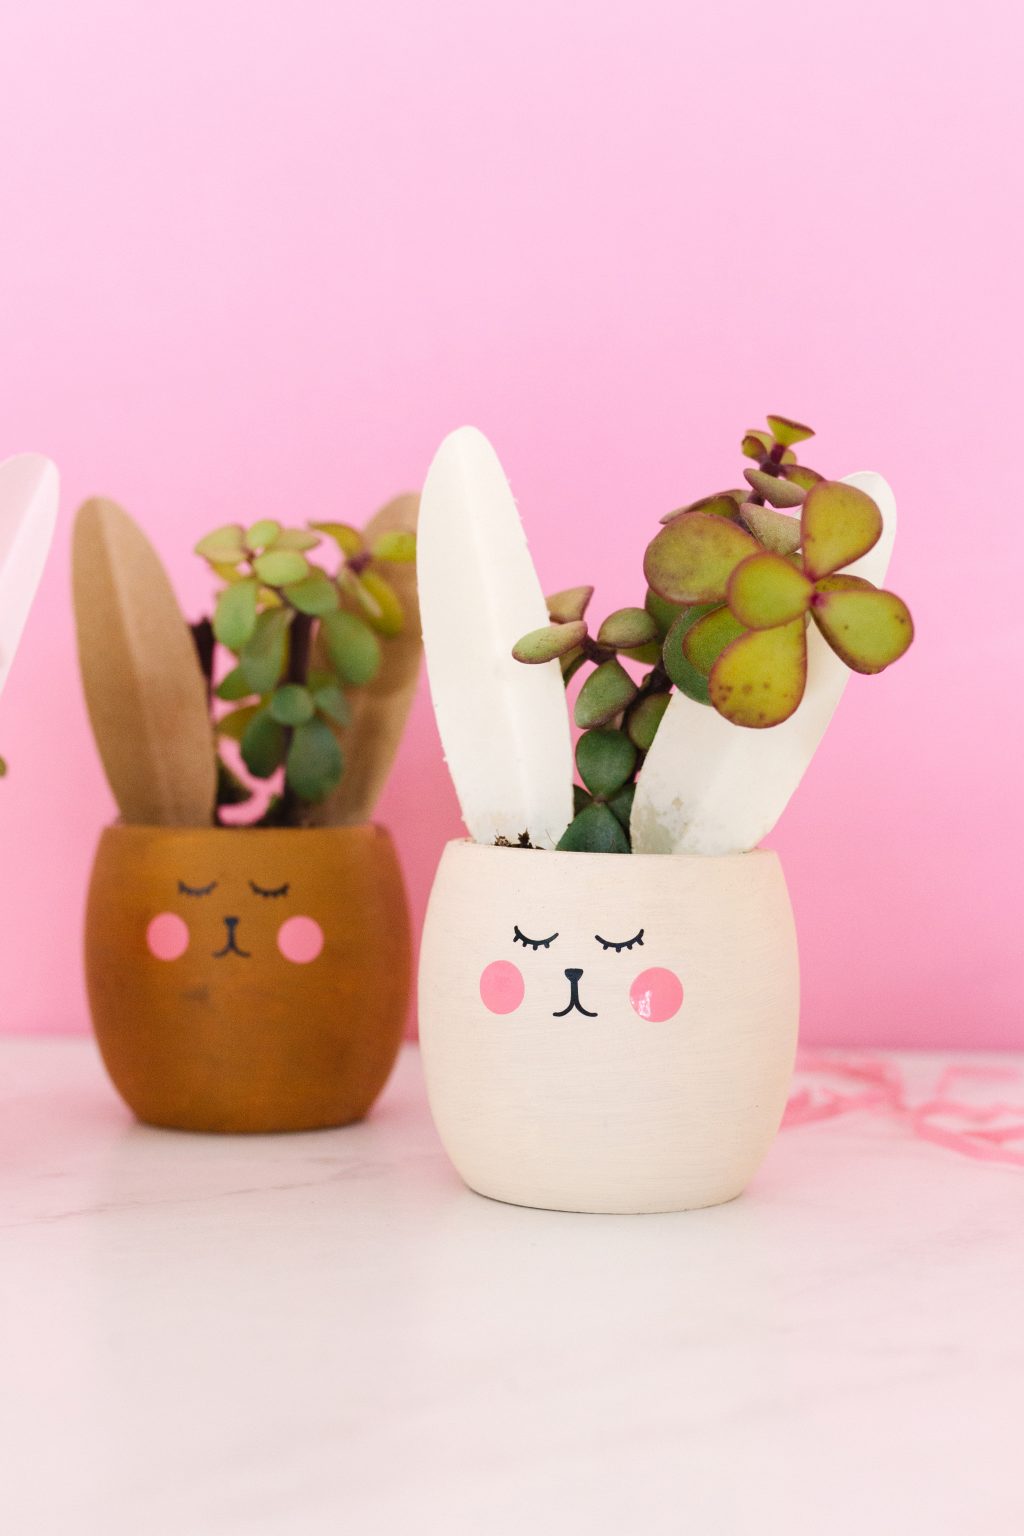
I’m so in love with these little cuties, I can hardly stand it! These planters would make a perfect party favor, Easter gift, or springy decoration!
Happy crafting!
xo, Sam
If you like this tutorial, we think you’ll love these projects!
 3D Wooden Easter Egg Cake Topper