This post is sponsored by Brother. All opinions are ours alone.
This post may contain affiliate links, which help us support this site.
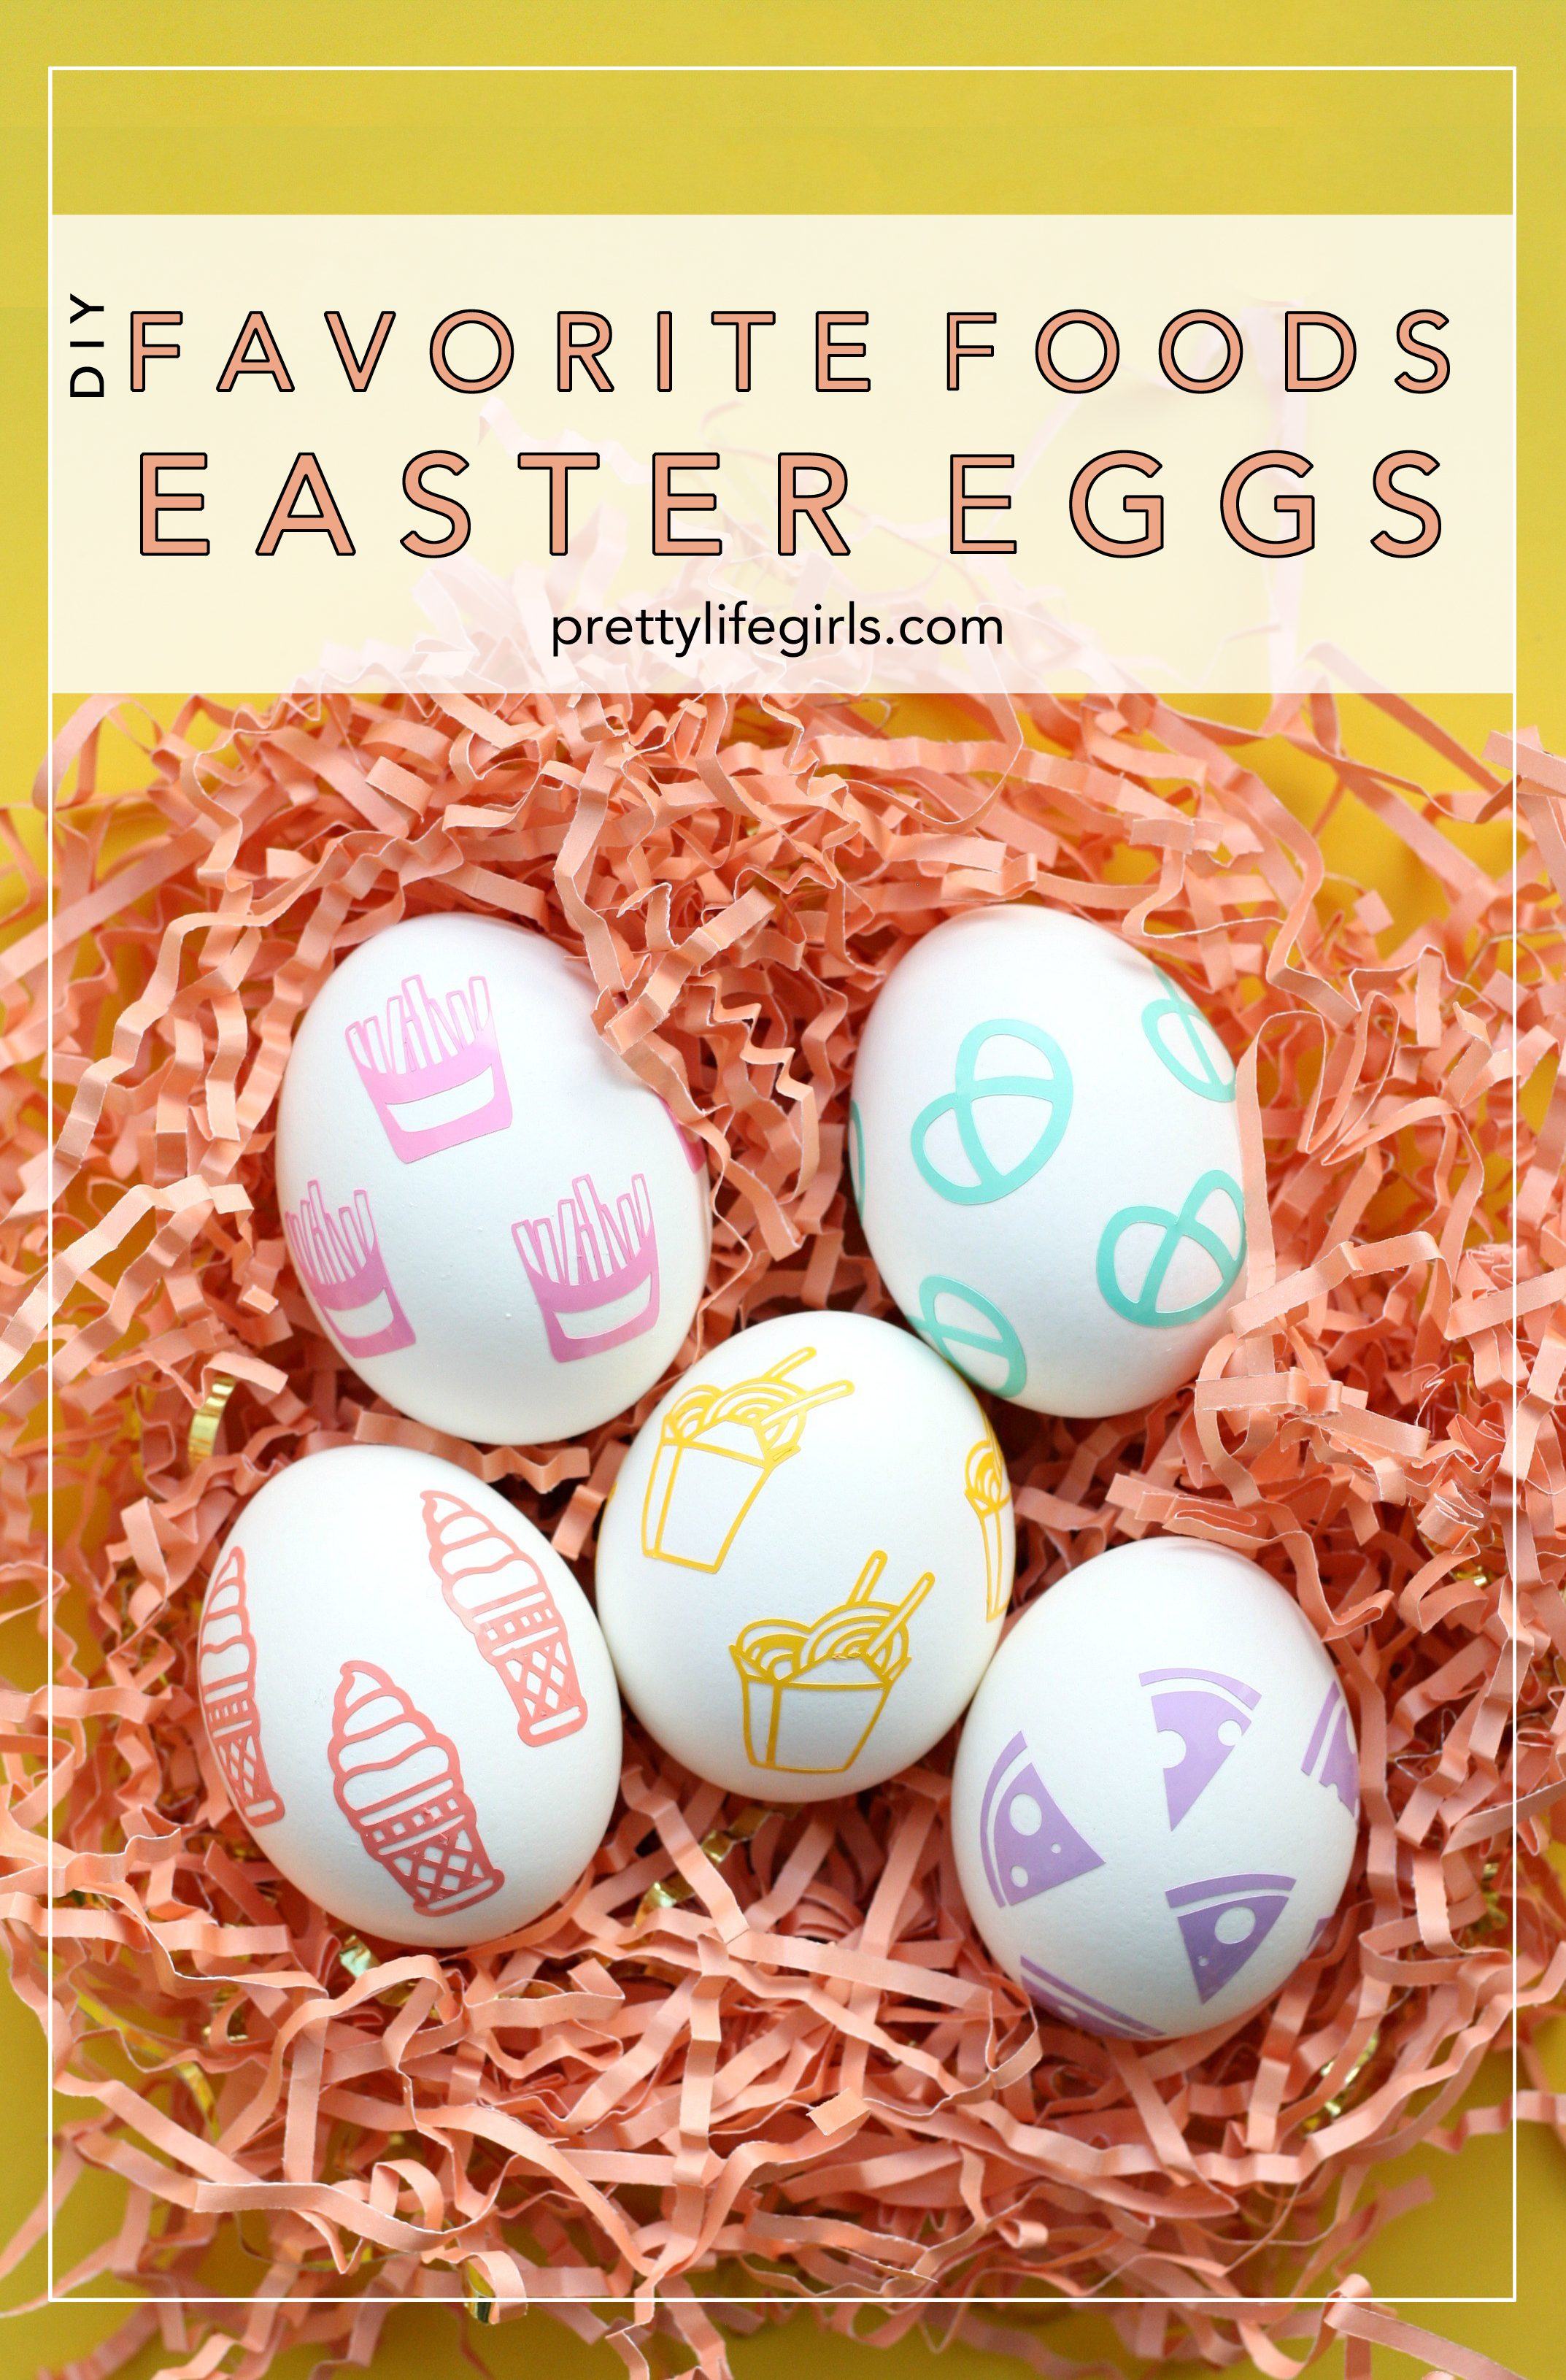
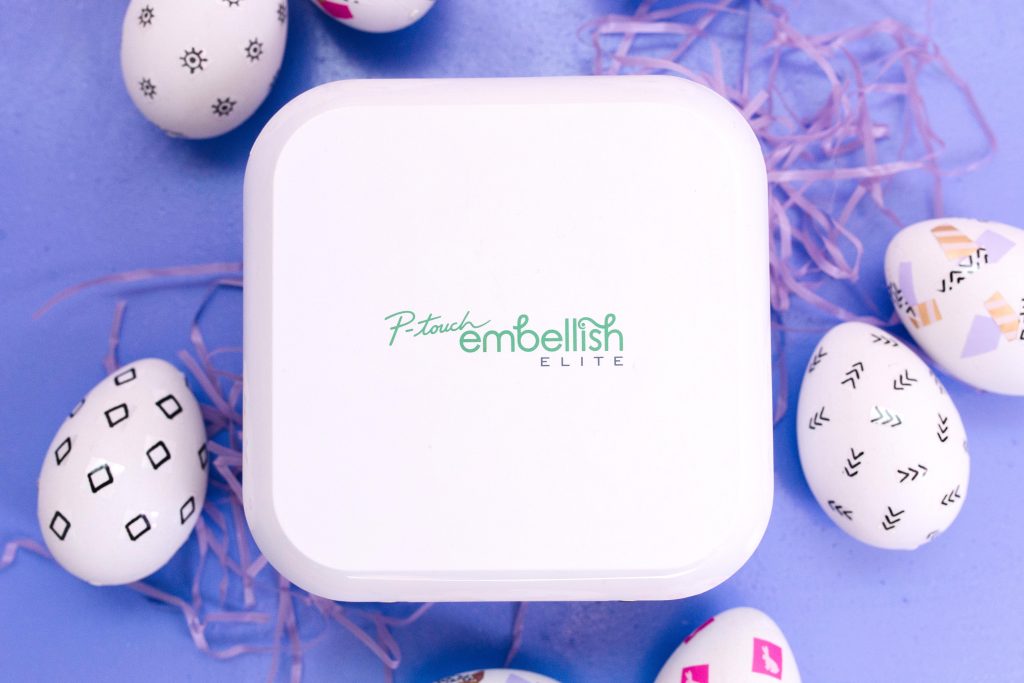
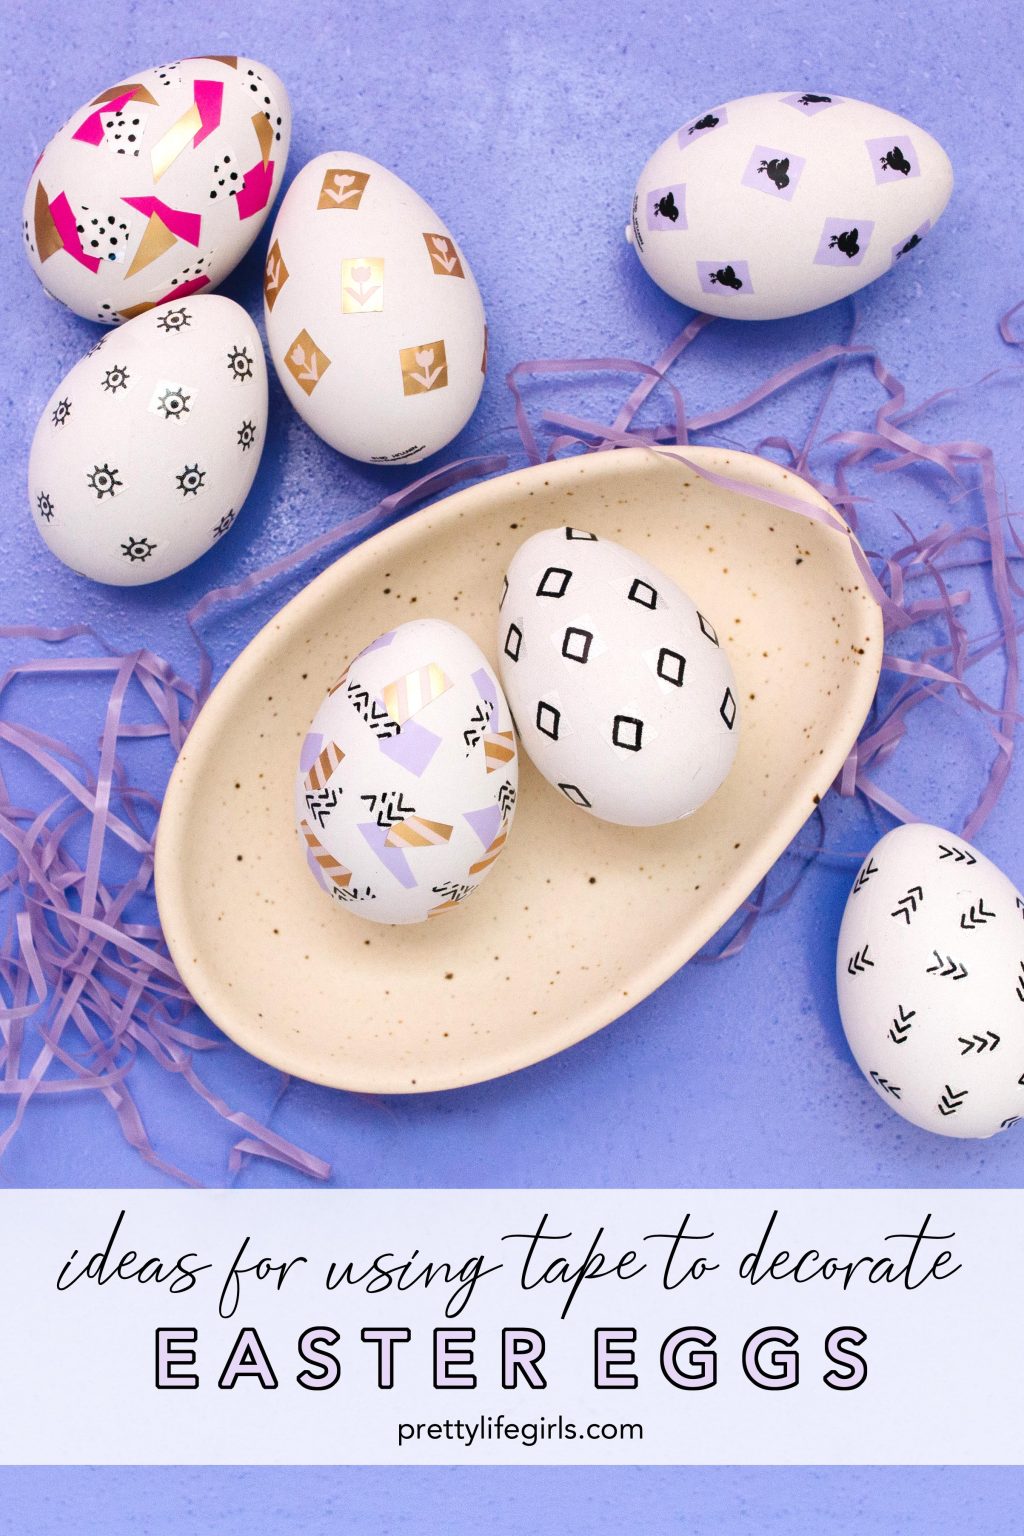
We never get tired of thinking up new ways of decorating Easter Eggs, and today we’re sharing some ideas for decorating with tape! These eggs could not be easier to make with the P-touch Embellish ELITE and P-touch Design-&-Print app. With text, symbol, and image printing functionality, the possibilities are almost endless! We also used fake eggs and sealed the embellishments with Mod Podge so we can pull these cuties out year after year. Keep scrolling for the tutorials!

Supplies Needed for Decorating Easter Eggs with Personalized Tape
P-touch Embellish ELITE
P-touch Embellish tape in a variety of colors
Faux eggs
Mod Podge
How to Decorate Easter Eggs with Personalized Tape
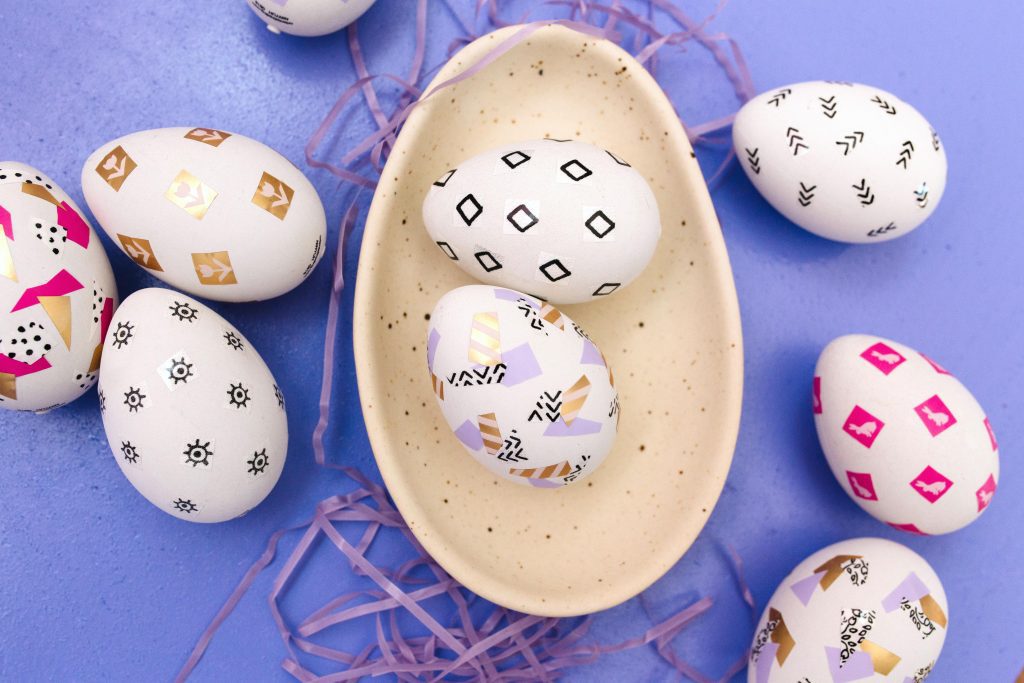
1. Simple Symbols
These eggs are embellished with simple Easter symbols – bunnies, chicks, and tulips – and are such a fun, festive, and easy way to bring some Easter decor into your home!
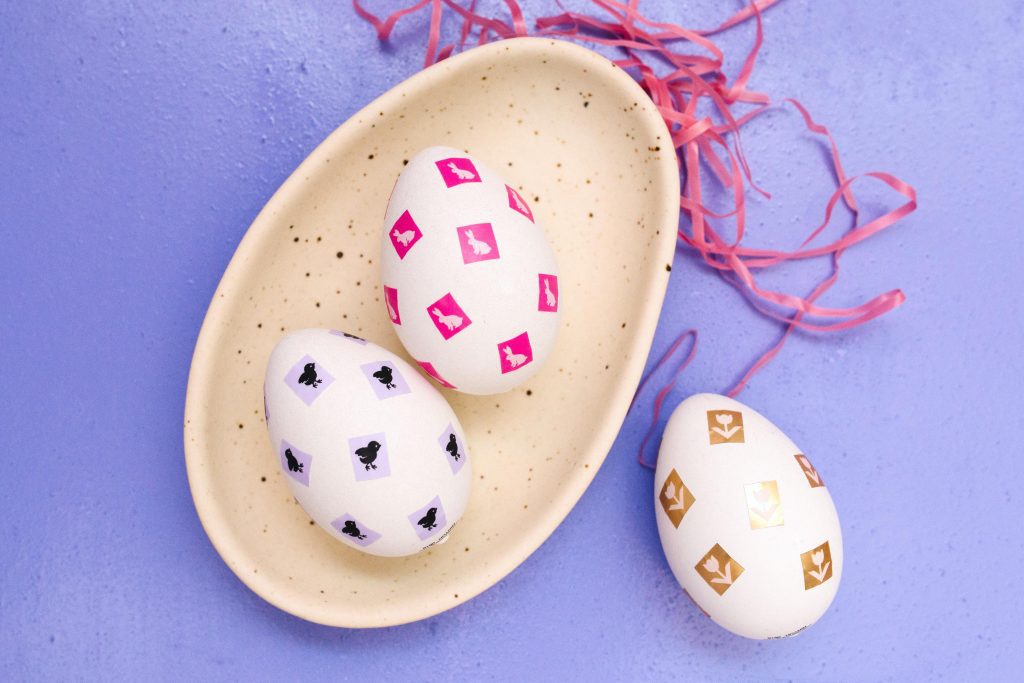
Step 1: Open the P-touch Design-&-Print app. Then tap Create your own label.
Step 2: A selection box will open with options to insert text, symbols, or an image. Tap symbol and swipe to find the symbol you’d like to use.
Step 3: After you’ve added one symbol, tap the add icon on above the label to add more.

Step 4: Adjust the symbol sizing and tape length.
Step 5: Tap print and follow the prompts to print multiple copies.

Step 6: Trim the symbol pieces with scissors and stick them on the eggs.
Step 7: Seal with Mod Podge for extra durability.
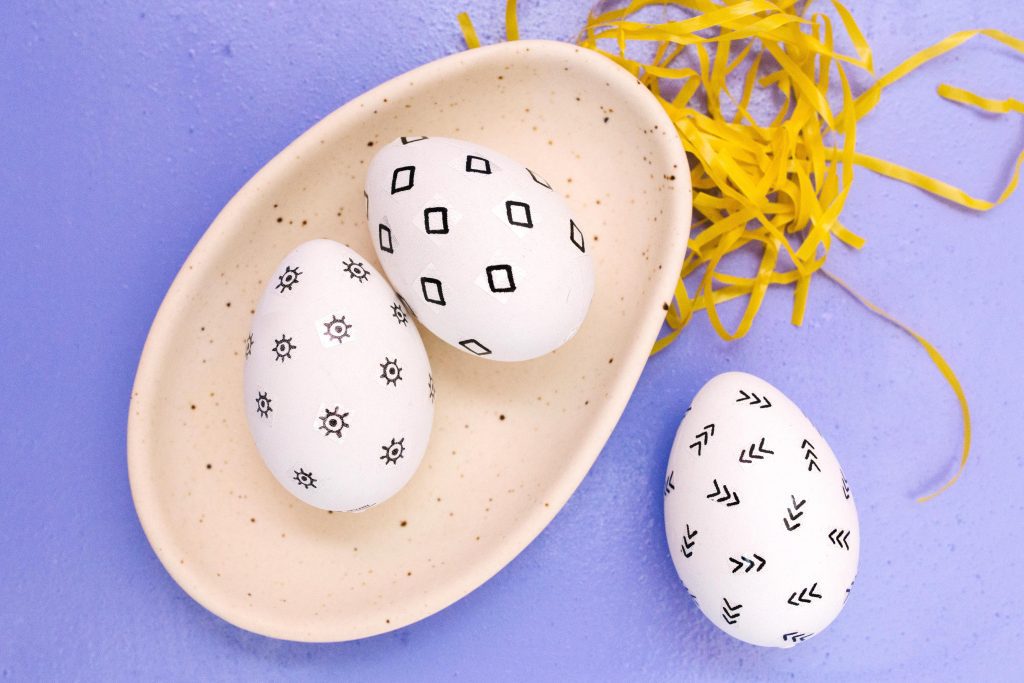
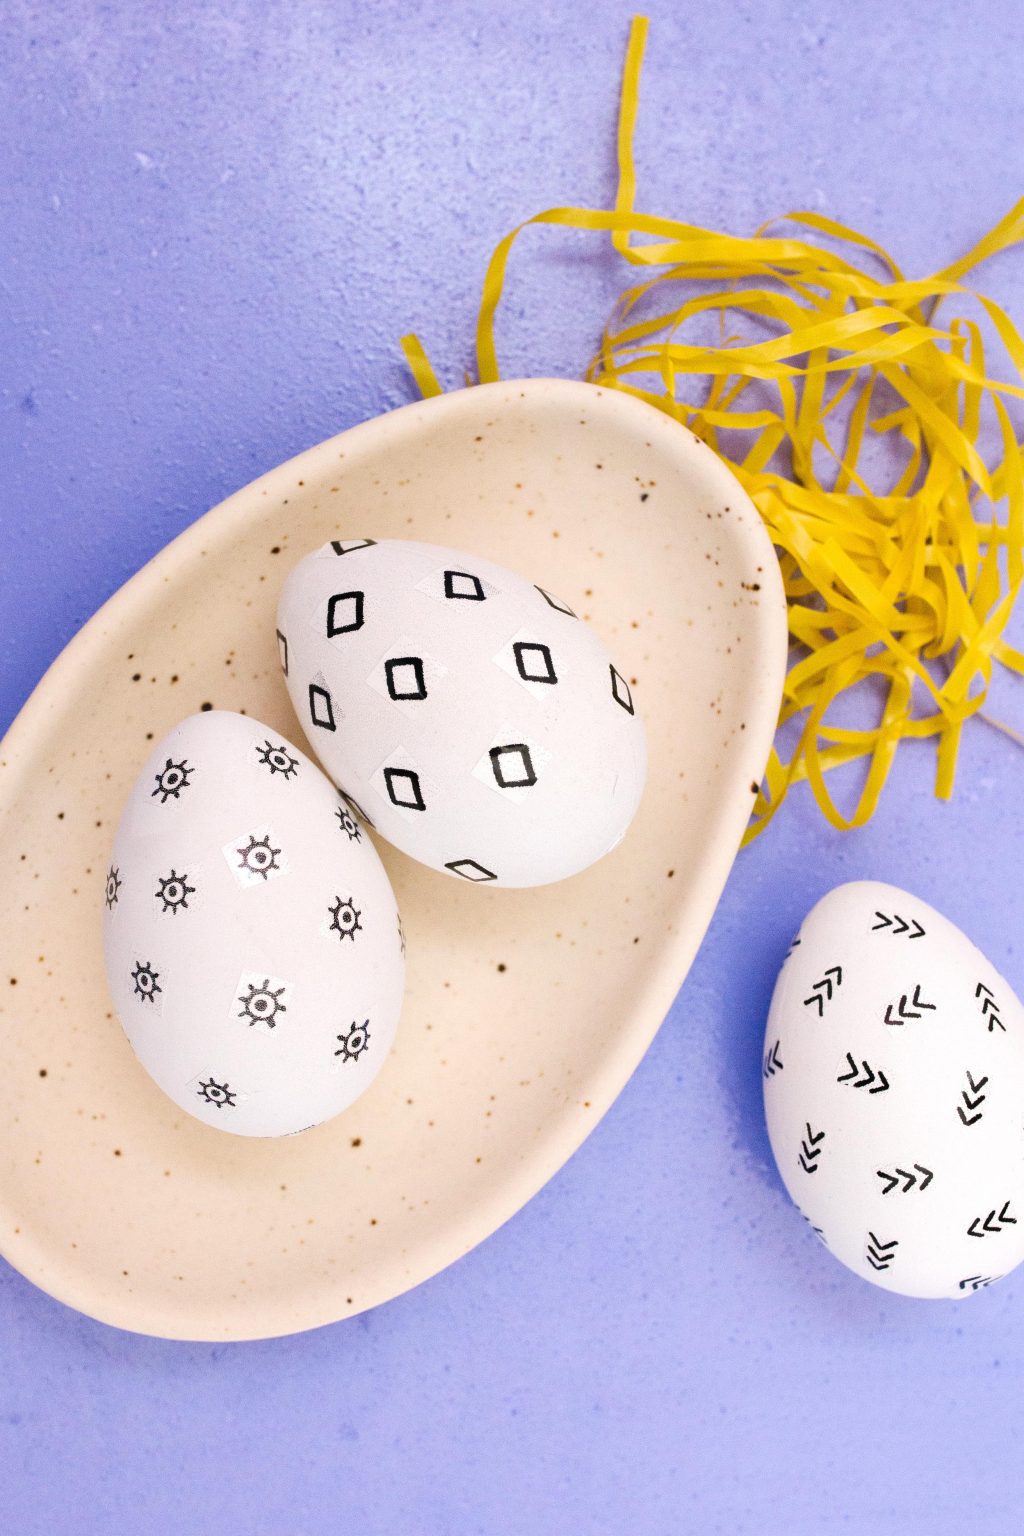
2. Minimal Black and White
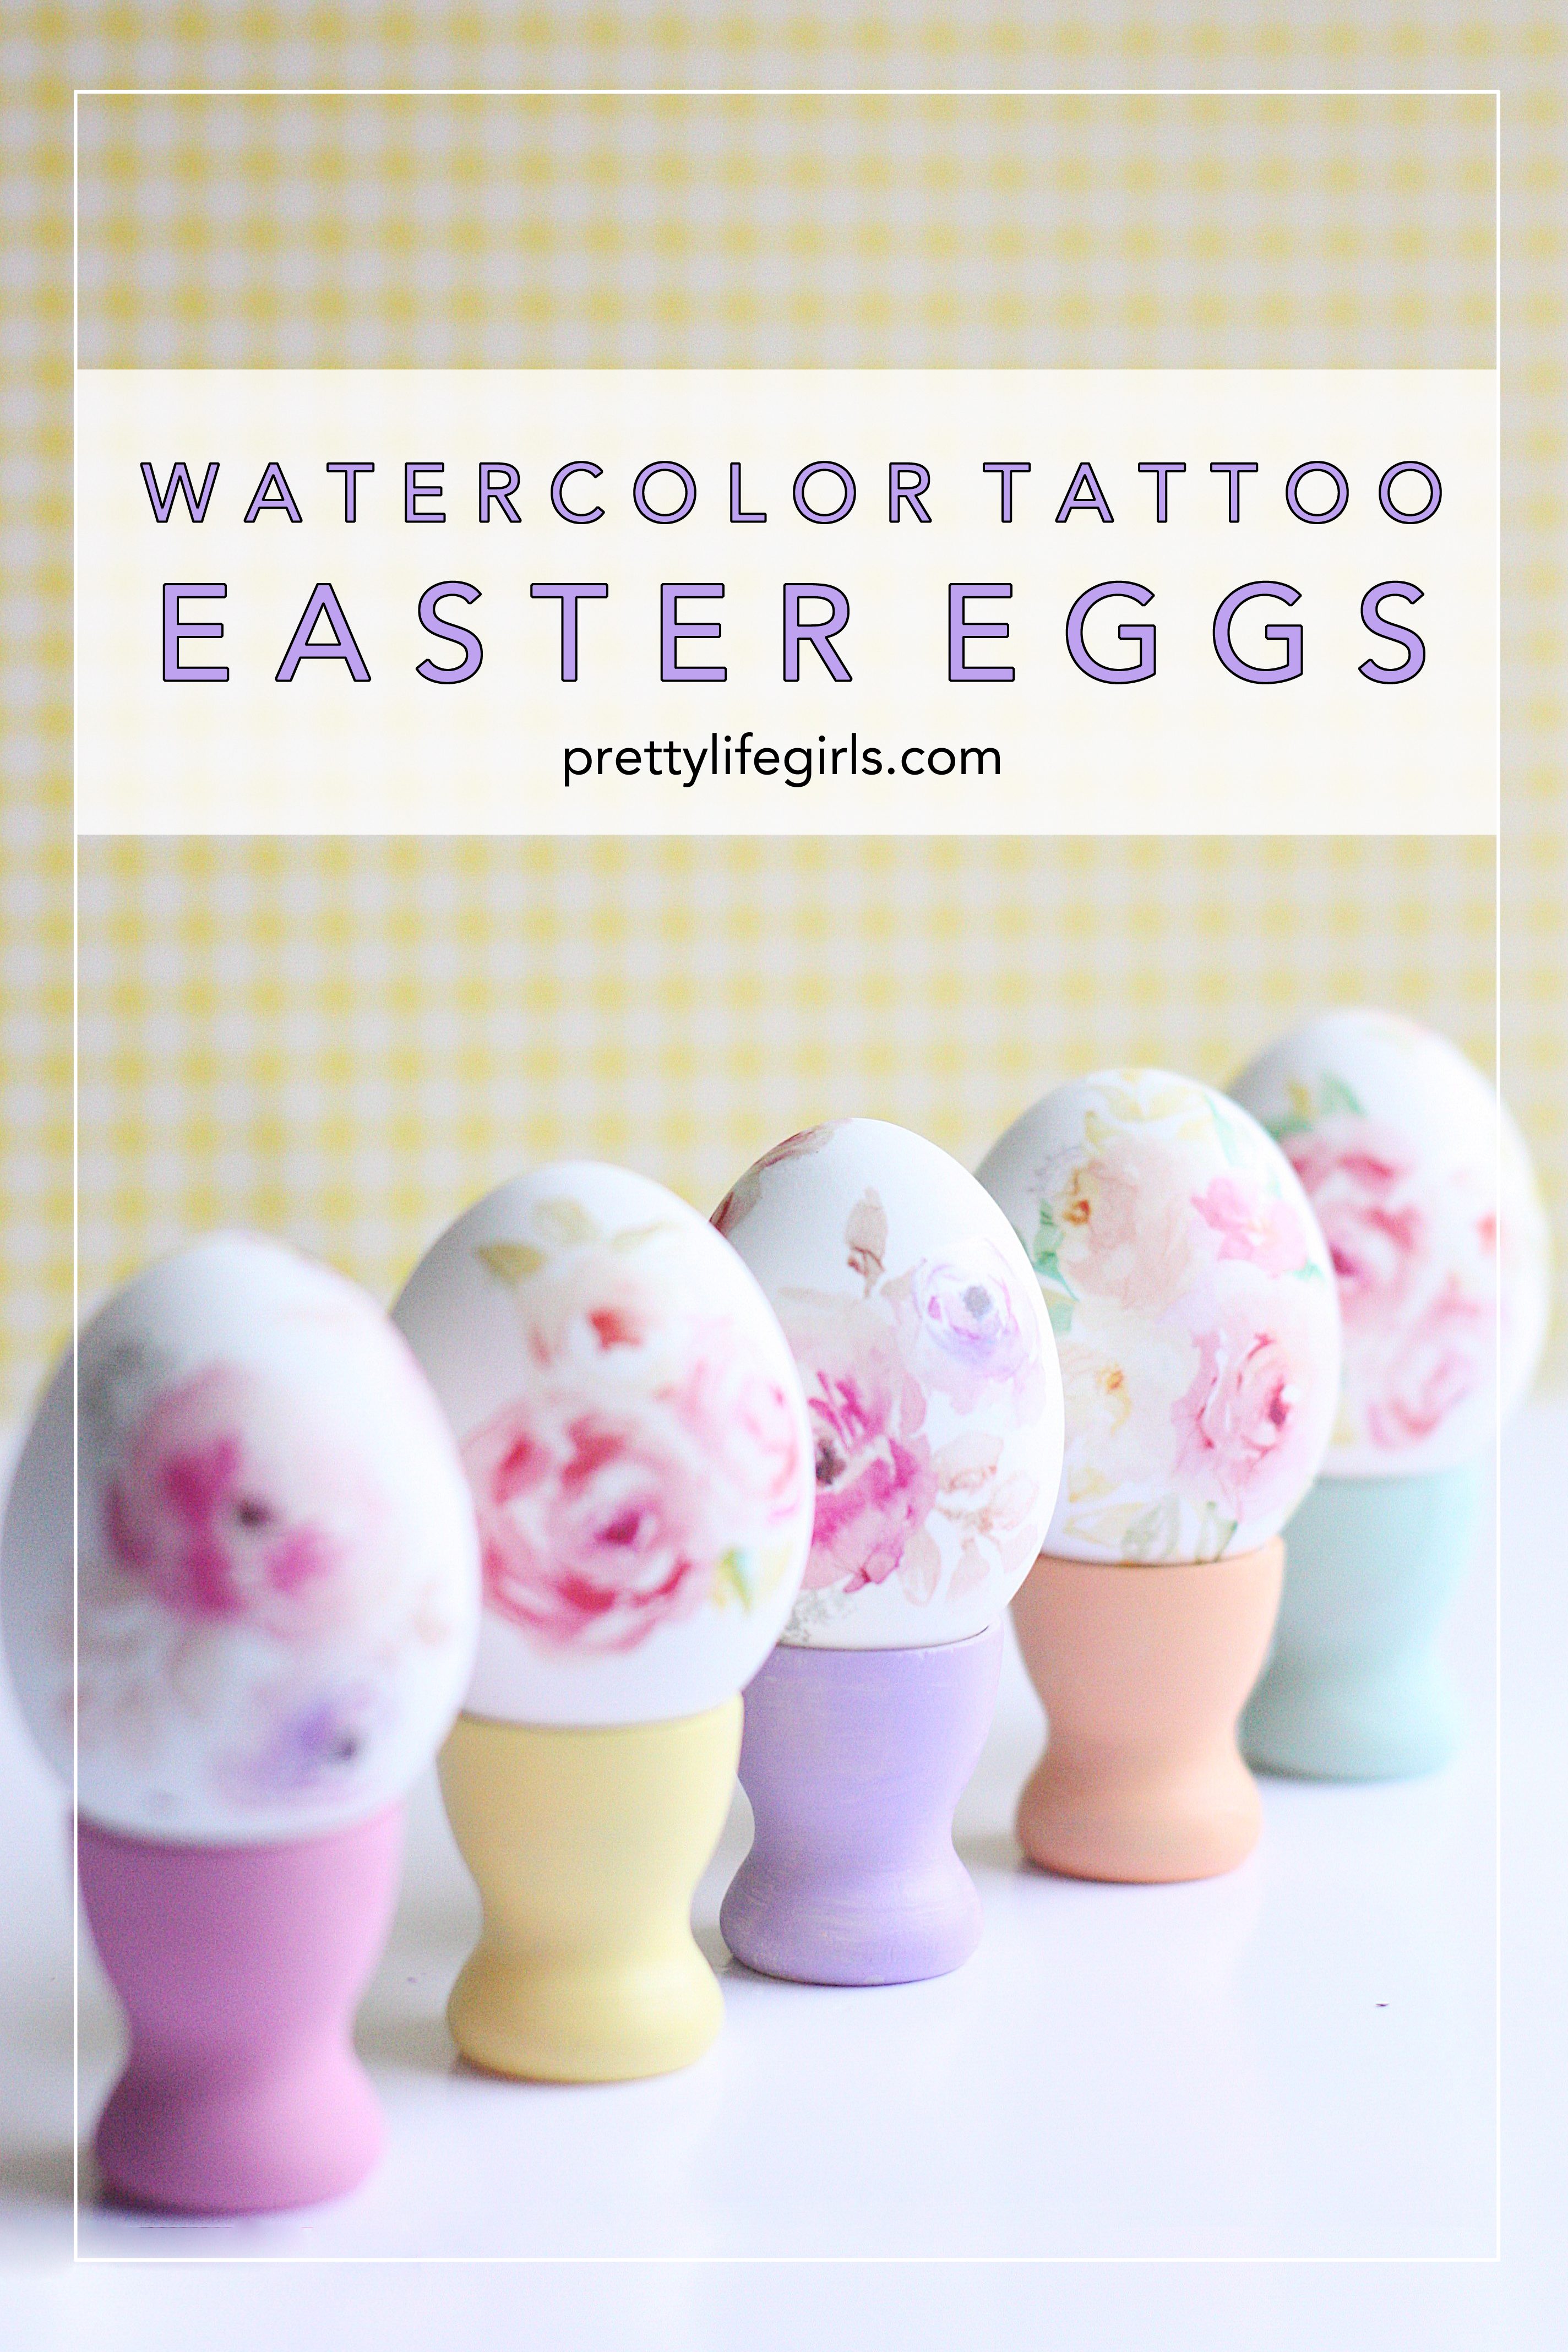
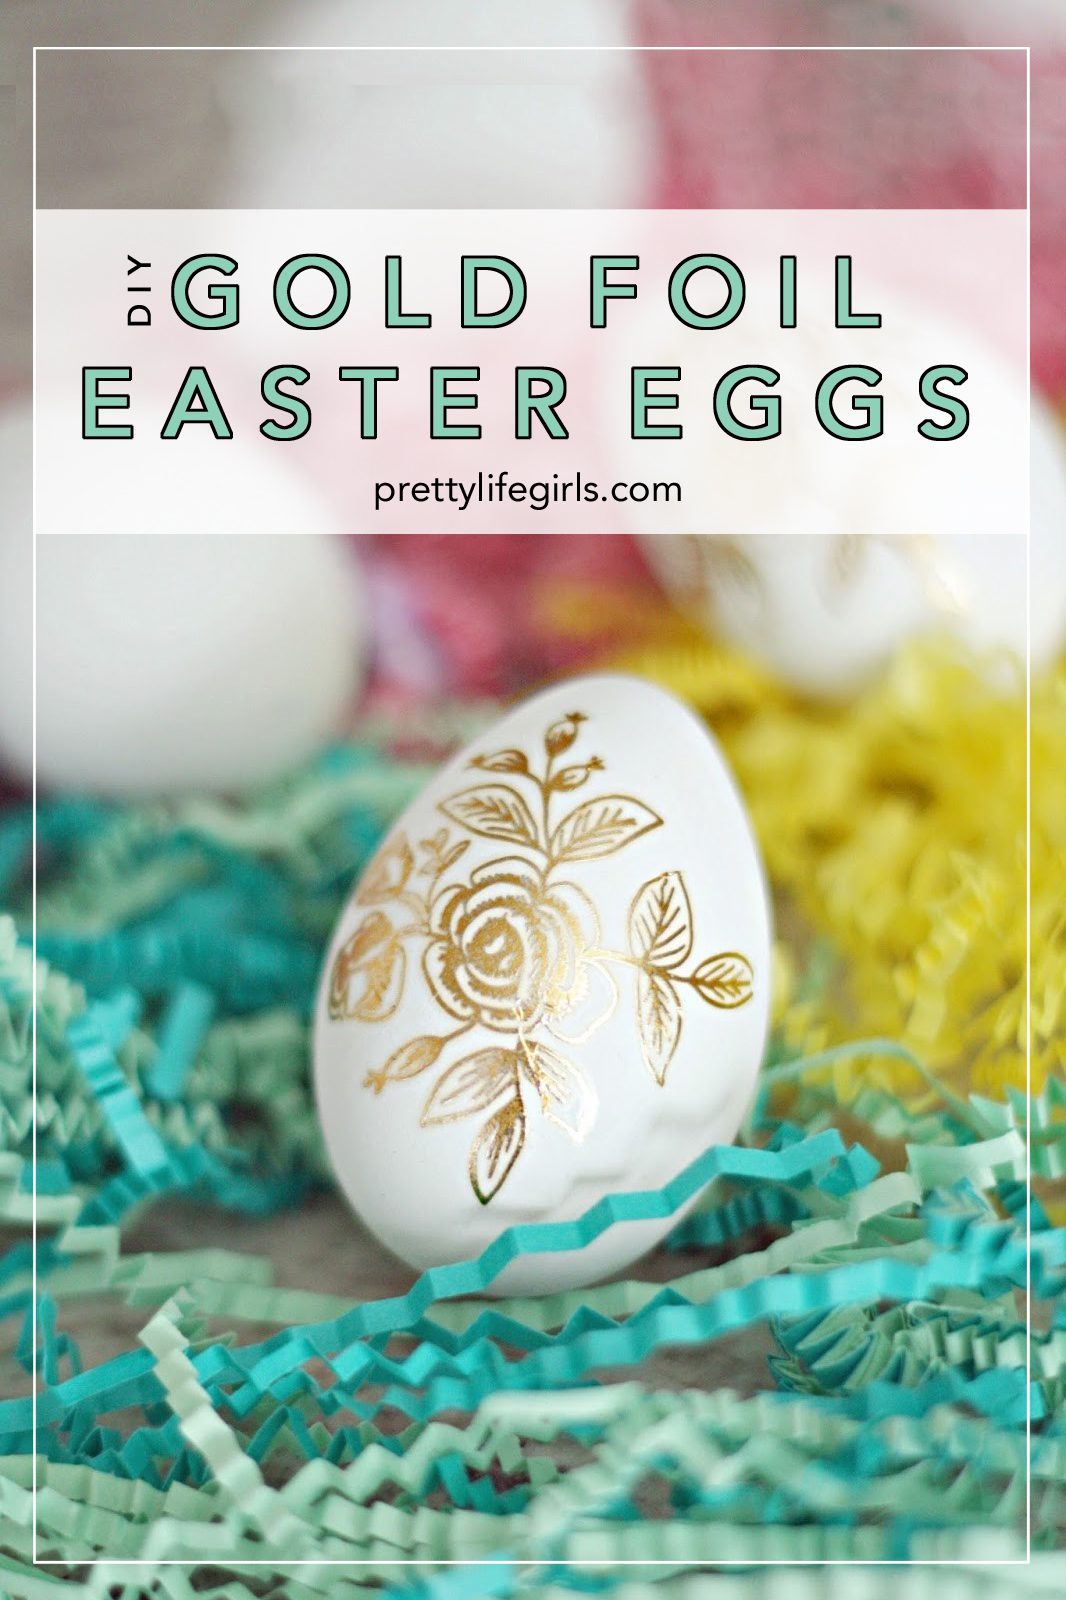
If you prefer understated holiday decor, these minimal black and white eggs are for you! The image printing option in the Design-&-Print app makes it easy to print any pattern you’d like.
Step 1: Find an image you’d like to print and save it to your phone. Open the image and crop the area you’d like printed on the tape.
Step 2: Open the P-touch Design-&-Print app. Then tap Create your own label.
Step 3: A selection box will open with options to insert text, symbols, or an image. Tap image and select the cropped image.

Step 4: Adjust the image sizing and tape length to fit the image.
Step 5: Tap print and follow the prompts to print multiple copies.
Step 6: Trim the image with scissors and stick on the eggs.
Step 7: Seal with Mod Podge for extra durability.
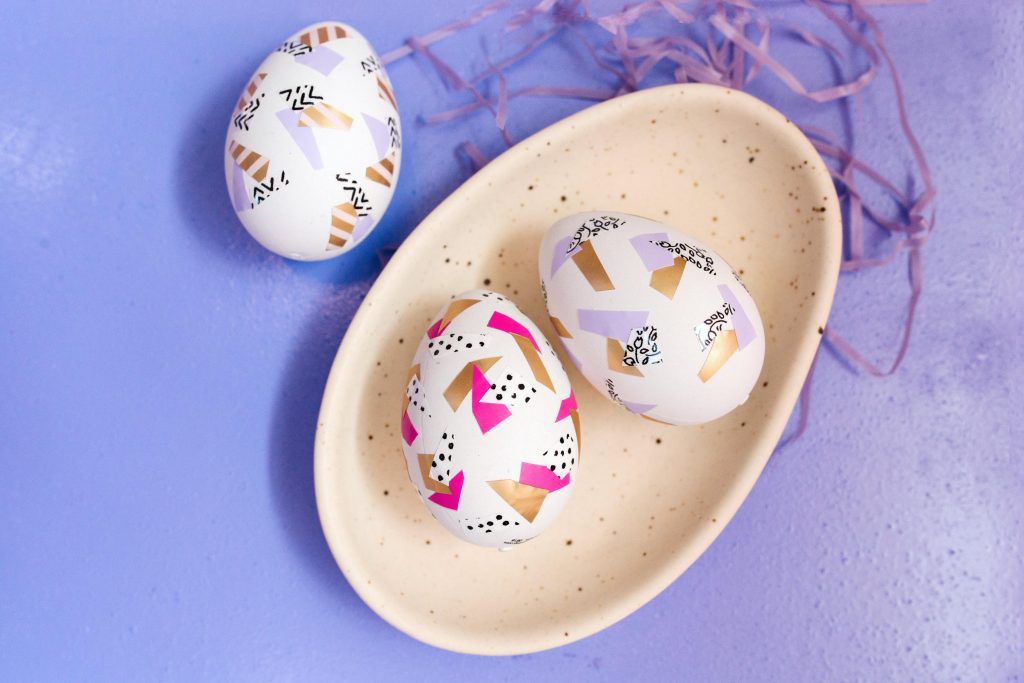
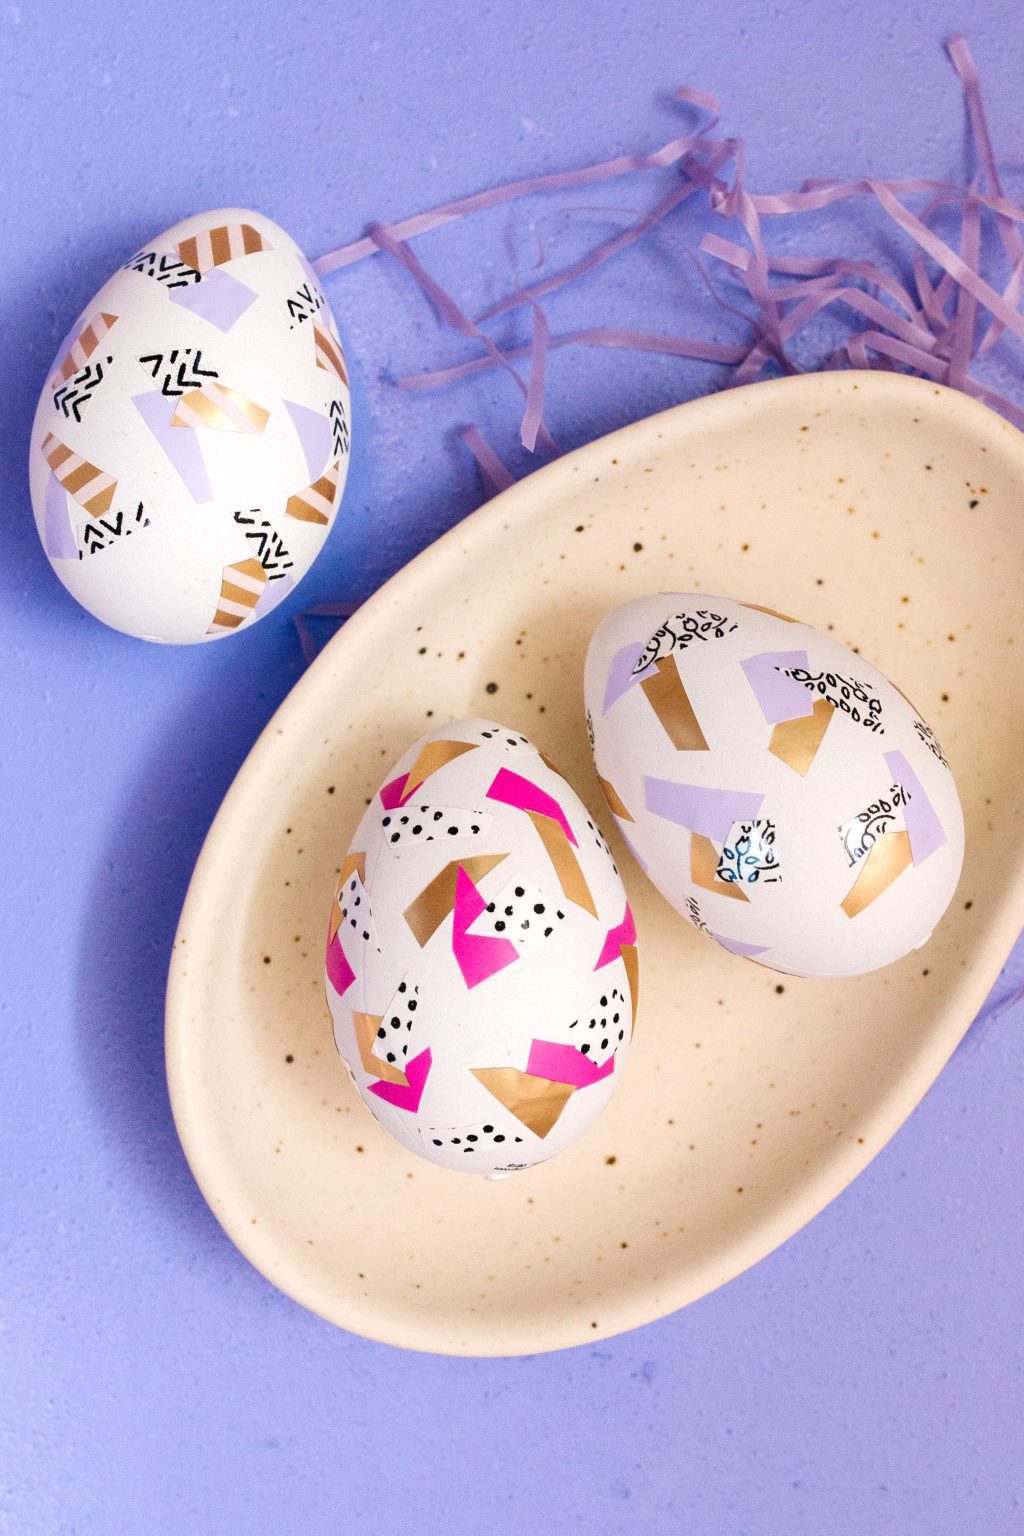
3. Abstract
These darling abstract eggs use a mix of solid colored, text-printed, and image-printed tape to create eggs that are bold and playful.
Step 1: Use the image, text, and symbol print options to print a variety of patterned tape. I used the text option and typed backslashes to make striped tape, in addition to some tape printed with images.
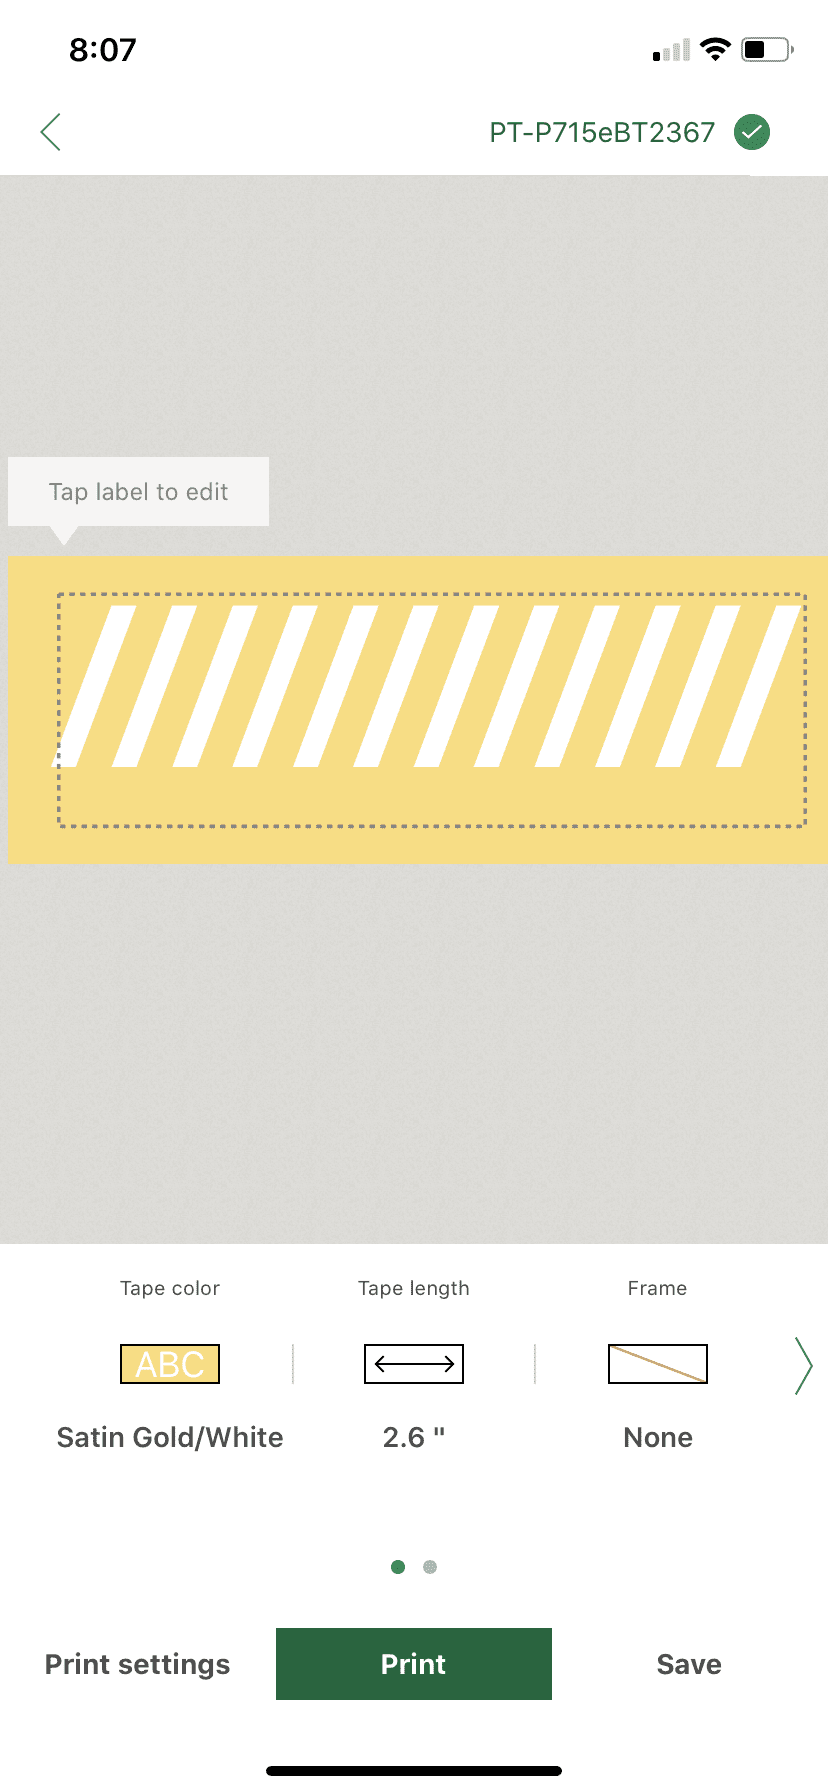
Step 2: To dispense solid tape, leave the design blank on the P-touch Design-&-Print app and follow the print prompts.
Step 3: Use scissors to cut the tape into random shapes and sizes.
Step 4: Layer the tape in clusters on the eggs.
Step 5: Seal with Mod Podge for extra durability.
Happy decorating!
xo, Sam