This DIY Shrink Plastic Robot Keychain Valentine tutorial is sponsored by Prettygrafik.
All opinions are ours alone.
One of the funnest parts about being a DIY blogger is getting to use new (or new-to-us) methods that surprise us and add an extra wow-factor to our projects! Shrink plastic is one of those things! If you’ve never made a shrink plastic project, it feels like a total magic trick. You start by printing a design on shrink plastic, apply heat and watch it shrink! Using shrink plastic is especially fun with kids because they can’t believe their eyes!
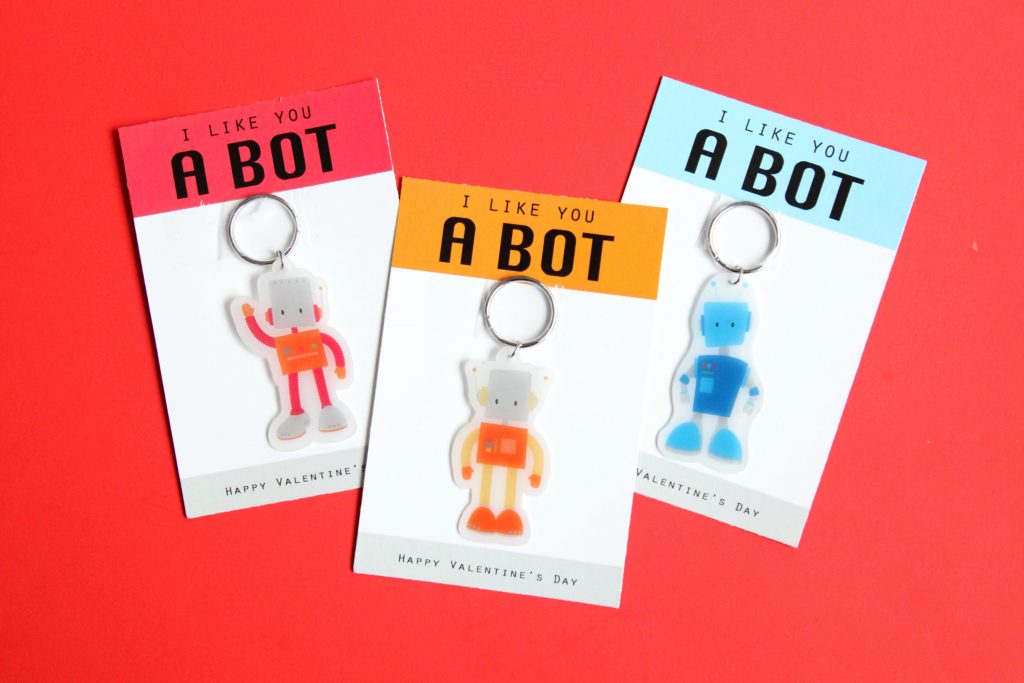
We have fallen so deeply in love with making shrink plastic crafts that it made perfect sense to make some for our DIY Valentines this year! We decided to make some fun Shrink Plastic Robot Keychain Valentines by attaching DIY robot keychains to a pun-y card. And to make this project even simpler, you can get everything you need to make them from Michaels! We can’t wait to give out these adorable one-of-a-kind Valentines that we like “a bot”! Keep reading for the tutorial!

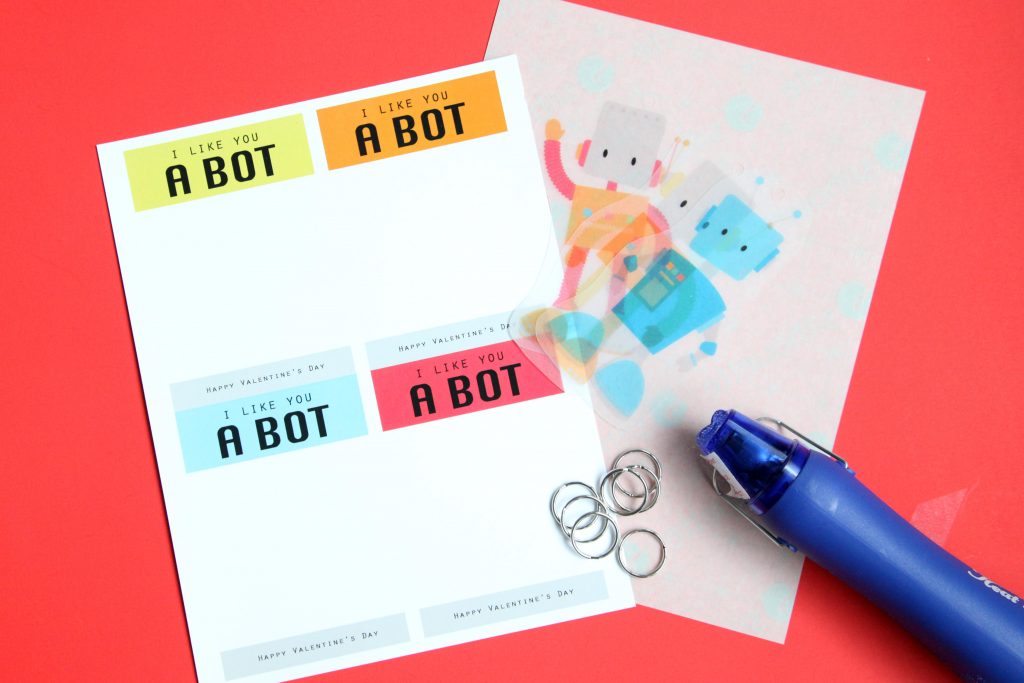
Supplies needed to make your own Shrink Plastic Robot Keychain Valentine
Printable
Shrink plastic sheets
Jump rings
Split rings
Heat tool (you can also use your oven)
Robot clip art

How to make your own Shrink Plastic Robot Keychain Valentine
Step 1: To get the robot keychains the right size, arrange the robot images three to a page sideways in portrait orientation (so they are each about 8 inches tall when you print). I got these adorable robot images (only $.99 for the whole set right now!) from Prettygrafik – a website that offers an amazing selection of graphics, patterns, and craft files. Print the robots on shrink plastic, following the shrink plastic printing instructions.
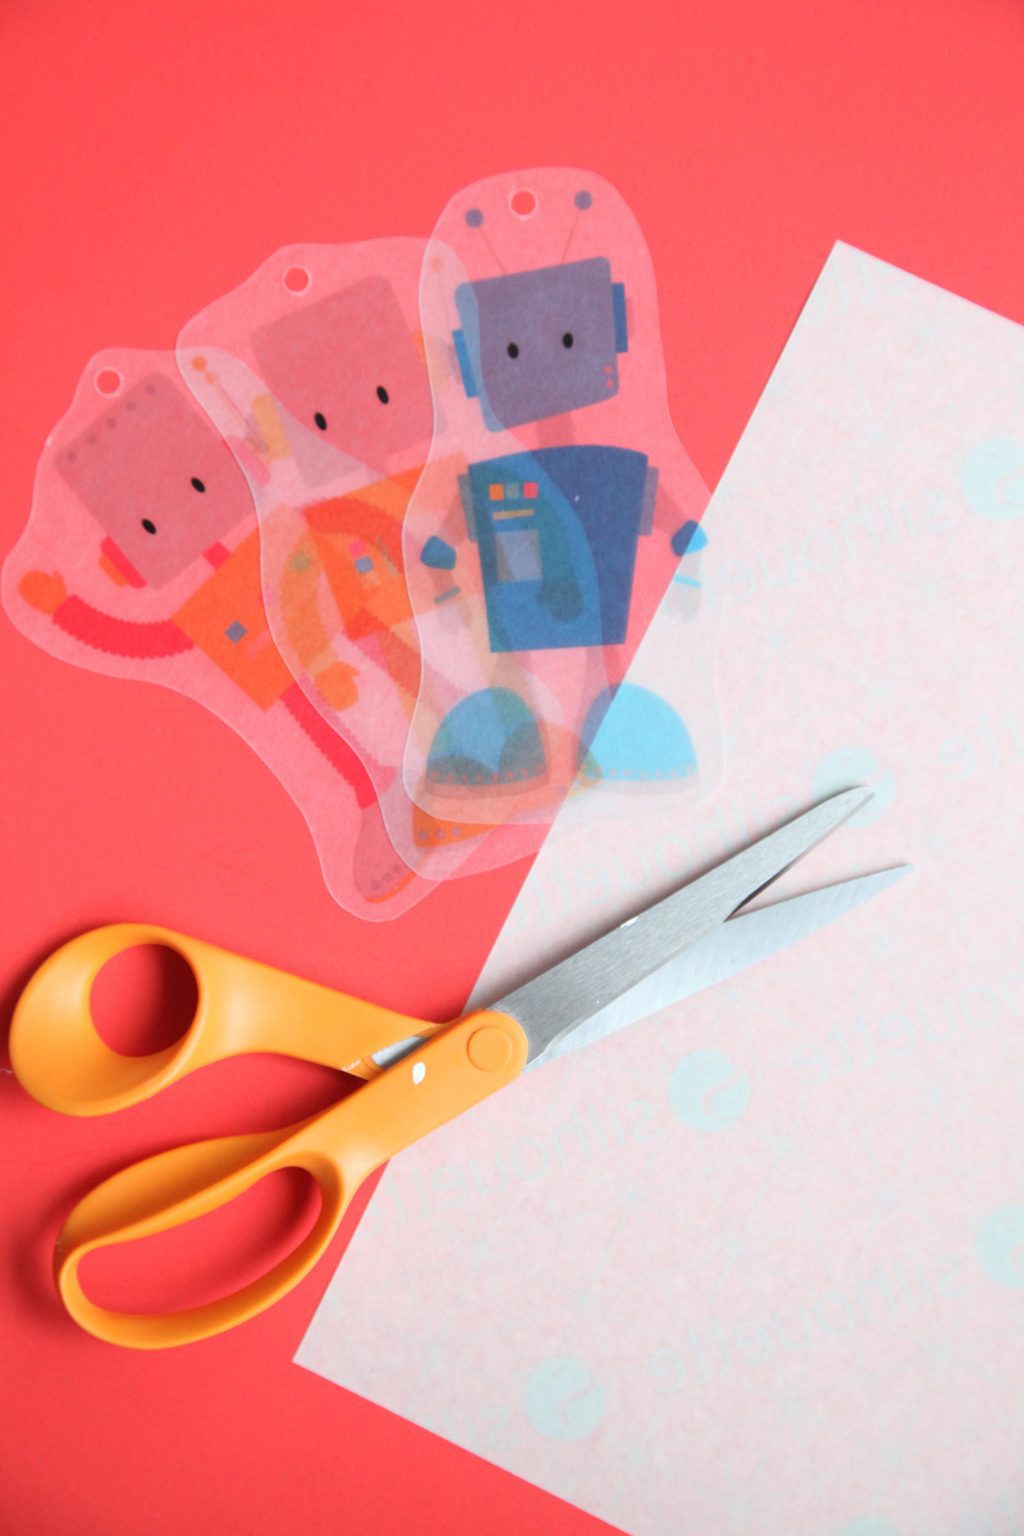

Step 2: Cut out the robot designs, punch a hole in the top of each robot, and remove the shrink plastic lining.
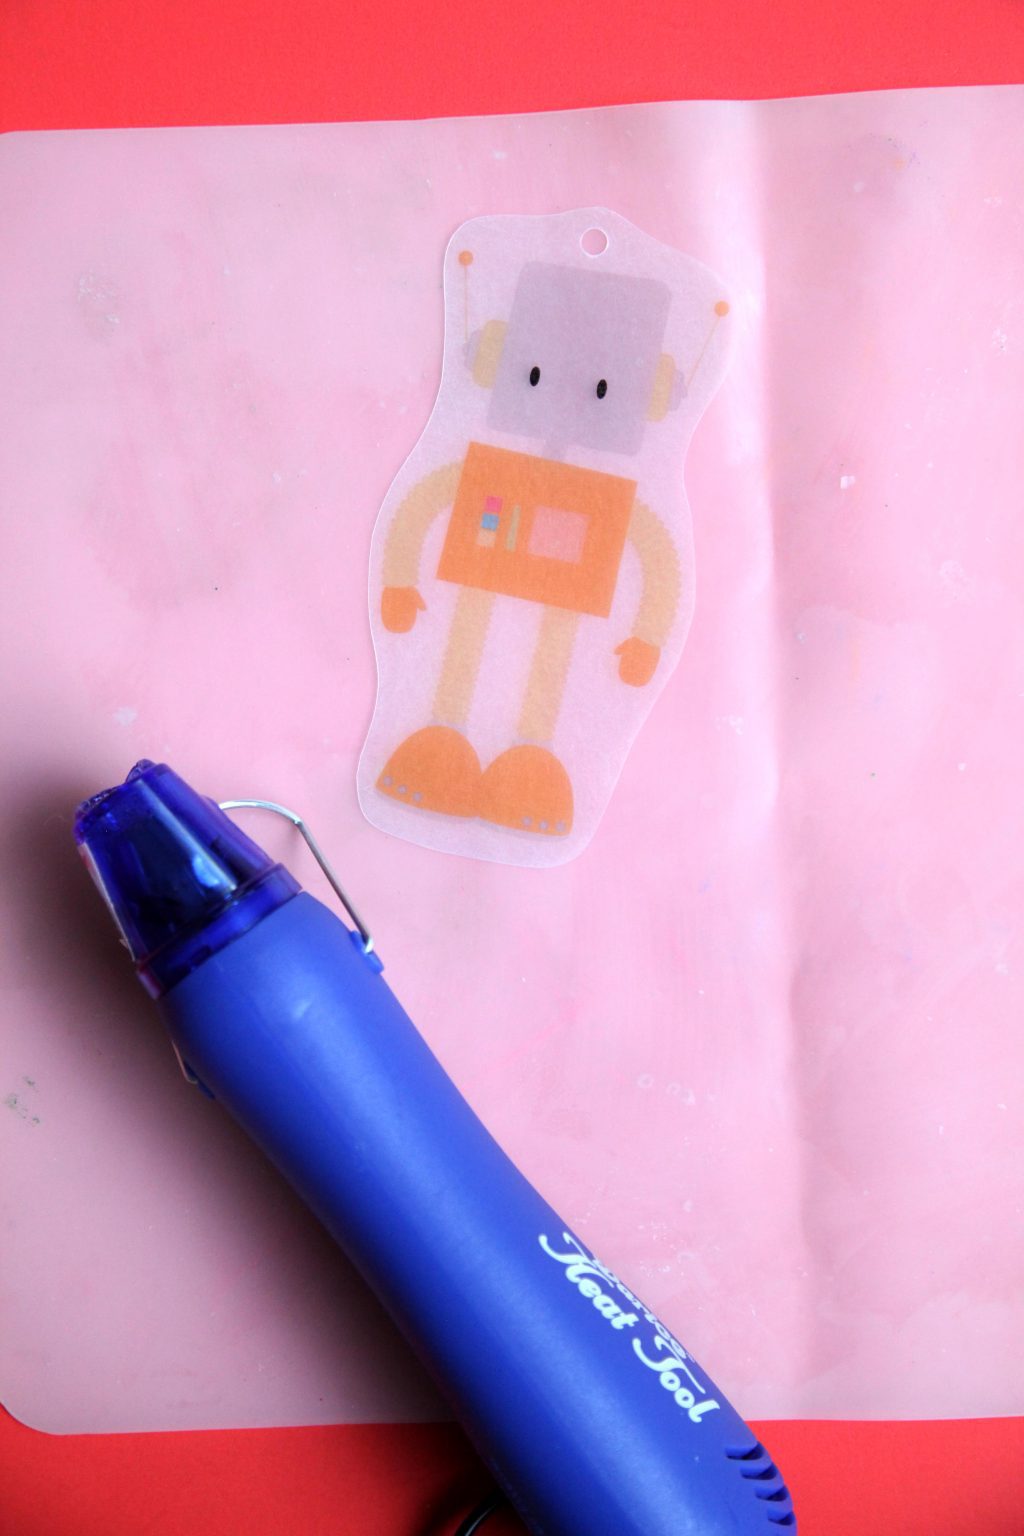

Step 3: Use a heat tool or your oven (following the instructions on the shrink plastic packaging) to shrink the plastic. After heating and while still warm, use a book (or something flat) to flatten the plastic.
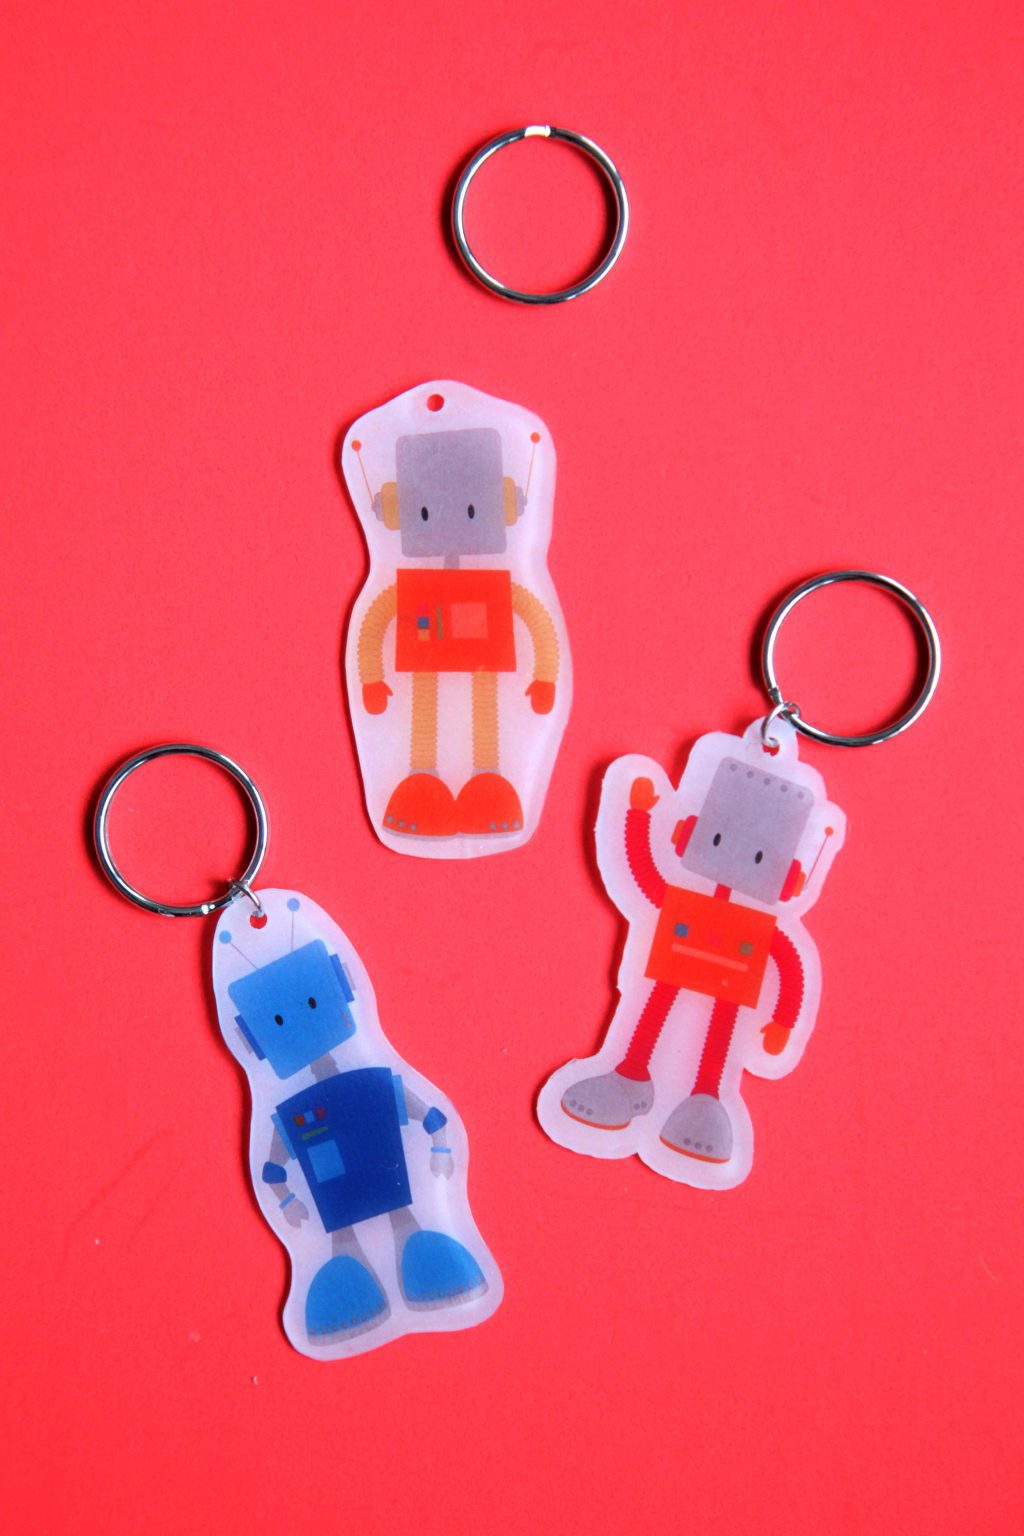

Step 4: Attach split rings to each of the plastic robots with jump rings.
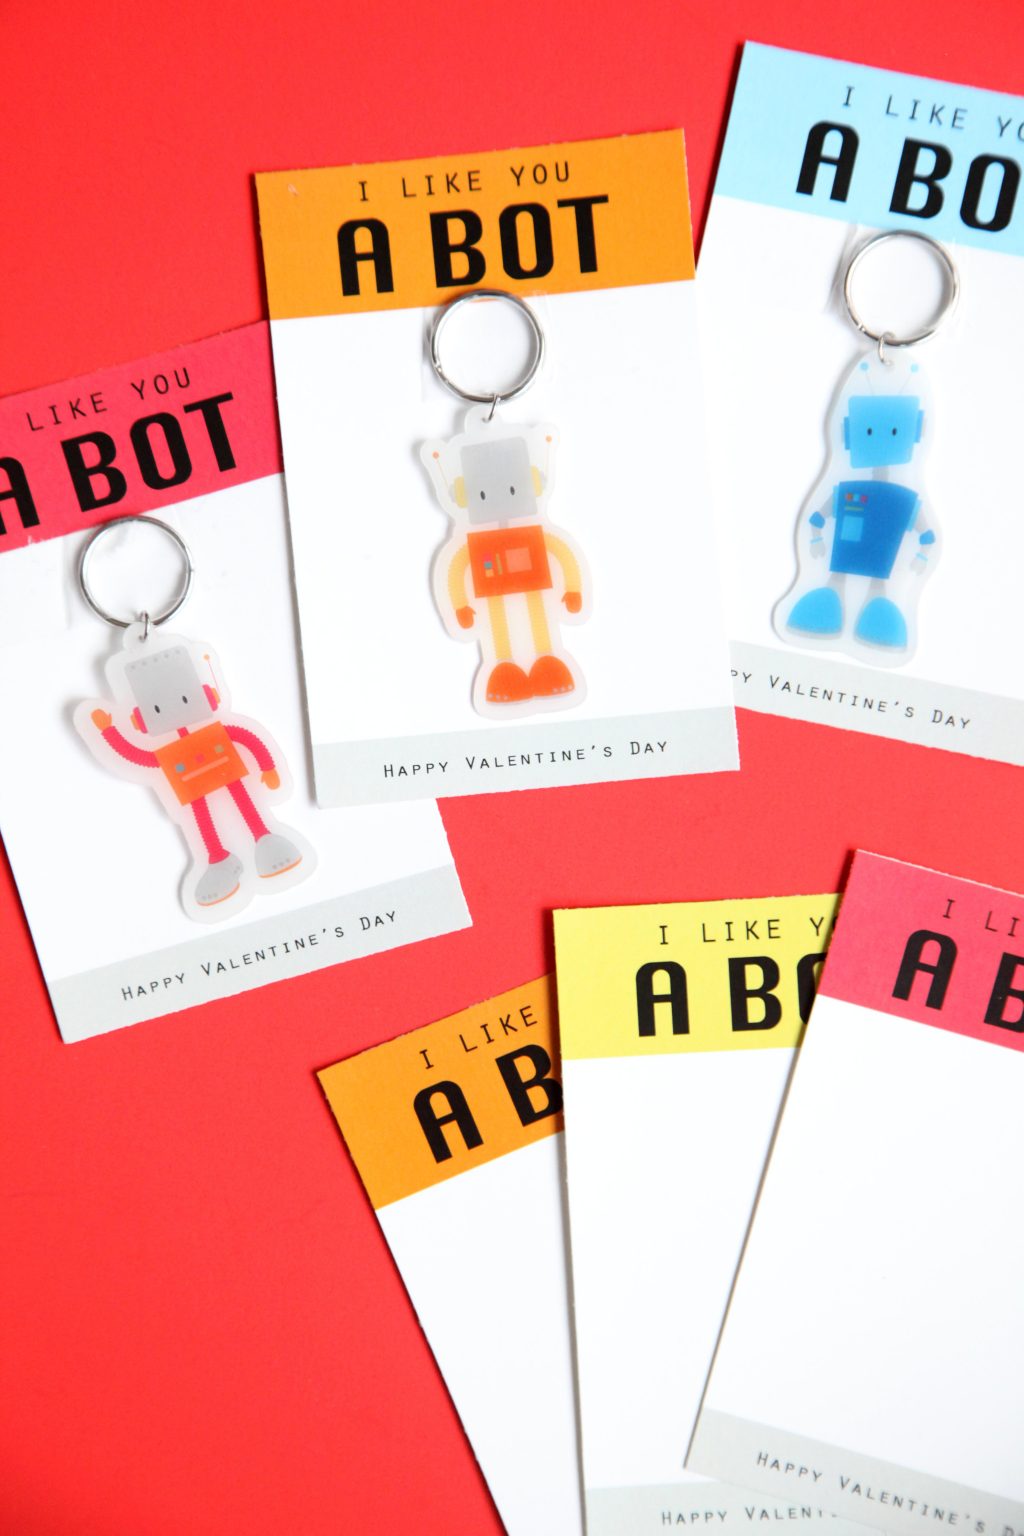

Step 5: Print the cards (get them HERE) and attach a keychain to each card with scotch tape.
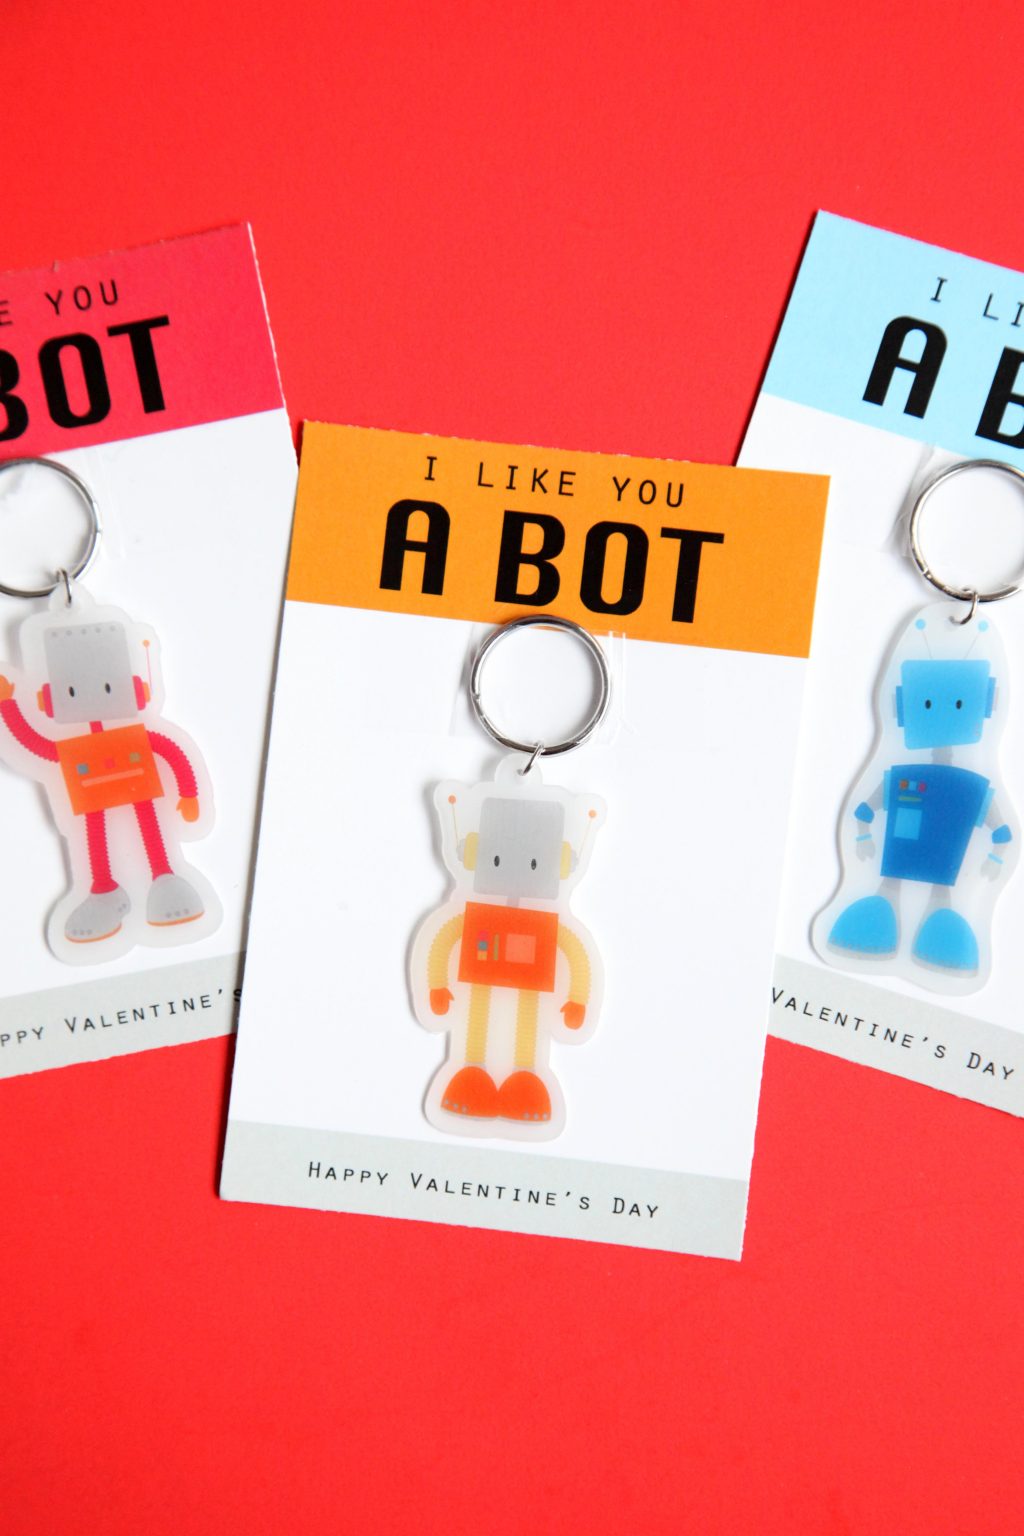

Aren’t they adorable? The possibilities for using shrink plastic are endless! Just come up with a design and you can turn it into a fun gift, accessory or decor piece using only a few supplies! (We especially love this genius Shrink Plastic Agate Art that our friends at Silhouette made!)
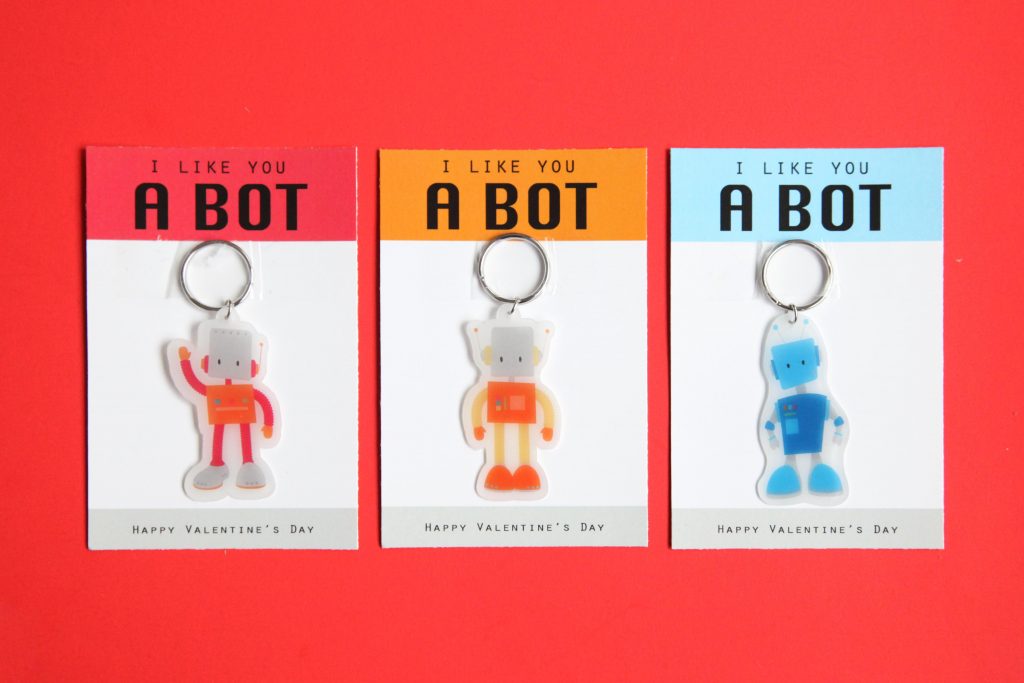

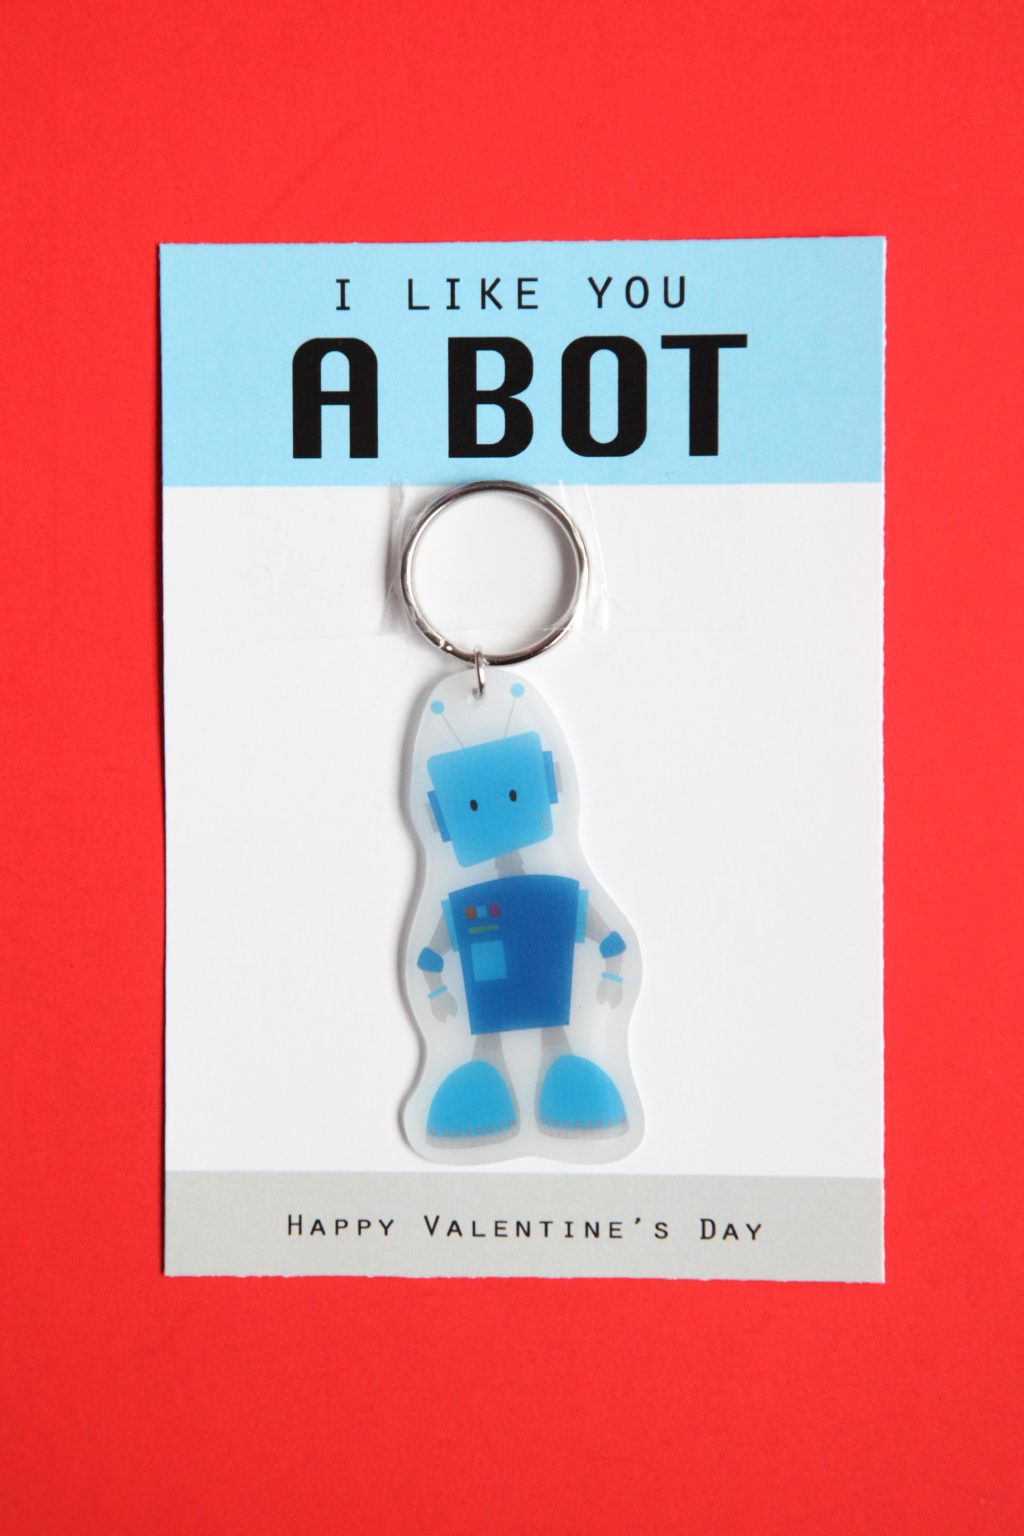


These fun little robots are sure to make your Valentine’s Day and we hope you’ll have a blast making them with your kiddos!
Happy Valentine’s Day!
ox. Sam


