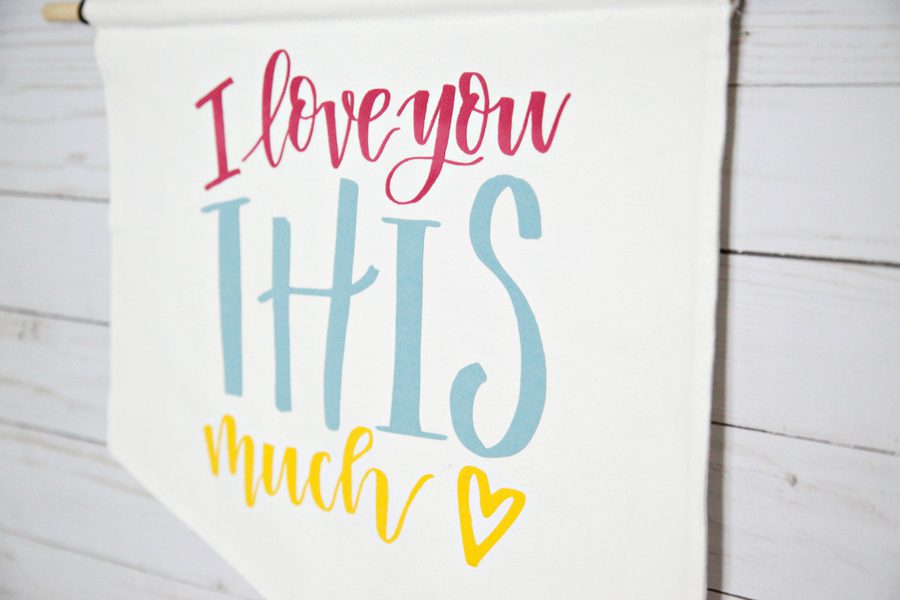
Today we’re sharing how to take hand lettering and make it into something you can cut with your Silhouette CAMEO. This is the perfect way to add a personal touch to projects, and the process is really simple. Full disclosure: I have zero hand lettering talent, so I enlisted the help of my talented friend Amy Latta to whip something up for me, and I LOVE how it turned out. Follow this step by step tutorial to see how we made this valentine’s day wall banner!



Supplies needed to make your own Valentine’s Day Wall Banner
Silhouette CAMEO 3 or any craft cutting machine
Cutting mat
Weeding hook
Flocked Heat Transfer Vinyl
Hand lettered image
Blank canvas banner
Embroidery floss
Wood bead
How to make your own Valentine’s Day Wall Banner


Step 1: After hand lettering (or making your friend hand letter) on paper, take a photo of the design.
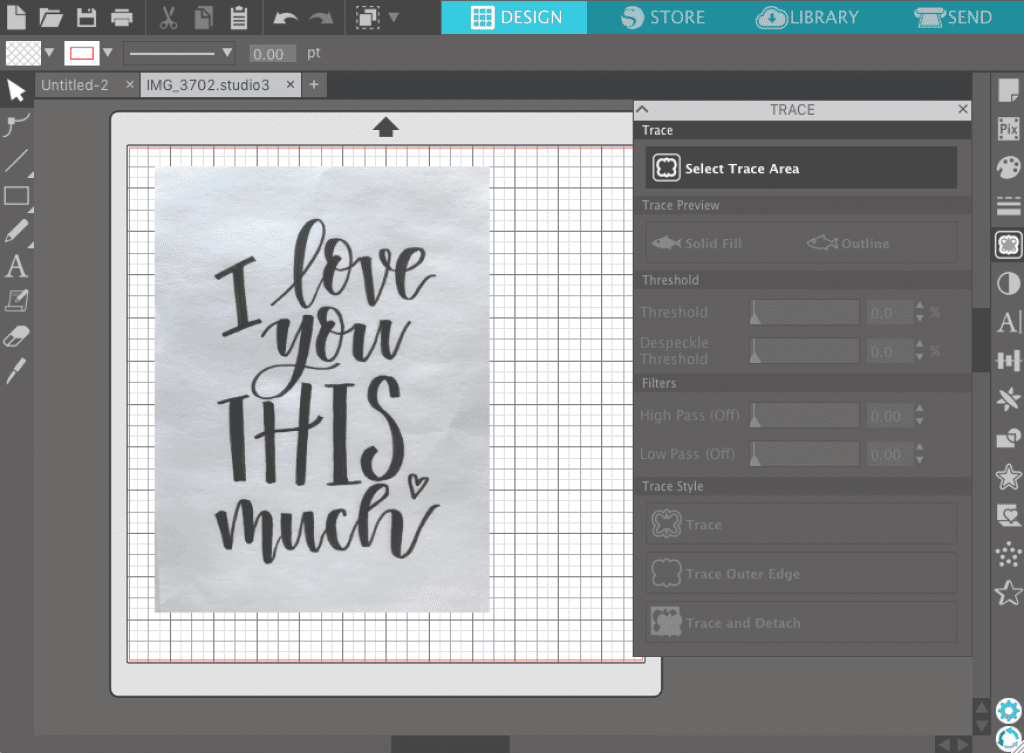

Step 2: Upload the photo to your computer and open it in Silhouette Studio.
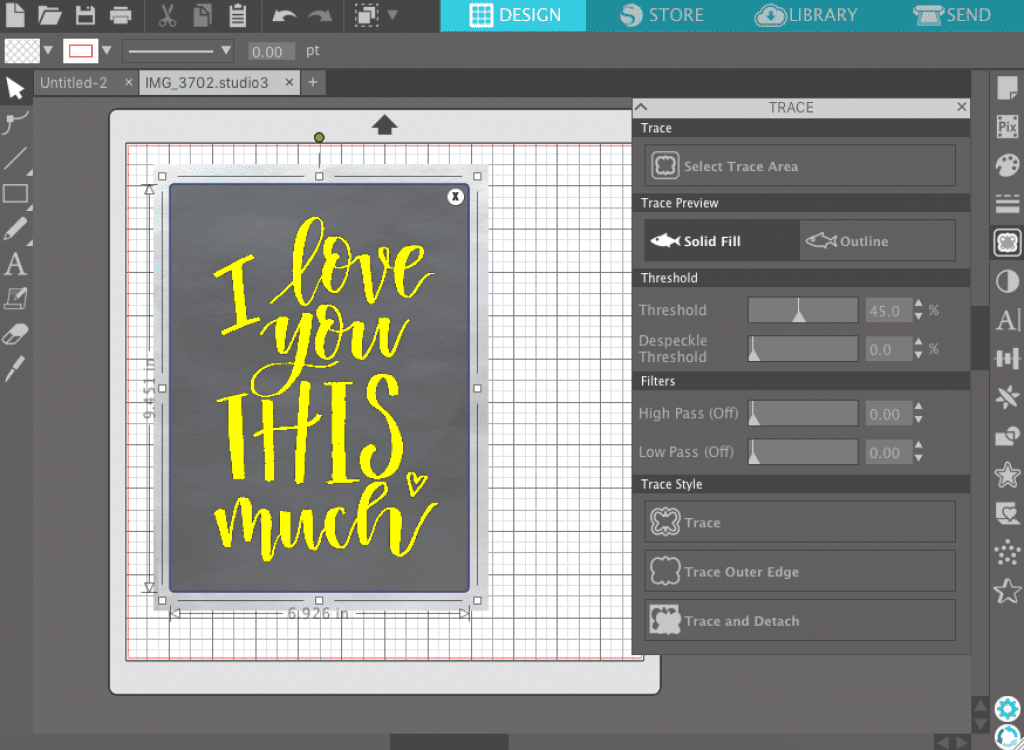

Step 3: Open the Trace menu and click Select Trace Area. Click and drag to select the areas of the image you’d like to trace. Then click Trace.
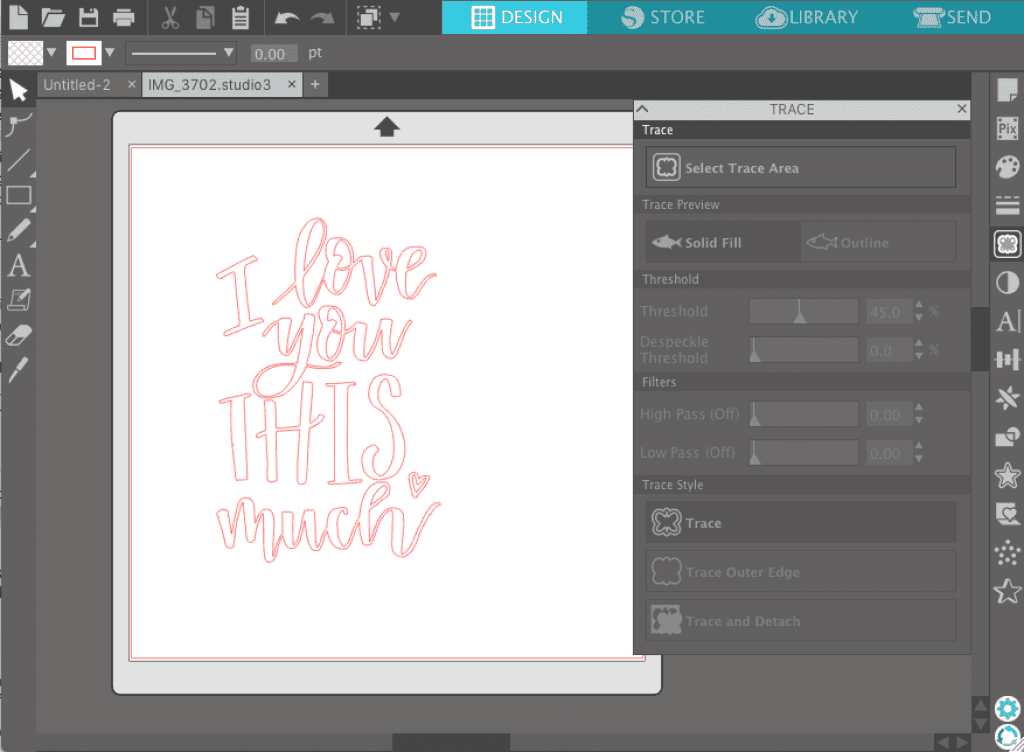

Step 4: Delete the image, so only the traced design remains.
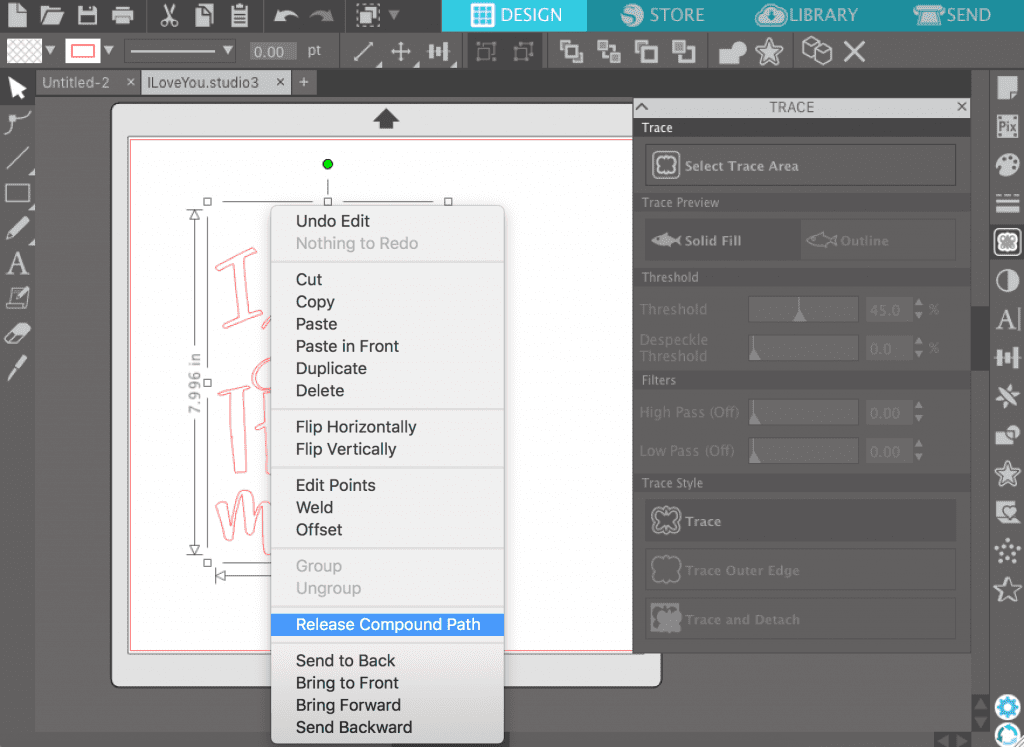

Step 5: Right click on the design and select Release Compound Path. This is the first step for preparing the design to be cut by color. If you want to use just one color of vinyl, send your project to cut at this point (make sure it is mirrored), and skip Step 6 and 7.
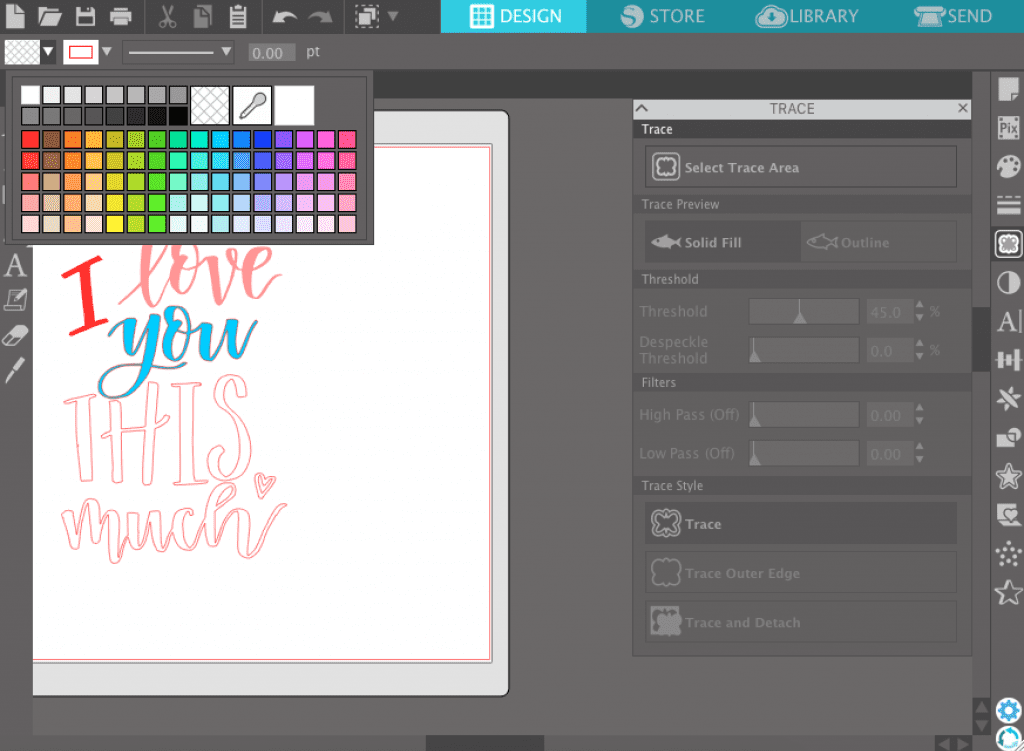

Step 6: Drag to select each individual word, right click again, and click Make Compound path. Repeat this with each word so they are grouped as words. Then, fill each word with the color that corresponds with the vinyl you will use. You can also rearrange and resize words, if needed, which I did to make the design fit by banner a little better.
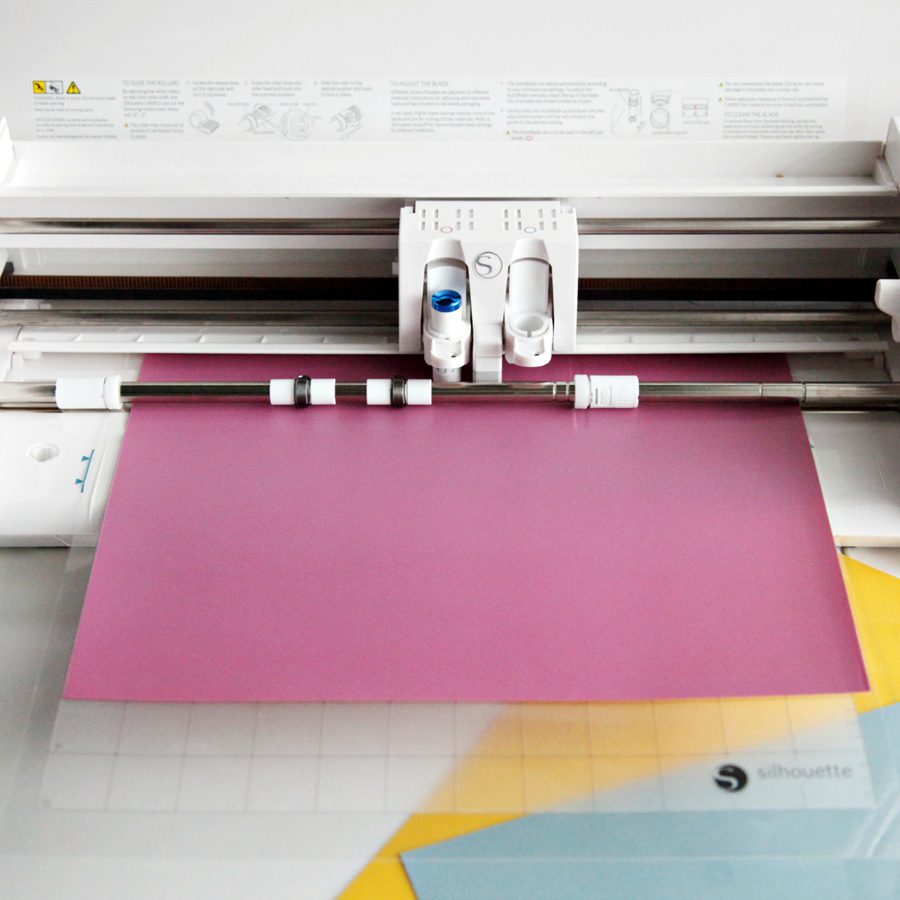

Step 7: Click the Send tab, and then click Fill. Be sure that you have pauses between each color, and double check your cut settings. Load your Flocked Heat Transfer Vinyl on your mat, face down. Click to begin cutting (make sure the design is mirrored). Switch your Flocked Heat Transfer Vinyl colors as prompted by your machine, and click Resume in Silhouette Studio.
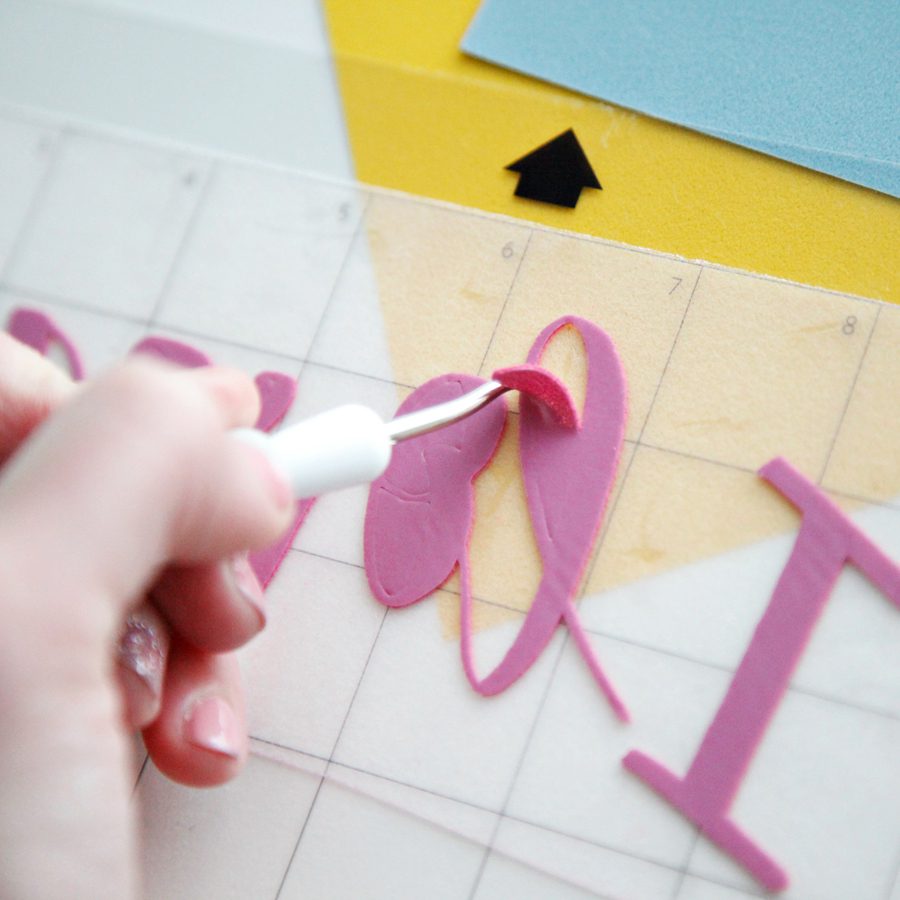

Step 8: Weed the excess Flocked Heat Transfer Vinyl, using the hook to weed small pieces. You can also trim off any carrier sheet excess to make it easier to arrange the design on your surface.
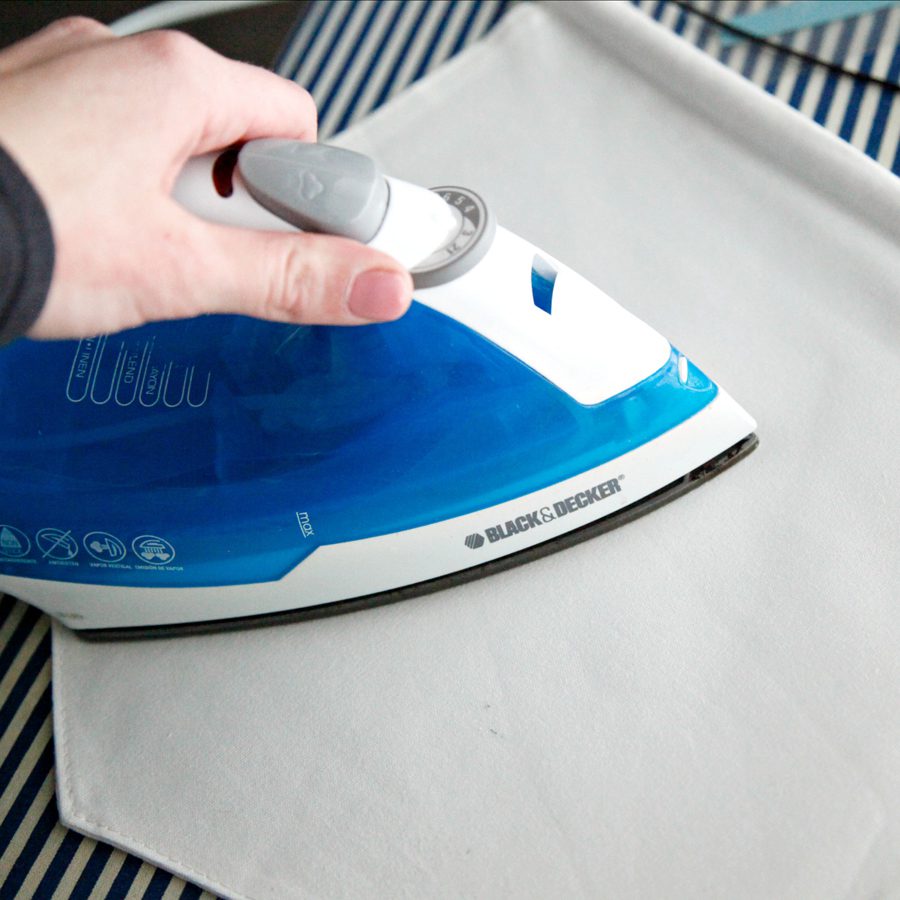

Step 9: Prep your surface by heating it slightly.
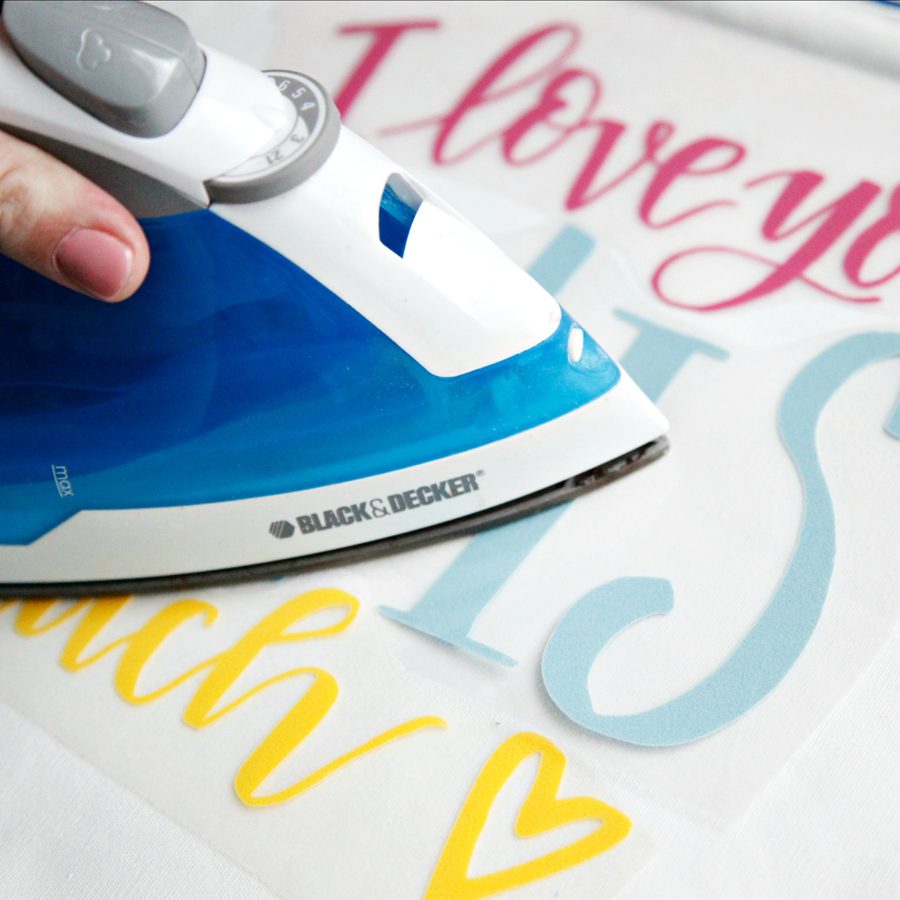

Step 10: Arrange the design on your surface with the carrier sheet facing up (so you can read the design). Heat your iron to 300-315 degrees Fahrenheit. Iron over the carrier sheet with a dry iron. I like to gently pull up the carrier sheet to check if the Flocked Heat Transfer Vinyl is sticking. Let the design cool for 1-2 minutes before peeling away the carrier sheet.
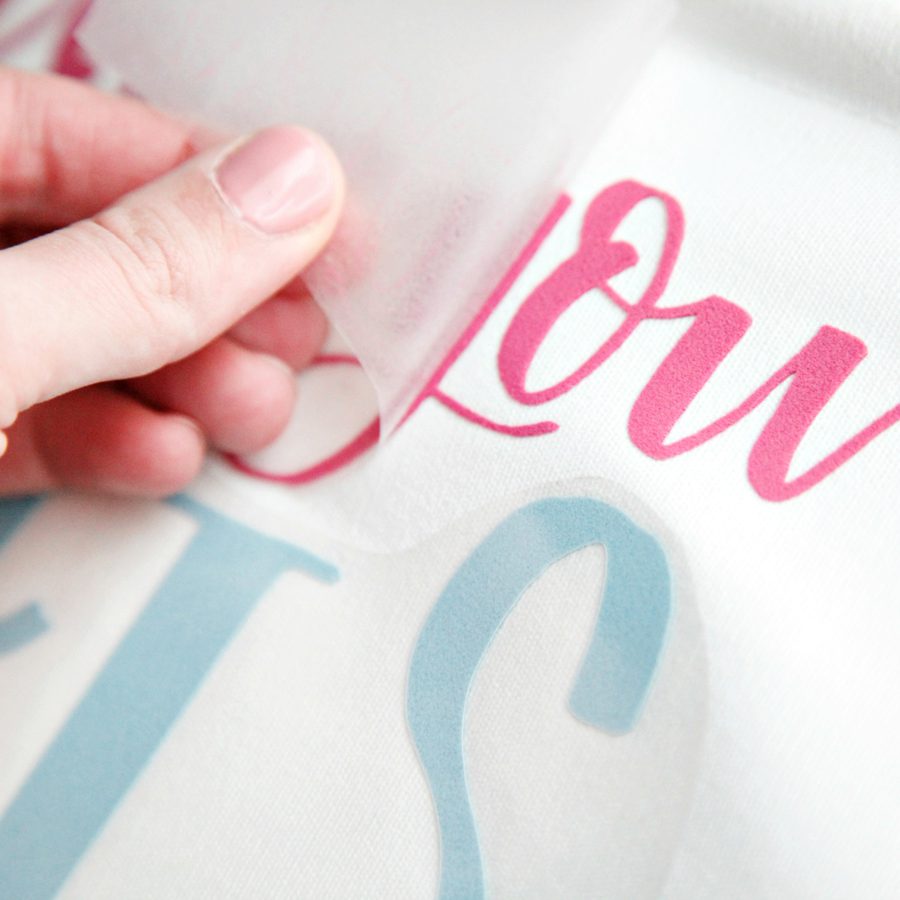

Step 11: Remove the carrier sheets. If you notice any pieces not full sticking, put the carrier back down and iron more. After I have removed the carrier sheets, I also like to flip the surface over and iron on the back side to help it really stick.
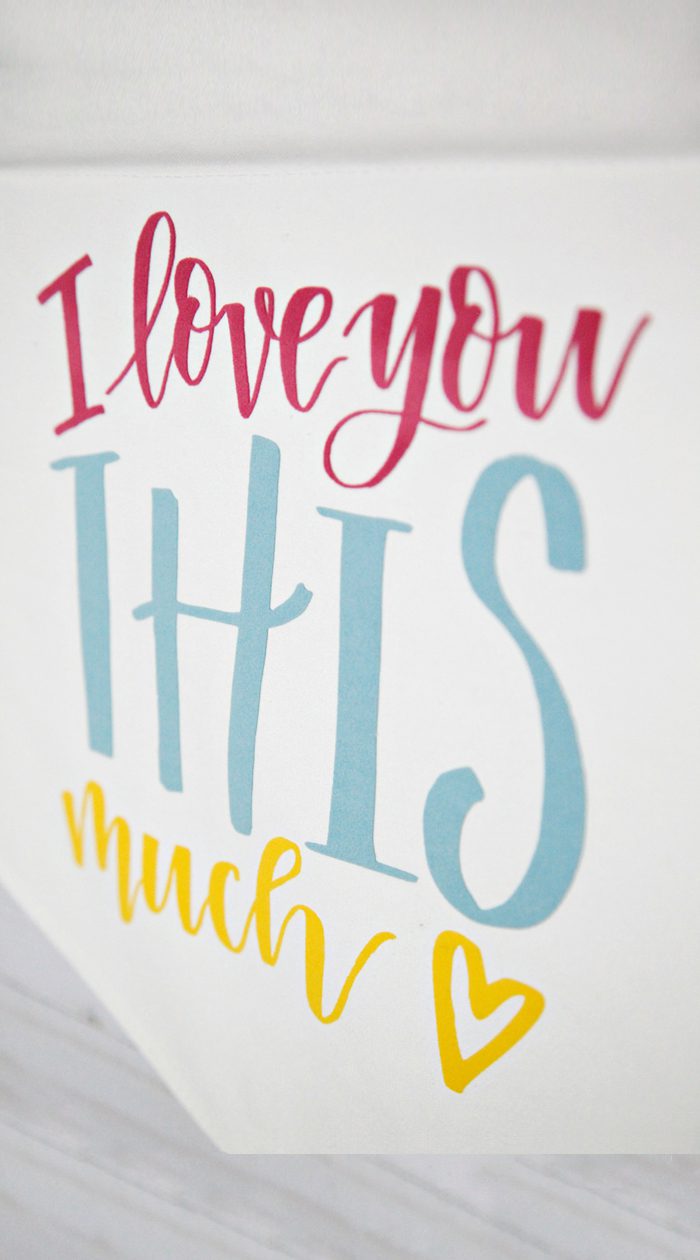

Look how cute! But we’re not done…
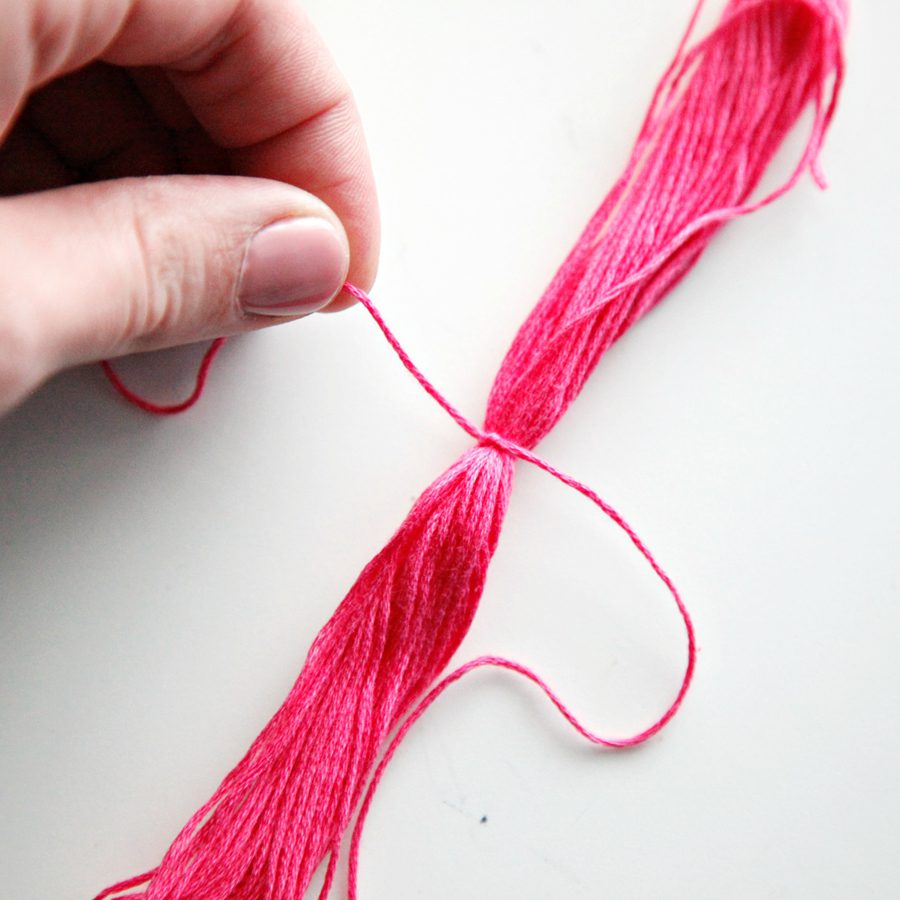

Step 12: Now let’s take this thing to the next level. Make a quick tassel by tying a spool of embroidery floss in the middle with a long string.
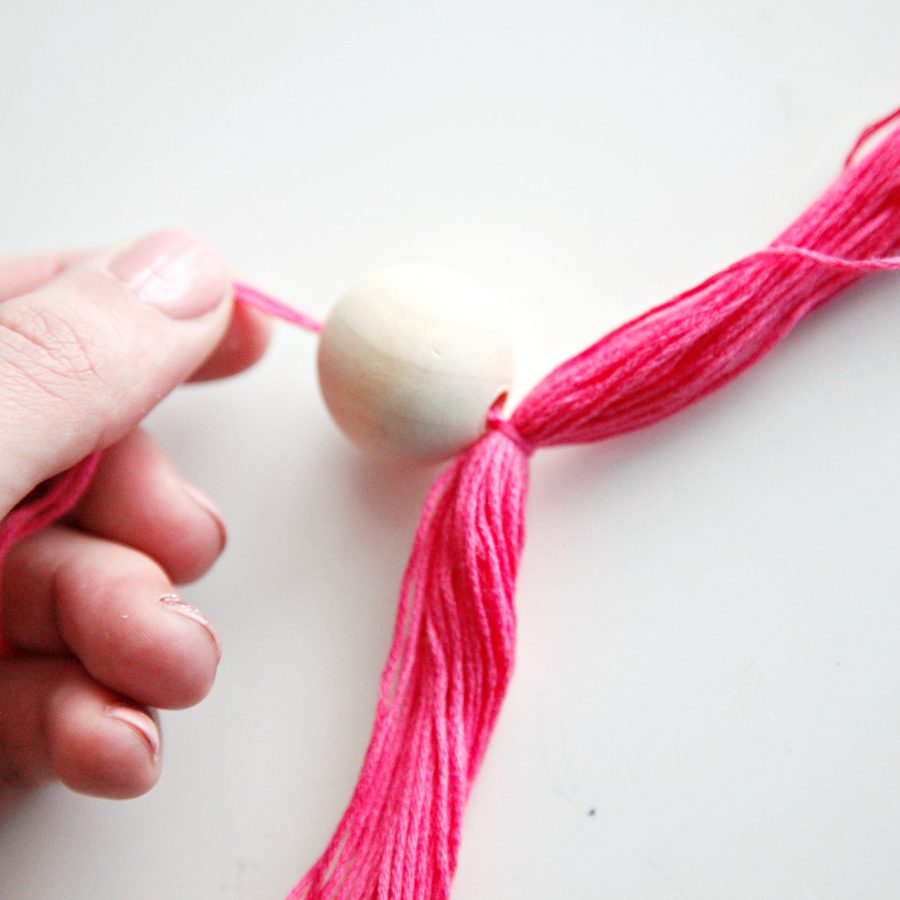

Step 13: Thread the string that you just used to tie the floss through a wood bead.
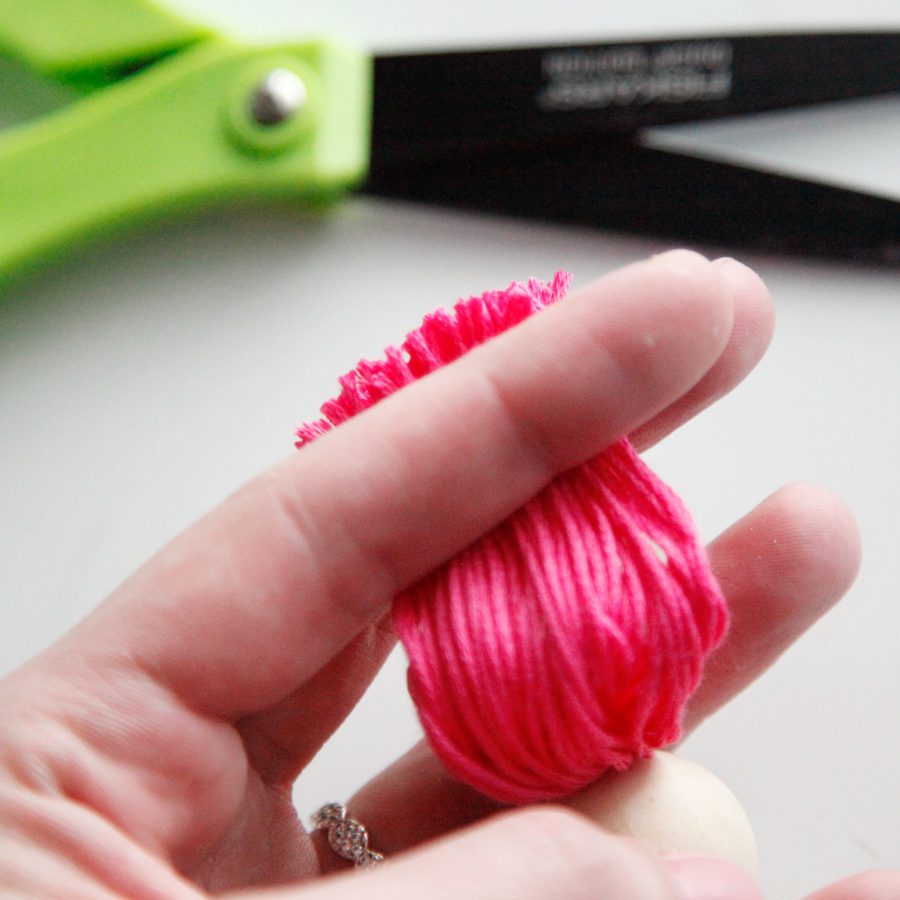

Step 14: Fold the floss down so it resembles a tassel. Then cut the bottom to disconnect the threads and make them even.
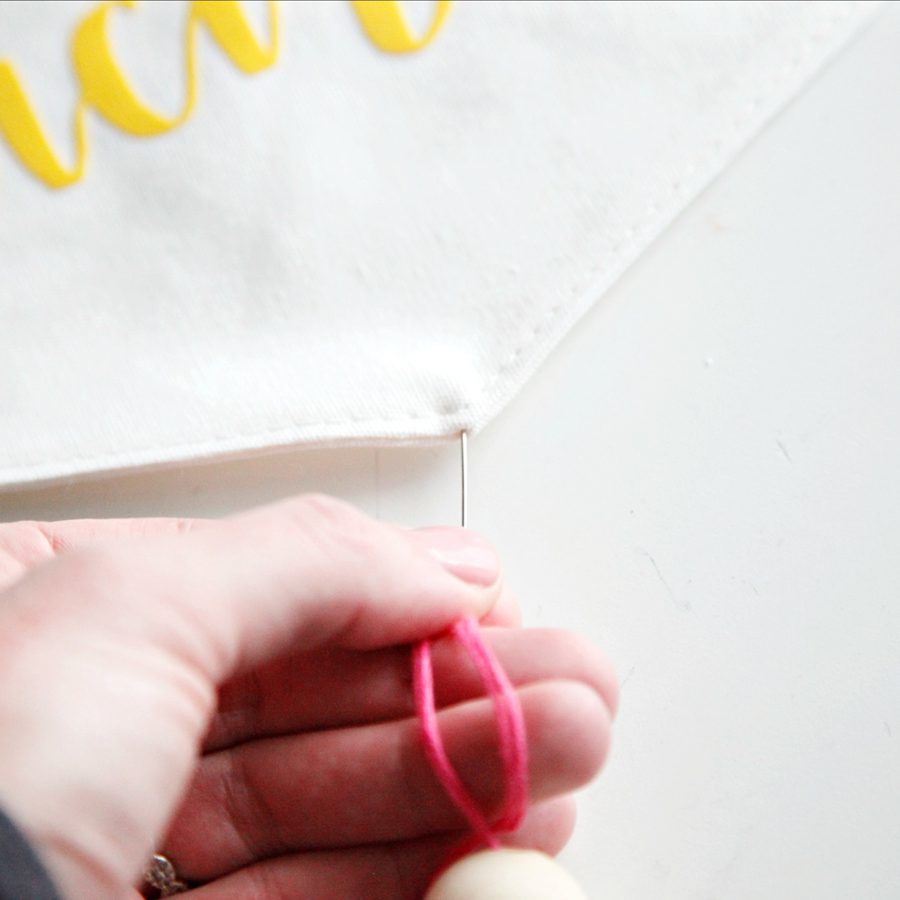

Step 15: Thread the long string through a needle and stitch it through the bottom of the banner.
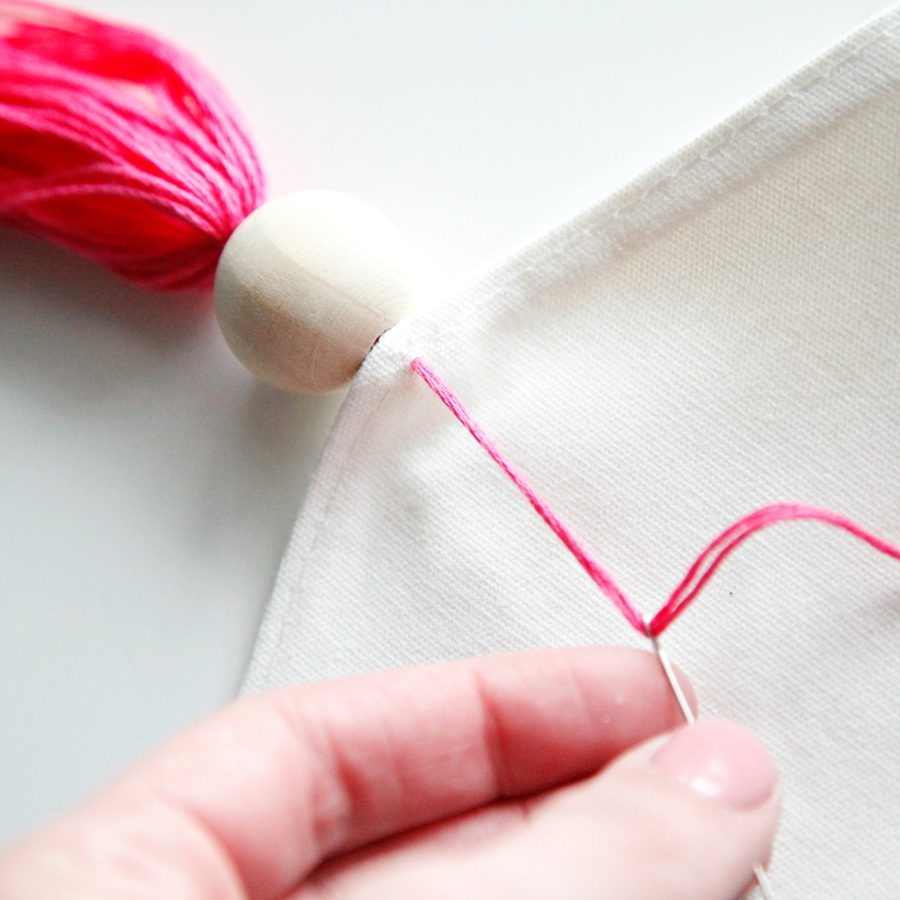

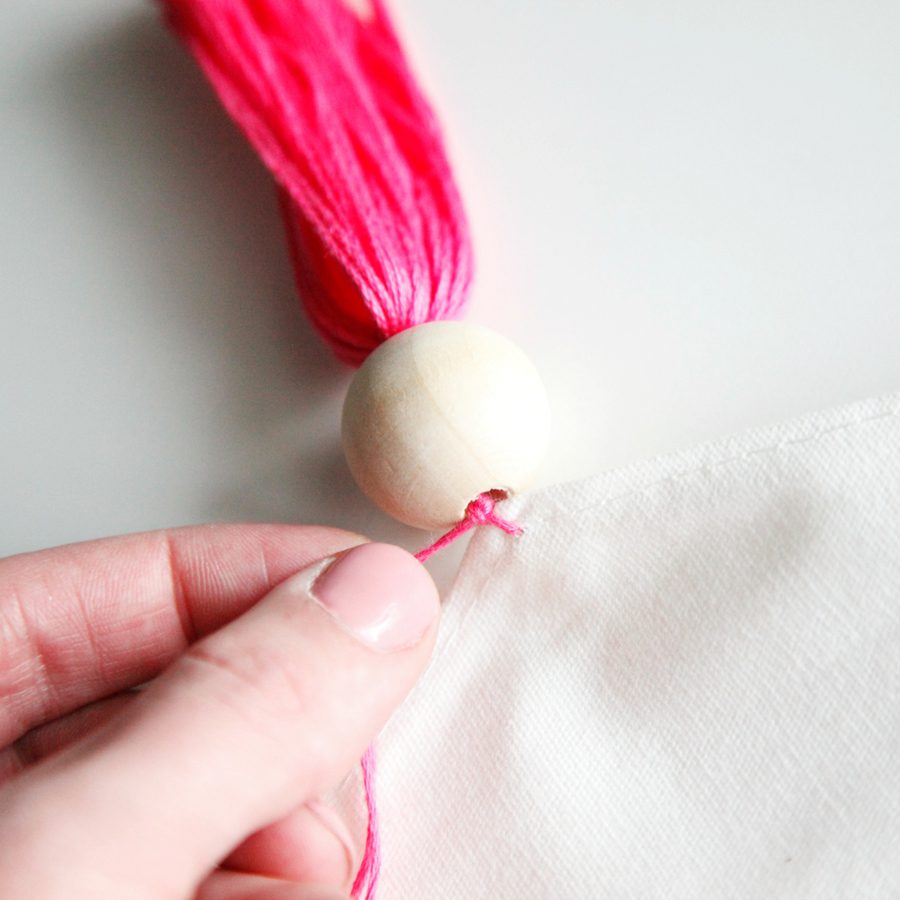
Step 16: Secure the tassel by tying a knot with the string.







Check out these other fun Valentine’s Day project tutorials!
