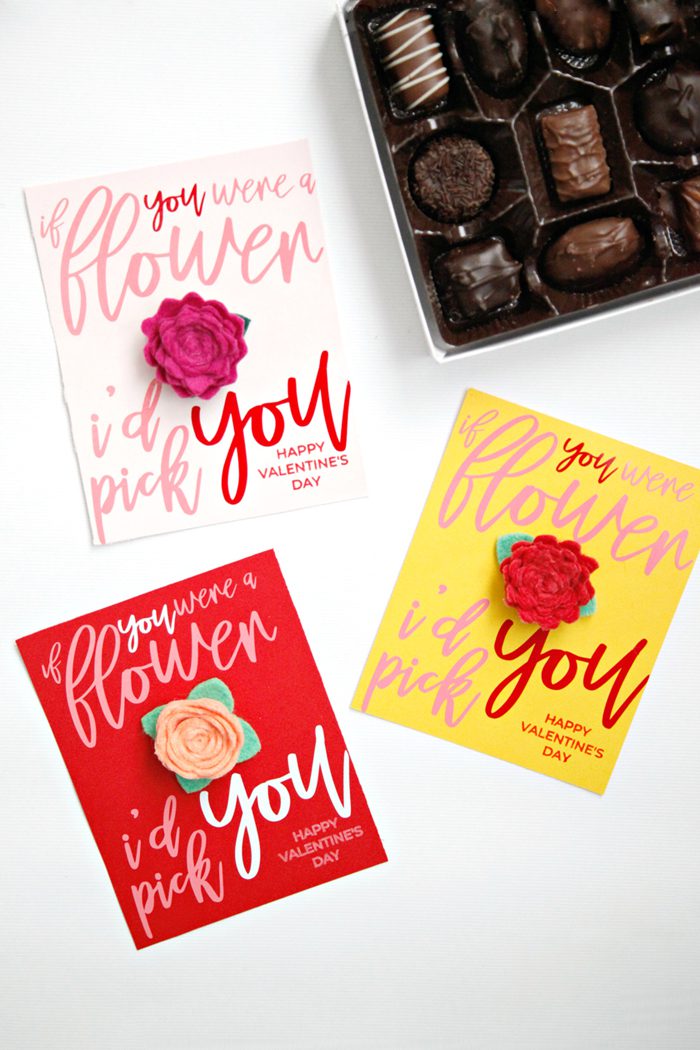
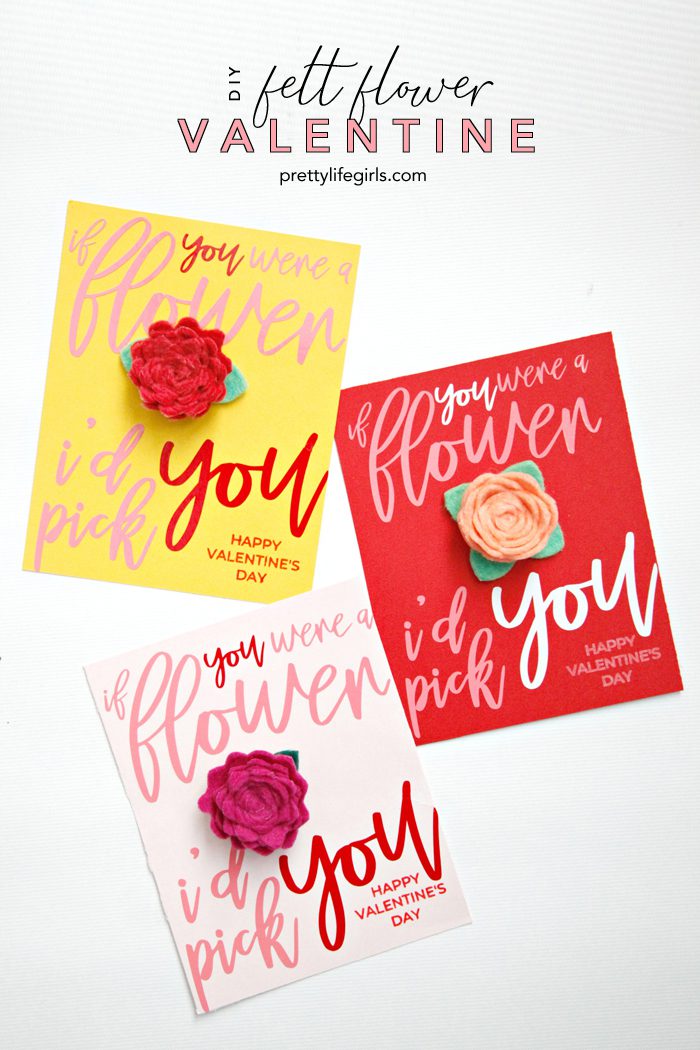
I’m so excited to share today’s two-part DIY Felt Flower Valentine project with you. Follow along as I show you how to cut felt with your Silhouette CAMEO to make felt flower pins. Then, I’m going to show you how to apply Adhesive Vinyl on cardstock to make a Valentine card to pair with the pin. These cards are perfect for teachers, grandmas, or any other special people in your (or your kid’s) life. Keep reading for the full step by step tutorial!
Supplies needed to make a DIY felt flower Valentine
Silhouette CAMEO 3 or any craft cutting machine
Cutting mat
Weeding hook
Silhouette Sketch Pen
Deep Cut Blade
Flower Cut Files
Wool Blend Felt
Heat N’ Bond
Tie tacks/pins
Glue Gun
Cardstock
Adhesive Vinyl
Transfer Tape

How to make a DIY felt flower Valentine
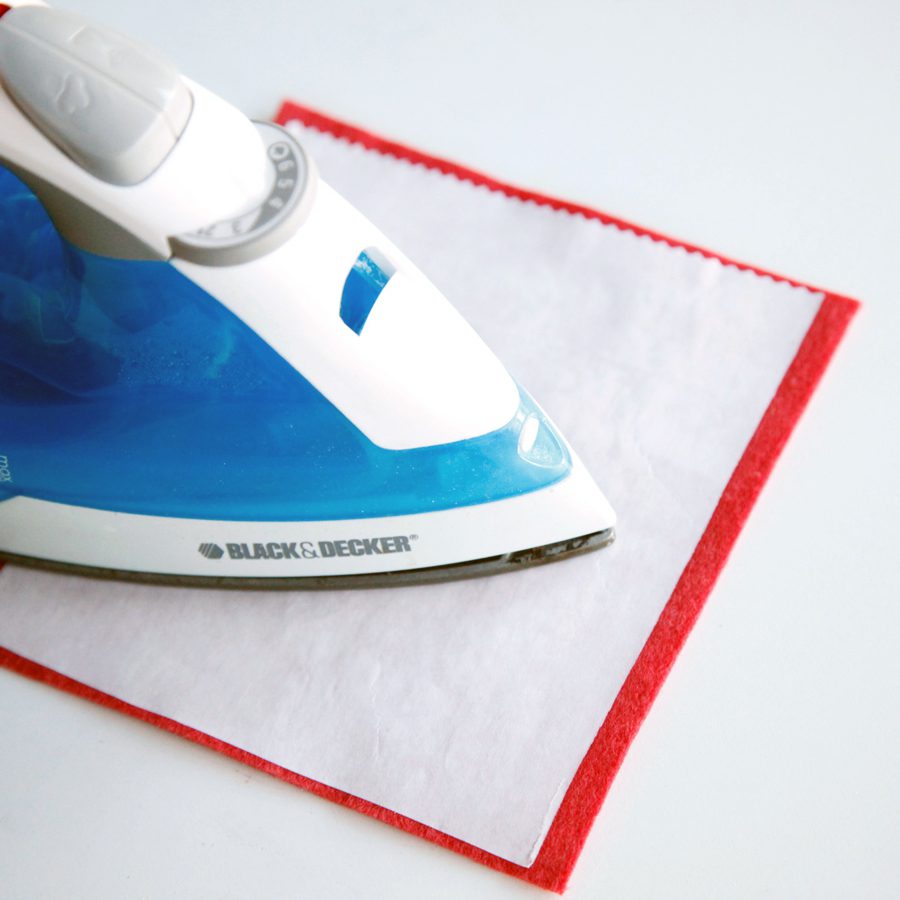
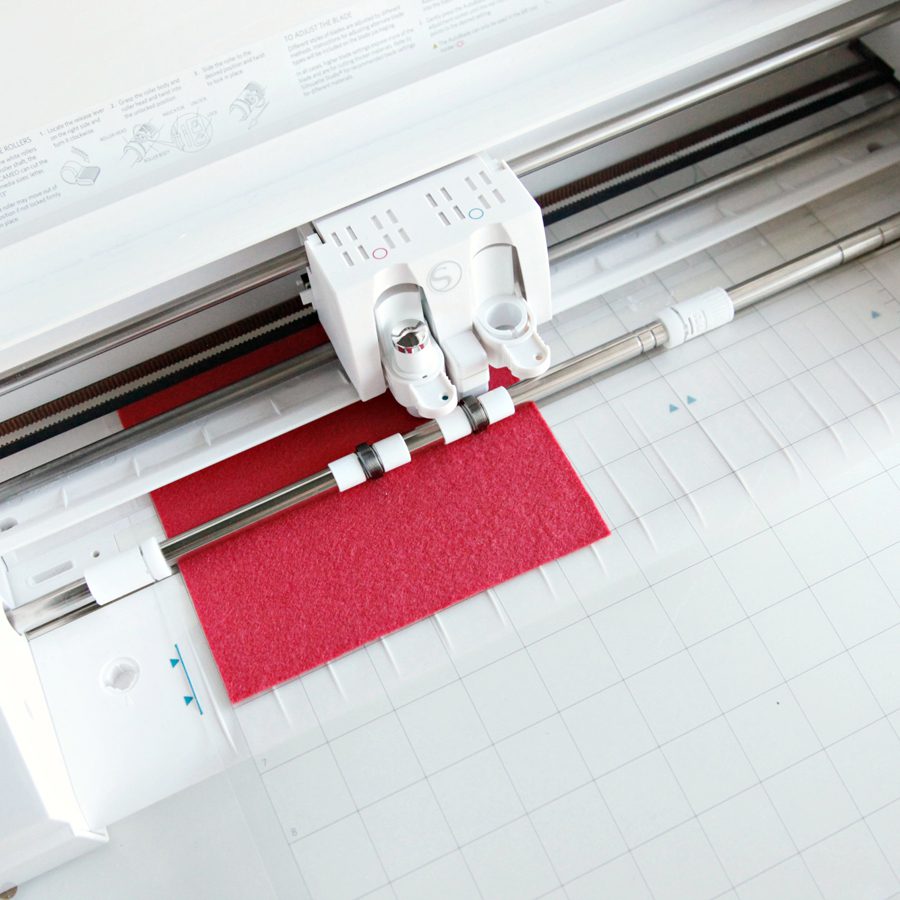
Step 1: Cut the Heat N’ Bond slightly smaller than your felt. Apply the Heat N’ Bond to the felt following the directions on the package. The Heat N’ Bond allows the felt to stay firmly on the mat so it doesn’t shift or slide during cutting. Note: Felt will not cut with the rachet, fabric, or premium blade.
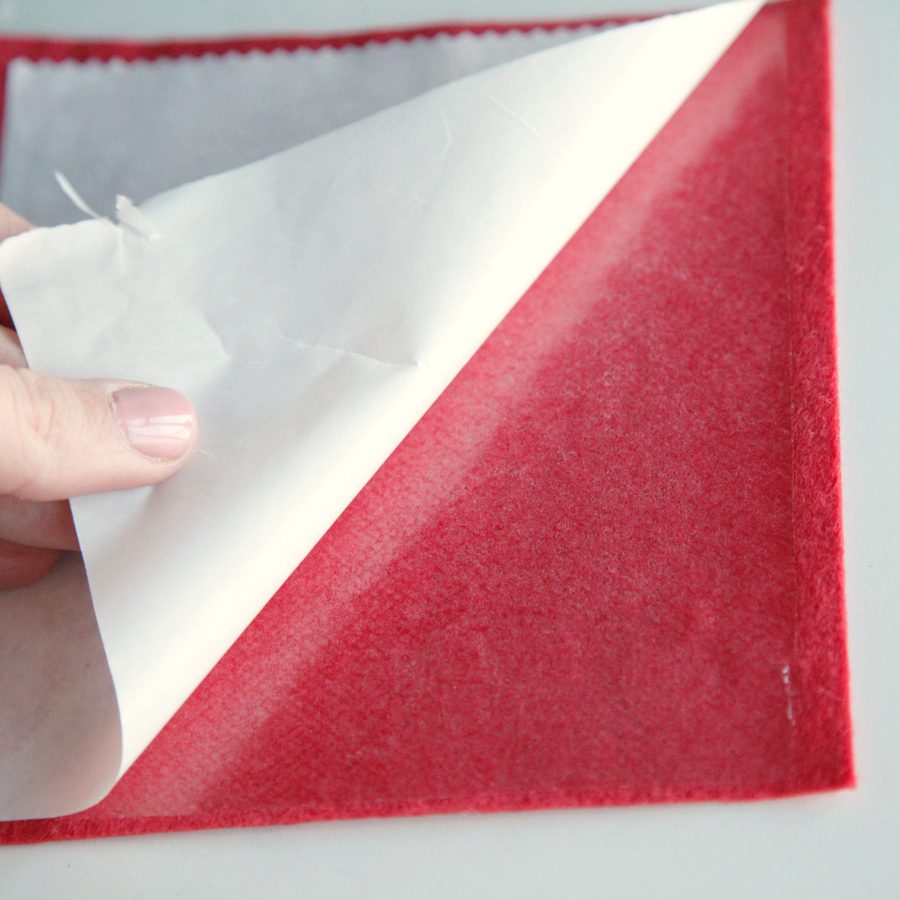
Step 2: Remove the backing from the Heat N’ Bond. Adhere the felt to your cutting mat with the Heat N’ Bond side down.
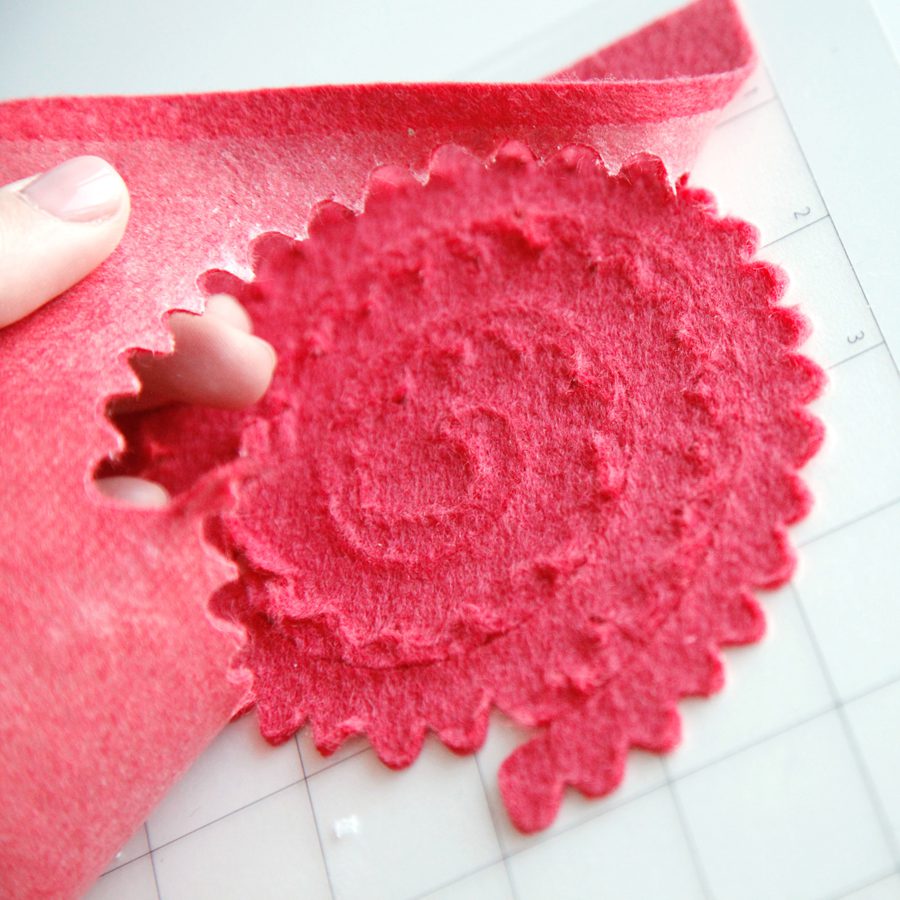
Step 3: Open the Flower cut file in Silhouette Studio and size them to your preference. I sized my flowers to about 4.5 inches and they ended up being about 1.5 inches rolled.
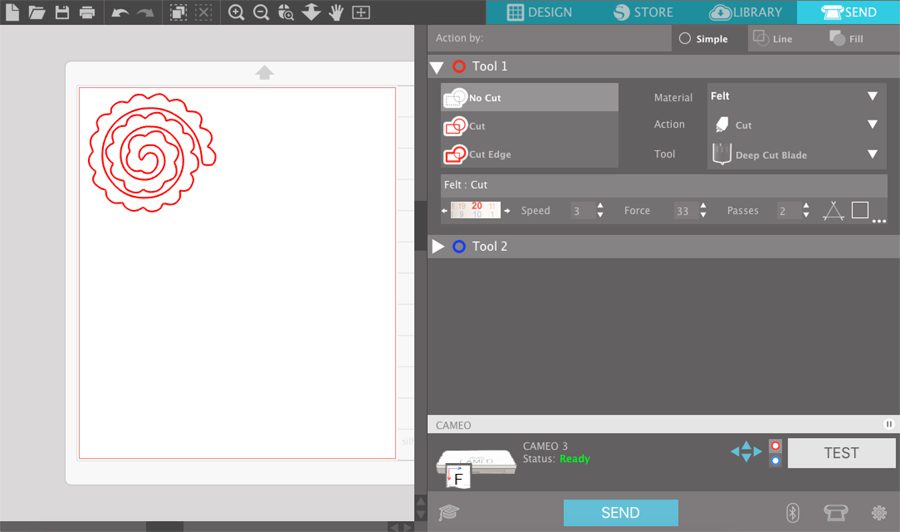
Step 4: Adjust your settings to the following: Blade 20, Speed 3, Force 33, Passes 2. Load your mat with the felt into your machine and send the file to cut.
Step 5: Remove the felt from the mat.
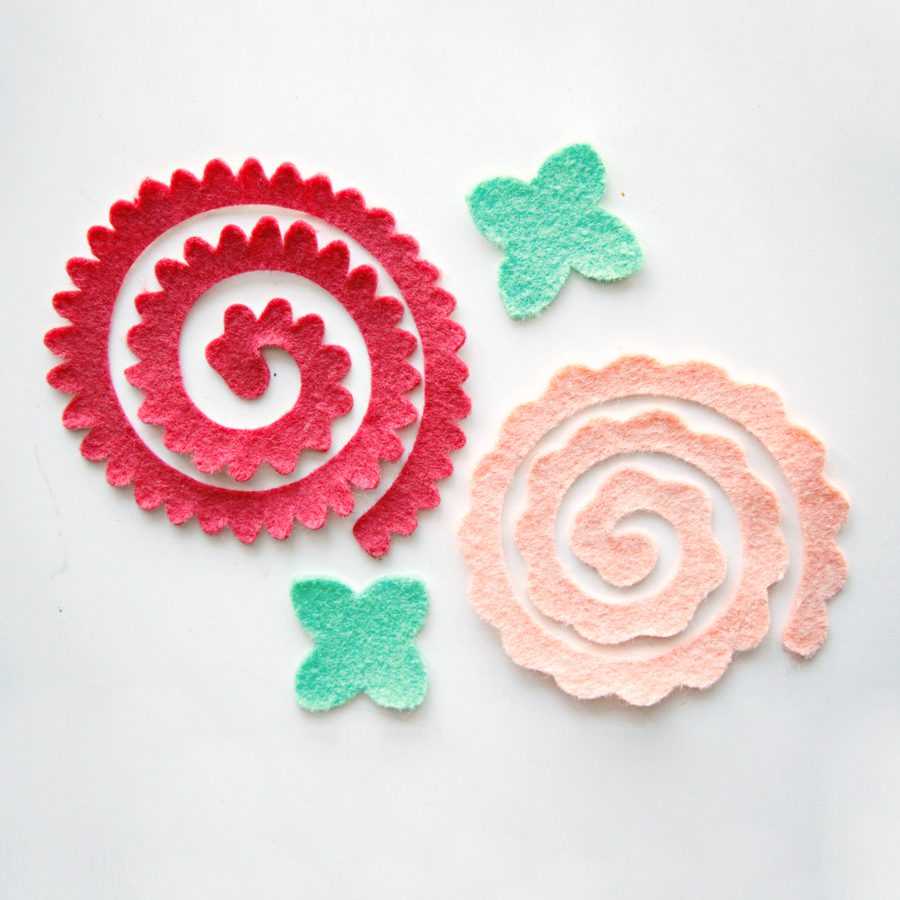
Step 6: Repeat the felt cutting process with leaves. Here is a Studio and SVG file you can download. You can also cut them by hand.
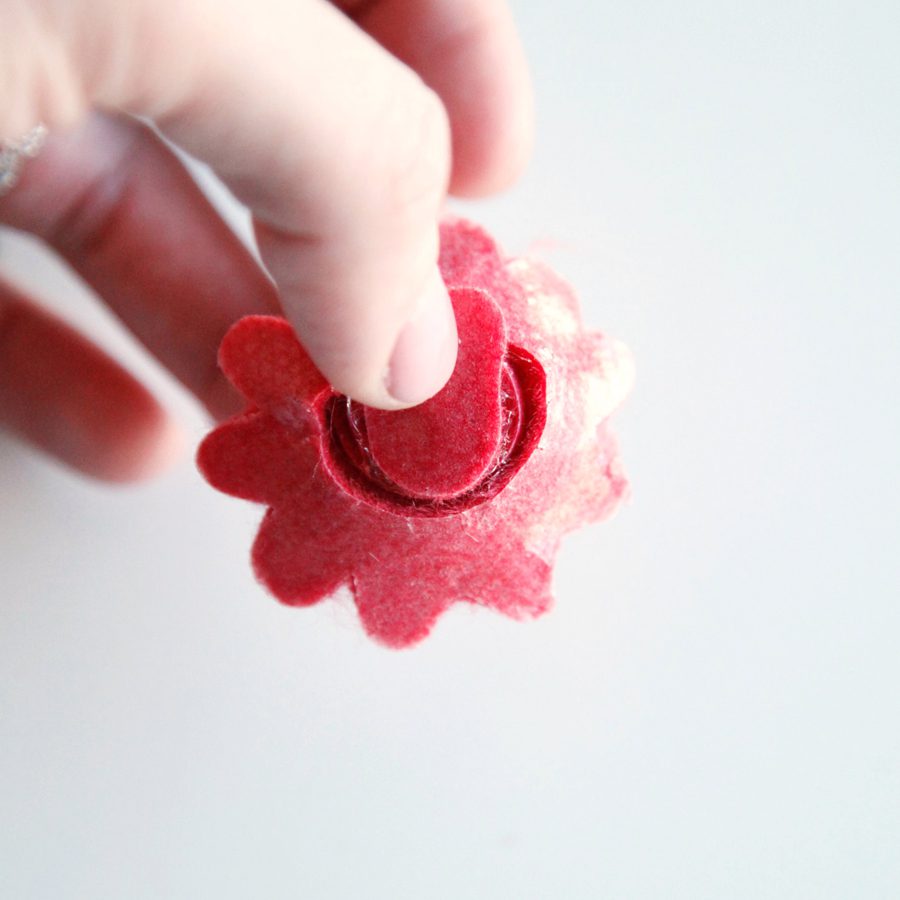
Step 7: Roll your flower starting on the outside of the spiral. If you find yourself having a hard time holding the flower, you can add glue periodically as you roll.
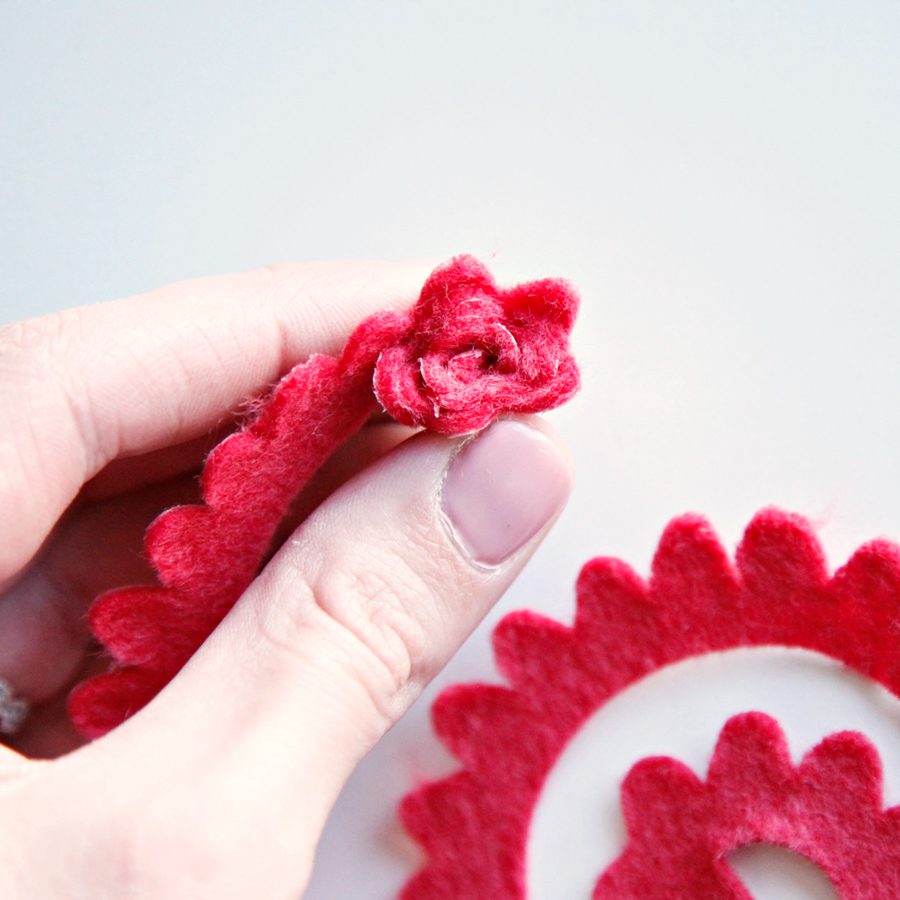
Step 8: When you get to about the last inch of the spiral, add a drop of hot glue to the bottom of the flower, and fold the remaining felt over the glue to hold it all together.
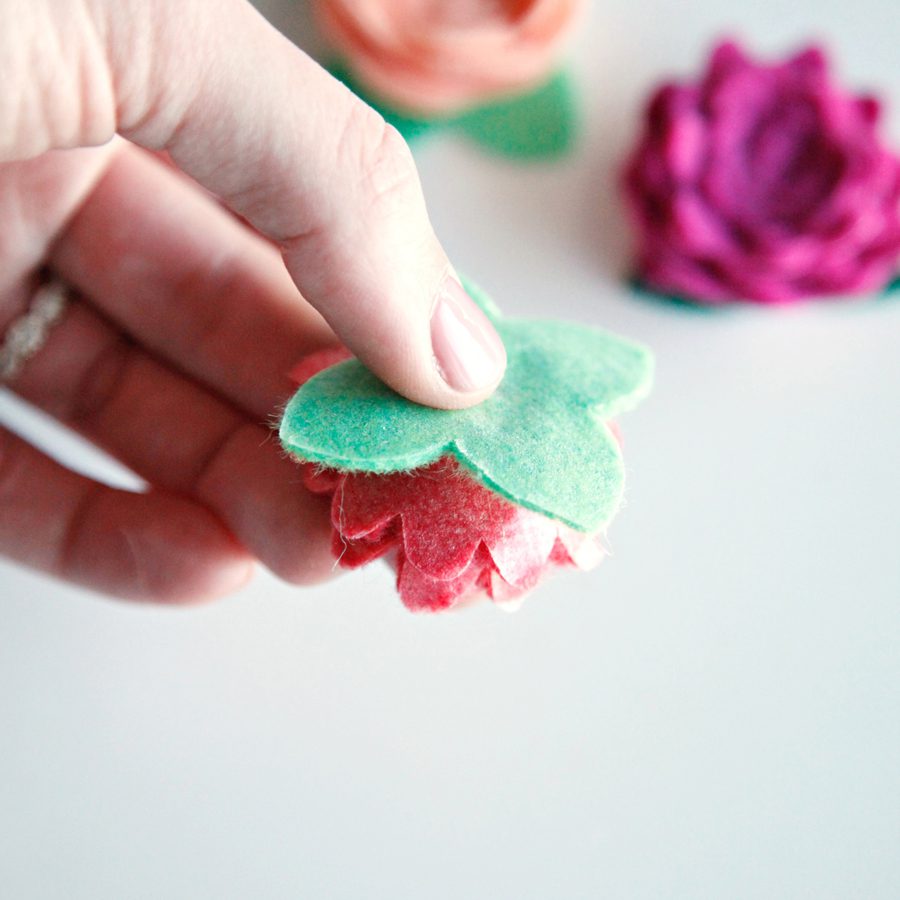
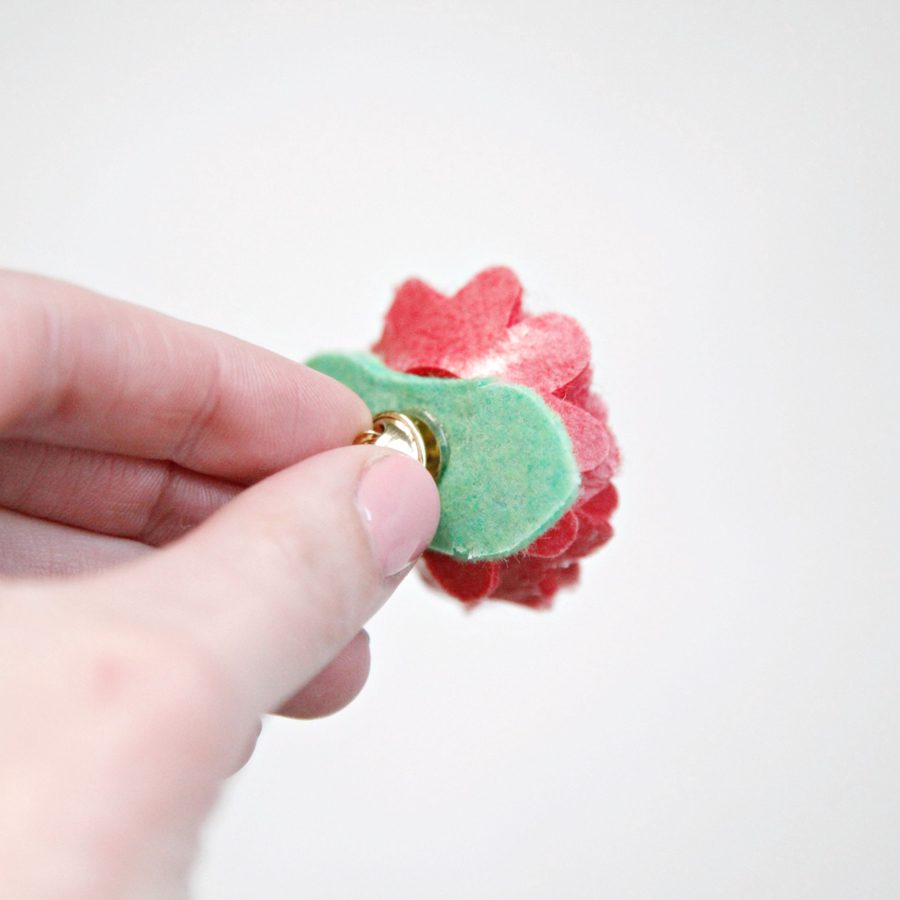
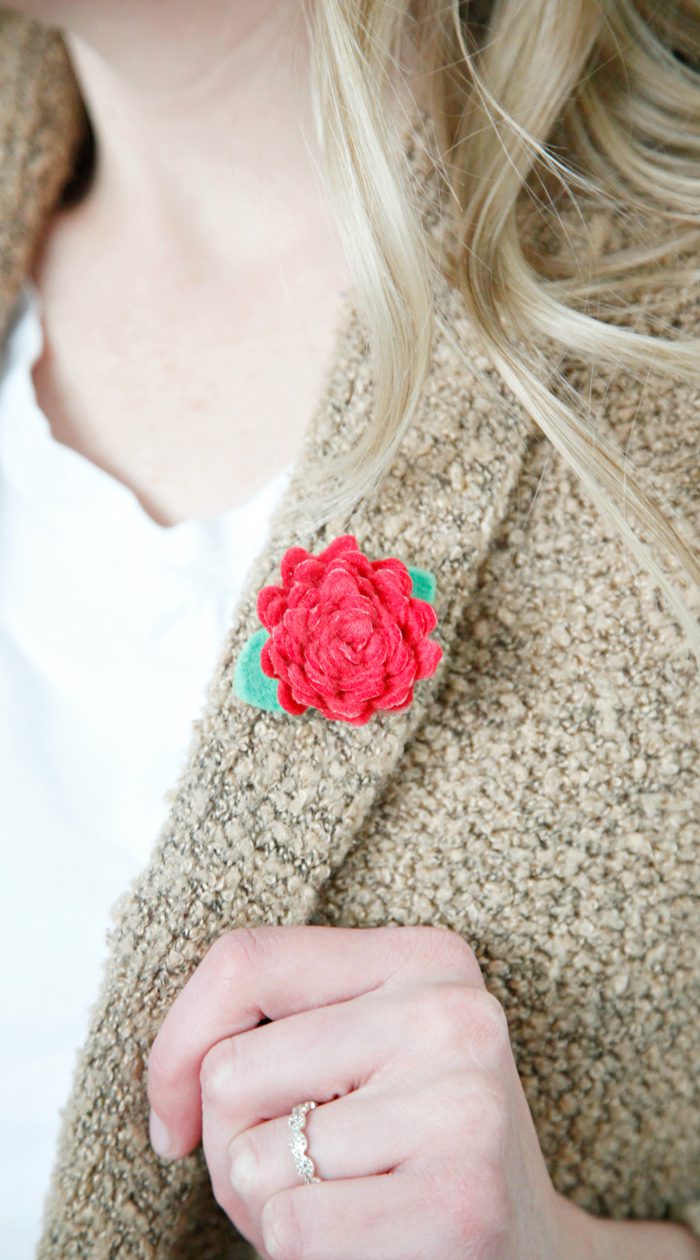
Step 9: Add another drop of hot glue to the bottom of the flower, and attach the leaves. Then, add one more drop of hot glue on the bottom of the leaves and attach the pin.
Step 10: With your flowers made, you’re ready to make your card! Of course, you could make this really simple and just print a card (we even have a printable you can use – get it HERE), but if you’re like me and your printer is perpetually out of ink, then you can make a card with your Silhouette CAMEO! I’ve made it easy by sharing this cut file (also at the bottom of this post), which is all set up to cut the Adhesive Vinyl by color, followed by cutting and sketching on cardstock.
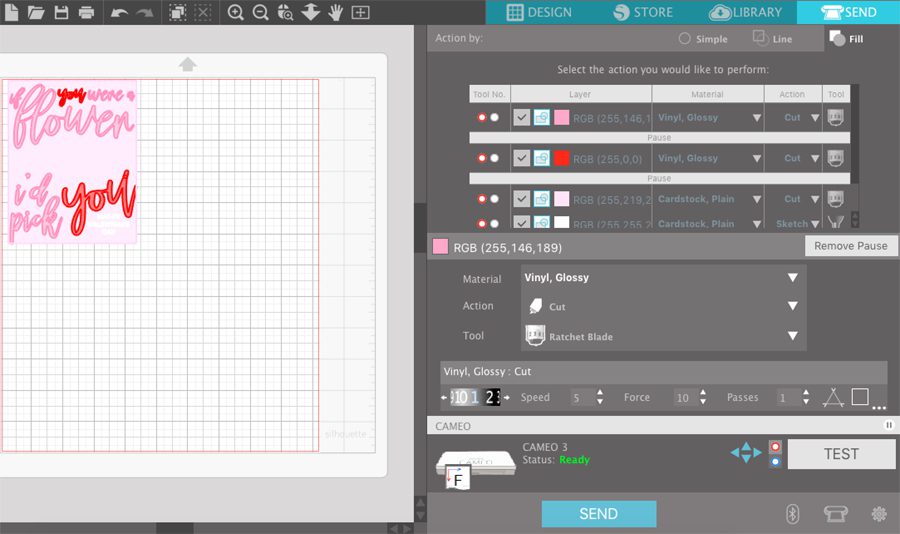
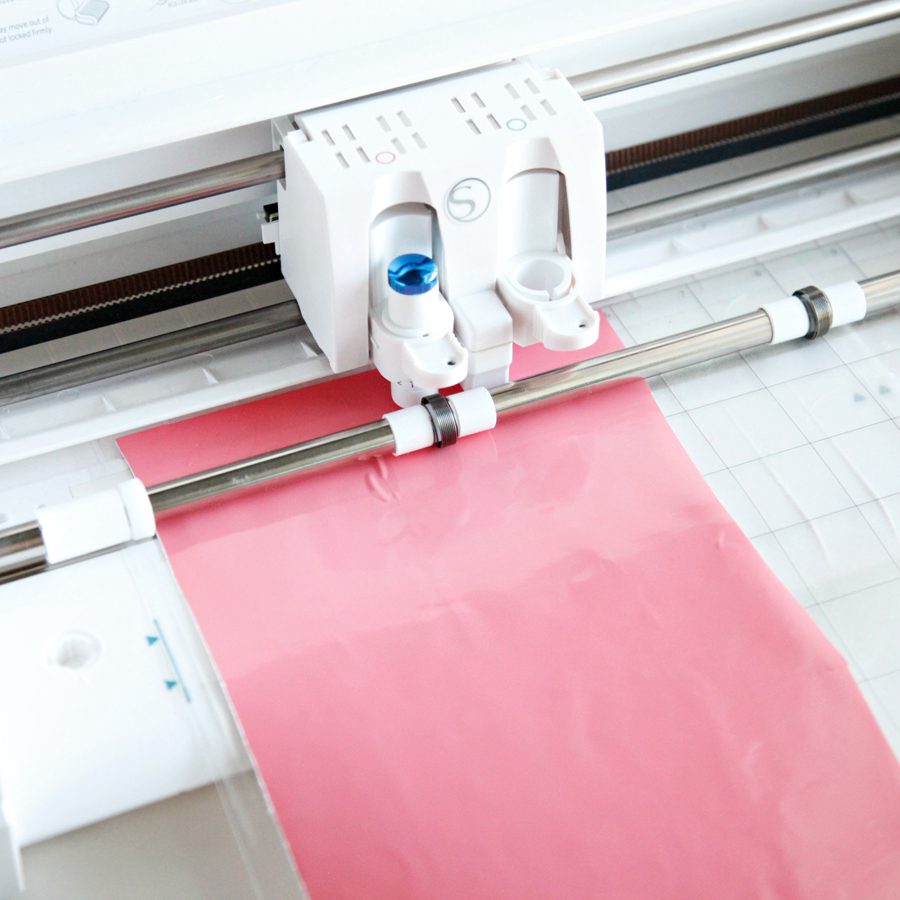
Step 11: Load your Adhesive Vinyl and mat into the machine. Start by cutting your Adhesive Vinyl and follow the prompts for switching materials.
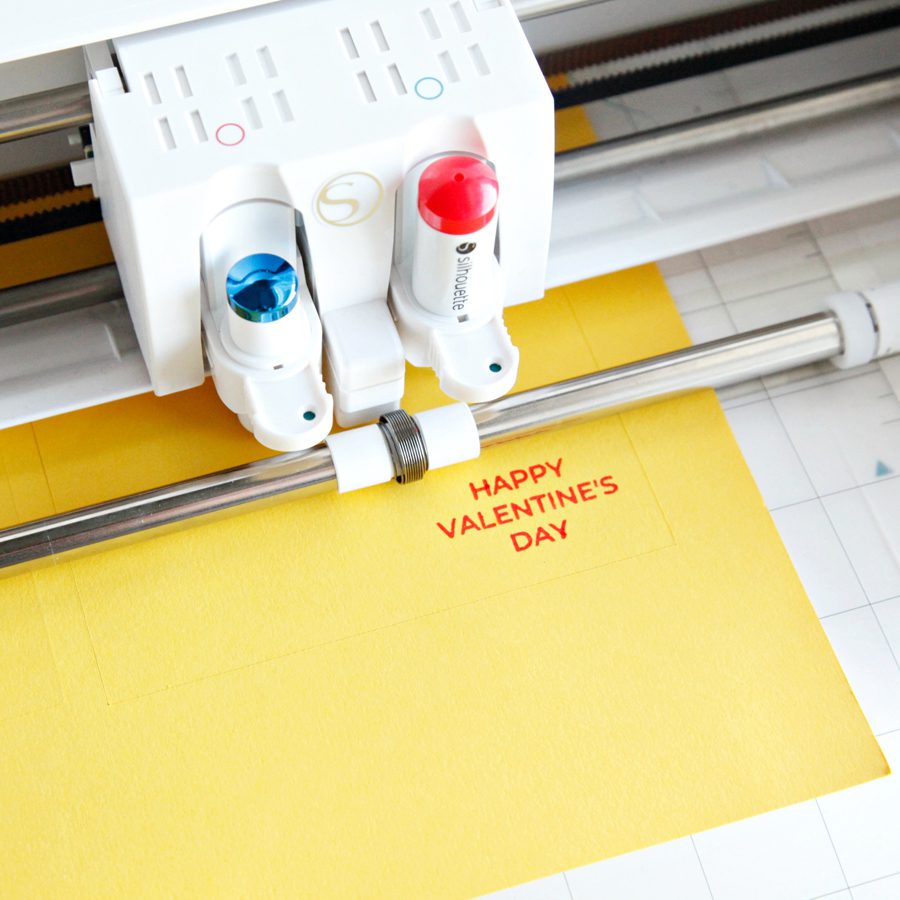
Step 12: When prompted, switch the material to the cardstock, and add your sketch pen to your machine. Click Resume.
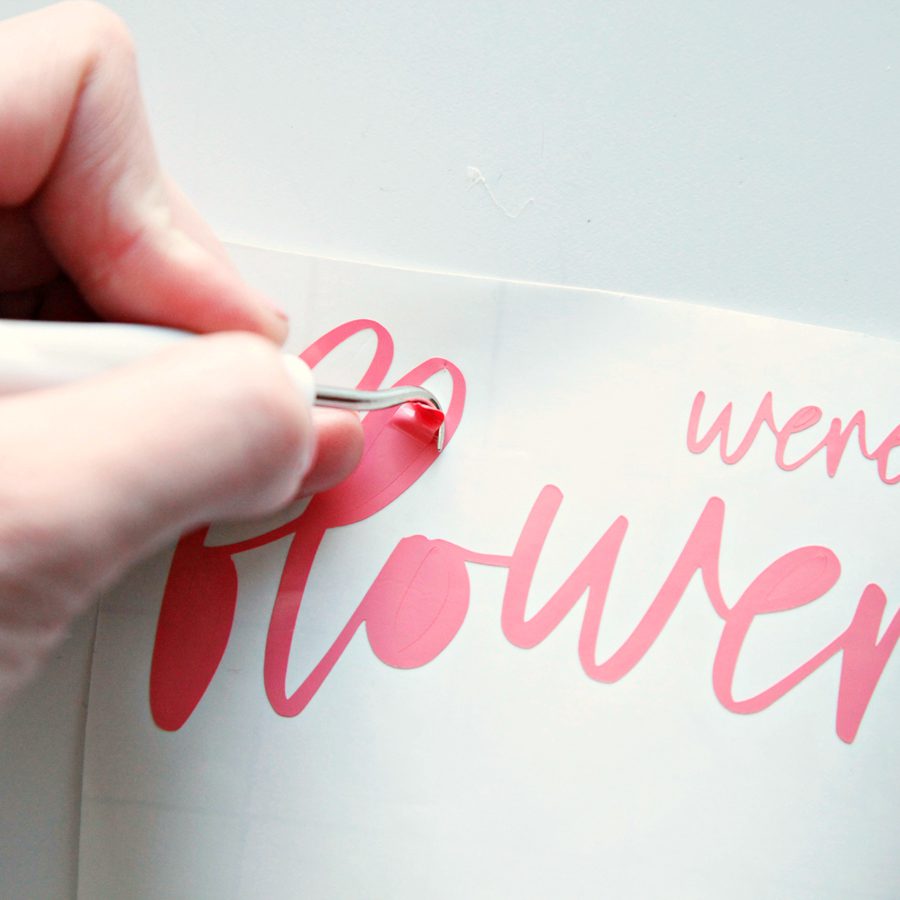
Step 13: Weed the vinyl using your weeding hook.
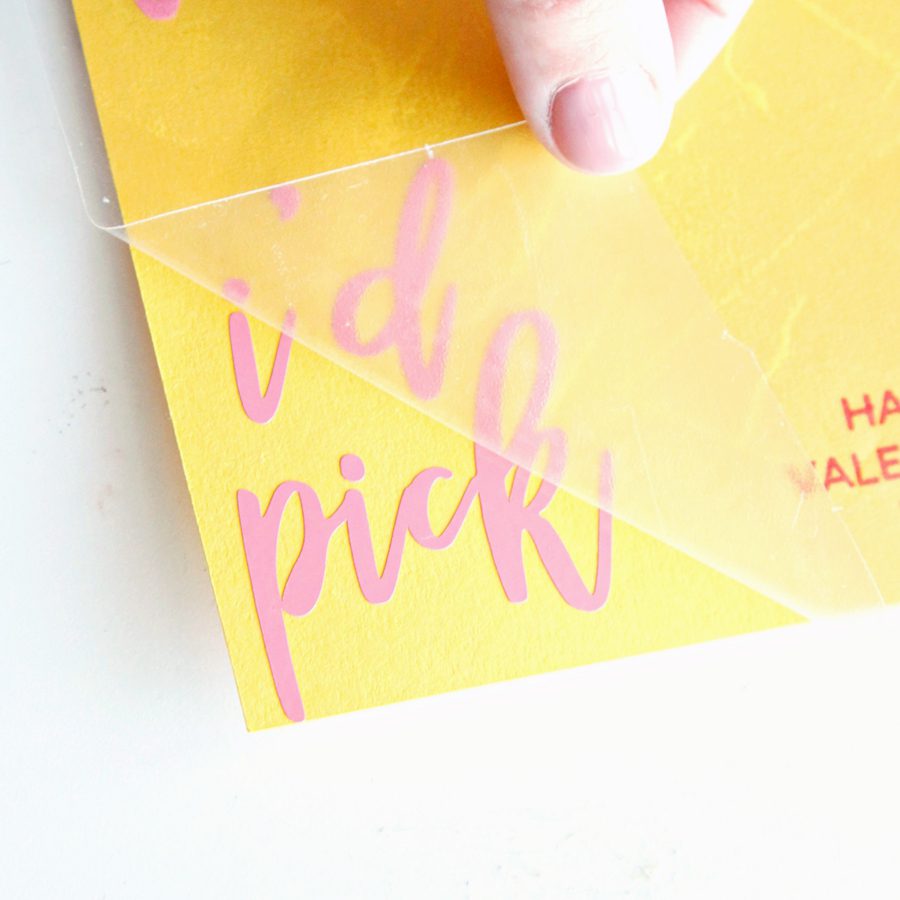
Step 14: Use transfer tape to move the Adhesive Vinyl from the carrier sheet to your cardstock.

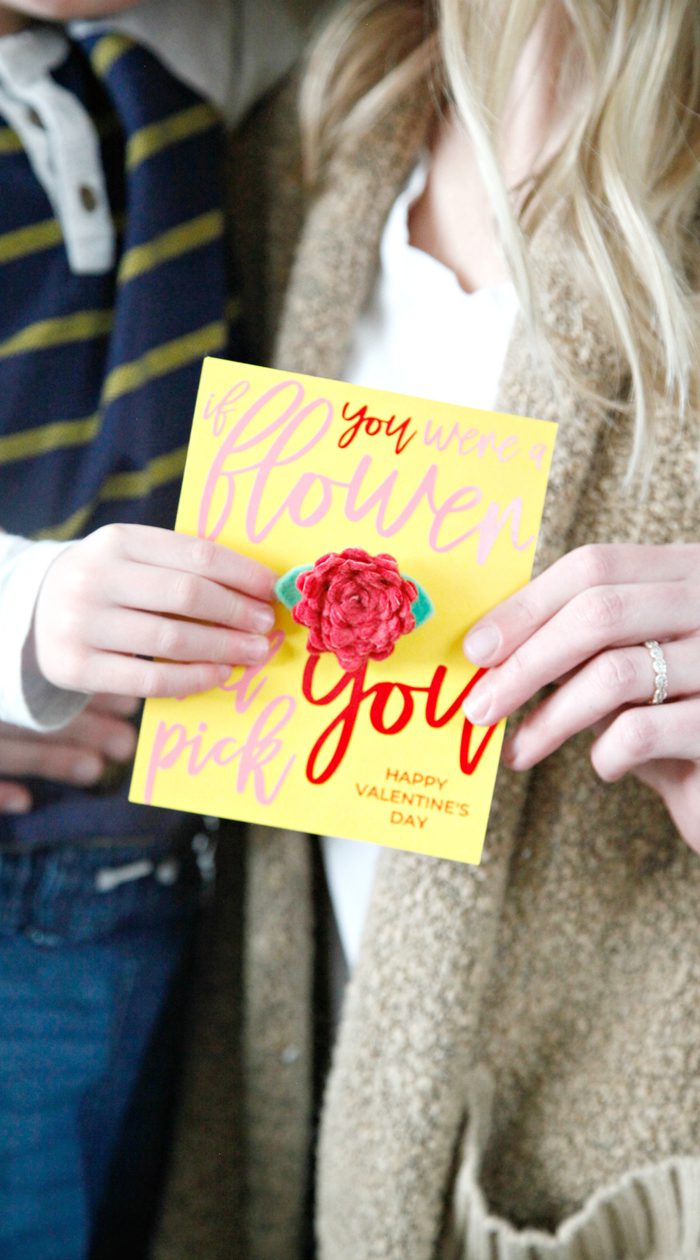
Step 15: Now you can put it all together! Pin your flower in the middle of the card.


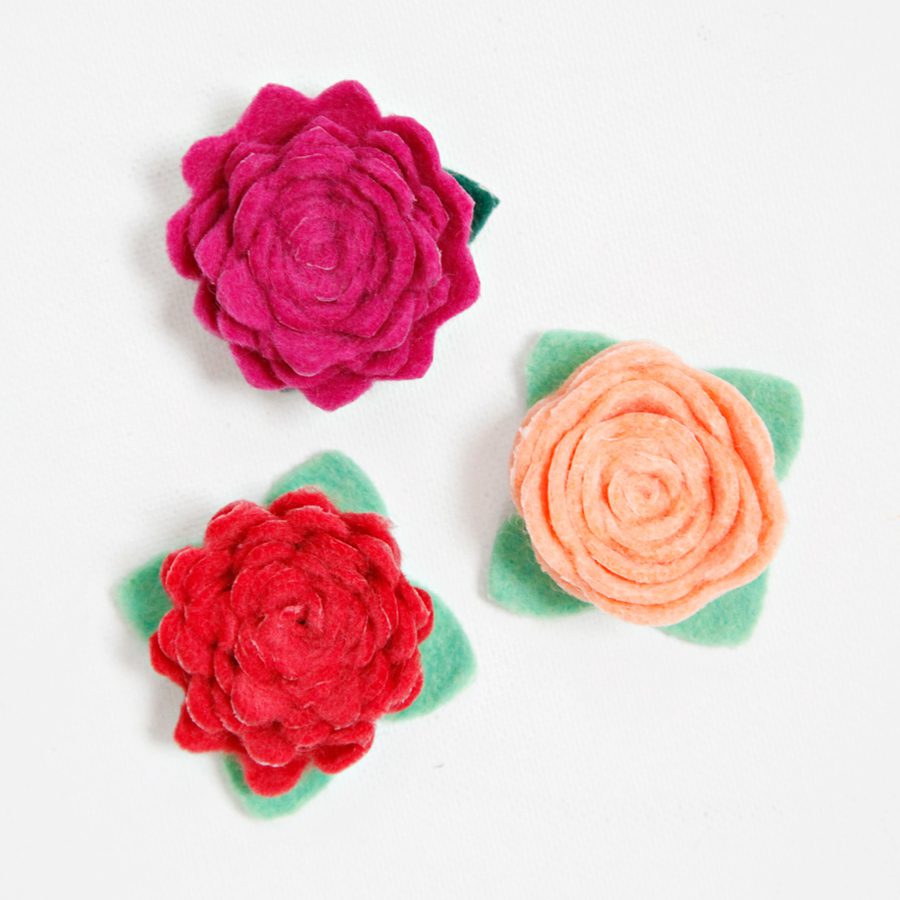
Can you believe the cuteness?! I love how these turned out and that the recipient can remove the flower pin and wear it, pin it to their purse or bag, or display it to remember how loved they are!
Happy crafting!
xo, Sam