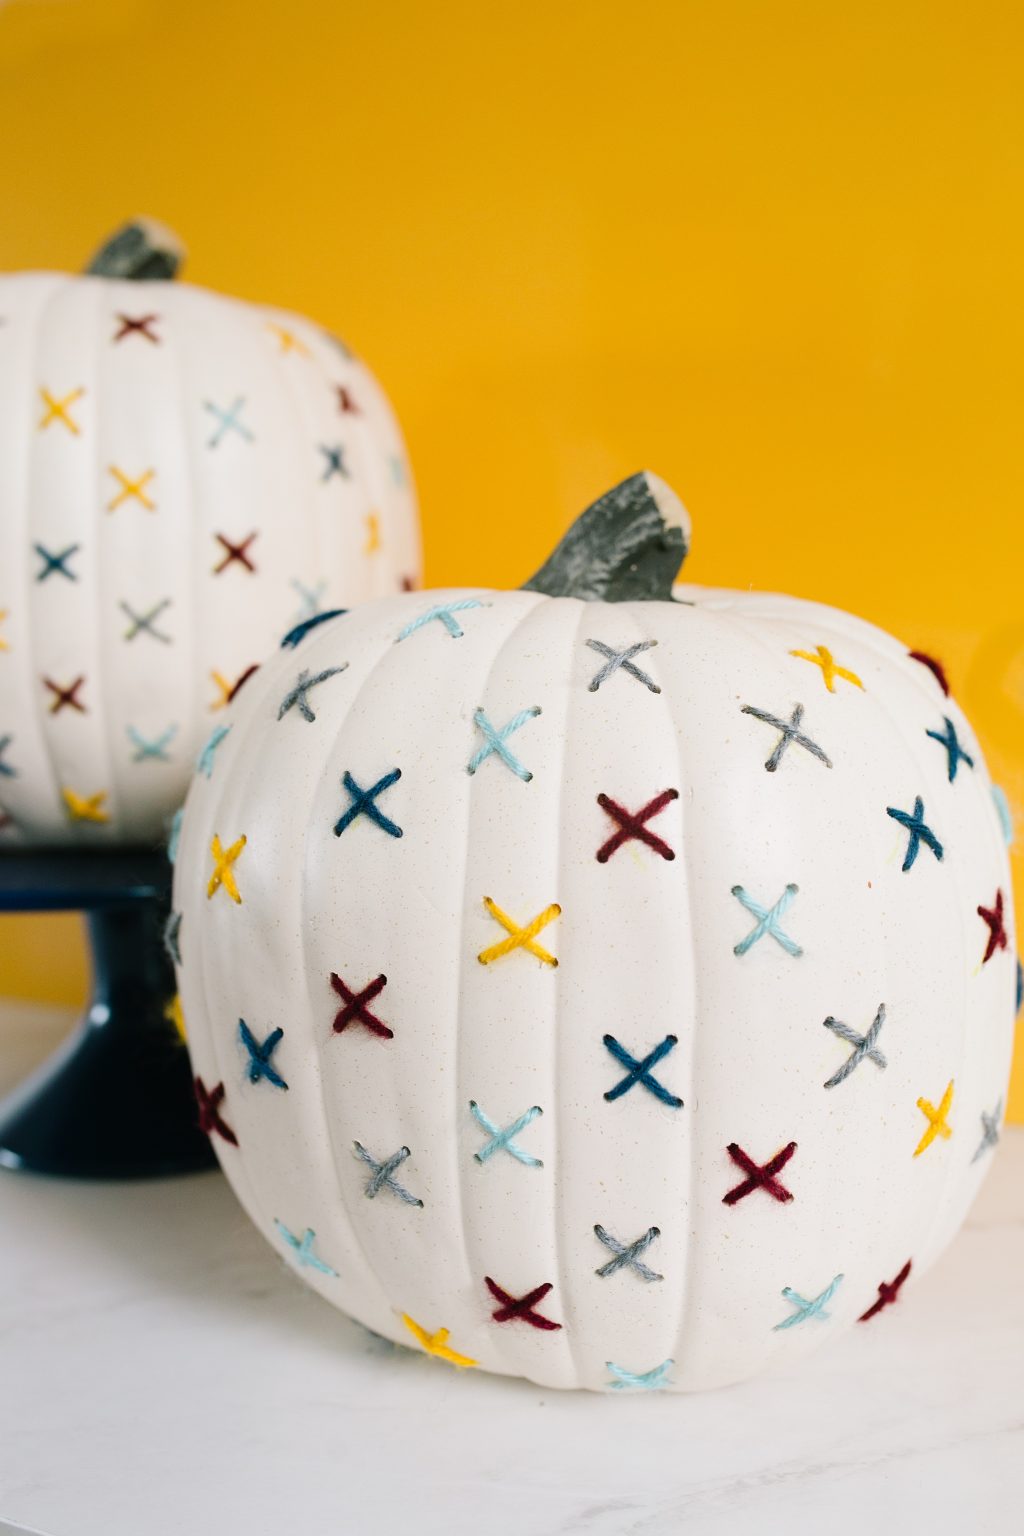
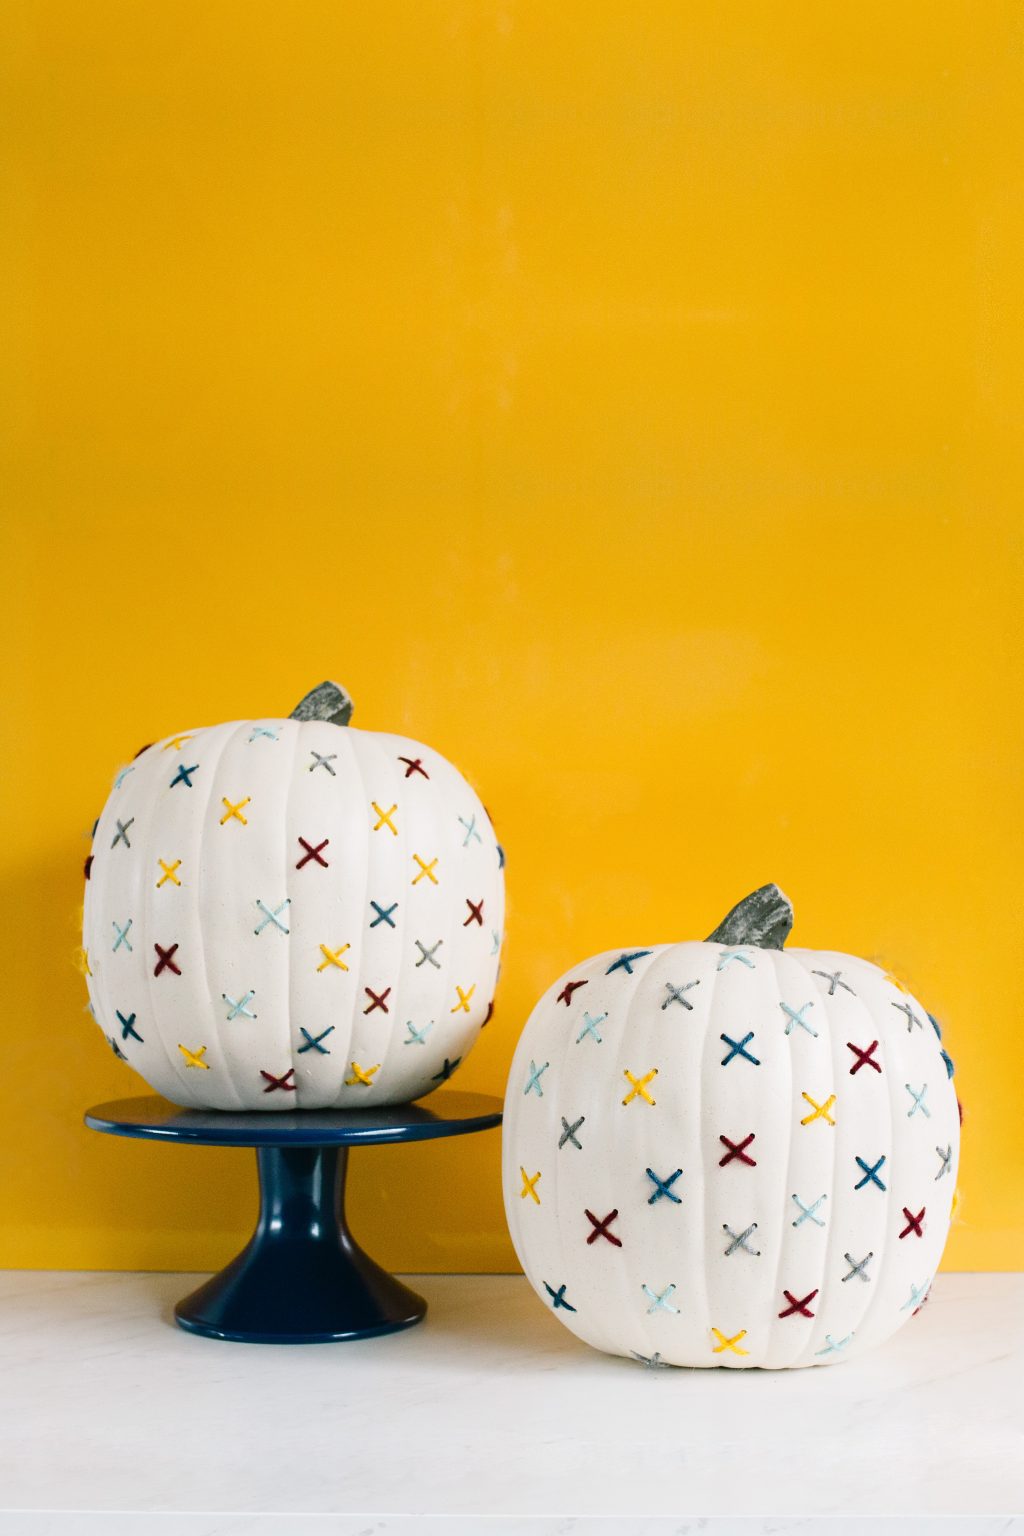
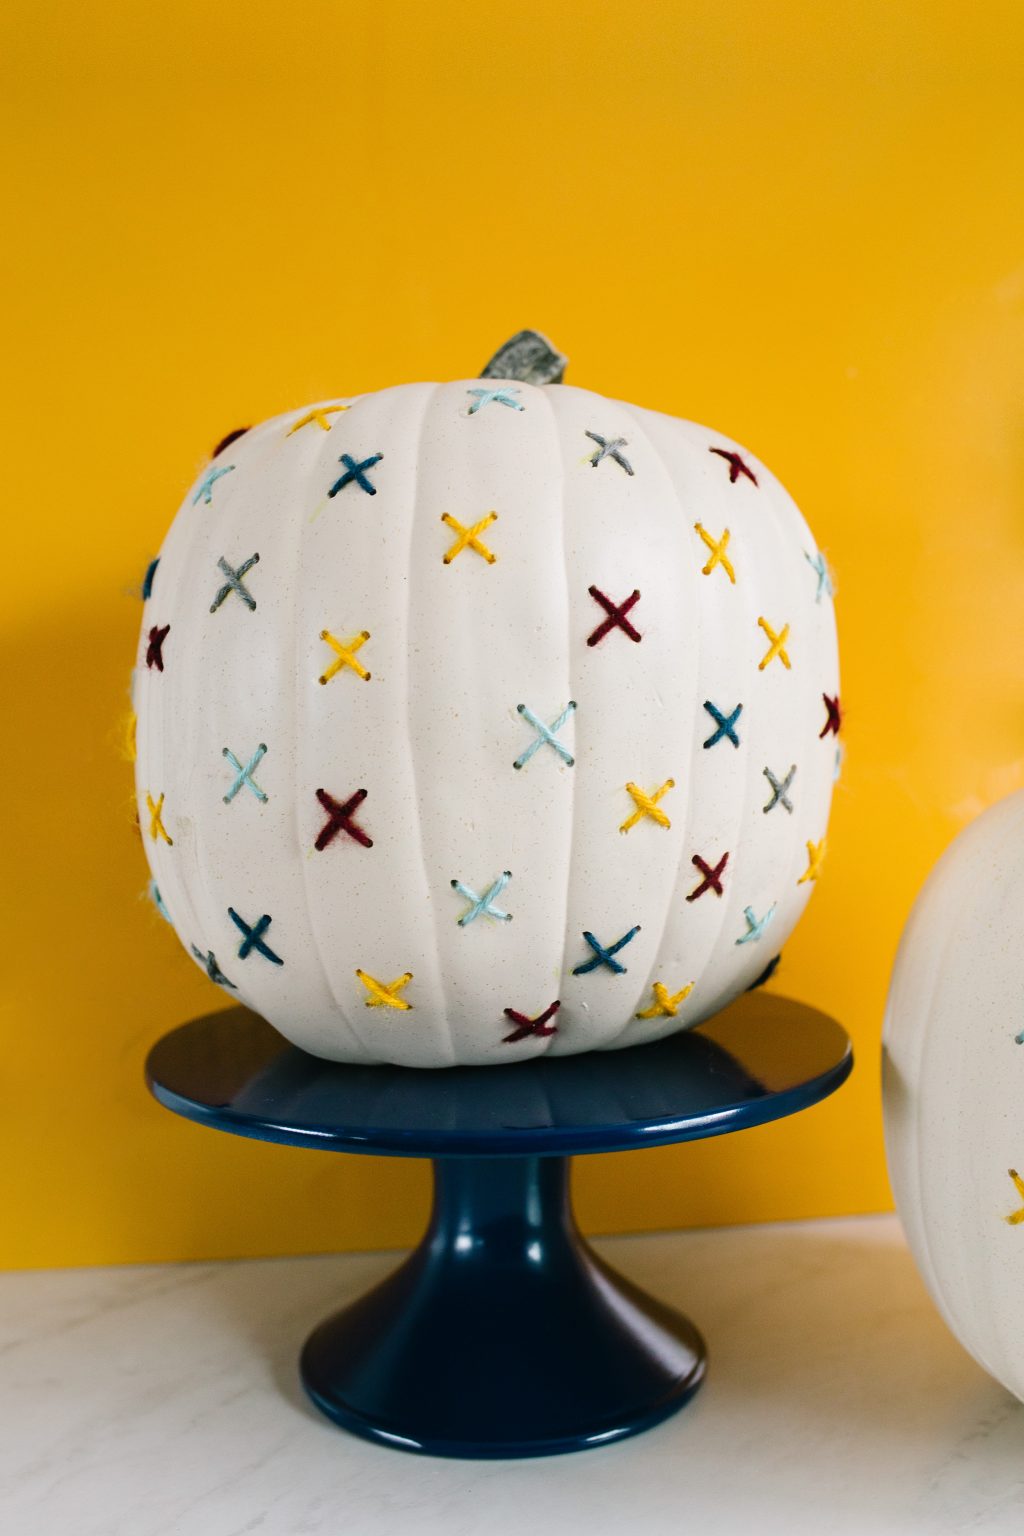
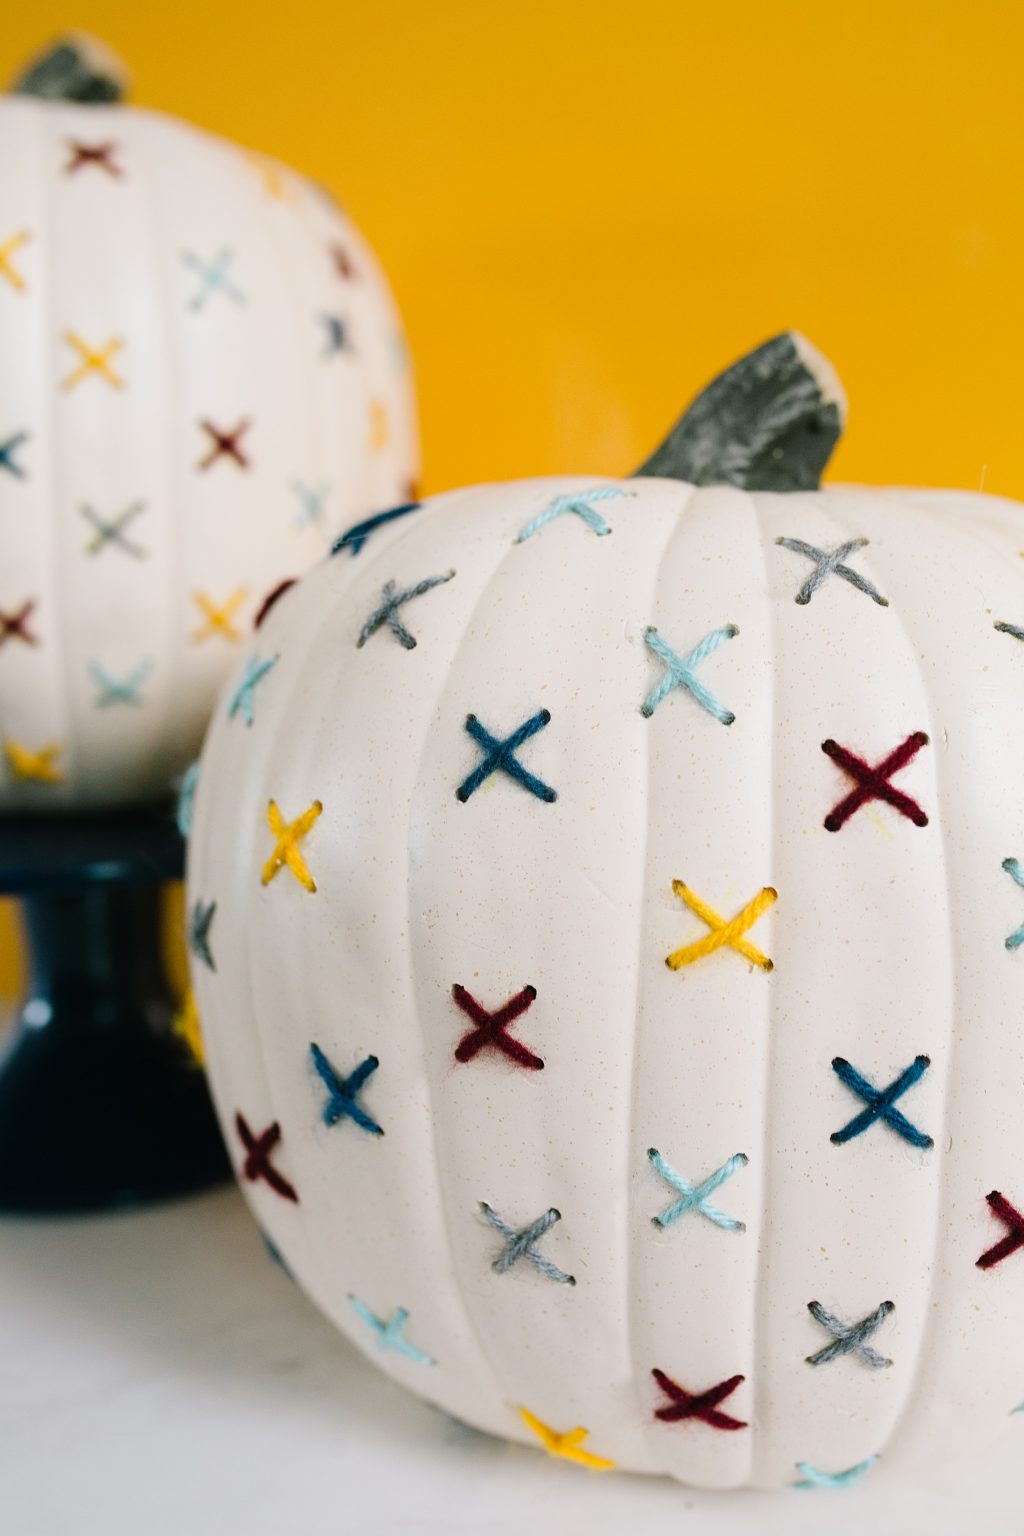
One of our favorite parts of fall is seeing all the fun ways people decorate pumpkins. Yes, there is always the traditional carving and painting, but we’ve also seen marbled pumpkins, confetti pumpkins, Mod Podge pumpkins, monogrammed pumpkins, drilled pumpkins, and on and on. As lovers of cross stitch crafts, we were totally smitten with the genius Cross-Stitch Pumpkins that Jennifer at the Craft Patch came up with. And we just couldn’t resist making our own. Keep reading to see how our DIY stitched foam pumpkins turned out!
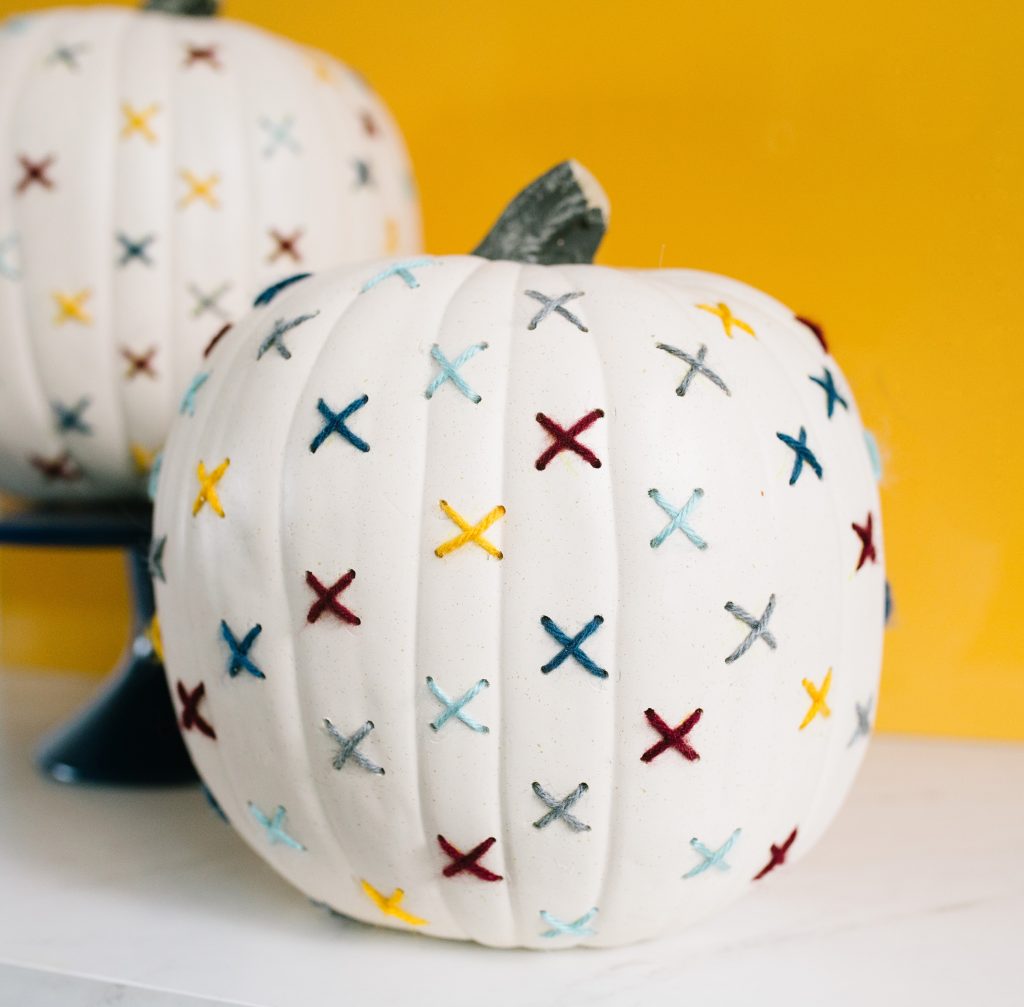

Supplies needed to make your own DIY Stitched Foam Pumpkins
Funkins artificial carvable pumpkins
Yarn
Large embroidery needle
Drill
Knife


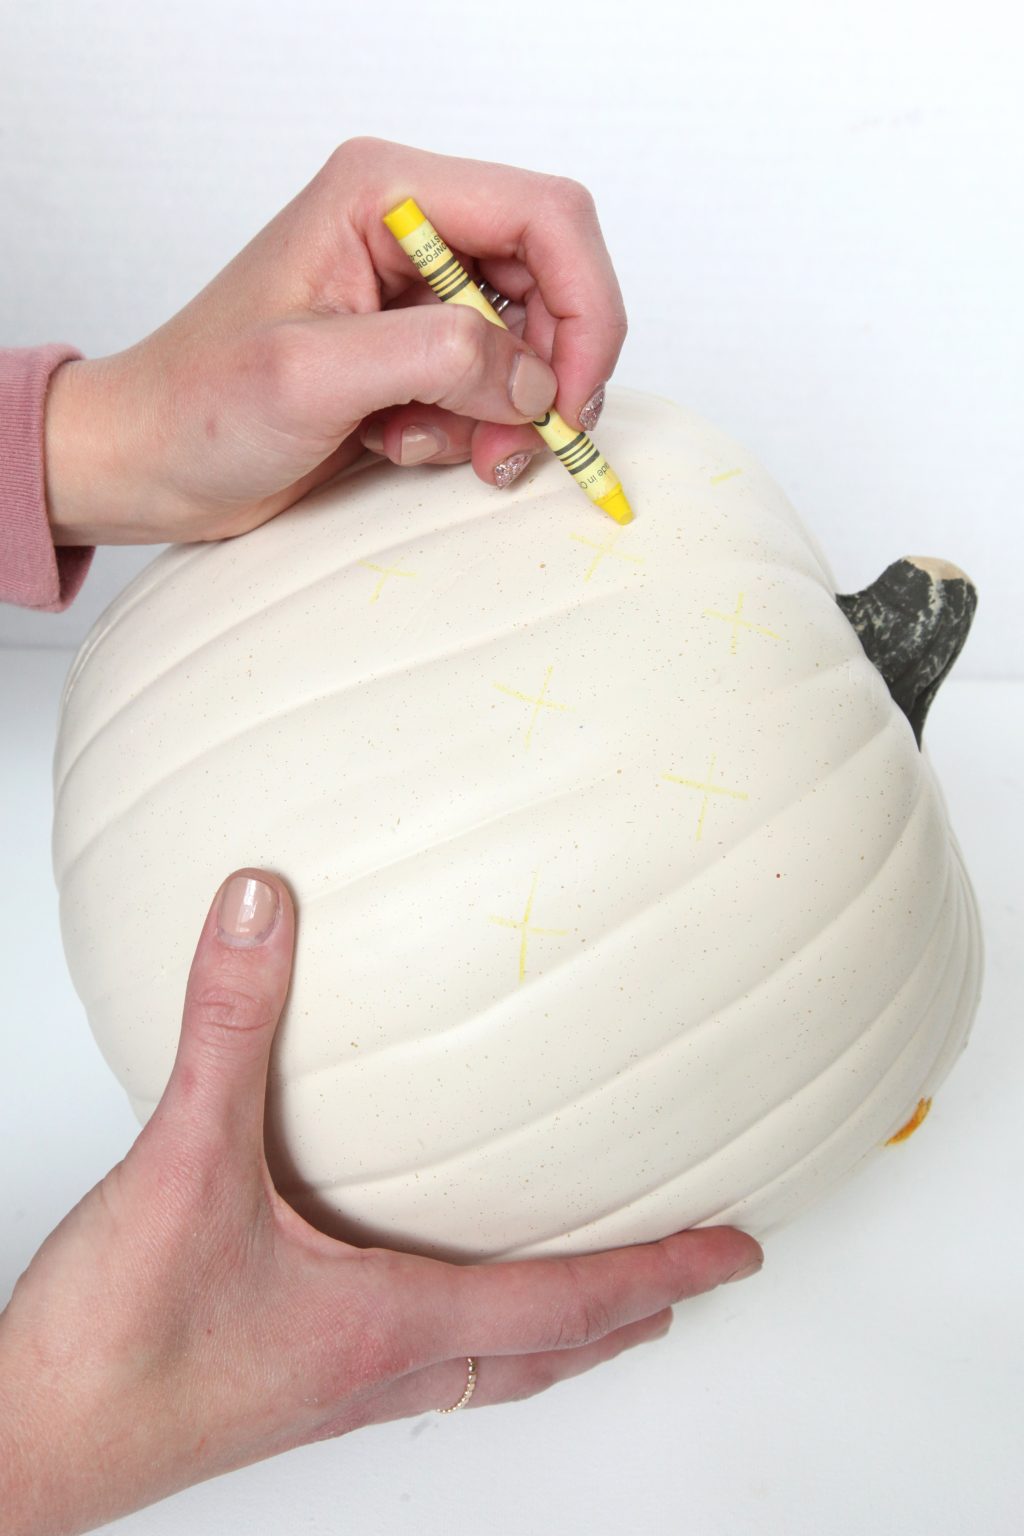
Step 1: Cut the bottom of the pumpkins open using a knife. Use a light colored crayon to draw Xs on the pumpkins where you’d like your cross stitches to appear.

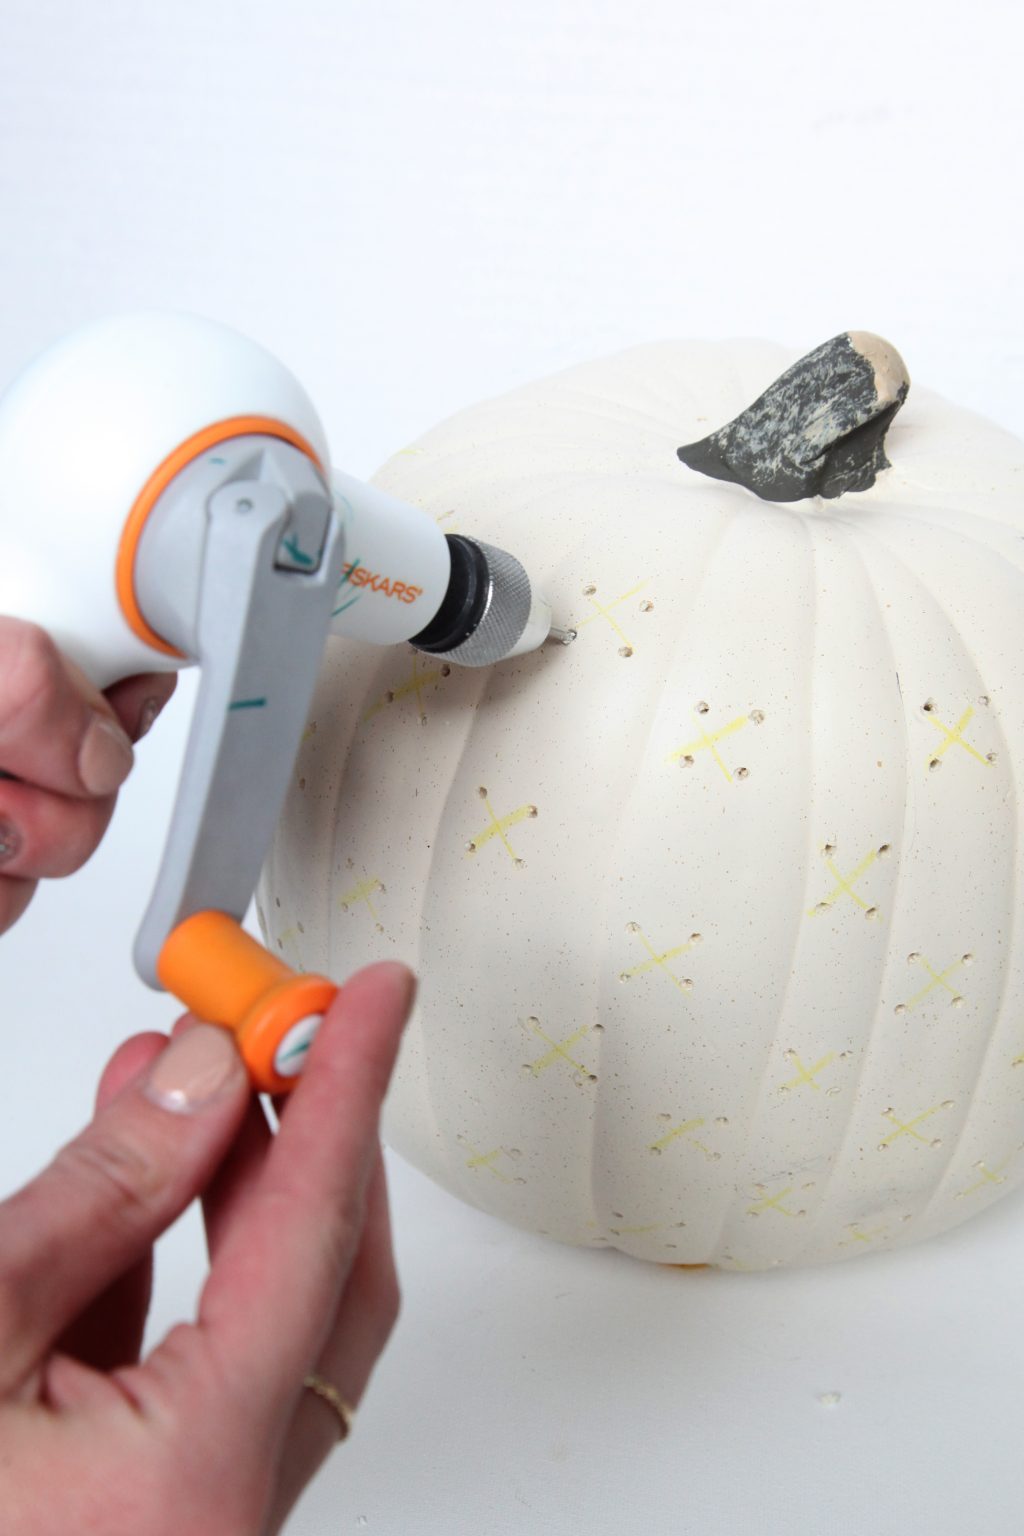
Step 2: Drill holes on the ends of the Xs. Thread your yarn through a large needle (but not too large that it won’t fit through your drilled holes).

Step 3: Tie a knot at the end of the yarn, and pull it through one of the drilled holes from the inside. Take the needle down through the opposite corner of the X you are stitching. Bring the needle back up through the adjacent hole in the same X, and back down the opposite corner.


Step 4: Repeat with the rest of the Xs, alternating colors to achieve your desired pattern.
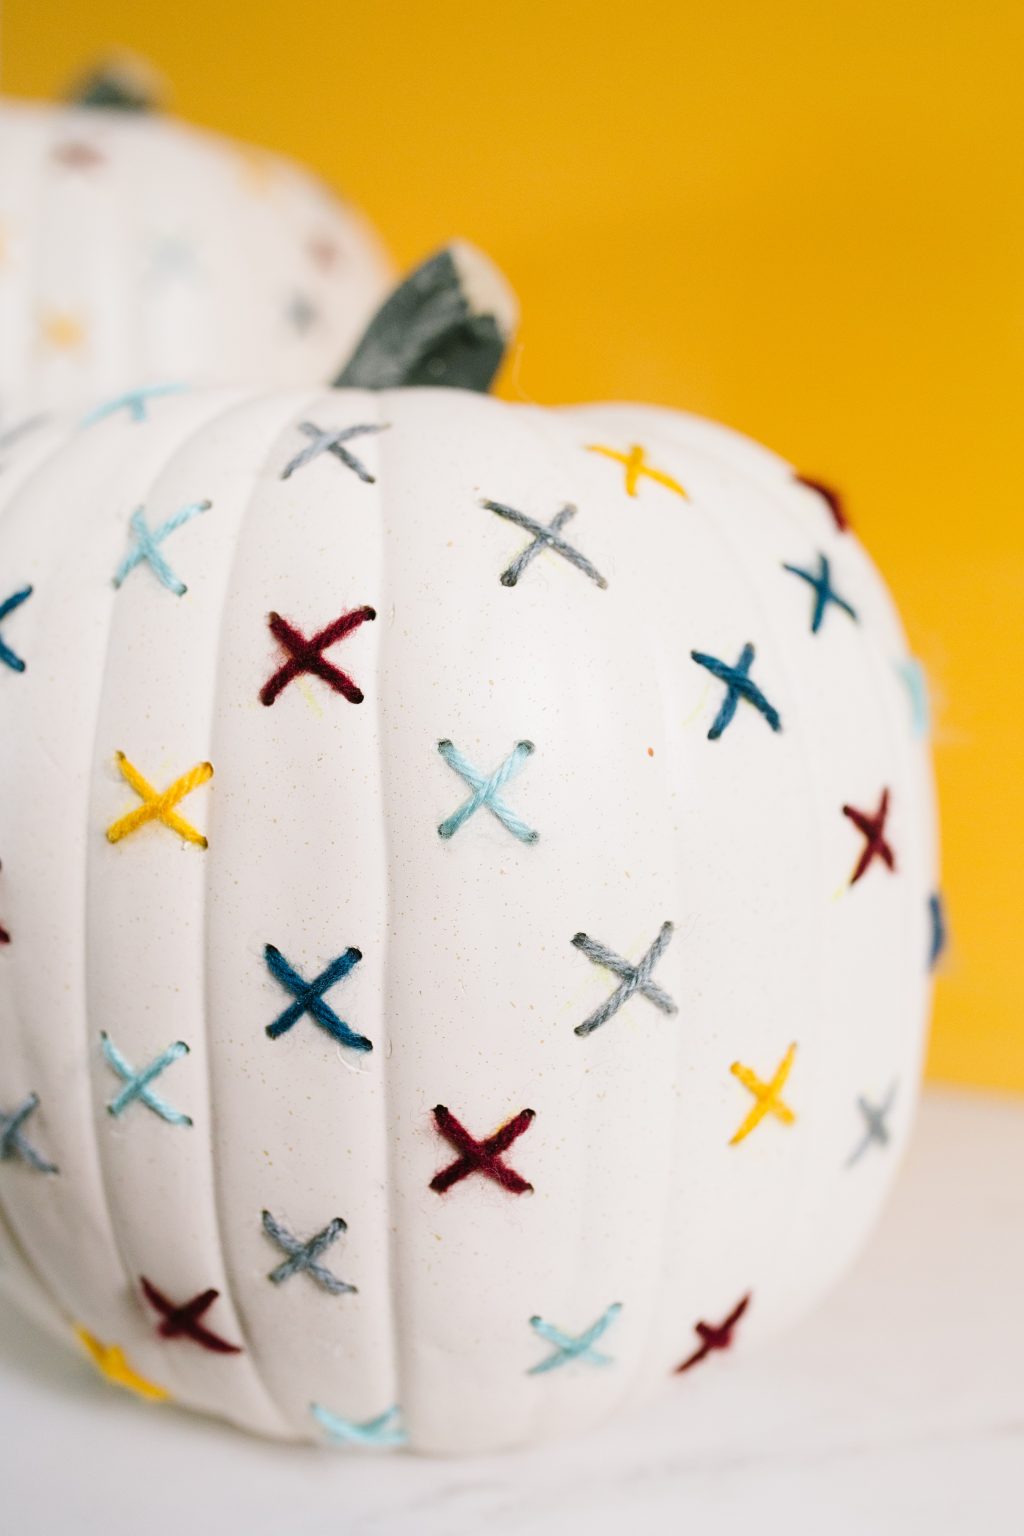

How cute would these be as a centerpiece on a Thanksgiving table? Or if you cut out the top and put a vase of flowers inside? And since they are artificial, you can admire your stitching year after year!





Happy crafting!
xo, Sam


