


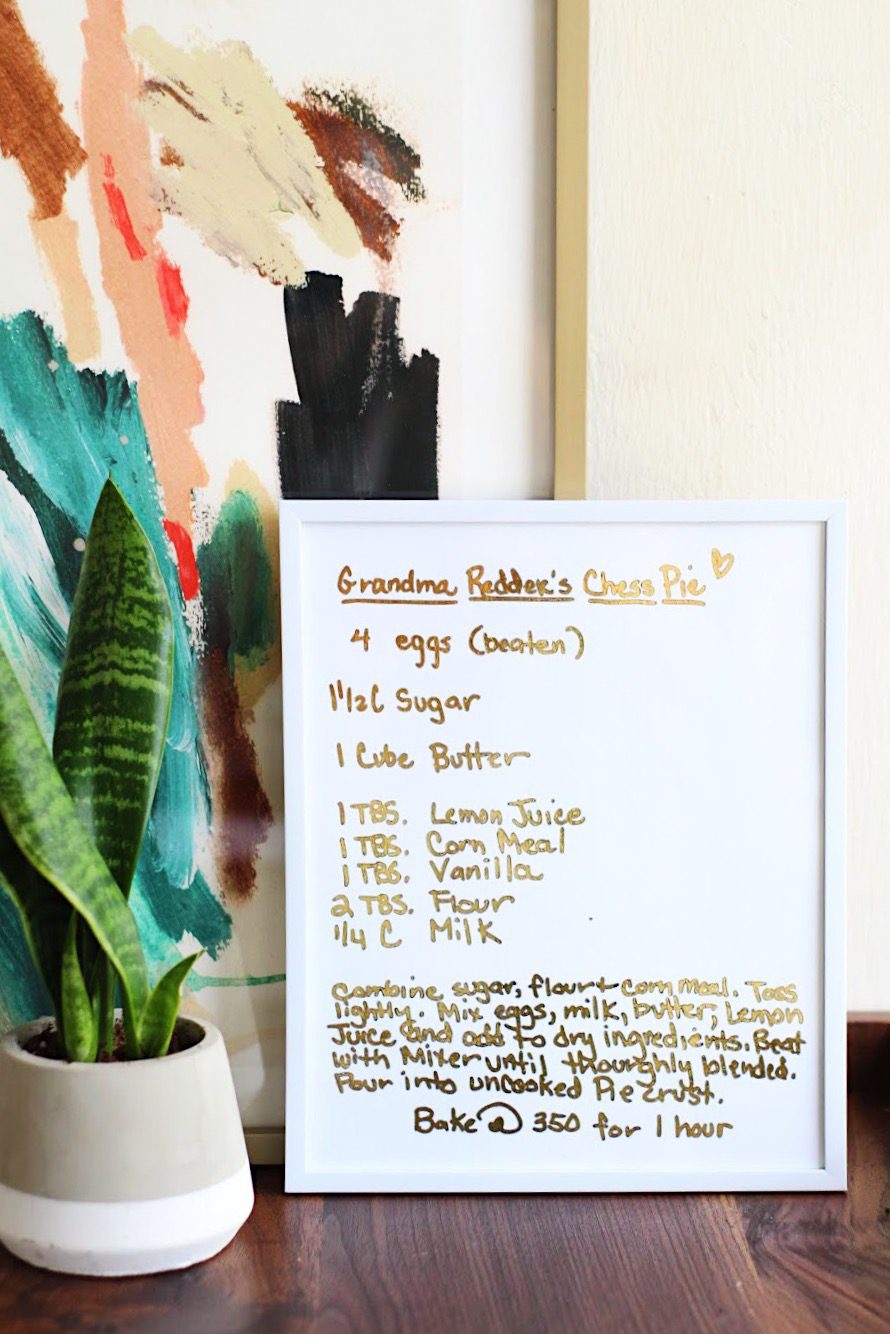
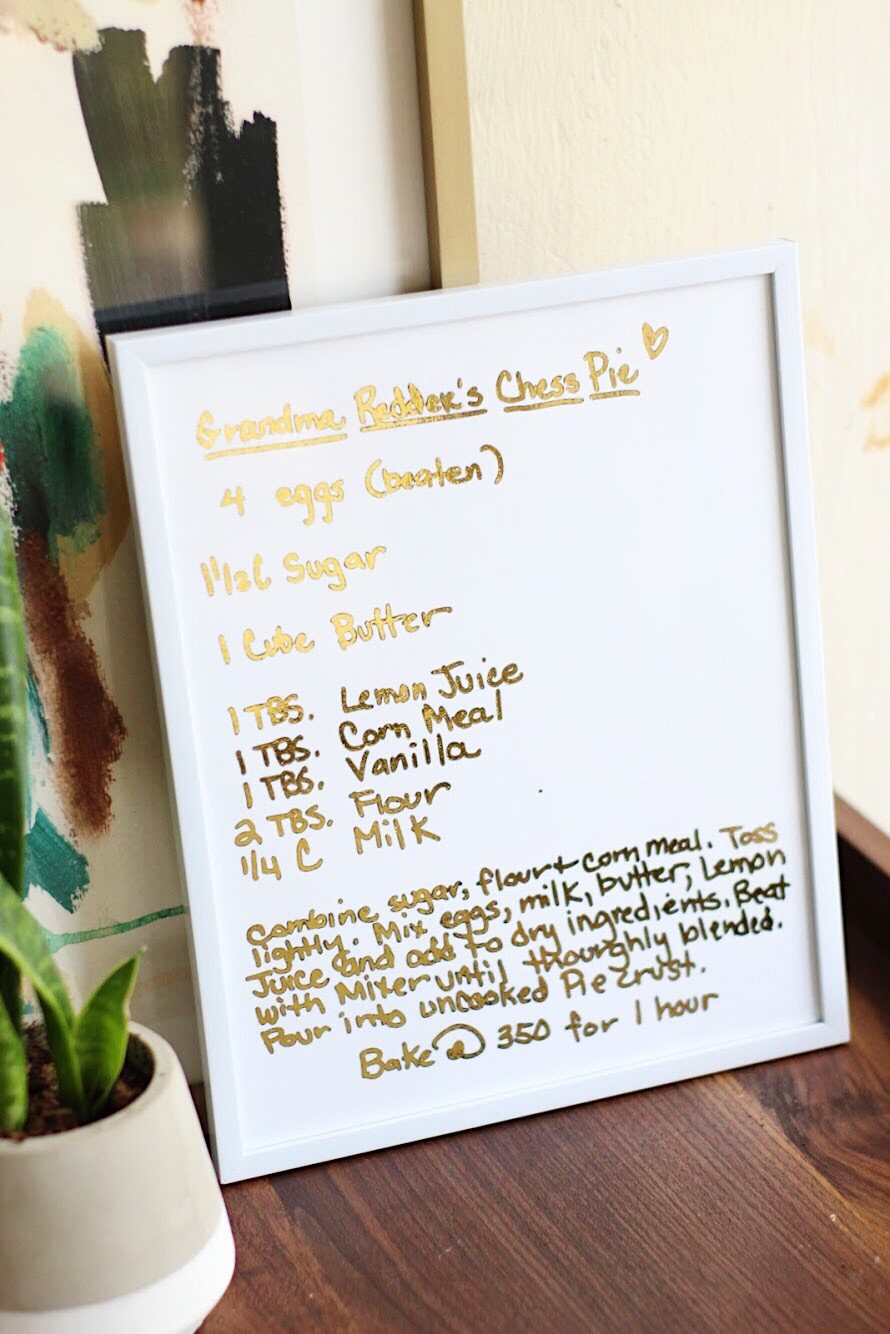
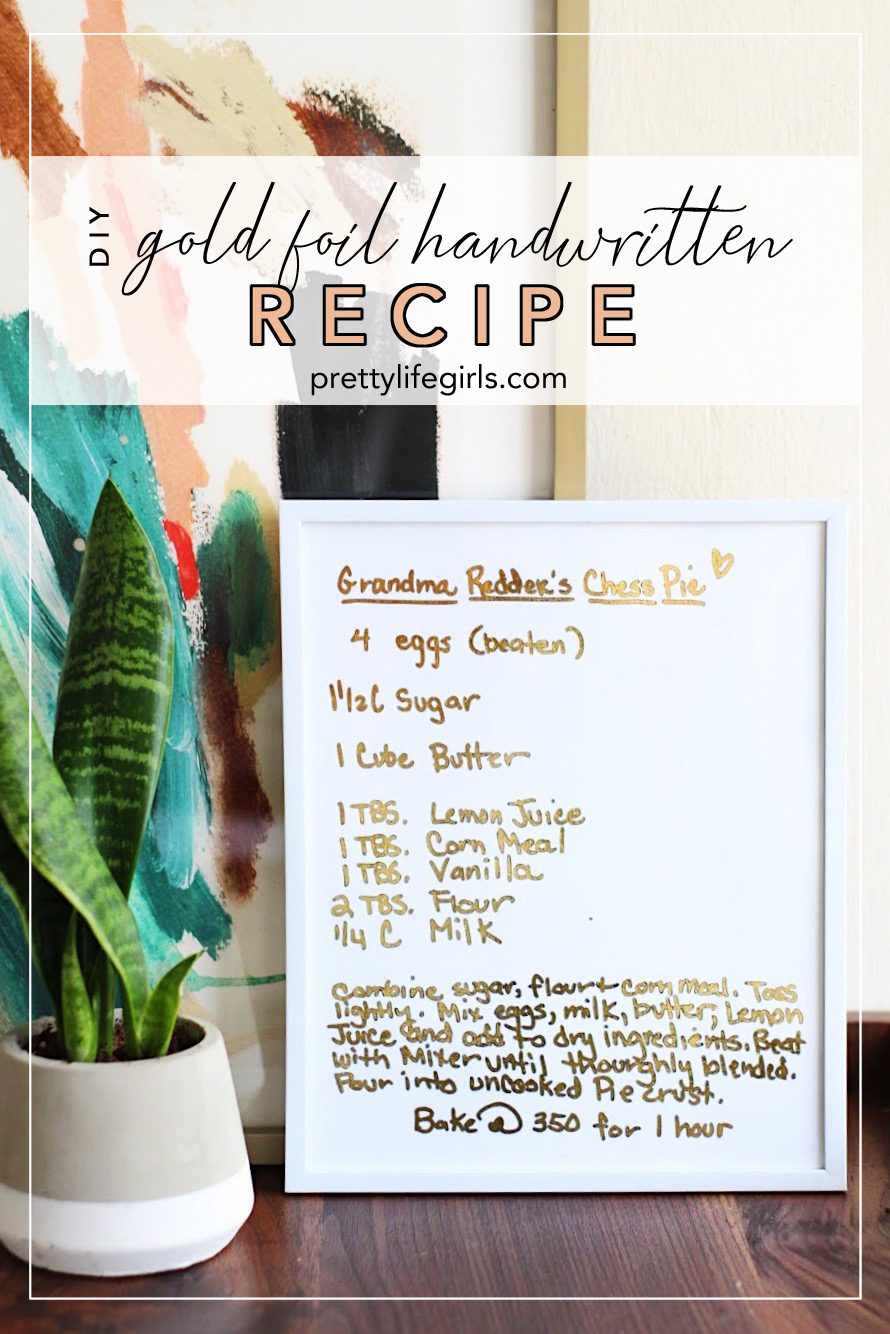
I love a sentimental gift as much as the next gift giver, but sometimes it seems like we have to sacrifice design in the name of sentimentality which can make those gifts less fun to give. I mean, hand-print art is super sweet but does your mom really want it displayed somewhere front and center in her beautifully curated home? (Hint: She might have made you feel like she does because she is a good mom. They do that.) That’s why today I’m excited to show you a super easy gift with style that your recipient is actually going to be thrilled to display: Gold Foil Recipe Art! This gift turns your precious, hand-written recipes (or any hand-written document you treasure) and turns them into gorgeous art. Here is how you do it:
Supplies Needed to Make a Gold Foil Handwritten Recipe:
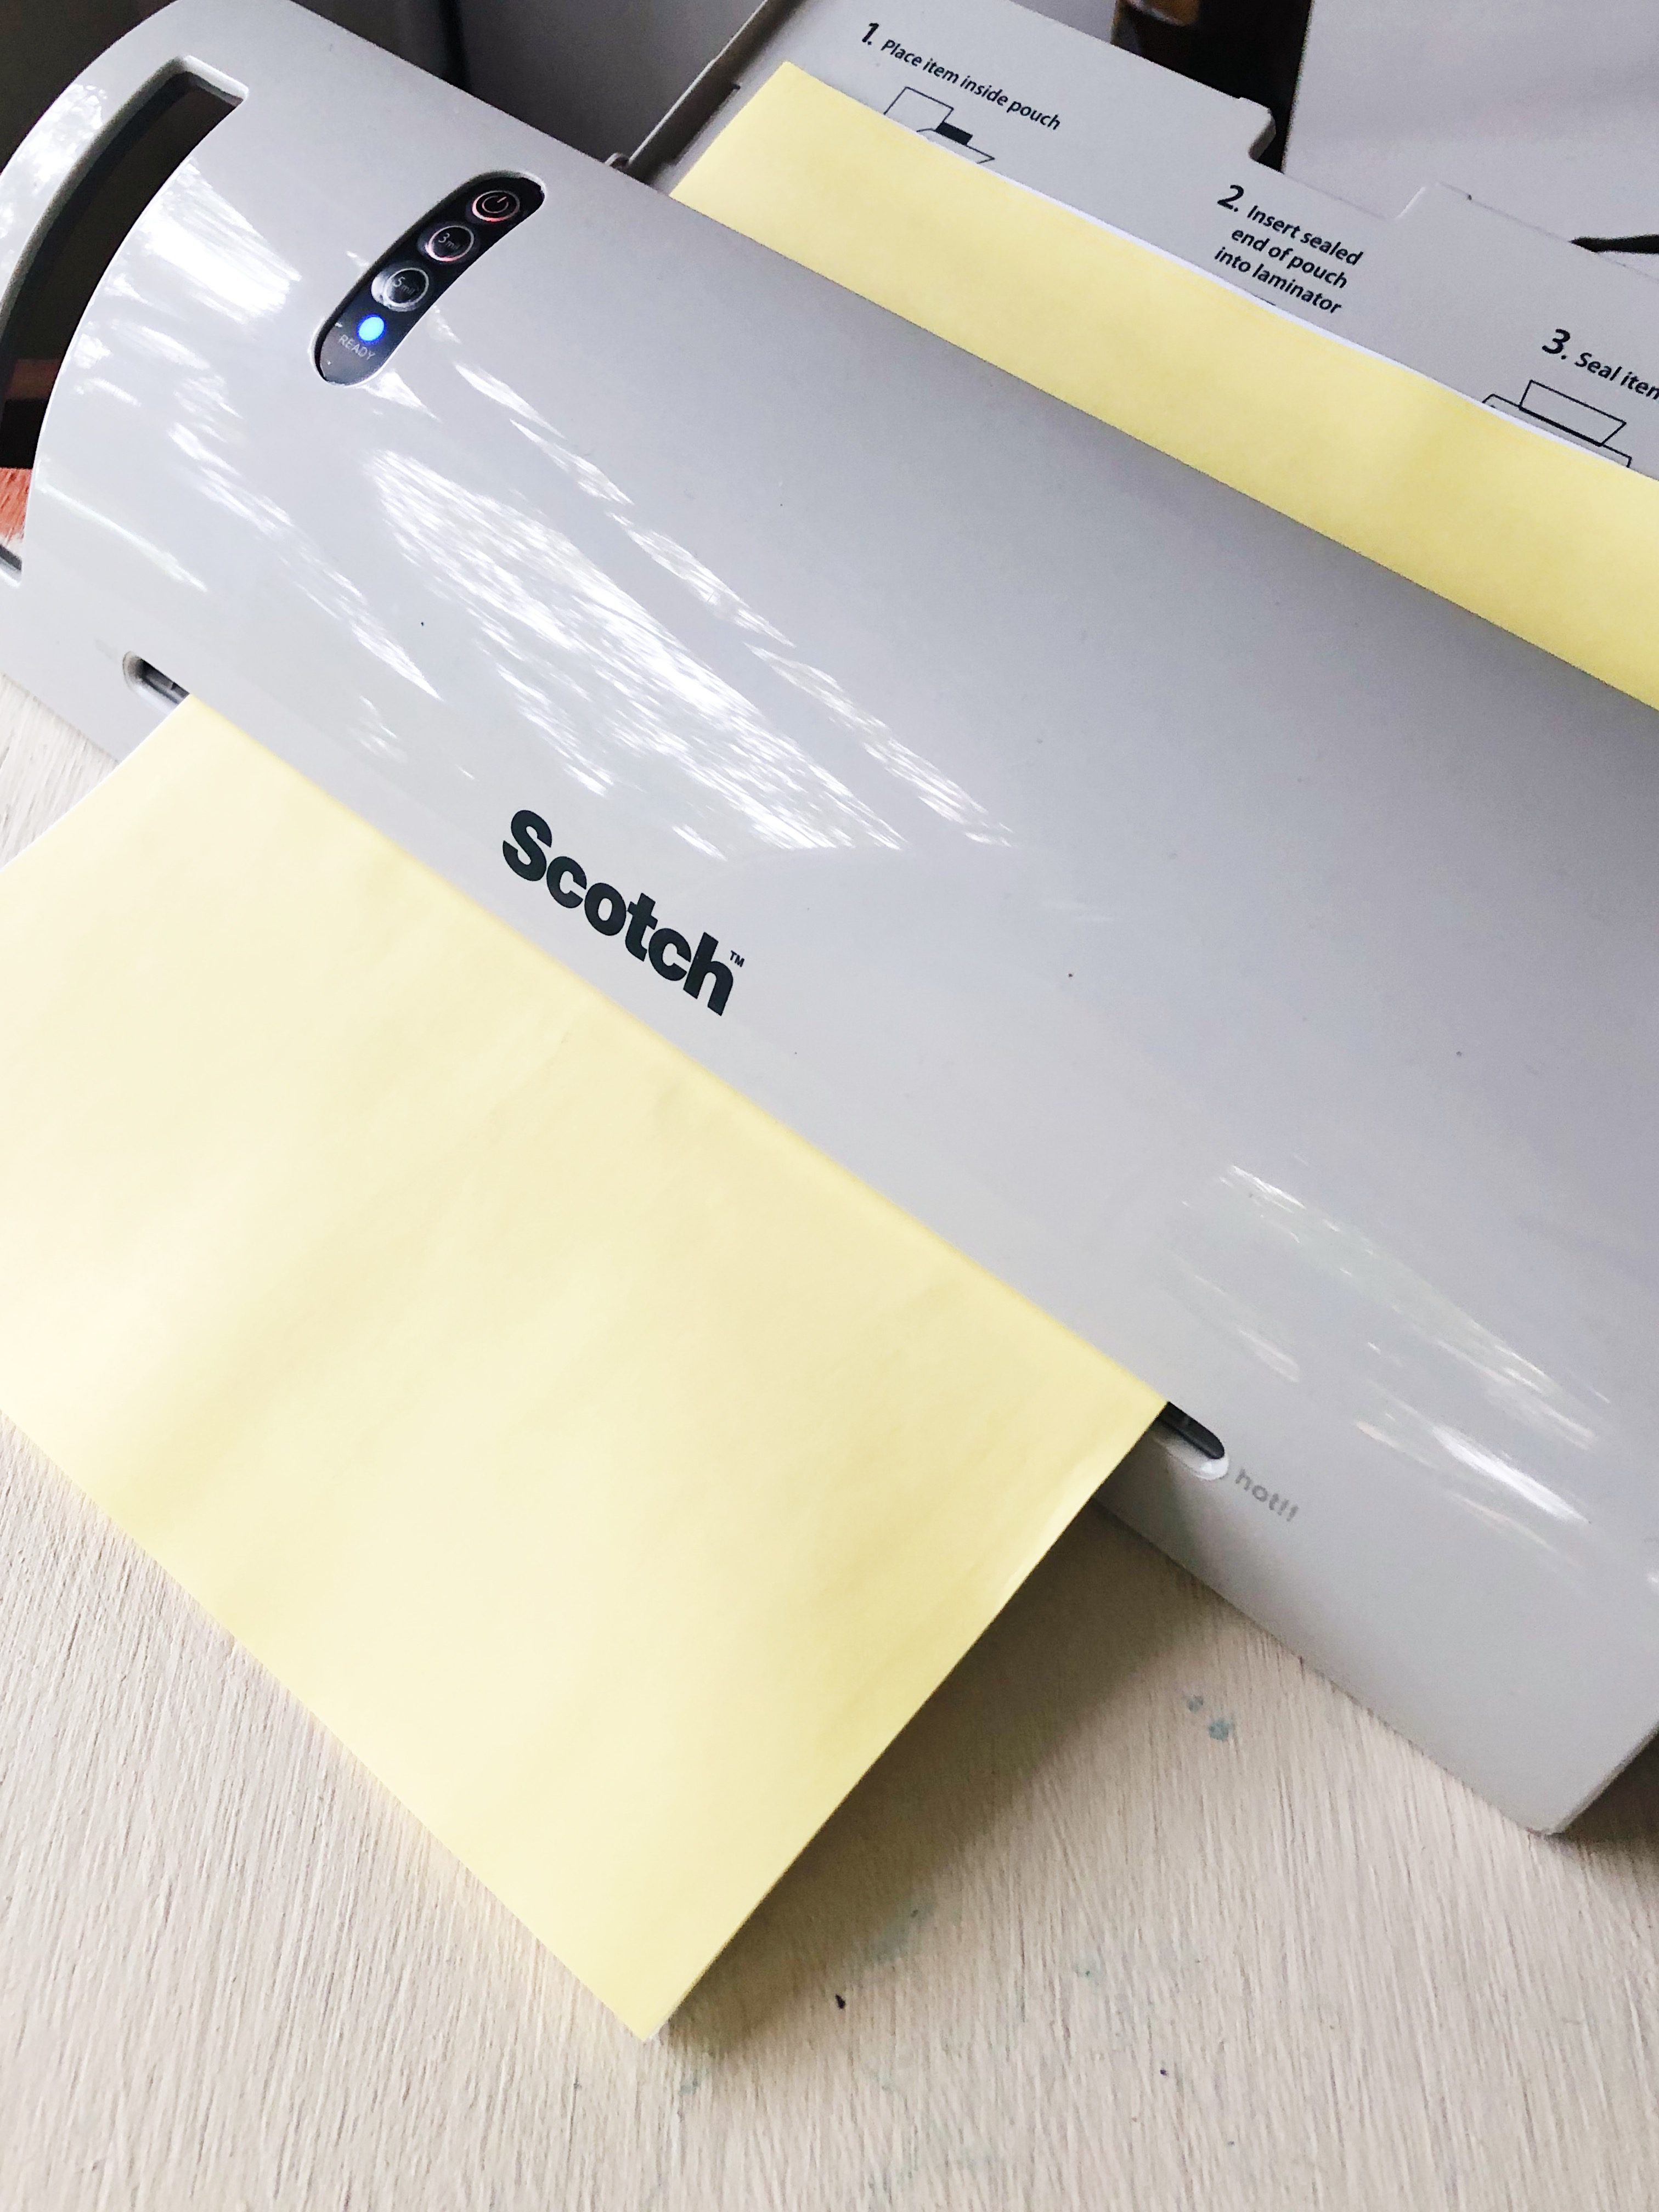
Scotch™ Thermal Laminator: TL902A
Recipe or document printed with a laser printer
Gold foil sheets
Scissors
Darice Modern 4-pc Picture Frame Set: White, 8 x 10 in
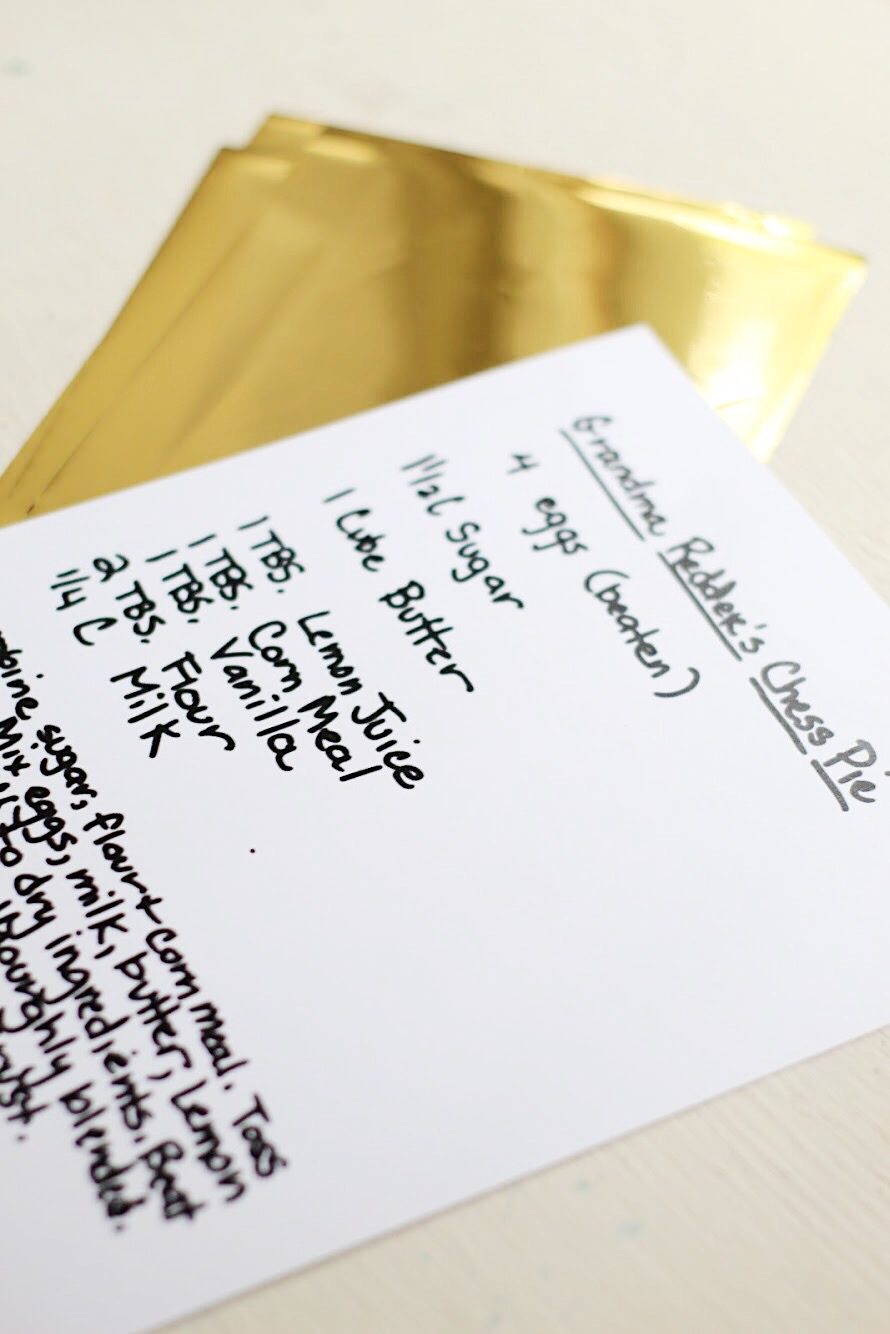
- You can collect your handwriting for this project a couple of different ways. First, you can just ask your loved one whose handwriting you’d like to preserve to write the recipe/phrase for you and then have them scan it to you (I had my mom write her mom’s favorite pie recipe and I’m going to give it to my sisters), or you can take an existing document and scan it into your computer to create a digital file. Then, you’ll want to load the document into photoshop or your favorite editing software and make it as bold as possible. If the handwriting is too fine the foil will not stick to it.
- Print your document! In order for the foil to adhere to the ink it must be printed with a laser printer. If you don’t have one you can send it to a print center to print.

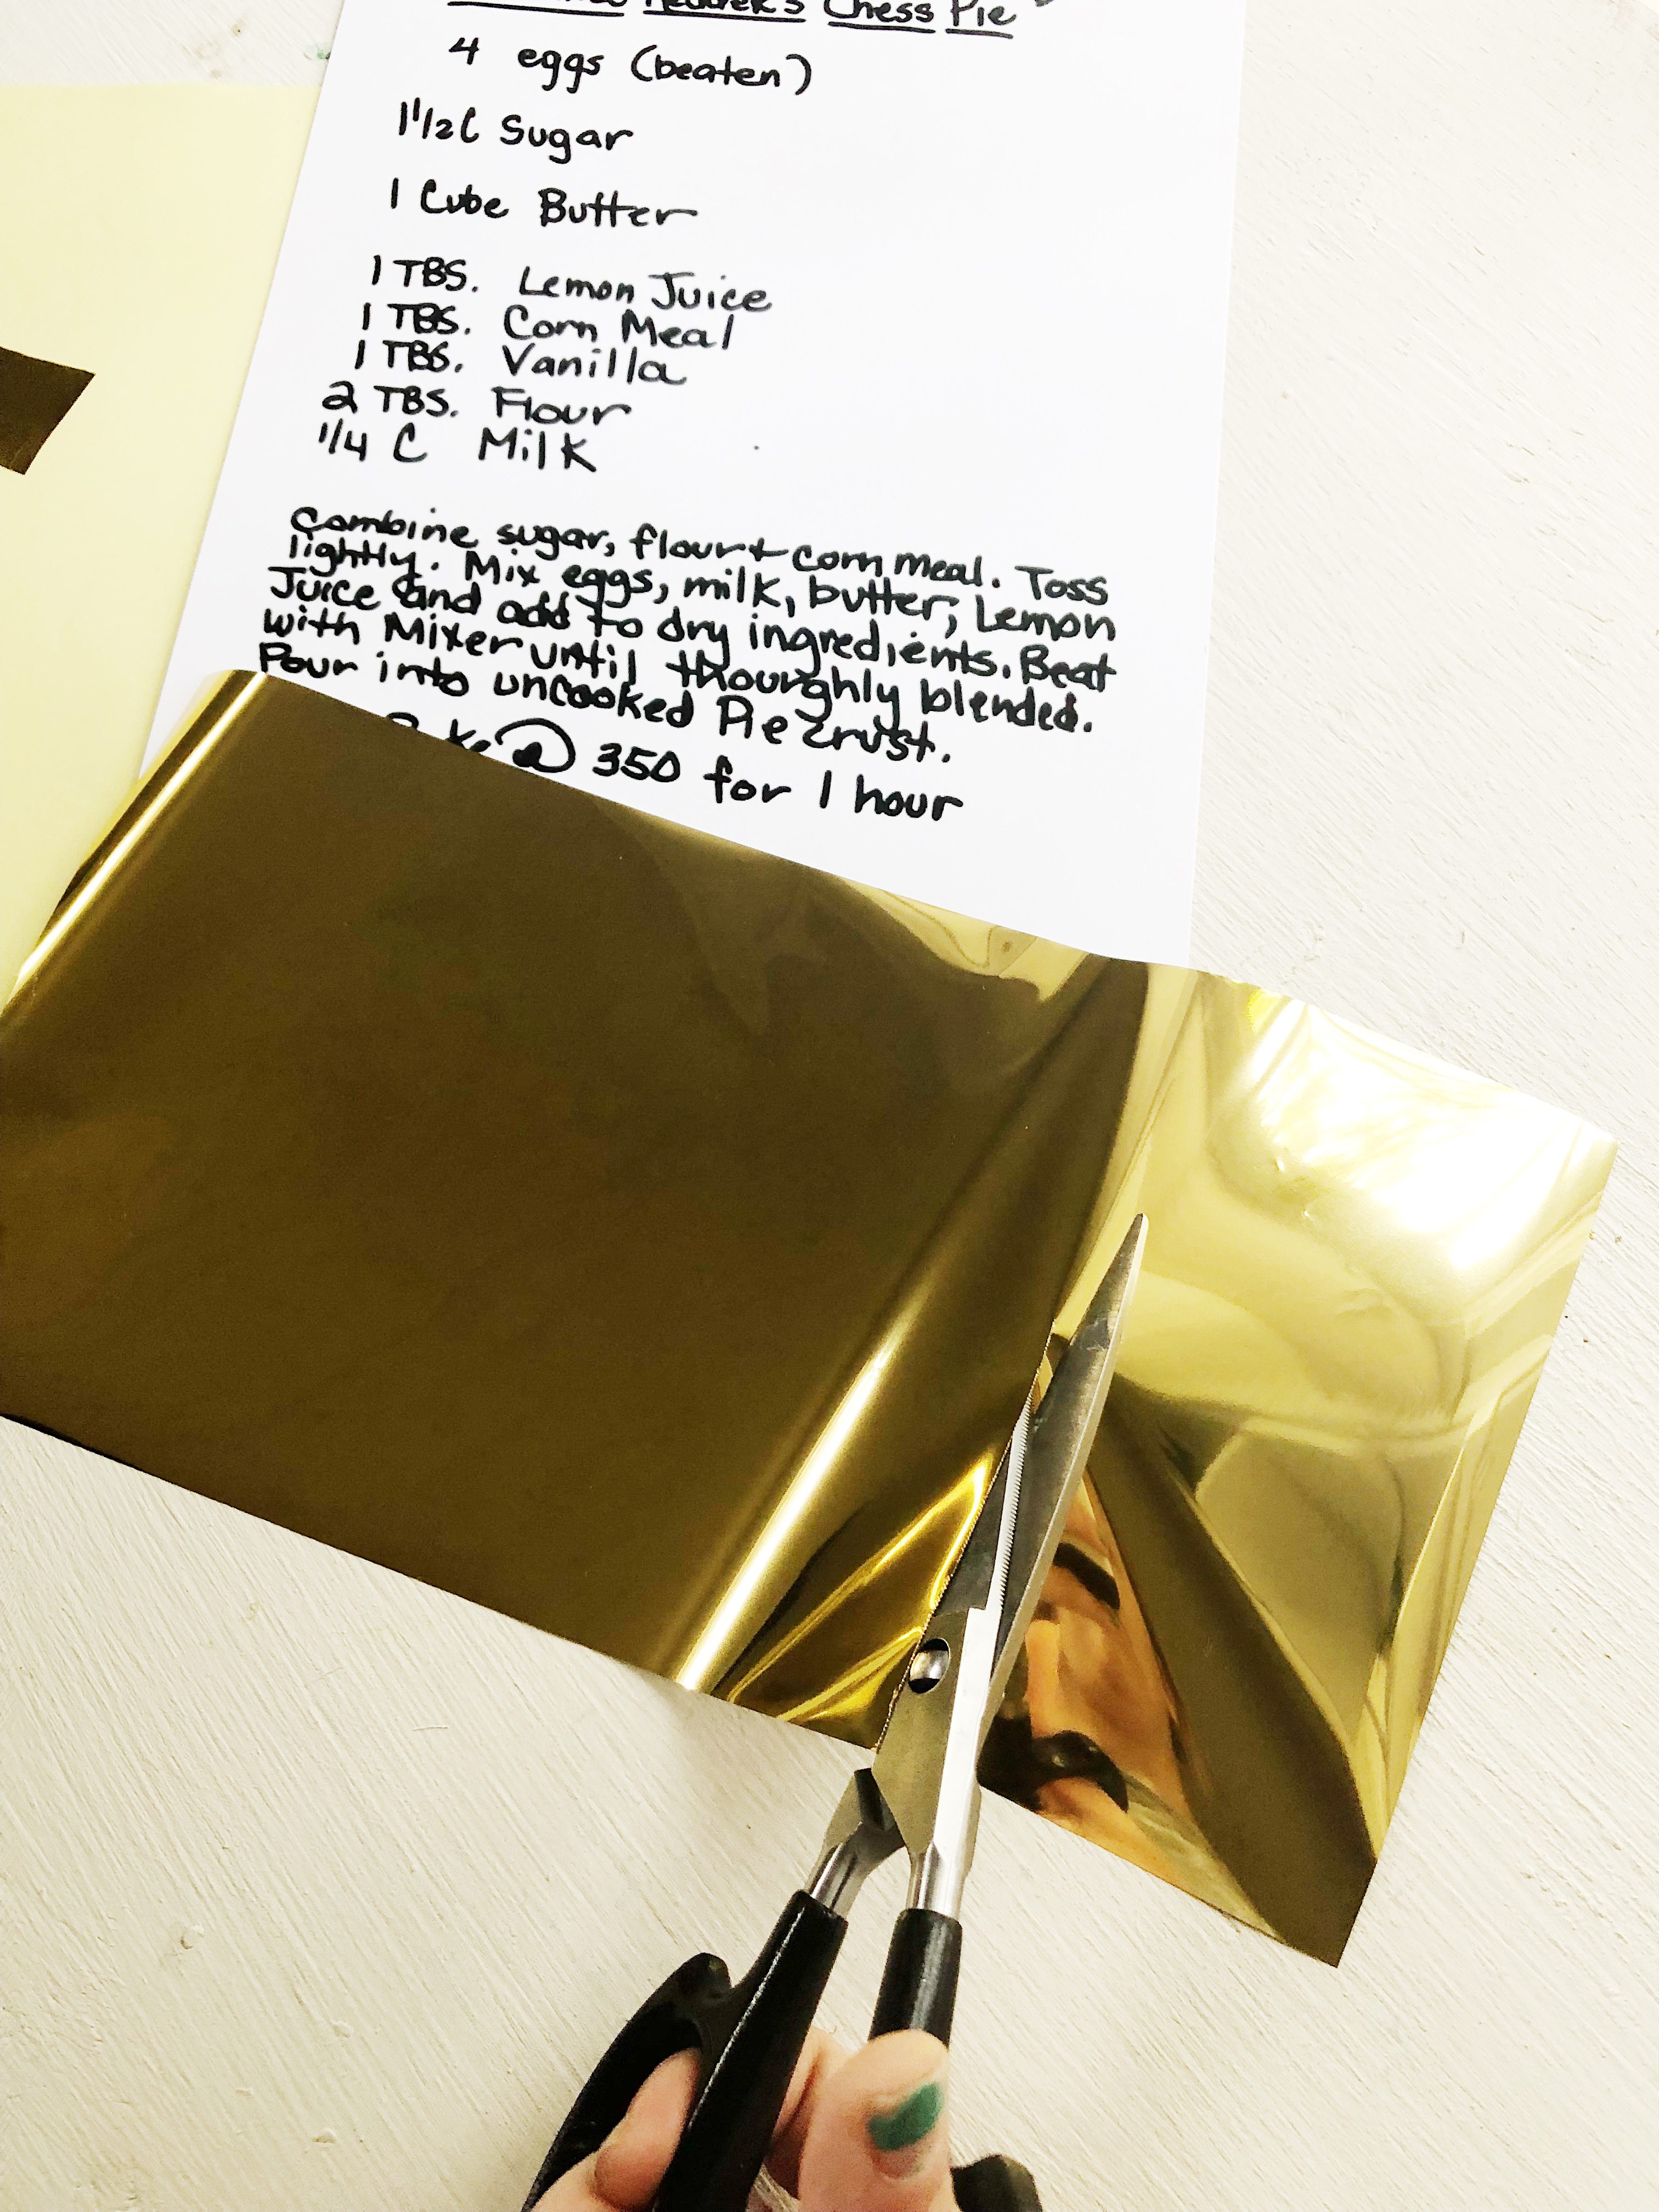
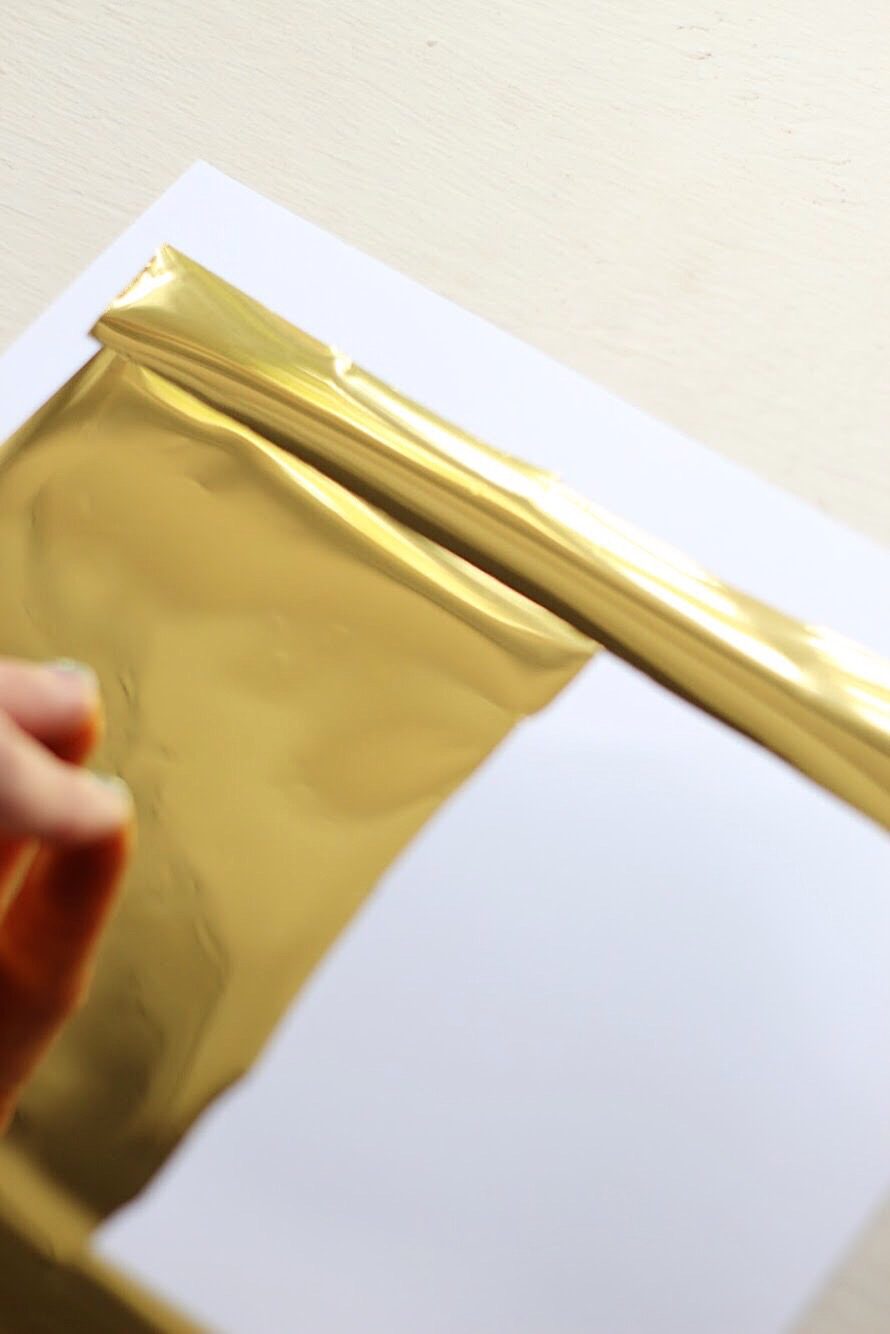
- Turn your laminator to it’s hottest setting. While it is heating up, cut foil to cover all text with the foil side facing up.
- Cover your foil with a piece of copy paper to protect it while going through the laminator.
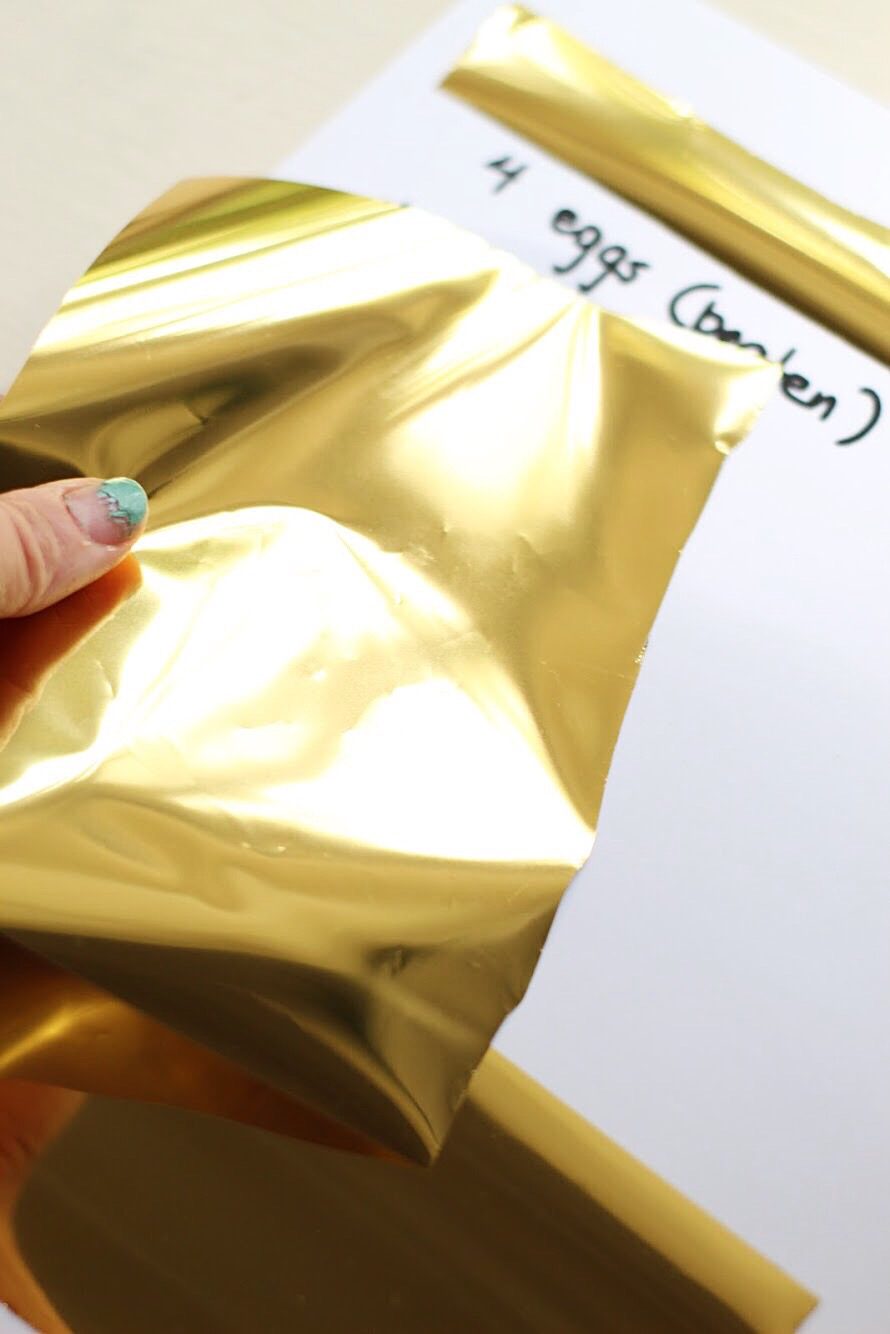
- Send your paper-foil-paper sandwich through the laminator. The laminator will heat the ink and the foil will stick to it! When it comes out I will generally lift a small piece to see if it adhered fully, and if not, I will run it through one more time.
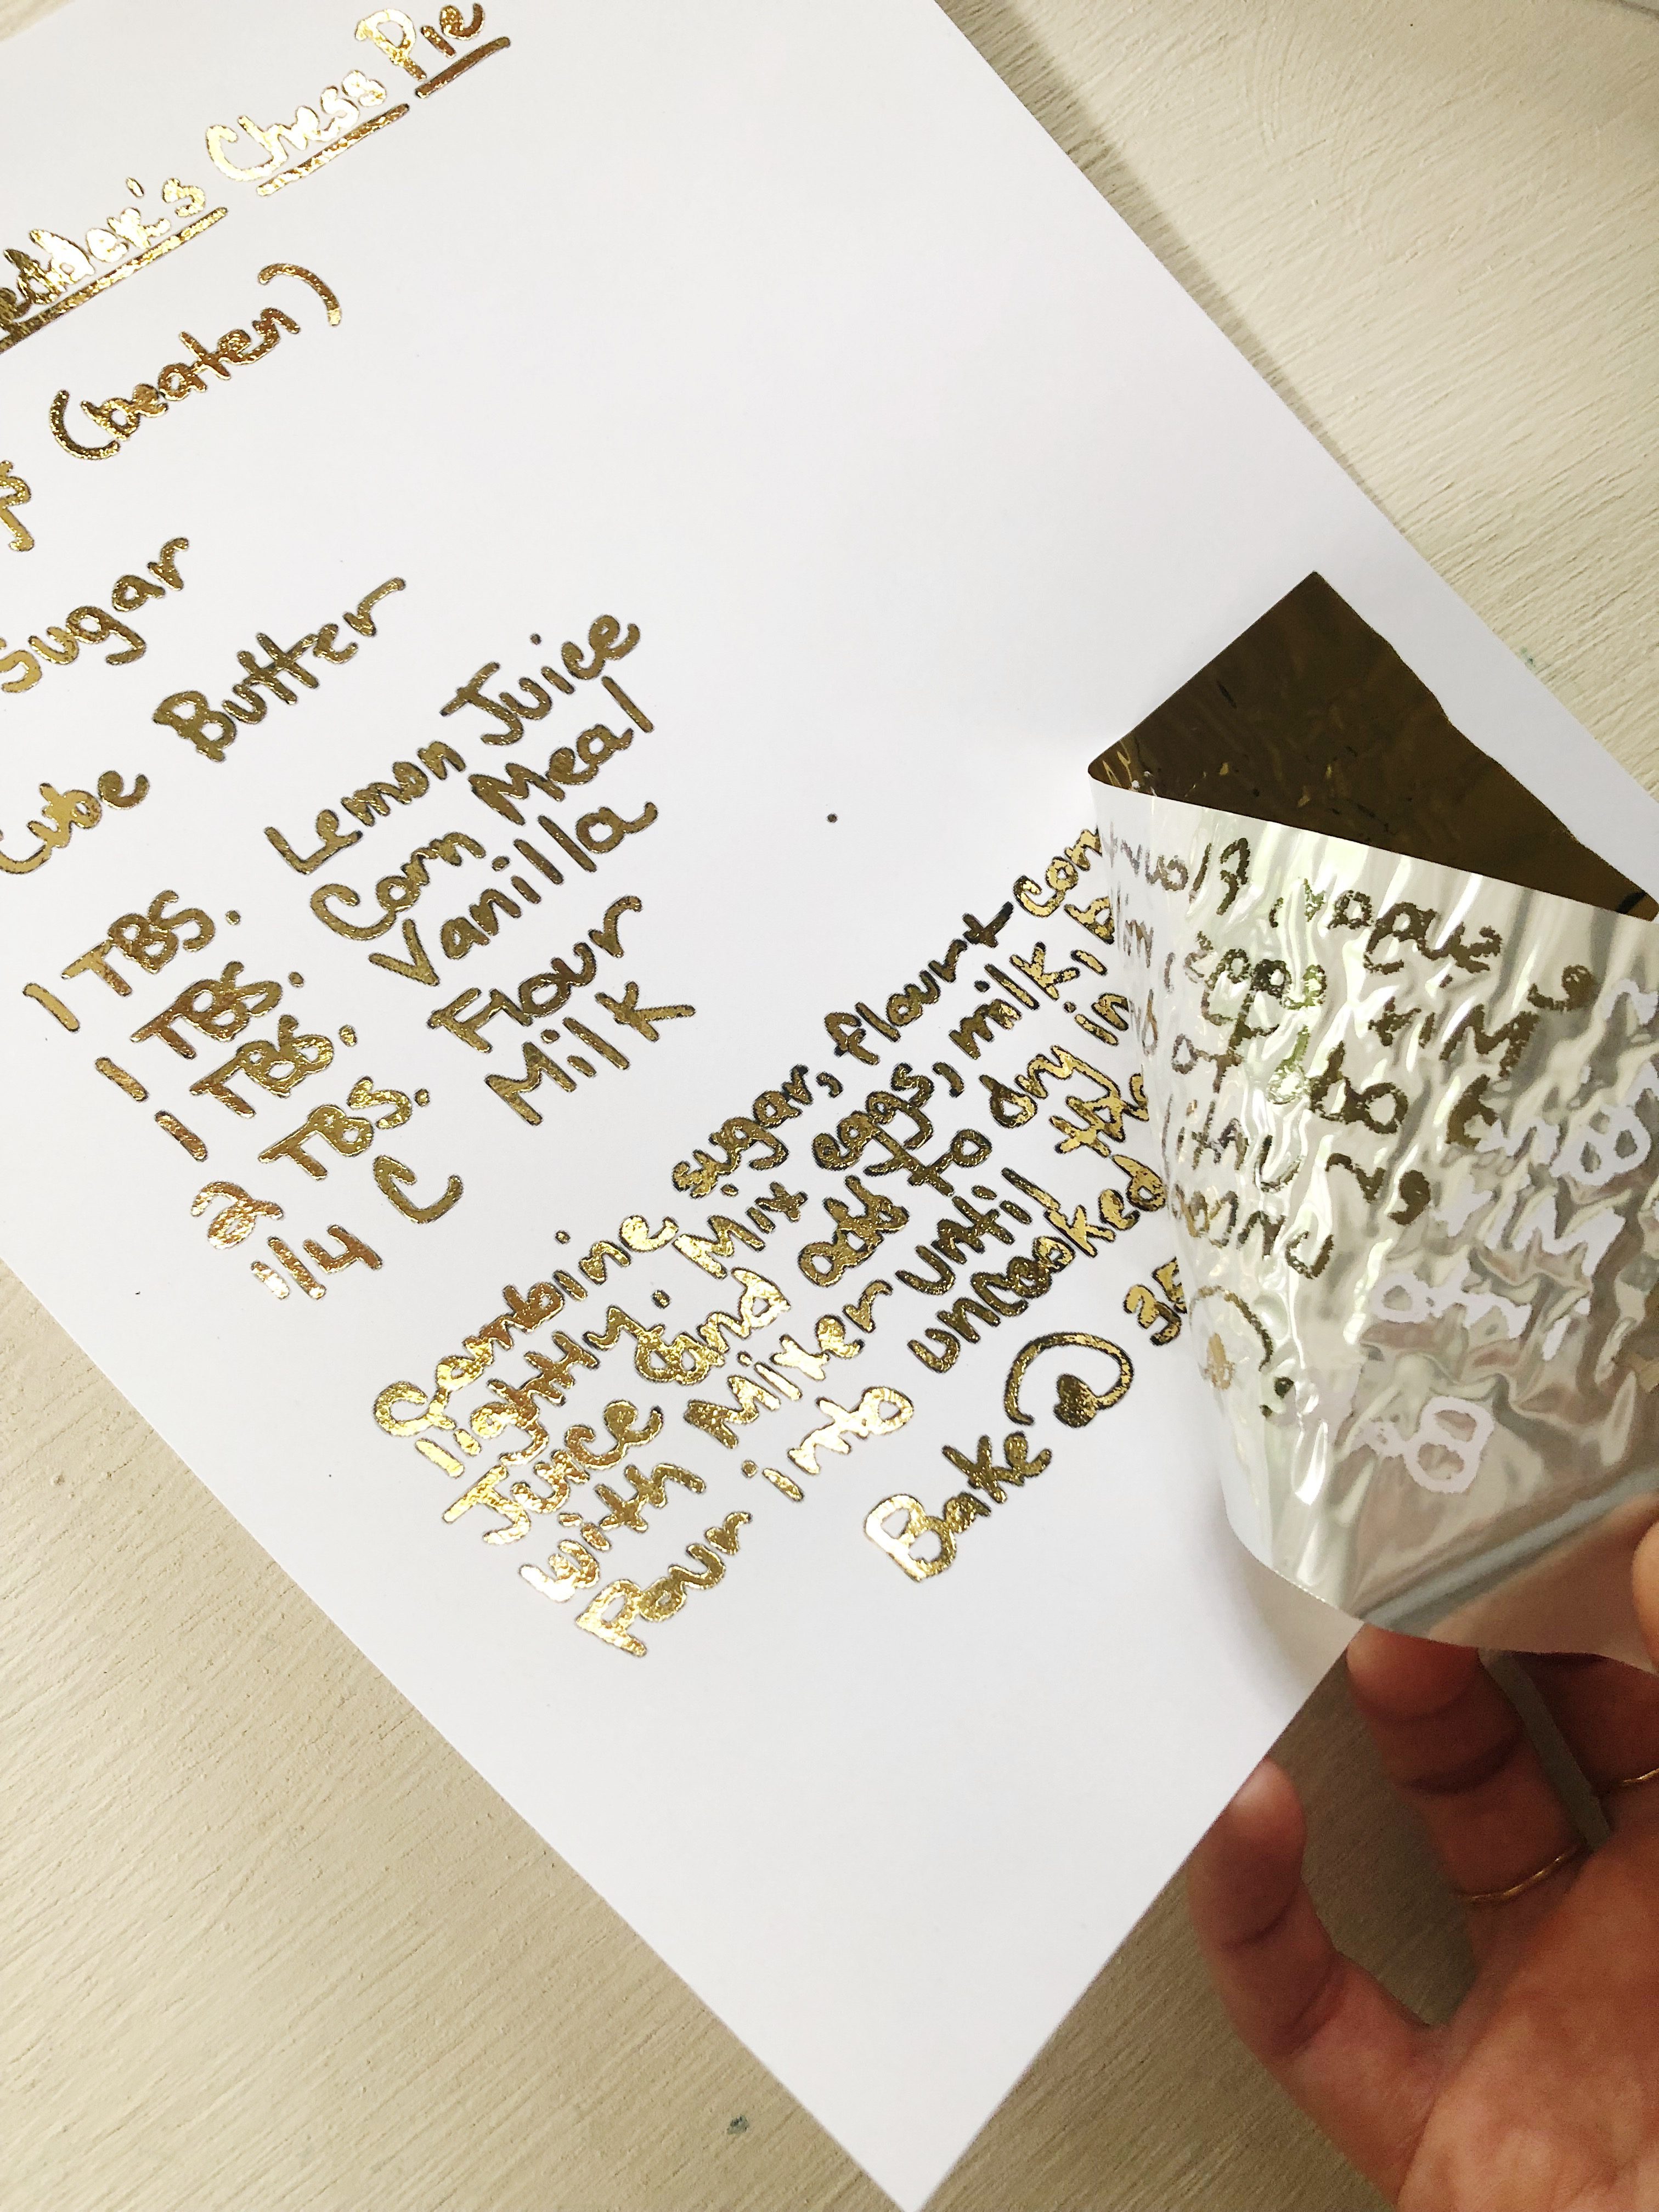
- Gently remove all of the foil from the print to reveal your foiled design!
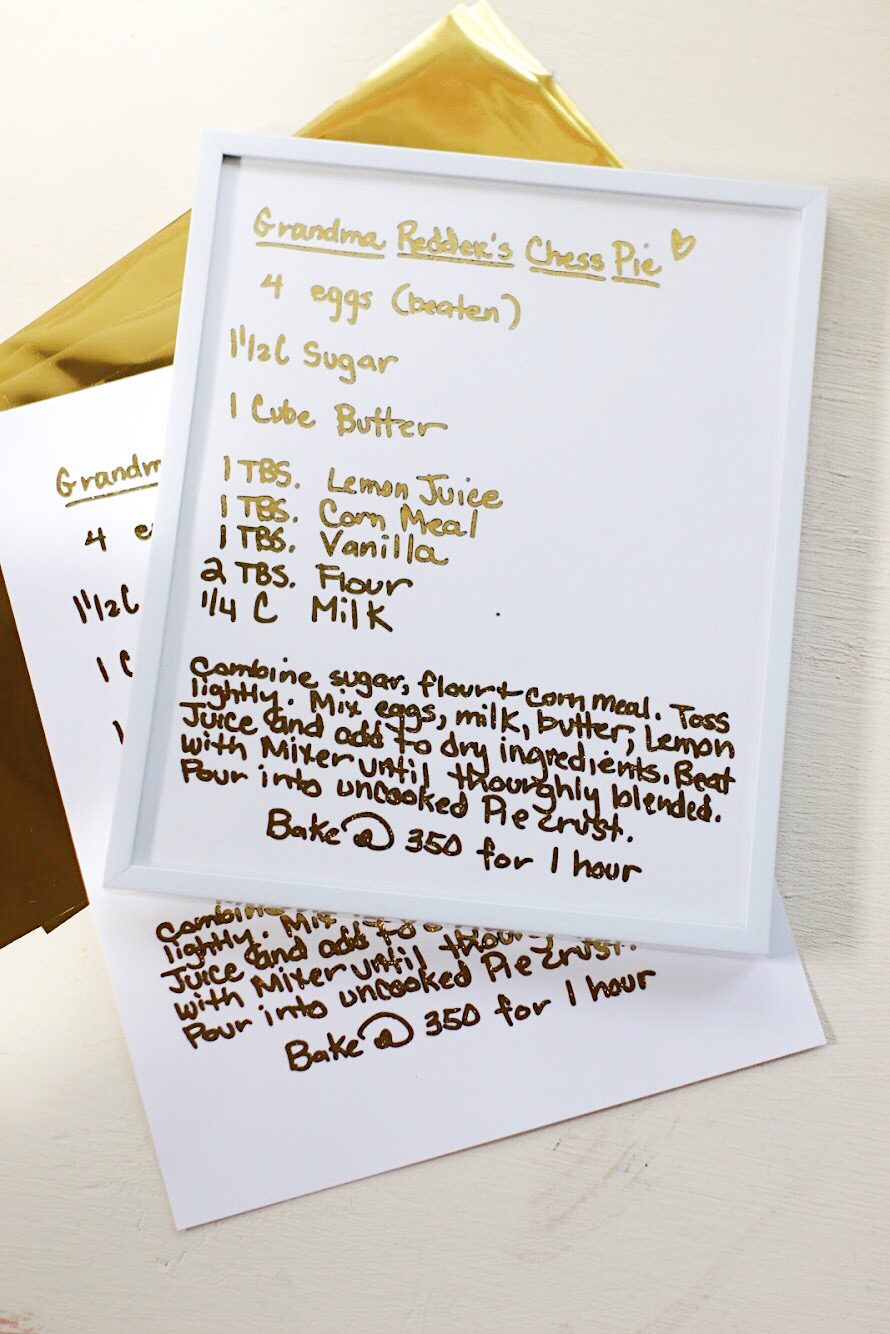
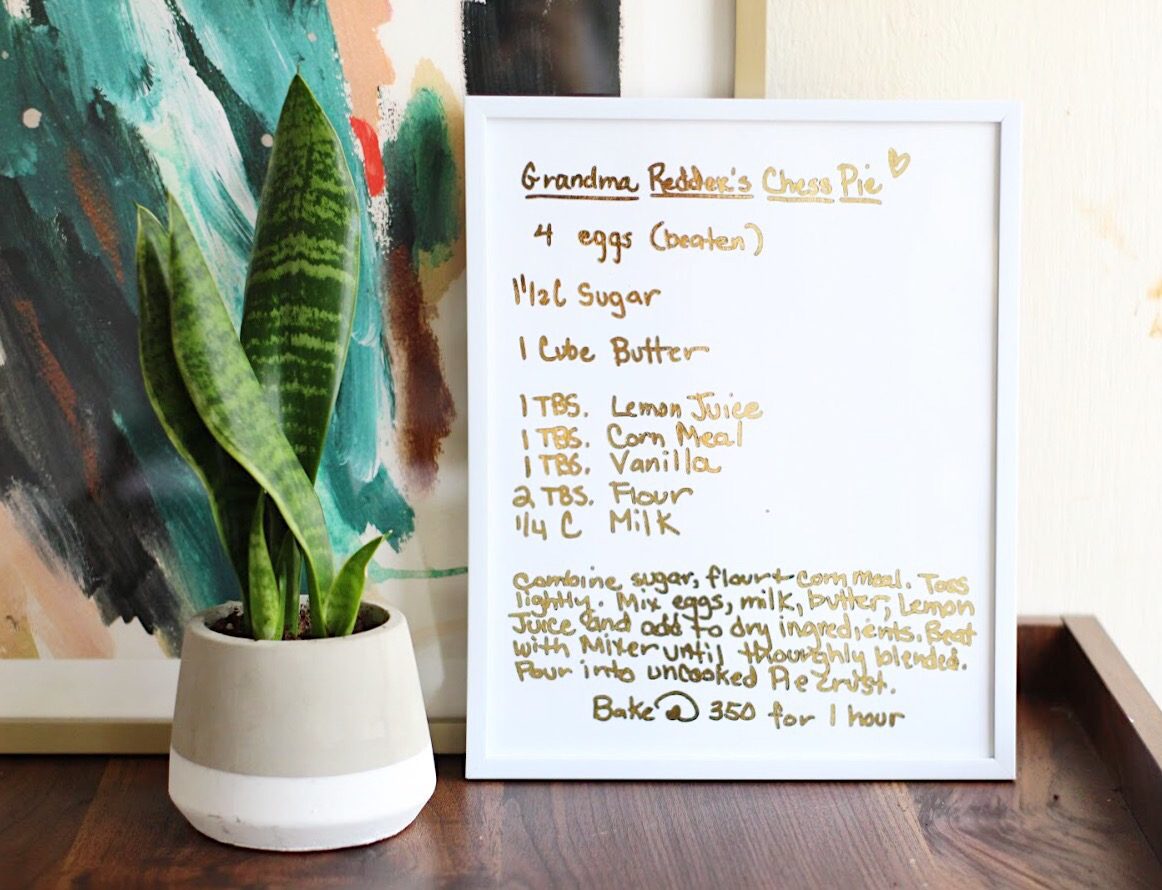
That’s it! Now you can cut your page to size, frame it, and give a DIY gift your friends and family will actually treasure! I love this set of minimal frames and they are SO affordable!
Isn’t this method awesome? I can’t believe how easy it is! Plus, you can make so much more than this print using this method. Think of the beautiful cards, invitations and decor you can make by adding a little gold foil? I’m obsessed!
What other DIY gift ideas do you have? I’d love to hear!
-Liz

