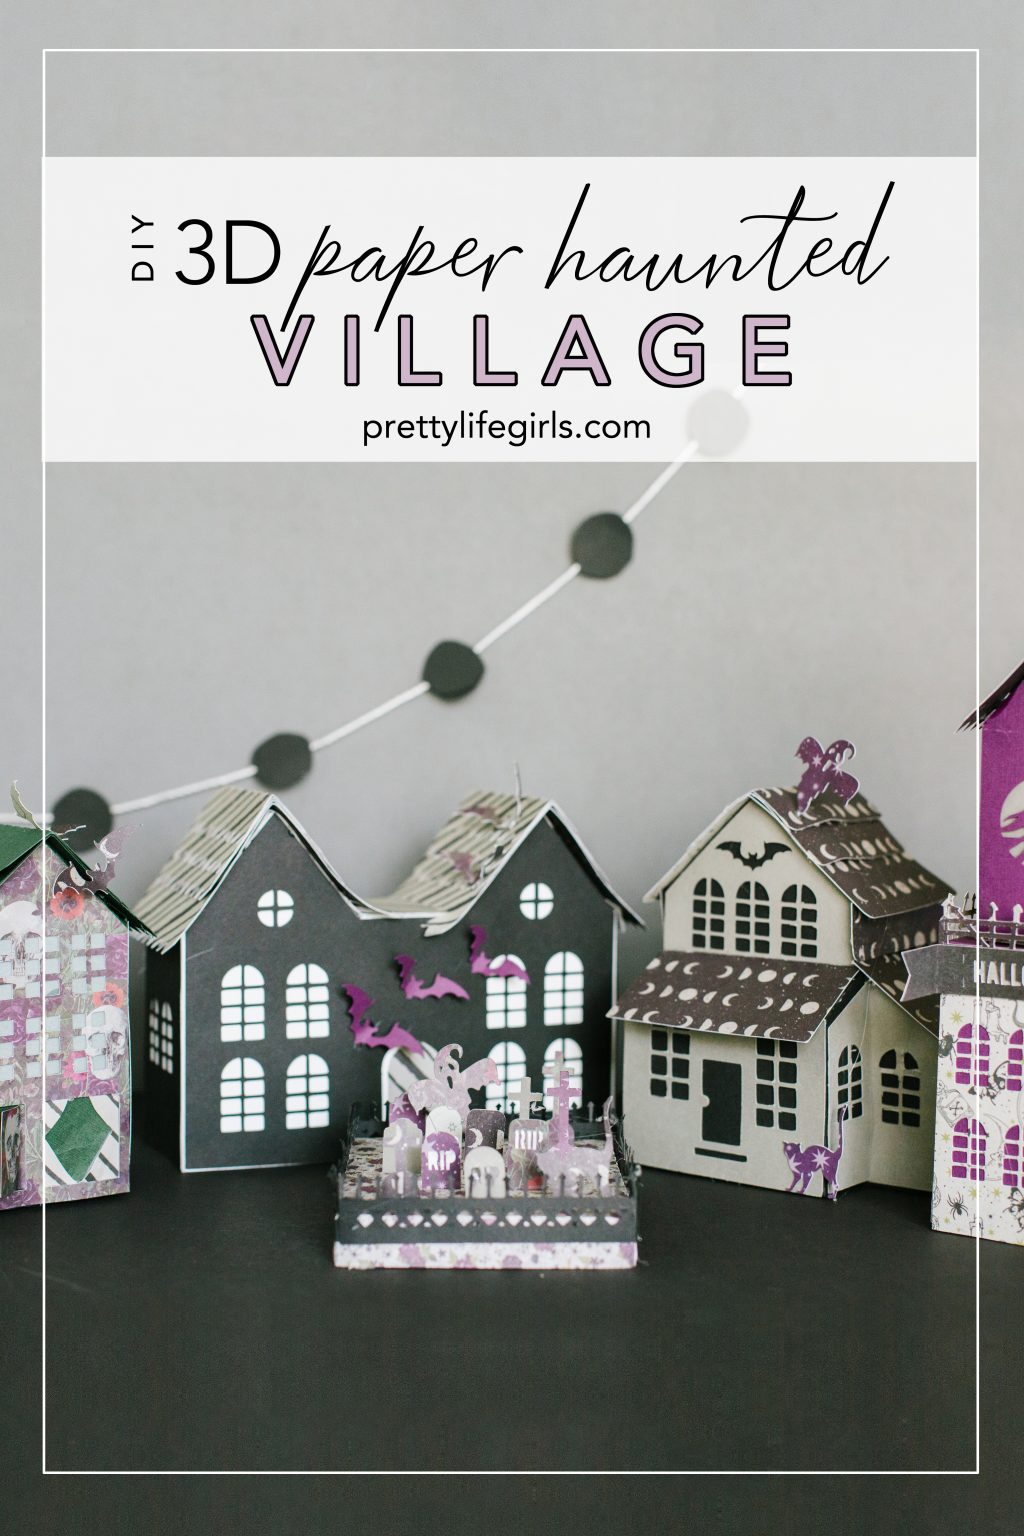
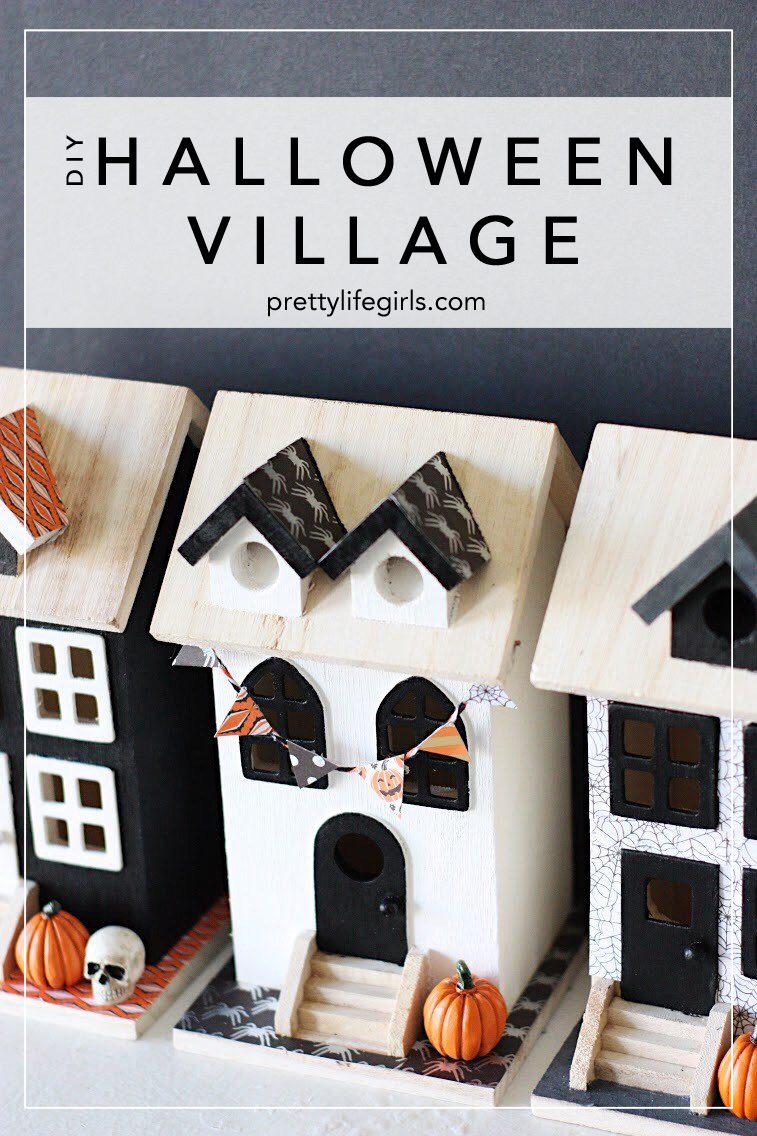
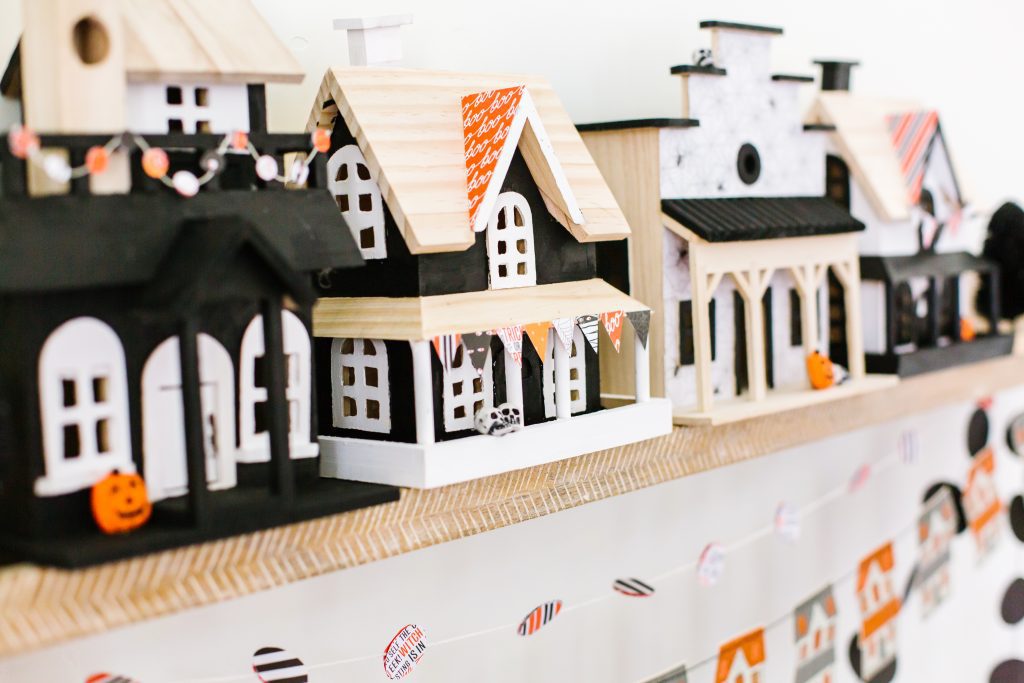
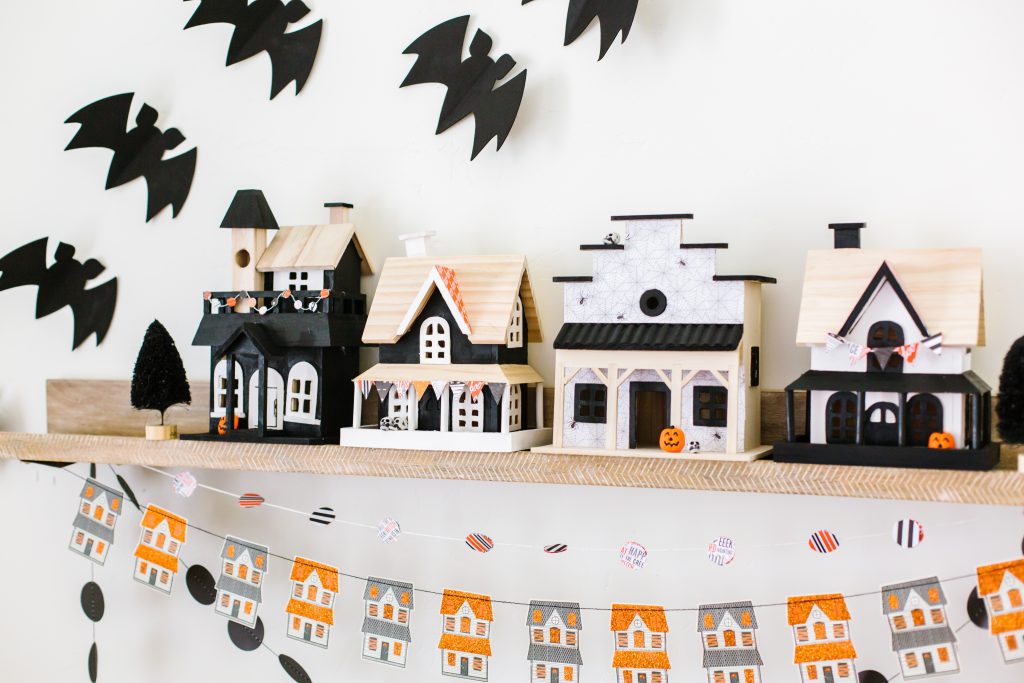
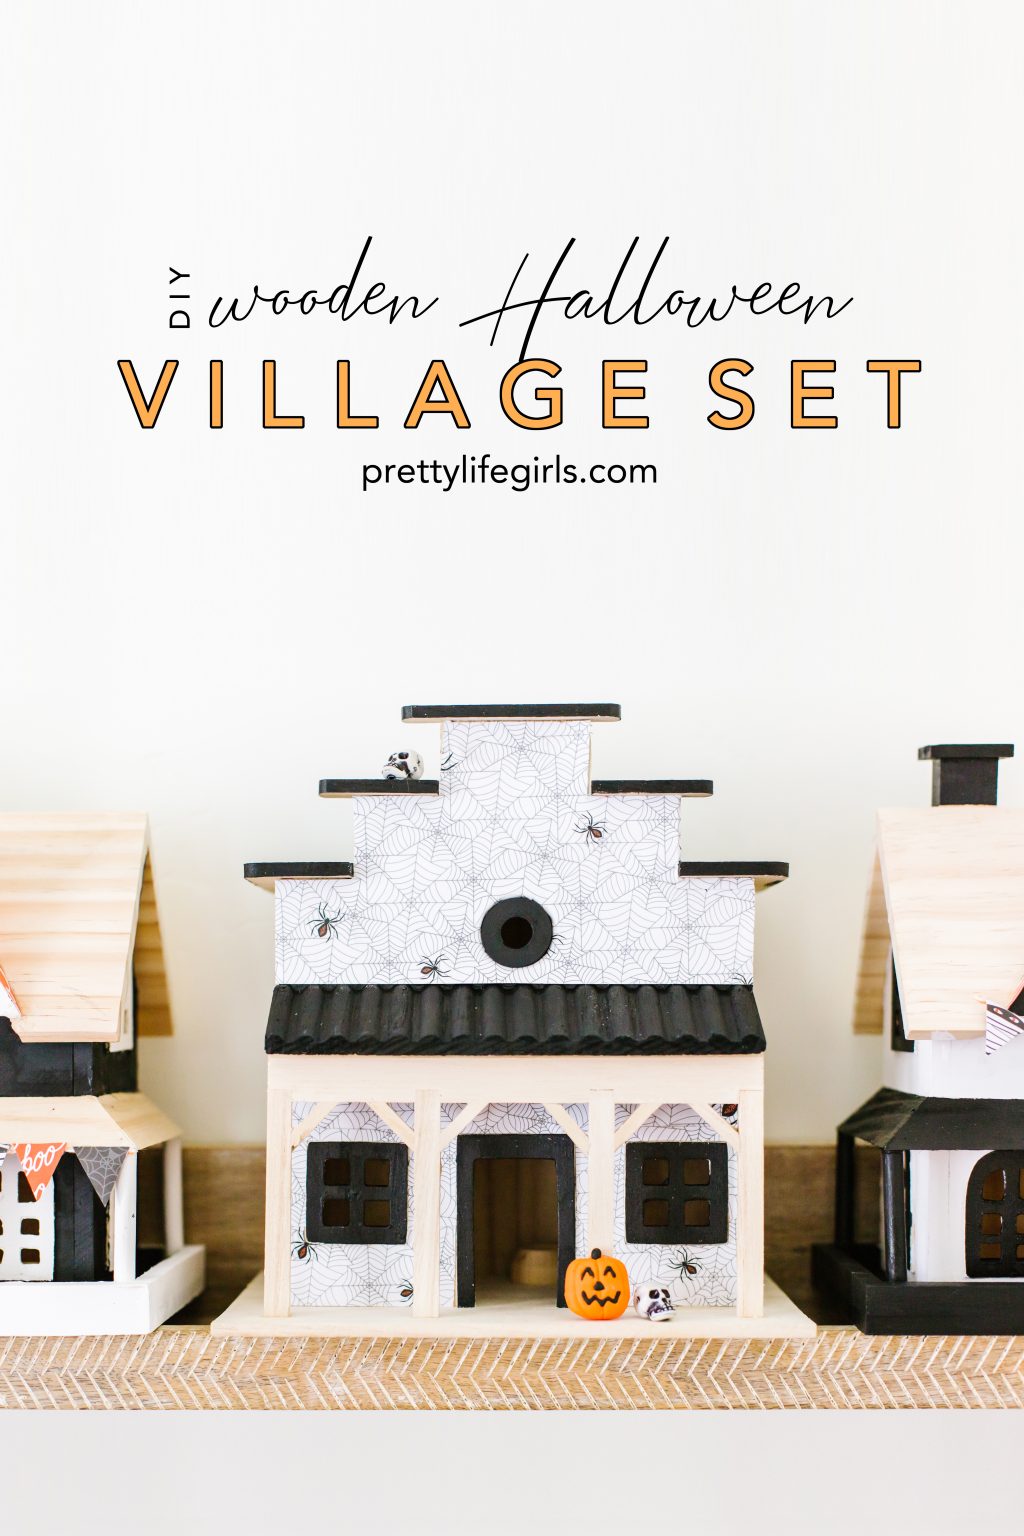
A couple years ago I made a Halloween Village that has been one of our most popular posts and lit a fire in me that I was unprepared for. There are so many fun ways to make Halloween villages (which we talked about on a Studio 5 segment earlier this week), and they are such a fun addition to any Halloween decor. This DIY Wood Halloween Village Set is reminiscent of the 2017 village, but we mixed up the house styles and used some different patterns and embellishments. Unlike some of the other villages we’ve shared this week, this Halloween village set is more subtle and minimal, and you can adjust the design to fit your style. Keep scrolling for the tutorial!

Subscribe to our YouTube channel for weekly videos!
Supplies needed to make your own Halloween village set
Unfinished wood houses
Black and white craft paint
Patterned paper
Mod Podge
String
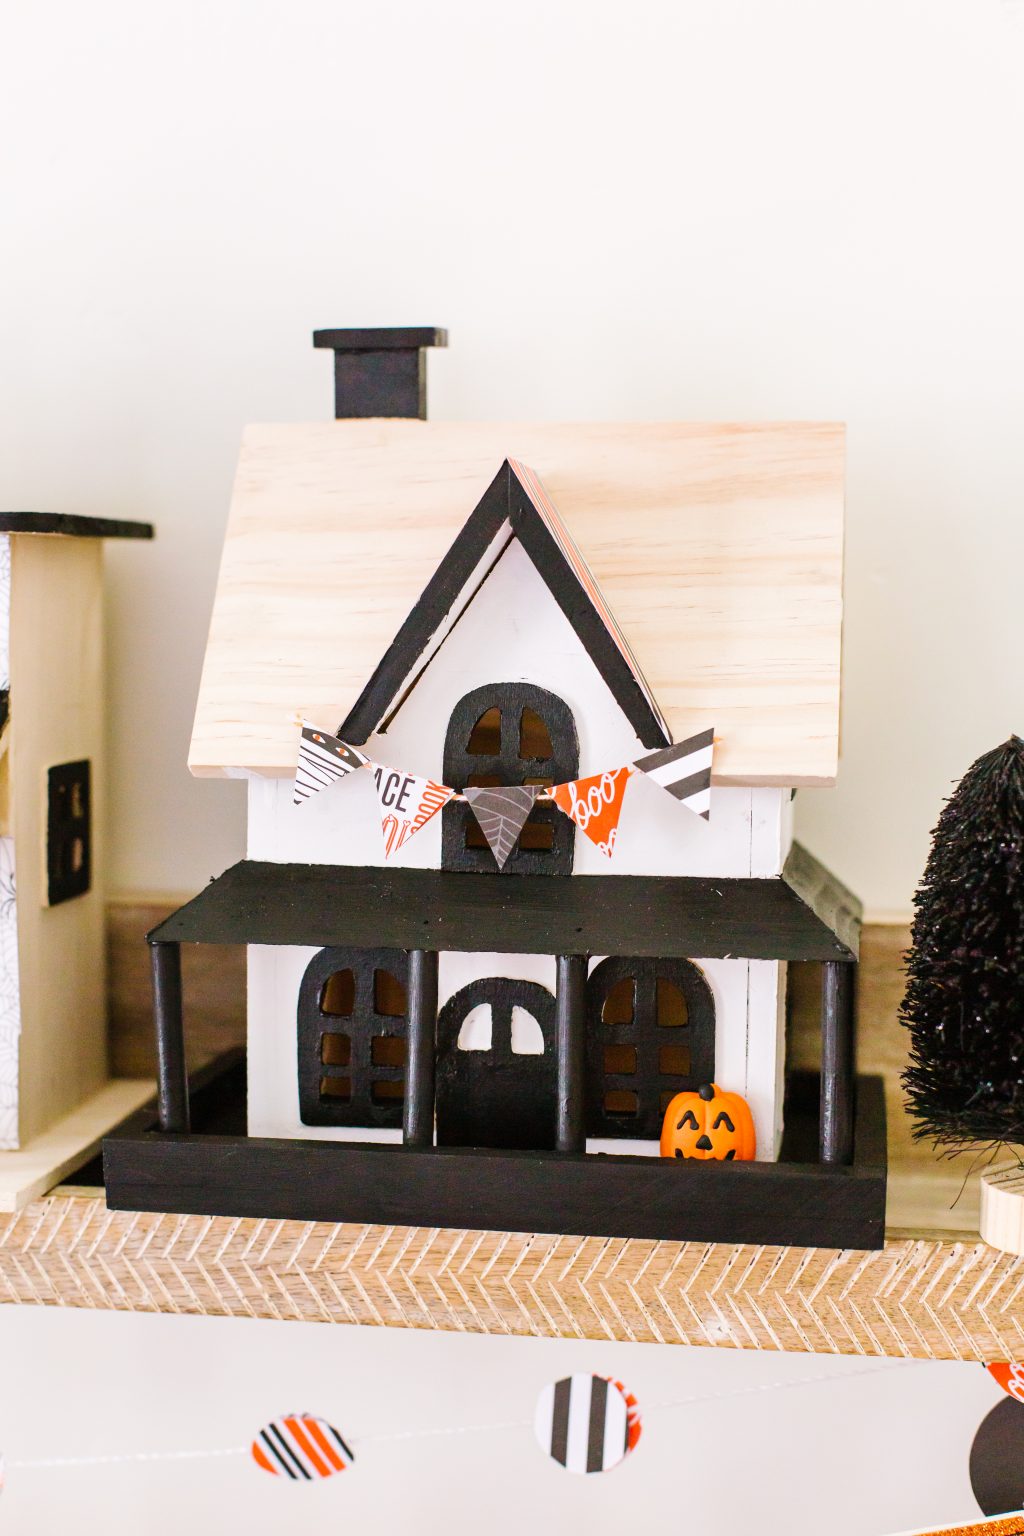
Bottle brush trees
Pumpkin and skeleton embellishments
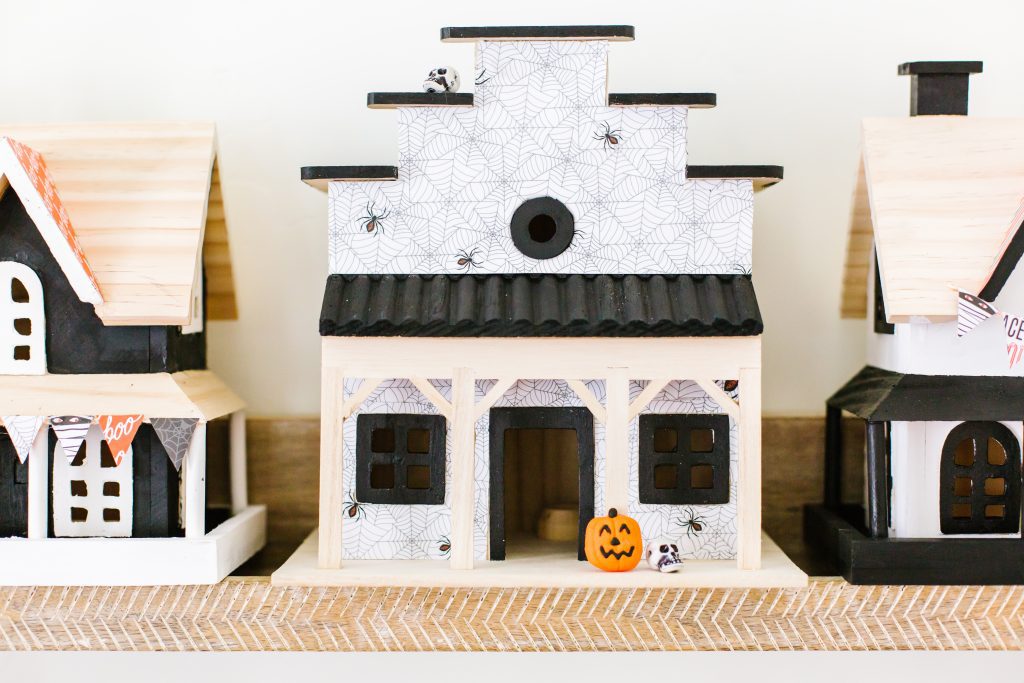
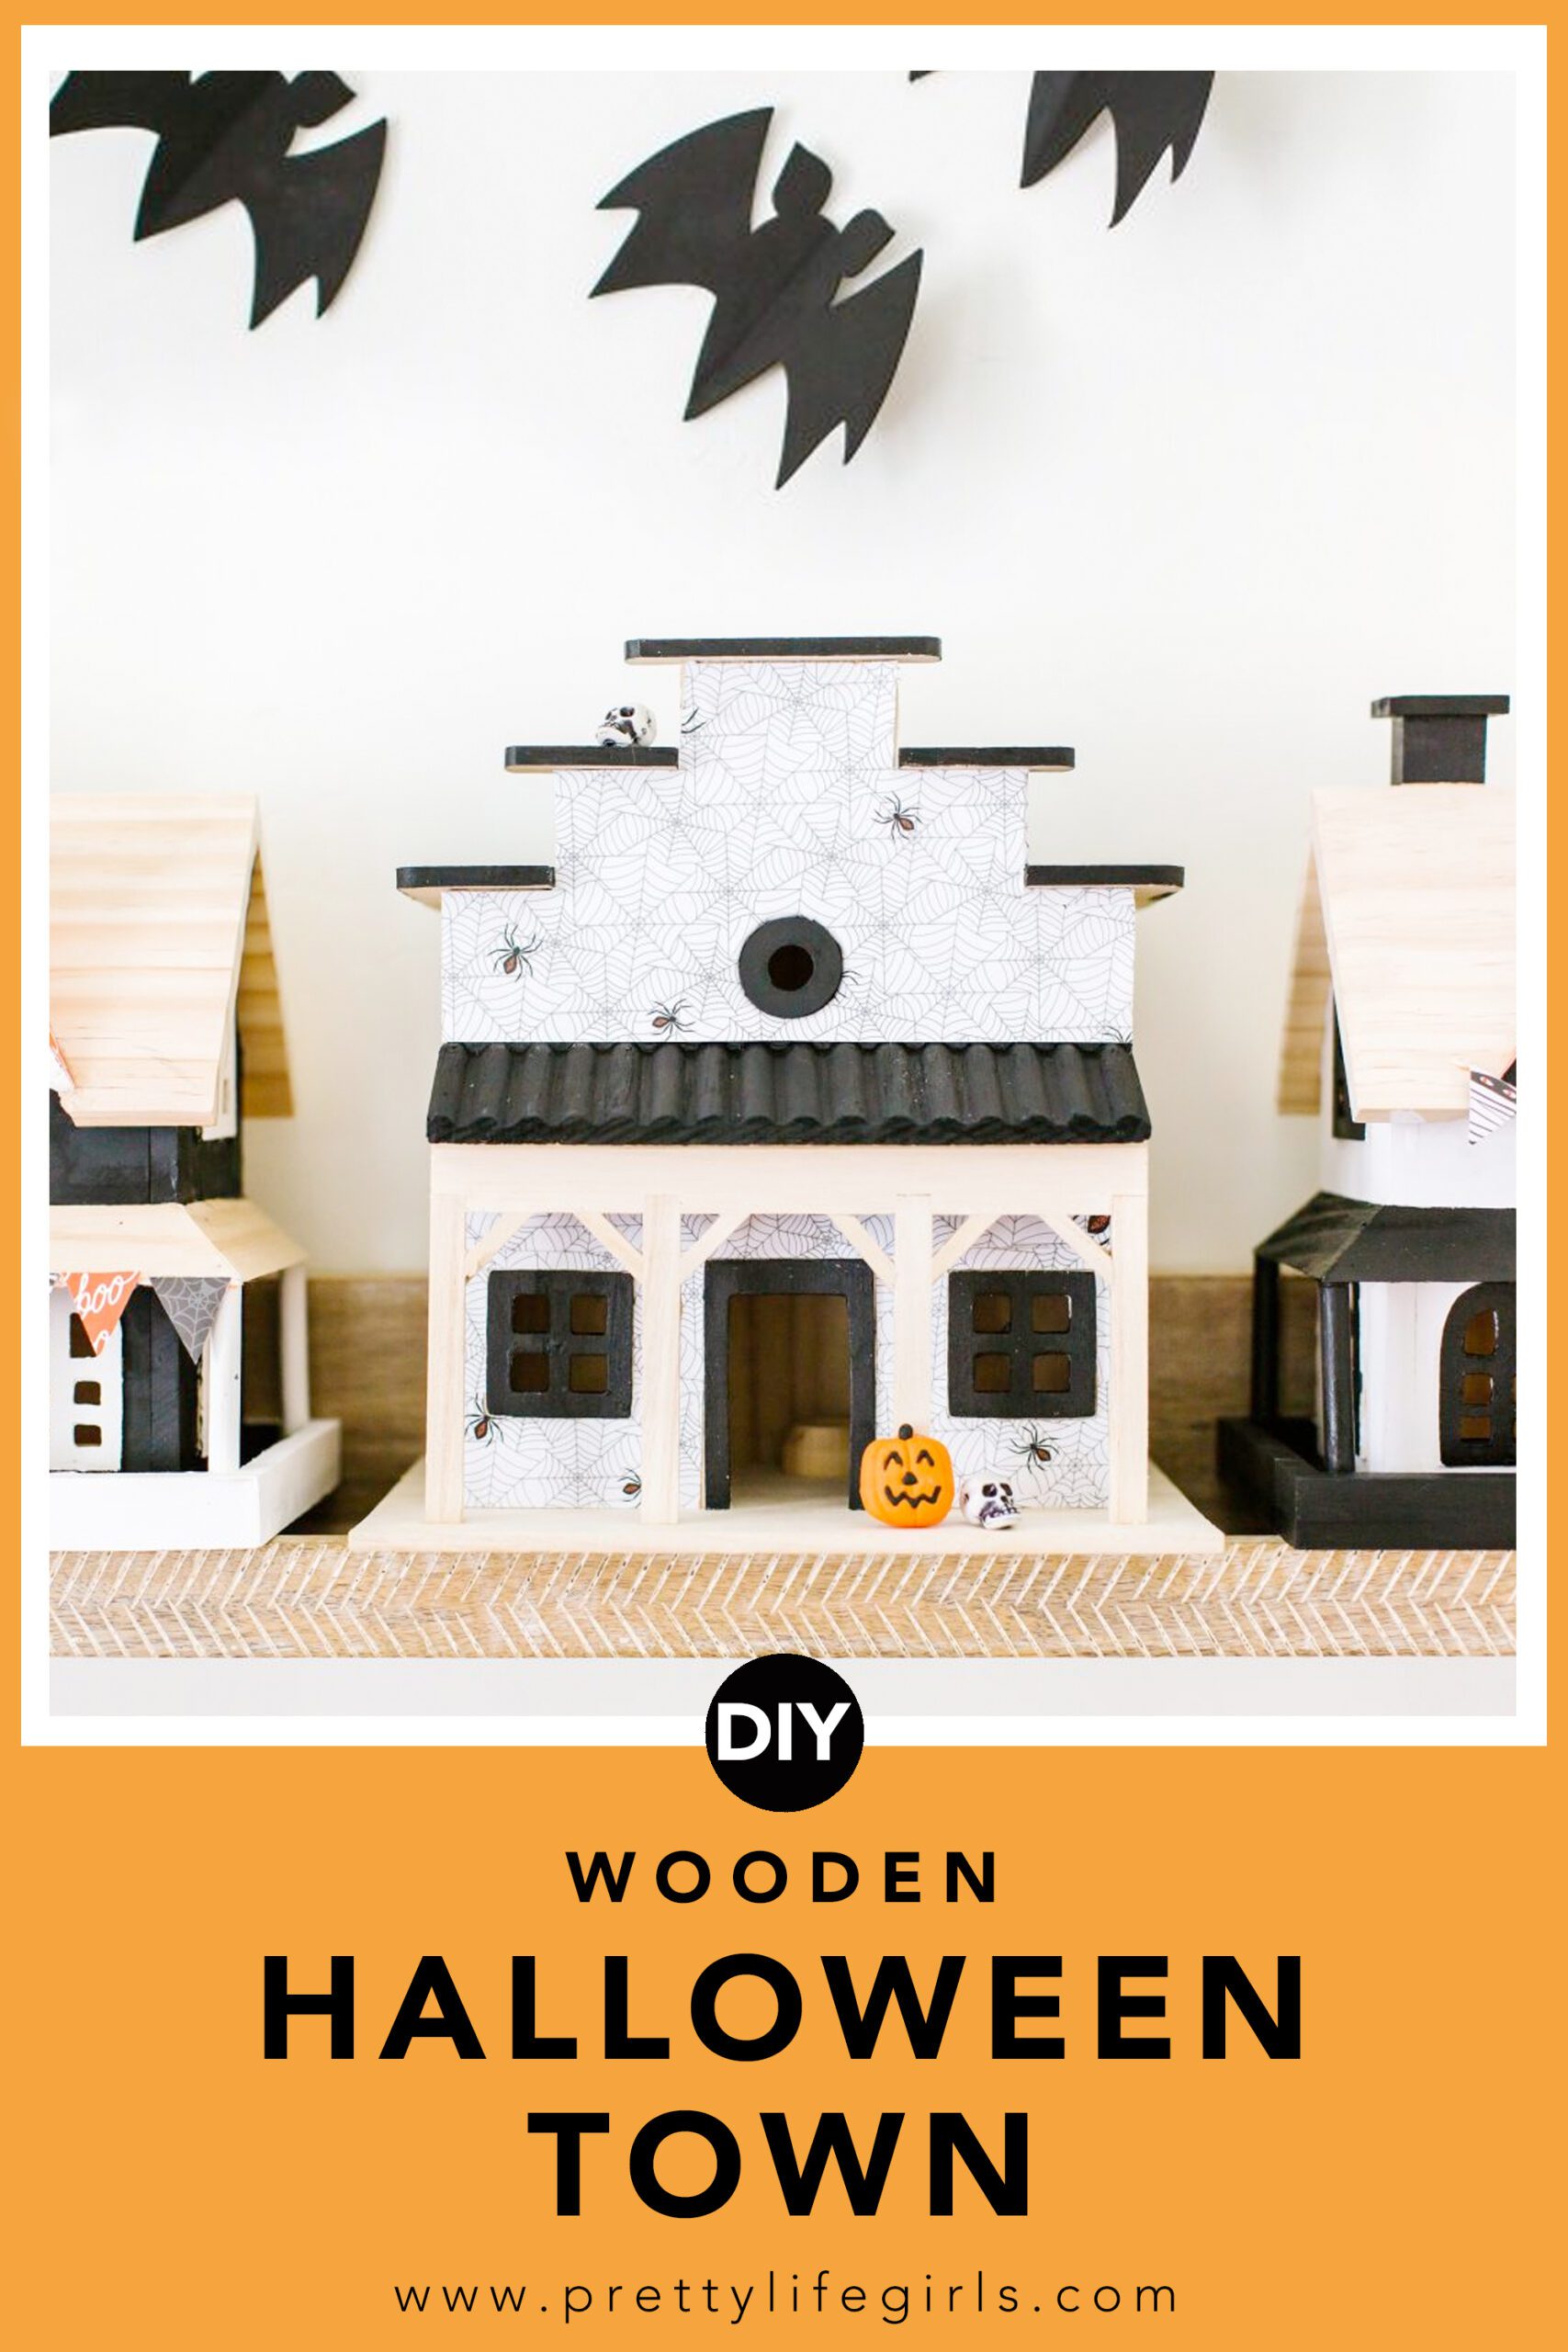
Step 1: Apply paint to the desired areas. I like how it looks to leave some of the wood unfinished, but the beauty of this project is that you can do whatever you feel! Let the paint dry completely.
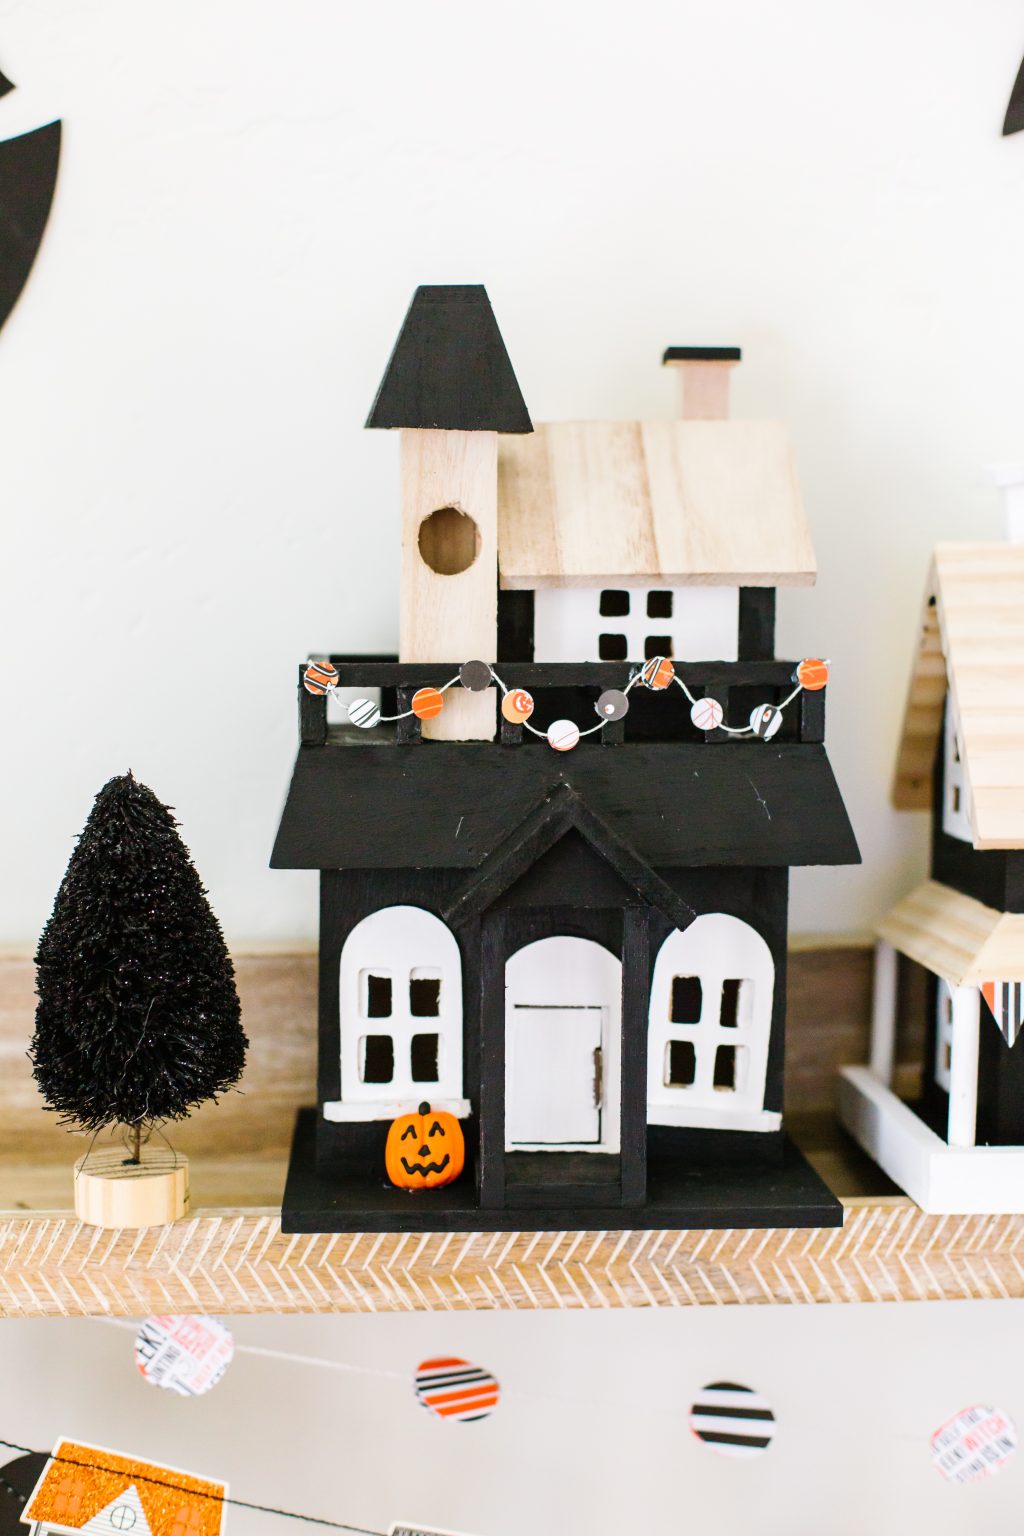
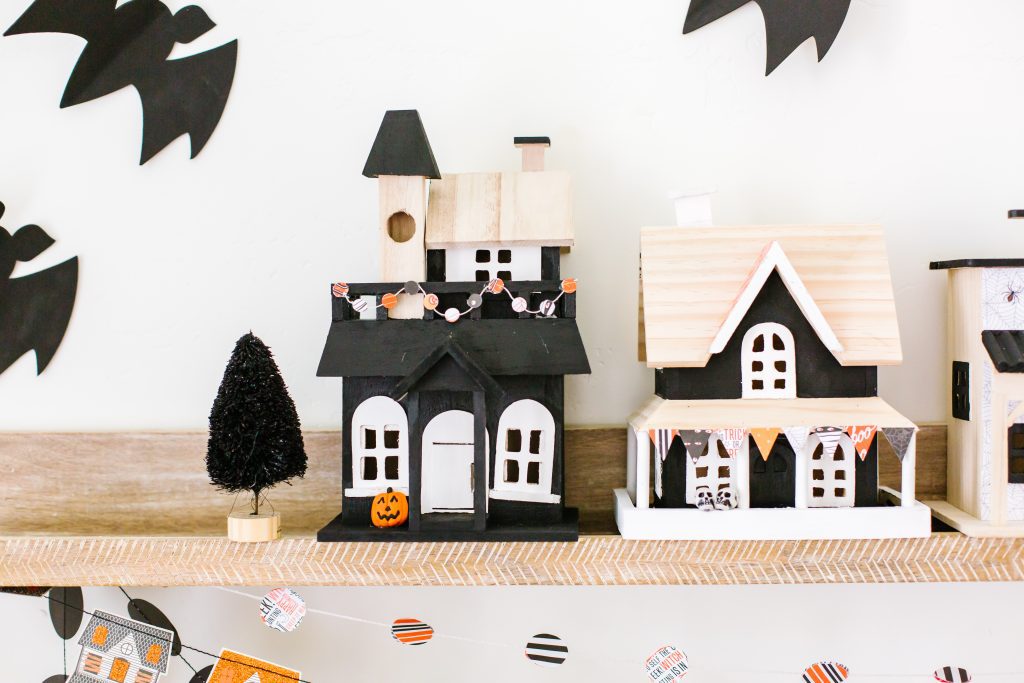
Step 2: Apply patterned paper to desired areas using Mod Podge. It’s also super easy to make mini pendant banners – just cut little triangles from the paper and use hot glue to attach to the string.
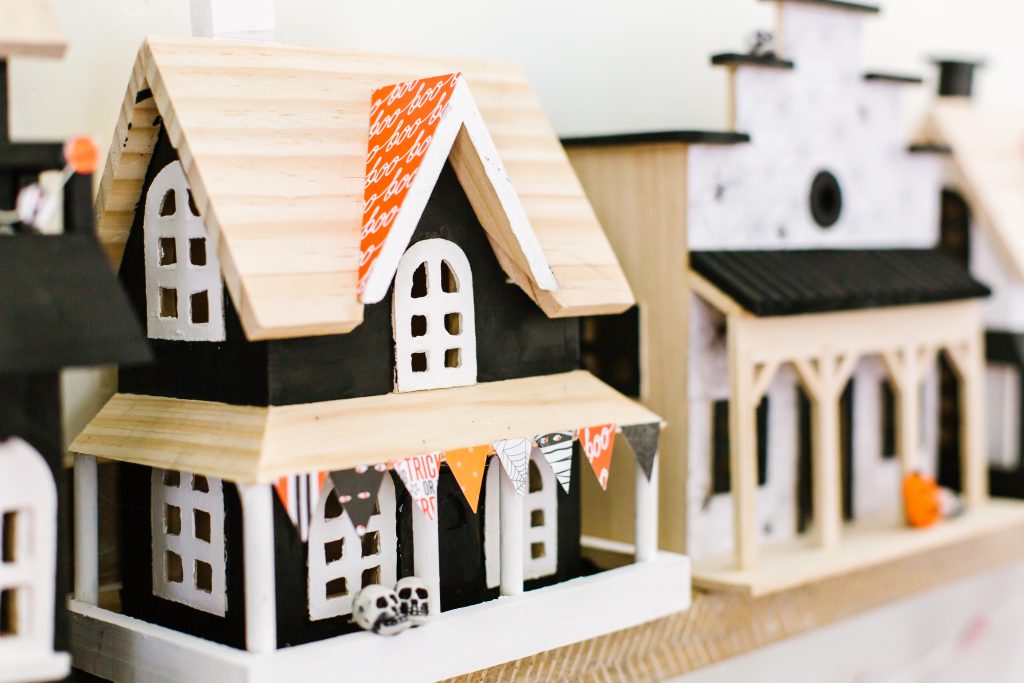
Step 3: Add embellishments. I found these mini skulls and pumpkins by the Halloween baking supplies at the grocery store, and they are the perfect size. Black bottle brush trees help complete the set!
Could these be cuter? My love for Halloween villages is real.
 Happy crafting!
xo, Liz
If you love Halloween villages as much as me, check out these other projects!
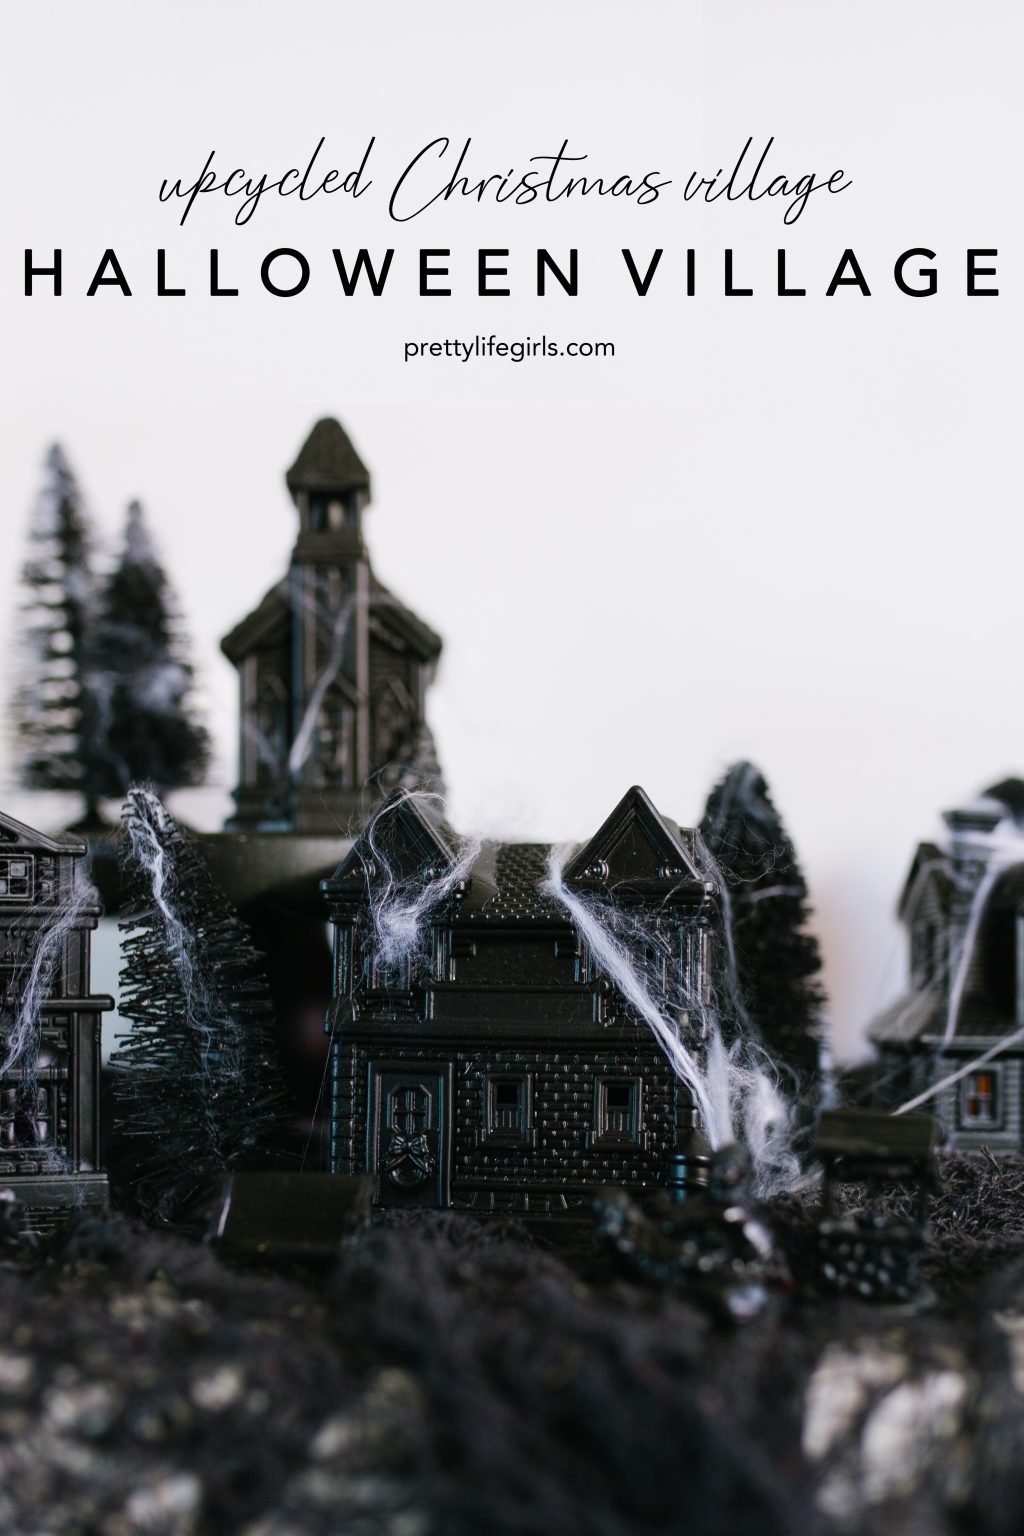 Halloween Decor: How to Turn your Christmas Village into a Spooky Halloween Village Display
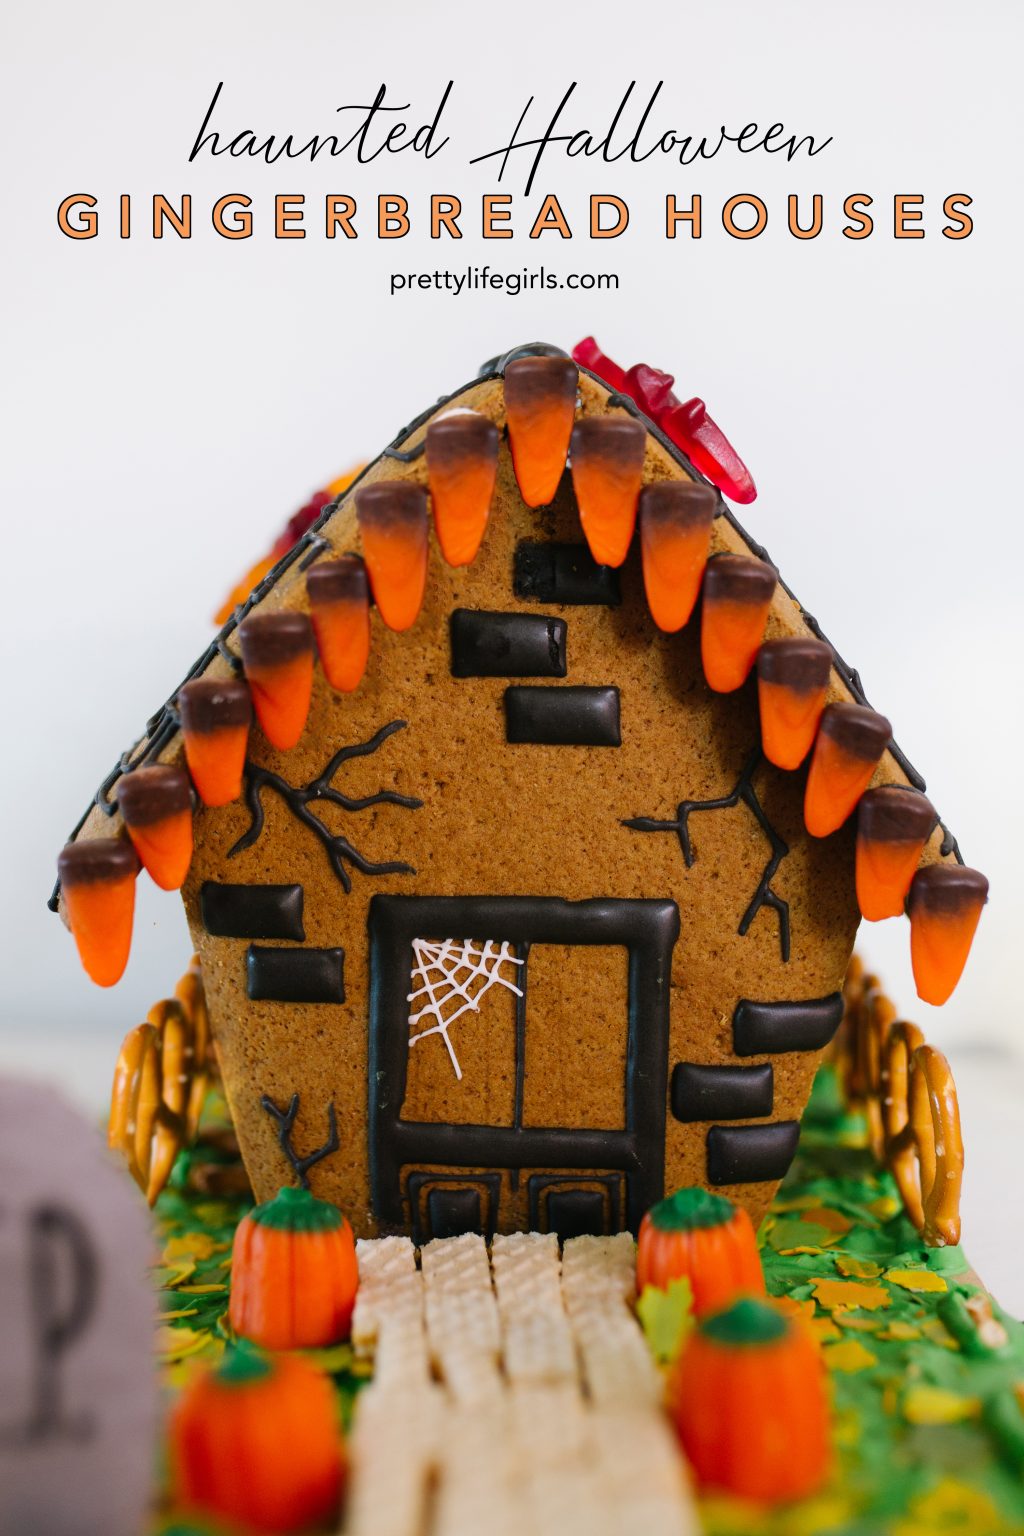 Haunted Halloween Gingerbread Houses