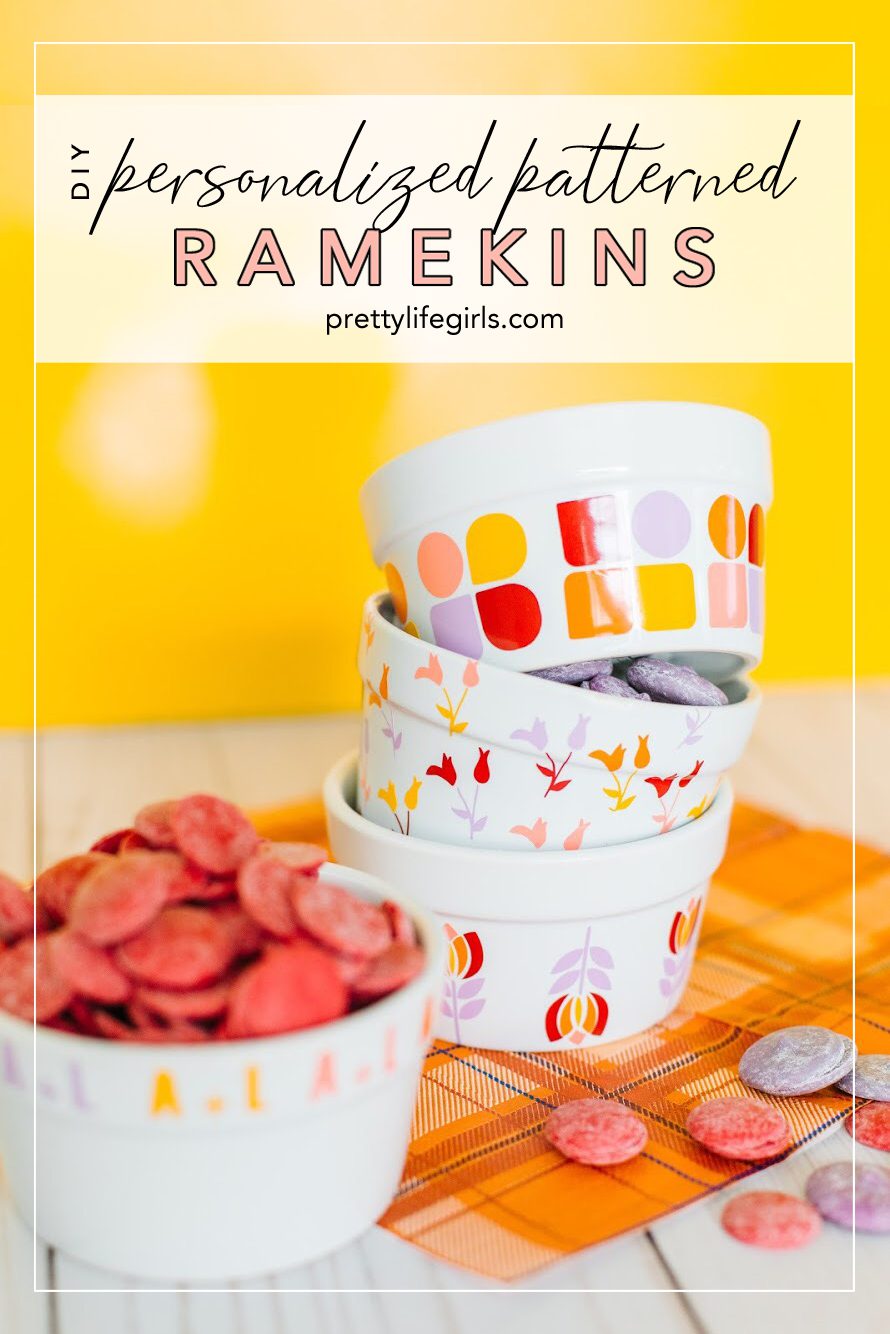
This Personalized Patterned Ramekins post was sponsored by Expressions Vinyl.
All opinions expressed are ours alone.
You guys. I just did a google. Do you know how many days there are until Christmas?! 63! And while, I’m sure a lot of you will be in the camp that says “Halloween hasn’t even happened, WTF are you doing talking about Christmas already and also, you need to stop talking about Dairy Queen so much on this blog, PLZ.” First, to that we say, Dairy Queen 4 EVR! But also, YES, Halloween hasn’t happened BUT, if you are planning on making any of your gifts by hand, you’re gonna need a head start that mall shoppers don’t need! This is a public service! As a result, today we are starting early to get your gift idea wheels turning so that you can get all the handmade treasures you plan to make your friends/family done by December 24th!
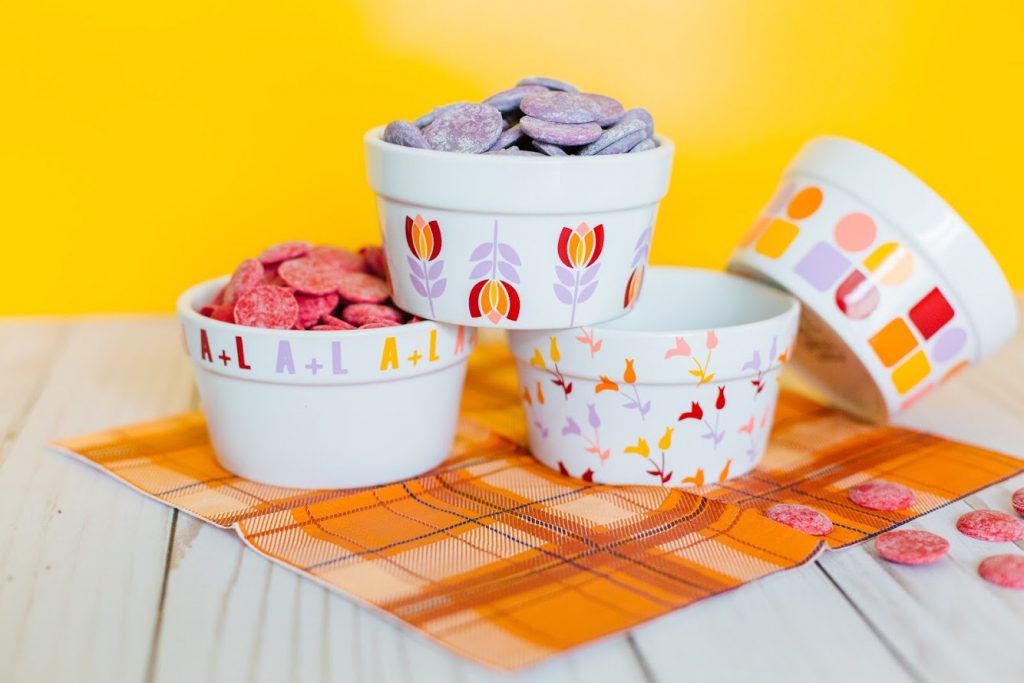
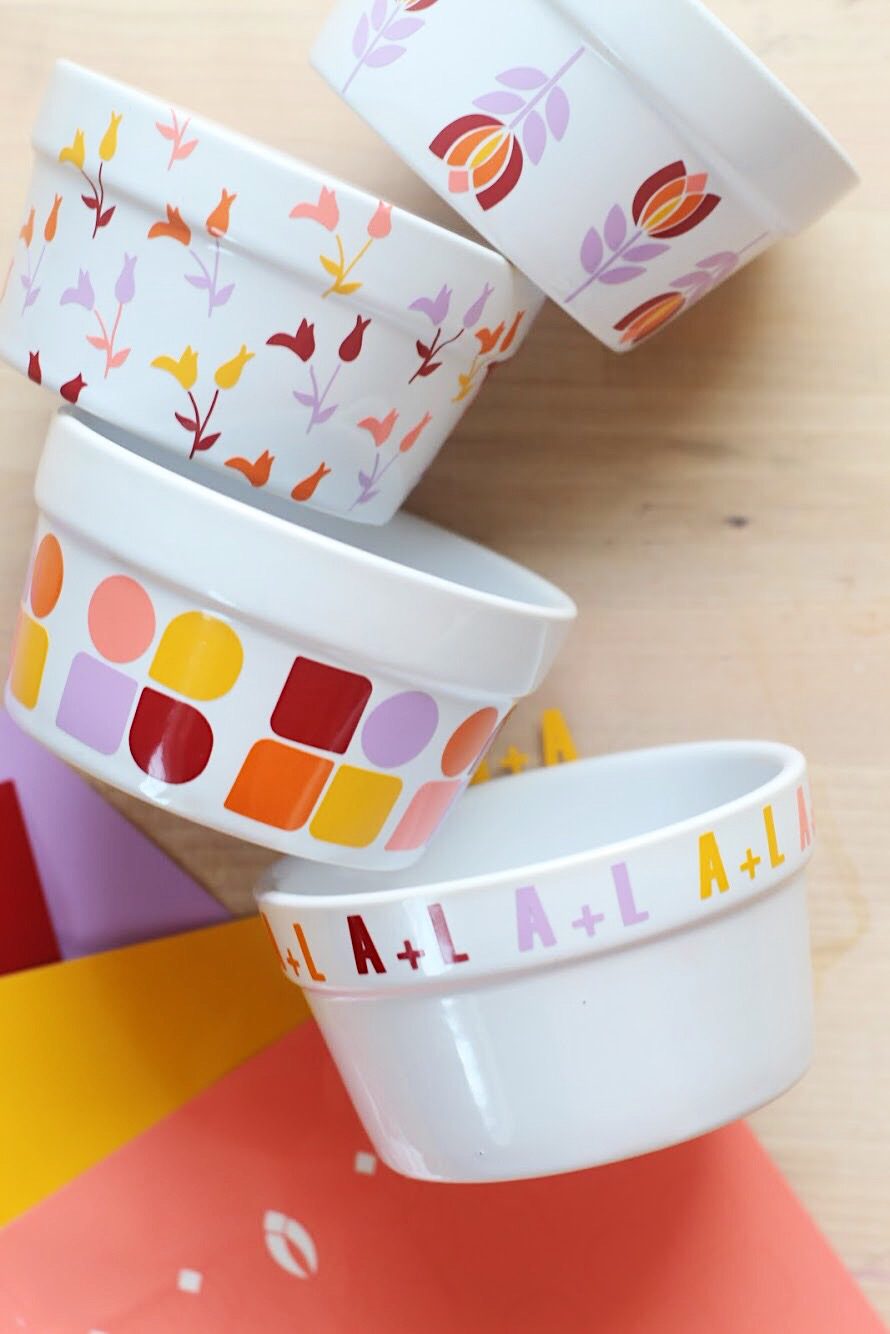
To kick things off, we are making a fun project using some of our favorite vinyl from Expressions Vinyl to make an adorable personalized gift – personalized and patterned ramekins! These ramekins were inspired by some tiny patterned bowls I saw at Anthro that can be recreated for just a couple of dollars. Plus, I love using Expressions Vinyl because you can buy vinyl by the sheet in tons of amazing colors so you aren’t stuck investing in a roll that you might now use. We love the idea of mixing in fun patterns with a little personalized touch, like lining one of the lips of the ramekins with the receiver’s initials, to make them extra special.
Let’s get making!
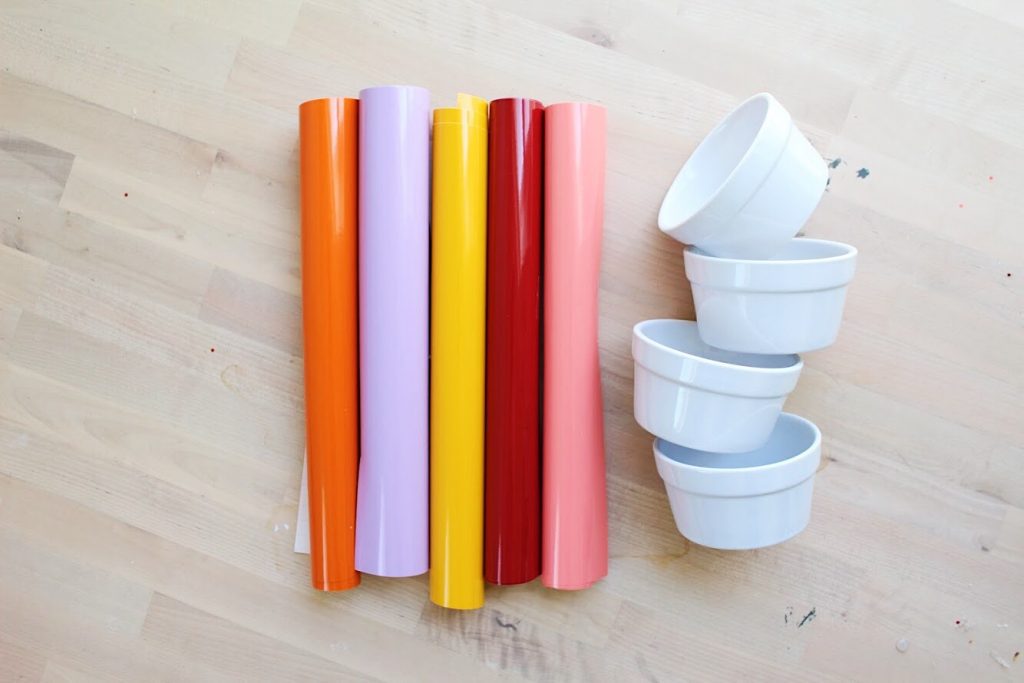
Supplies needed to make your own personalized patterned ramekins
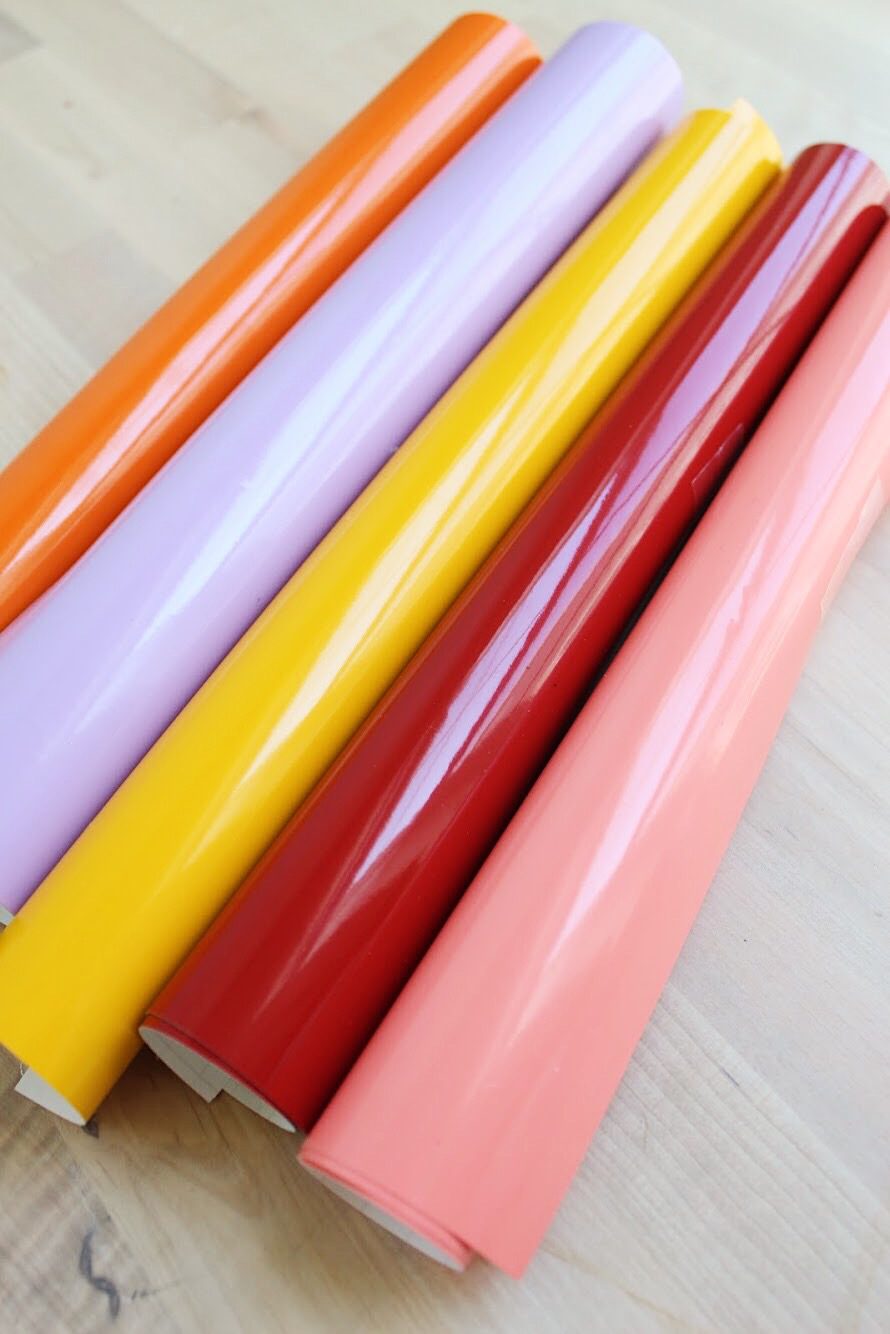
Expressions Vinyl Series 51 12″ x 12″ Permanent Vinyl Sheet (I used coral, warm brick, carrot, sunshine yellow and lilac)
Expressions Vinyl Transfer Tape
Craft Cutter (I use a Silhouette Cameo)
Plain Ramekins
Step 1: Pick your design! We used this one, this one, and this one from the Silhouette Design Store and then we just typed an A + L into our software before cutting.
Step 2: Measure the size of your ramekins and adjust your designs to fit in your design software, then, cut out your designs using your craft cutter of choice.
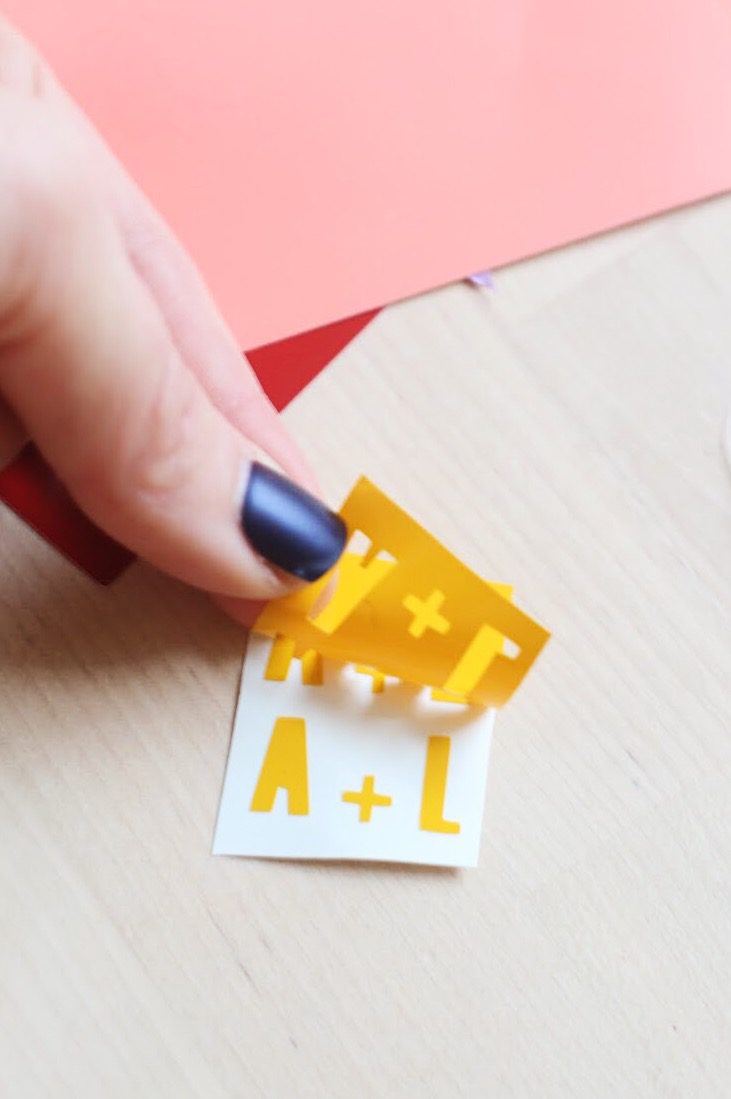
Step 3: Weed any excess vinyl to reveal your design.
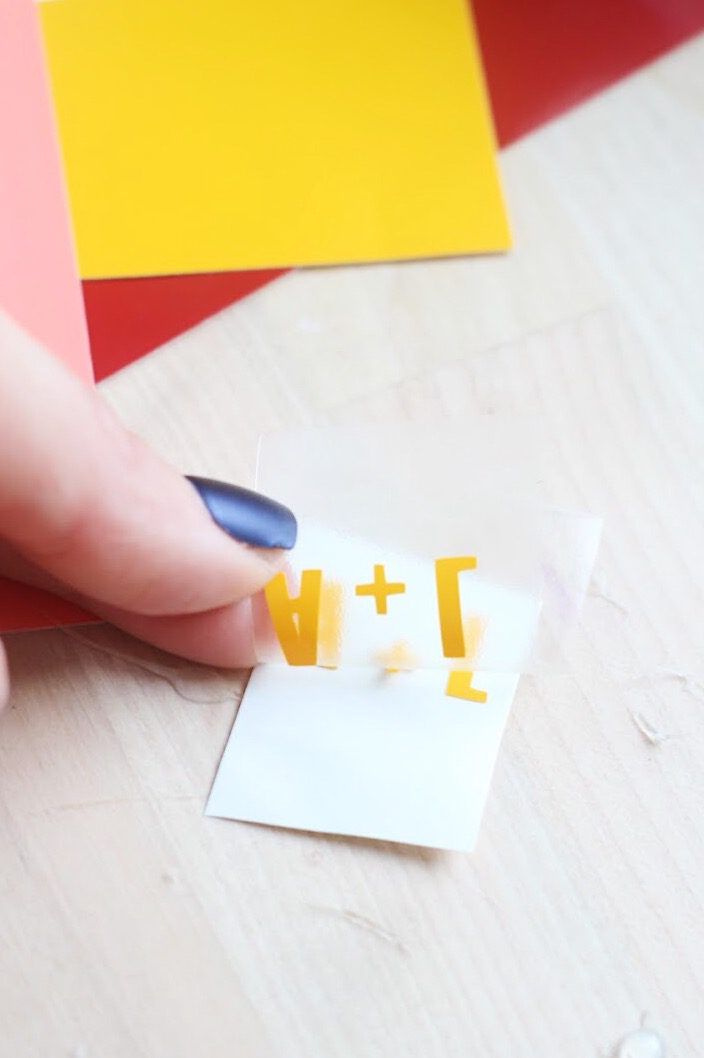
Step 4: Apply transfer tape on top of your design by rubbing with pressure, then peel back your design to remove from backing.
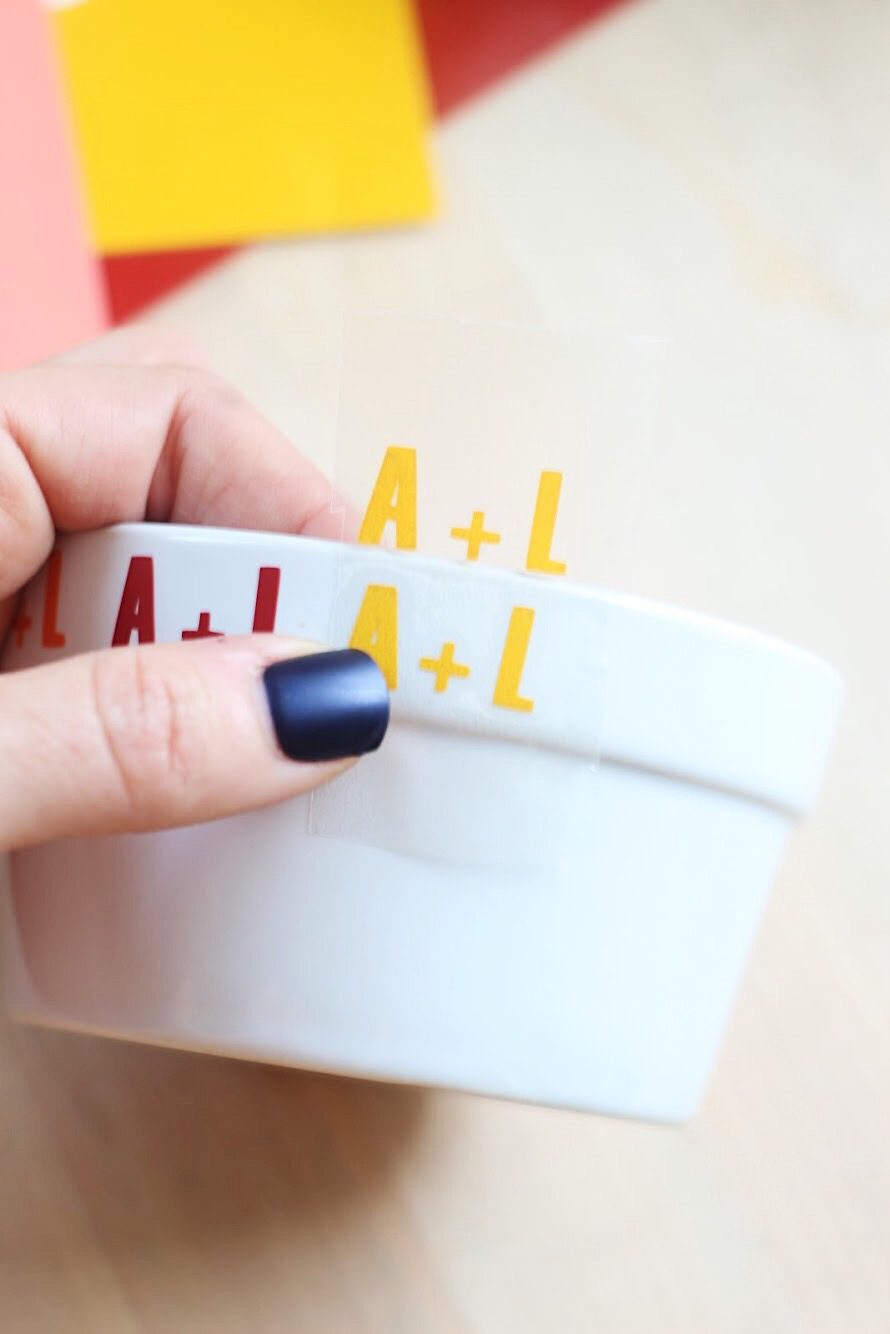
Step 5: Apply design to the surface of the ramekin by rubbing on top of the transfer tape, using pressure, then peel back transfer tape. Repeat process on all ramekins with all designs until they are covered in cuteness!
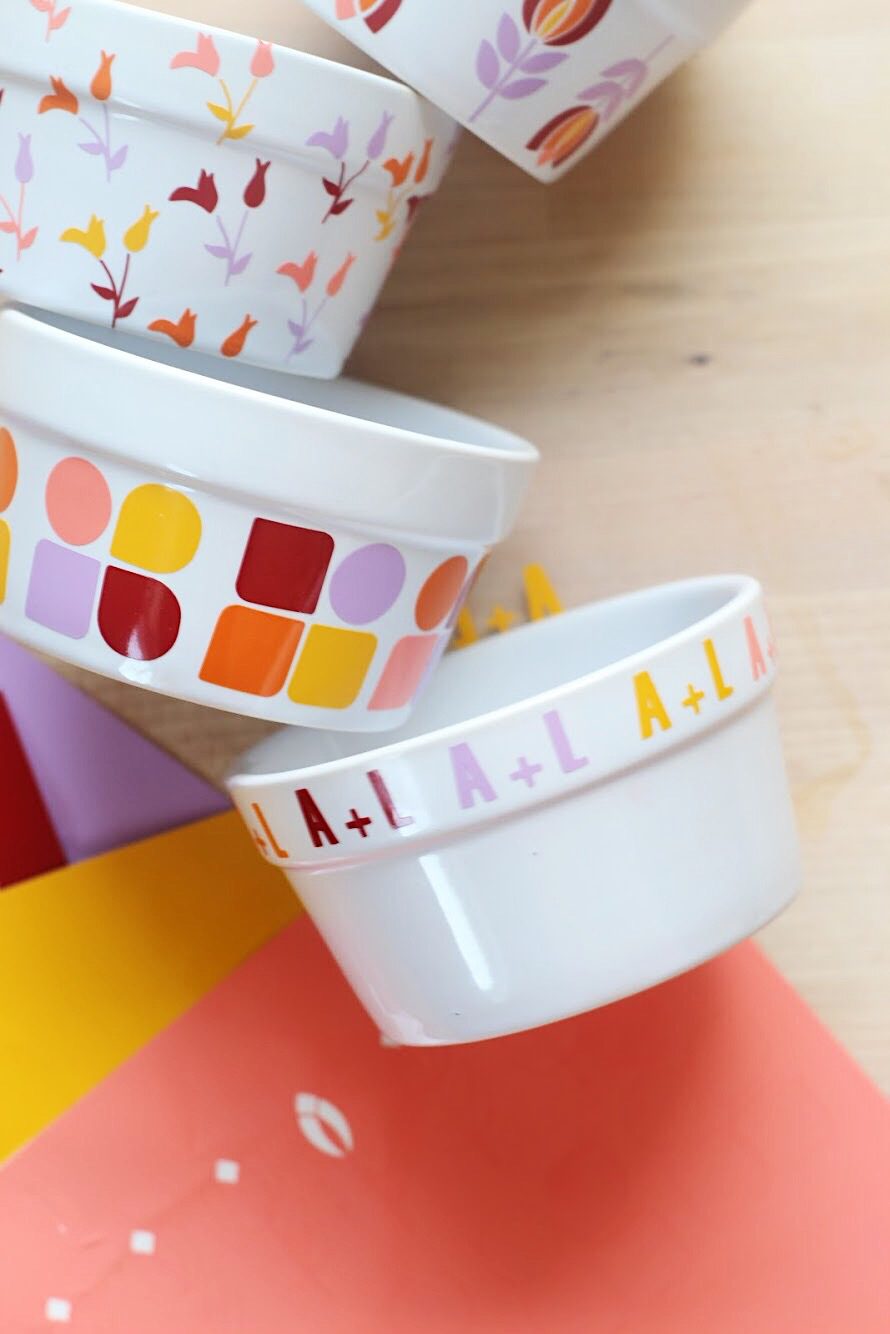
Aren’t they the most fun!? I love these designs and with all of the fun Expressions Vinyl colors that are available you can make a gift that really stands out!

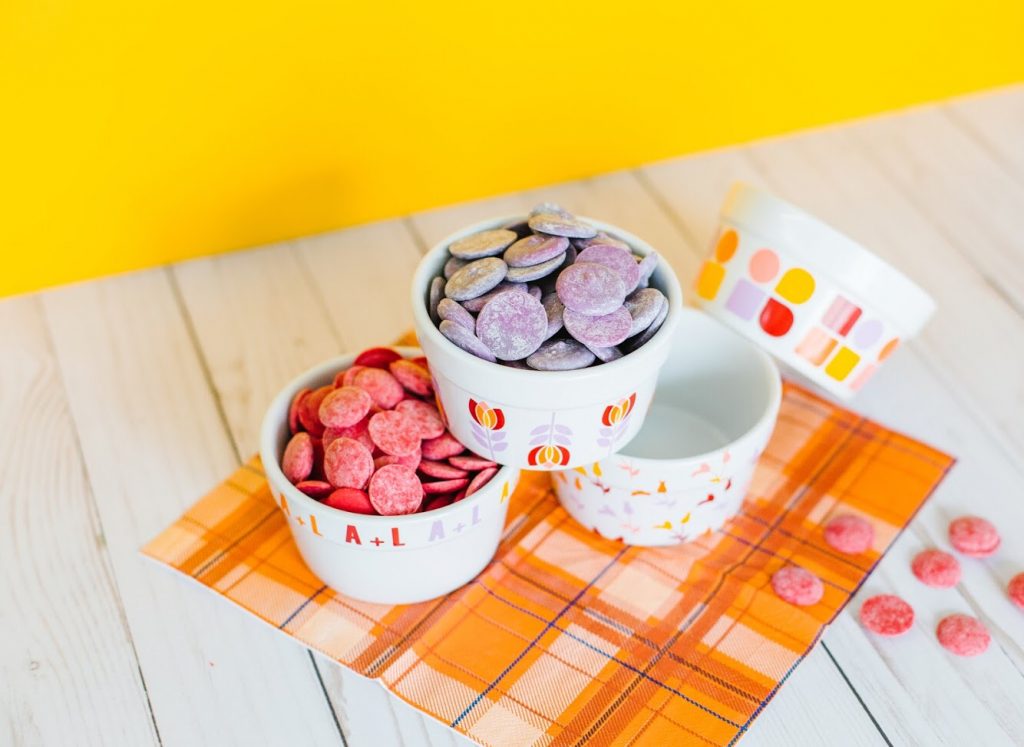

I love the idea of filling these with candy and wrapping them up to give, or pairing them with other kitchen tools to make an adorable gift set!


Do you have any gifts you’re planning to make by hand this holiday season? I’d love to hear all of your ideas!
Happy making!
ox. Liz
And for more DIY gift ideas, visit these posts: