


This post was originally published October 2018 and updated as of August 2022.
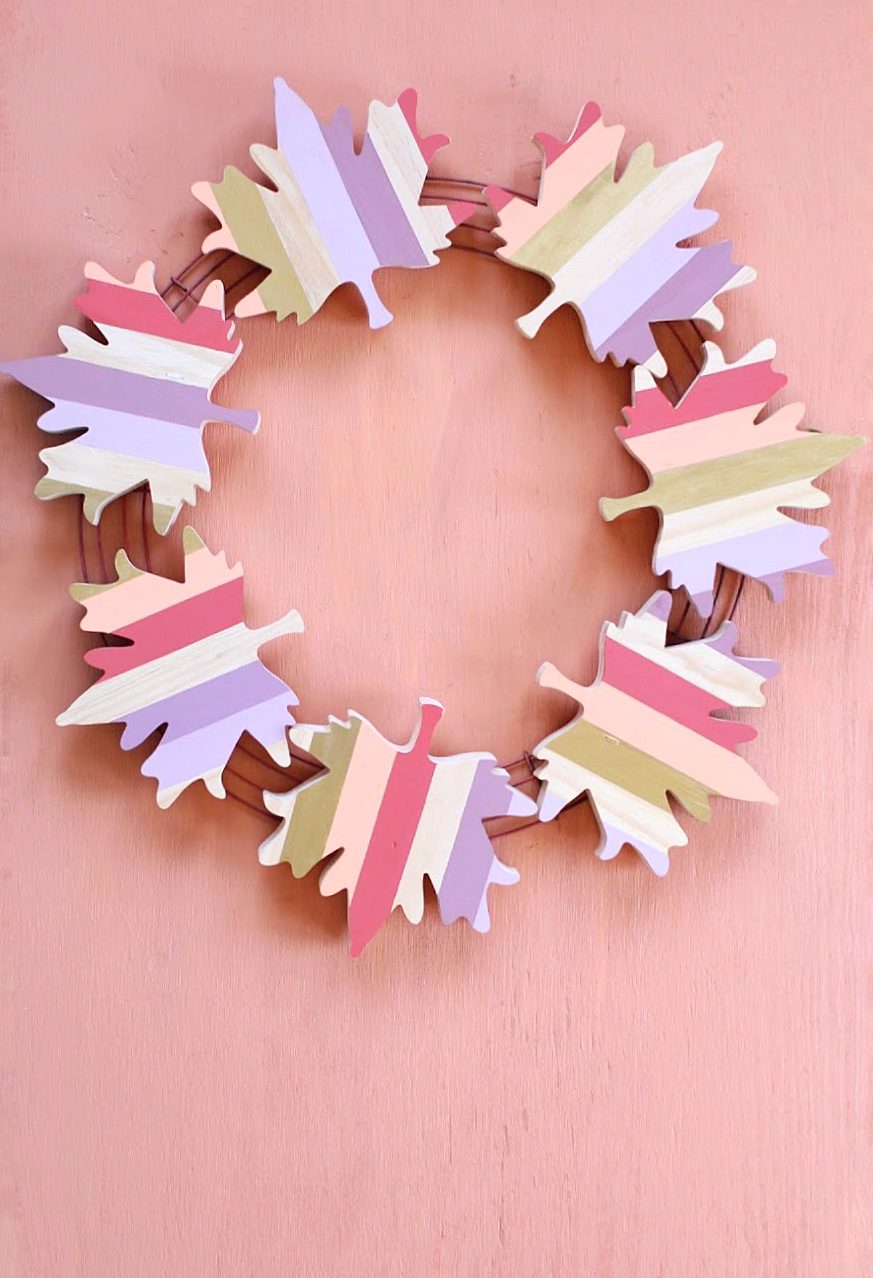
This DIY painted wood leaf wreath is made in a gorgeous, bright color scheme! We love the nontraditional fall colors paired with the maple leaves—perfect for getting your front door fall-ready!
 DIY Painted Wood Leaf Wreath
 DIY Painted Wood Leaf Wreath
Decorating for fall is so much fun. It is the most exciting when you start to get those first cool days that signal it is time head to the pumpkin patch and load up your trunk with pumpkins and mums to make your home festive. However, this year I moved to New Orleans where the weather is still going to be in the 80’s for the next week or so and that fall crispness is being smothered by humidity.
As a result, I’m not feeling like decorating in the warm, cozy way I did when I lived in the northeast. Around here it still feels kinda summery which is confusing my usual fall decor tastes! To combat this, I have been doing a kind of hybrid decorating for fall with brighter colors than the usual deep oranges, reds, and browns. And, I started at my front door by making a fall wreath with pops of vibrant color!
How do you make a modern fall wreath?
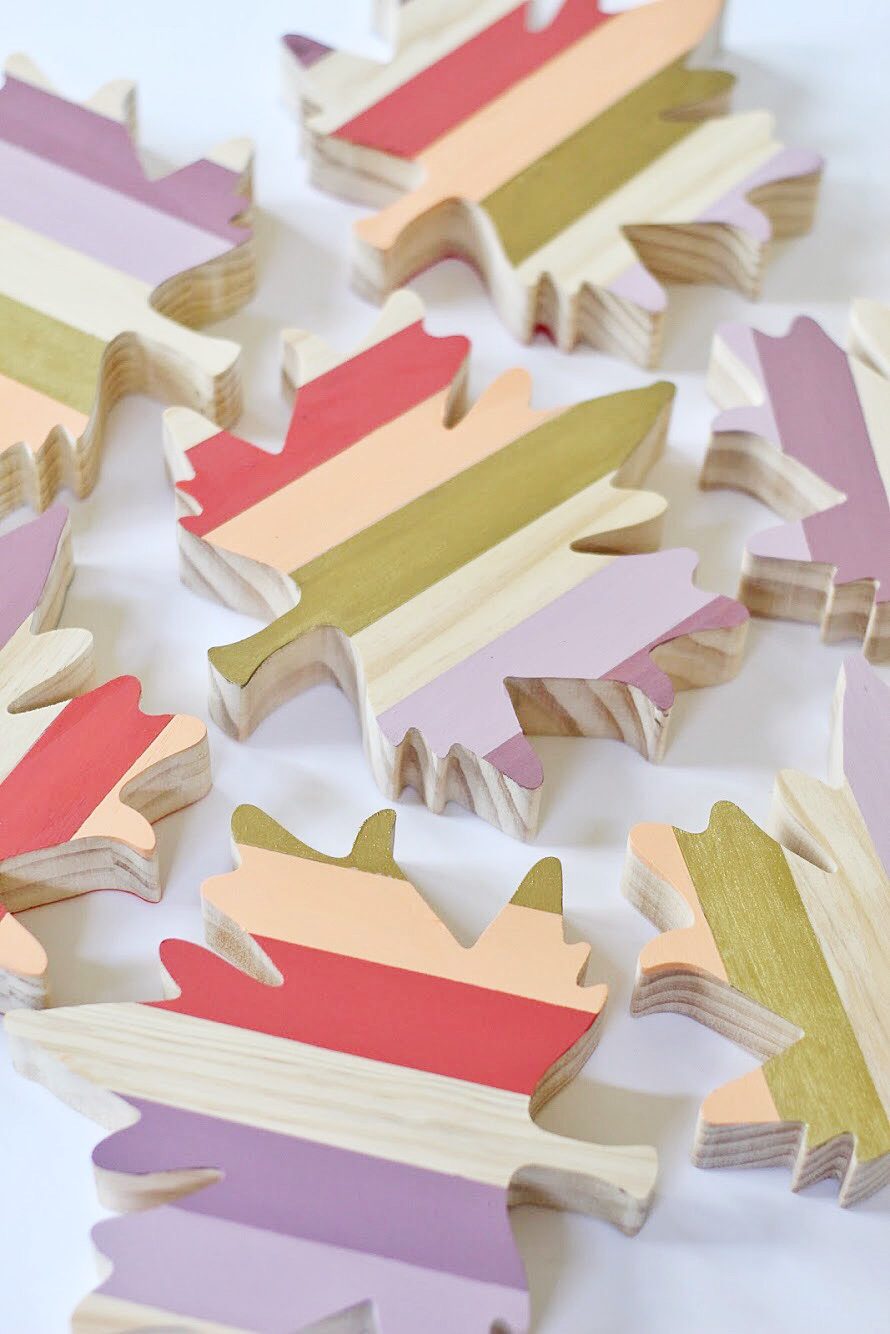
This striped maple leaf wreath is made from painted wooden leaf cutouts that are attached to a metal wreath form. We painted the leaves with craft paint in stripes of nontraditional fall colors to make it a little more modern.
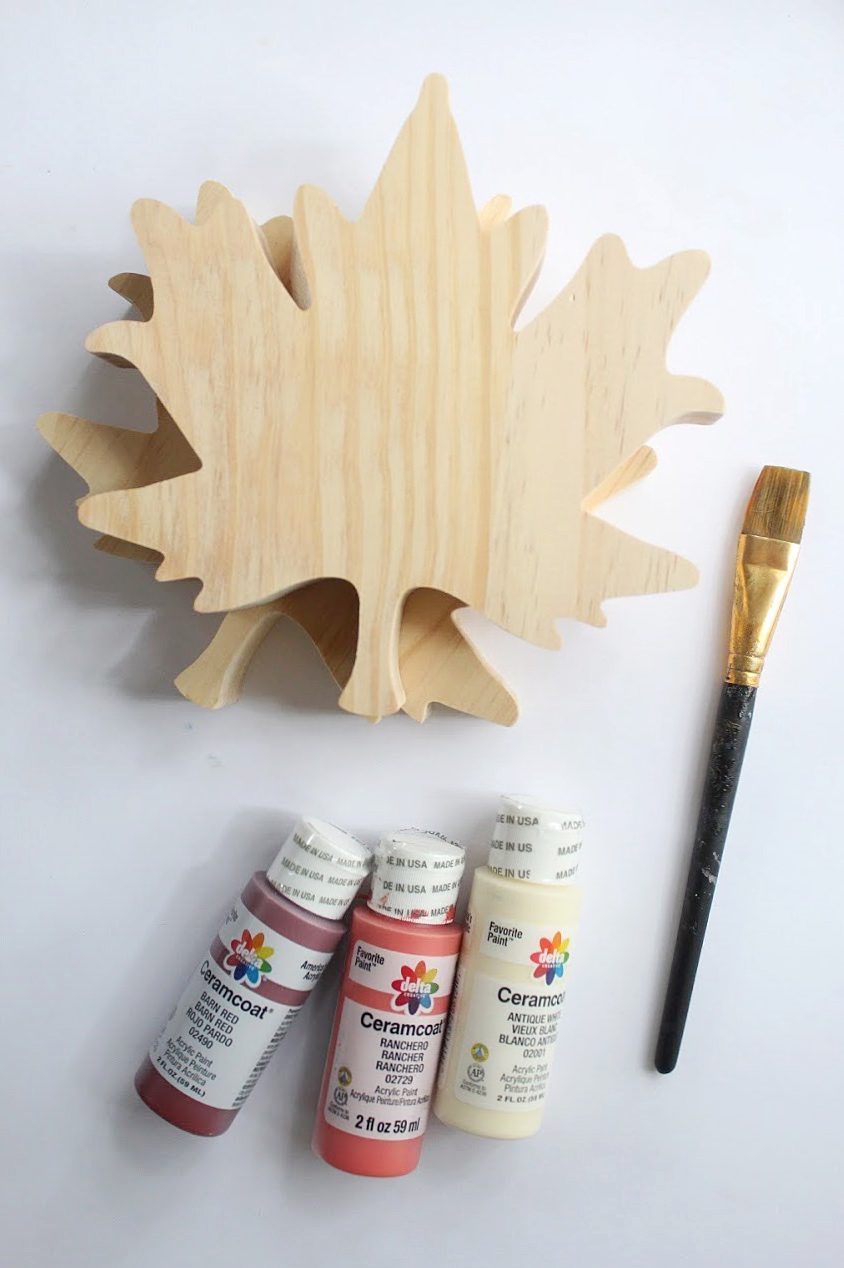
Materials needed to make a DIY Painted Wood Leaf Wreath
Craft paint
Wooden Maple Leaves (similar)
Paint brushes
Ruler & pen
Tape
Wire wreath form
Nail gun & nails or sawtooth hangers and hammer
How do you make a homemade fall wreath?
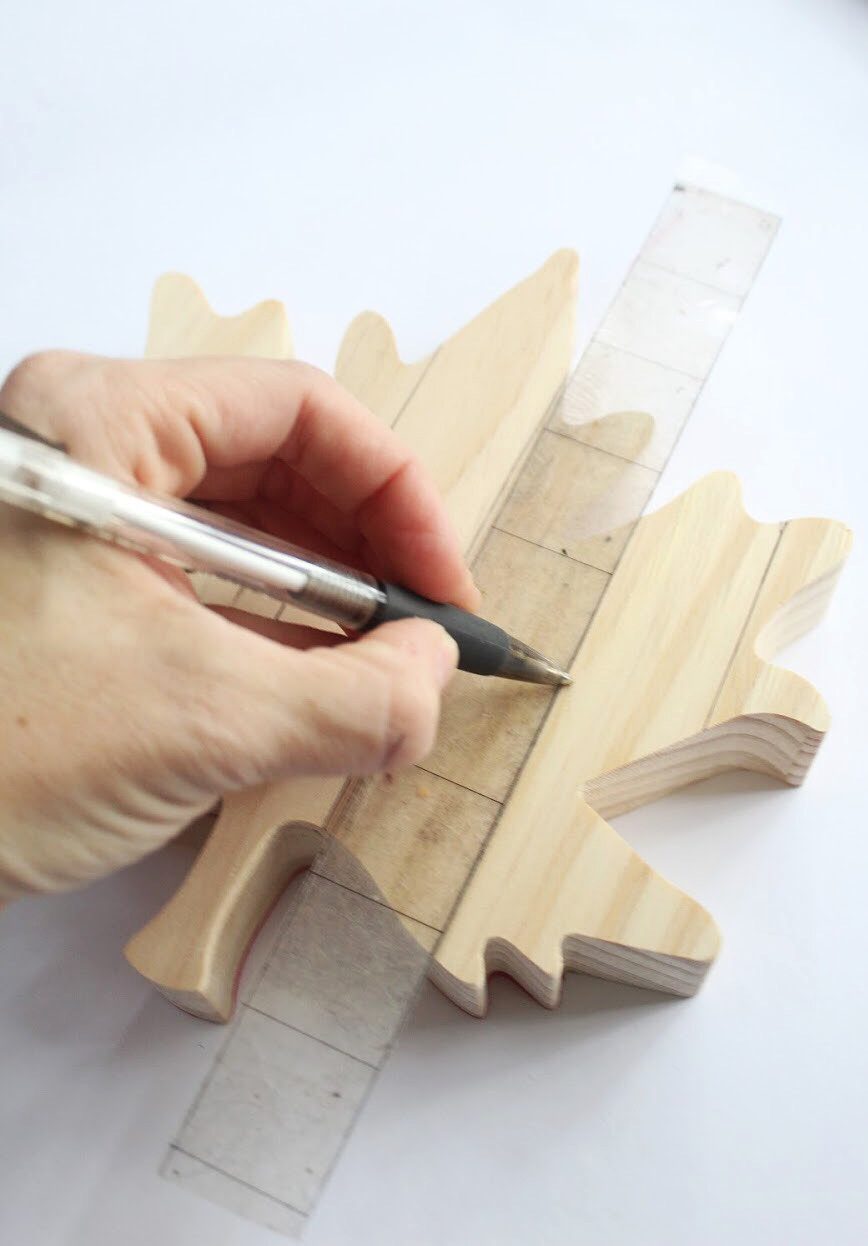
Step 1: Measure out and mark the lines for your stripes. I made mine about an inch wide, but you can make them smaller and add more color or make them bigger and add less!
Step 2: Tape along the lines. I chose to keep a couple of the lines in the natural wood but taped off all of the others so that my lines would be clean after painting.
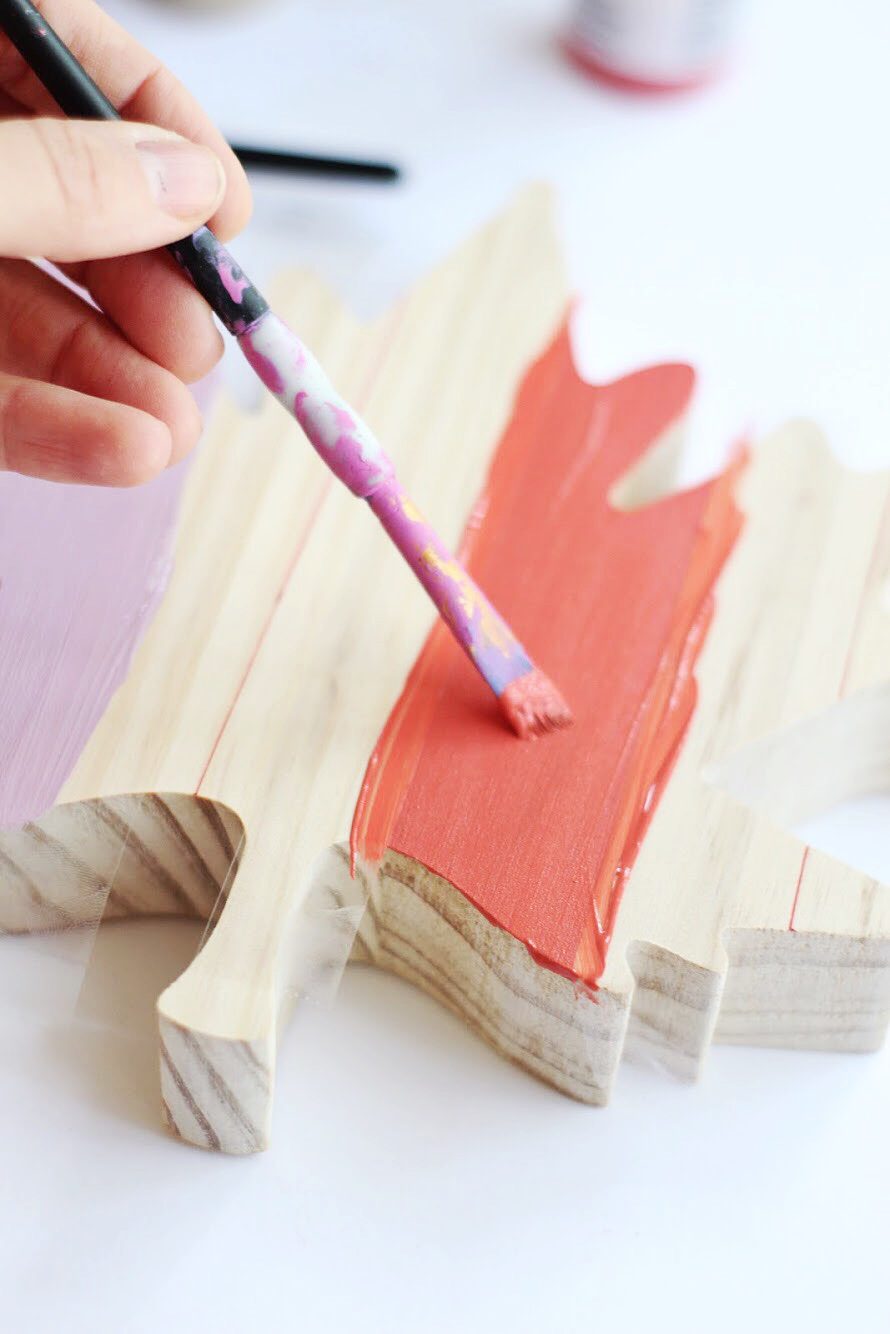
Step 3: Apply your desired paint colors, and let dry completely.
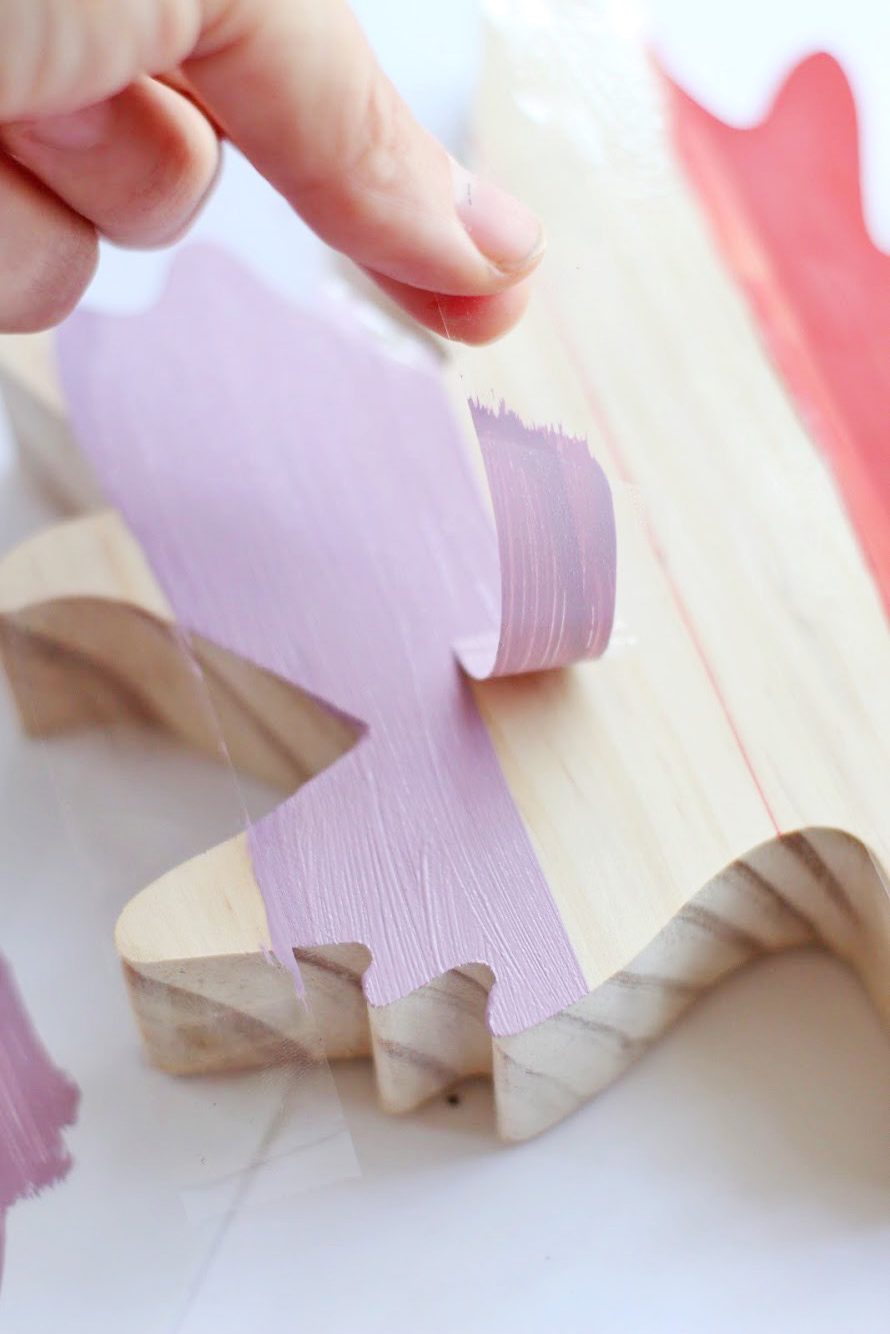
Step 4: Once the paint is dry, carefully remove the tape.
 Step 5: Next, it’s time to attach your leaves to the wreath form. If you have a staple gun, this can be done by simply stapling the leaves to your form.
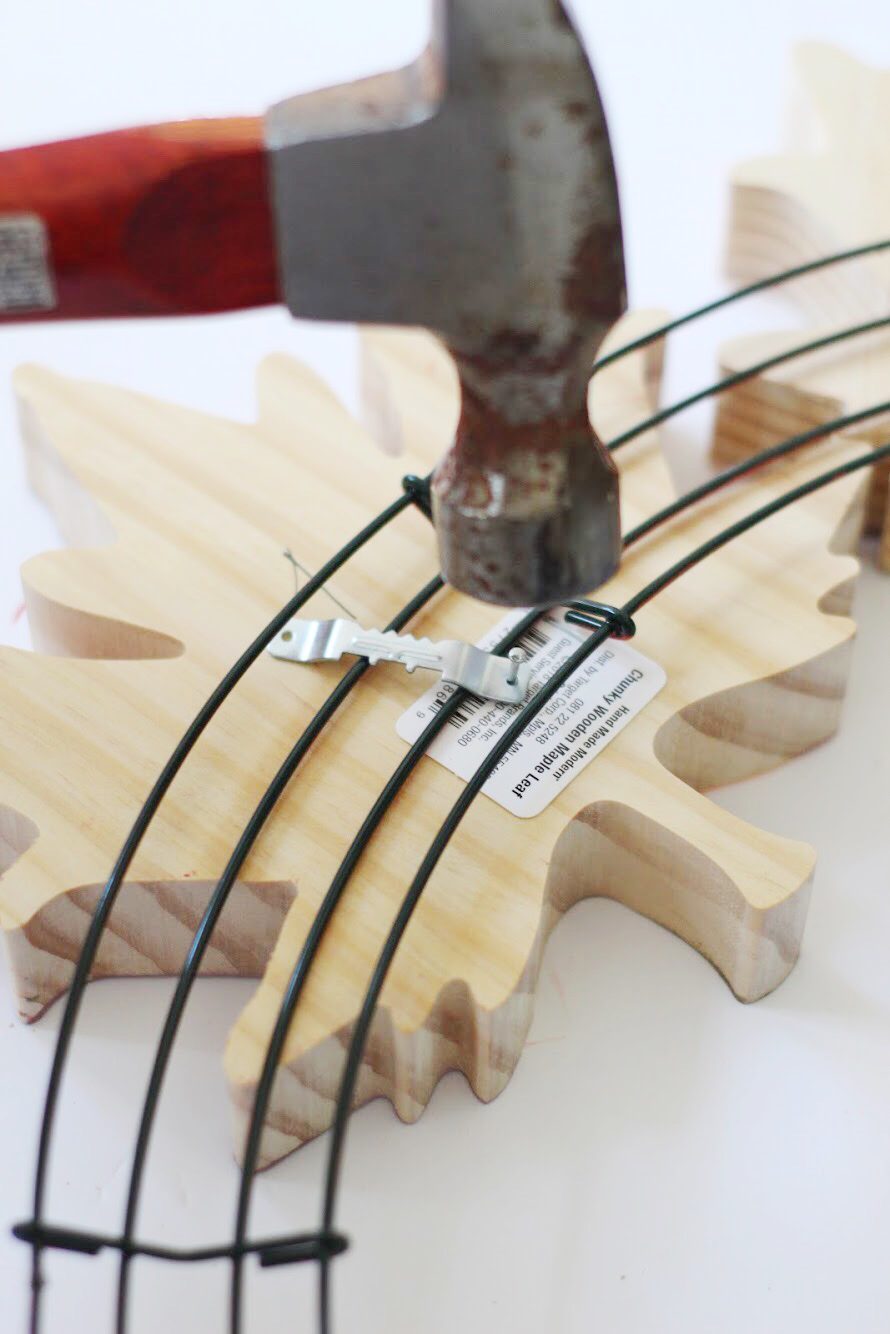
I don’t have a staple gun, so I used sawtooth hangers to attach the leaves to the form. You can do this by placing the hangers over two sections of the wire wreath form to keep it from sliding, and using a hammer and nails to secure it firmly.
That’s it! You’ve created a bright and fun piece of decor for your front door that is definitely not your grandma’s fall wreath. I love it.


 What DIY projects are you doing around your home this fall? We’d love to hear! And be sure to join our email list to stay up-to-date on all things Pretty Life Girls!
Happy making!
ox. Liz


This is so pretty! I adore the colours you chose. I’ve always loved wreaths and think this might be the year I finally make and hang one on my door. It’s nice to think that something I made will be there to great meet me every time I come home ☺️
This is such a cute wreath for fall time.
http://www.amysfashionblog.com/blog-home/
This is so pretty! I love that you strayed from “traditional” fall colors to make something so striking – great idea!