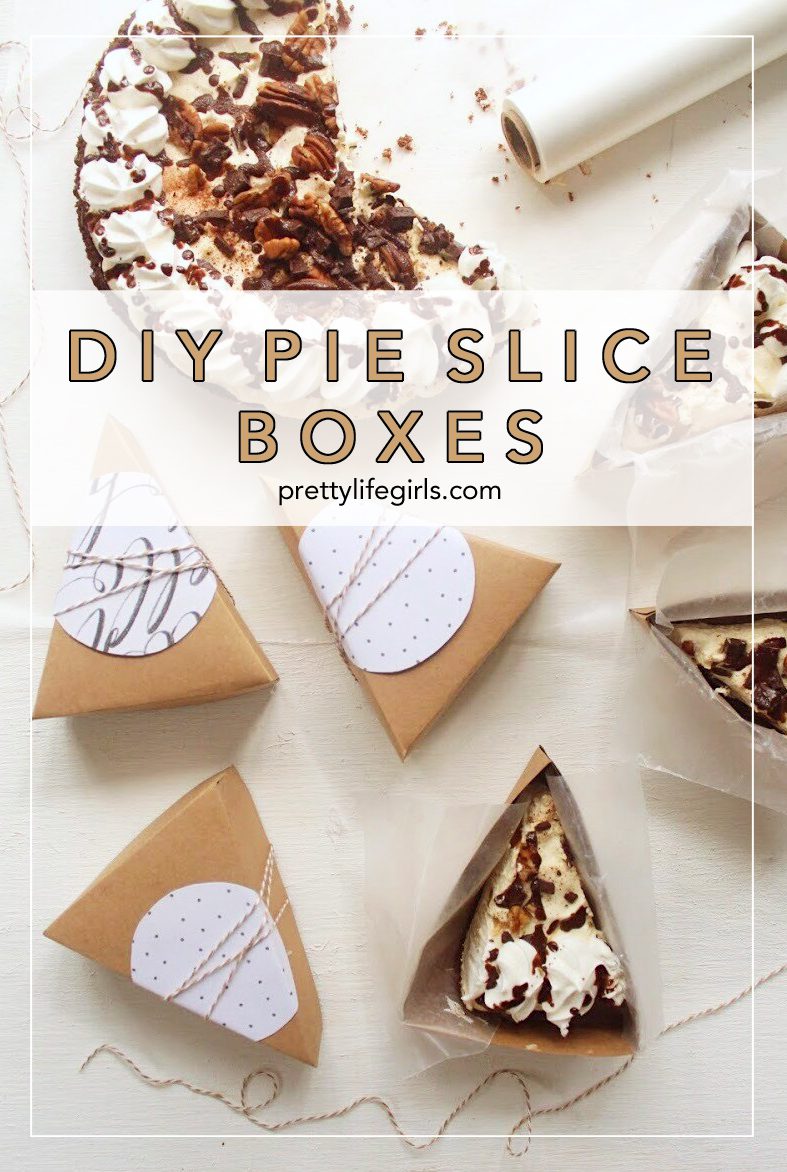
You know how people love talking about their “Love Languages”? Like, the specific way you most feel loved in a relationship, such as words of affirmation, gifts, service, etc.? Well, apparently there are 5 of them, but I’m here to tell those love experts that they missed a BIG one: PIE. Pie is mostly assuredly my love language, and y’all, I love it all. Make it creamy, nutty, fruity, chocolaty, frozen or hot out of the oven, it doesn’t matter, if it’s pie, it’s for me. And since pie is my love language, I love sending people home with their own slice of the goodness. So today, I am sharing my easy tutorial for making pie slice boxes so you can share the love! Let’s get to it!


Supplies Needed for your DIY Pie Slice Boxes:
Pie Box Template (keep scrolling to download!)
Solid Cardstock
Patterned Paper
Scissors
Baker’s Twine
Glue Gun + Glue Sticks
Wax Paper

DIY Pie Slice Boxes Tutorial:
Step 1: Print off two of the pie templates (one for the bottom and one for the lid) on the solid cardstock. You can download the templates from our library (keep scrolling for access). Cut on the solid lines.


Step 2: Fold along the dotted lines, then glue the three small folded flaps and press them to the inside of the box.


Step 3: Cut a circle that is a little bit larger than the box out of the patterned paper. Glue it to the top of the lid of the box.


Step 4: Line the bottom of the box with wax paper, place in a piece of pie, then cover with the lid. Then, wrap with baker’s twine and secure on the bottom with a dot of glue.


That’s it! Aren’t they cute? Now you’re ready to spread some pie love! (Only the truest kind of love.)


These pie boxes are so fun for sending home leftovers for your guests, or as favors at a party, or for delivering holiday treats to your people!


Happy pie season, friends!
ox. Liz


These are so cute, and would make perfect “ministering” gifts to bring someone!
What a fun idea to gift a pie.
http://www.amysfashionblog.com/blog-home
Love the pie boxes
Hi, i entered my email address for the template but the password that was provided doesn’t work.
i can’t get the template with the password you gave