This DIY Faux Embossed Nightstand was sponsored by Plaid.
All opinions expressed are our own.
I am so excited to share today’s project! We have teamed up with our friends at Plaid to upcycle a plain wood nightstand, and make sure you check out the other Plaid Creators projects at the end of this post!
In this DIY Faux Embossed Nightstand project (and bonus sign project), I used FolkArt® Home Decor Chalk. If you aren’t familiar with chalk finish paint, it is the way to go for painting furniture, especially if you are an impatient painter like me. It is a no-prep acrylic paint and wax that dries in minutes and can be layered and sanded to give your projects the perfect distressed look and feel. The ultra-matte chalk finish can be easily applied to furniture, cabinets, walls, decorative glass, metal and more. The paints and waxes are proudly made in the USA and water-based for easy clean-up.
So, if I haven’t sold you on chalk finish paint yet, keep scrolling to see how beautiful the results can be!


Nightstand Supplies
TARVA nightstand
FolkArt Home Decor Chalk paint
FolkArt Chalk Brush
FolkArt Home Decor Wax
Mod Podge
Brush
Paintable textured wallpaper
Xacto knife
Knob


Step 1: Remove the knob from the drawer. Mark the knob hole in the center of the wallpaper design.


Step 2: Cut the wallpaper to fit the front of the drawer.


Step 3: Apply a thin layer of Mod Podge to the drawer.


Step 4: Apply the wallpaper to the front of the drawer. Let dry.


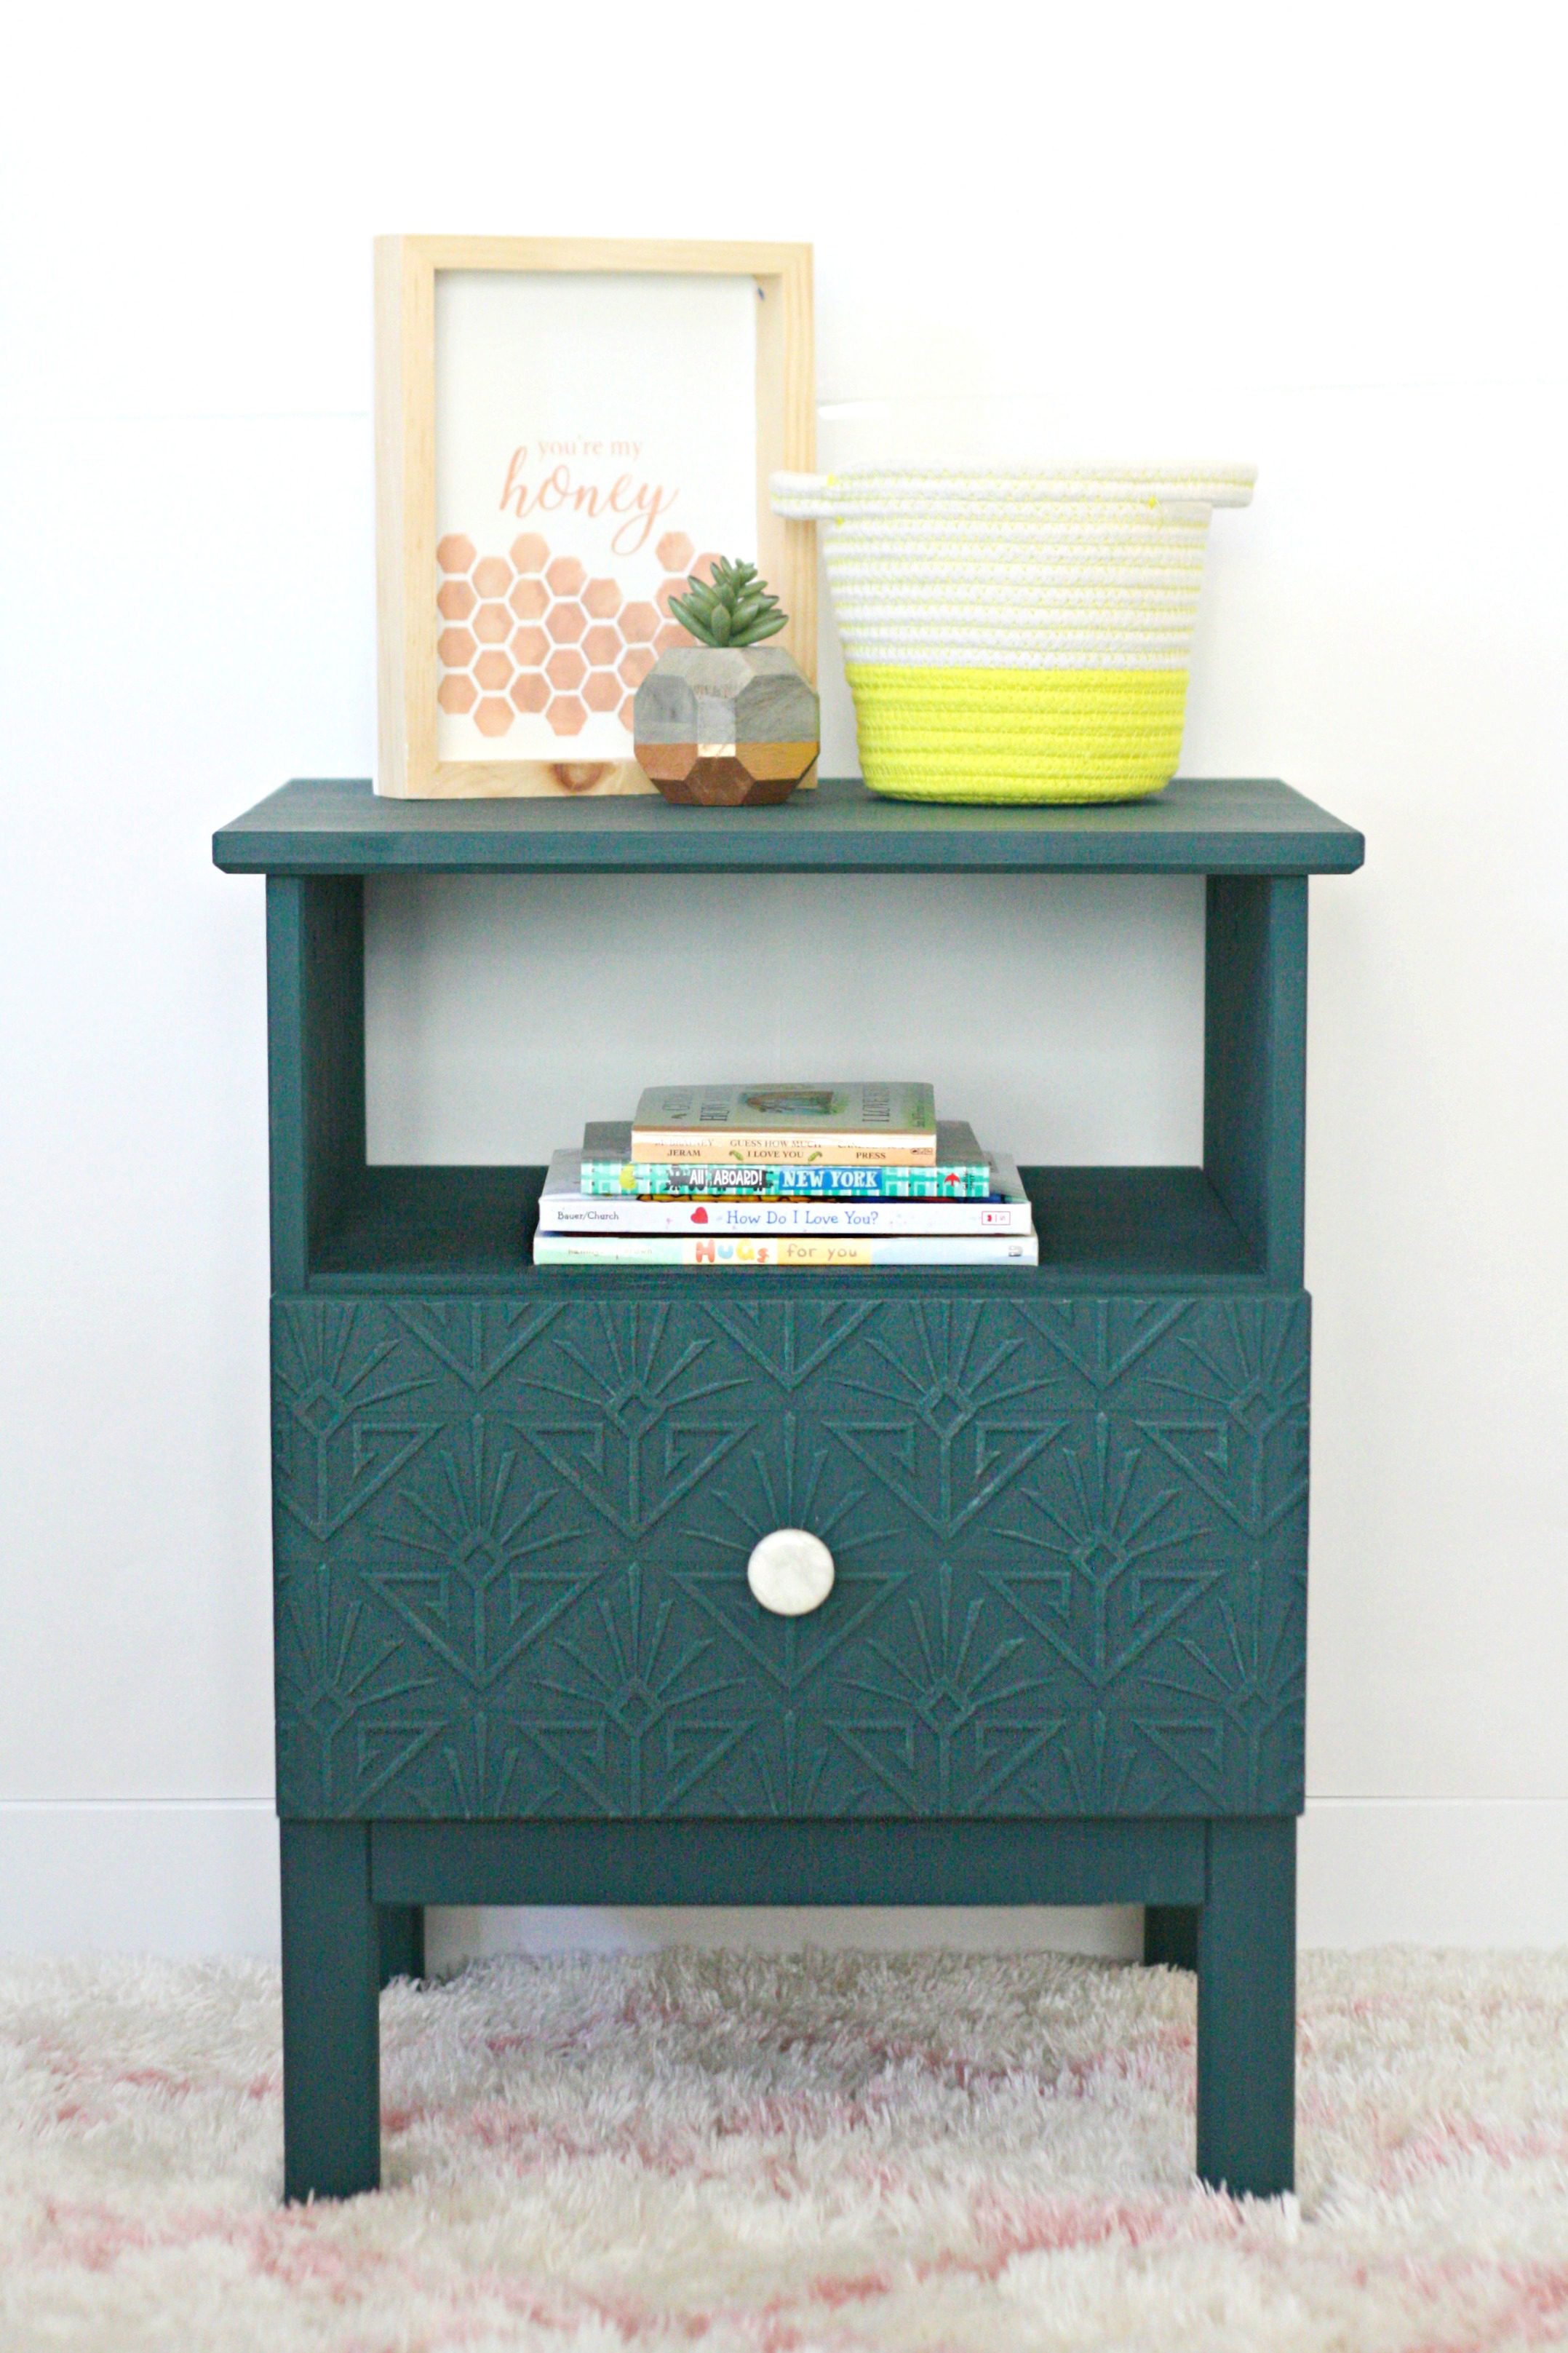
Step 5: Using the FolkArt Chalk Brush, apply the chalk finish paint (I used Elegant Teal, one of eight new FolkArt Home Decor Chalk colors) to the nightstand. Let dry according to the instructions.


Step 6: After the paint has dried completely, apply FolkArt Home Decor Wax to seal and protect your project.


How stunning is that color!?
And now it’s time for that bonus tutorial I mentioned earlier (although it is pretty self-explanatory)! Here’s how I made it.
Sign Supplies
Wood plaque
FolkArt Texture Chalk (white)
FolkArt Home Decor Chalk paint (color)
Stencils (I used these and these)
Brushes


Step 1: Apply a coat (or two) of texture chalk paint on the inside of the plaque. I used white, but you can see the other available colors here:


Let dry completely.


Step 2: Use stencils and chalk finish paint to create your design. Let dry again.


And there you have it – a simple, handmade sign that looks so cute on that darling nightstand!


Happy crafting!
xo, Sam


And check out how our friends, the Plaid Creators, upcycled their nightstands!


This nightstand turned out so cute! I love that color!
Love what you did to the ikea night stand.
http://www.amysfashionblog.com/blog-home/
Love the color of the nightstand and that sign is so sweet 😉