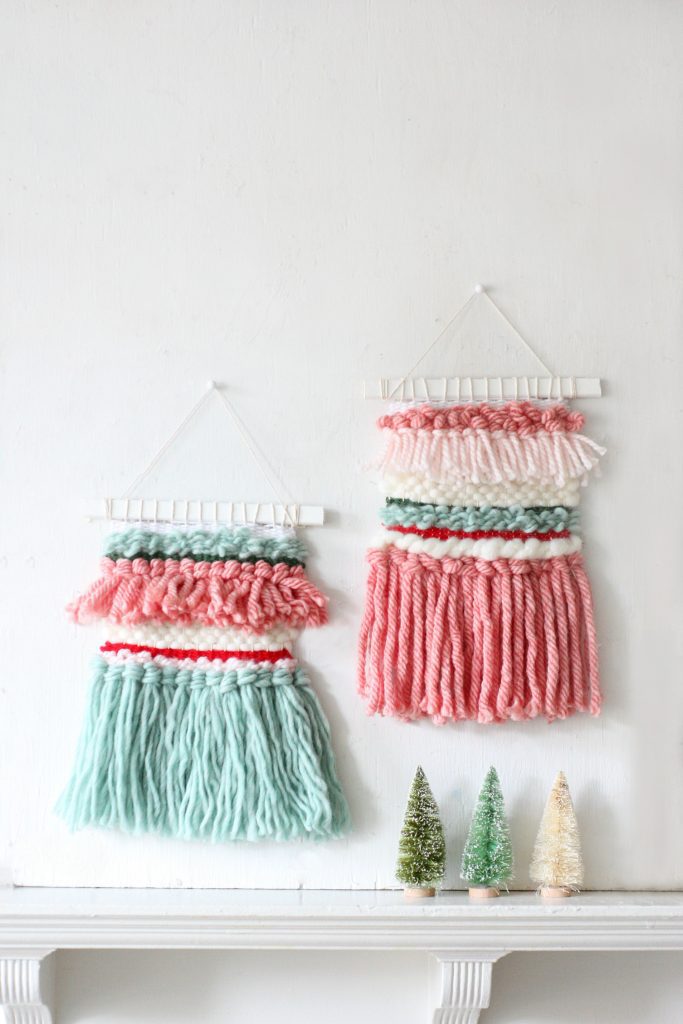

This is SUCH a good day, you guys! Today is Plaid Craft’s DIY Holiday Event! This is going to be a big day, full of holiday DIY inspiration with all of the Plaid Creators, and that includes us! Starting this morning at 11am EST there will be a full day of Facebook Live Streaming on the Plaid Facebook Page with step-by-step project tutorials from all of the Plaid Creators with special offer codes on all Plaid Supplies (you can catch our live-streamed project at 6 pm EST right here)! You are going to get SO many great ideas for getting crafty for the holidays from decor to gifts and we can’t wait to be a part of it! So, let’s dive right in with our holiday project for the event, DIY Woven Holiday Wall Hangings!
We love this project for so many reasons. First, it is EASY, and so relaxing! There is nothing like having a little DIY project to keep your hands busy while you are watching a movie (or in my case right now, bingeing ALL the Stranger Things). To make these wall hangings, we used the Bucilla Weaving Loom 10-inch Starter Kit (get your own and use code PRETTYLIFEGIRLS at checkout and get 25% off + free shipping on purchases over $25 right here). This kit comes with everything you need to try your hand at weaving and doesn’t require any prior weaving or embroidery skill (even kids can do it)!
This project is great because it is so customizable. You can make them to match your holiday decor like I did, make them to match your regular decor, or make them as gifts and incorporate colors that you think the recipient will love! Weaving is such a big trend right now and this is such a great way to get in on the weaving trend and make it you own. Plus, it is a fun way to modernize your holiday decor and add some gorgeous texture. Here is how you do it:
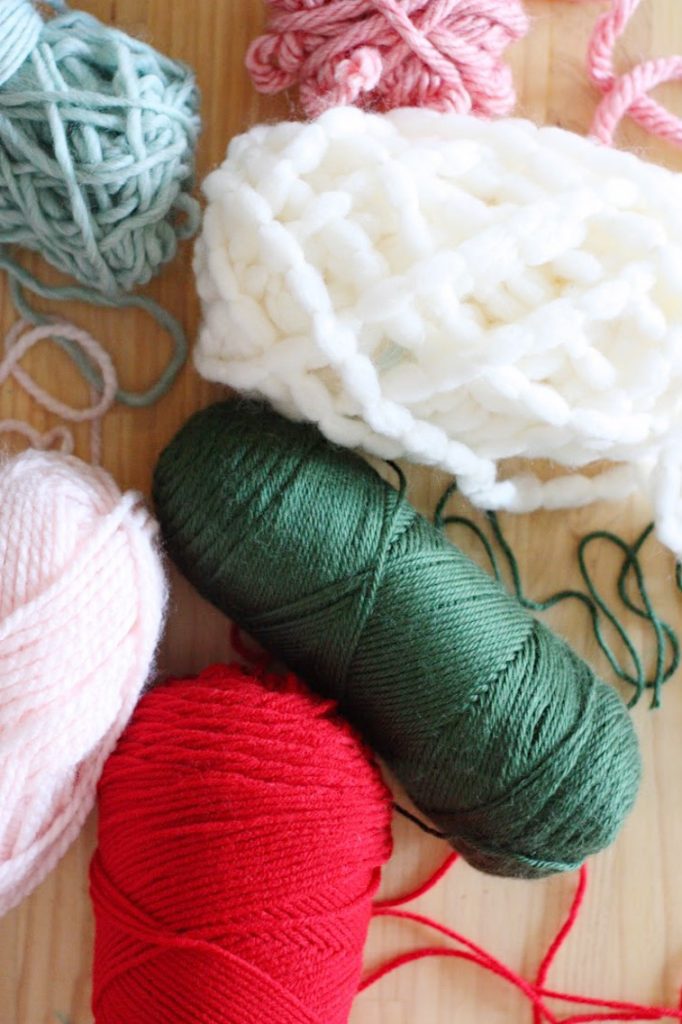

Supplies Needed:
Bucilla Weaving Loom 10-inch Starter Kit (Contains 10″ loom and hardware, cotton warping string, acrylic yarn, wooden comb, and plastic needle)
3-5 different colors of yarns in a variety of weights
Wooden moulding or dowel
FolkArt Multi-Surface Paint
FolkArt Paint Brush
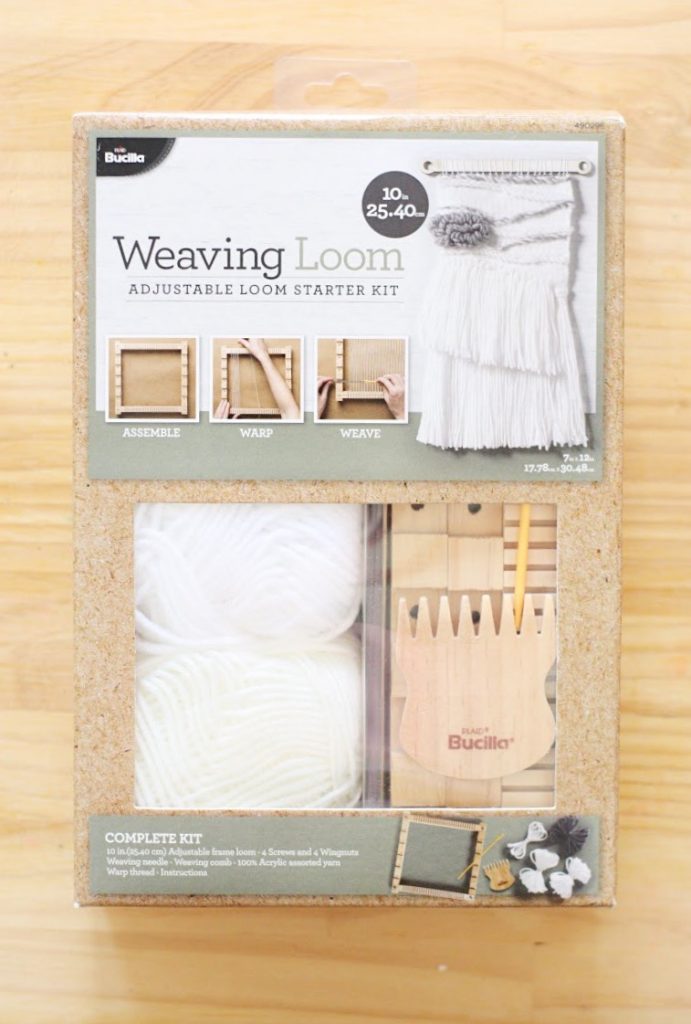

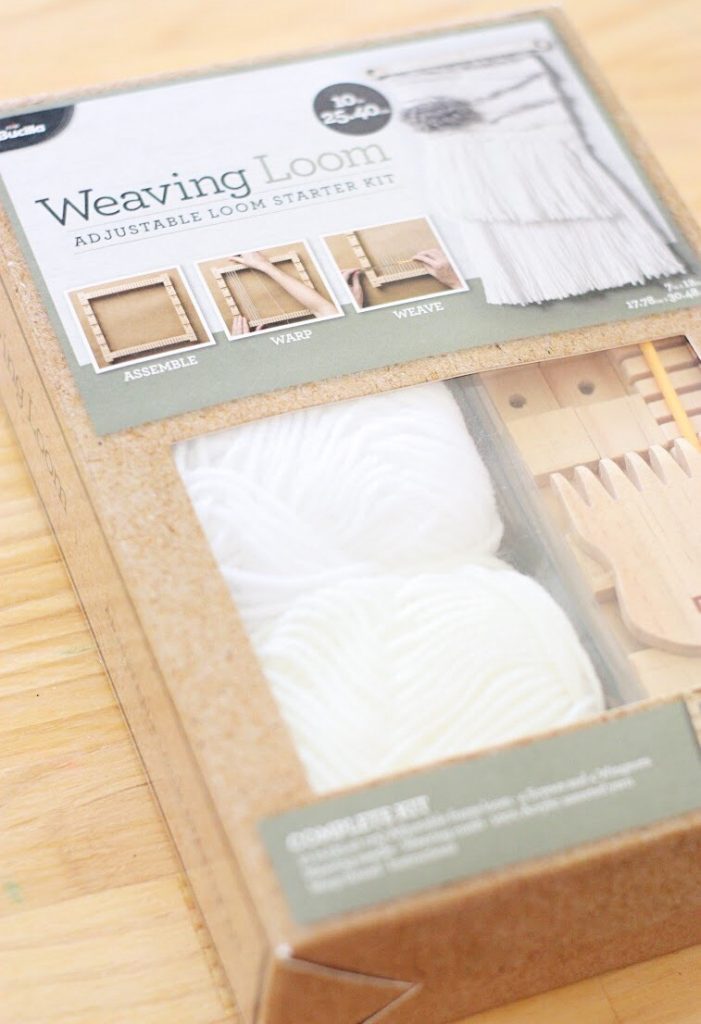

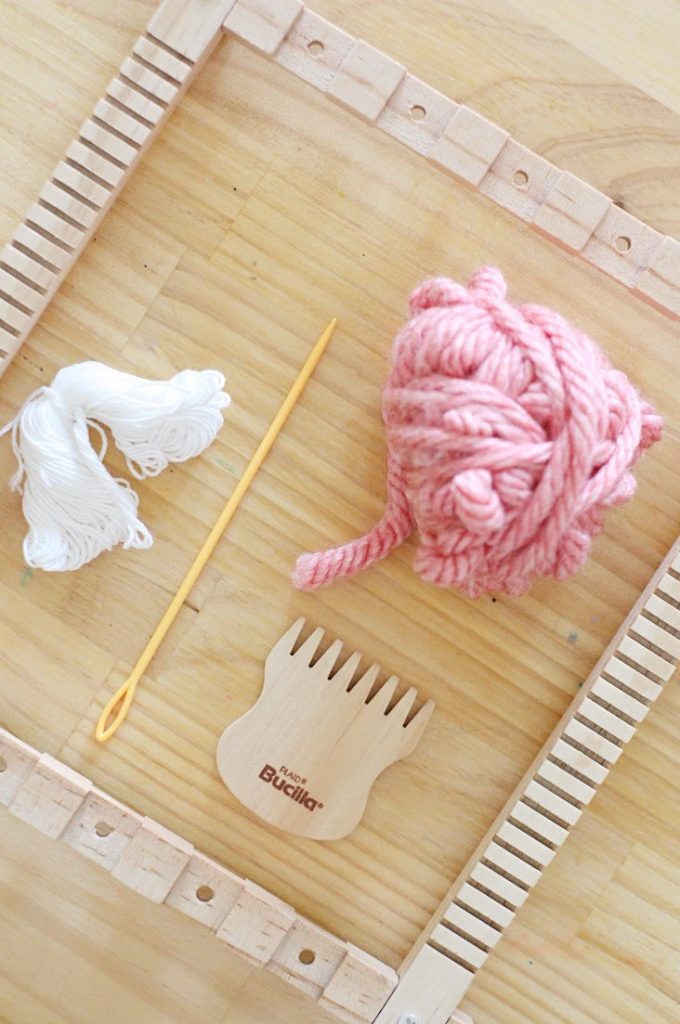

1. Before you can begin weaving, you will need to assemble your loom but don’t worry! This kit comes with everything you need to put it together and it comes with great instructions if you get stuck. You’ll simply line up the holes in the warp bars (the ones with the small notches across them) with the holes in the bars with the wider notches, insert the screws provided in the kit through both holes and secure with a wingnut on the back, creating a square with the smaller notches on the top and bottom and wider notches on each side.
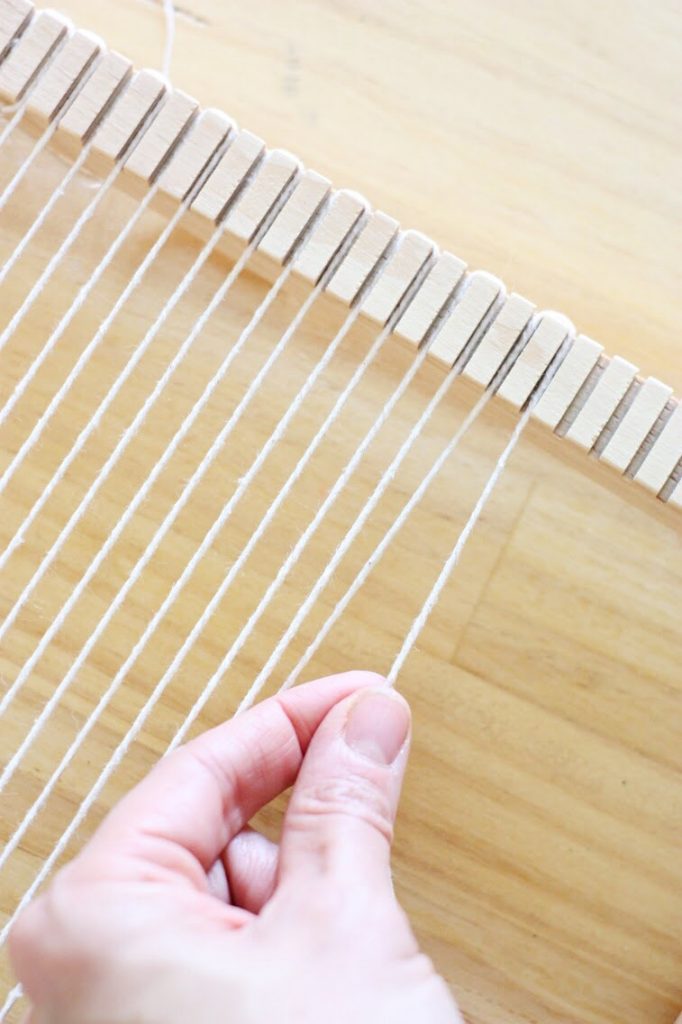

2. Next. you’re going to warp your loom. To do this, take the warp thread from your kit (of a heavier weight thread if you have already used the one from your kit, like me) and begin on the bottom warp bar (with the skinny notches). Tie a double knot around the first notch from the left, then pull the tread up and through the left side of the corresponding notch at the top of the loom. Guide the thread to the right, in the second notch then down to the bottom warp bar. Repeat wrapping the notches from top to bottom moving toward the right until you reach the desired width of your project.


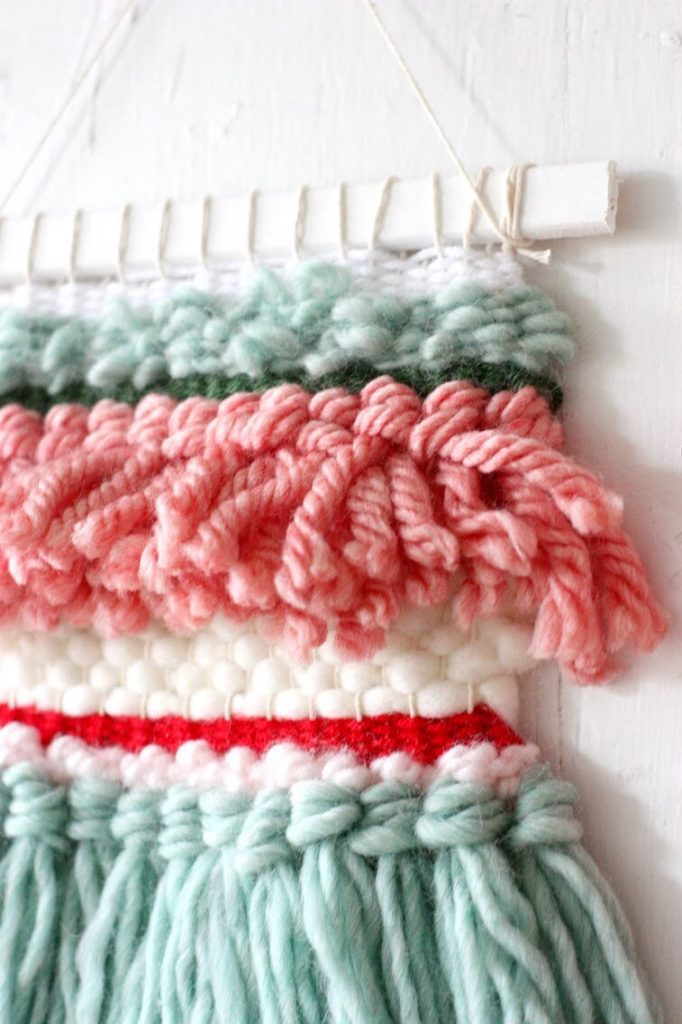
3. Once your loom is ready to go, it’s time to start weaving! This is definitely the fun part and where you can get really creative! Since this is a beginner project, I only used two different styles of simple weaving techniques to make my wall hangings: the plain stitch and a rya knot. These are the easiest stitches, but by alternating the weight of thread you use, you can make something that looks a lot more complex than it is!
To learn how to do these stitches, I used this video from Plaid Crafts that is so great for beginners on the Bucilla loom. It shows everything from putting the loom together, to warping the loom, to a bunch of different techniques for weaving. Plus, it is less than two minutes and is a must for first-timers:
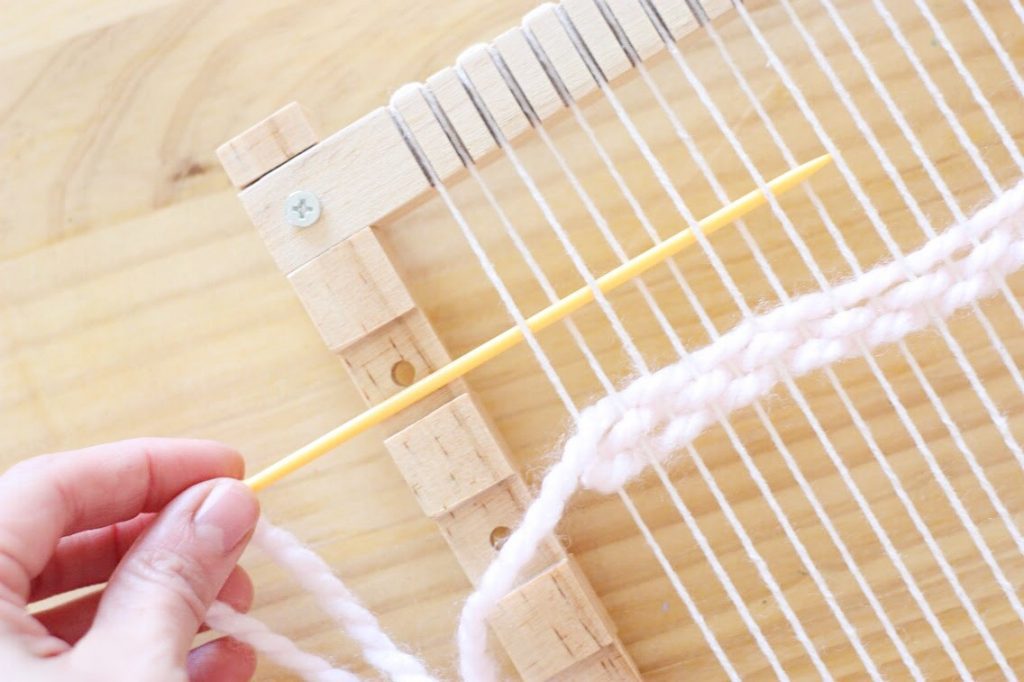

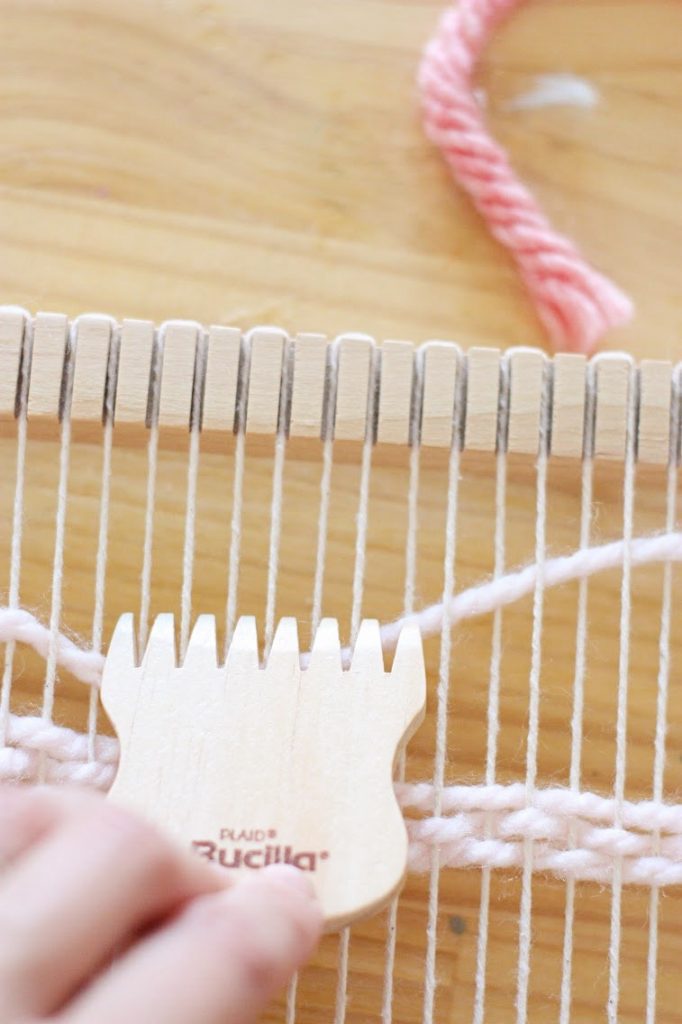
4. As you could see from the video, you will thread your needle and create the plain stitch with a simple over-under technique with the yarn, being sure to alternate from row to row. After you have created a few lines of stitches you can use the weaving comb to push the rows down to the bottom and watch your weaving take shape! When you have finished a section, simply cut the yarn, leaving a 3-in. tail that will be tied off at the back later, and move on to the next row/thread.

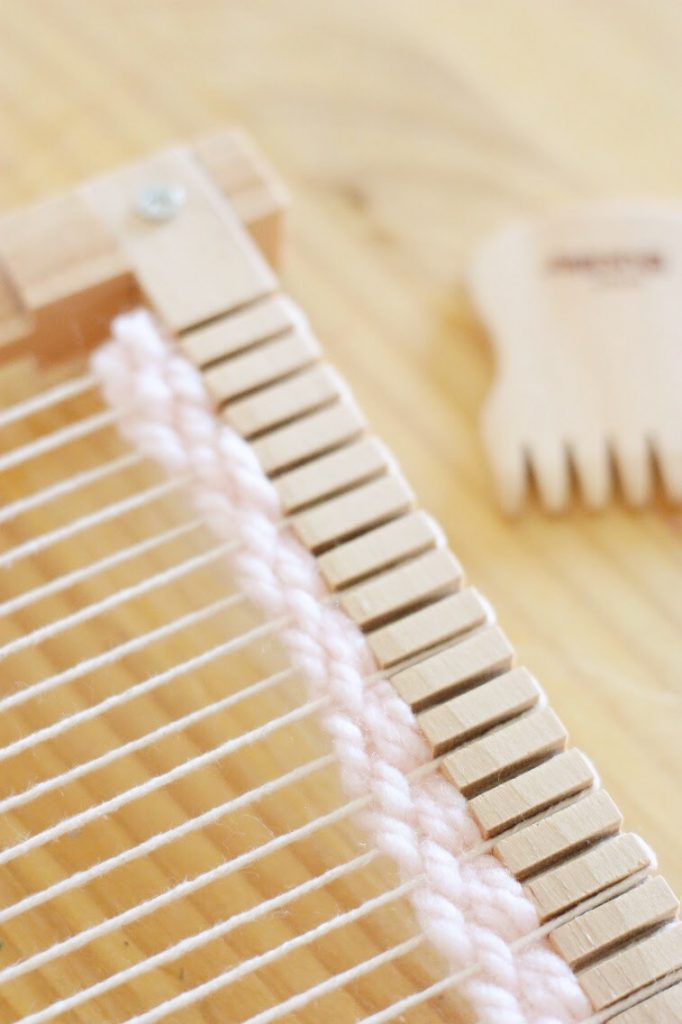


5. Aside from the plain stitch, the other technique I used to create my weaving was a rya knot. These work best at the bottom of a weaving project and/or after a few rows of plain stitch. To make a rya knot, cut sections of 1-3 pieces of yarn and lay the center over two warp threads. Pull the left portion of the fringe section toward the back of the loom along the left side of the two warp threads. Then, pull this section up through the middle of the two warp threads toward the front. Repeat for the right side. Gather the yarn ends, matching the end lengths, and pull the ends evenly downward to tighten the knot.


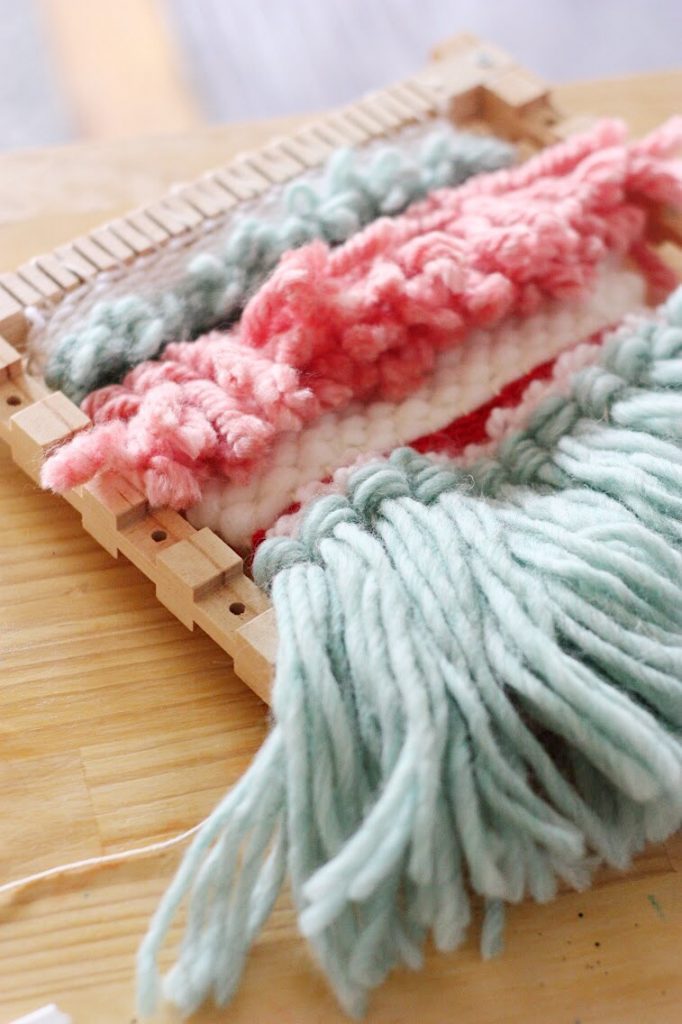

6. Once you have added layers of stitches and rya knots it’s time to finish your weaving! Simply flip the loom over and secure all of the yarn tails by weaving them back through any exposed warp threads, then trim the remaining tails. Next, you’ll want to tie off the bottom of your project by sliding the warp thread loops, one at a time from the warp bars. Then, cut the loop and tie the two ends into a double knot. Continue until all loops have been removed.


7. Lastly, it’s time to hang your project, but first we have to prepare our hang bar by painting it! I painted my bar white using two coats of FolkArt Multi-Surface Paint and FolkArt brushes, letting it dry completely.
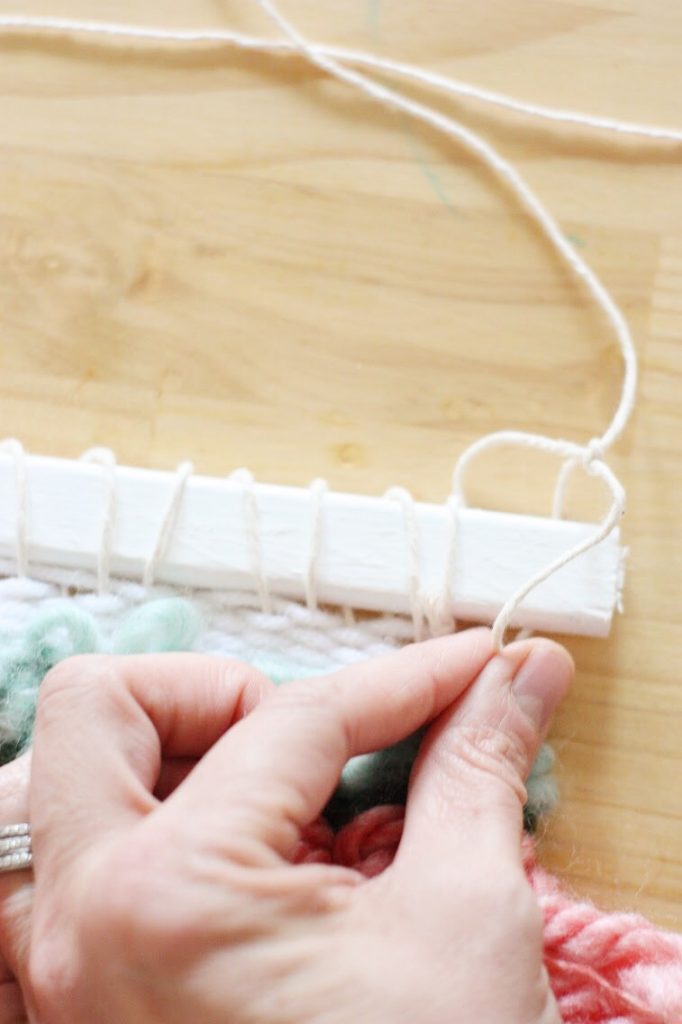
8. Once your bar is dry, carefully remove one warp thread loop from the loom and slide your bar through the loop. Continue until all of the warp threads are attached to the hang bar. Then, using excess thread or yarn, tie a piece of thread to each end of the bar and hang.

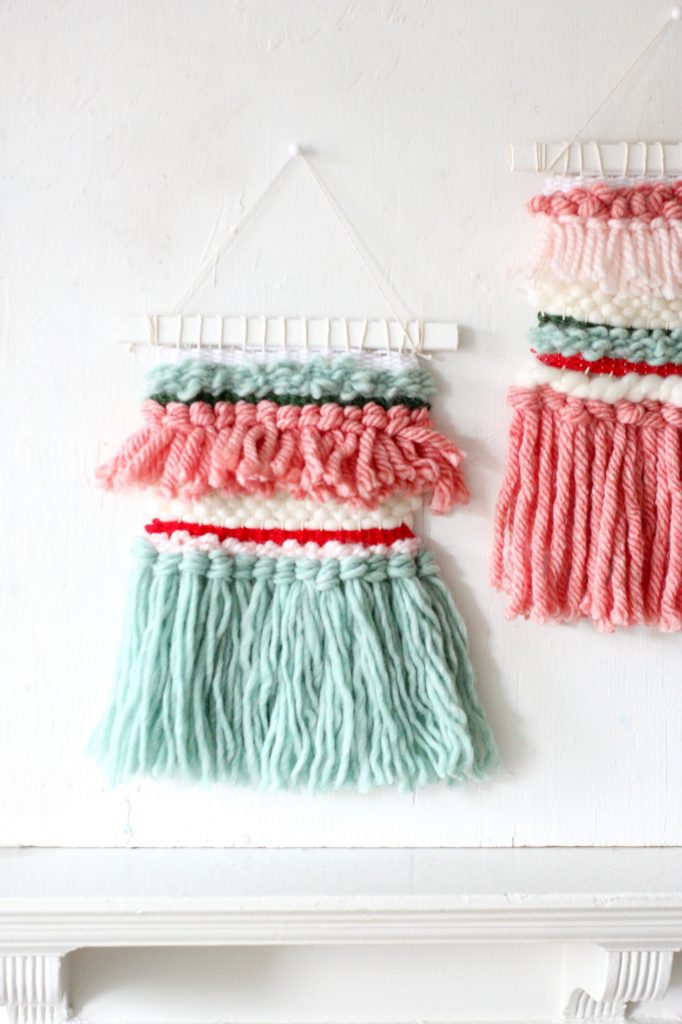


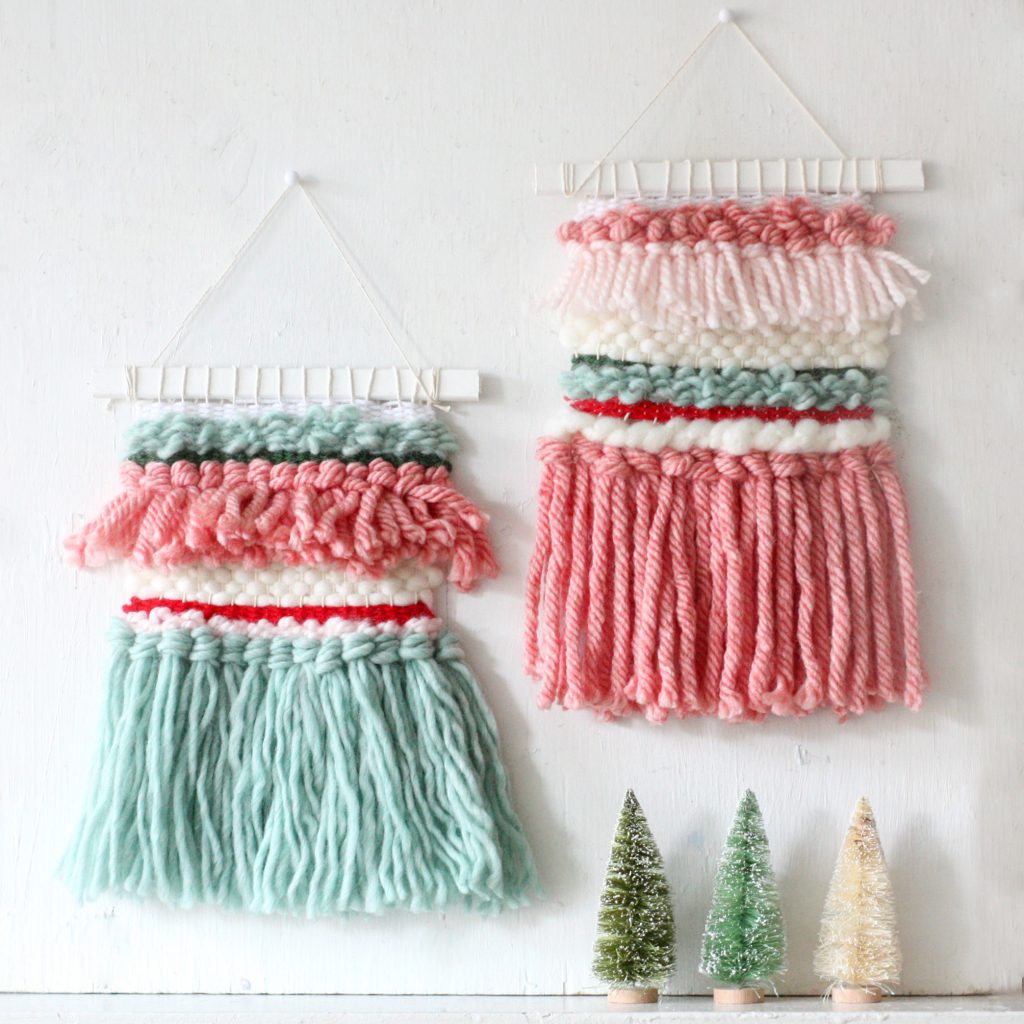

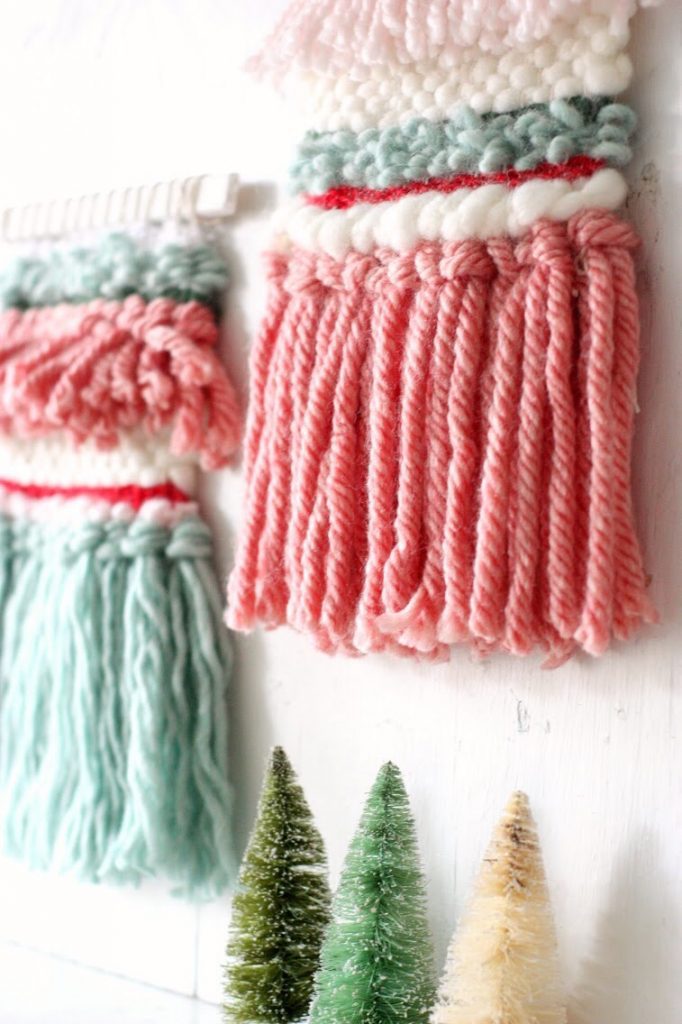

You’ve done it! You’ve made a truly one-of-a-kind holiday wall hanging that is going to make your home look and feel so cozy and chic. I’m obsessed and am so ready to make 20 more.
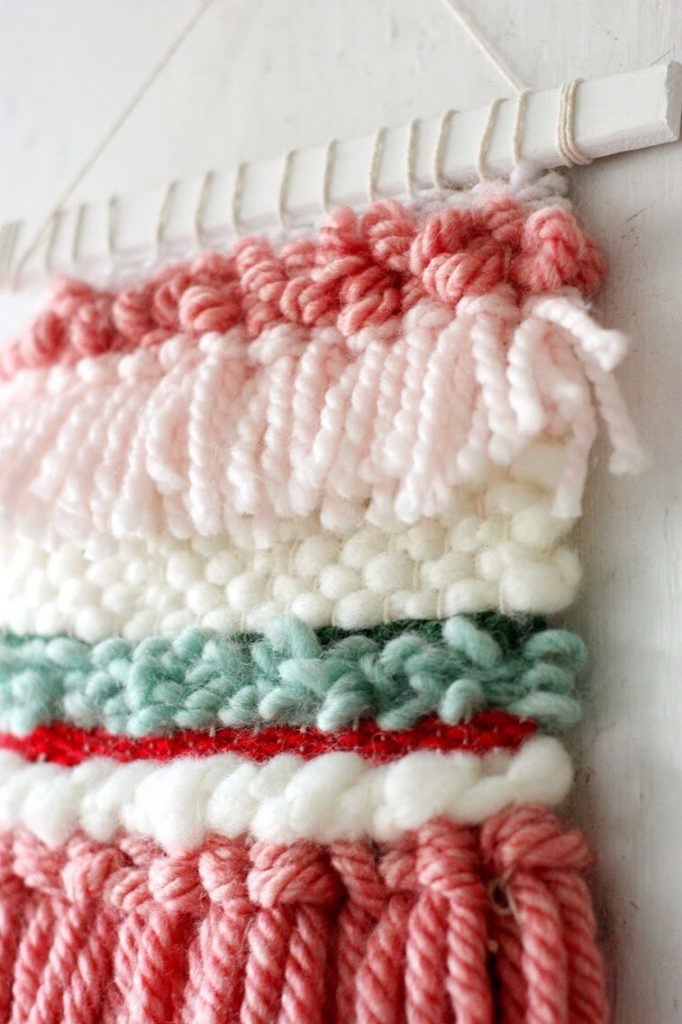

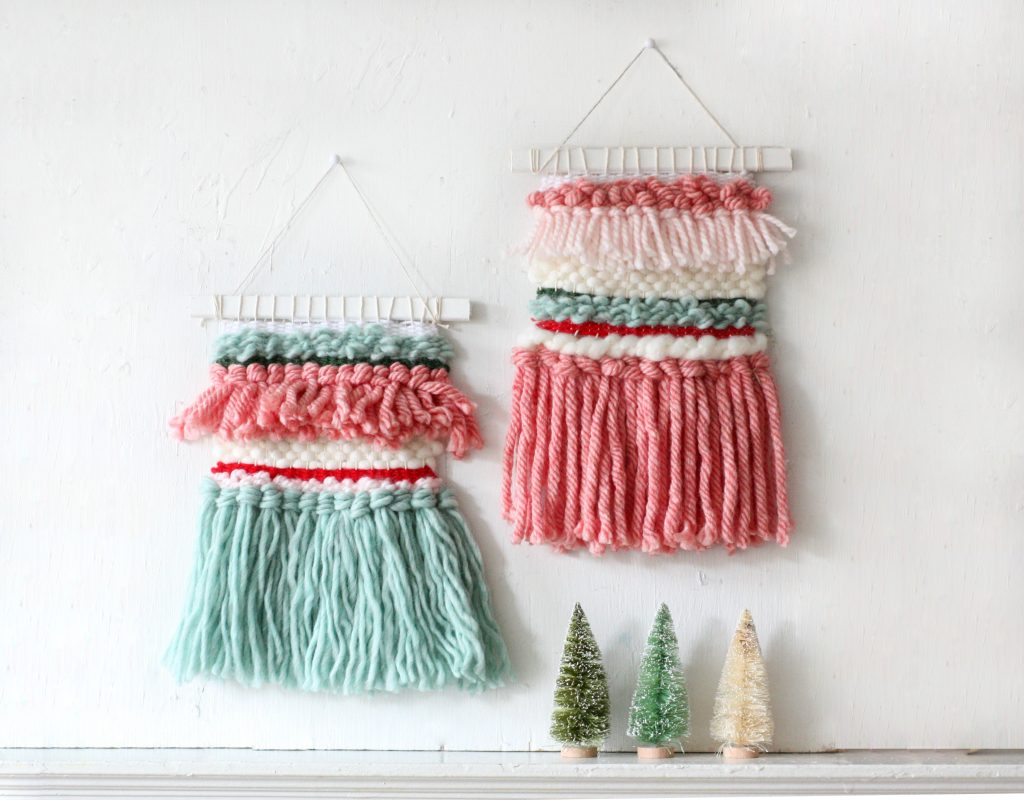

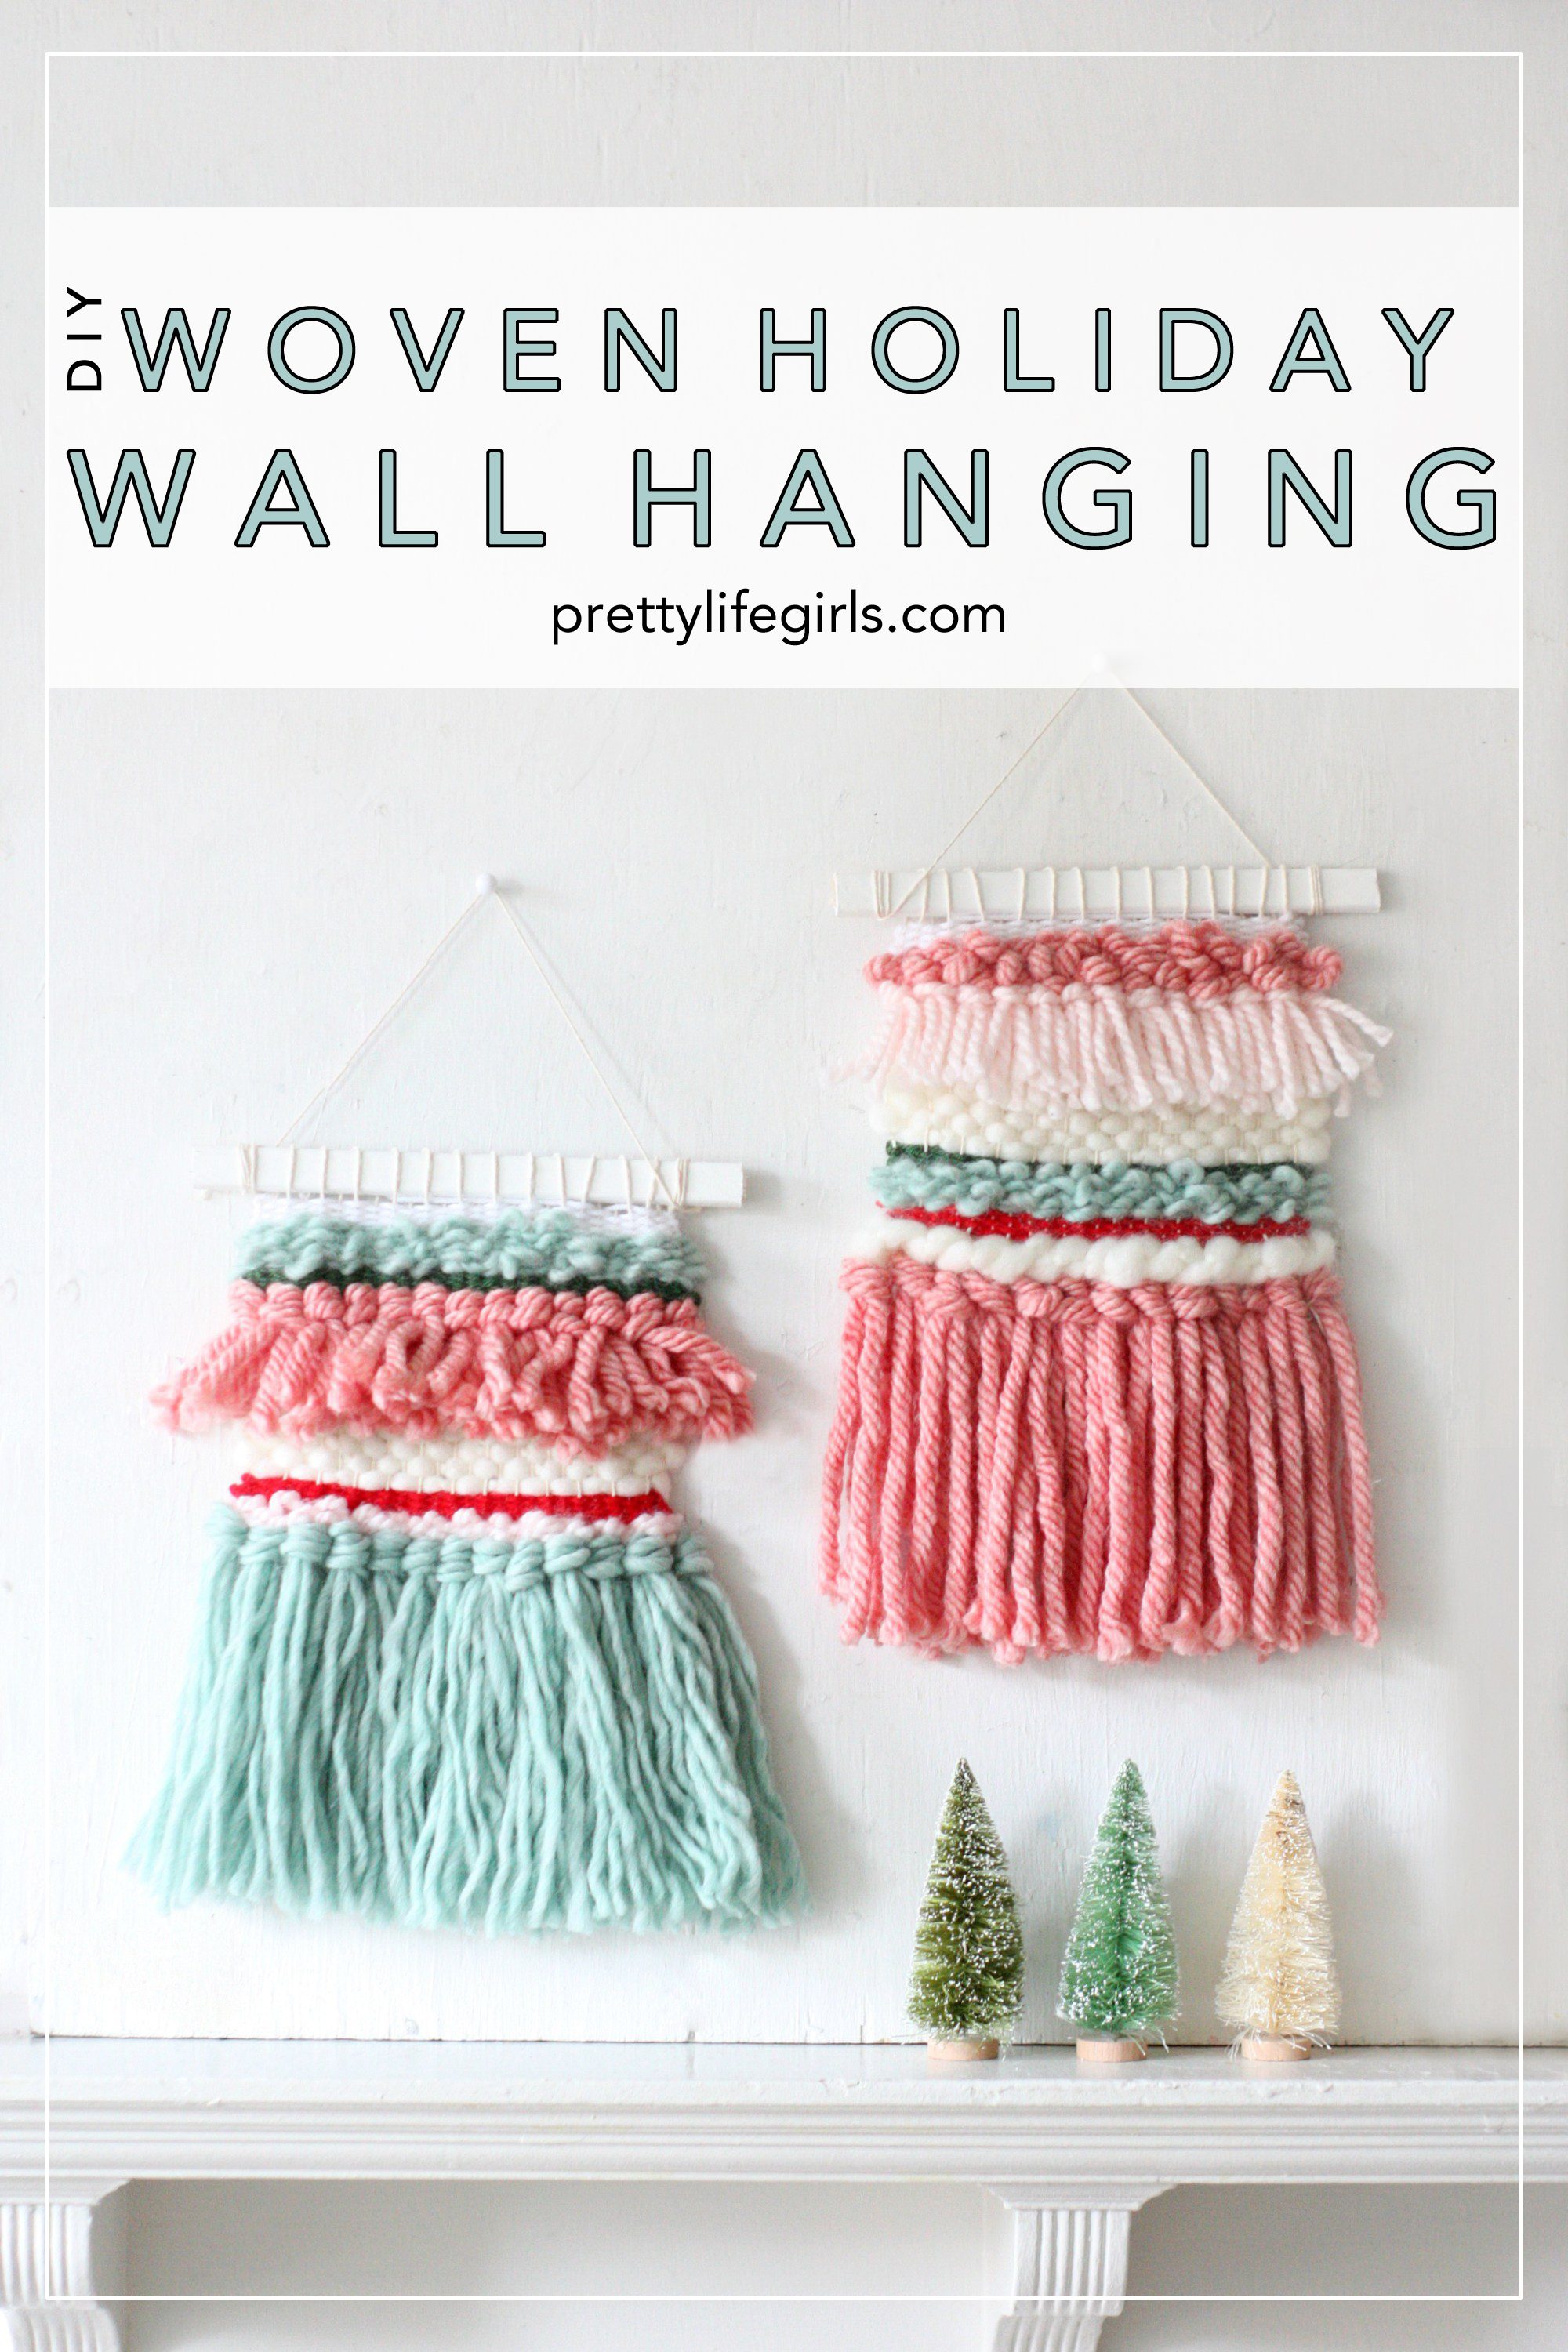

You HAVE to get your hands on your own loom (and give one as a gift so you can make one with a friend) and start making your own creations ASAP! Find everything you need to make this project right here, and don’t forget to use the code PRETTYLIFEGIRLS at checkout to get 25% off your order!
For more holiday inspiration, don’t miss our DIY Holiday Event with Plaid Crafts TODAY and be sure to visit Plaid Crafts at Plaid Online and on Facebook, Instagram, Pinterest, and via Email!
Enter to win a $200 Plaid Crafts gift card!
a Rafflecopter giveaway
ox. Liz


What a beautiful and unique wall decor.
Love the colors, too.
My boys recently became obsessed with loom knitting, so they’d probably love this in their Hogwarts House colors!
this would be a great project when sitting watching
television or when you’re having a boring
conversation with someone.
The end results are so pretty.
thanks for sharing.
So looking forward to trying this project for my grandfather’s rooms.
These are so cute! I need to make some for Em’s bedroom!
[…] Thanks for watching! And ICYMI, find livestream for holiday woven wall hangings right here! […]
Special idea ! Useful diy project.
[…] Make these gorgeous wall hangings and add some texture to your holiday decor! Weaving is such a big trend right now and this is such a great way to get in on the weaving trend and make it you own. Plus, it is a fun way to modernize your holiday decor and add some gorgeous texture. Get the tutorial from The Pretty Life Girls. […]
[…] DIY Woven Holiday Wall Hanging […]
[…] Source […]