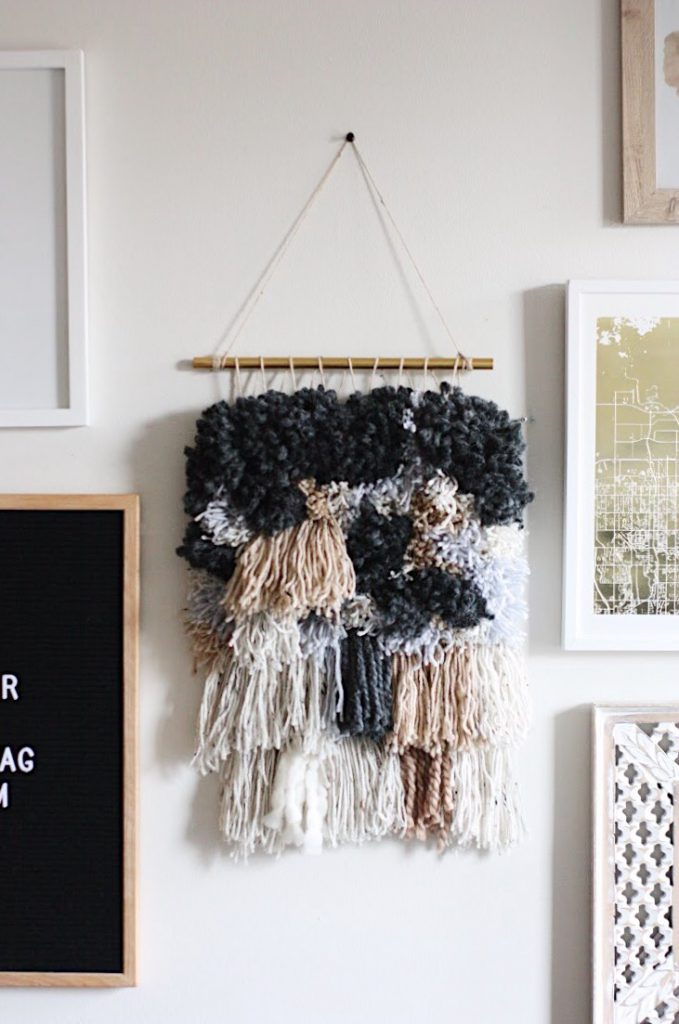

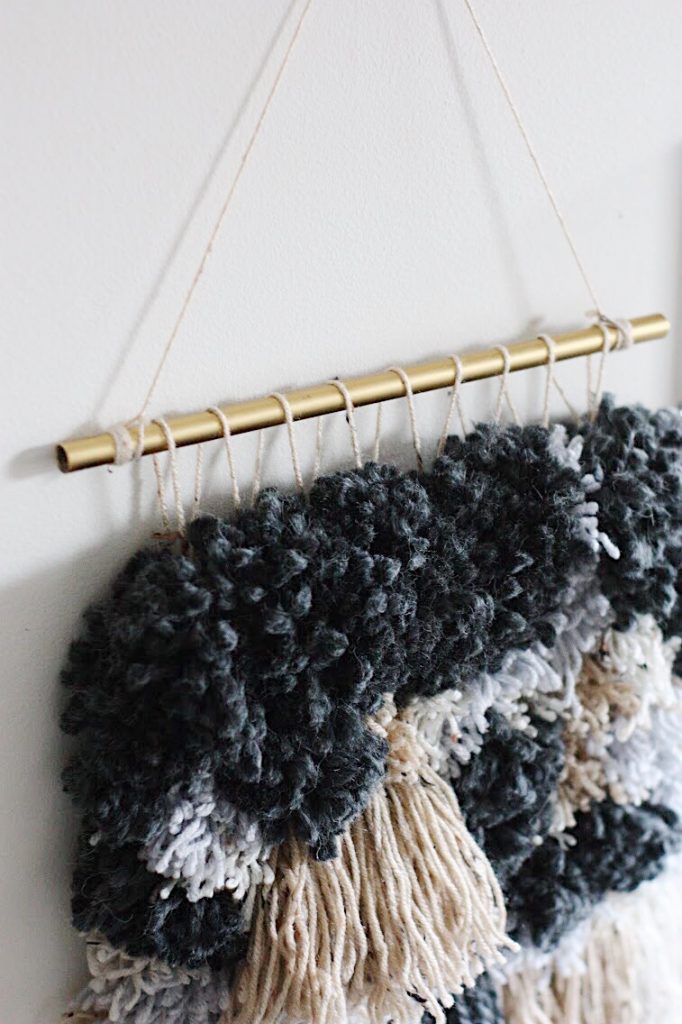
Ever since the woven wall hanging trend started, I have wanted to make one of my own. However, as I’ve lamented previously on this blog, I may be crafty but have very little actual skills, and those beautiful, textured, woven wall hangings seem to be made by people with serious SKILLS. So, when our friends at Plaid Crafts busted out the new Bucilla Weaving & RyaTie™ products at our recent Plaid Creators Summit, there were literally cheers of glee among the group. These products are amazing and make it so ANYONE can create gorgeous woven wall hangings, pillows, rugs and more, quickly and without complicated tools! These babies are a total game changer, and I’m so excited to show you what I made using the Bucilla RyaTie kit — this neutral woven wall hanging!
To give you a little background, RyaTie is a technique that uses a wooden tool to create yarn bundles that easily connect to a mesh canvas. To make these bundles all you have to do is wrap, cut, and tie yarn and before you know it, you’ve got a stunning piece of art that is one of a kind! These tools are so easy to use and the results are gorgeous. Let me show you how I made mine!


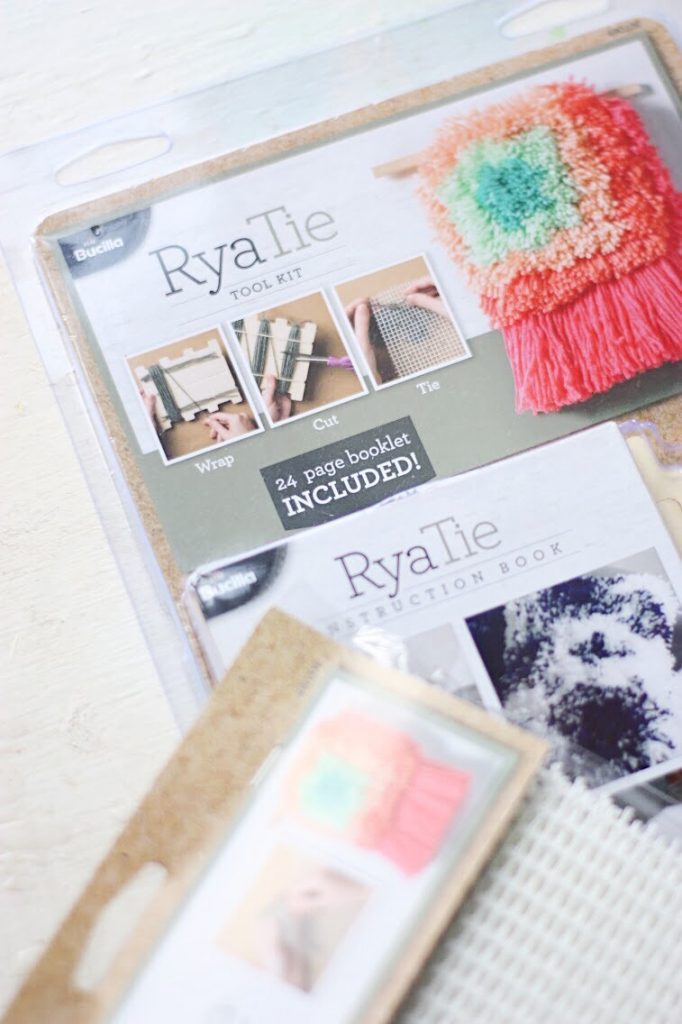

Supplies Needed:
Bucilla RyaTie™ Kit
Bucilla RyaTie™ Mesh Fabric (The kit comes with an 8×8 piece of mesh fabric, but for bigger projects like mine you’ll need a little more fabric.)
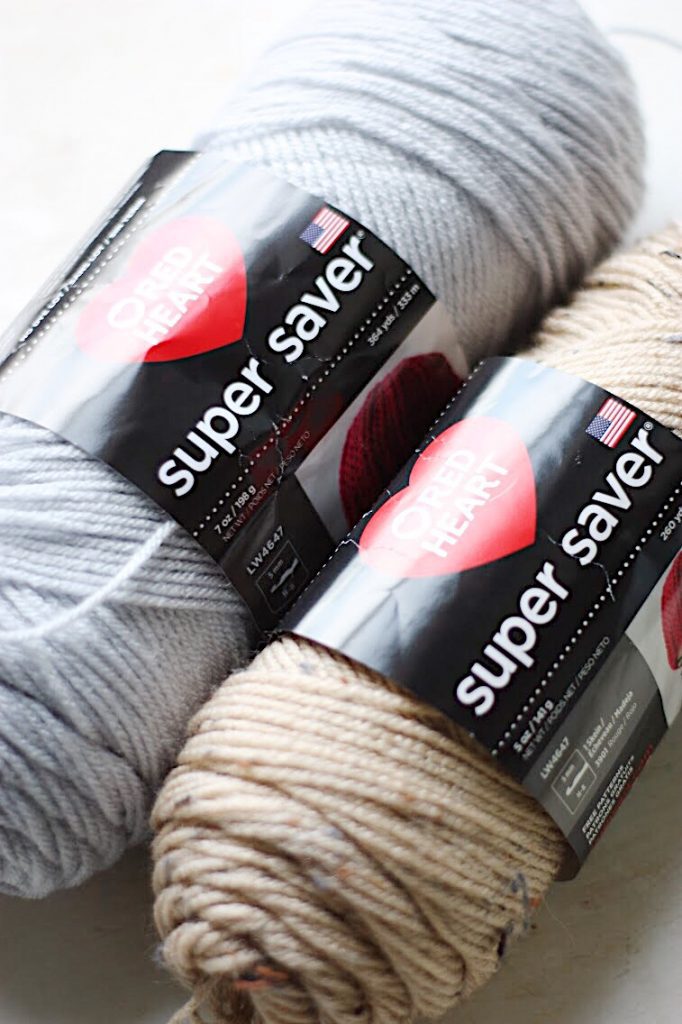
Assorted Red Heart Yarn from Walmart
Scissors
White Craft Glue
Brass Pipe or Wooden Dowel


- To start, plan your pattern, if you are using one. With the RyaTie kit there is a great instruction book with lots of projects and their patterns. I used this book as inspiration for my wall hanging, but ended up not really using a pattern, and just put the bundles where I liked them as I went along. If you are using a pattern, you will want to mark the places where you will tie your bundles prior to tying them on. (You can find all of the fun projects and patterns in the kit with great instructions right here since I will be glazing over them pretty quickly.)
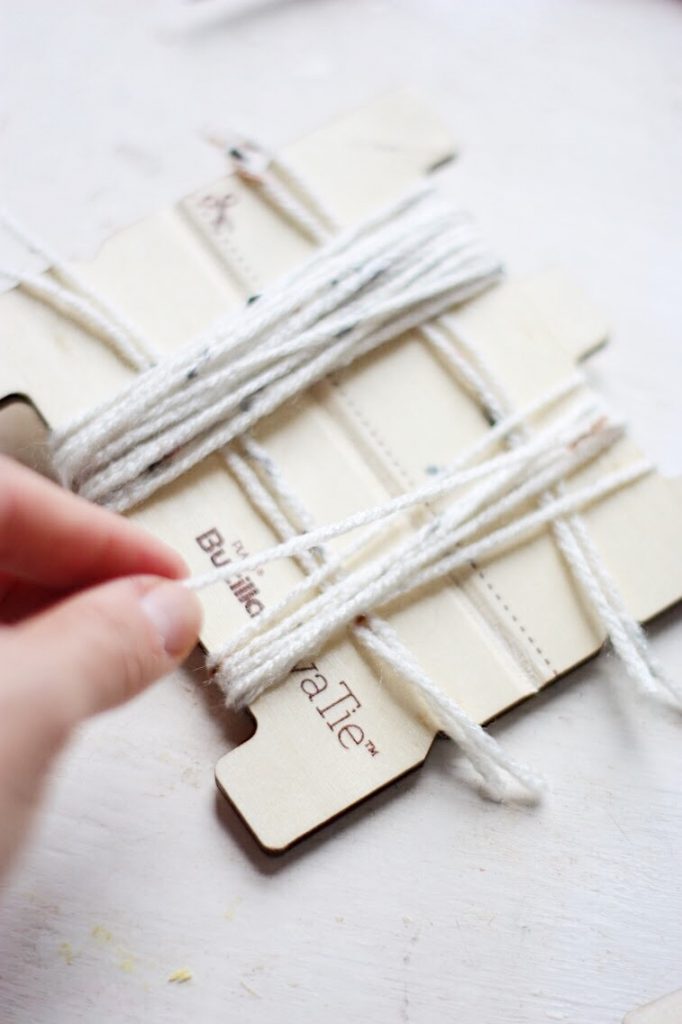
- Next, make your RyaTie bundles! The RyaTie kit comes with two tools, perfect for making big and small bundles. These different sizes of bundles allow you to make wall hangings with a lot of dimension! I liked using the big ones to make lots of long, dense tassels, and the small one to make fluffier pom poms. To make the bundles, simply cut 6 inch strands of yarn that coordinate with the color bundles you are going to make. These will be the ties for your bundles. Then, lay the bundle ties across the tool horizontally and wrap the yarn around the notch on the tool vertically so that there are 24 strands of yarn in each notch.
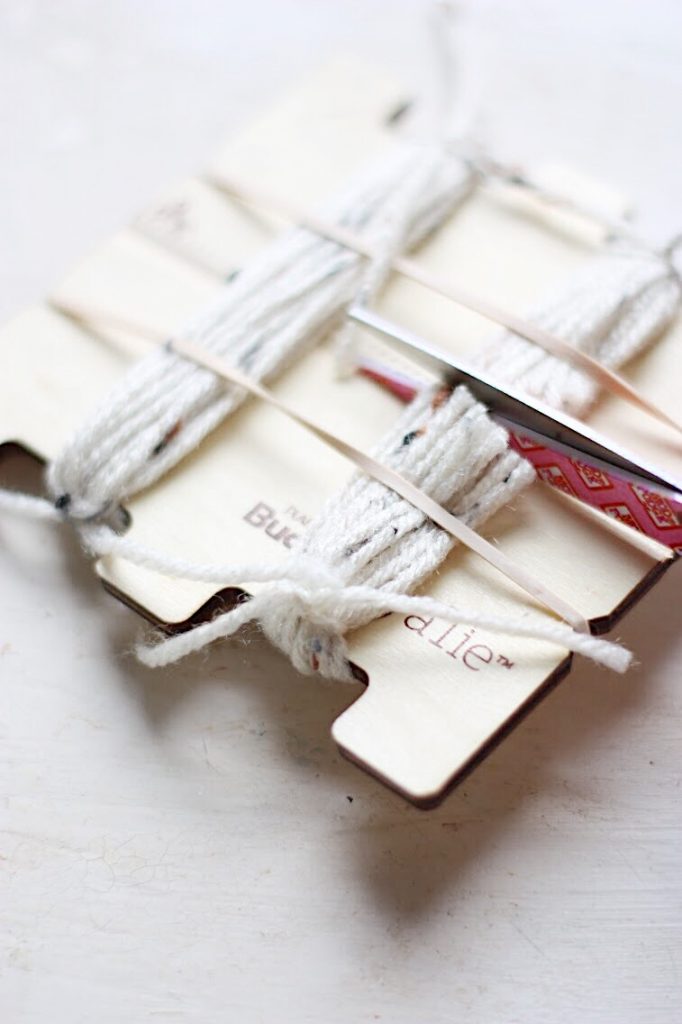

3. Slip the rubber bands included in the kit over the yarn bundles to hold them in place. Then, tie off the bundles with the ties you cut previously. To make smaller bundles, slide these ties to the top and tie. To make bigger, more tassel-like bundles, tie them off in the middle.
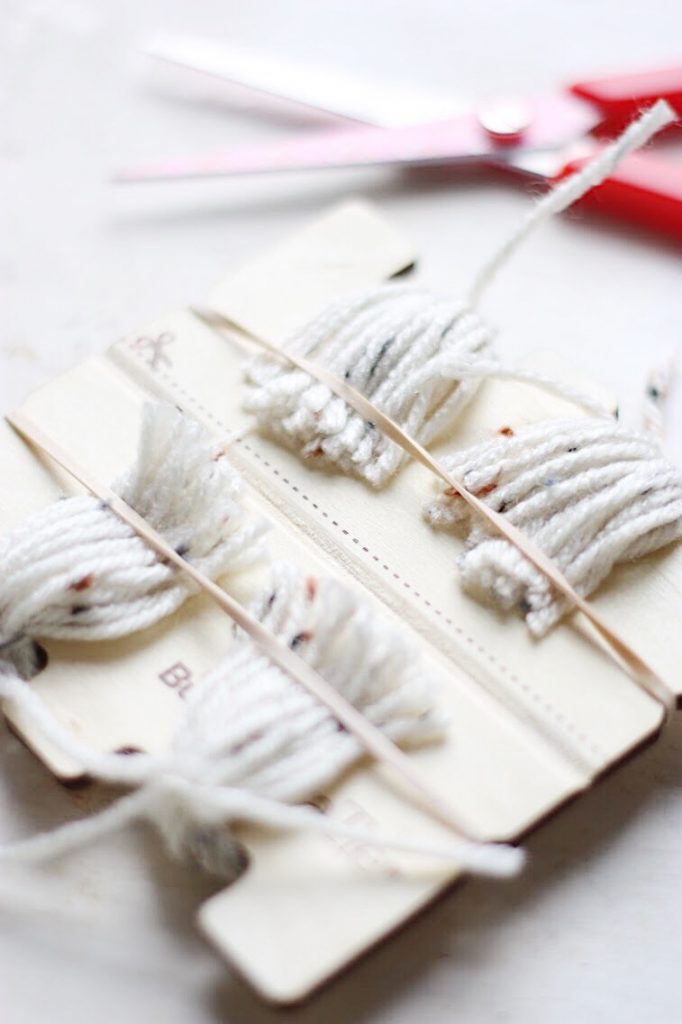

4. Cut your bundles and see how EASY it was to make a bunch of bundles just like that! Repeat this process with each of the different sizes/colors of bundles you would like for your project, or according to the number listed on your pattern. I liked laying my bundles on the mesh before I started tying to see what more I needed.
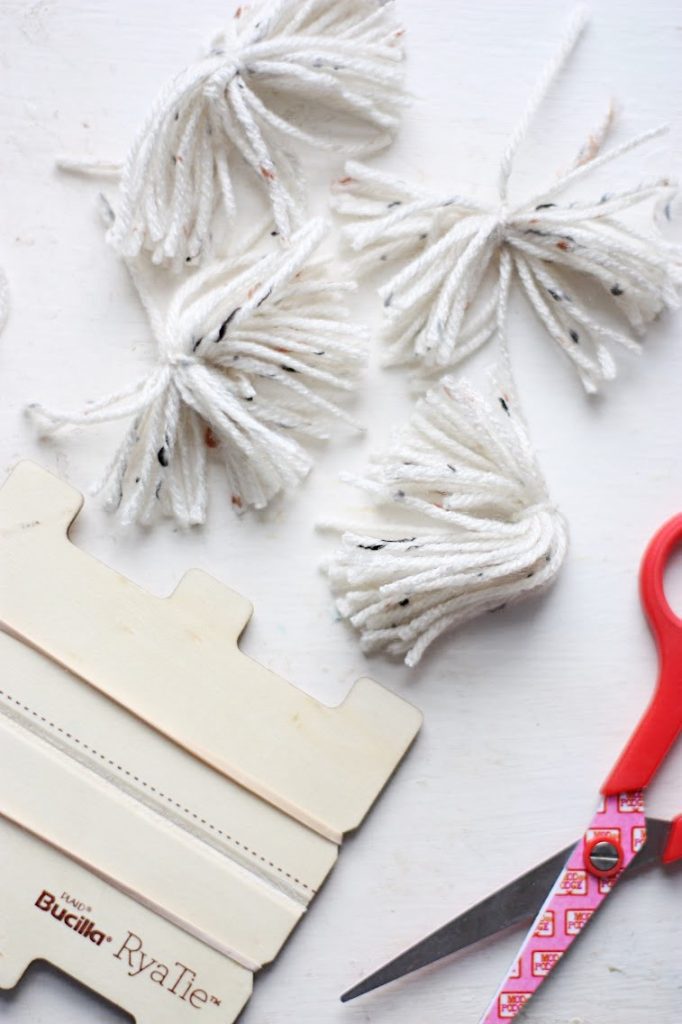

5. Attach the bundles to your mesh! This is as simple as sticking your bundle tie strings through the mesh, and tying them off at the back. Once you have all of the bundles tied, it’s a good idea to drop a dot of glue on each knot for added security. Let dry completely.


Isn’t all that texture amazing? And it’s all just little bundles tied together! So fun.
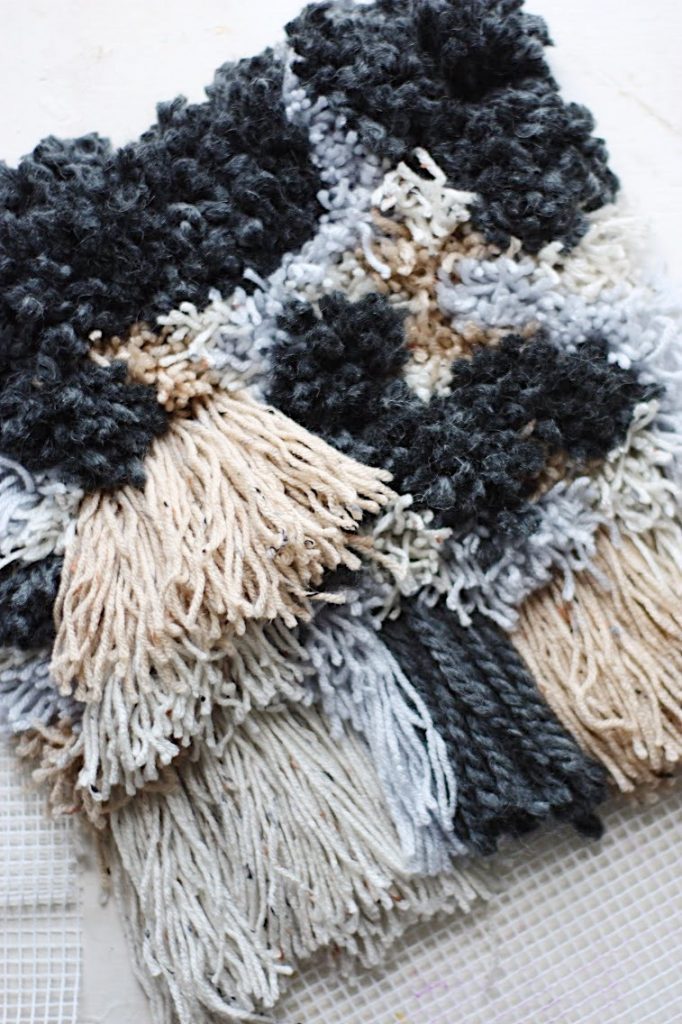

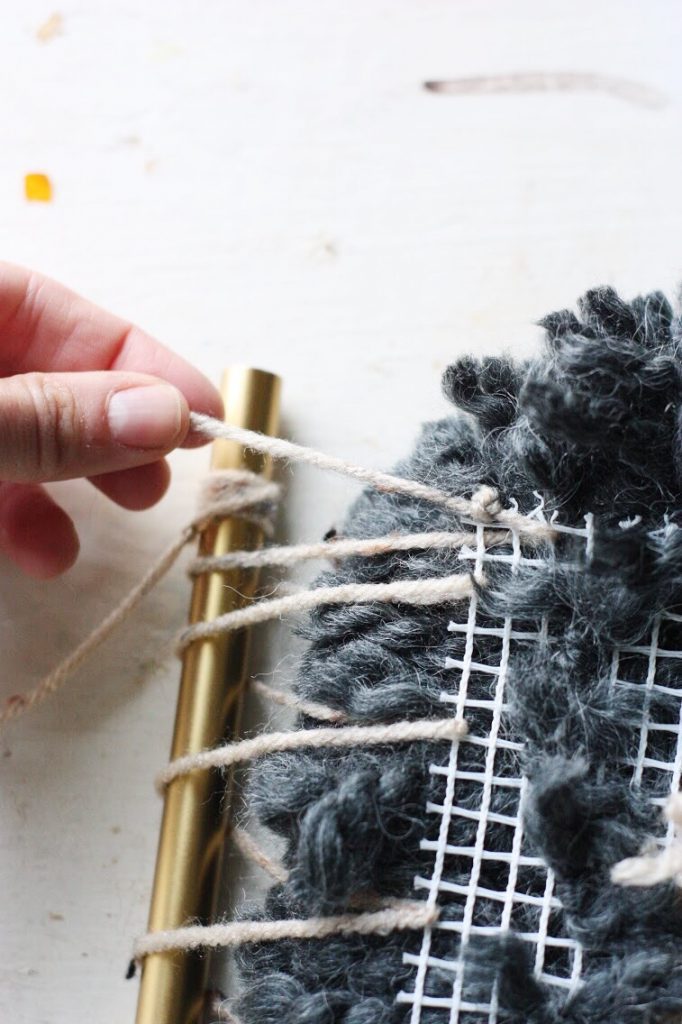

6. Using a piece of yarn, attach your pipe or dowel to the mesh. I tied the yarn to one end of the mesh and threaded the yarn through the mesh and over the pipe until I got to the other side. Then I tied the yarn off at the end. After that is done, attach another piece of yarn to the mesh to hang, cutting off any extra ends.


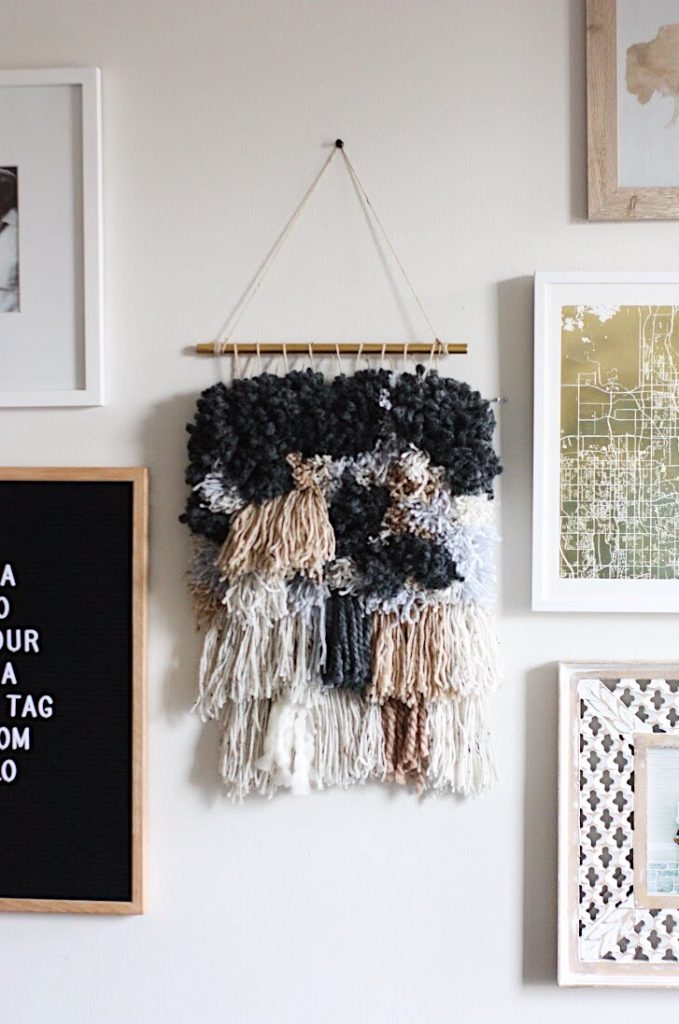

That’s it! You’re ready to hang your masterpiece! Your wall is going to love you!
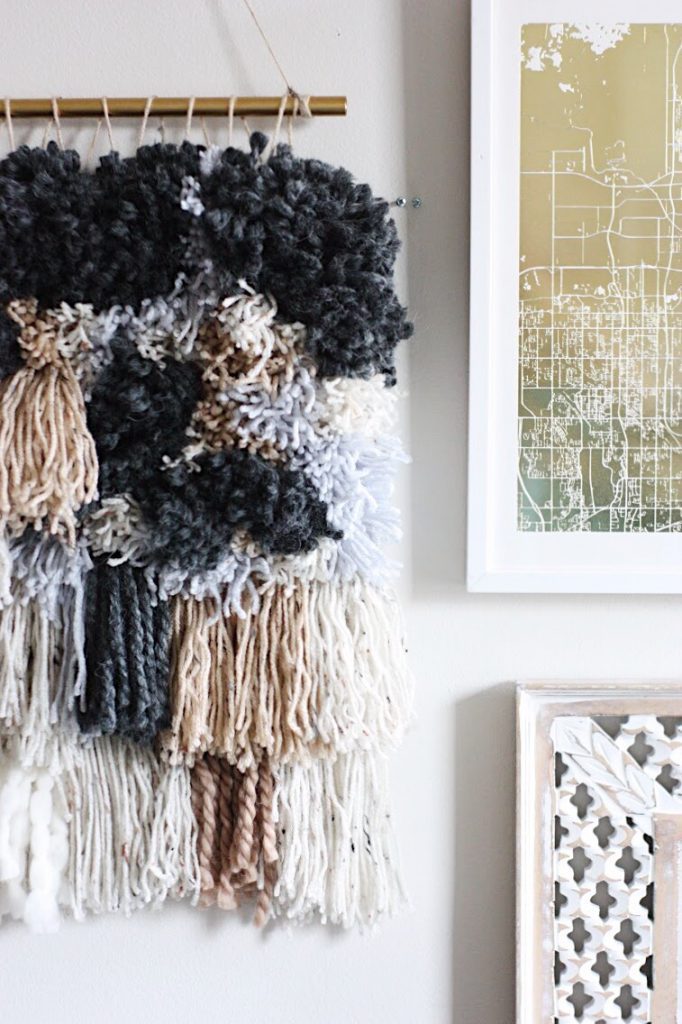

Isn’t that fun? It’s like you’re a real weaver and no one has to know that the only skills you actually have is how to tie knots and use scissors! It’s pretty amazing. Plus, in addition to the Bucilla RyaTie tools there are also more all inclusive sets for these kinds of weaving products from Bucilla, like the AWESOME Bucilla Weaving Loom for home decor projects, and the new Weave it n’ Leave It kits! You’re going to be obsessed and ready to craft the fall away.
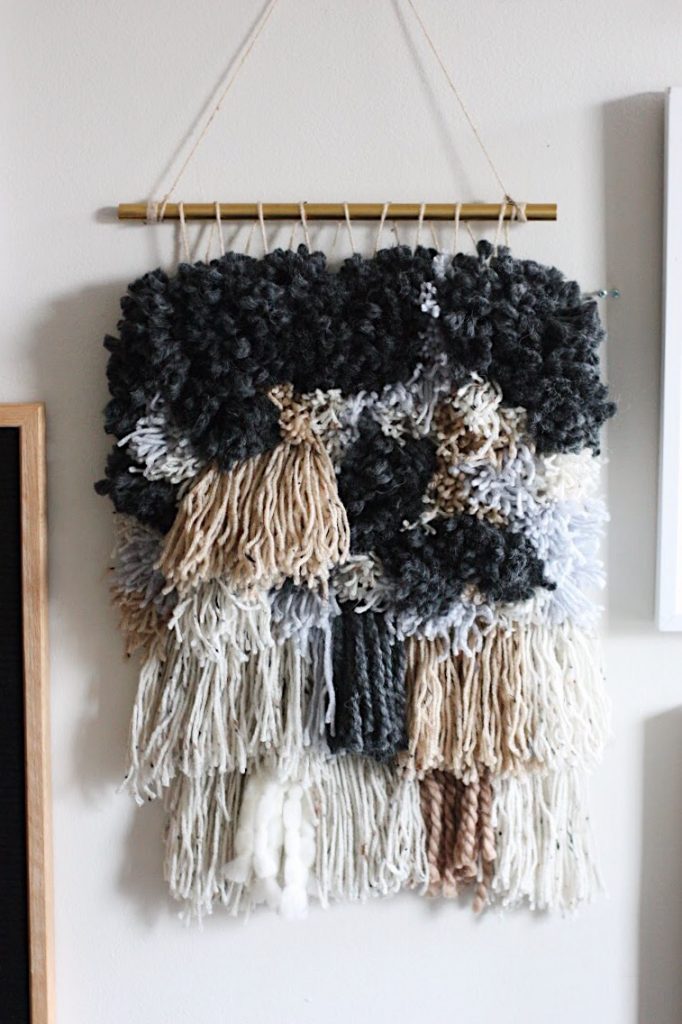


I love the extra interest and texture this kind of unique art gives my gallery wall, and to have made it myself gives me such a sense of accomplishment! I’m a weaving artist, y’all!


To make your own woven masterpiece you can find the RyaTie kit in select Walmart locations, and visit Plaid Online! And for more project inspiration be sure to keep up with Plaid Crafts on Facebook, Instagram, Pinterest, and via Email!
Happy weaving!
ox. Liz


[…] DIY RyaTie Woven Wall Hanging […]
[…] DIY Ryatie Woven Wall Hanging […]