


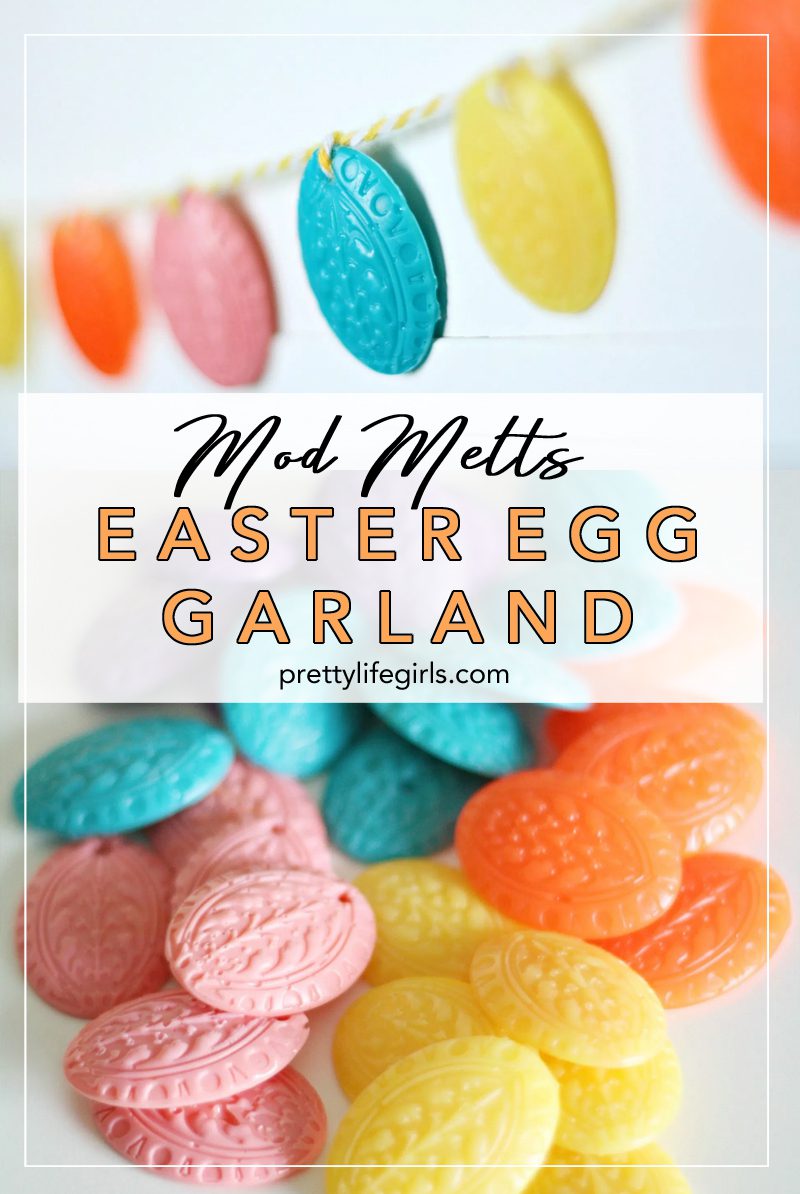
Today we have another fun Easter project to share! This DIY Easter Egg Garland is the perfect decoration for all your Easter celebrations! If you haven’t heard of the Mod Podge® Mod Melter, Melts and Molds, you are going to want to get your hands on all of them ASAP! They are super simple to use and create the funnest embellishments. Here’s what you need to get started:
Supplies
Mod Podge® Mod Melter
Mod Podge® Mod Melts (in spring colors)
Mod Podge® Mod Molds
Thumbtack or nail
String

Step 1: Following the instructions from the Mod Melter, dispense the Mod Melts into the Mod Molds.

Step 2: After allowing the melts to cool and harden (about 10 minutes), remove from the mold.

Aren’t these eggs so cute and colorful?!

Step 3: Poke holes in the eggs using a thumbtack or nail. Be careful!

Step 4: String the eggs.


So bright and springy and fun! Happy crafting!
xo, Sam


This banner is so stinking cute! You girls seriously come up with the cutest things!
Paige
http://thehappyflammily.com
such an adorable banner
http://www.amysfashionblog.com/blog-home
[…] DIY Easter Egg Garland from prettylifegirls.com […]
[…] this colorful Easter Egg Garland and add a fun pop of color to your Easter […]