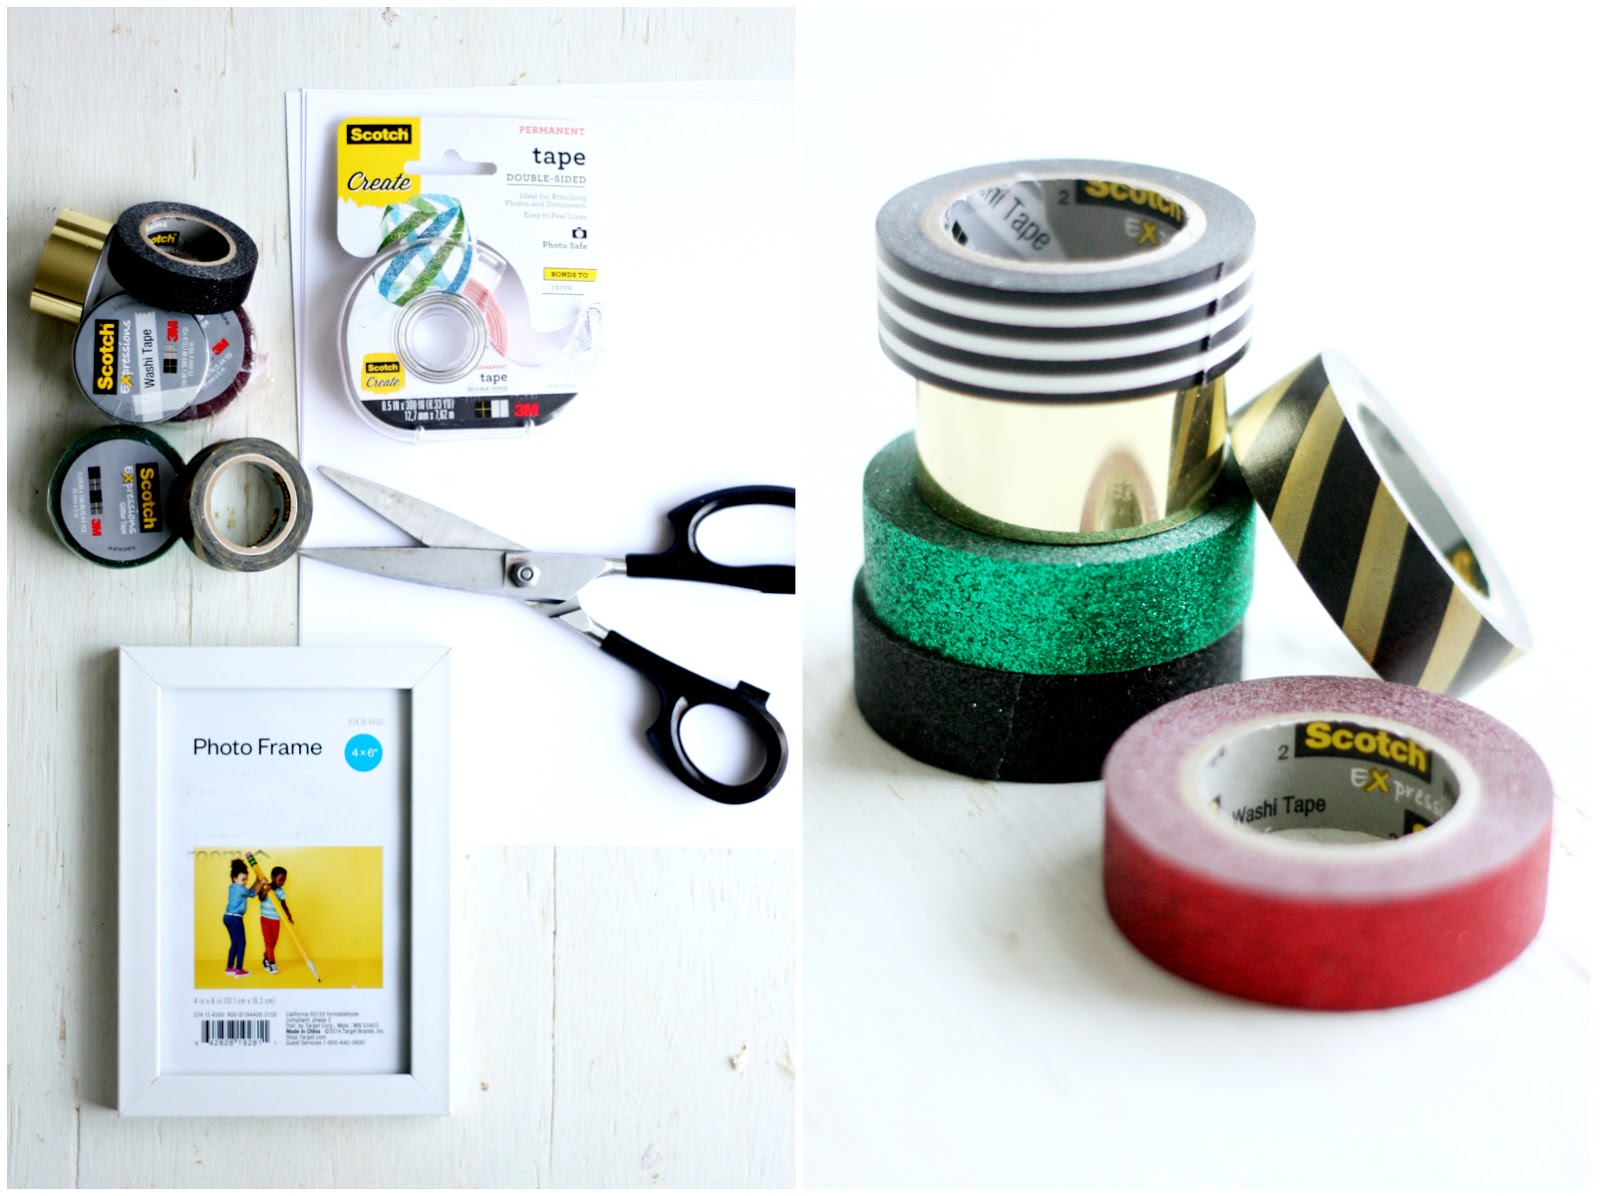
What you need:
Scotch® Expressions washi, glitter, and metallic tapes
Scotch® Create Double-Sided Tape (This line is SO great for crafting. It has everything from masking tape to spray adhesives that work like a charm every time.)
Cardstock
Scissors or craft cutter (I used a Silhouette Portrait)
Picture frame
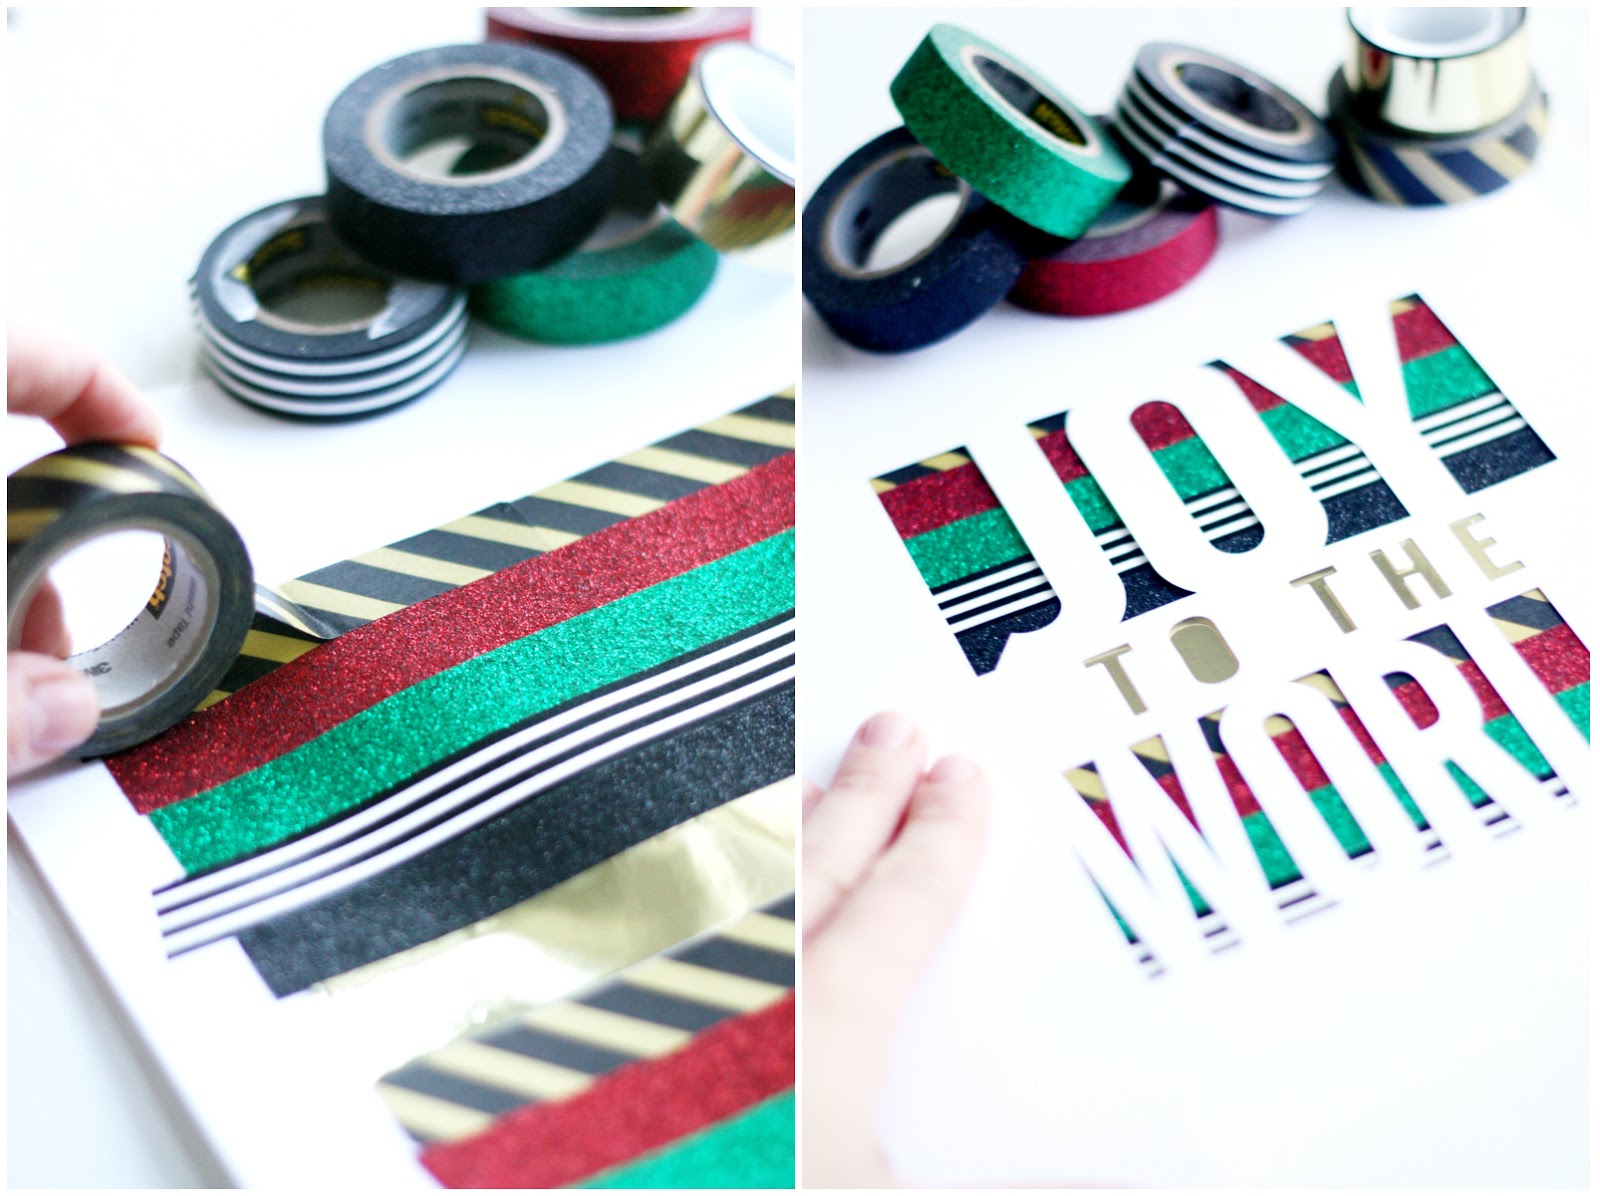
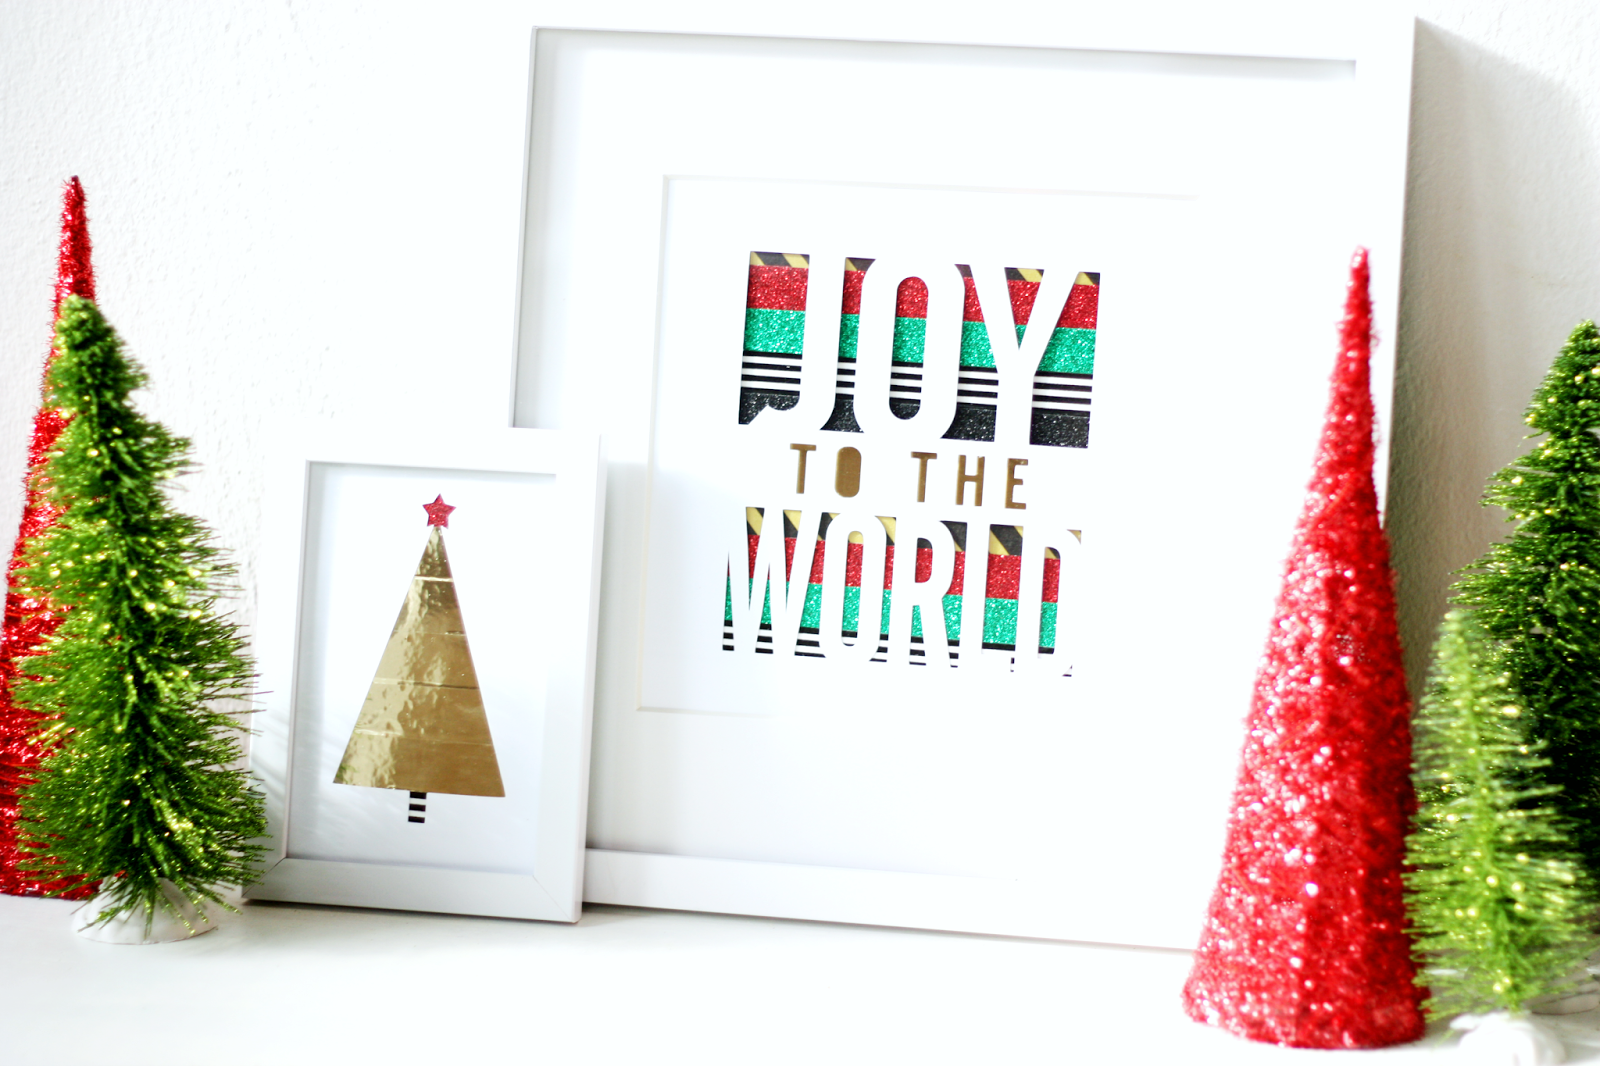
1. Cut out your design using a craft cutter or by drawing or tracing your design and cutting with scissors. On a separate piece of cardstock place your tapes where the cut-out design will show through.
2. Lay your cut-out over the tape page and secure together with double-sided tape.
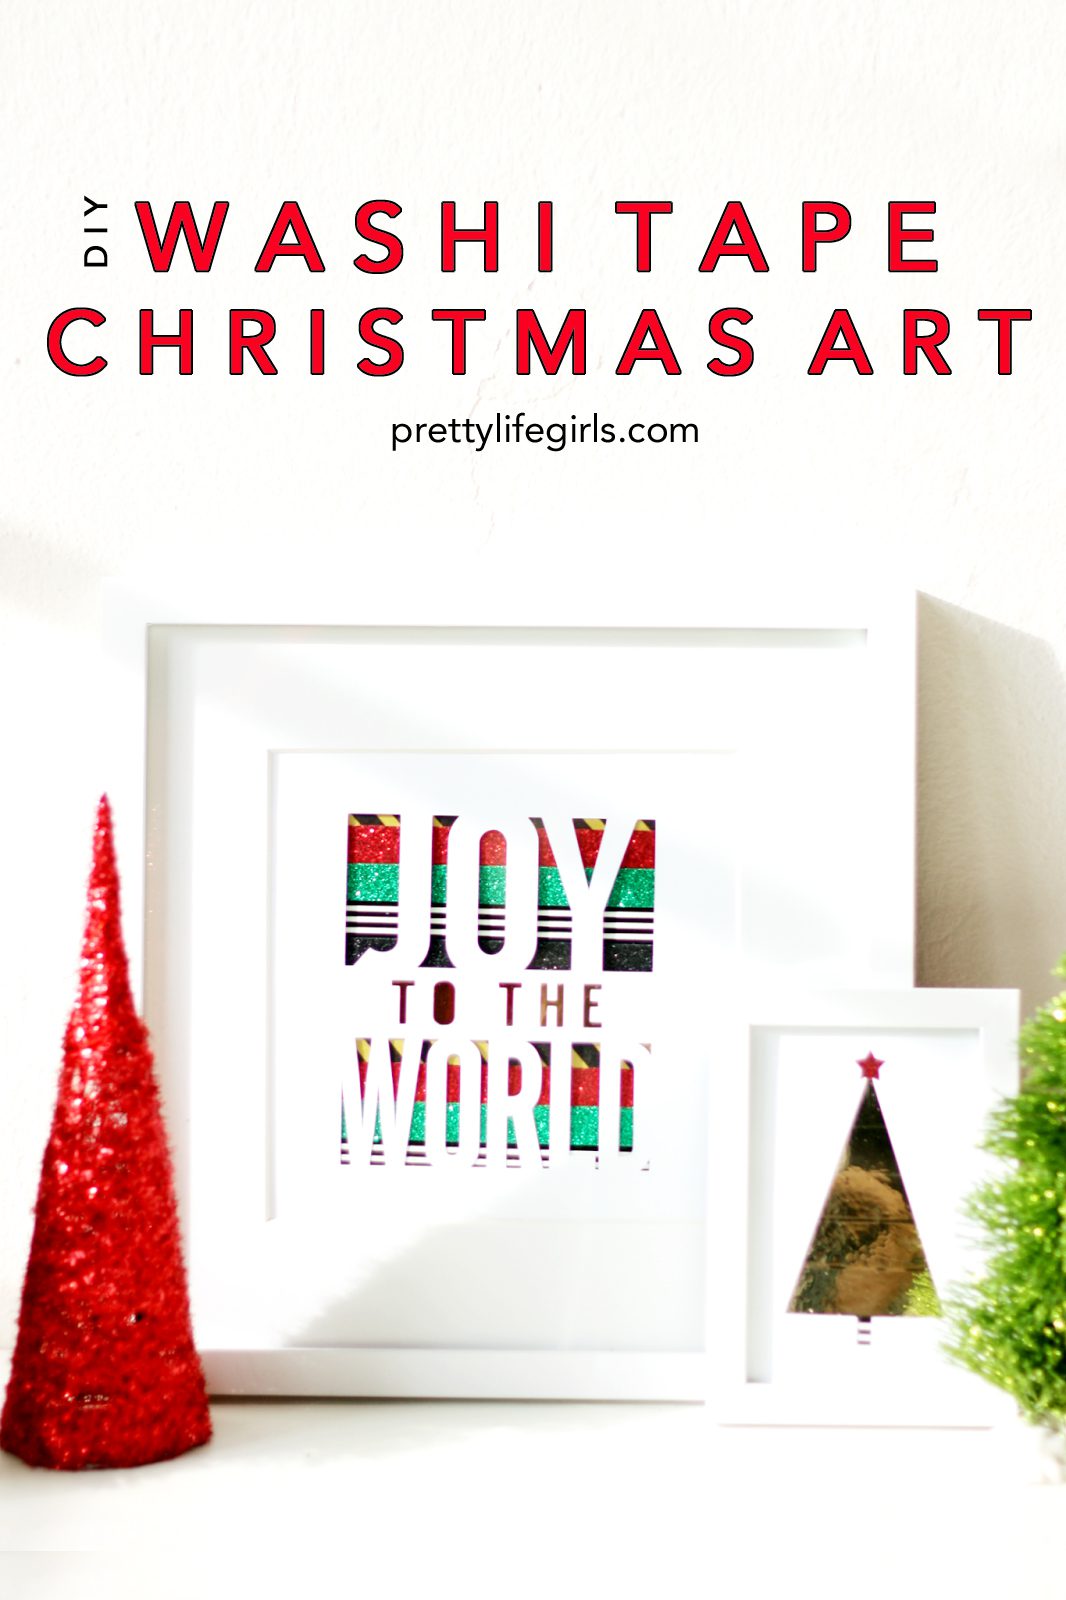
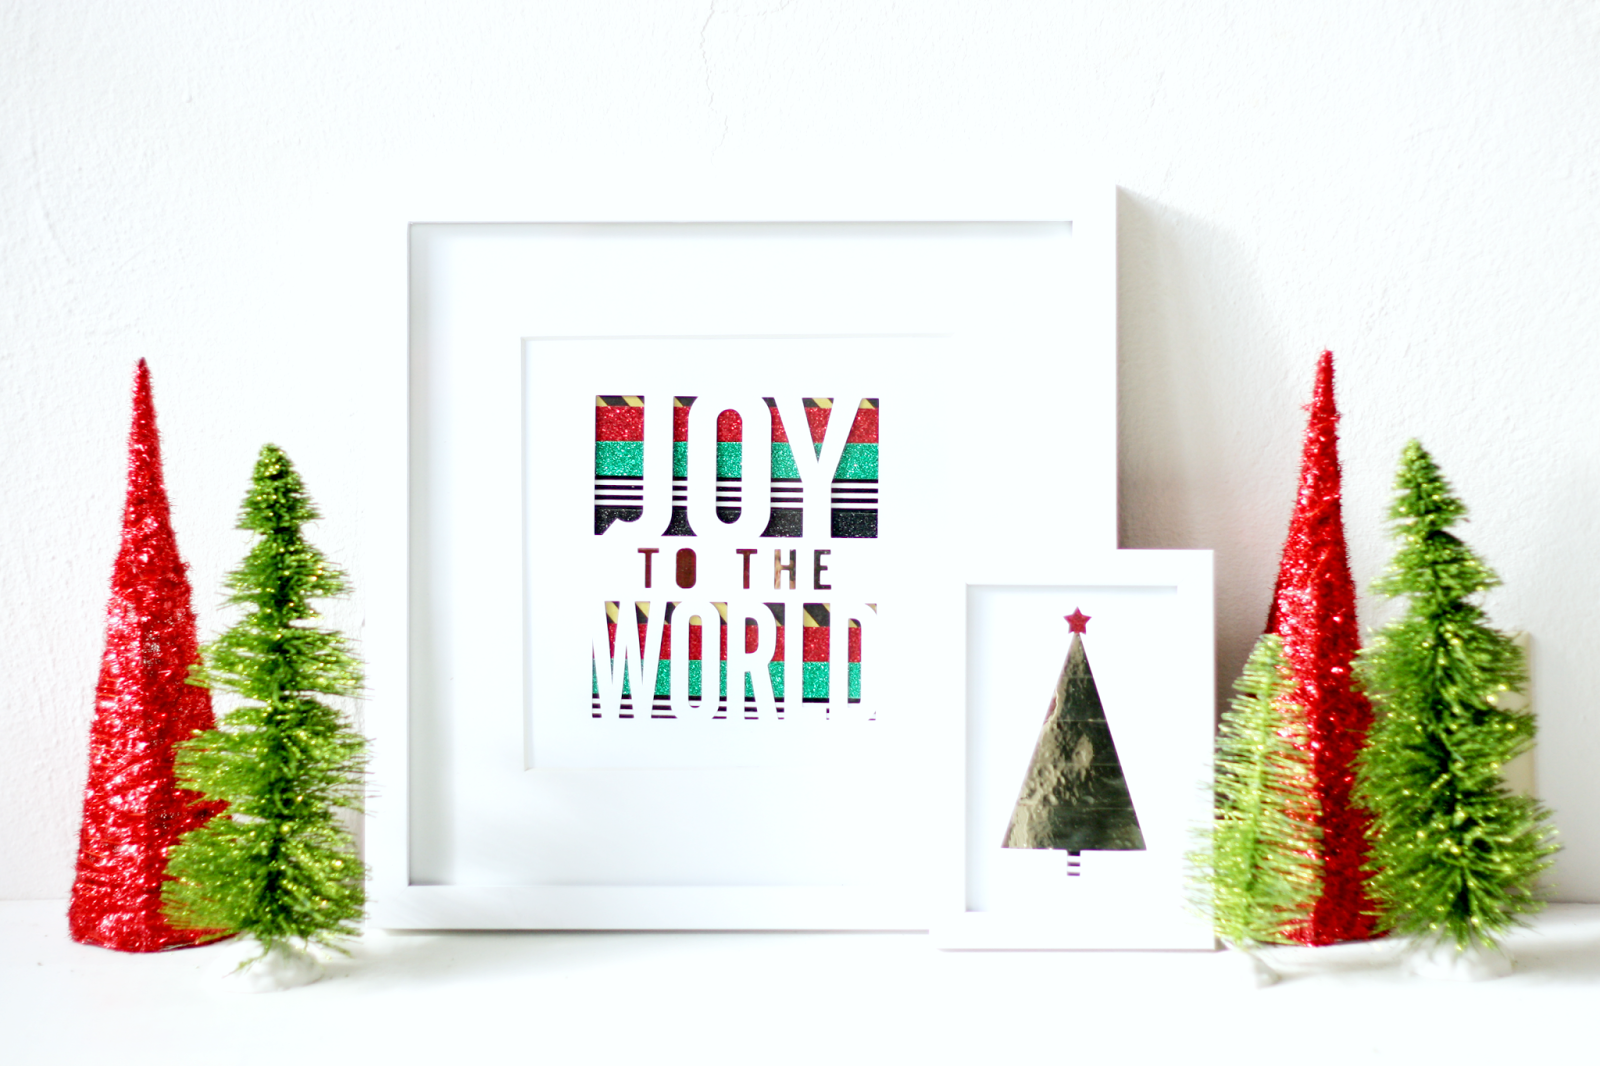
3. Place in frame and you’re done! Can you believe how easy that was?? And SO adorable. The sparkle! The metallic! I love it.
Once you see how easy it is you’ll want to do it again and again like I did. I mean, I’ll probably need a couple for every season and my birthday and probably a few random Wednesdays. So much fun.
Find all of the supplies you need for this project in the scrapbooking/photo album aisle at Walmart!
ox. Liz & Sam








These picture frames are super cute! You girls did a fabulous job!
Paige
http://thehappyflammily.com
love this idea
http://www.amysfashionblog.com/blog-home
I love that layered tape in the Joy to the World frame. Gorgeous! [client]
[…] DIY Washi Tape Christmas Art from prettylifegirls.com […]
[…] DIY Washi Tape Christmas Art from prettylifegirls.com […]
[…] DIY Washi Tape Christmas Art […]
[…] Washi Tape Christmas Art […]