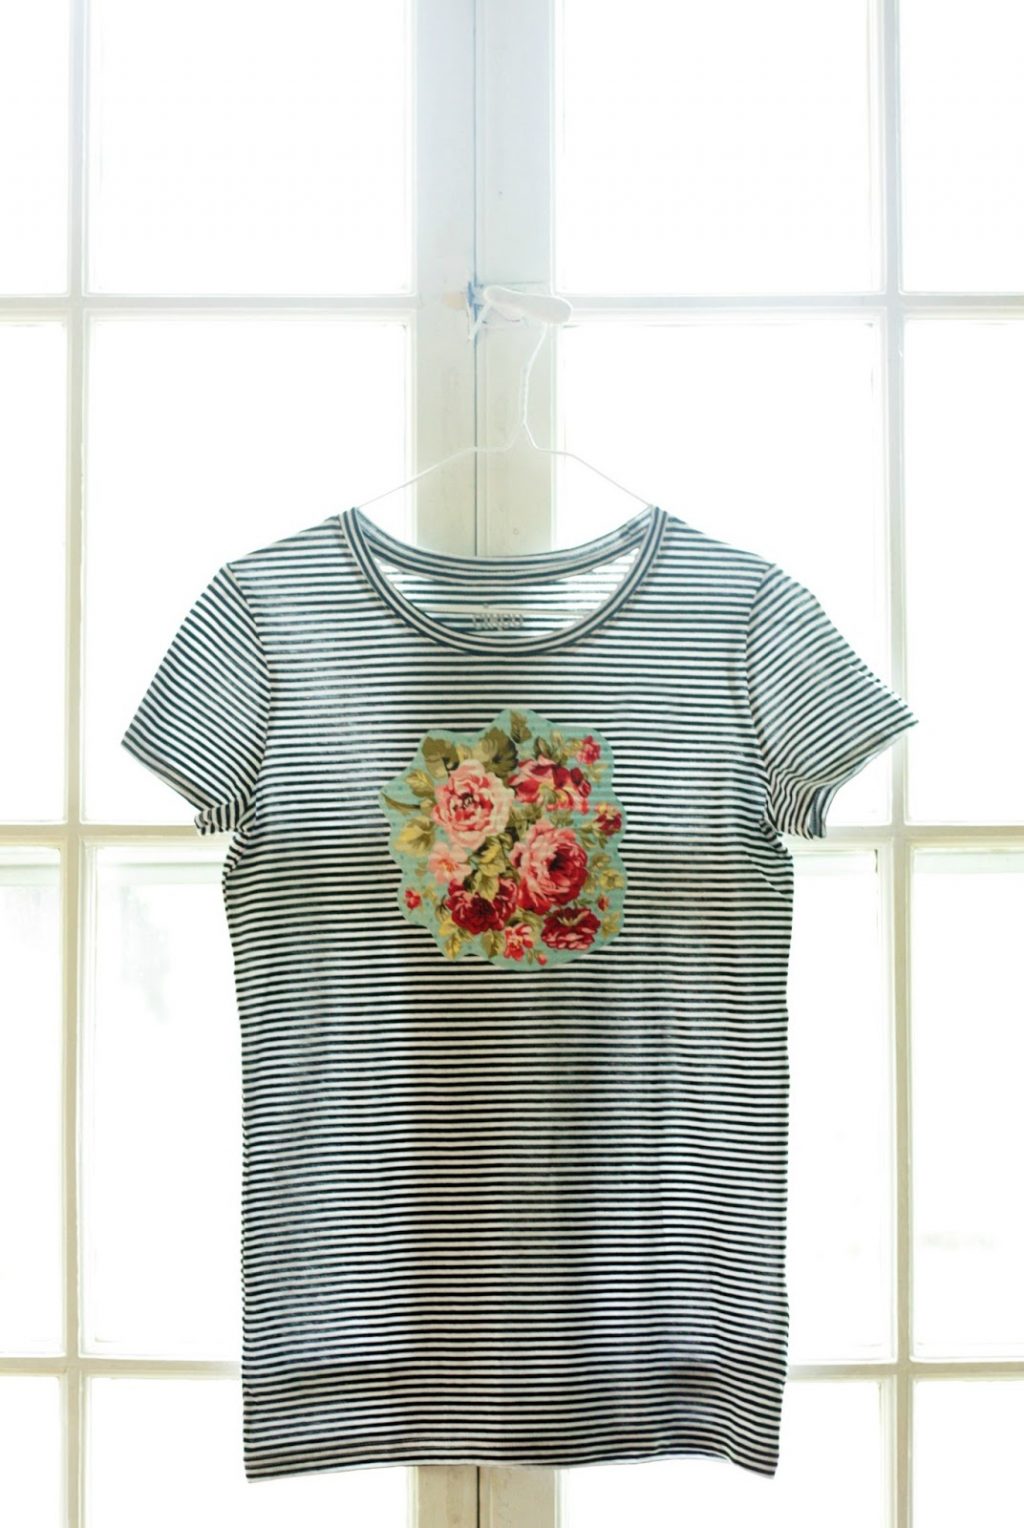
When the weather warms up I love to have a bunch of go-to tees that I can throw on. However, I was noticing that my tee collection was looking a little boring with just stripes, stripes, aaaaaaaand stripes. So, I was inspired by this tutorial for making a fun tee for the littles and decided to give one of my striped tops a little makeover and give it some sass. I am not kidding when I say that this project was easier than pie. Not the kind you have to make either, the kind you get from the freezer section and put in the oven. So. Easy. You just need to be able to use scissors and an iron! Here’s how I did it:
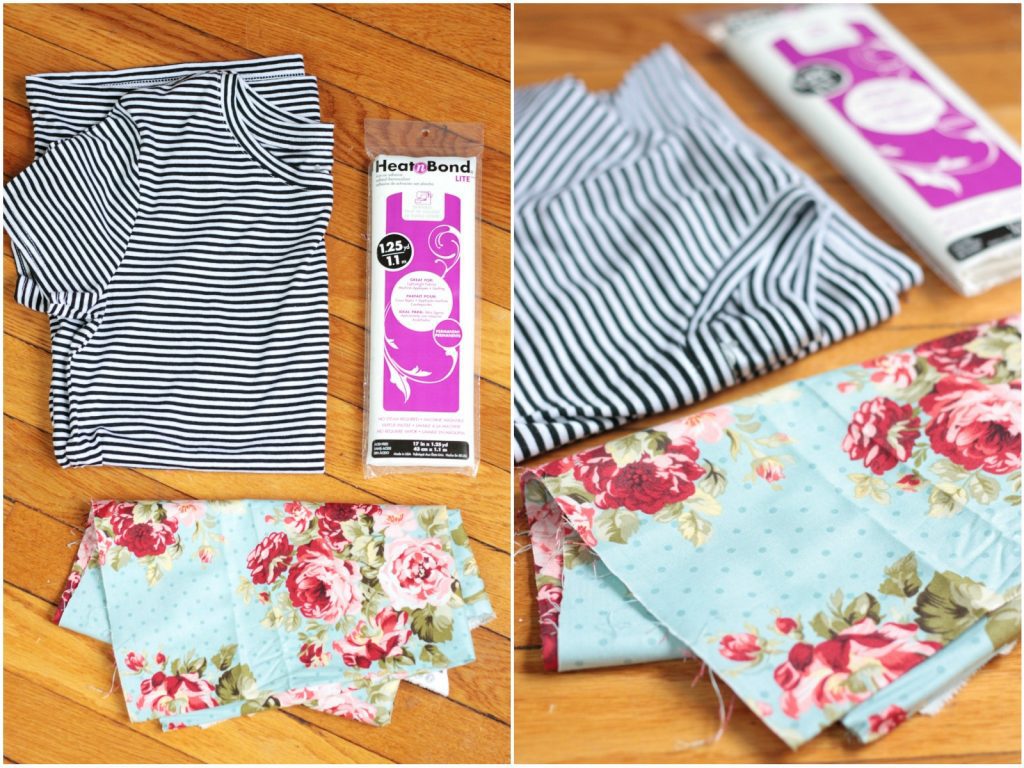
Supplies Needed:
-T-shirt
-Fabric
-Heat ‘n Bond
-Scissors
-Iron
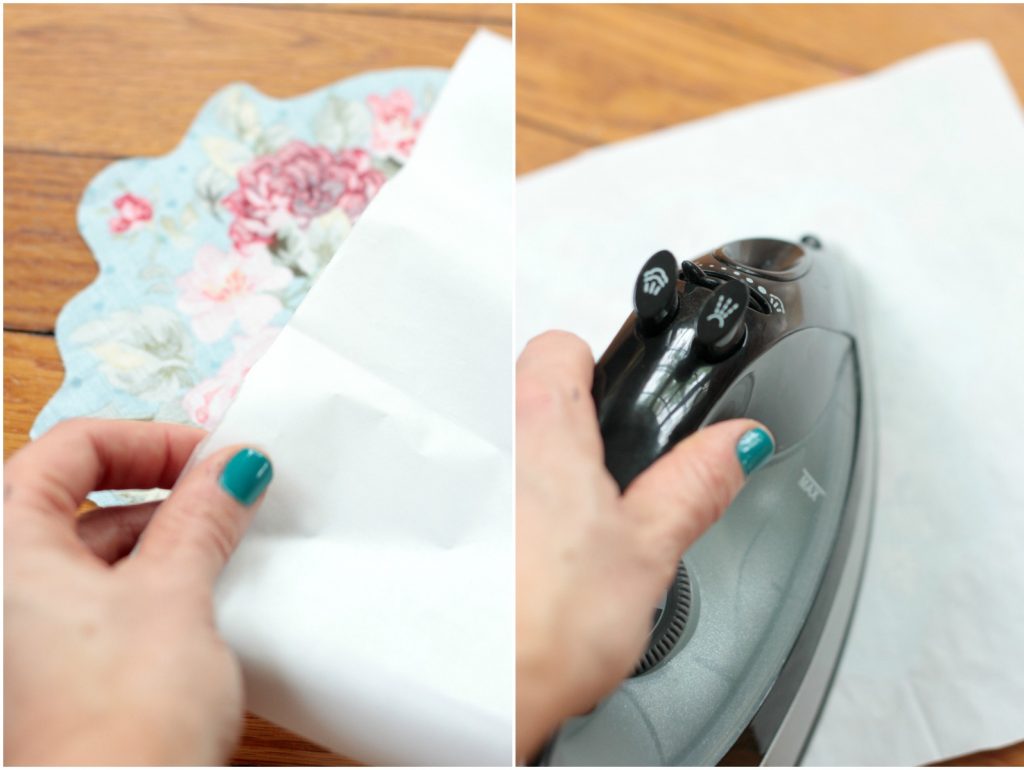
1. Cut out the fabric into the shape you would like on your shirt. Cover it with the Heat ‘n Bond according to the package directions. (For mine this meant having the textured side down and the paper side up.)
2. With the iron on medium heat (no steam), press fabric for a couple of seconds until bonded (the time + temp may vary depending on the kind of Heat ‘n Bond you buy so make sure you follow those directions first.)
3. Cut away the excess Heat ‘n Bond paper.
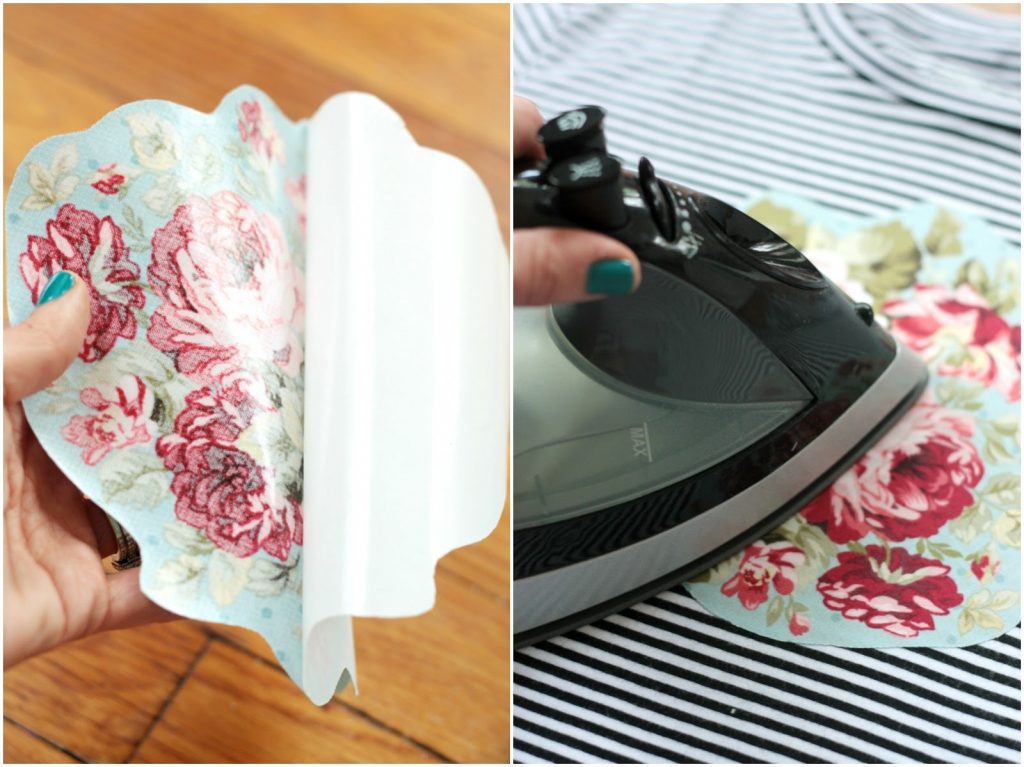
4. Peel of the Heat ‘n Bond paper.
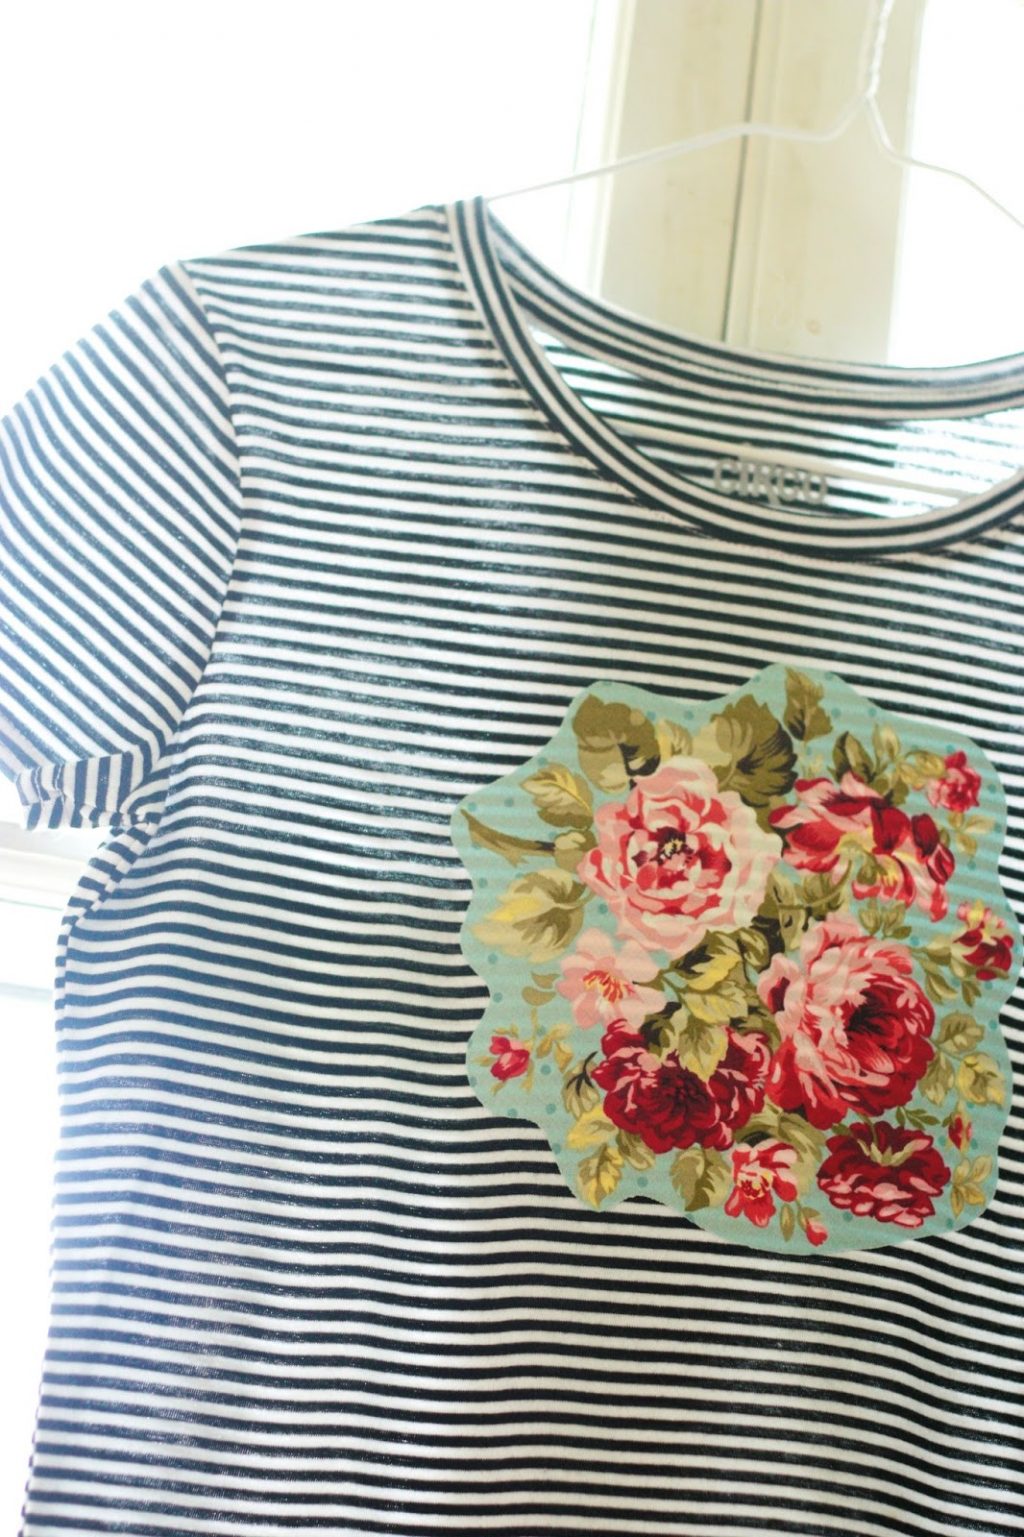
5. Place fabric on the shirt shiny side down. Iron on medium heat (no steam) for a few seconds until bonded and you’re DONE.
So easy, affordable and the payoff is BIG. The possibilities for t-shirt upgrading are boggling my MIND.
Happy t-shirt making! You’re gonna look CUTE.
ox. Liz








This is so cute! I tried to do a heat n bond shirt last year and got so confused about the directions that I wound up making a huge sticky mess everywhere! I'm super excited to actually see how it works now so can give it another go eventually!
Paige
http://thehappyflammily.com