


This DIY Floral Pumpkin Vases tutorial was sponsored by Lowe’s as part of an Influencer Activation for
Influence Central and all opinions expressed in my post are my own.
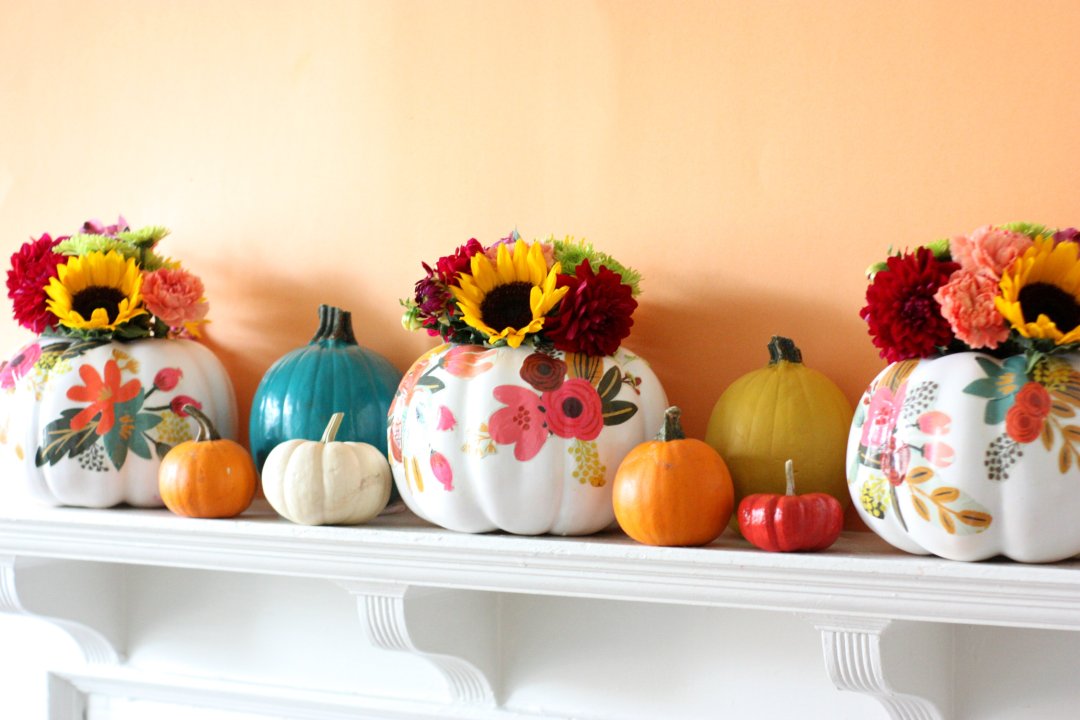
I am a mantel junkie. I love scanning Pinterest for all of the fun and different ways that people decorate their mantels for every season and holiday and I love when people go big and bold. It’s such a fun place to decorate because it’s generally in the most central and most cozy area of a home. So, with my affection for mantels in mind, today I am sharing a fun way to decorate your mantel and brighten things up for fall with these DIY floral pumpkin vases and painted pumpkins!
This is a fun project that can be used on a mantel, or as decor on a table as a centerpiece. Plus, these pumpkins are gorgeous on their own as a smaller decorative piece, or would even be wonderful as gifts for a neighbor or a hostess! The possibilities with these babies are endless and they are so lovely that they are sure to brighten up any space they inhabit. Plus, I found the majority of the supplies at my local Lowes! Lowes had everything from the craft pumpkins to the real pumpkins and tons of fun Halloween decor) to the paints and brushes to even the gorgeous fresh flowers I needed to create this project. The whole thing was a piece of cake that makes a big impact. Here’s how you make them:
SUPPLIES NEEDED:
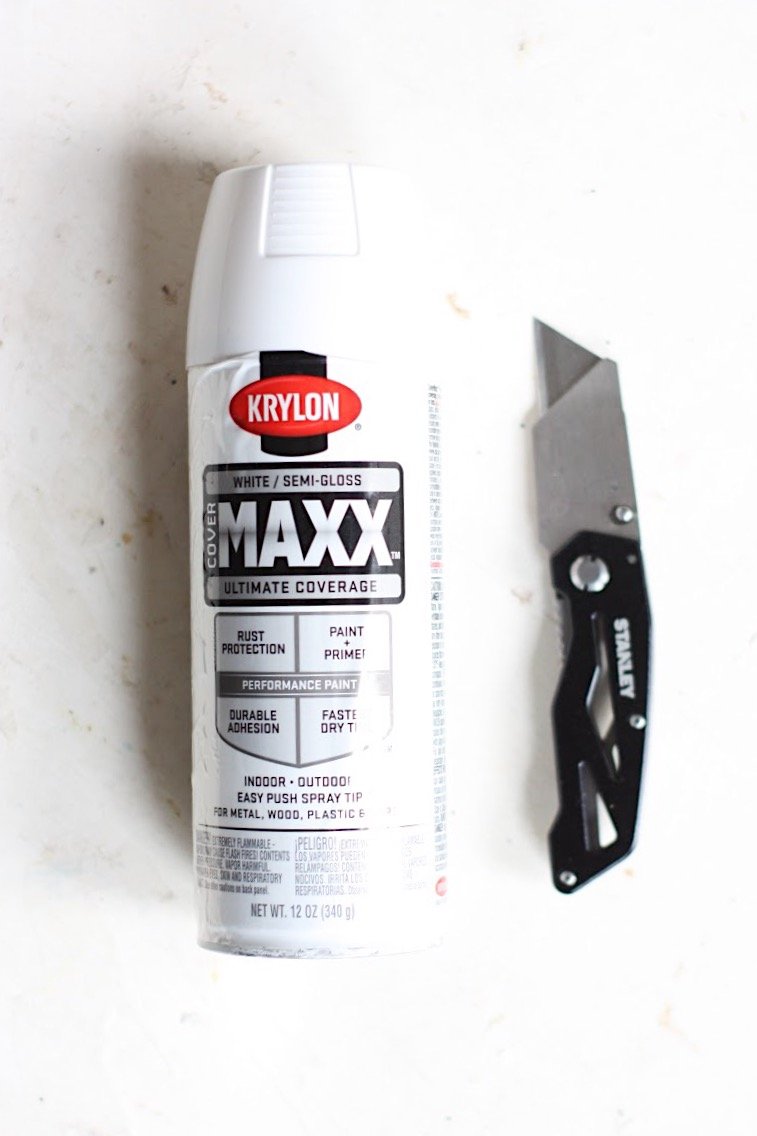
Stanley 1-Blade Utility Knife
Craft Pumpkins
White Krylon Spray Paint
Mod Podge
Patterned Paper
Fall flowers (I found ours in-store at my local Lowes and they were gorgeous!)
House Paint Samples in coordinating colors to the paper
Paint Brushes (one for the Mod Podge and one for the paint)
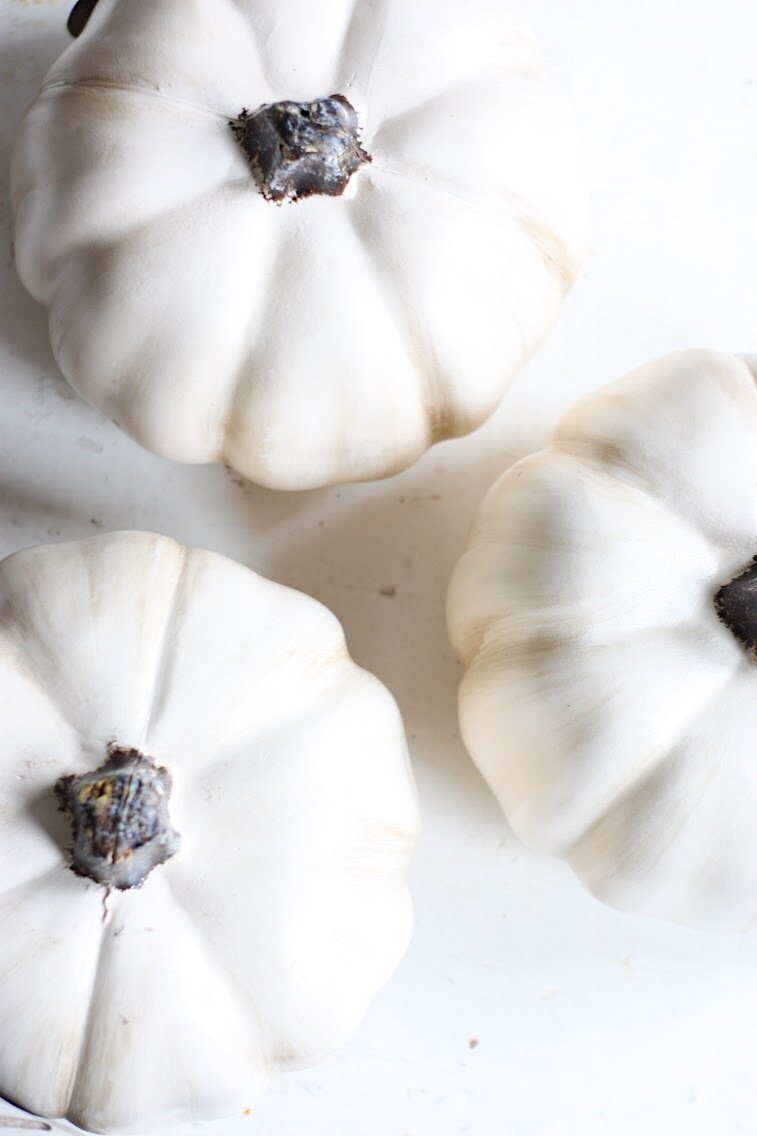
Pumpkins (I found all sizes of these at my local Lowes as well!)
Glass Jar
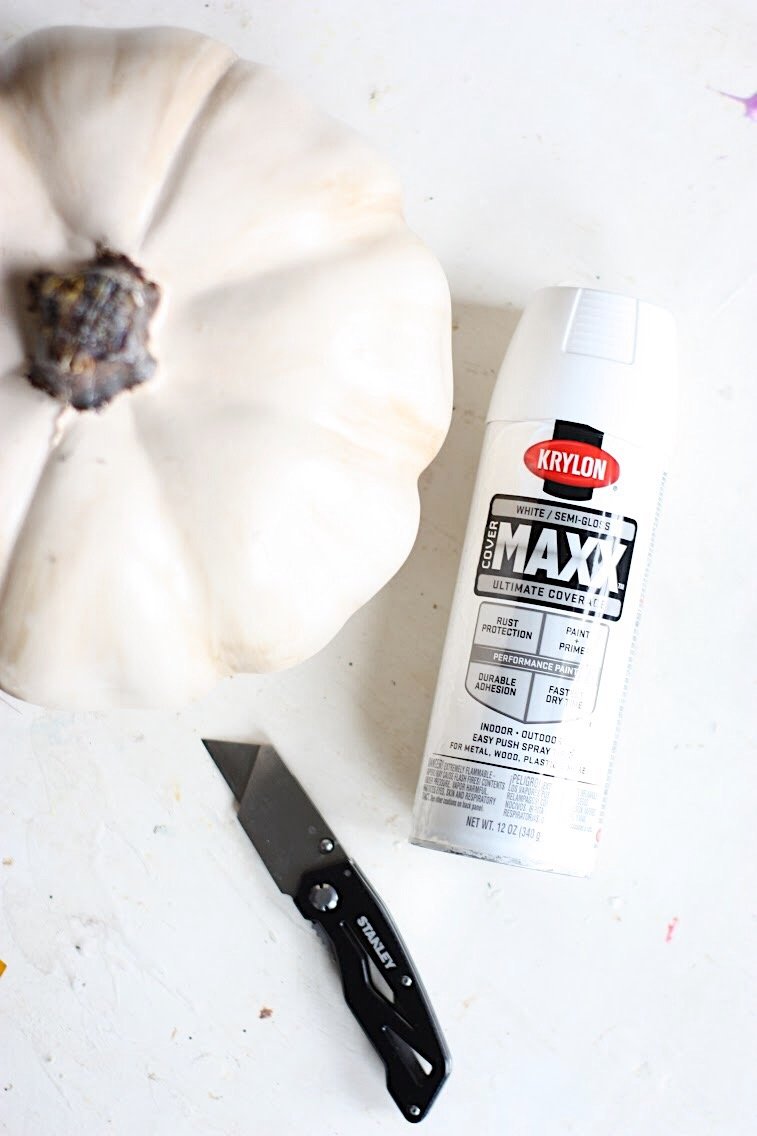
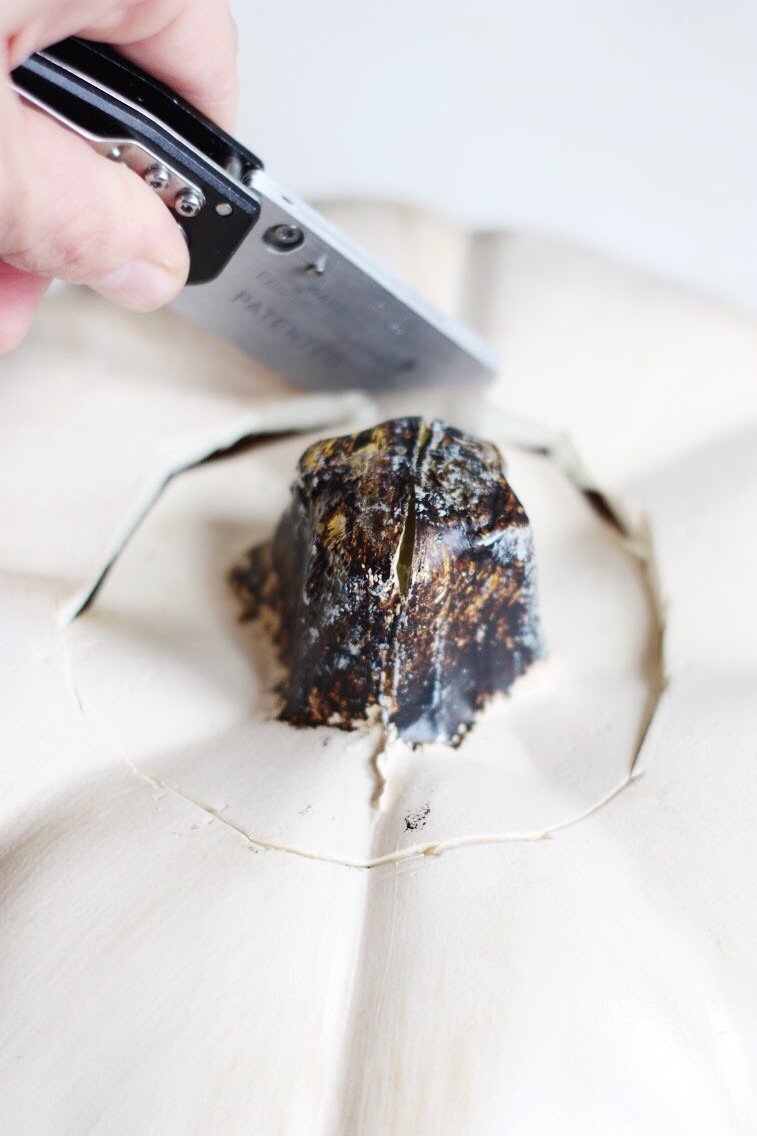
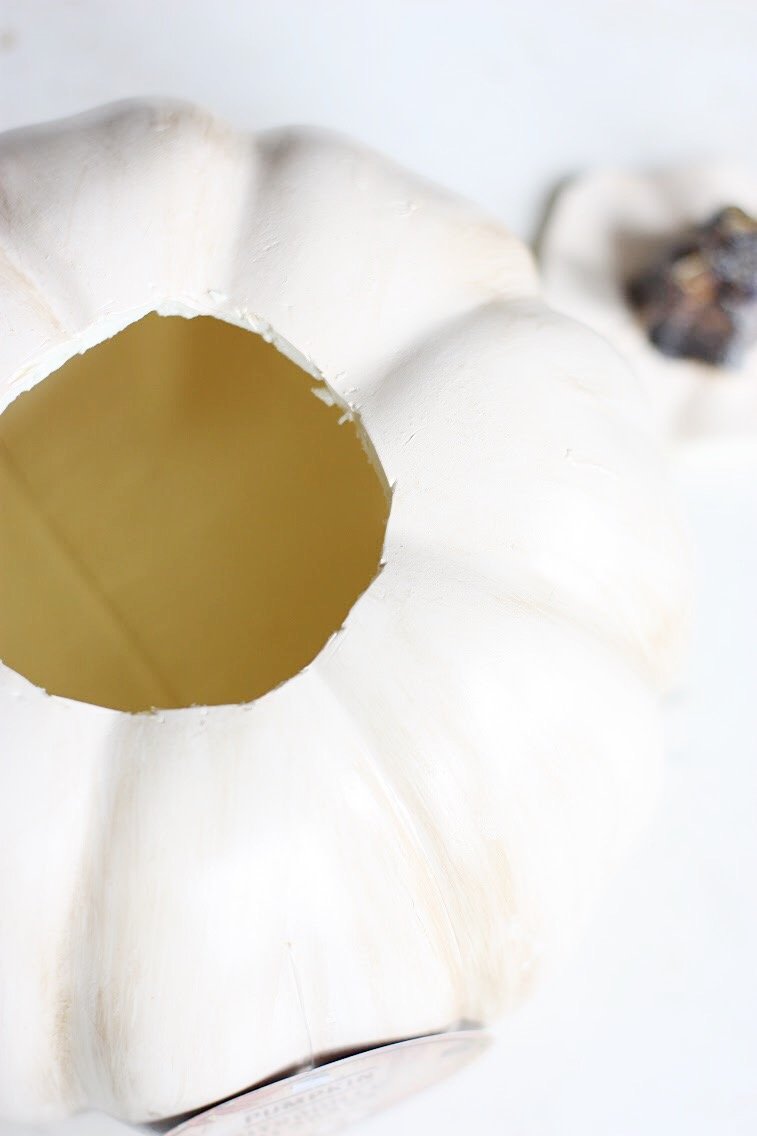
- Using your knife, cut a hole in the top of the craft pumpkin, a little bit bigger than the diameter of a mason jar.
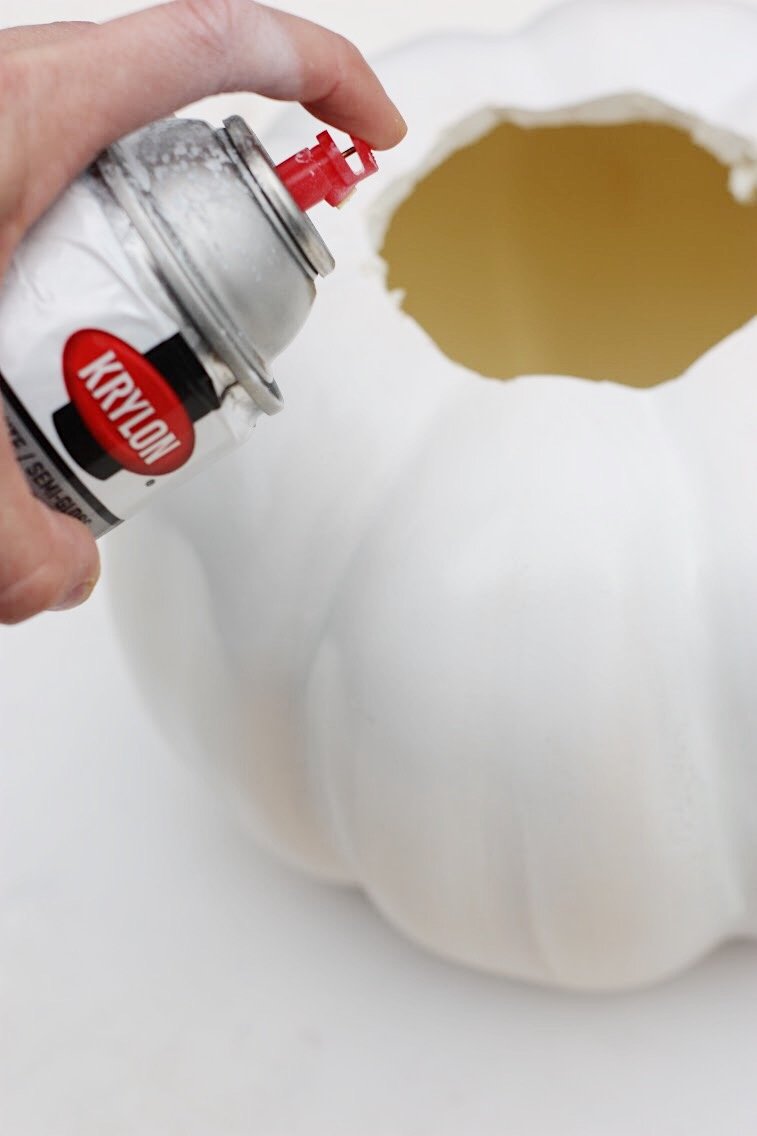
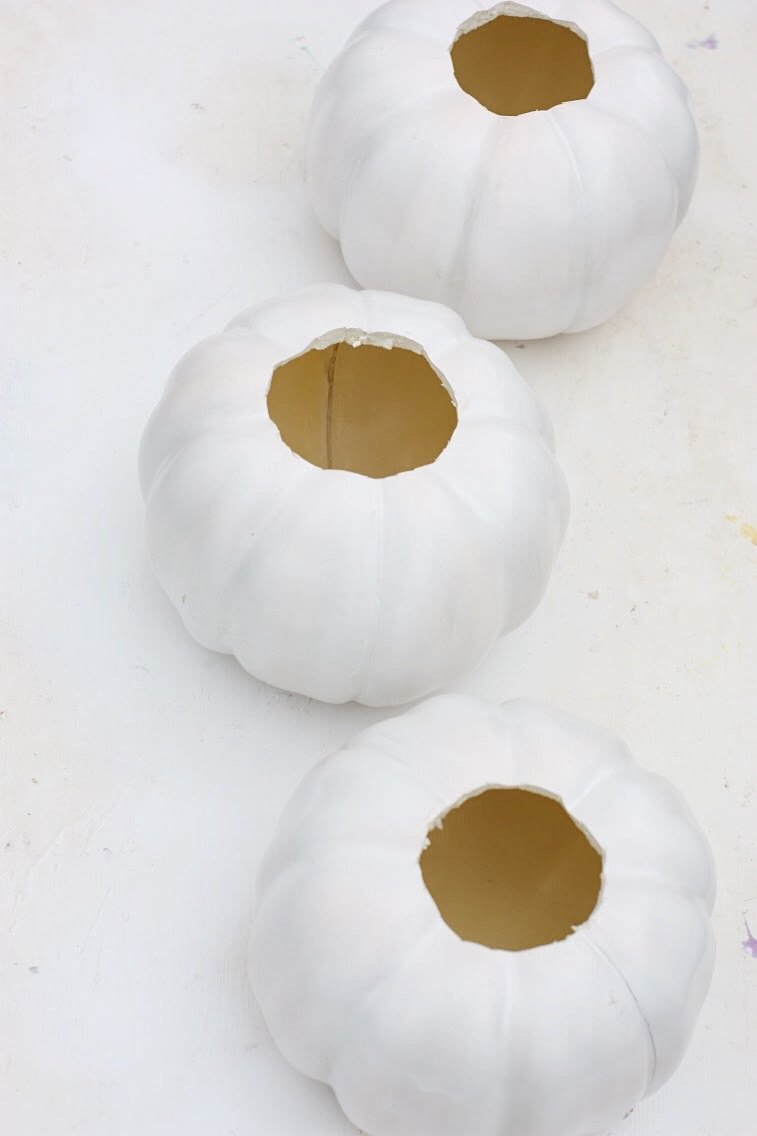
2. Using your spray paint, paint the pumpkins white. Let dry completely.
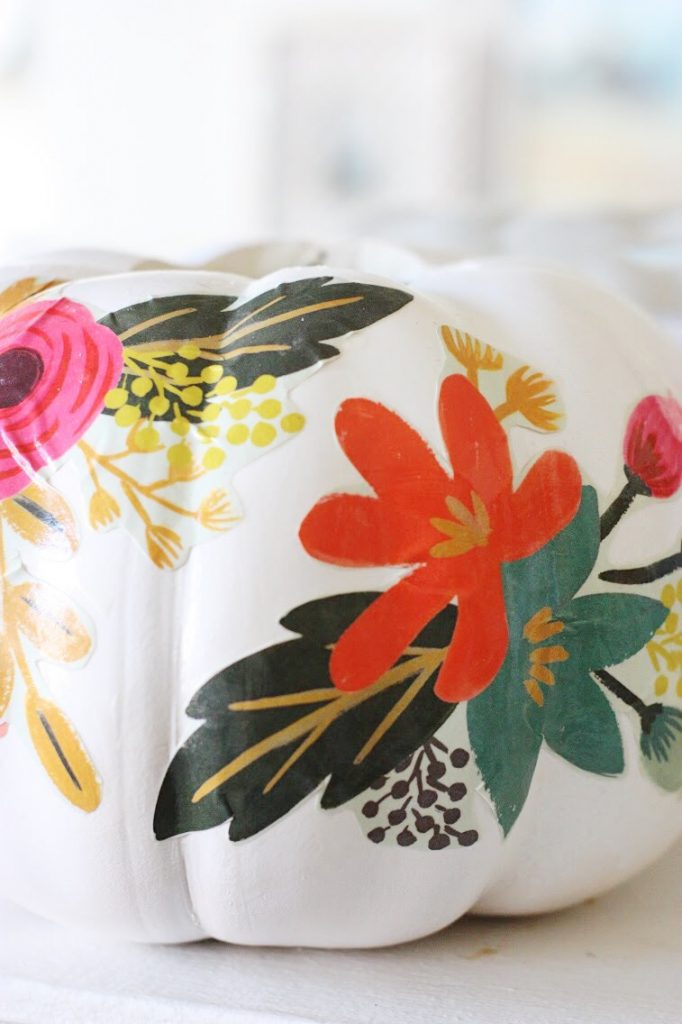
3. Cut out your design from your craft paper and apply to the pumpkins with a paint brush using Mod Podge, according to package directions. Once the paper has dried, apply another layer of Mod Podge over the top of the paper to seal. Let dry completely.
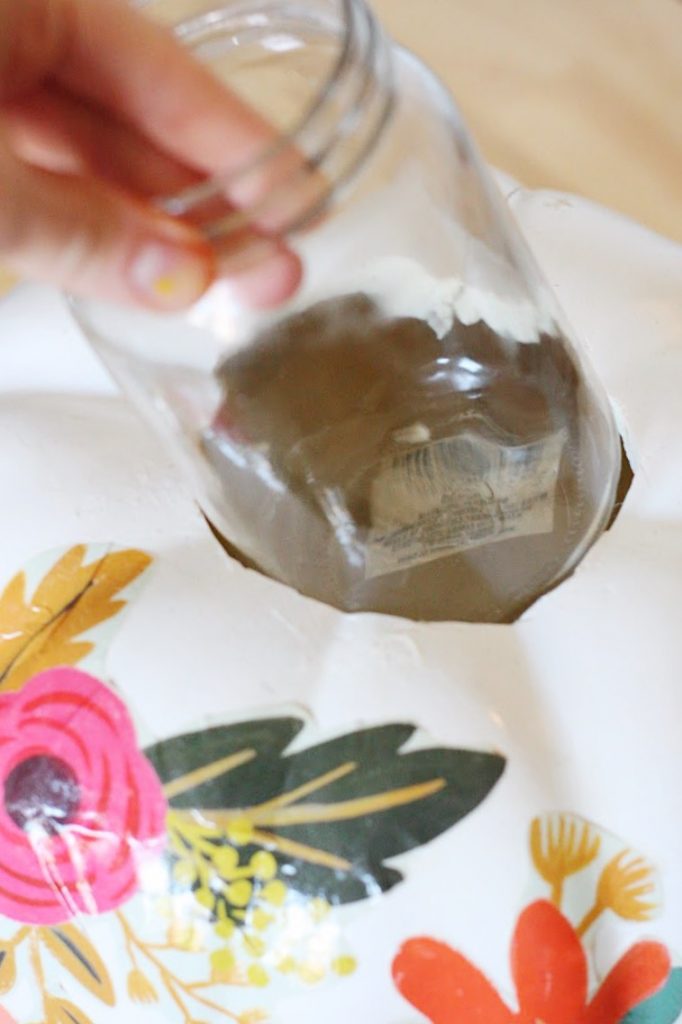
4. Place the glass jar inside the pumpkin and fill with water.
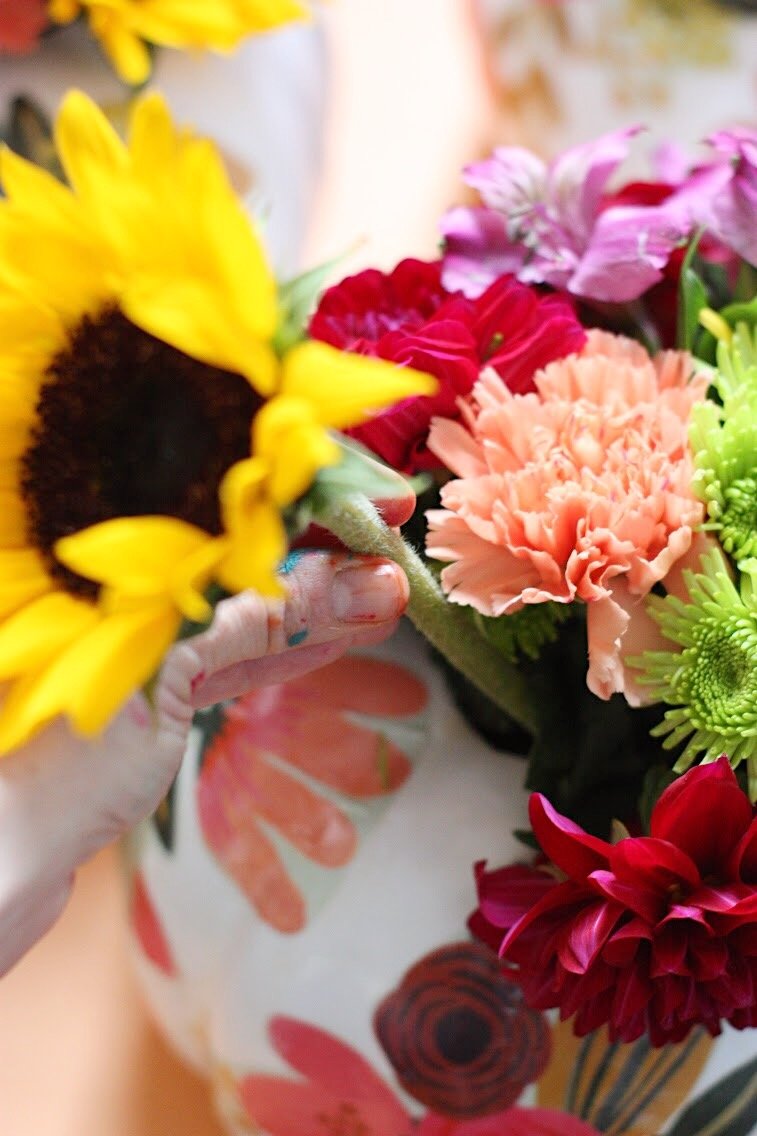
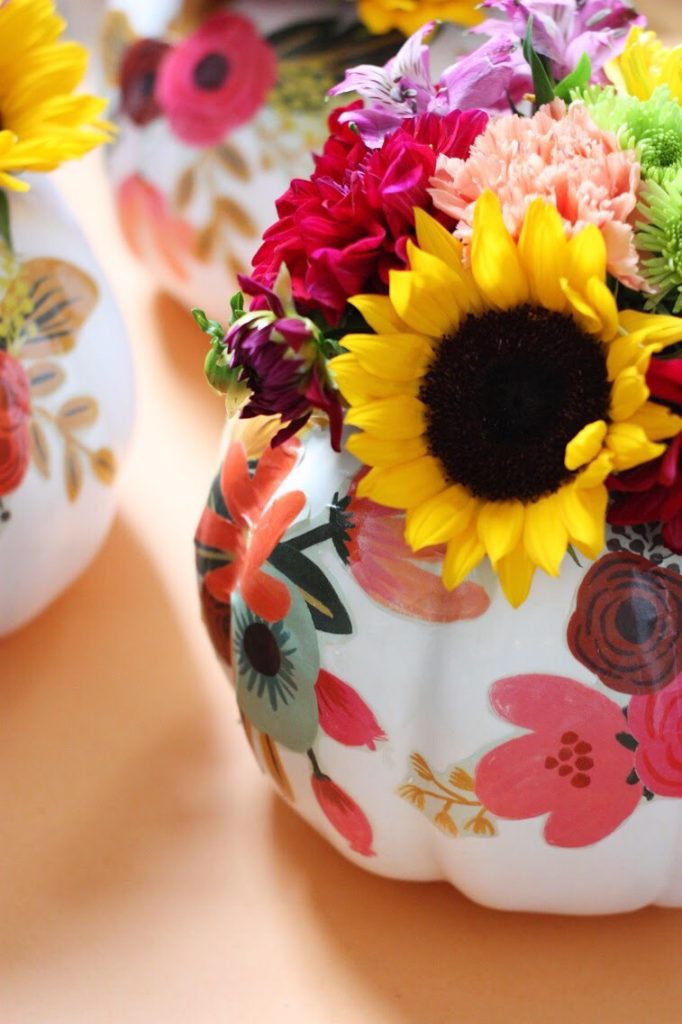
5. Cut and arrange flowers in the jar.
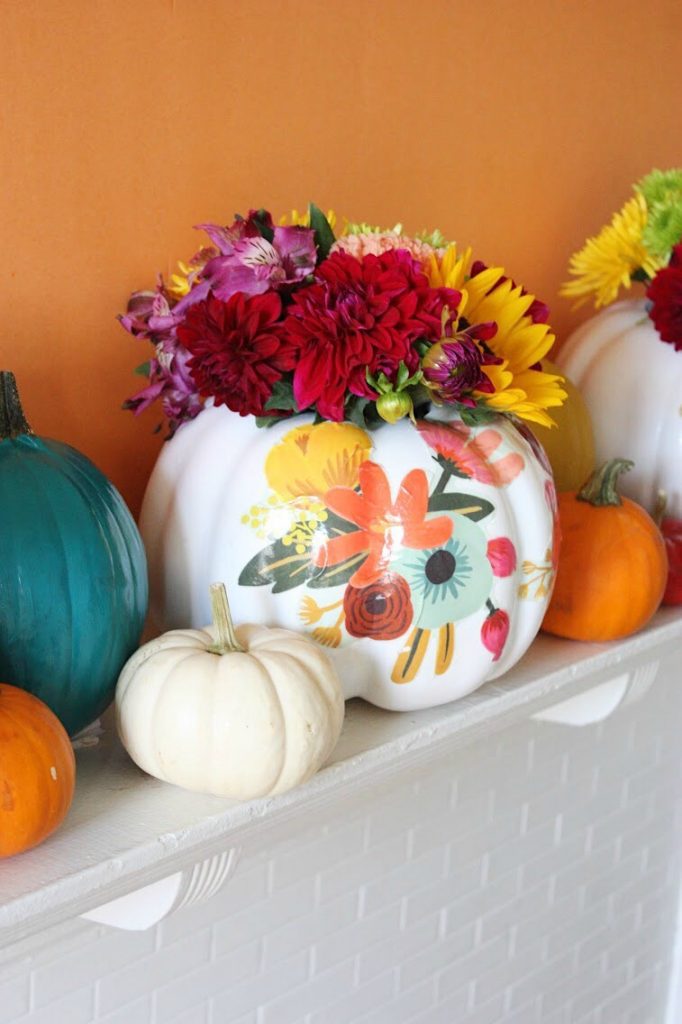
That’s it! The hardest part is done! And just LOOK how pretty:


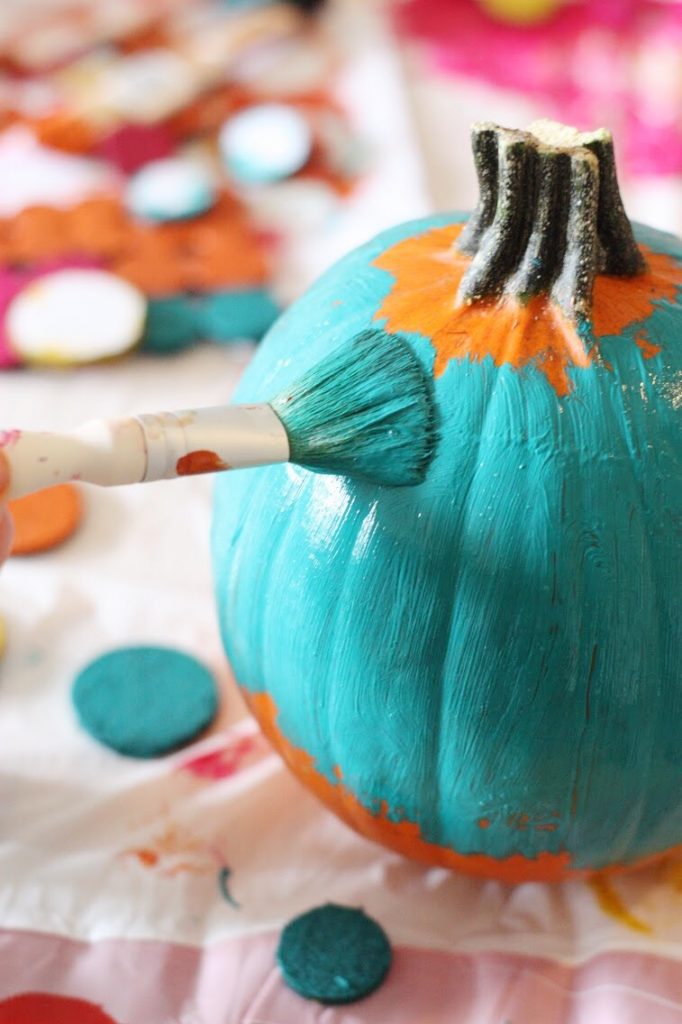
6. Paint your real pumpkins! If you have never used house paint samples from Lowes for your craft projects you are missing out! The color choices are endless, the quality is wonderful, and the price can’t be beat. Apply 1-2 coats and let dry completely.
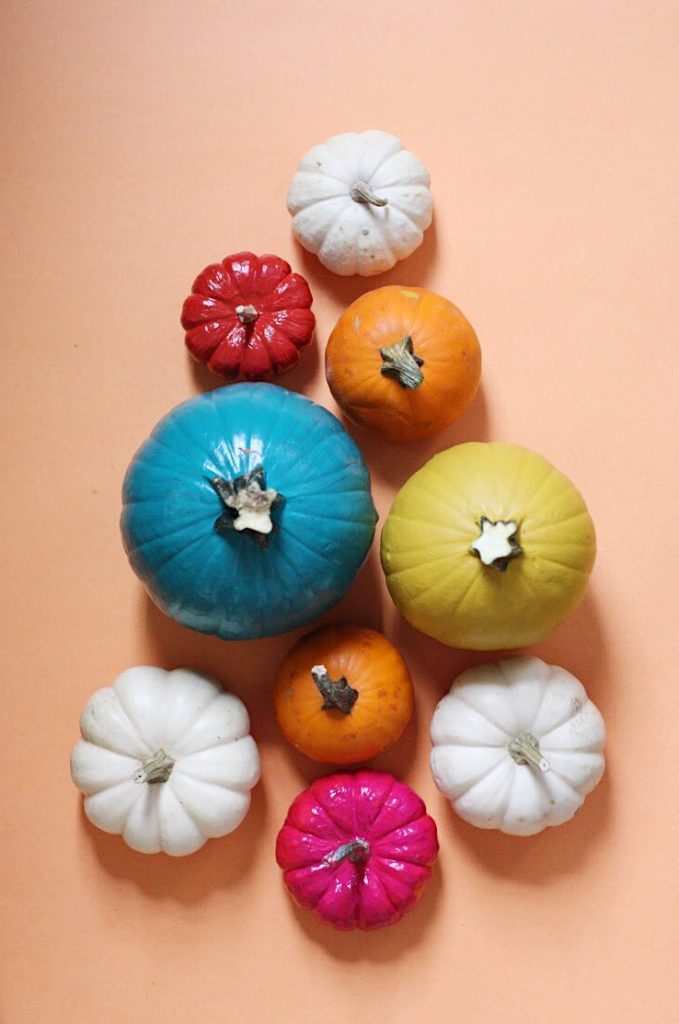
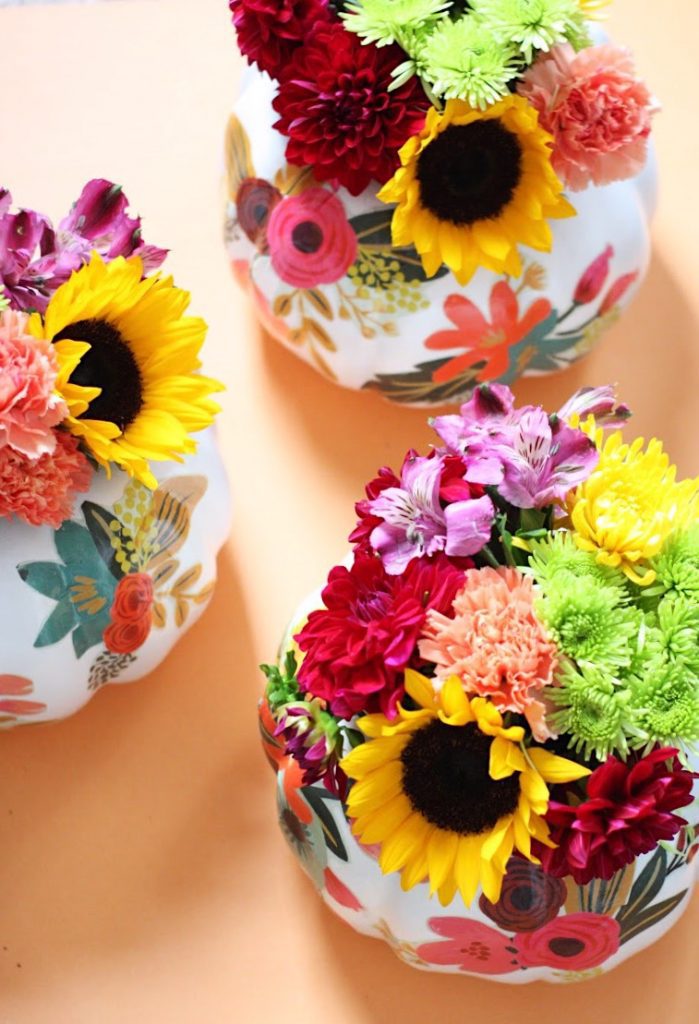
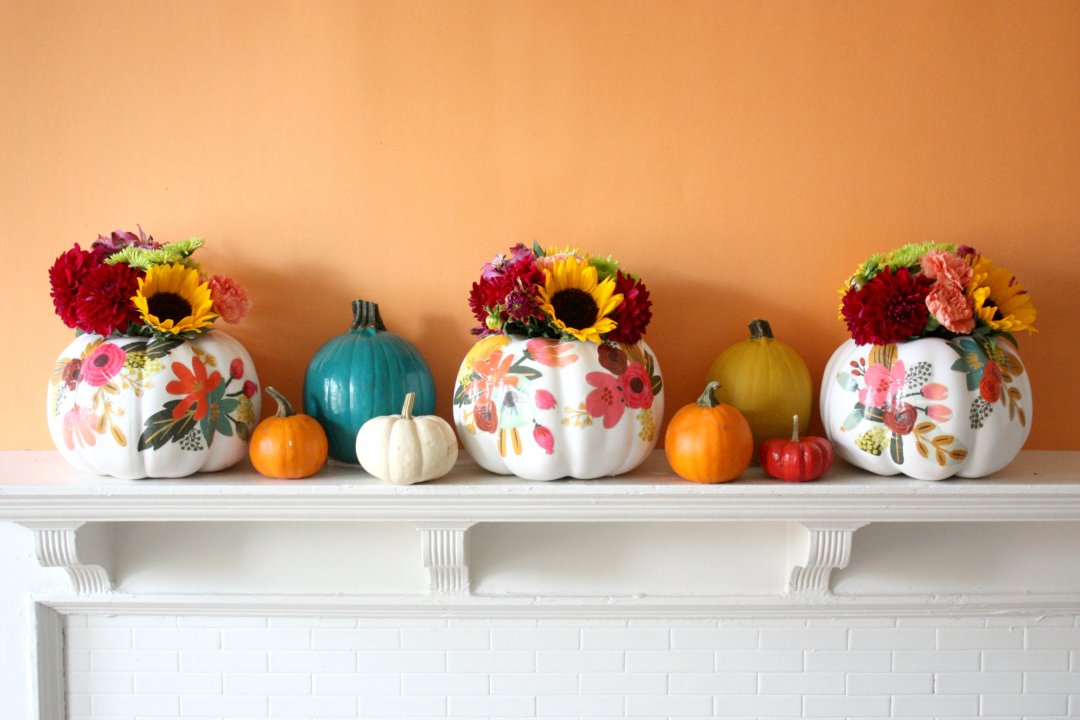
Once your pumpkins are dry, arrange them on your mantel or on your table or wherever you are looking to inject some fall loveliness! There are so many ways to decorate for the holidays at Lowes, with all the tools, products and decor you need to make your fall decor magical!
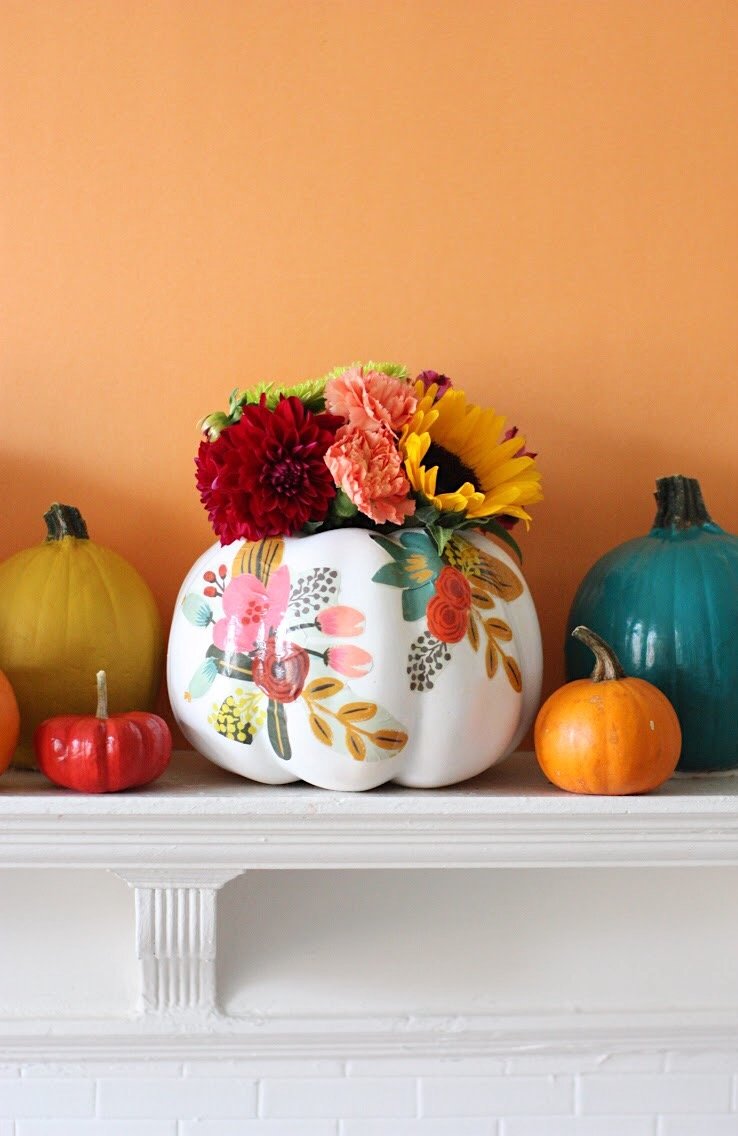
Aren’t the colors stunning? I love using a little bit of a different palette than you might normally see in fall holiday decor and these bright colors are everything!
How are you decorating your mantel this fall? I’d love to hear your ideas!
ox. Liz
Looking for more Thanksgiving craft inspiration? Check out these projects from some of our crafty friends!
Gobble Gobble Thanksgiving Table Runner – Suburban Wife City Life
Fall Candle Centerpiece – That’s What Che Said
Thanksgiving Pumpkin – The Scrap Shoppe
Paper Mache Succulent Pumpkin – The Ruffled Daisy
Pumpkin Candle Holder – Laura’s Crafty Life
Rustic Turkey Centerpiece – Made in a Day
Free Give Thanks SVG Centerpiece – Pineapple Paper Co
Thanksgiving Table Decor – She’s Crafty Crafty
DIY Fall Centerpiece – Nourish and Nestle
How to Style a Holiday Tool Box – Rachel Teodoro


[…] This might be my favorite of all the pumpkin decorations, how adorable is this pumpkin vase for flowers? | Pretty Life Girls […]
[…] Vamos a hacer un poco de decoupage para decorar las nuevas calabazas de Halloween… que también pueden ser el detalle decorativo para cualquier momento del año ¡esta idea es una belleza! Con el diseño que más les guste y de una forma sencilla pueden hacer que las calabazas luzcan como éstas ¡me enamoré! ???? Paso a paso por aquí. […]
[…] DIY FLORAL PUMPKIN VASES BY THE PRETTY LIFE […]
[…] DIY Floral Pumpkin Vases […]
I love the vases. Where did you get the paper? Thanks
[…] DIY Floral Pumpkin Vases […]