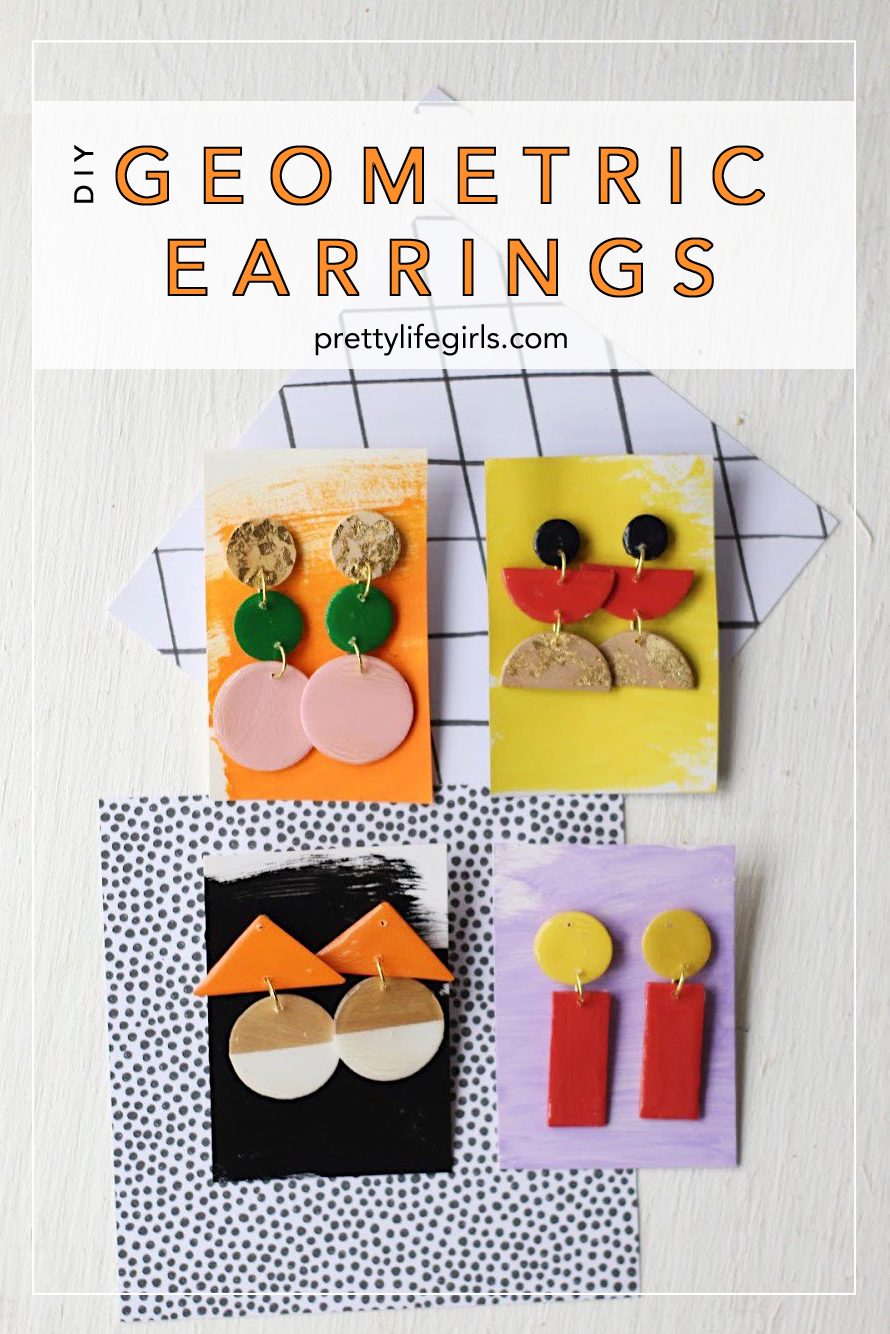
These 3D Printed Earrings are sponsored by Silhouette. All opinions are ours alone.
This post may contain affiliate links, which help us support this site.
If you surveyed your craft room for electronics at the moment, you might have a sewing machine, a craft cutter, and maybe a few other gadgets that you turn to when you are creating. But FRIENDS. This is the FUTURE. And today I’m ready to show you the next piece of maker-tech you need in your aresnal — it’s the Silhouette Alta Plus 3D printer!
Now, before you close this window and write this one off as a little too techy for your scrapbooking, let me reassure you, this thing is a crafter’s dream and it is SO user friendly! If you have used a craft cutter before and worked in the software that comes along with it you can use this machine. I couldn’t believe how quickly I went from opening the box to actually printing something!
The Silhouette Alta Plus is perfect for making small-scale 3d printed designs for crafting. You can make stencils for hand lettering, cookie cutters and cake toppers that customize your baking, one-of-a-kind jewelry, personalized gift tags for giving, and so, SO much more. Today we’re going to show you how you can whip up a pair of 3D printed statement earrings that are SO easy and can be made to match anything in your closet!
Here is what you’ll need:


Supplies needed to make your own 3D Printed Earrings
Silhouette Alta Plus
Silhouette America PLA Filament
Earring Designs from the Silhouette Design Store (this one, this one and this one)
Earring Findings
Multi-Surface Acrylic Paint
Paint Brush
How to make your own 3D Printed Earrings
Step 1: Make sure your Silhouette Alta Plus is connected to your computer, the filament is loaded correctly (if you need any help with setup, this is a great post to help you out) and that you have both Silhouette 3D and Silhouette Studio software downloaded on your computer (you can download them here or free).
Step 2: Purchase your earring designs from the Silhouette Design Store. Then, open the the file in Silhouette Studio and select “Save As” and save them as a new design file in your library.
Step 3: Open Silhouette 3D and go to the “Designs” tab and select the folder where you saved your earrings. When you open the file, a box will pop up asking how you would like to import the design. Choose “extrusion” and the design will import to the software.
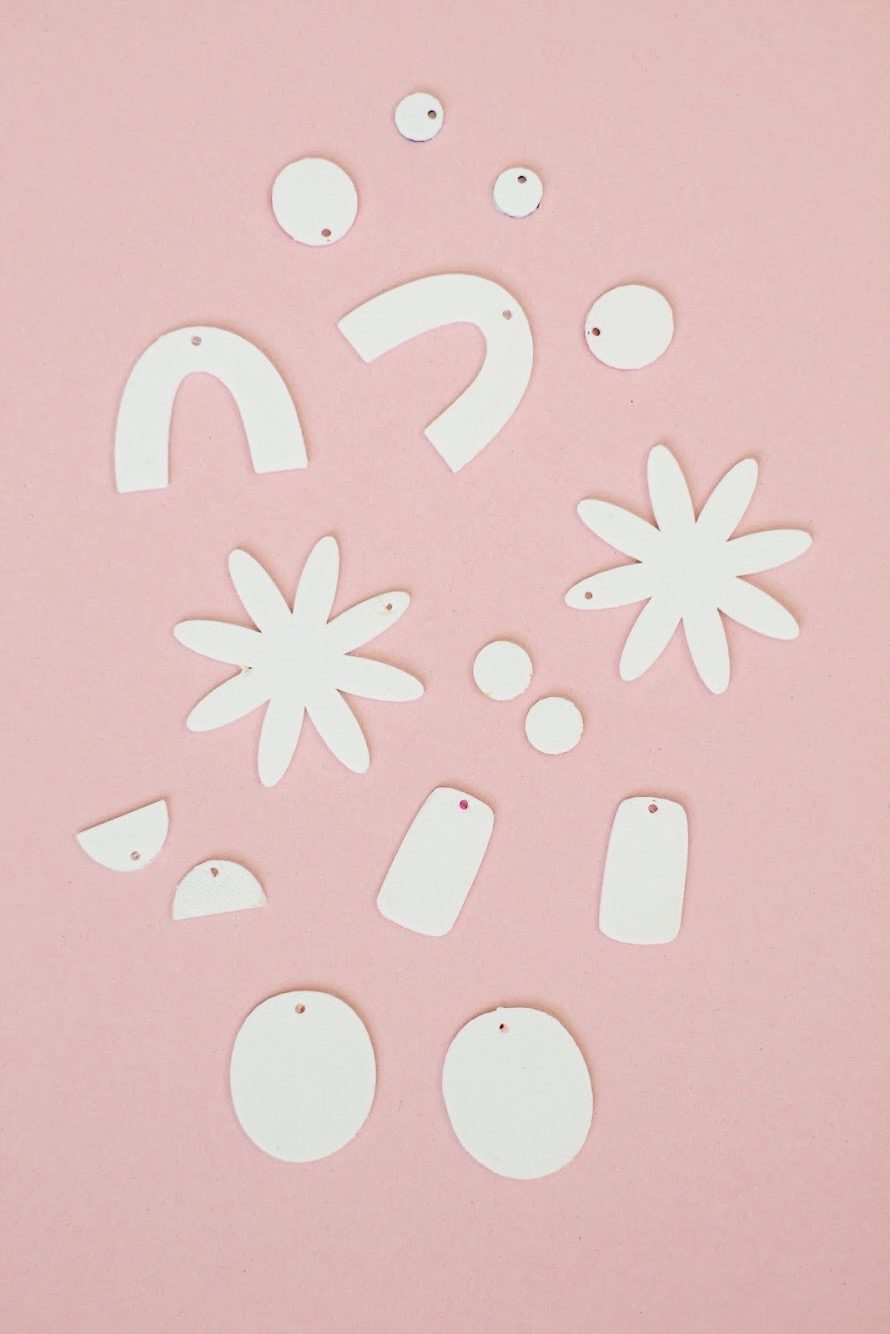

Step 4: Select your desired print quality and send to print!
Step 5: Once the earrings have been printed and cooled, remove them from the printer. Paint the earrings using multi-surface acrylic paint and let dry completely.
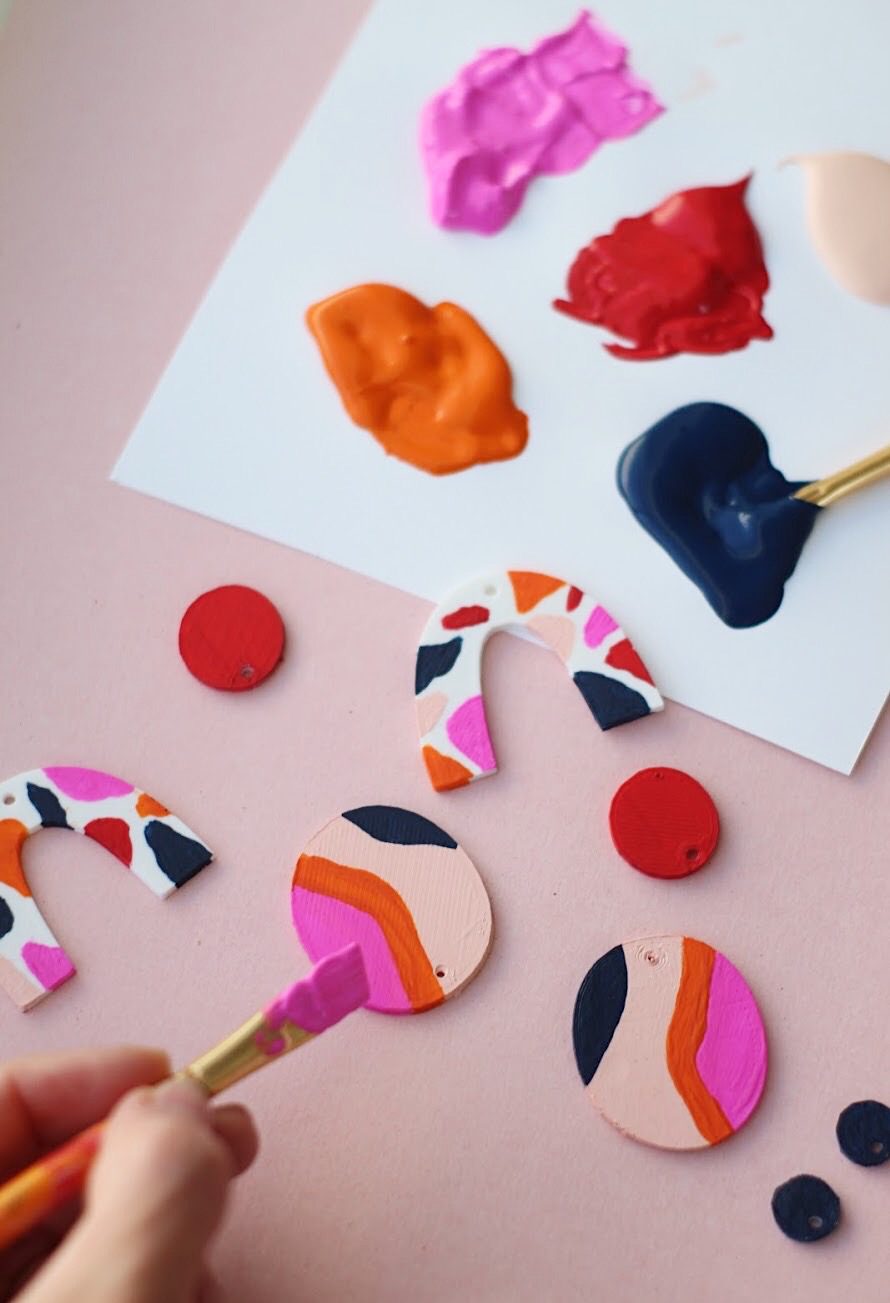

Step 6: Attach desired earring findings and wear!
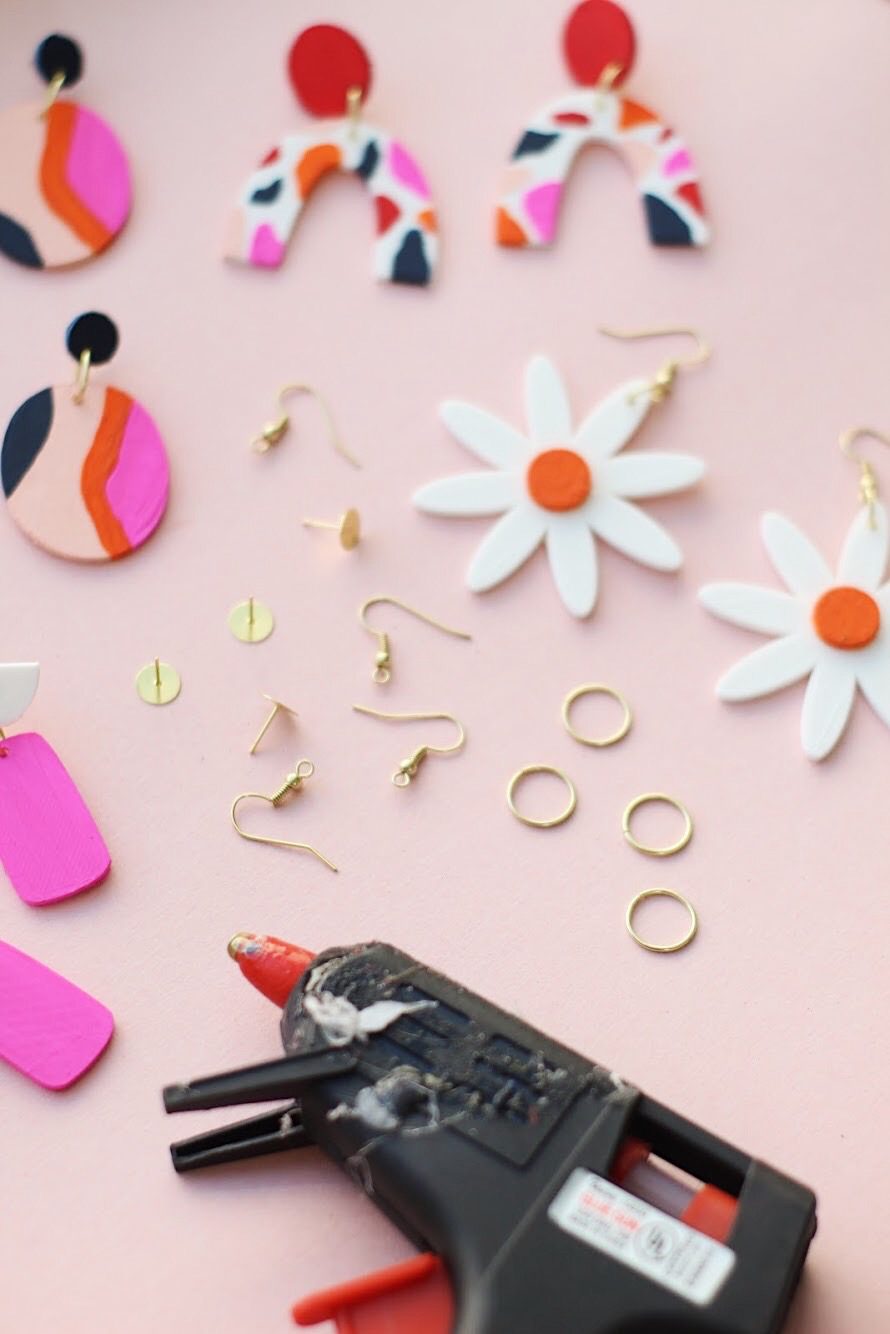

That’s it! You just created a pair of gorgeous statement earrings out of thin air. I can’t handle the magic of this machine, it really lets you turn any idea into reality. We have had so much fun playing around with it and making adorable projects that we will be sure to share with you soon!
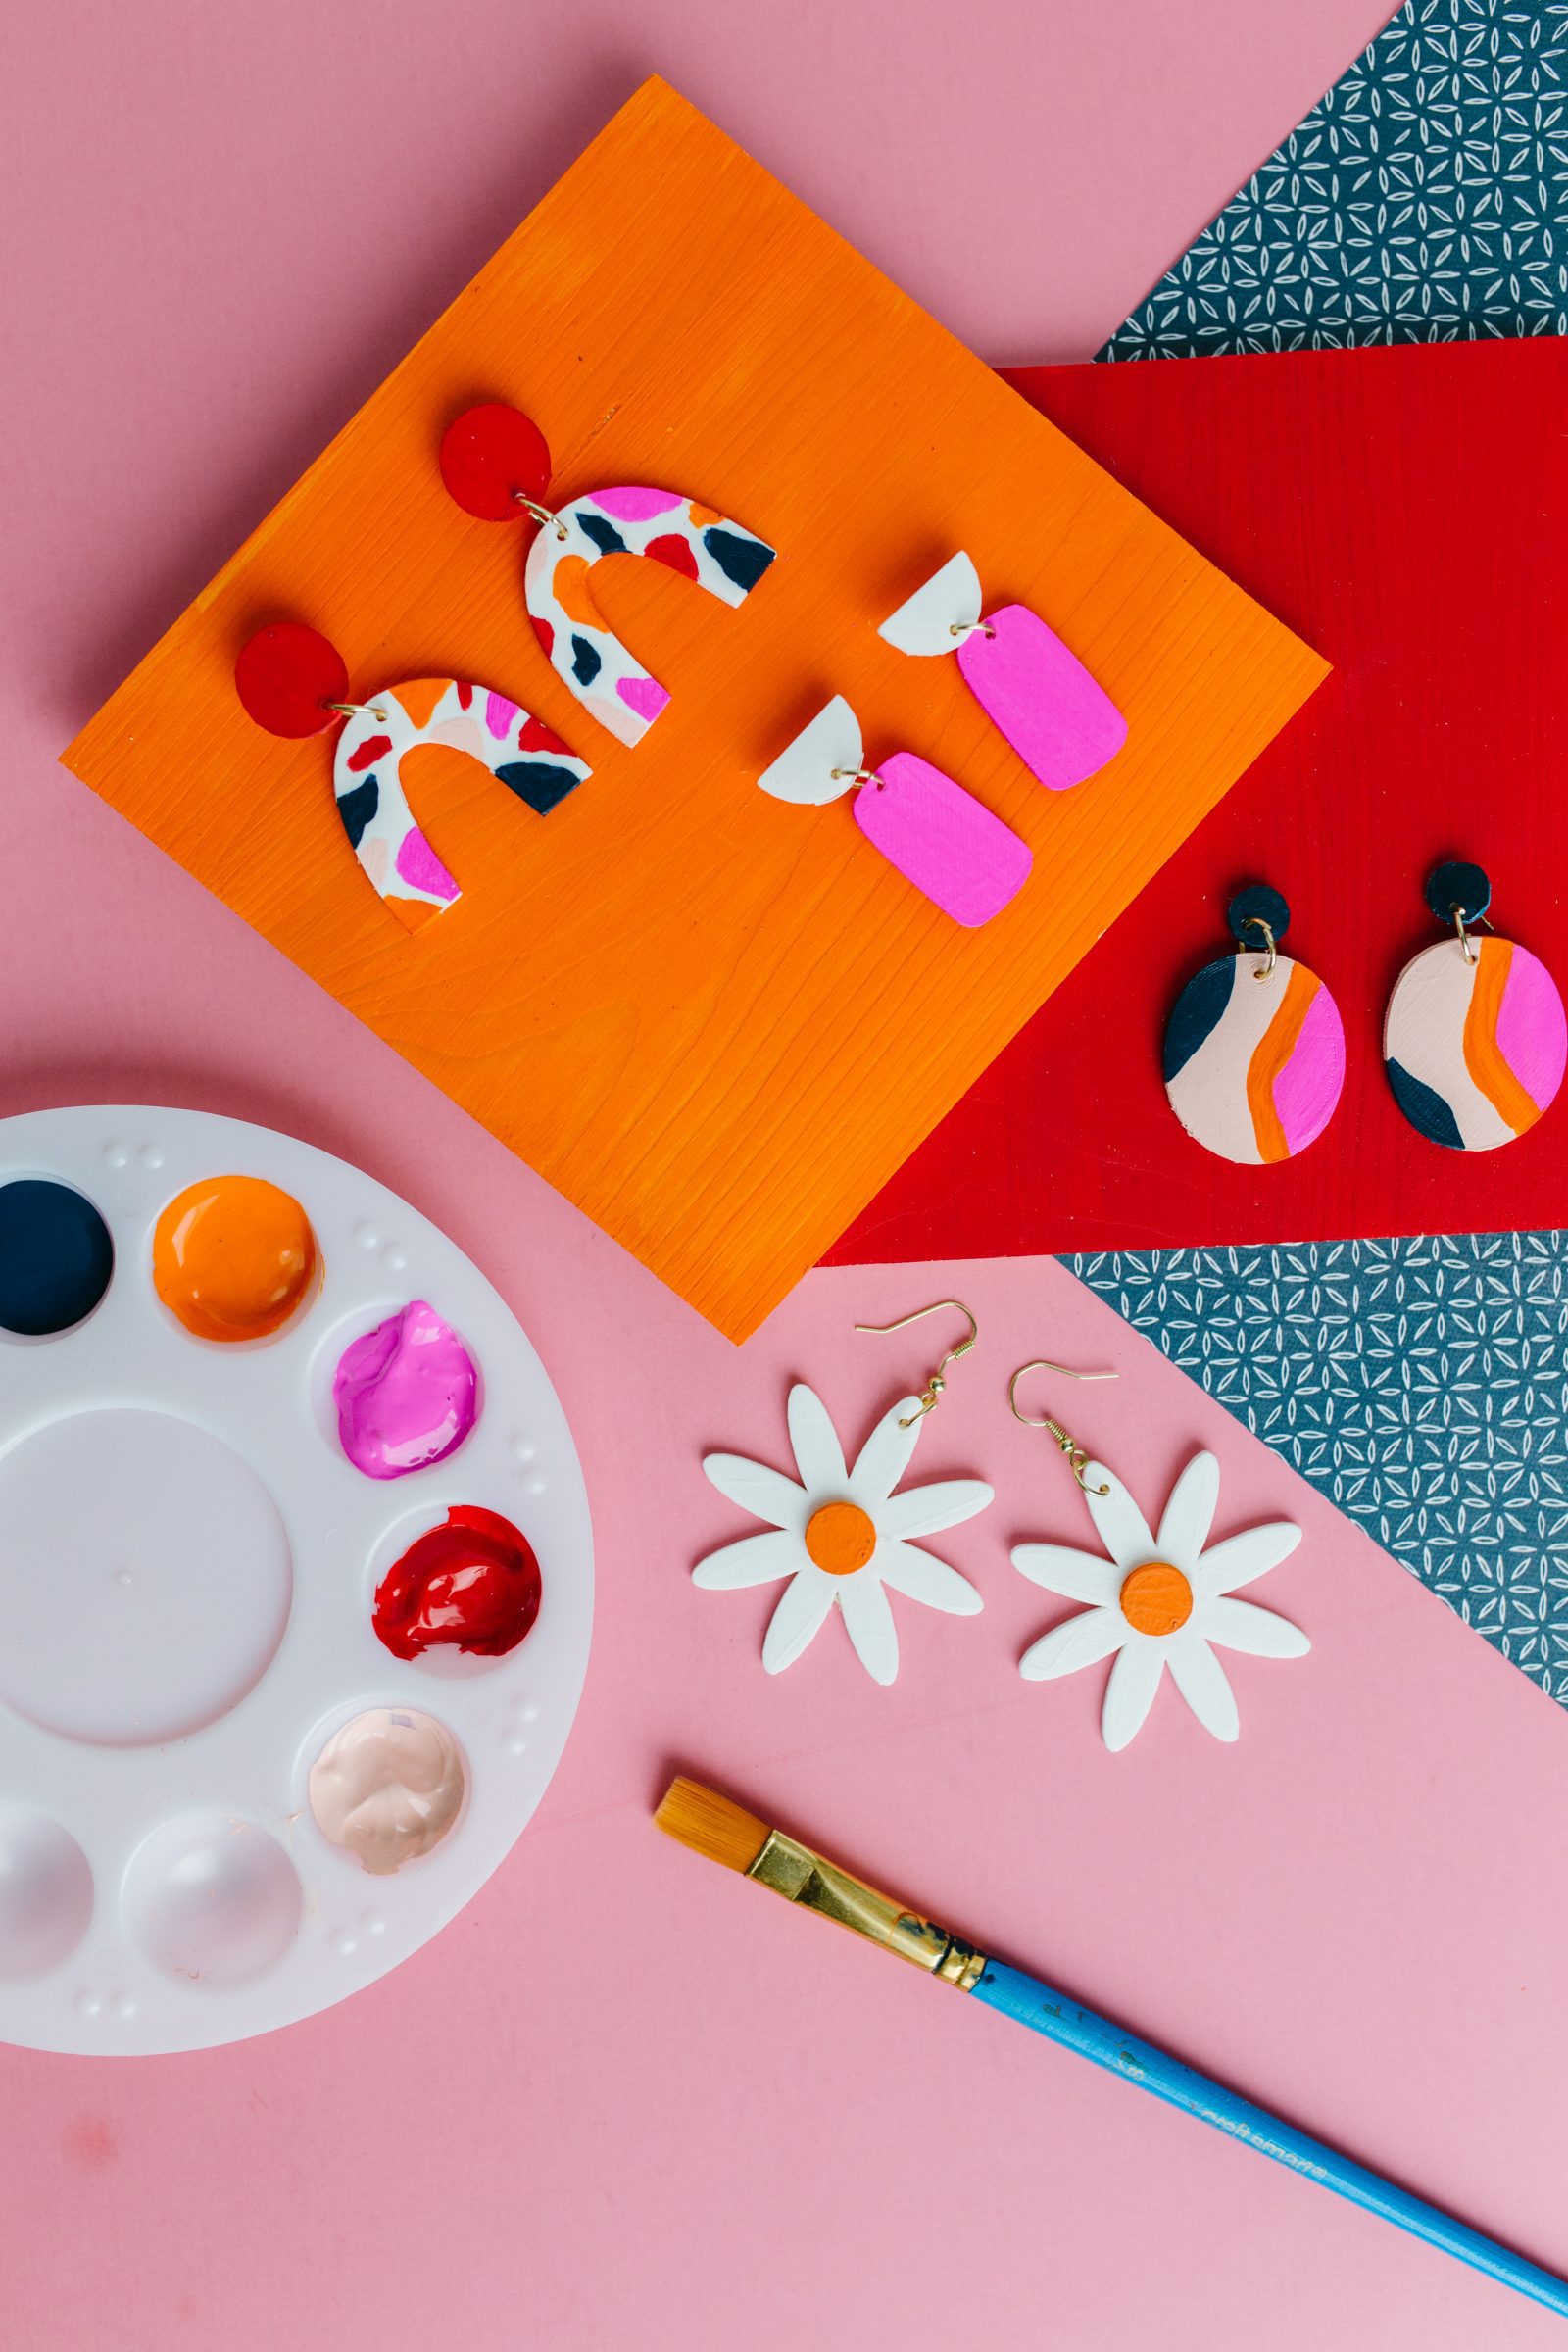

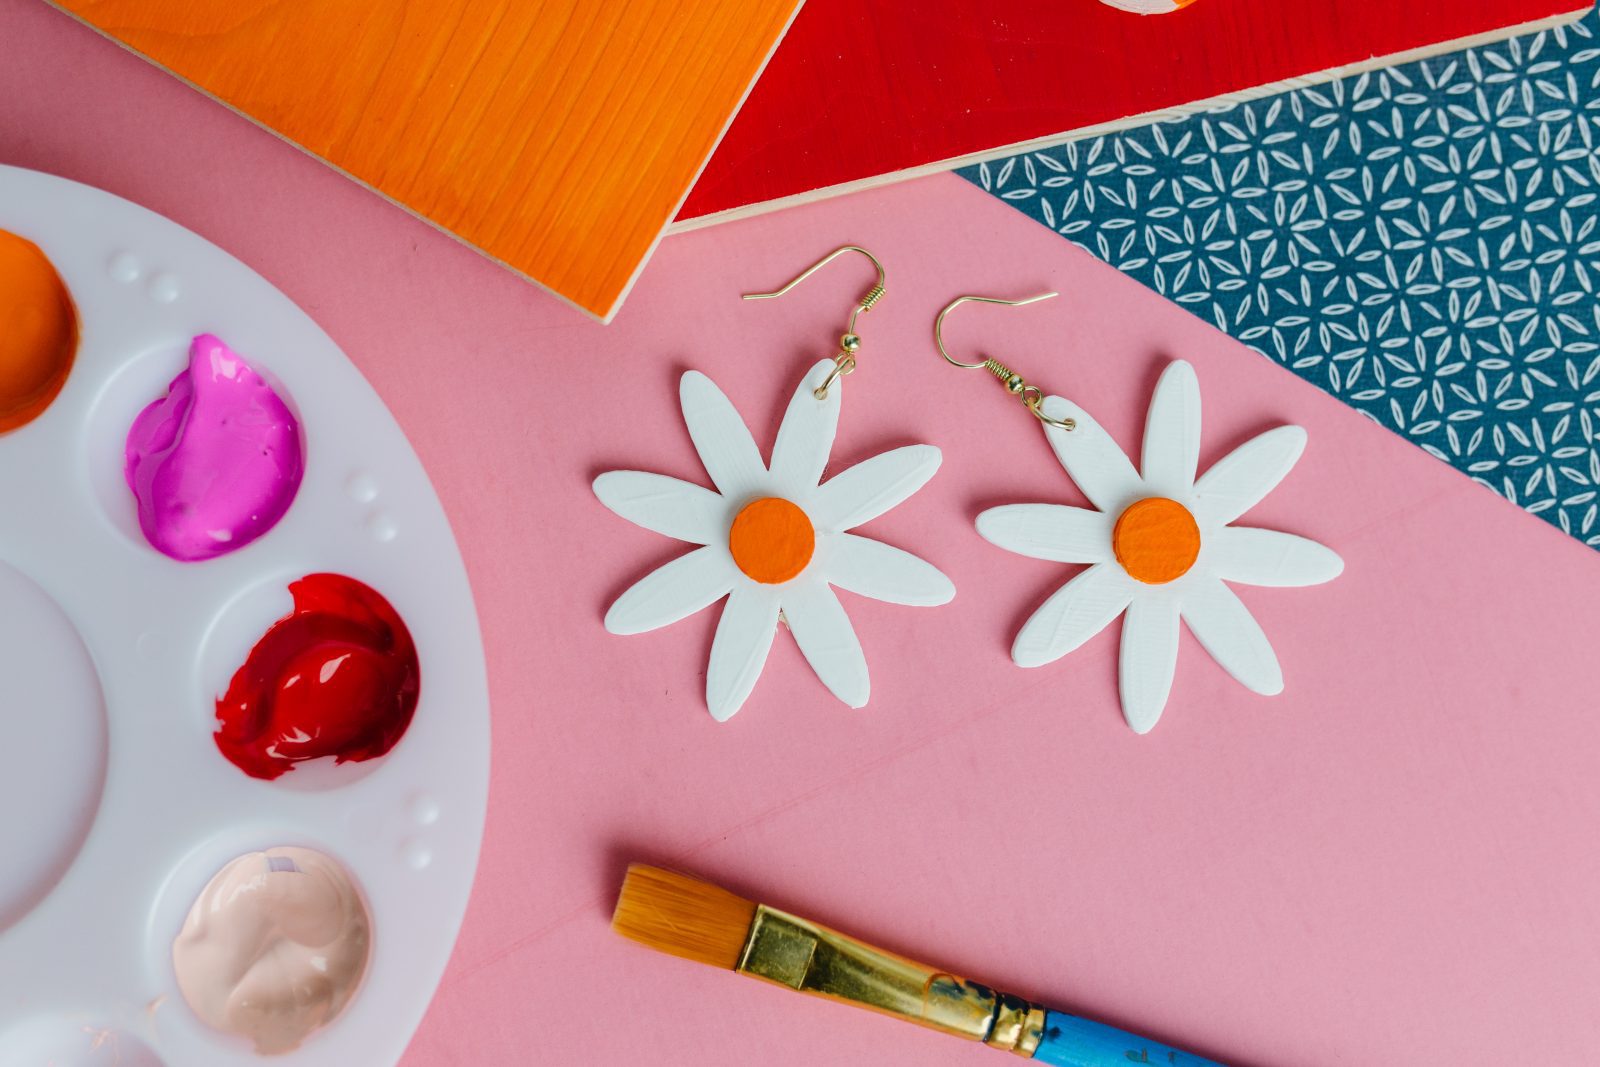



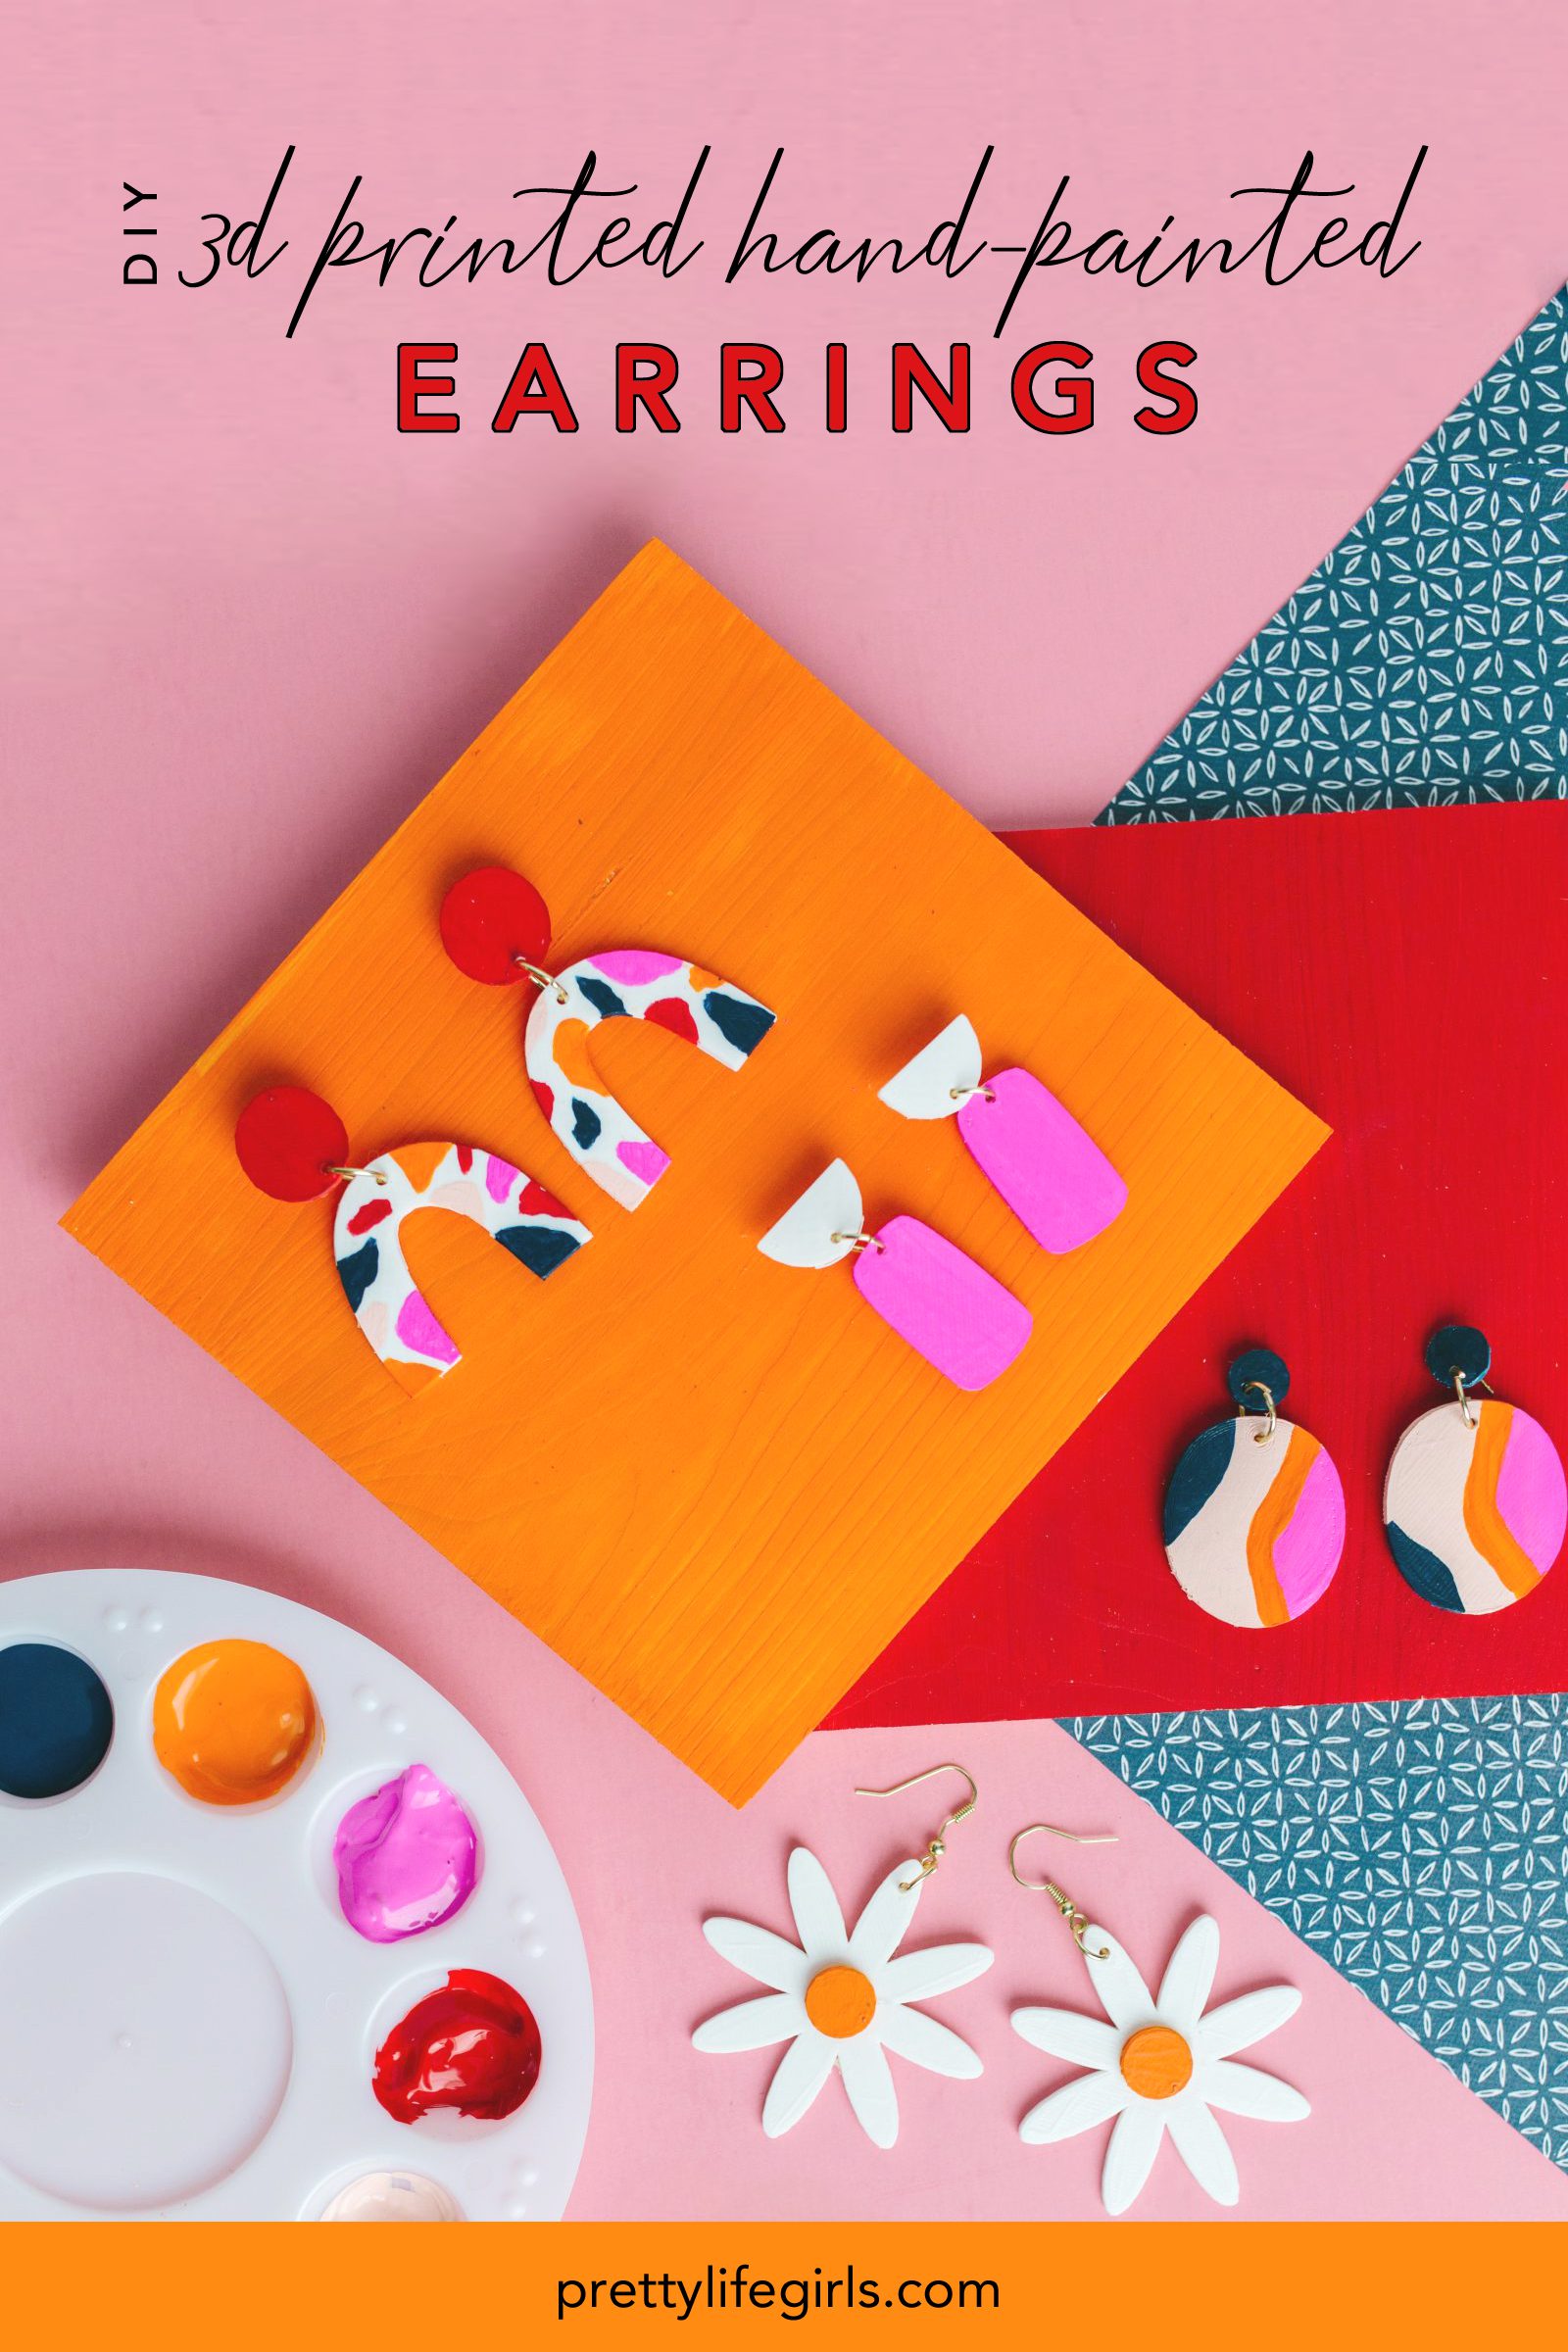

Now spill! Are you interested in 3D printing? Would you get one for your craft room? We want to hear your thoughts!
Happy Making!
xo, Liz


