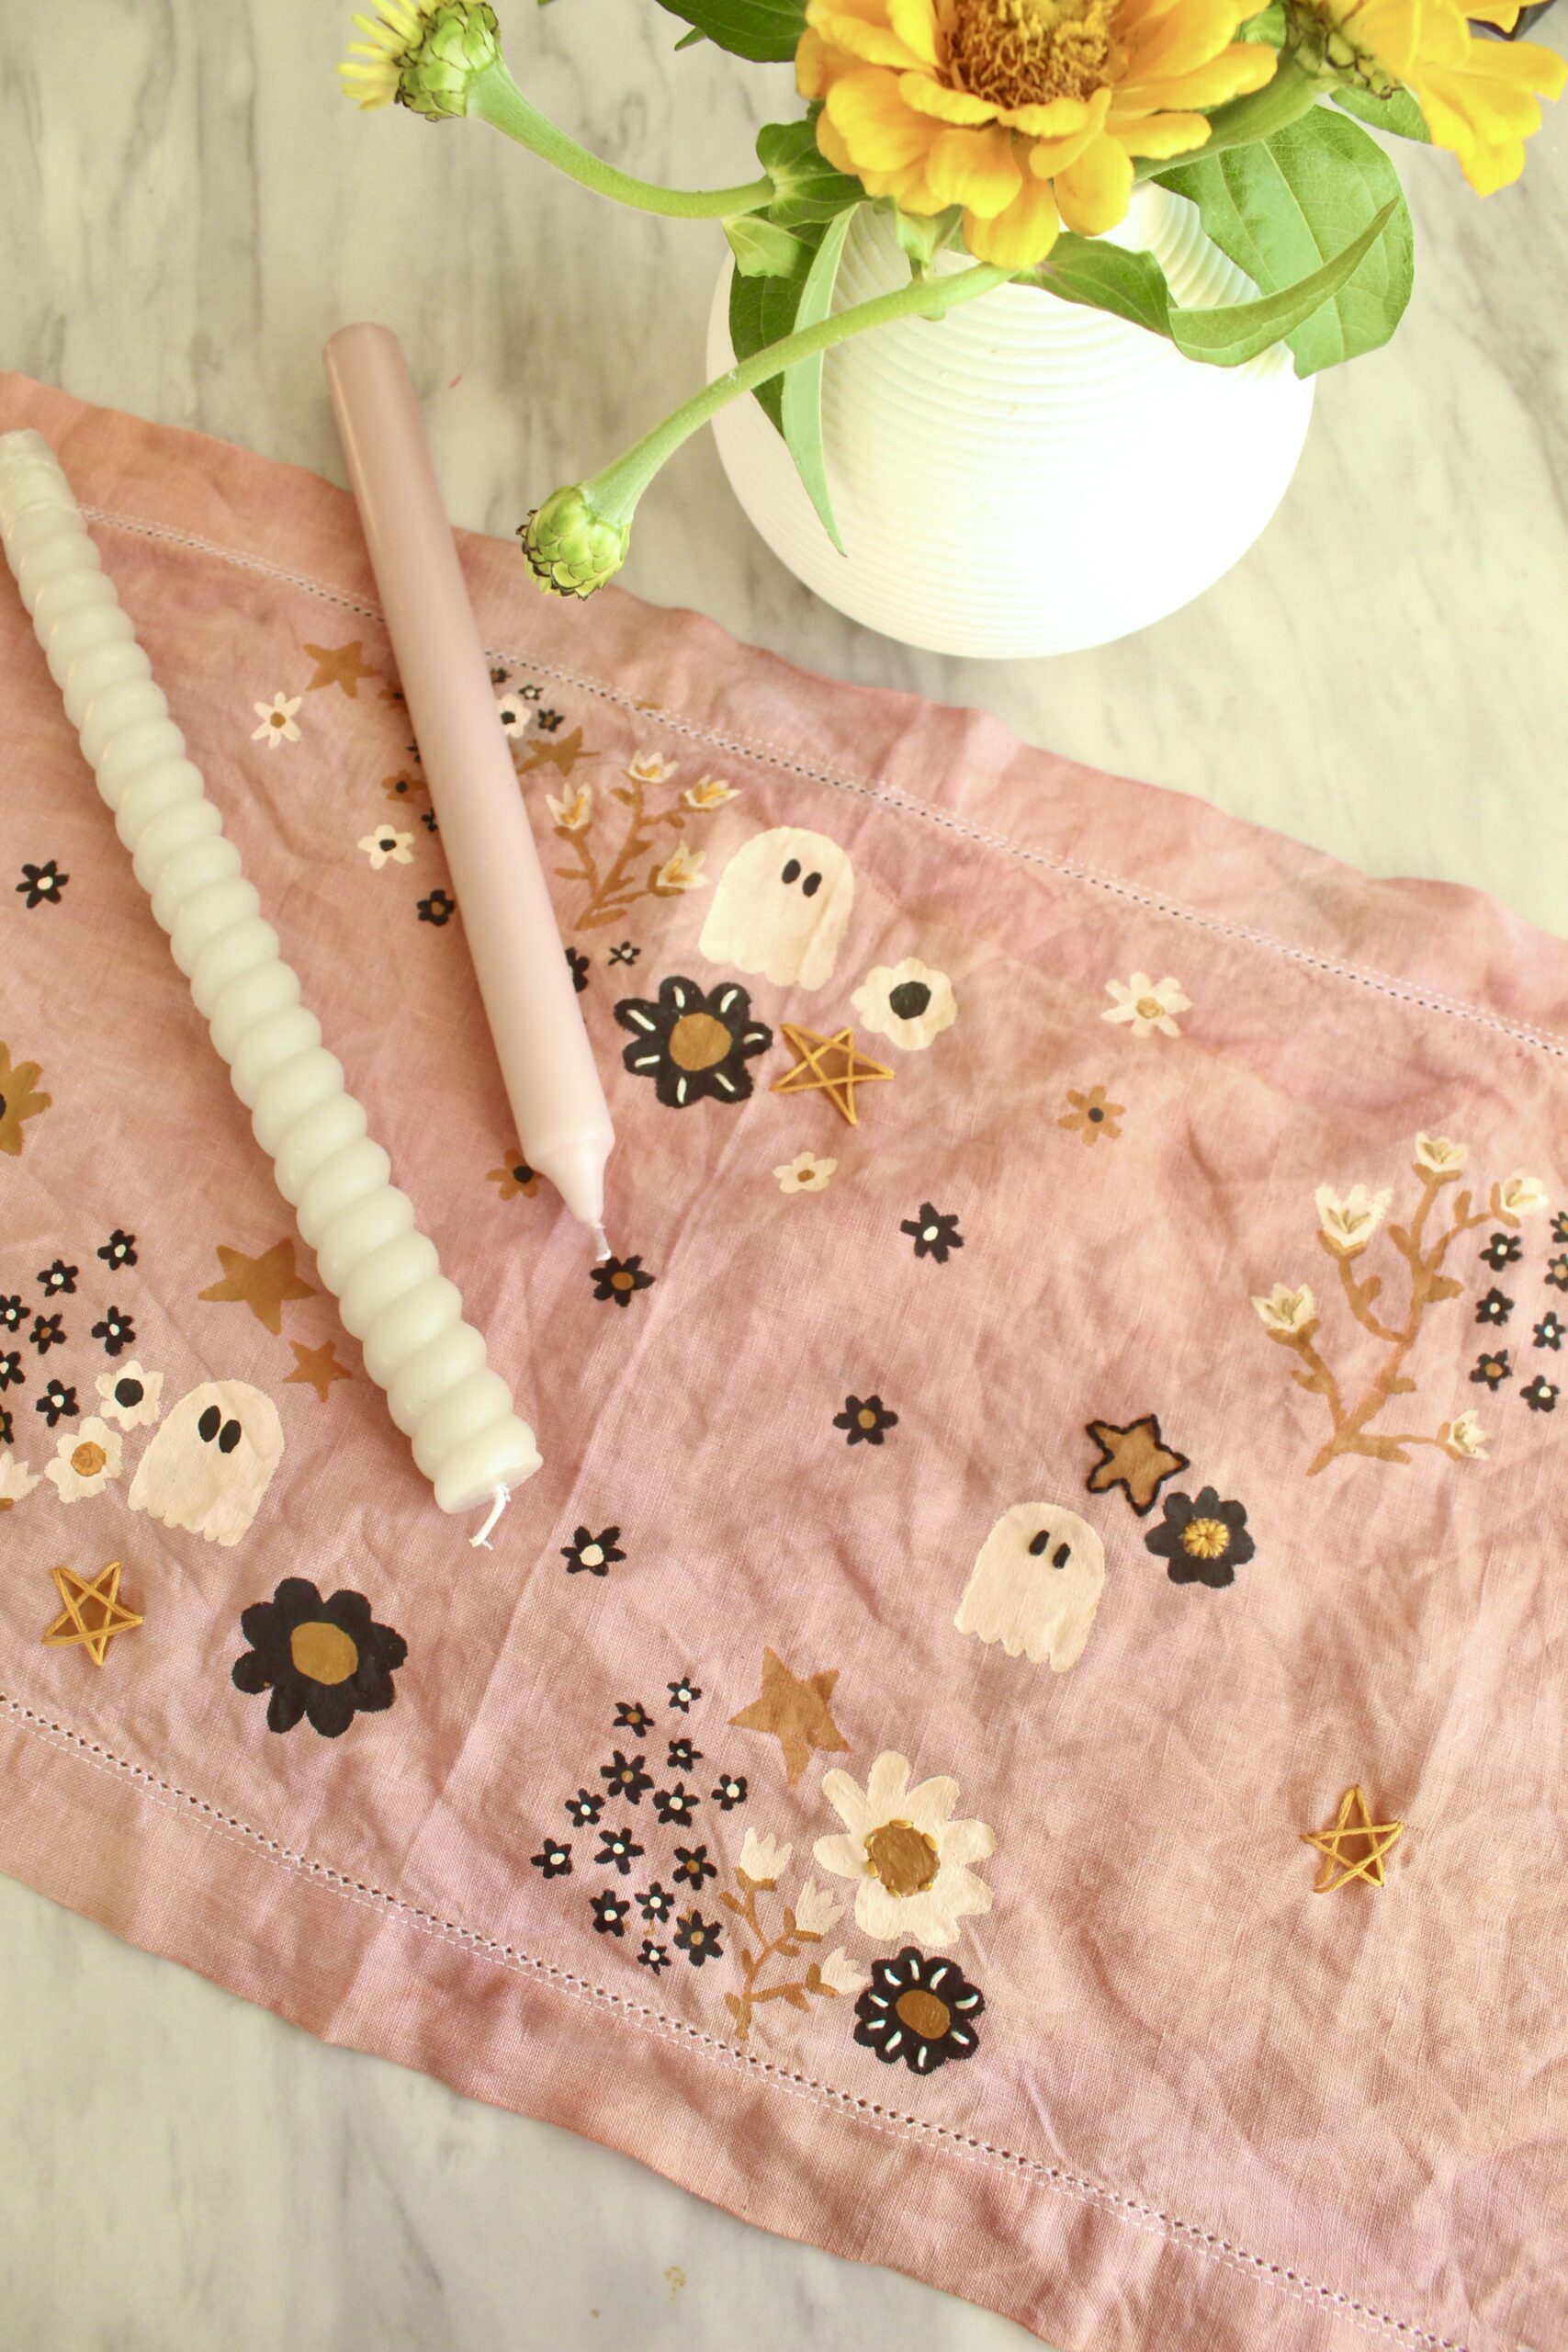
Add a touch of handmade Halloween charm to your home with this DIY hand-painted Halloween table runner! Learn how to dye fabric, paint minimalist ghosts, and add embroidery for a stylish, not-so-scary Halloween table setup.


Not all spooky season decor has to give you chills—unless you’re scared by how cute it is! This DIY Halloween table runner features darling ghosts and boo-tiful hand-painted details that will instantly bewitch your table. Keep reading to learn how to make your own with simple craft supplies and techniques.
How to Make a Simple DIY Table Runner
To make this Halloween table runner, we used a few creative mediums: fabric dye, hand-painting, and embroidery. But don’t worry—you can tailor the project to your own crafting comfort level!
- If you’re not into painting, cut ghosts and shapes from heat transfer vinyl (HTV)—you can even embroider over them for extra texture (see our tutorials for embroidering vinyl here and here!)
- Prefer a minimalist look? Paint without embroidery.
- Love stitching? Skip the paint and make it all about your embroidery!
How to Tastefully Decorate for Halloween
Something we love about this runner is that it isn’t your typical bright orange and black Halloween decor. You can achieve a spooky aesthetic that still matches your personal style.
- Not into orange? Try muted terracotta or neutral tones.
- Don’t like cartoonish ghosts or skeletons? Paint your own minimal, hand-drawn versions.
- Unsure of your Halloween vibe? Browse Pinterest for inspiration—think pink Halloween party themes, cottagecore Halloween, or modern black-and-white decor.
This project shows that Halloween can be cute, cozy, and classy—all at once.
Each method creates a unique version of this DIY Halloween decor—no advanced art skills required, just a little creativity.


DIY Hand-Painted Halloween Table Runner Tutorial
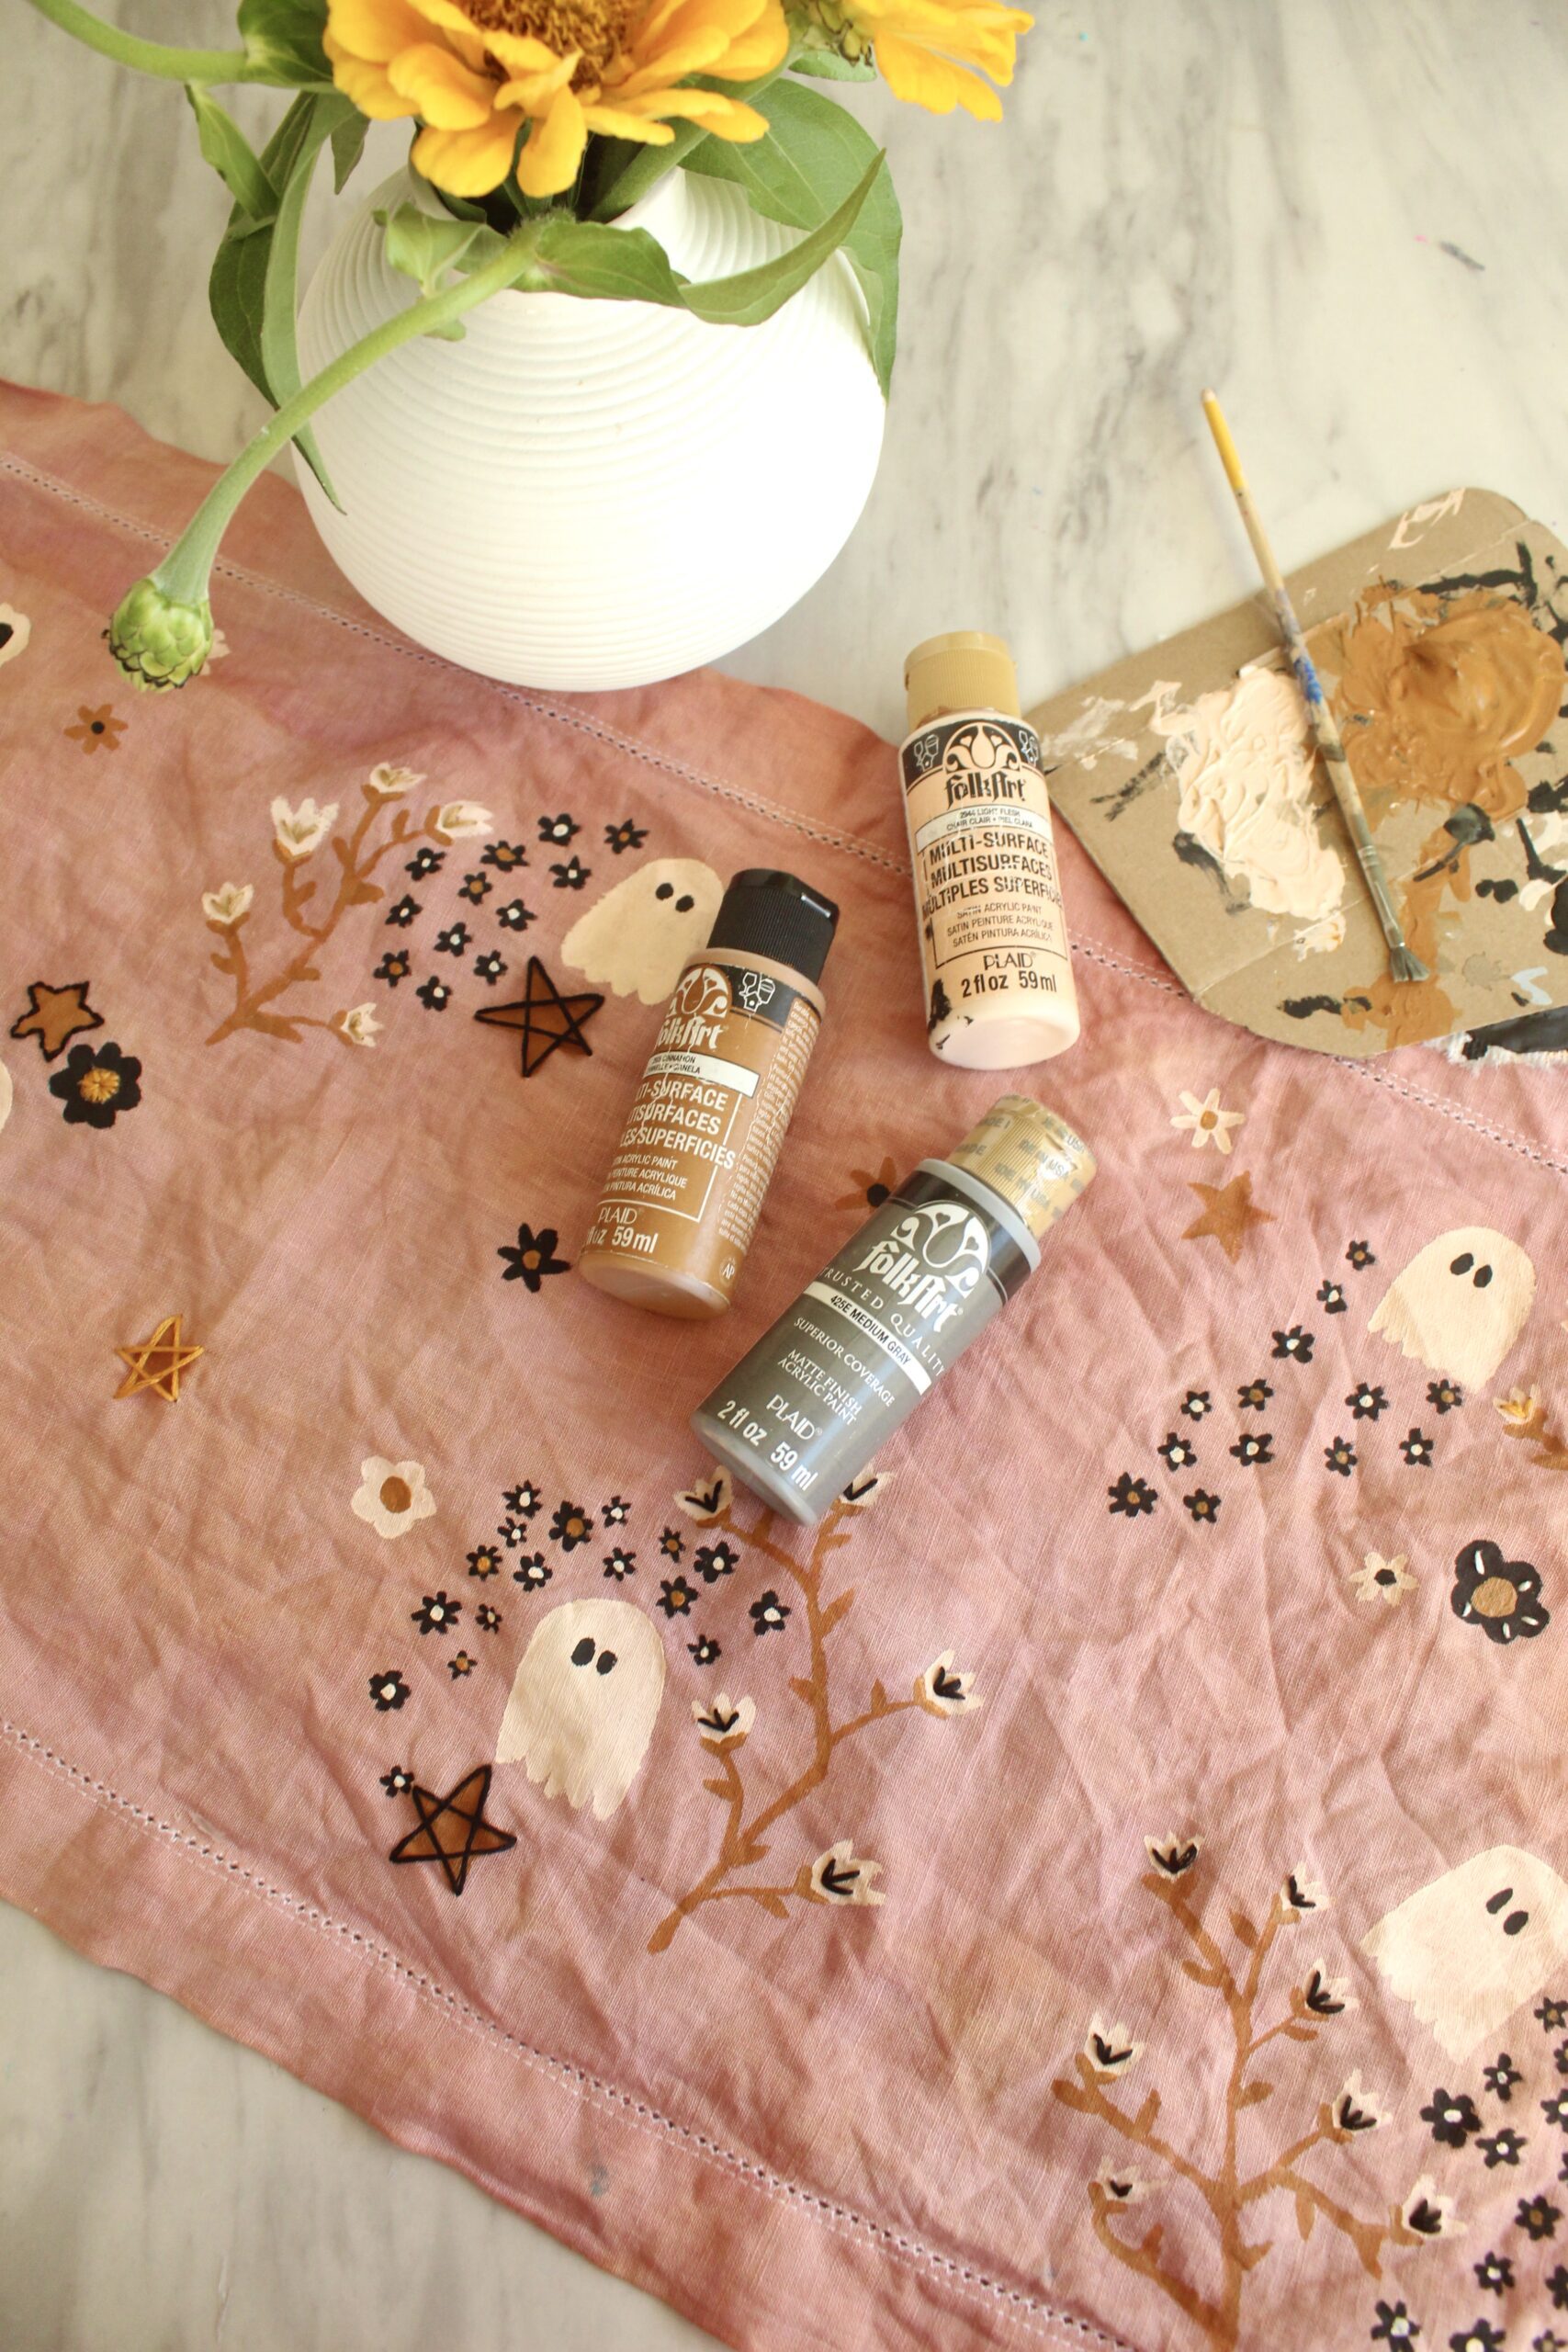
Supplies Needed
Table Runner
Fabric Dye, if desired (We mixed together taupe and rose quartz to get the shade we wanted)
Acrylic Craft Paint
Paint Brushes
Embroidery Floss and Needles
- If you can’t find your desired runner color, get a white one and dye it! The one we ordered on Amazon dyed beautifully because it is linen which it made it so easy to customize to the color that we liked best. If you use a runner made with natural fibers, you can use this dye, but if it is made from mostly synthetics you’ll want to use a dye for synthetics like this one. Dye your runner according to package directions. (If you need our best tips for dyeing fabrics, visit our dye archive.)
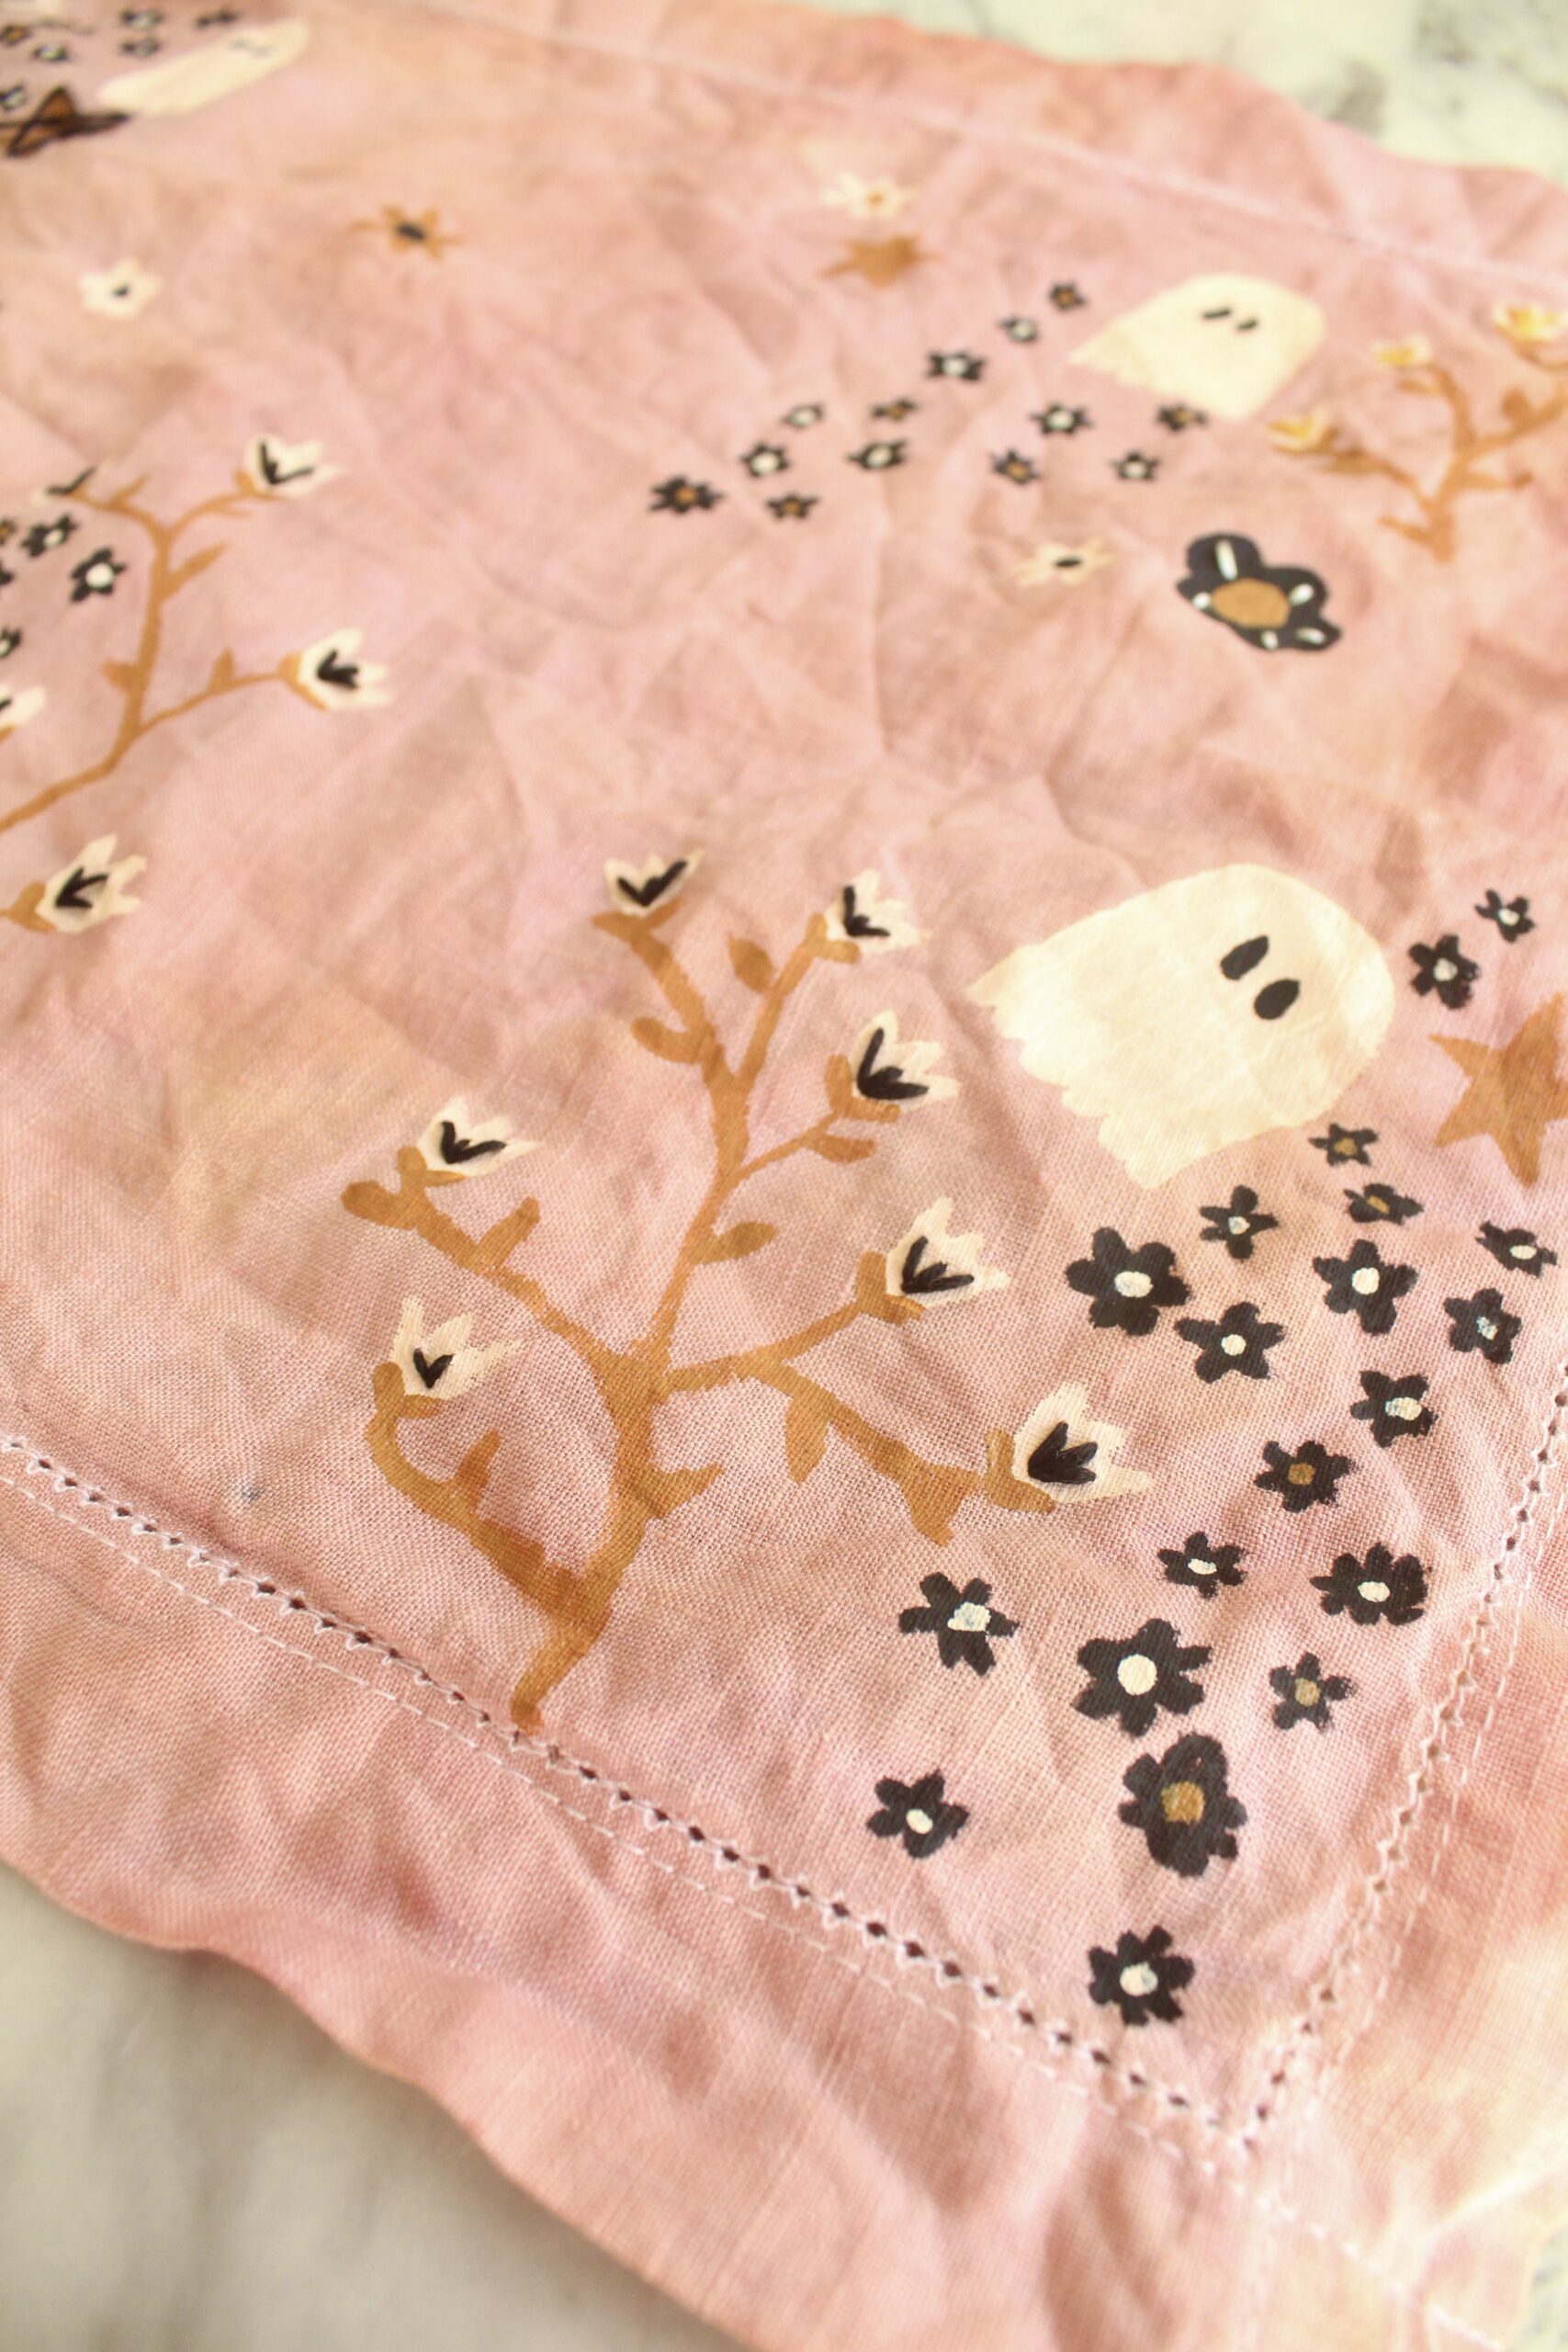
- If you don’t consider yourself as naturally artistic, spend some time searching Pinterest to find inspo for your painting. I’ve found that if you search for “Hand-drawn Halloween” or “minimalist Halloween doodles” you’ll find simple shapes like ghosts, stars, pumpkins, or moons. Depending on your confidence level with hand-painting, you may want to start by lightly sketching them on your runner before painting.
- Once the paint is completely dry, grab your embroidery thread and stitch over any details where you want extra texture or color. This simple step adds dimension and makes your handmade runner look beautifully finished.


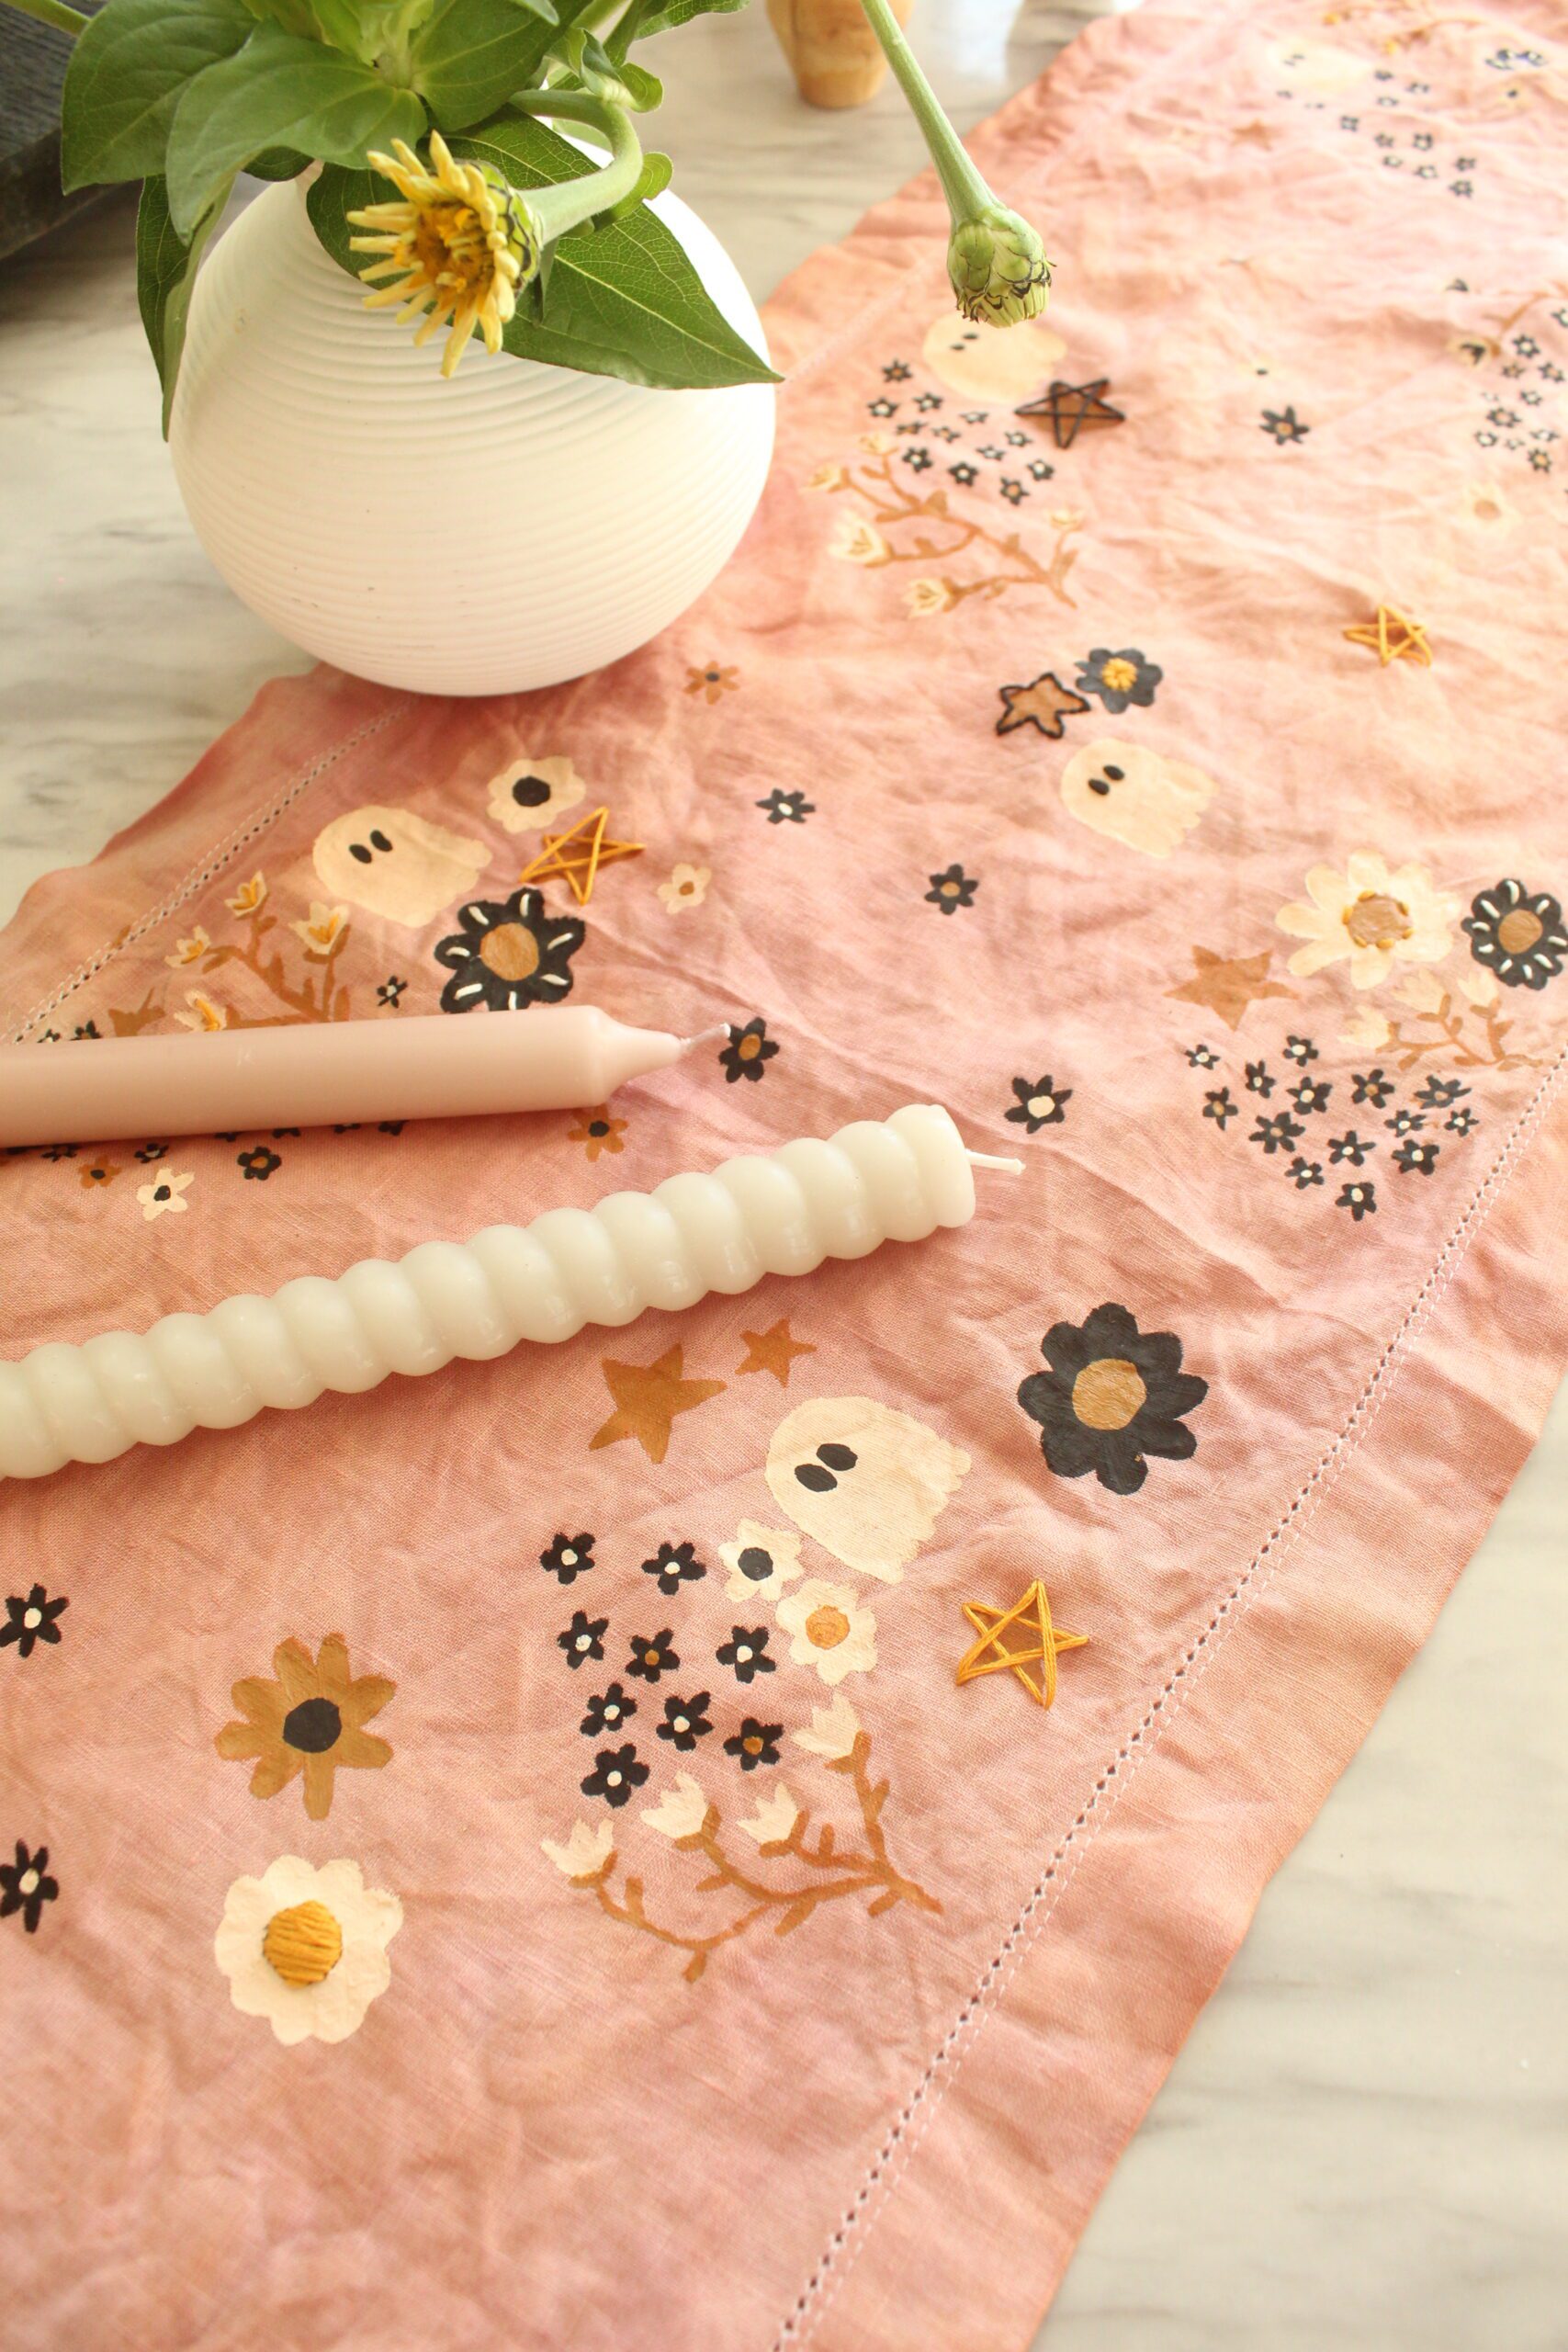
Lay your new hand-painted Halloween table runner across your dining or entry table and pair it with cozy candles, ceramic pumpkins, or vintage glassware. You’ll have a perfectly spooky yet stylish setup that shows off your handmade touch!
Happy Making!
ox. Liz and Sam


