


Looking for a whimsical and easy craft project that doubles as a party favor? These cute mini bunny piñatas made from paper plates are just the thing! Perfect for Easter gatherings or spring-themed celebrations, this simple DIY will add a pop of color and joy to any occasion.
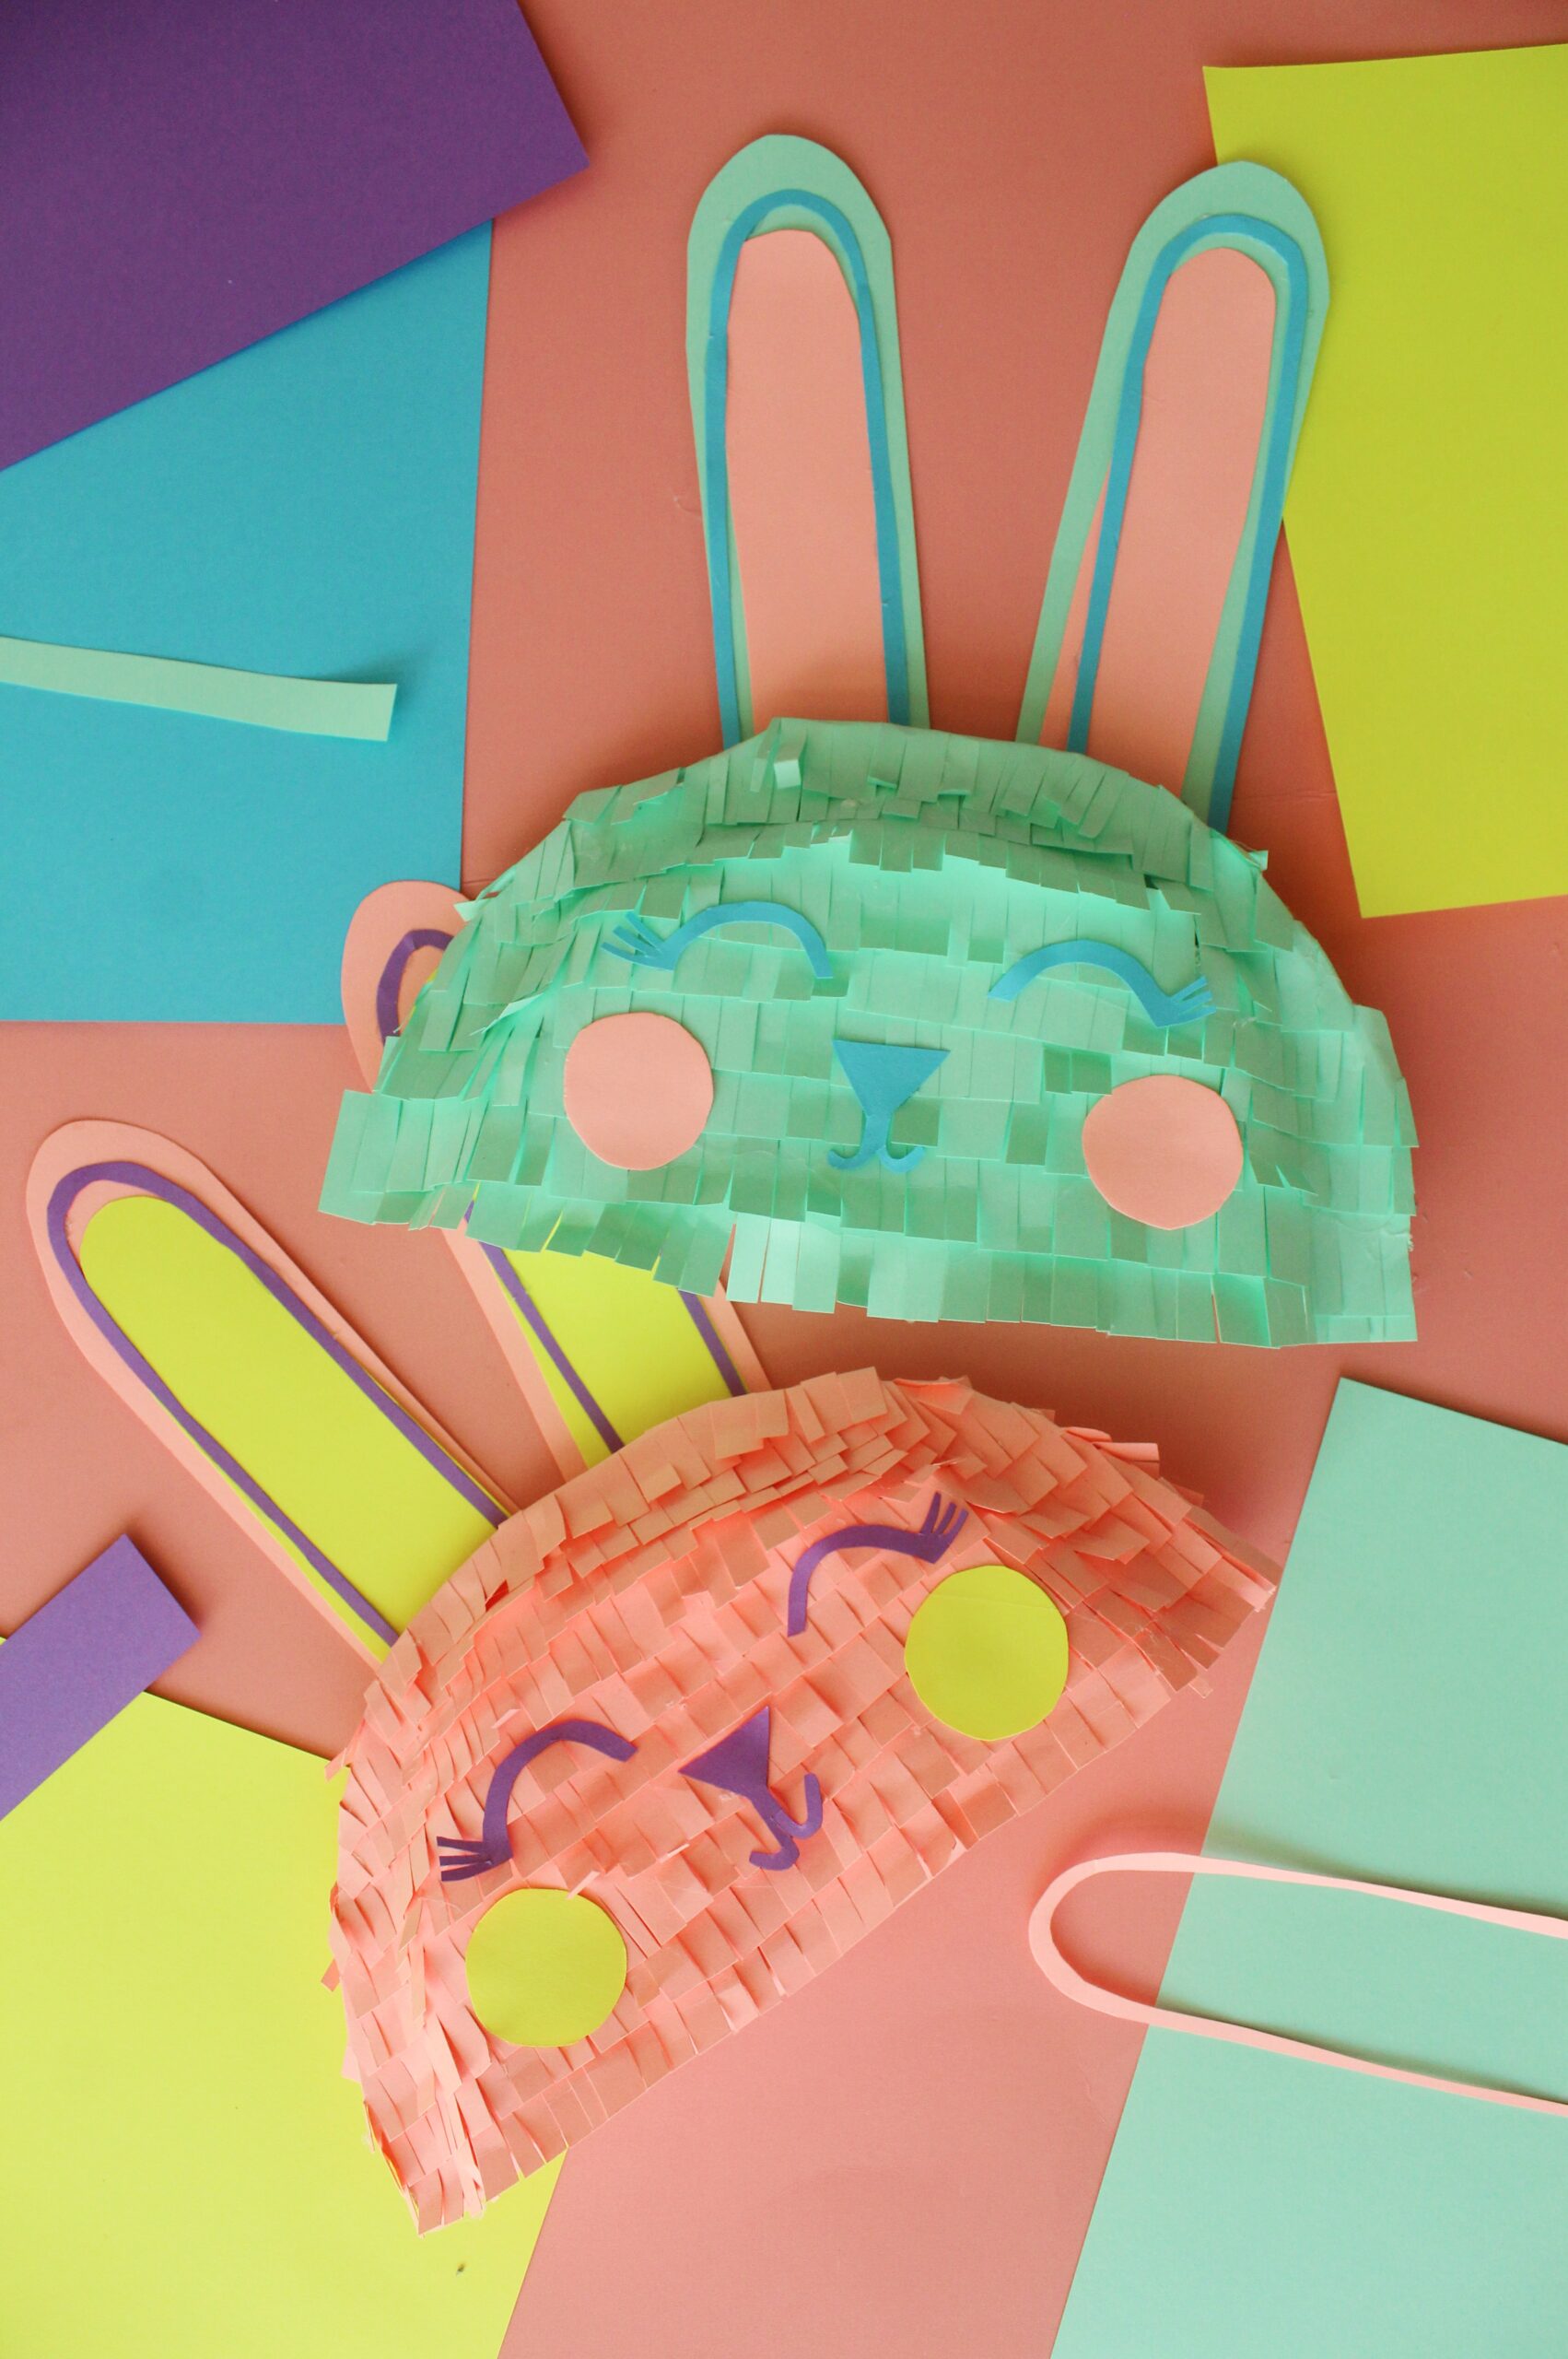
Easy DIY Mini Piñatas from Paper Plates
Tiny piñatas have been a favorite go-to in our craft stash for years. We’ve created them in every theme imaginable—rainbows, fruits, pizzas—you name it. There’s just something about their miniature size that instantly makes them irresistible. And thanks to their simplicity, they’re perfect for crafters of all ages!
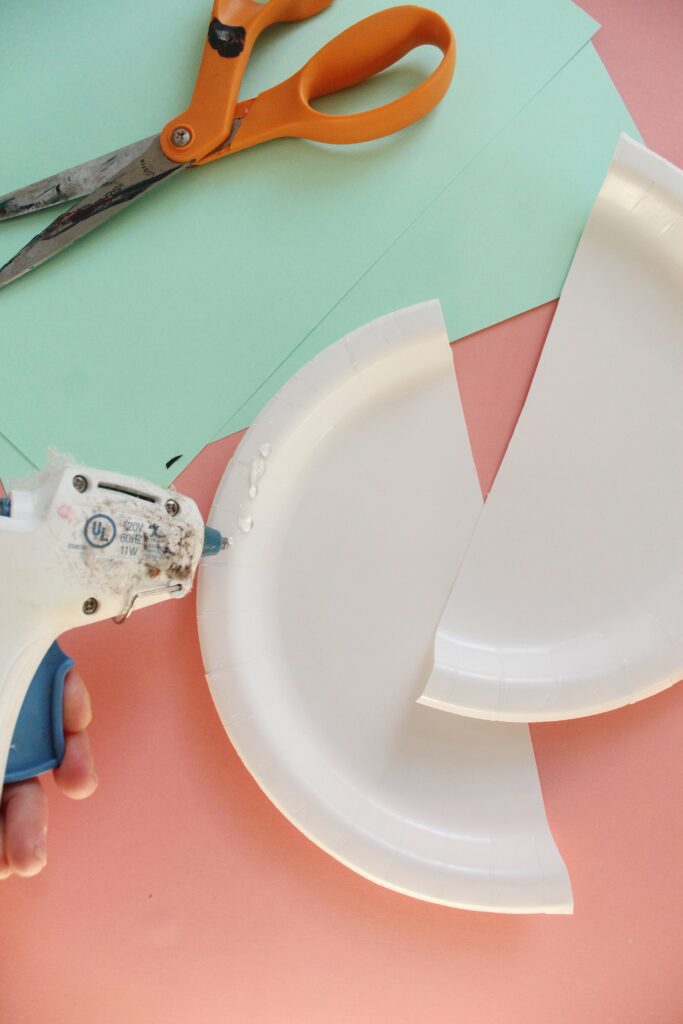
The base? A good old-fashioned paper plate. Once cut in half and glued together, it becomes a charming little treat pouch. Whether you’re working solo or crafting with kids, this project is easy to manage and super satisfying to make.
In the past, we’ve used tissue paper to decorate our mini piñatas, but this time we took it up a notch using the Astrobrights Playful Pack of Colored Cardstock. The vibrant hues were perfect for spring and gave the project a more polished, sturdy feel. Bonus: it’s a breeze to work with!
What Can You Put in an Easter Piñata?
There’s no wrong answer when it comes to stuffing your bunny piñatas! We chose classic chocolate eggs for a festive touch, but feel free to get creative with jelly beans, mini toys, stickers, or inspirational notes. These also make a fun addition to an Easter egg hunt—hide clues inside or save them for a final treasure at the end of the search.
If your celebration includes religious elements, consider filling them with meaningful messages, scripture verses, or themed surprises to match.

Supplies You’ll Need:
- Astrobrights Colored Cardstock (8.5″ x 11″, Playful Assortment)
- 9″ paper plates
- Scissors
- Glue (Hot glue for a quicker bond, or tacky glue if working with children)
- Candy, confetti, or other small surprises
Step-by-Step: DIY Easter Bunny Piñata
- Cut the Plates: Start by cutting your paper plates in half.
- Form the Base: Apply glue along the curved edge of one half, then press it against the matching half to form a pocket.
- Fill It Up: Add your chosen goodies—think candy, small toys, or messages—inside the pocket.
- Seal the Piñata: Cover the open side with a piece of cardstock and trim off any extra paper.
- Make Fringe Strips: Cut cardstock into 1-inch strips, then snip ¼-inch slits along one edge to create fringe.
- Decorate: Starting at the bottom edge, glue the fringe onto the piñata, layering upward until fully covered.
- Shape It: Once it’s covered, cut the piñata into a bunny face shape and remove excess fringe.
- Add Details: Cut out bunny ears, eyes, a nose, and any extra decorations from cardstock. Glue everything in place to complete your bunny.


And there you have it—a super sweet, handmade Easter piñata that’s almost too cute to break open. These little guys are bound to be a hit with kids and adults alike.

Wishing you a cheerful and crafty Easter!
Happy Making,
Liz & Sam
The Pretty Life Girls


