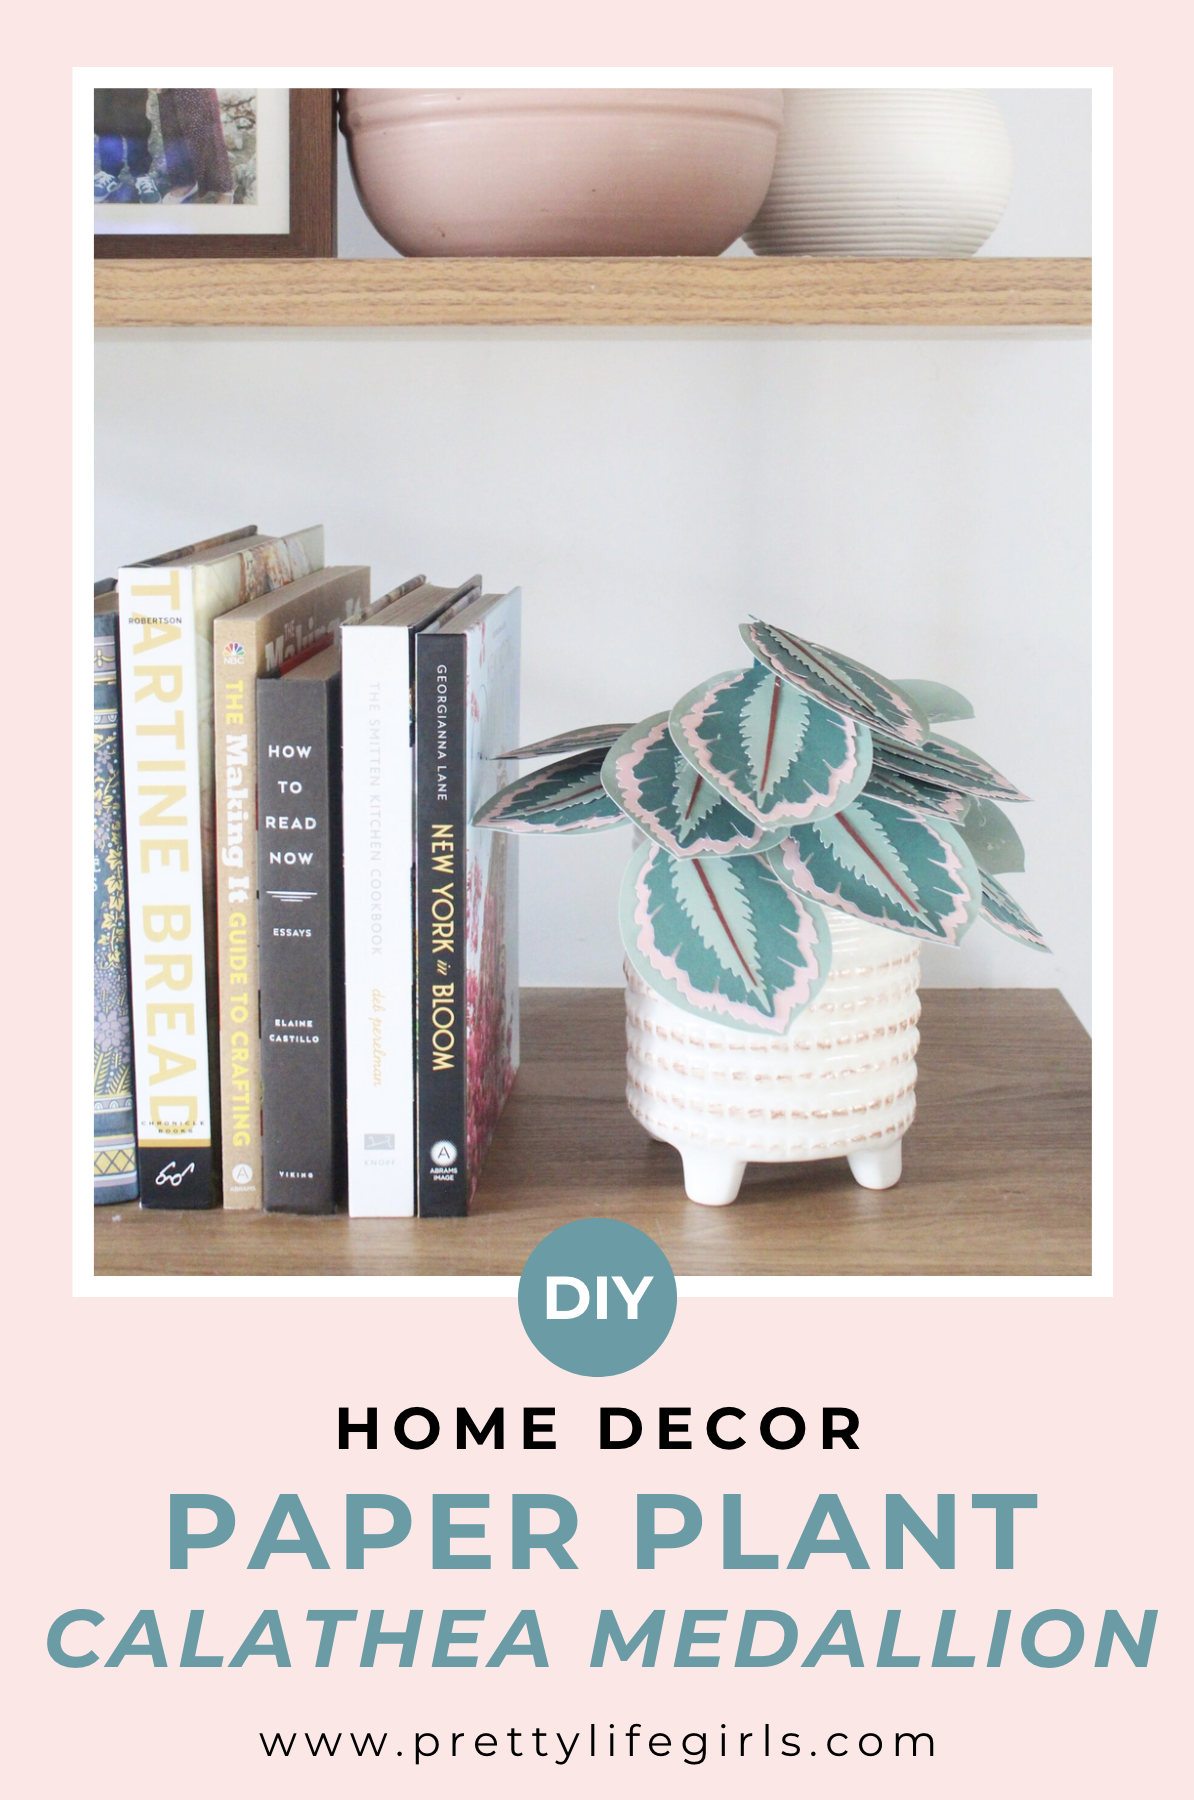
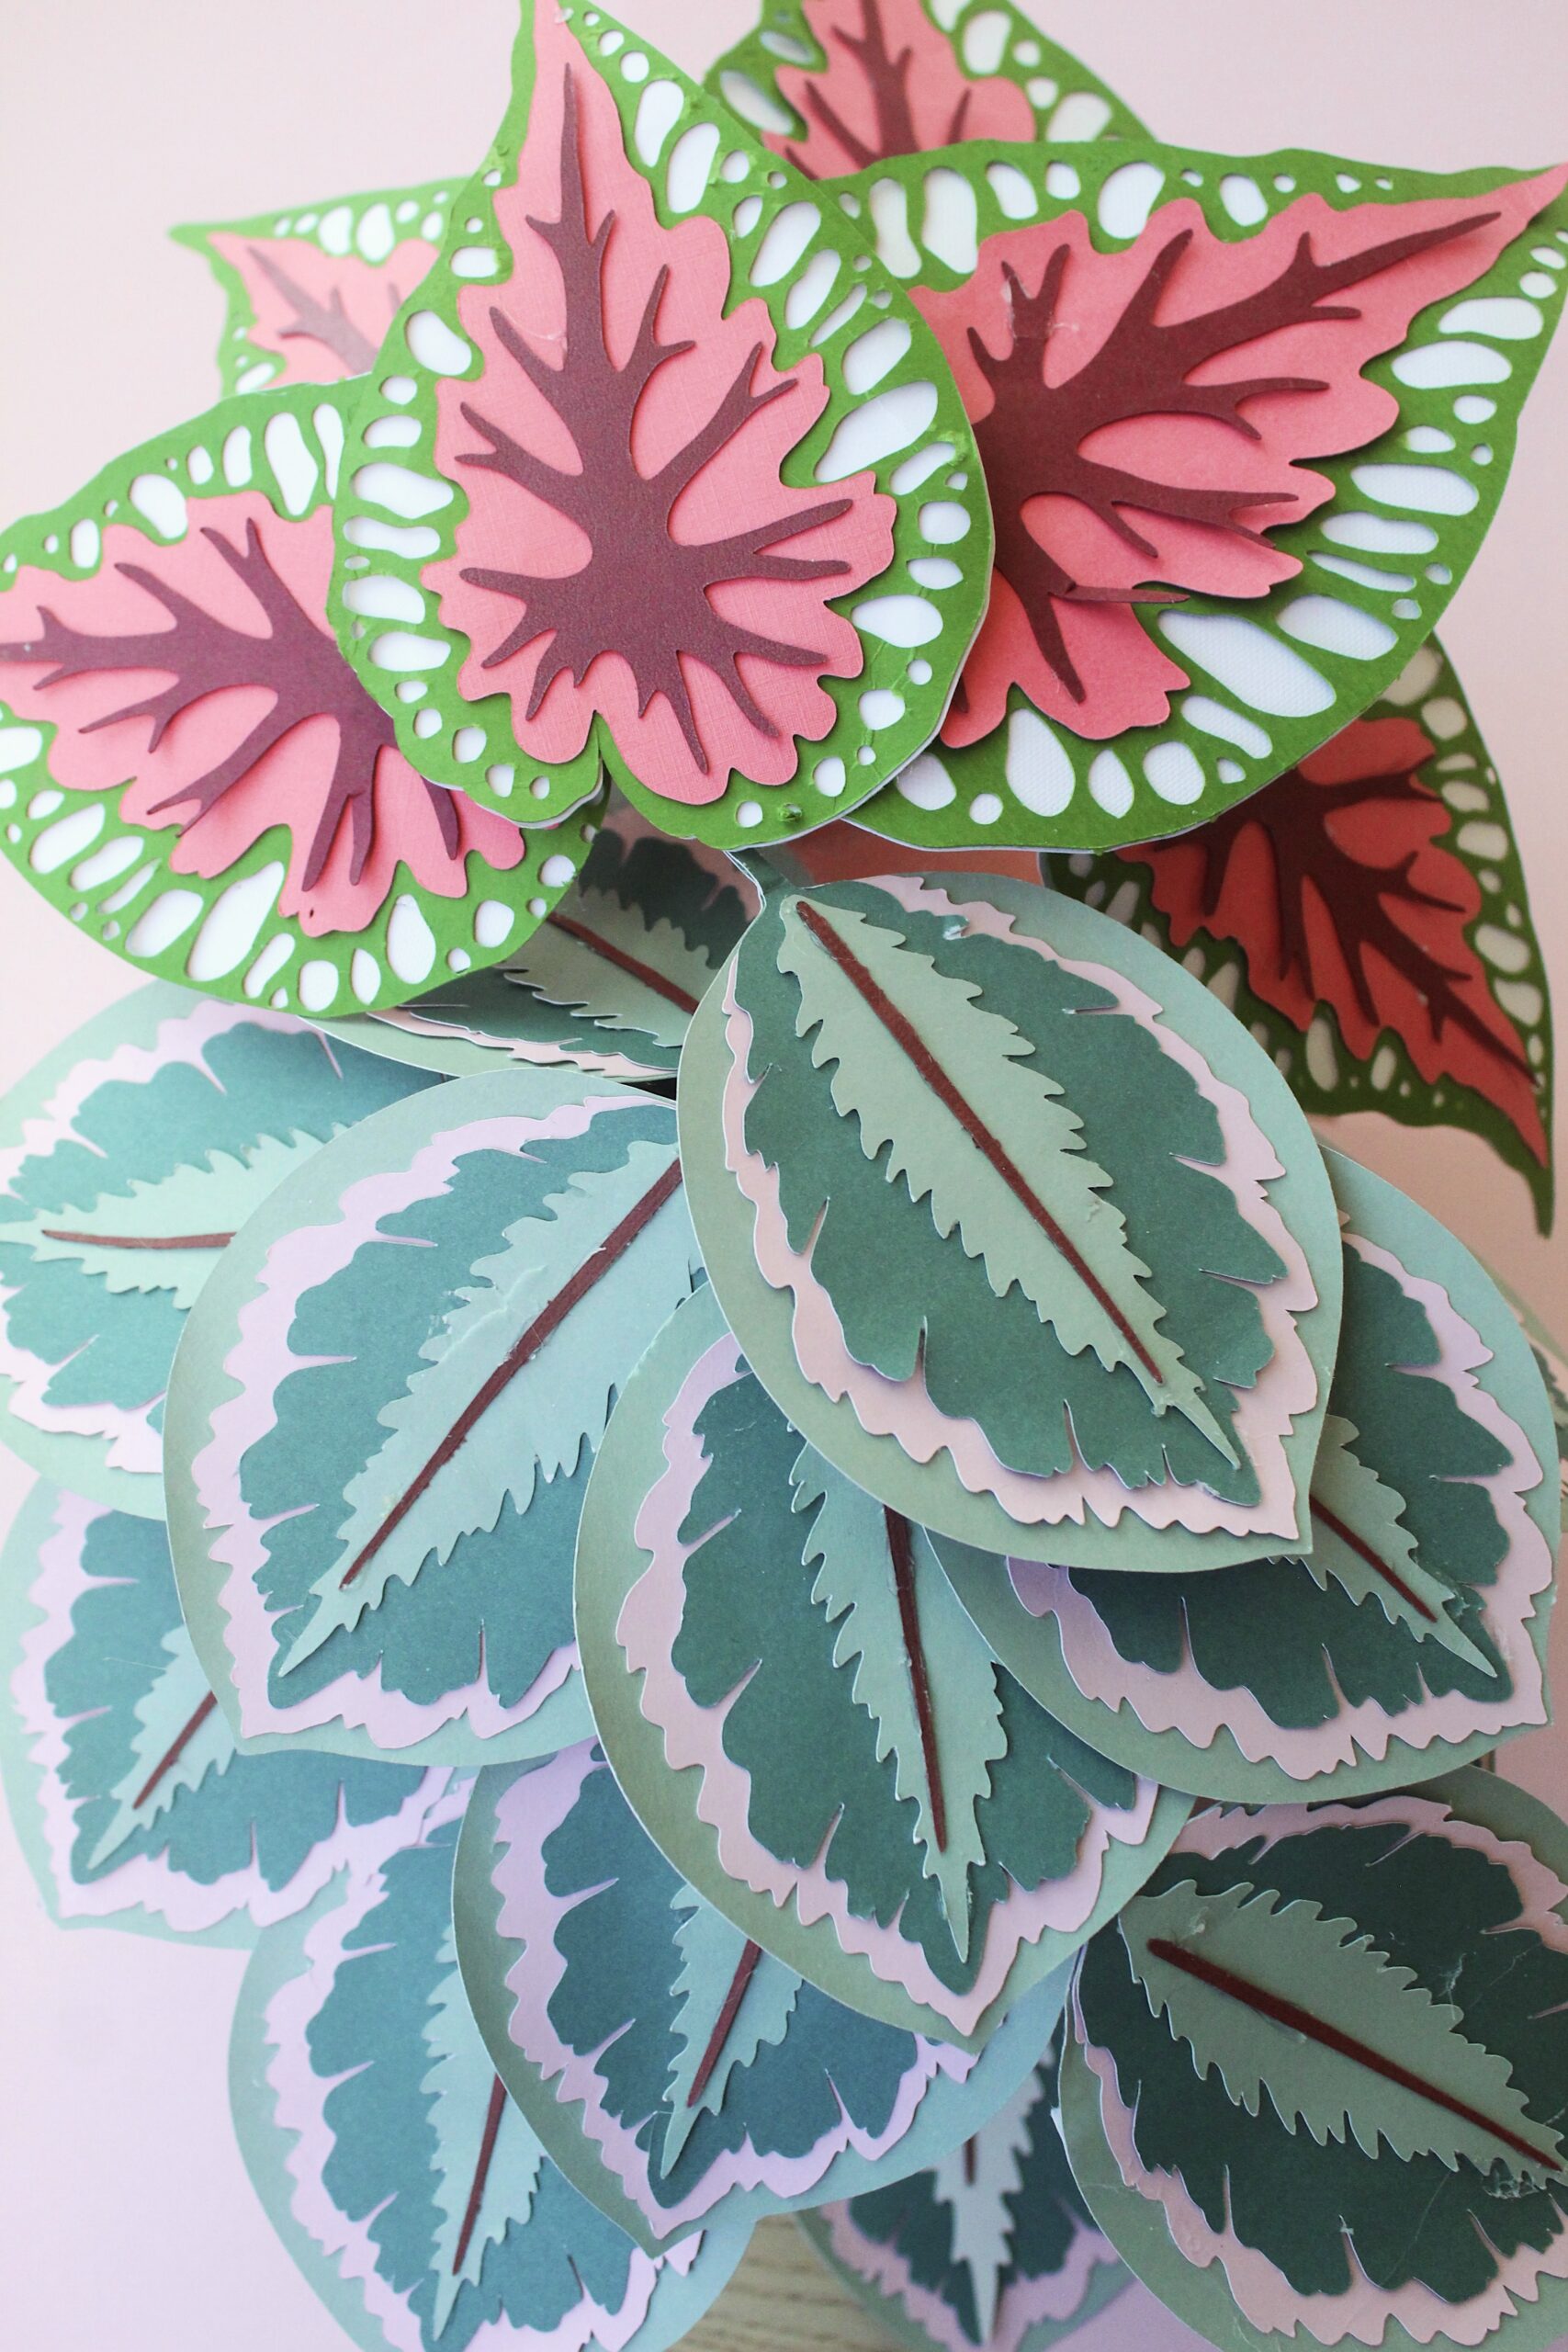
If your thumb is more black than green, make your plants from paper! This gorgeous Calathea Medallion is the perfect DIY paper plant you’ll never have to water. Keep reading for the tutorial!
DIY Paper Plant: Calathea Medallion
A few years we made a gorgeous Begonia Rex plant from paper that we still admire in the PLG craft room. It’s colors and leaves are still just as vivid as day one, and it makes such a fun statement.
Making flowers and plants from paper is a super fun, low-stakes way to be creative and bring the outside in without the added responsibility that comes with a live plant.
Plus, the Silhouette Design Store has tons of fun designs (we want to make them all) that are so easy to whip up and create something gorgeous.
How do you make a paper plant?
Our only experience with making 3-D paper plants has been coupled with using the Silhouette Design store plus one of our Silhouette cutting machines. It’s likely that any cutting machine brand of your choice has something similar, but this is the only machine we’ve tried this kind of project with so that is our point of reference.
The Silhouette Design store has endless 3-D projects to choose from. After you choose one and purchase it, it shows up in the Silhouette Studio software ready to use. Then, all you have to do is choose your paper color scheme and start cutting.
Supplies needed to make a Calathea Medallion DIY Paper Plant
- Cardstock in mint, light pink, emerald green, and maroon
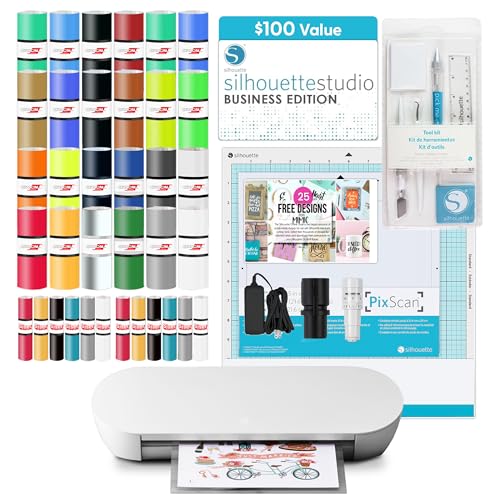
- Silhouette Cutting Machine (we use a Portrait or a CAMEO)
- Calathea Medallion cut file
- Hot glue gun + sticks
- Wired wood picks
- Scissors
- Floral foam
- Vase
How to make a Calathea Medallion Paper Houseplant
Step 1. Load your design into your Silhouette Studio software and assign your design to cut by fill color. If you aren’t familiar with how to do this, visit our tutorial here. (You can also cut your pieces by moving what you are cutting in and out of your cut tab, but we think cutting by fill color is pretty slick!) Adjust your settings to cut cardstock.
Step 2. Load your first color of paper into your machine and send to cut. Repeat until all of the pieces in the various colors have been cut.
Step 3. Remove your leaf pieces from the cutting mat.
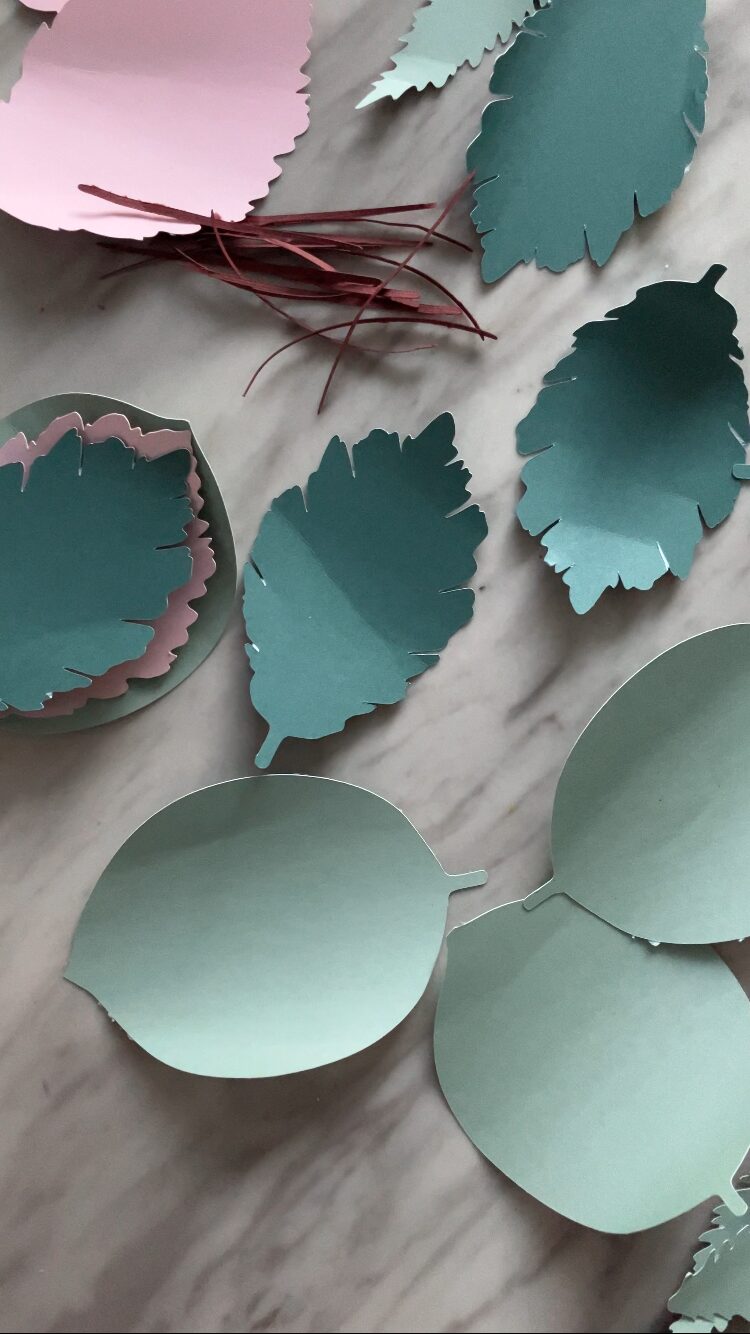
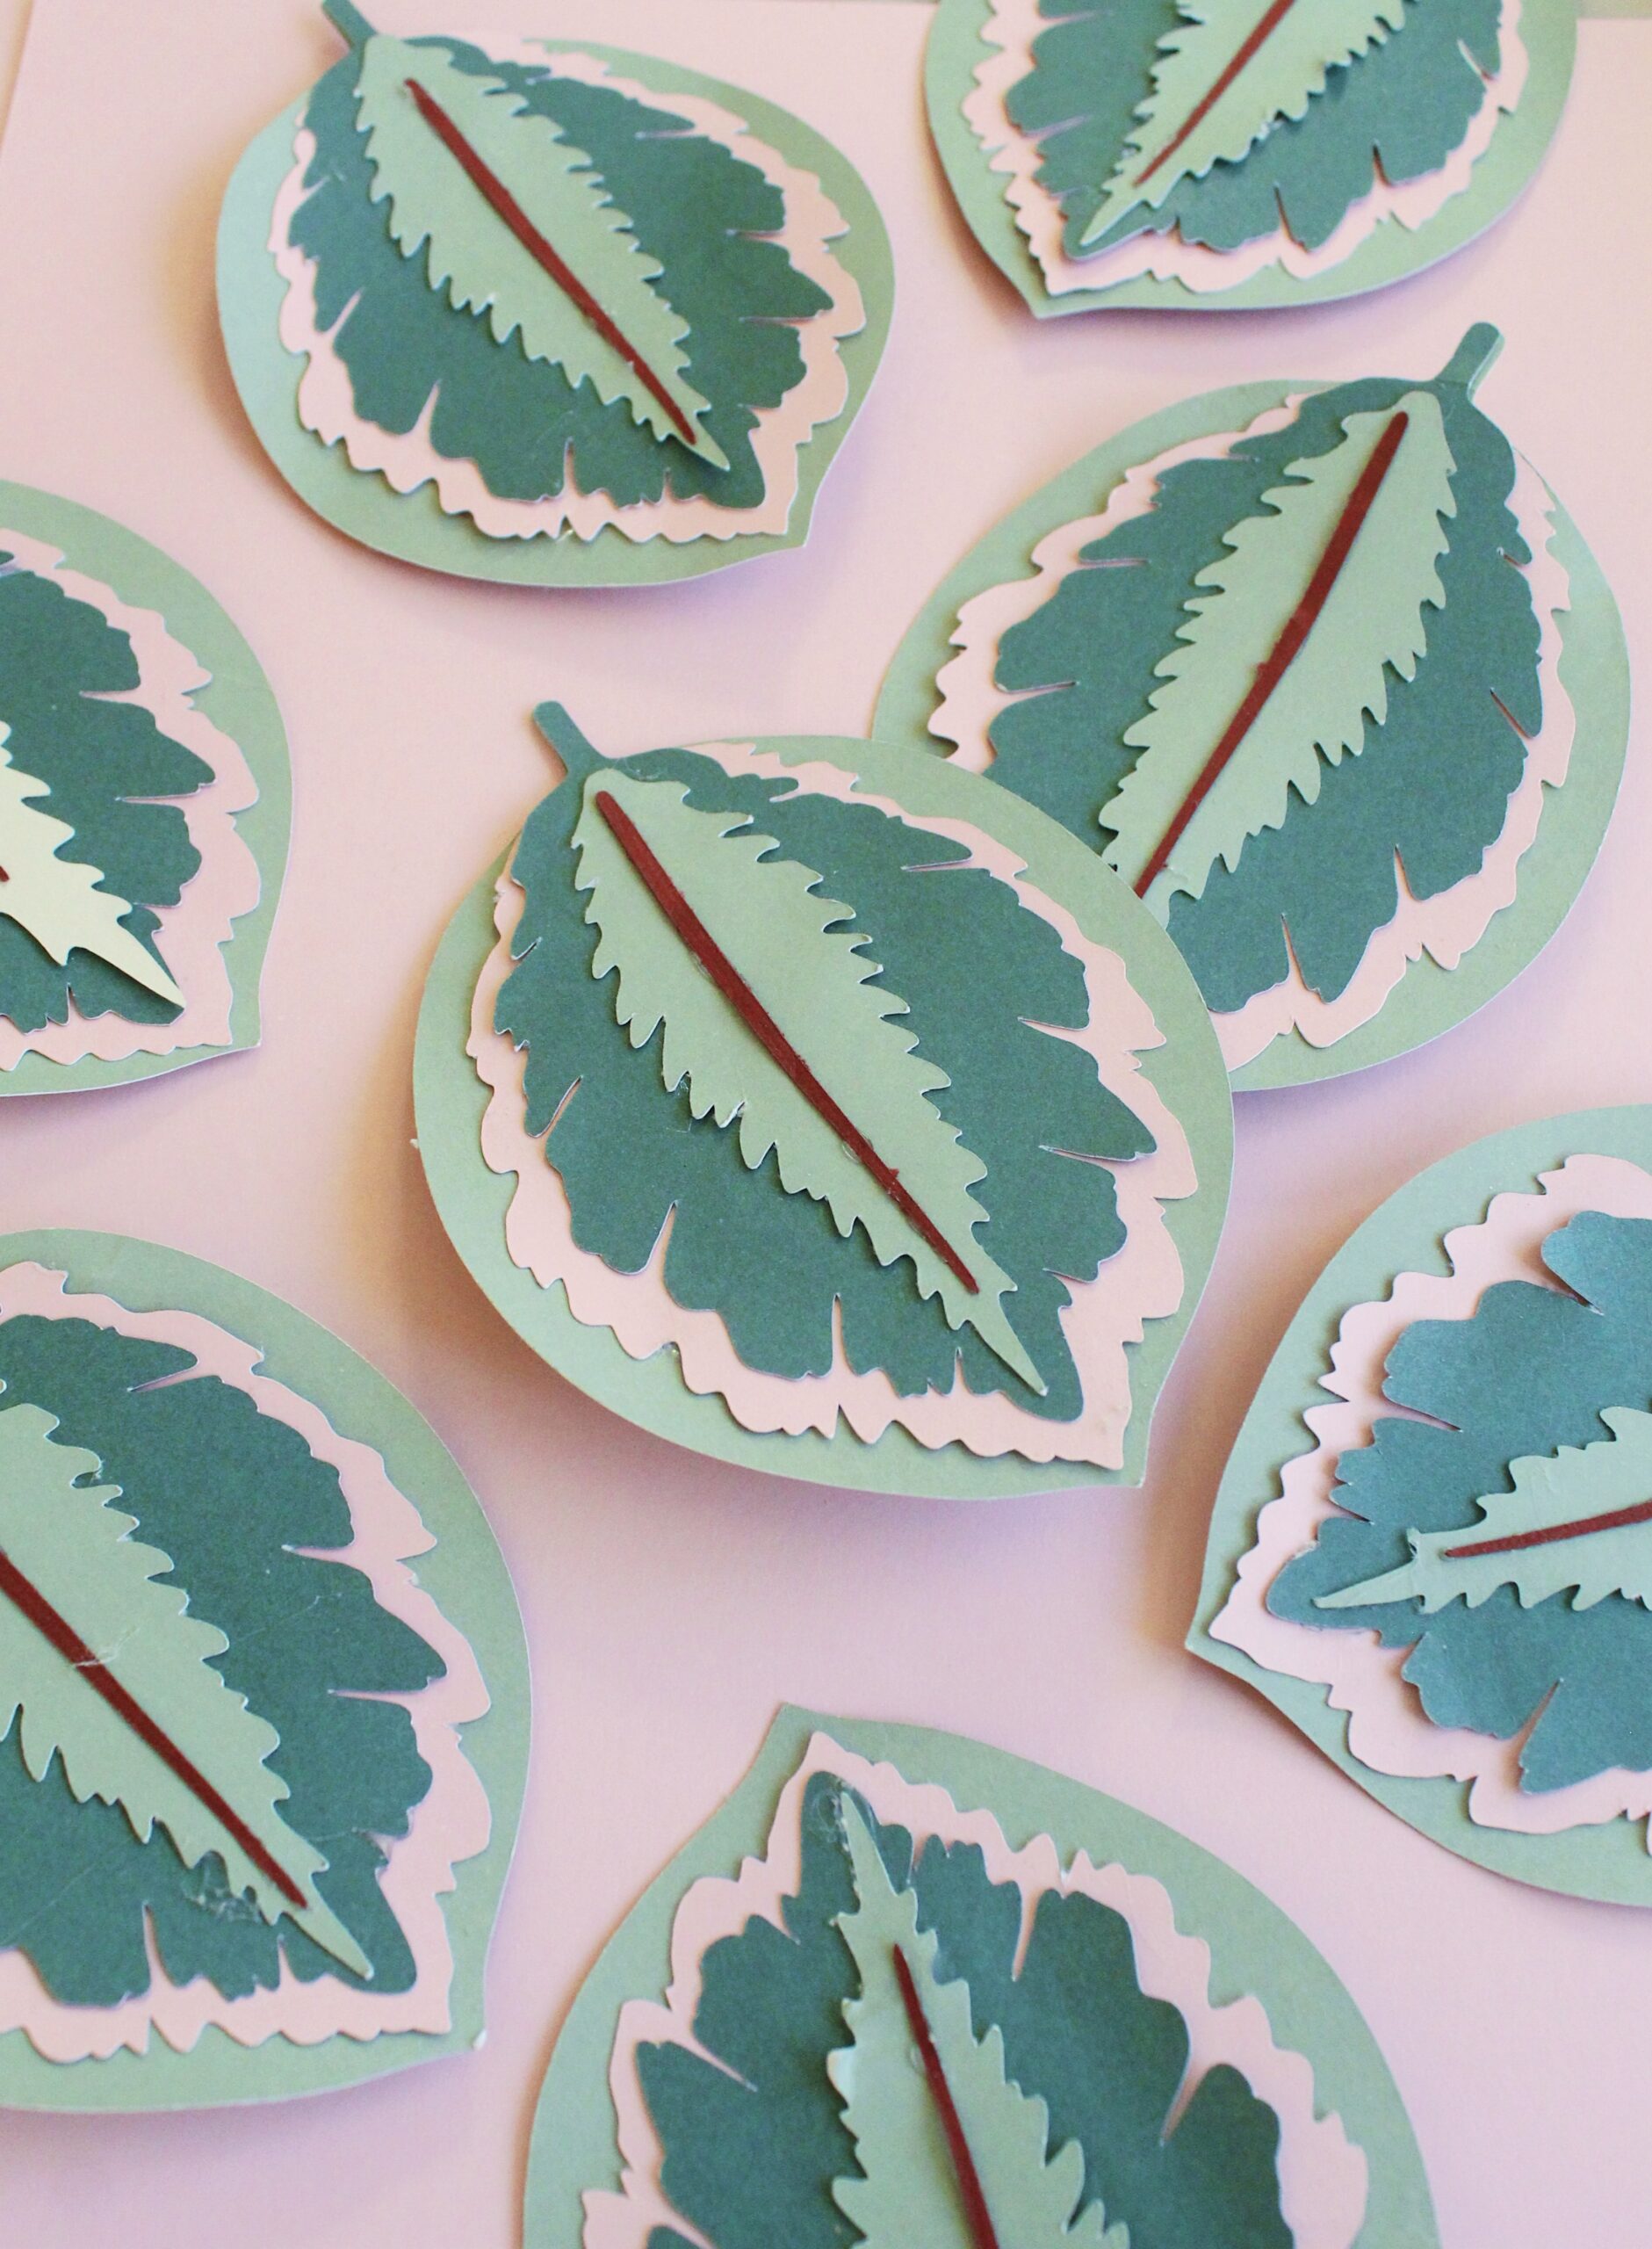
Step 4. Assemble the leaves by layering them on top of one another and securing each layer with hot glue. The white leaf pieces are on the bottom followed by the green, then the salmon, then the plum.
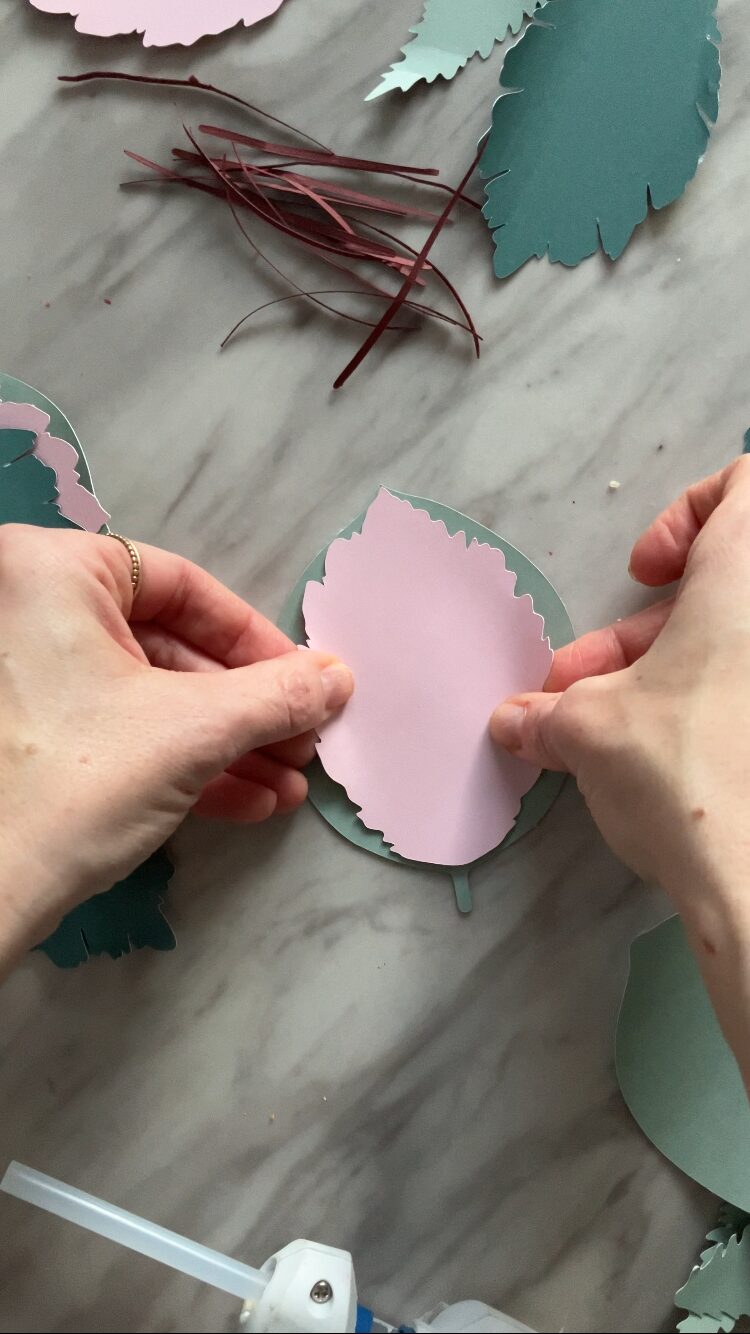
Step 5. Cut a 1-inch strip of white paper for each leaf. These will be used to secure the wired wood picks to the back of the leaves. To do this, flip over the leaves so the white side is facing up. Apply some hot glue to the paper piece you cut. Lay the wired part of the wood pick against the leaf and press the glued piece over the wire to secure it. If you would like your leaves to be more upright in your vase, apply the glued paper as close to the top of the pick as you can. If you would like them to bend/droop, apply the glued paper further own the wire.
Step 6. Cut your floral foam to fit in your vase using scissors and place it in the vase.
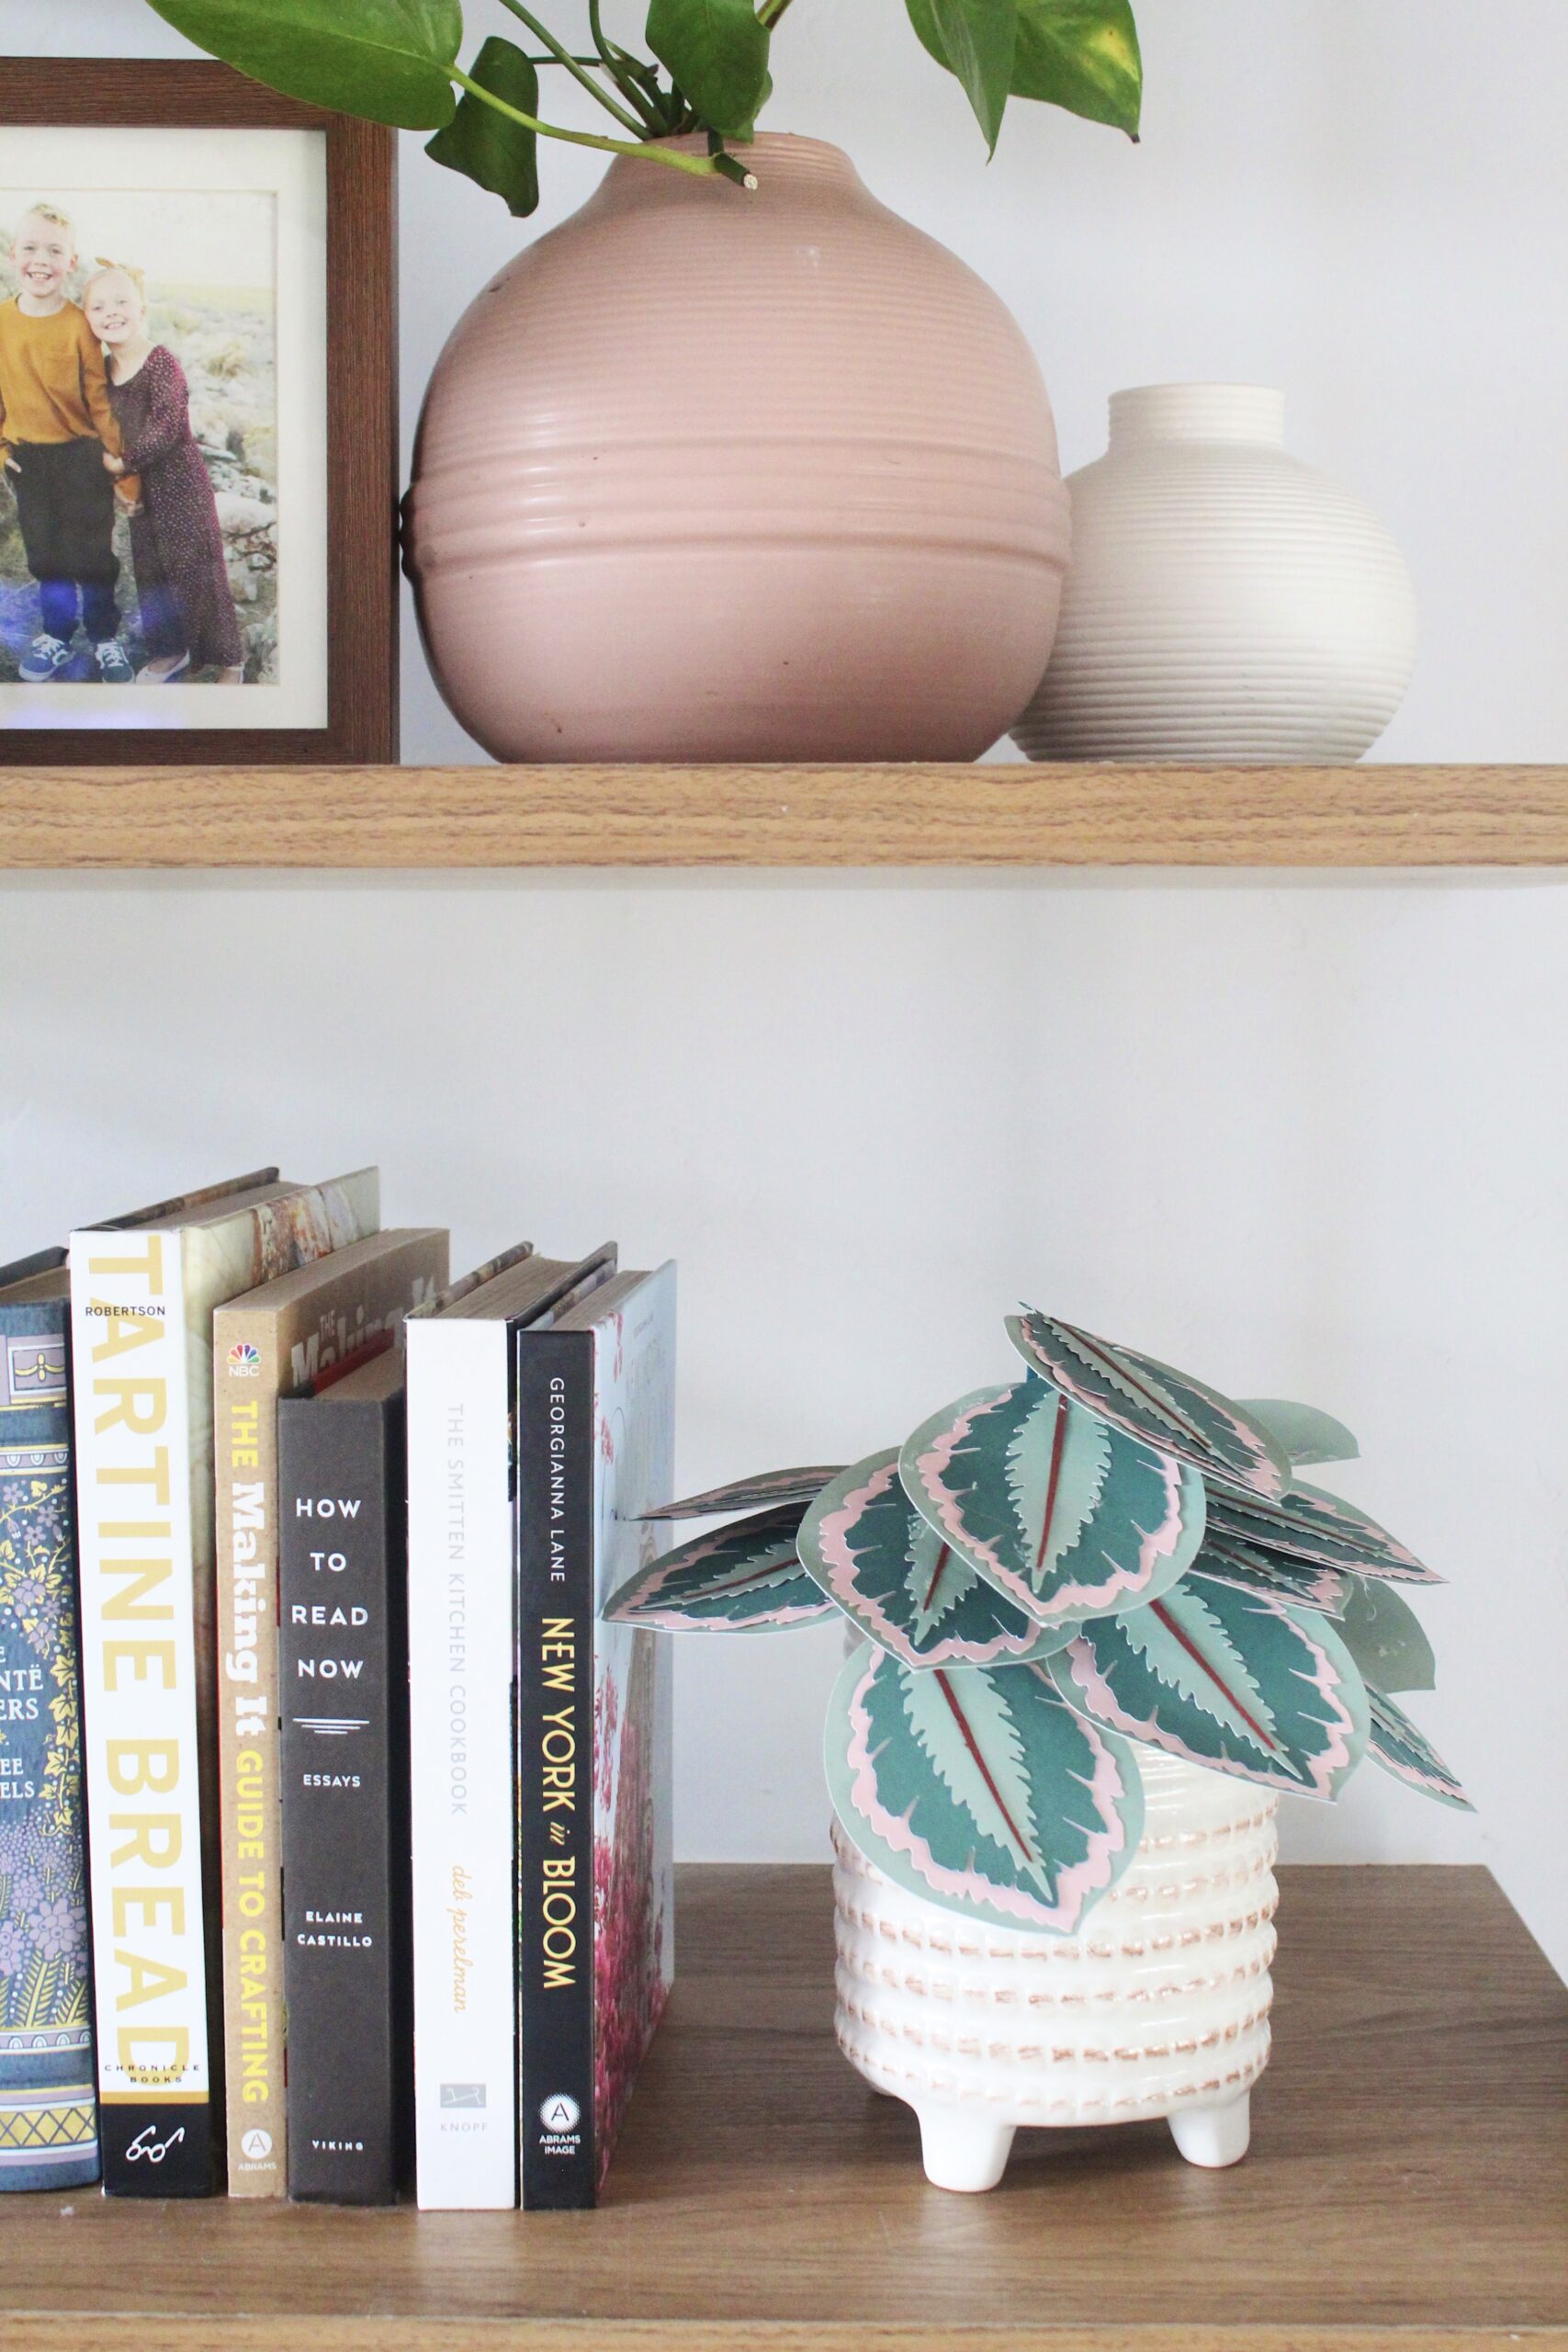
Step 7. Stick wood picks with the leaves on top into the foam and enjoy!
If your thumb is more black than green, make your plants from paper! This gorgeous Calathea Medallion is the perfect DIY paper plant you’ll never have to water. Keep reading for the tutorial! As an Amazon Associate and member of other affiliate programs, I earn from qualifying purchases.DIY Paper Plant: Calathea Medallion

Materials
Instructions
Recommended Products


ox. Liz and Sam
SAVE THIS POST FOR LATER!